DIY F24 build
 02-21-2016, 11:14 AM
#1

Thread Starter
I've never done anything like this before. Here is me hacking away at it.
I'd be surprised if the motor last 10 minutes. But I honestly tried my best haha
The money into it so far breakdown
Bought a running used long block for $1000 from a friend that had low compression on cylinder 4.
Bought a CNC Speedshop F24 kit from a s2ki member for $1050.
Bought various gaskets and seals and stuff to rebuild to long block from Majestic Honda for $360
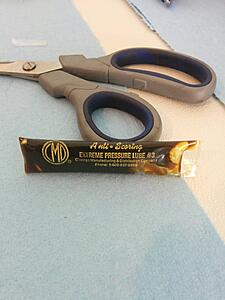
Bought a lot of tools i'll probably only use once, or twice if/when this thing blows up, for $500 this includes engine stand/hoist, mics, bore scope, etc
So roughly $3000 in parts, kind of a big risk for a DIY but I always wanted to try this.
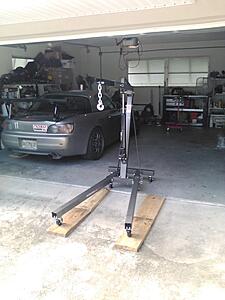
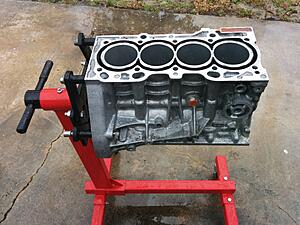
October 6, 2015 assemble the HF engine hoist and engine stand, wait for friend to deliver the motor.
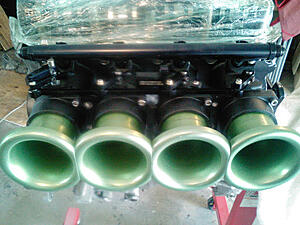
Once we got the motor onto the engine stand I wanted to see how the 64mm Kinslers fit...
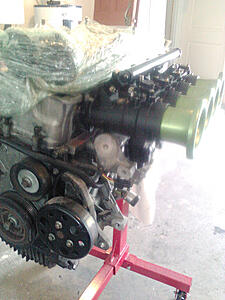
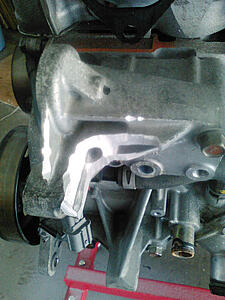
The Kinsler TPS mount is under the cylinder 1 runner and as such you need to take a grinder to the idler pulley bracket to make it fit.
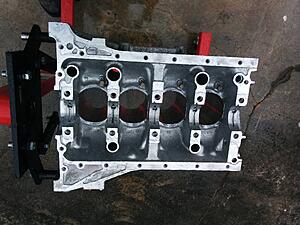
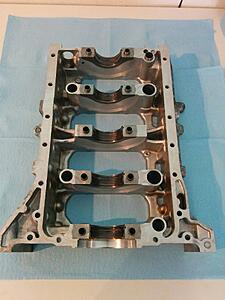
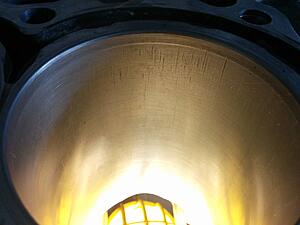
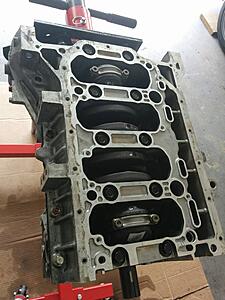
Now to disassemble the used long block and pray the bores are good.
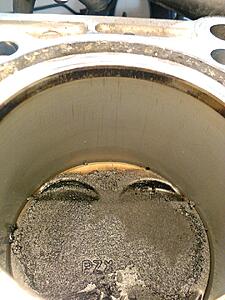
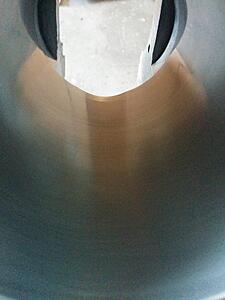
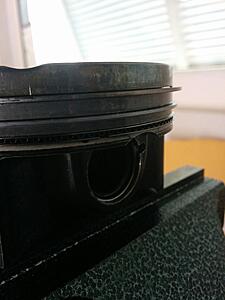
Bores seem usable! No scratches that run the length of the bore and catch a fingernail.
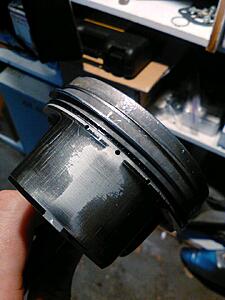
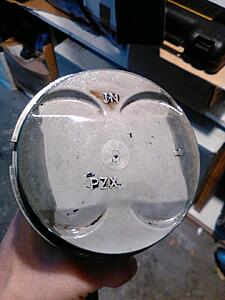
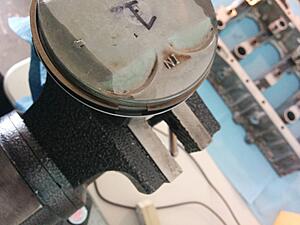
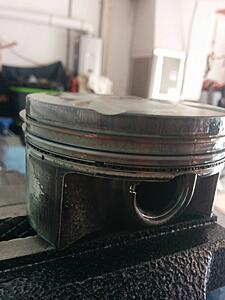
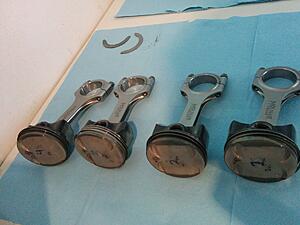
Pull the pistons and check them out. After soaking in carb cleaner.
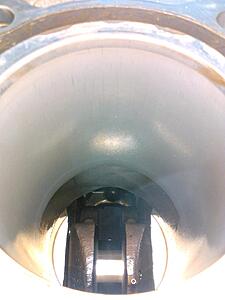
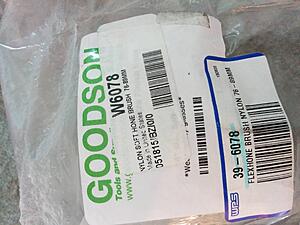
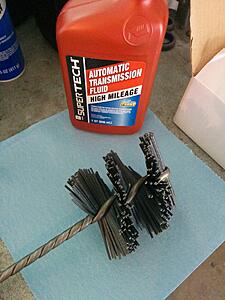
Now to prep the bores for new rings, you want a cross hatch. Using a Wiseco nylon brush to prep the bores.
I used ATF cause Youtube told me too...
Slushie!
Washing time, i used a pressure washer, a bottle of simple green, 4 cans of brake cleaner, and 2 bottles of WD40 lol
ACL race main bearings:
used new 06+ piston rings, rings cocked, giggity...
Pistons assembled
I'd be surprised if the motor last 10 minutes. But I honestly tried my best haha
The money into it so far breakdown
Bought a running used long block for $1000 from a friend that had low compression on cylinder 4.
Bought a CNC Speedshop F24 kit from a s2ki member for $1050.
Bought various gaskets and seals and stuff to rebuild to long block from Majestic Honda for $360
Bought a lot of tools i'll probably only use once, or twice if/when this thing blows up, for $500 this includes engine stand/hoist, mics, bore scope, etc
So roughly $3000 in parts, kind of a big risk for a DIY but I always wanted to try this.
October 6, 2015 assemble the HF engine hoist and engine stand, wait for friend to deliver the motor.

Once we got the motor onto the engine stand I wanted to see how the 64mm Kinslers fit...


The Kinsler TPS mount is under the cylinder 1 runner and as such you need to take a grinder to the idler pulley bracket to make it fit.

Now to disassemble the used long block and pray the bores are good.


Bores seem usable! No scratches that run the length of the bore and catch a fingernail.
Pull the pistons and check them out. After soaking in carb cleaner.


Now to prep the bores for new rings, you want a cross hatch. Using a Wiseco nylon brush to prep the bores.

I used ATF cause Youtube told me too...

Slushie!


Washing time, i used a pressure washer, a bottle of simple green, 4 cans of brake cleaner, and 2 bottles of WD40 lol


ACL race main bearings:

used new 06+ piston rings, rings cocked, giggity...


Pistons assembled


 02-21-2016, 11:15 AM
#2
Thread Starter
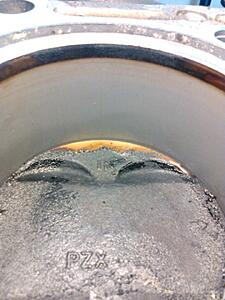
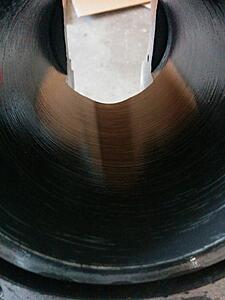
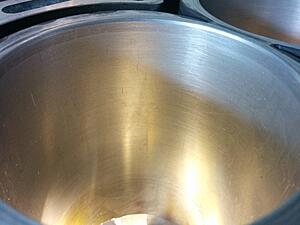
Bores after prep, not great but not terrible either.

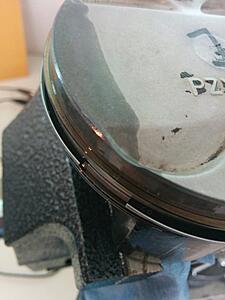
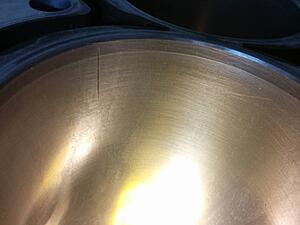
This is the worst scratch, but doesn't run down the bore so hopefully will be good? haha
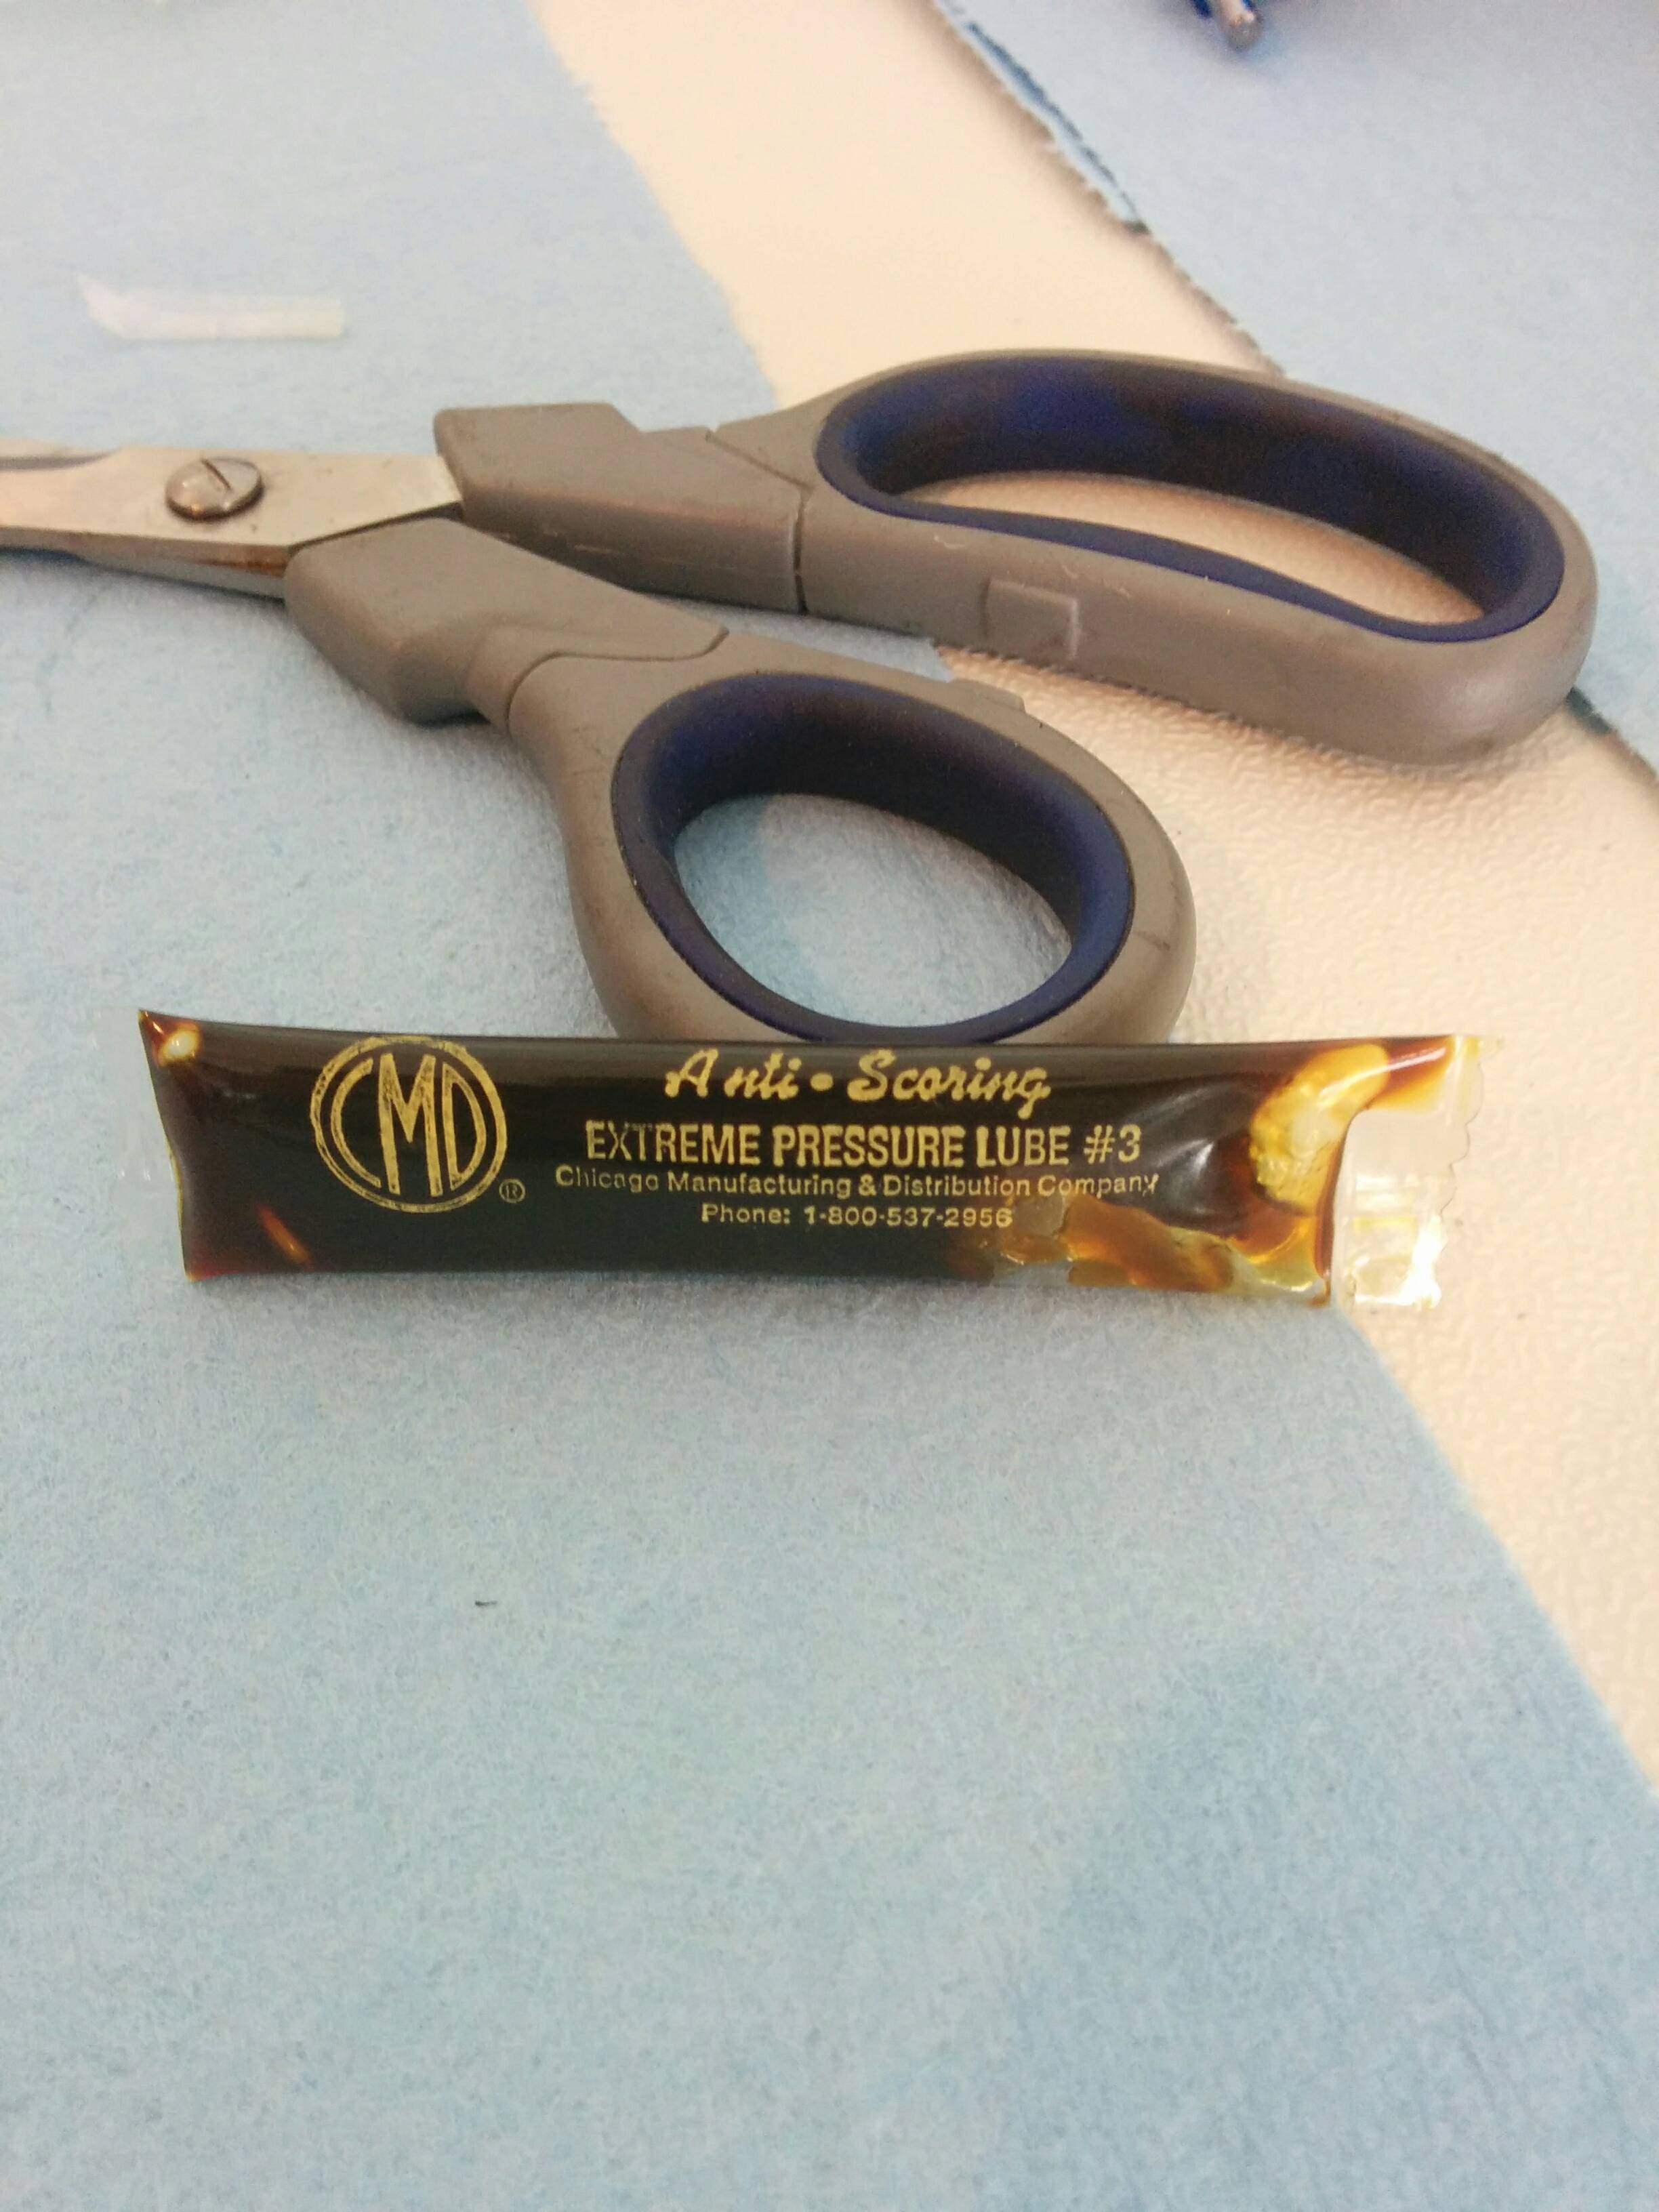
Magical rod bolt lube provided with the CNC kit, make sure to lube the threads and the caps.
The only way to install rod bolts, by stretch
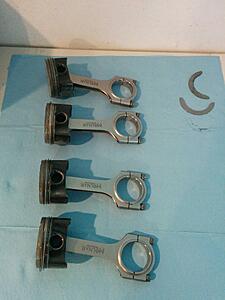
rods installed with Kings rod bearings
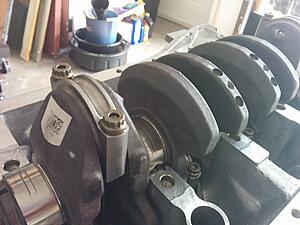
CNC Speedshop kit uses top quality rod bolts, arguably the most important part of an engine.
gasket maker is the cancer of automotive tools
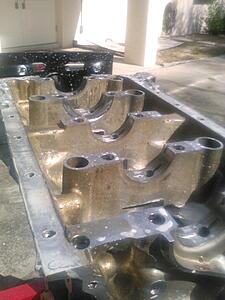
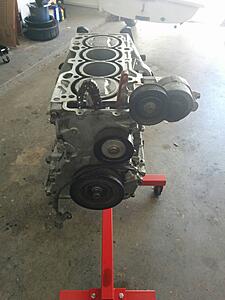
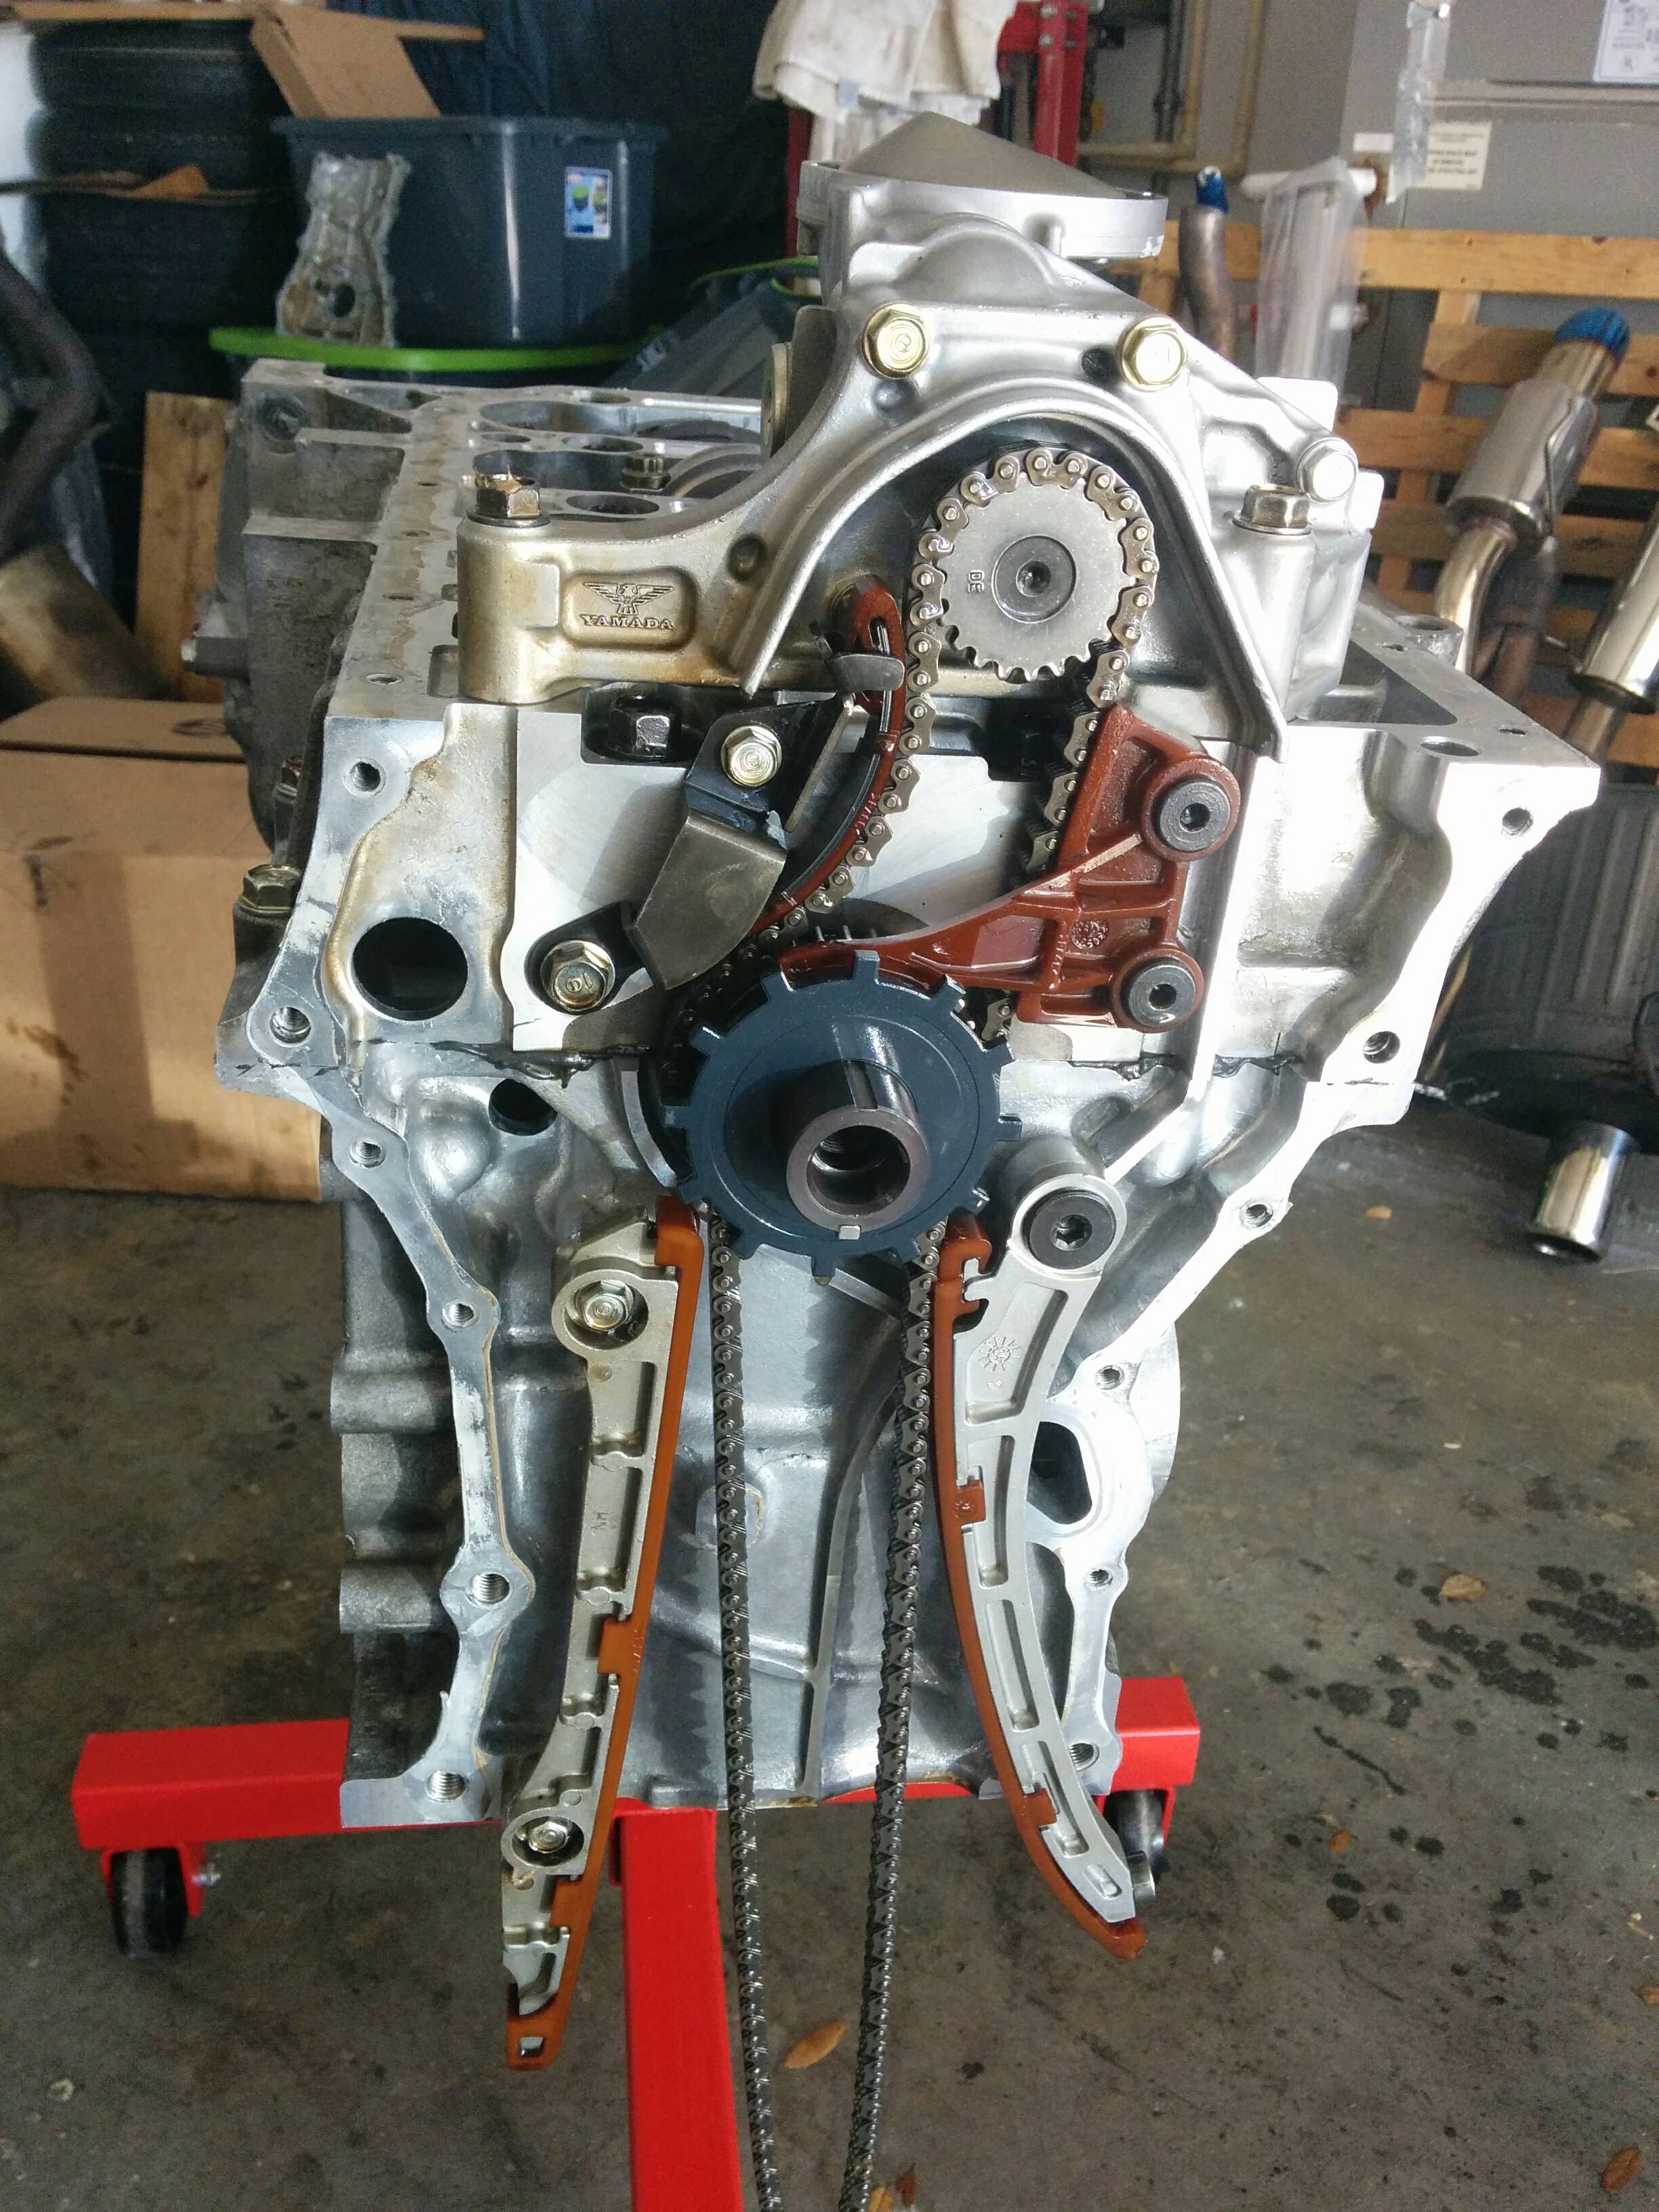
Reused oil pump cause i'm cheap, i cleaned it a lot i swear!

Reused all this stuff too, thank god for the service manual, follow it step by step
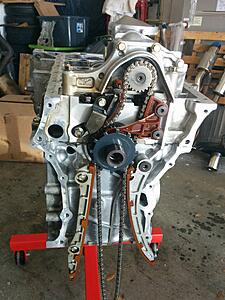
New gaskets where applicable

I dontk now why i put the idler on i need to take it off to install the head.
zip tie the cam chain so it doesnt move


This is the worst scratch, but doesn't run down the bore so hopefully will be good? haha

Magical rod bolt lube provided with the CNC kit, make sure to lube the threads and the caps.
The only way to install rod bolts, by stretch

rods installed with Kings rod bearings

CNC Speedshop kit uses top quality rod bolts, arguably the most important part of an engine.

gasket maker is the cancer of automotive tools

Reused oil pump cause i'm cheap, i cleaned it a lot i swear!

Reused all this stuff too, thank god for the service manual, follow it step by step
New gaskets where applicable

I dontk now why i put the idler on i need to take it off to install the head.
zip tie the cam chain so it doesnt move
 02-21-2016, 11:42 AM
#4
Thread Starter
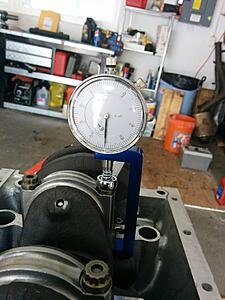
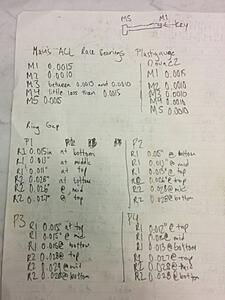
Unfortunately I didn't take pictures of the measuring. I have a "blueprint" sheet that has all the numbers from the mics and bore scope. Everything was within spec to be usable without over boring the motor. The tightest clearances were on the Kings rod bearings. The ACL race bearings were perfect with my BCCC block. I also plastigauge everything on final inspection. I did have to shuffle the ACL race bearings 3 times to get a more consistent clearance but thats to be expected with a 1 size fits all bearing.
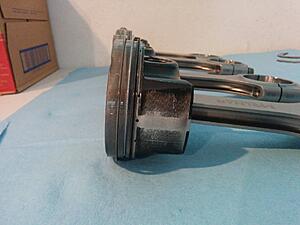
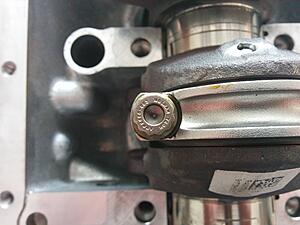
note the tight rod bolt clearances
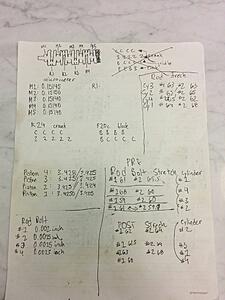
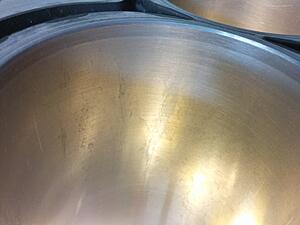
dat cylinder taper
note the tight rod bolt clearances

dat cylinder taper


 02-21-2016, 12:48 PM
#6

Very excited to see how this turns out. We have a local guy running the CNC kit in the S2K Challenge - it's holding up so far. I can't remember what his rev limitter is set to, but I know he said he shifts at 7800 to hopefully prolong the life of the motor on track.
02-21-2016, 01:15 PM
#7
Thread Starter
i plan to rev to 8000
Trending Topics


 02-21-2016, 02:56 PM
#10
Thread Starter
rods

and for the nonbelievers of the scratched bores note step 4

Wadzii and many other engine builders trust ACL/kings bearings. I took their word/experience for it.
Next step is to clean the head and bolt that sucker on. I have some used BC stage 2 cams to use too!
The question is if i dremel the head ports to match the kinslers since they are bigger than the oem intake ports...