Jah's MY03 GPW Build Thread


 11-06-2015, 09:33 PM
#22

Thread Starter
Couple updates:
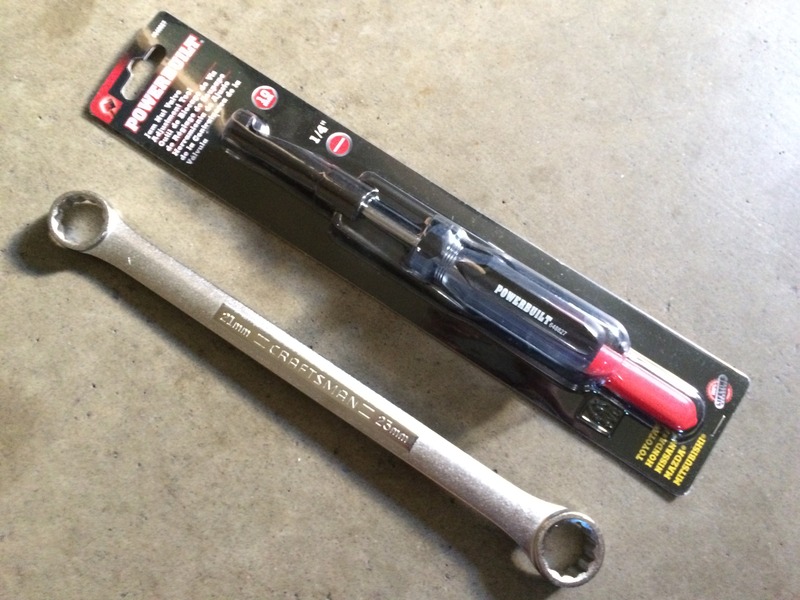
Got some toys from HandA - MTF, fill/drain washer for the engine, trans and diff, some oil filters and some touch-up paint. Also got a 23mm wrench (for the diff fill bolt) and a valve adj tool.
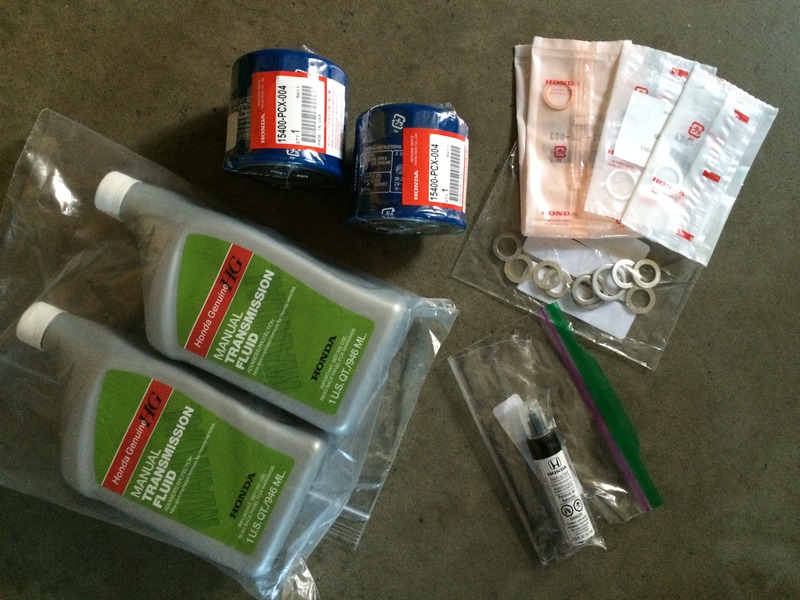
Excited receiving these new little toys..I quickly proceeded to use one of them - the touch-up paint.

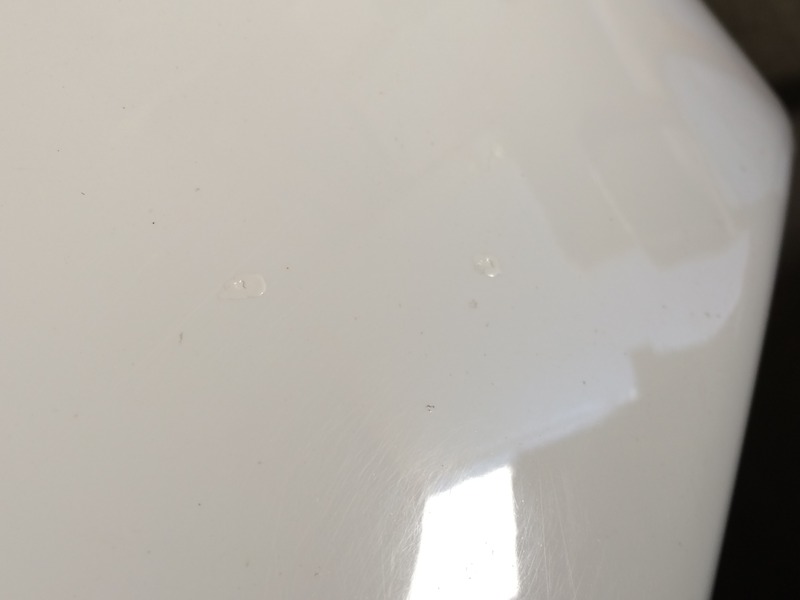
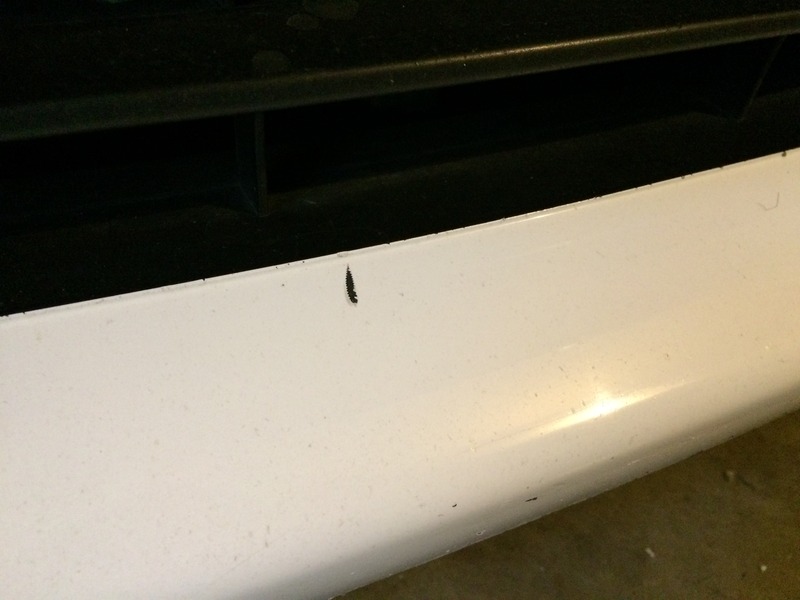
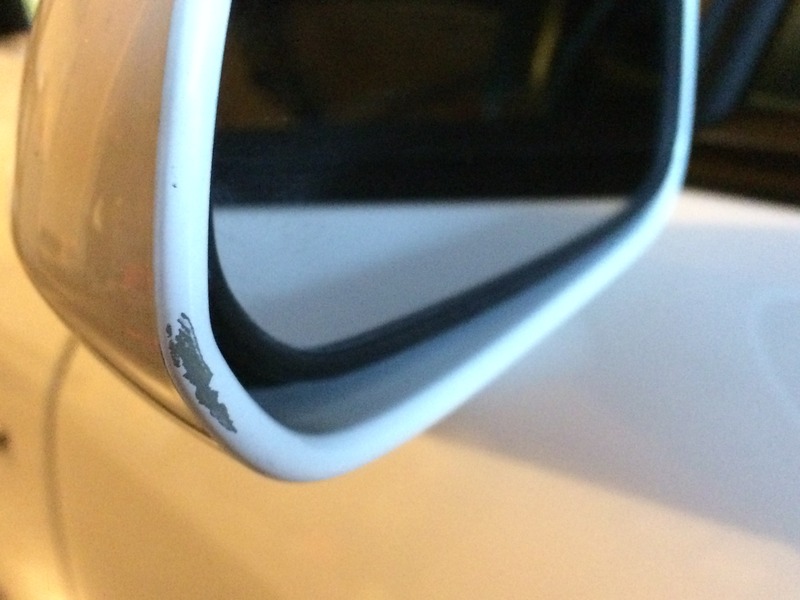
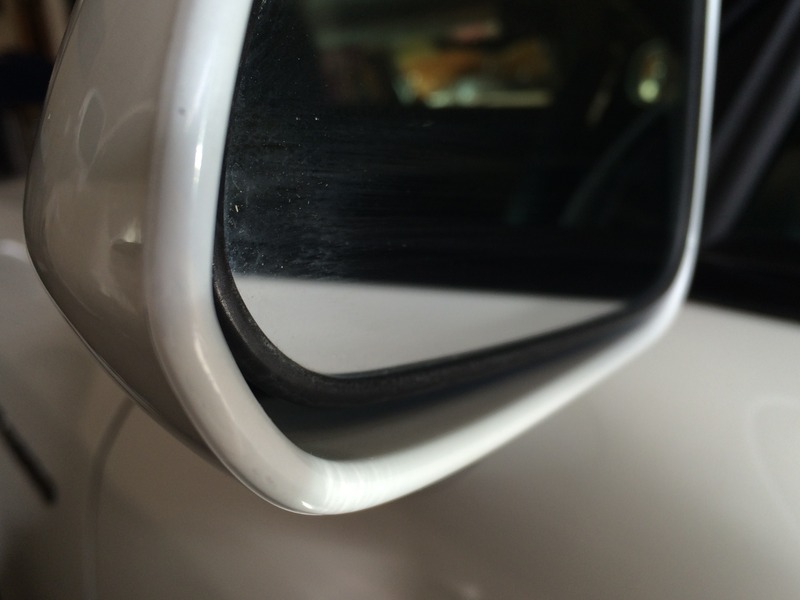
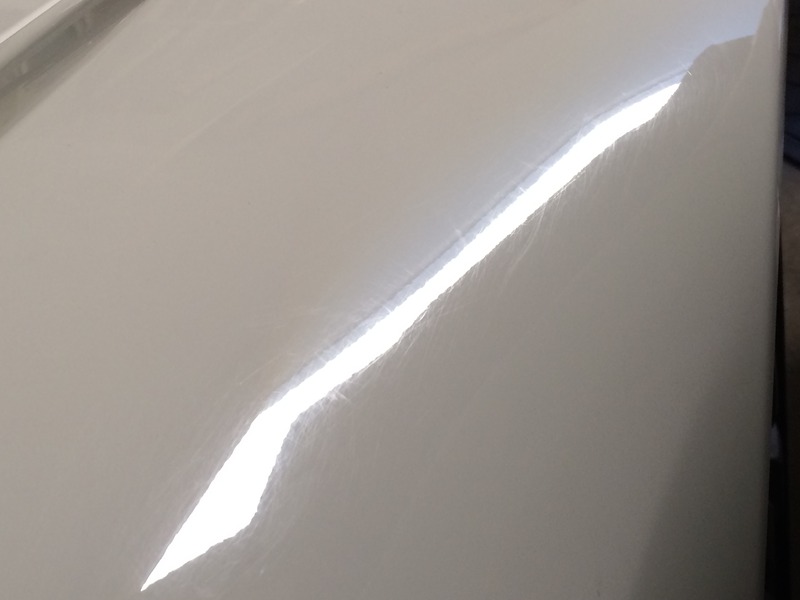
Here’s some before&after shots of a few examples of the chips I have on my whip.
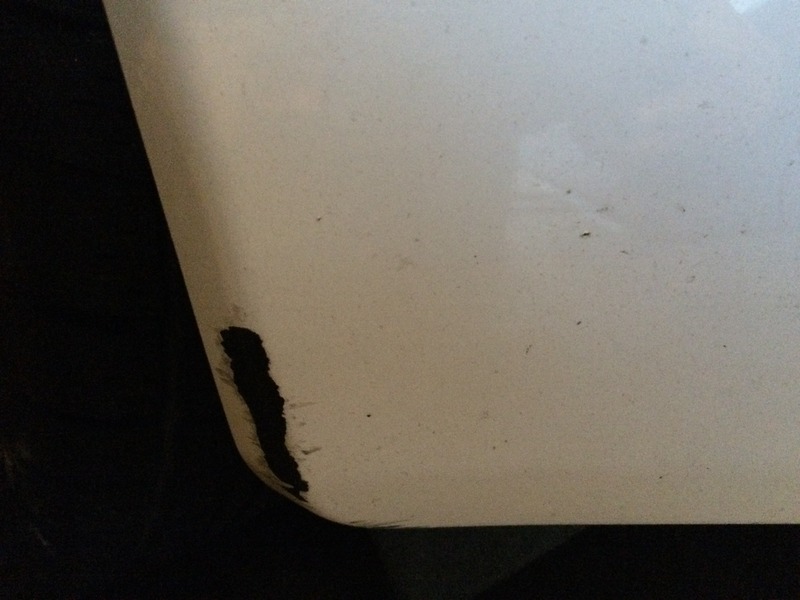
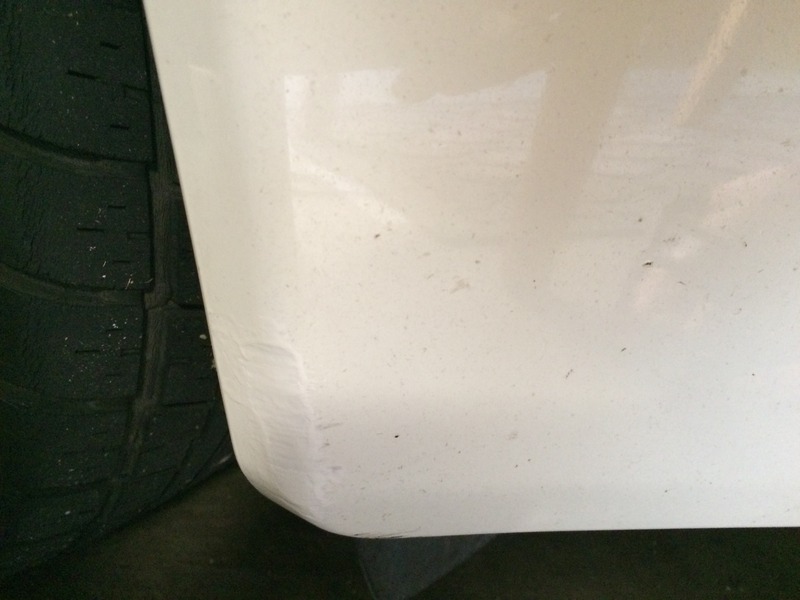
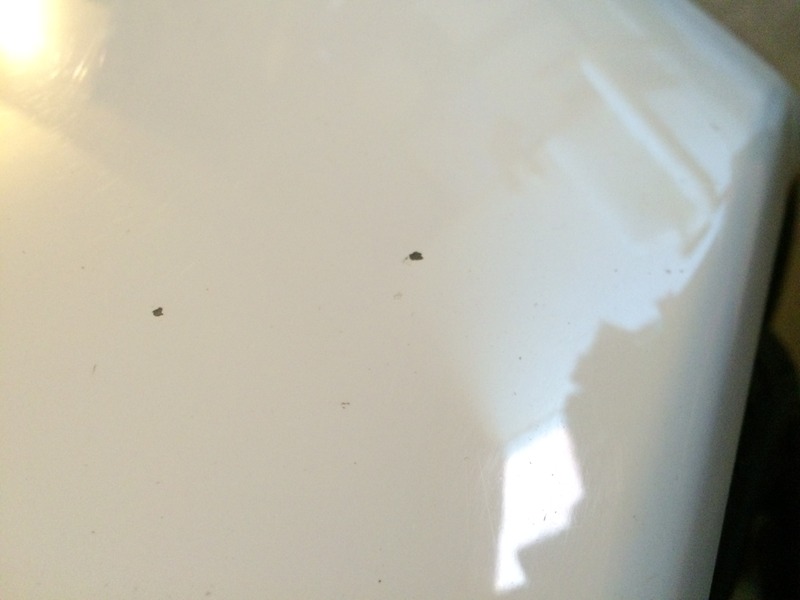

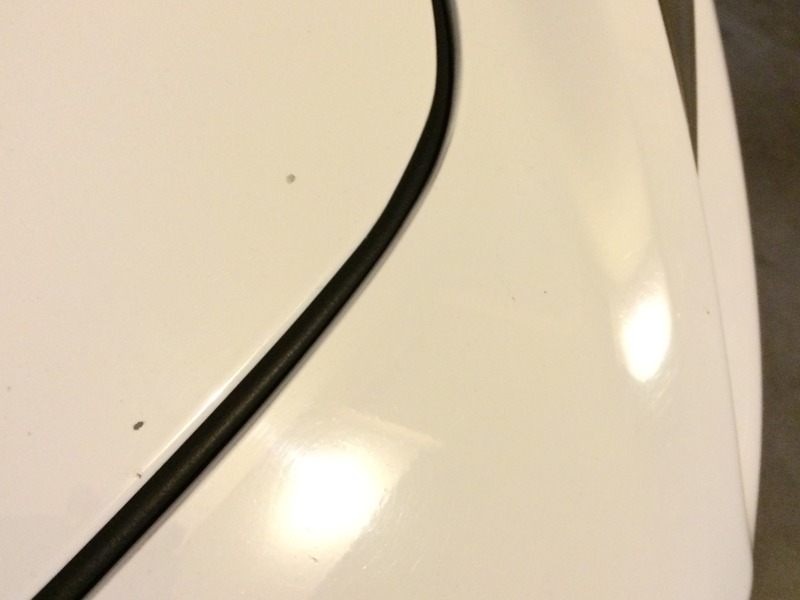
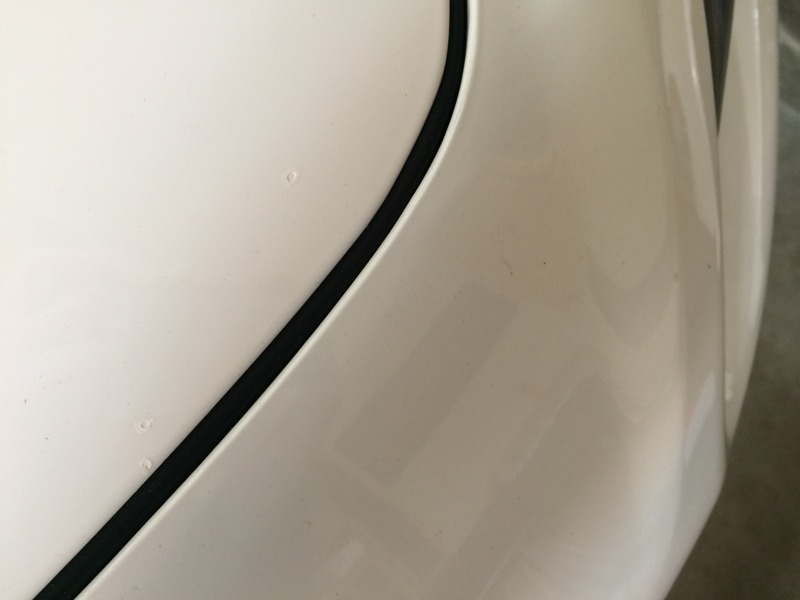
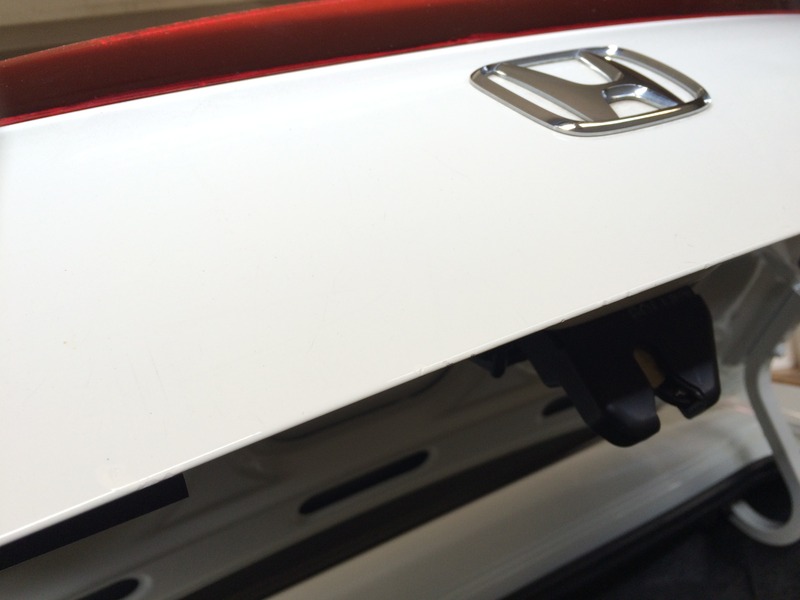
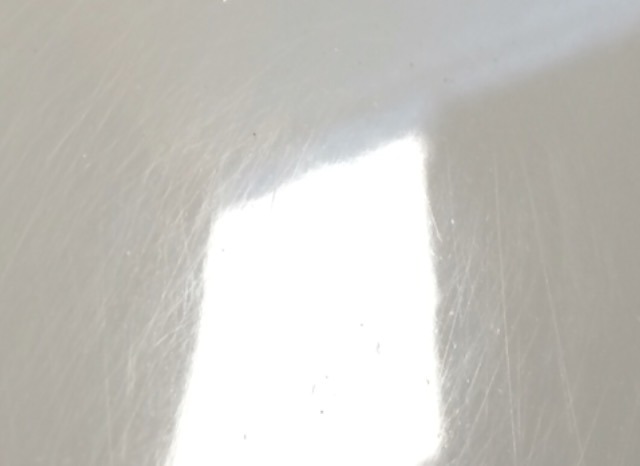
Here’s my current paint (pretty much the same throughout car). It’s decent (it appears to have been garaged it’s entire life), not too many chips at all (esp comapred to others I’ve seen) and the clear coat still looks good. But, def has light scratches and swirl marks throughout. I now plan to do a good paint-correction with a DA polisher (planning to get a Griot’s Garage DA polisher) and some Optimum Hyper Compound and Hyper Polish. Maybe some Opti-Coat to seal it, protect it and make it last even longer. Should bring it back to life and make it look (close to) new.
Got some toys from HandA - MTF, fill/drain washer for the engine, trans and diff, some oil filters and some touch-up paint. Also got a 23mm wrench (for the diff fill bolt) and a valve adj tool.


Excited receiving these new little toys..I quickly proceeded to use one of them - the touch-up paint.

Here’s some before&after shots of a few examples of the chips I have on my whip.


Here’s my current paint (pretty much the same throughout car). It’s decent (it appears to have been garaged it’s entire life), not too many chips at all (esp comapred to others I’ve seen) and the clear coat still looks good. But, def has light scratches and swirl marks throughout. I now plan to do a good paint-correction with a DA polisher (planning to get a Griot’s Garage DA polisher) and some Optimum Hyper Compound and Hyper Polish. Maybe some Opti-Coat to seal it, protect it and make it last even longer. Should bring it back to life and make it look (close to) new.

 11-06-2015, 10:02 PM
#23
Thread Starter
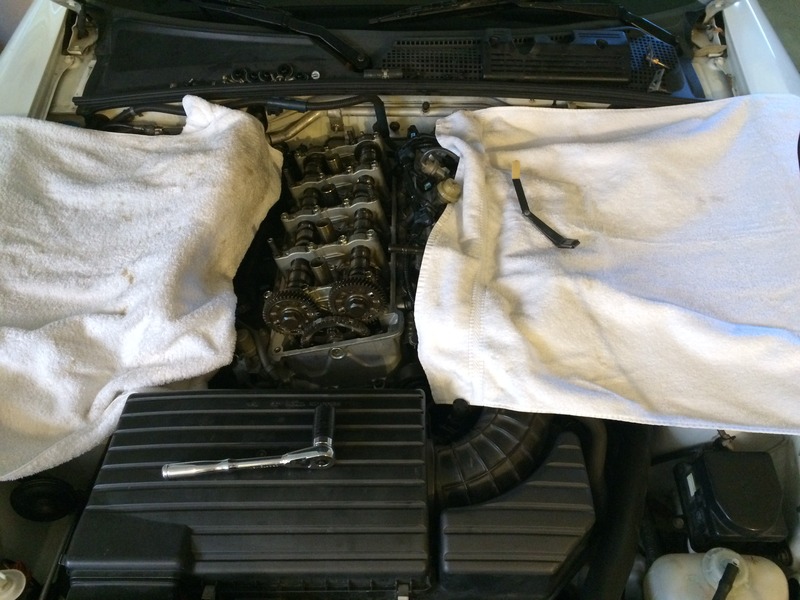
Proceeded to do a valve adjustment today. A new CDI torque wrench was supposed to come in today (according to the tracking number..it said “Delivered” too). But, UPS f’ed up and “mis-delivered” it to a complete wrong addy (first time this has happened to me in 15+ years of buying sht online. So, It is now sitting uncompleted (valves are adjusted and lock-nuts tightened..just need a torque-wrench to set the torque of the lock-nuts properly) until I get my damn package, or just rent a torque-wrench.
Been a while buddy. Haven't done a valve adj since '98 or '99.
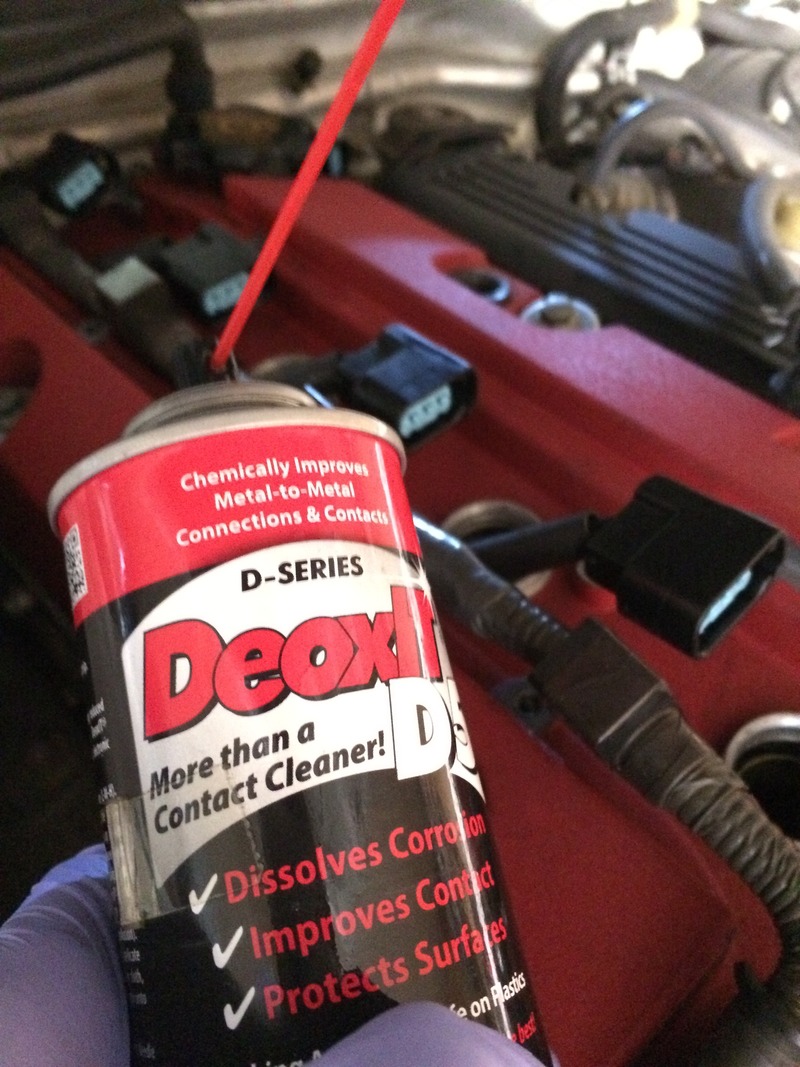
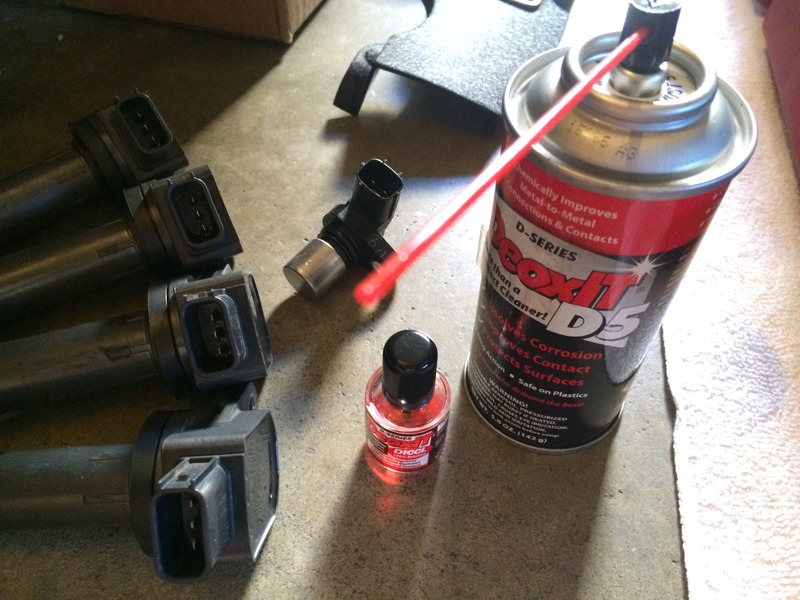
D5 spray for all female plugs/connections and D100L brush for all male pins. I did all the valve-cover tdc sensors plugs, coil pack plugs, coil-to-sparkplug connections, injector plugs, map sensor, etc. I’ve always read about people having probs with plugs (coil packs, injectors, map, etc.); but, I am betting most haven’t even checked and properly cleaned the pins for corrosion before resorting to replacing the entire plug. My advice - use some DeoxIt on the pins and plugs first; then, if the problem is still there, then replace the plugs/connectors.
What a pain. Def rusty and not used to this anymore. Took me all day. Maybe because I’m a perfectionist and re-checked lash like 5-10x per valve lol.
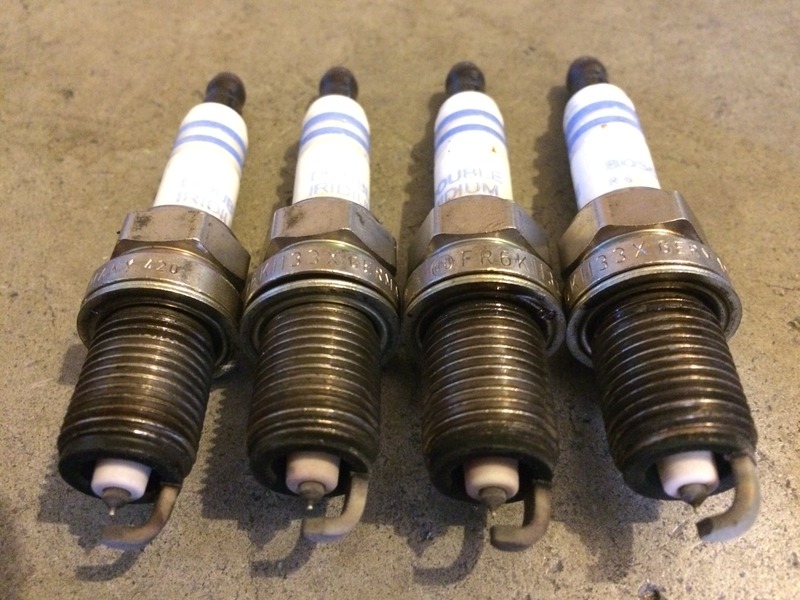
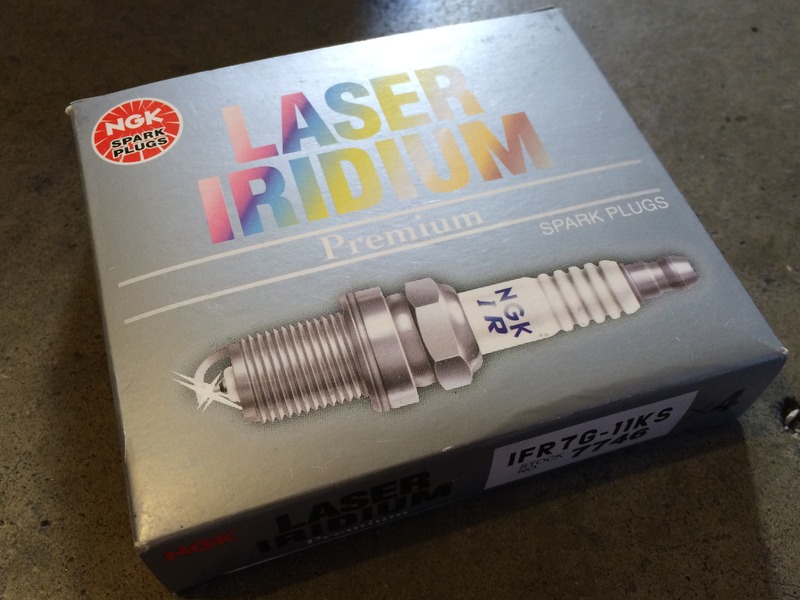
The plugs that were in there - Bosch iridium plugs. Looked relatively new, maybe 10k miles on em. I like NGK more tho. Replacing these after a compression check first, after the valve adjustment (I don’t want to keep removing and re-installing my new ones… for the crush washer’s sake).
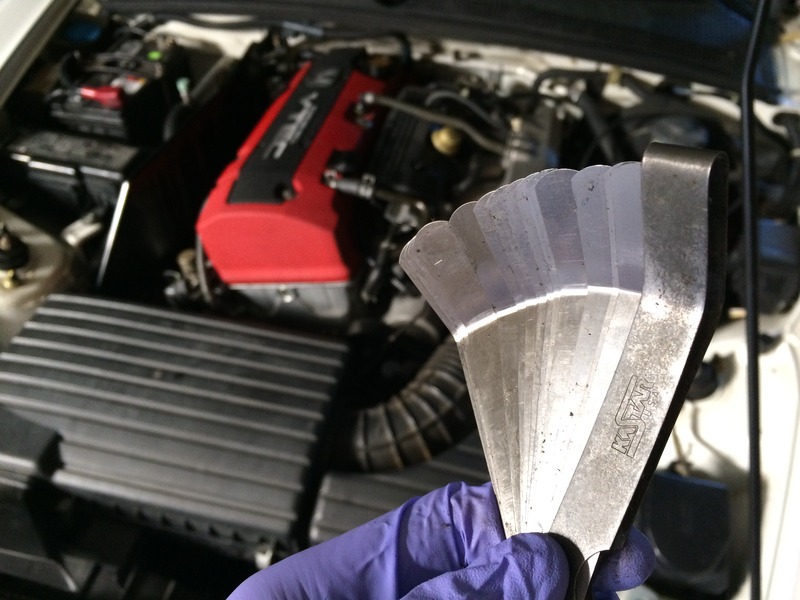
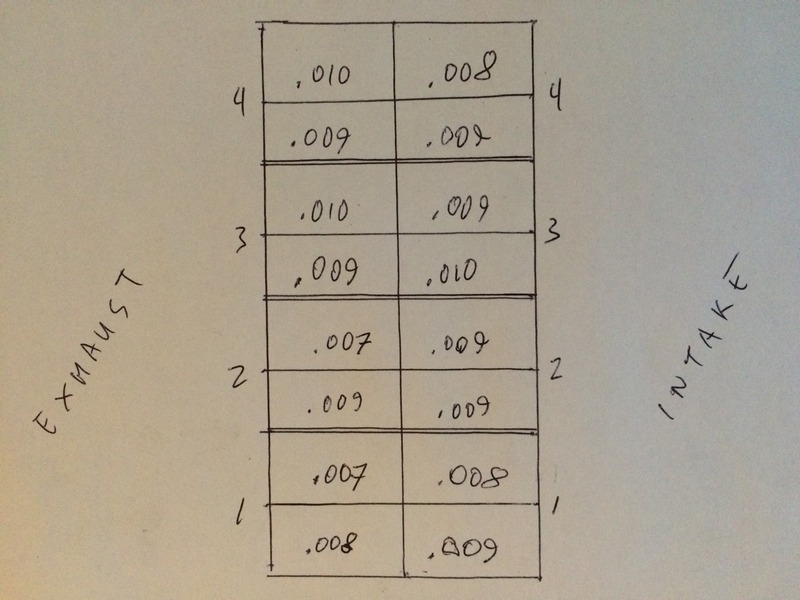
The valve-lash specs I got, from the previous owner, as-is and before doing a valve-adj. Def out-of-spec. A fresh .008intake/.010exh should make it run even nicer.
More toys in. At least these were delivered successfully to my correct addy lol. Some new NGK plugs and some Oem Honda screws, bolts, nut-clips and grommets from Majestic (my car is missing some on the rear bumper/fender and also the front license plate holder).

Been a while buddy. Haven't done a valve adj since '98 or '99.

D5 spray for all female plugs/connections and D100L brush for all male pins. I did all the valve-cover tdc sensors plugs, coil pack plugs, coil-to-sparkplug connections, injector plugs, map sensor, etc. I’ve always read about people having probs with plugs (coil packs, injectors, map, etc.); but, I am betting most haven’t even checked and properly cleaned the pins for corrosion before resorting to replacing the entire plug. My advice - use some DeoxIt on the pins and plugs first; then, if the problem is still there, then replace the plugs/connectors.


What a pain. Def rusty and not used to this anymore. Took me all day. Maybe because I’m a perfectionist and re-checked lash like 5-10x per valve lol.

The plugs that were in there - Bosch iridium plugs. Looked relatively new, maybe 10k miles on em. I like NGK more tho. Replacing these after a compression check first, after the valve adjustment (I don’t want to keep removing and re-installing my new ones… for the crush washer’s sake).

The valve-lash specs I got, from the previous owner, as-is and before doing a valve-adj. Def out-of-spec. A fresh .008intake/.010exh should make it run even nicer.

More toys in. At least these were delivered successfully to my correct addy lol. Some new NGK plugs and some Oem Honda screws, bolts, nut-clips and grommets from Majestic (my car is missing some on the rear bumper/fender and also the front license plate holder).

 11-07-2015, 06:27 PM
#24

All assembled and ready to go back in. I use Deoxit for protection, lubrication, improved electrical contact and extra corrosion removal and resistance. (Deoxit is very popular within the music production and analog audio engineering industry).
Sounds like products made by a company called LAST, from back in the 70's-90's that I used to use in my analogue audio equipment. http://thelastfactory.com
Going to a stiffer front bar, softer rear, and the CR shocks/springs (or Swift) will literally transform the handling of the car. I mean transform. Best mod I ever did. Period.
Gotta have good tires as well of course.
Also, for your paint, you can't beat this:
https://www.drcolorchip.com
11-08-2015, 11:30 AM
#25
Thread Starter
Sounds like products made by a company called LAST, from back in the 70's-90's that I used to use in my analogue audio [/size][/color][/font]equipment. http://thelastfactory.com
Going to a stiffer front bar, softer rear, and the CR shocks/springs (or Swift) will literally transform the handling of the car. I mean transform. Best mod I ever did. Period.
Gotta have good tires as well of course.
Also, for your paint, you can't beat this:
https://www.drcolorchip.com
Going to a stiffer front bar, softer rear, and the CR shocks/springs (or Swift) will literally transform the handling of the car. I mean transform. Best mod I ever did. Period.
Gotta have good tires as well of course.
Also, for your paint, you can't beat this:
https://www.drcolorchip.com
Cool..I look fwd to swapping sway bars. I remember they made big differences in my modded cars back in the day. I dig a slightly rear traction bias for Rwd

Ah yeah...I've read a lot of good things bout Dr Colorchip. I regret not getting it. The standard touch-up paint I used, resulted in the usual "over-drips" that are bigger than the chips themselves. Oh well..not too bad though and better than nothing I guess.
11-08-2015, 11:55 AM
#26
Thread Starter
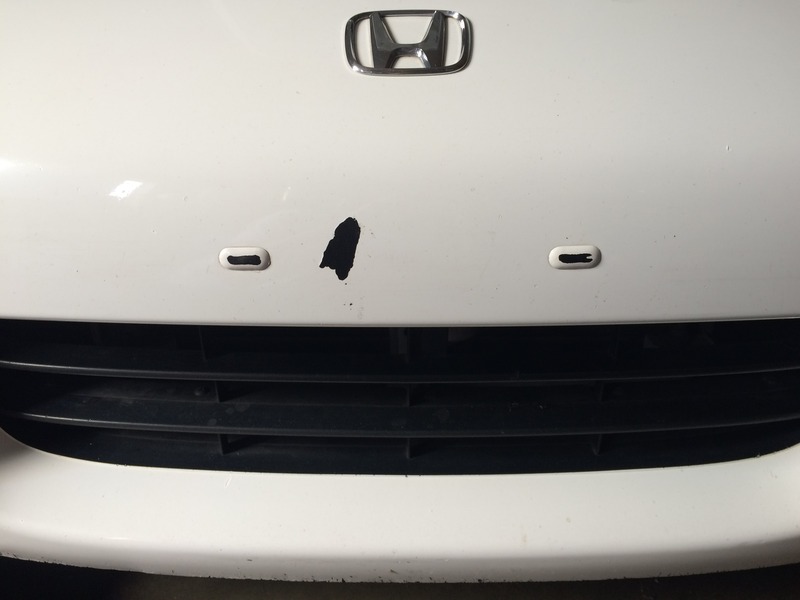
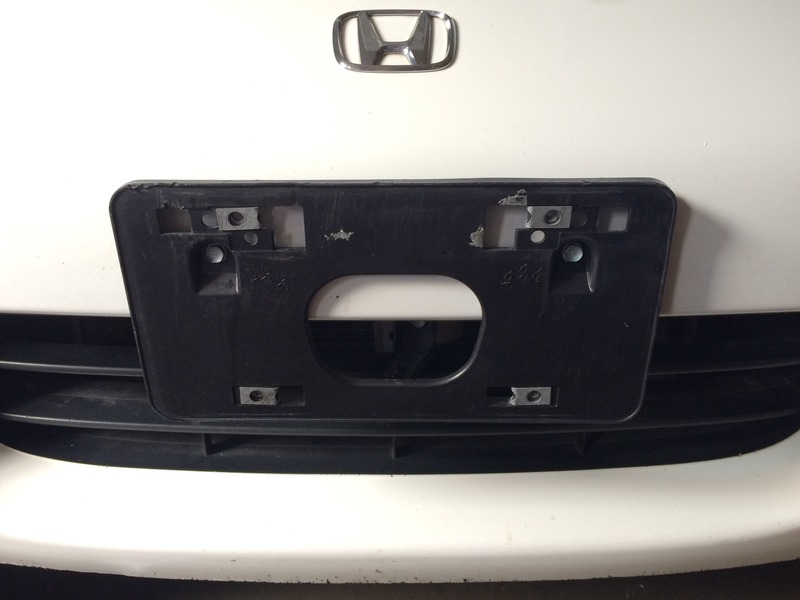
Installed the used front license plate holder I got with some new bolts from Majestic. Very well needed to hide that huge peeling paint chip on my front bumper, as well as to avoid Hitler’s SS henchmen.
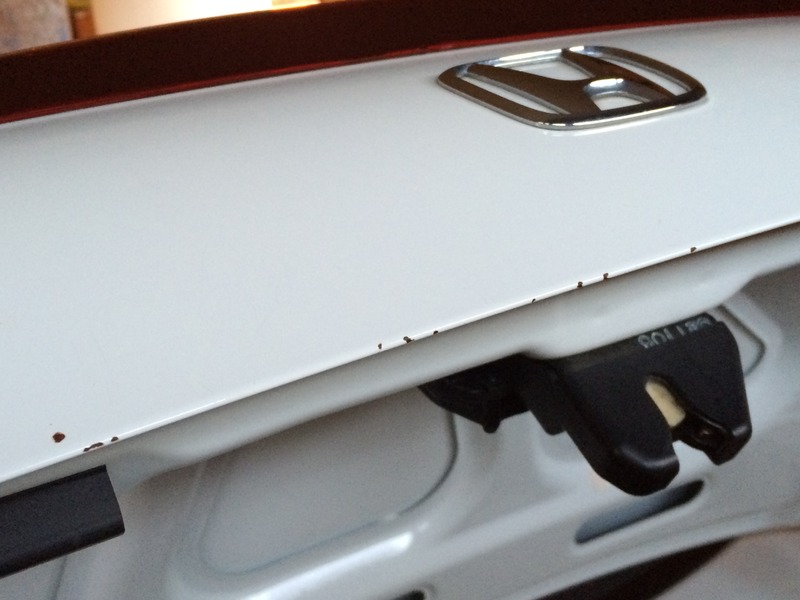
Also drilled a hole on the rear Ap2 bumper, for the lower bumper tab (missing on both sides). The shop that painted/installed it did a great job with paint; but forgot to install/drill the lower tab screws. The other side is also missing the upper tab screw. I replaced all the grommets and screws with fresh new oem stuff.
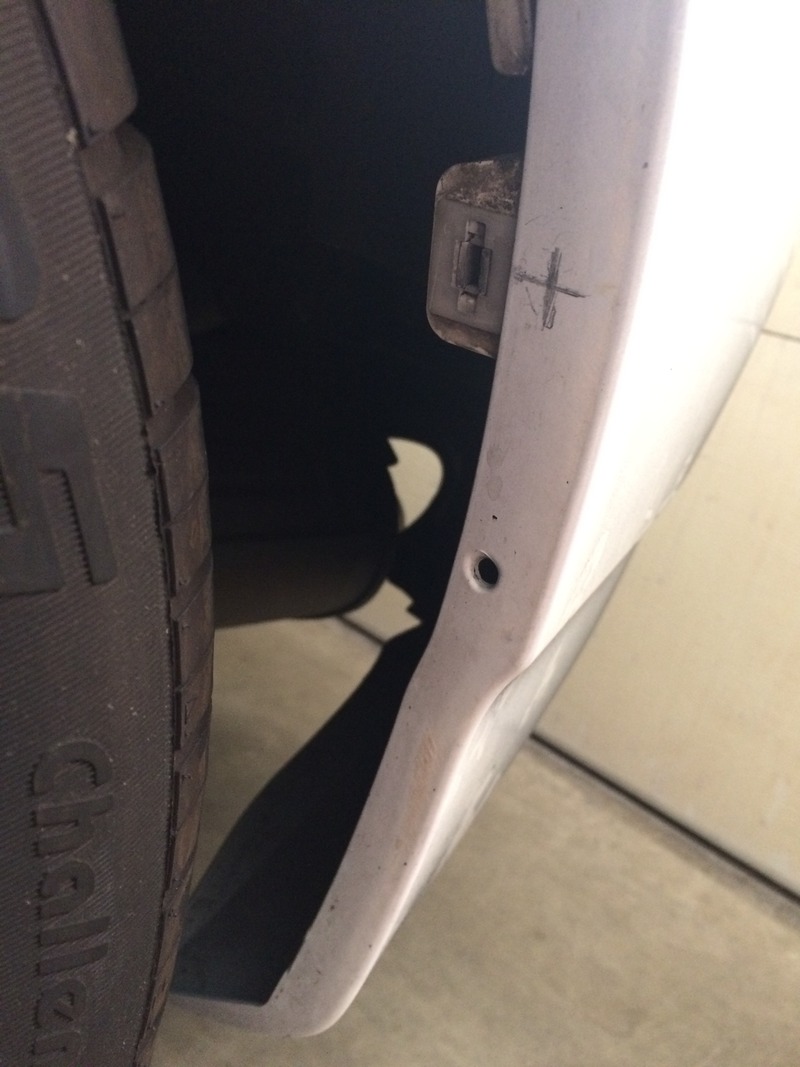
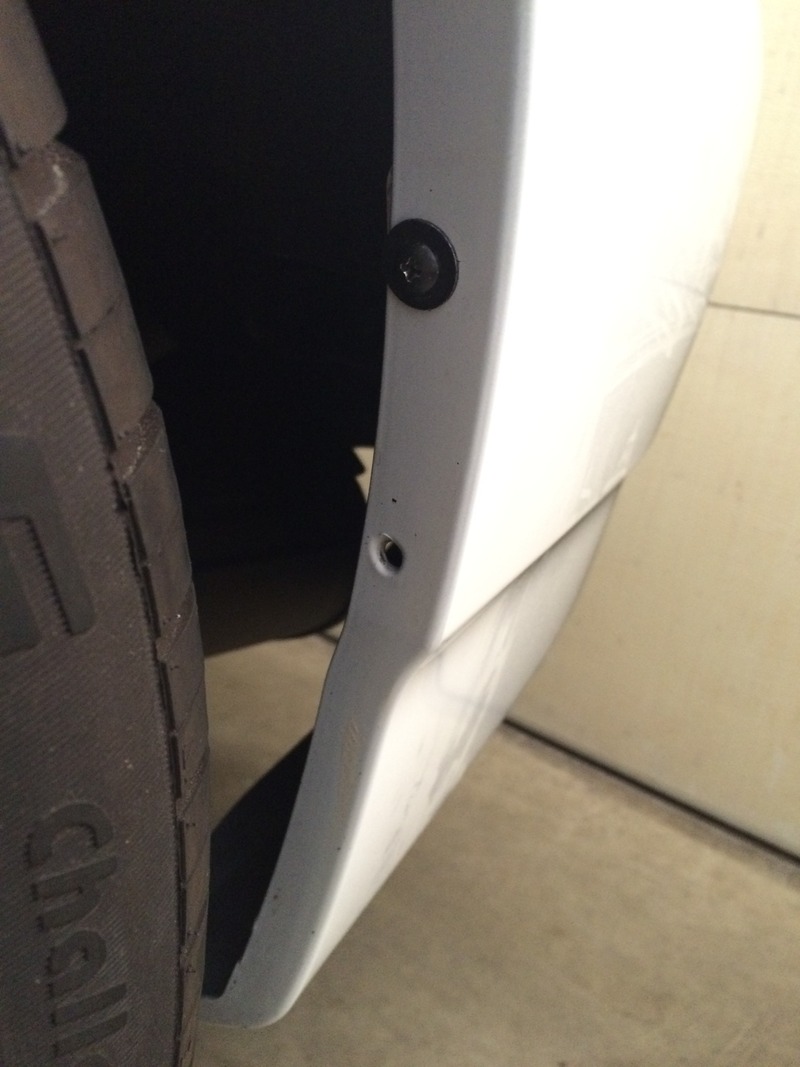


Also drilled a hole on the rear Ap2 bumper, for the lower bumper tab (missing on both sides). The shop that painted/installed it did a great job with paint; but forgot to install/drill the lower tab screws. The other side is also missing the upper tab screw. I replaced all the grommets and screws with fresh new oem stuff.

 11-09-2015, 02:35 PM
#27


Originally Posted by Jah2000
It's basically just a regular 3.5mm/mini-jack connection for the audio and the Lightning/iPhone connector is merely just for charging. Yes, you have to control music through/inside your iPhone still. Yes, plug-n-play. Pretty basic and feature-less really. But, at least it connects and plays music well, without using super low-quality connection methods (eg: tape-adapter or FM). I'm not sure; but, since the S2000 deck is old already, I doubt there will be any type of adapter or interface that allows you to control a complex iPhone from the stock 10+ yo deck. $25 shipped on ebay.
11-09-2015, 08:13 PM
#29
Thread Starter
Actually, mine seems to be worse now (or maybe I just noticed it now) - whenever I plug in the Lightning/charger connector, it makes the radio sound like super crap with buzzing, noise, fuzz and static (so I plan to only use it as an emergency back-up charger, while I'm actually Not in the car (that's how bad the noise is when plugged in)). But, at least the 3.5mm jack works well and sounds good by itself (no lightning plug connected).
11-10-2015, 11:51 AM
#30
Thread Starter
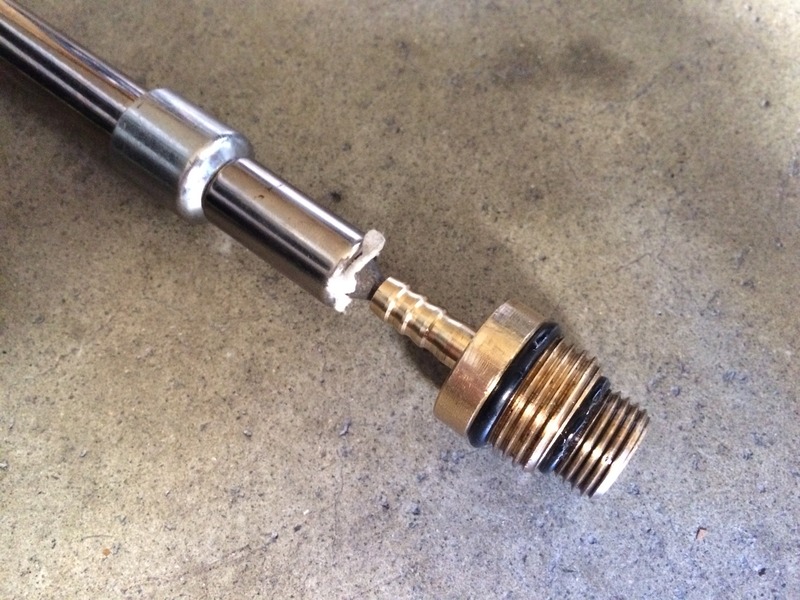
Attempted to do a compression check with a Poop Boys rental unit. 1st cylinder, it got stuck. I didn’t even put it on there tight - just hand-tight and 7-9ftlbs by my “hand feel” estimate. Looked online for tips to get it out and there were a couple good ones - eg: screw out while it’s still compressed, jam a screw driver in there, loctite on adapter, screw extractor, etc.
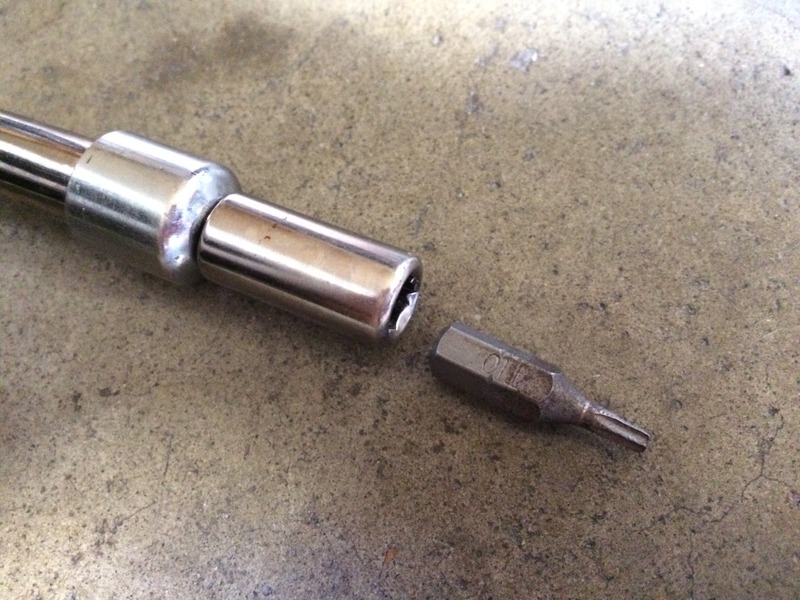
I tried the “screw out while it’s still compressed” method first. And, it came out. But only the tube came out, leaving the screw/adapter metal end stuck in the head. A bit freaked out..I then tried looking for needle nose pliers or a screwdriver that I can maybe jam into the little hole; but none of mine were long enough while at the same time having a small/skinny enough tip. Then I ran into my torx bits while hunting for something and they looked to be the right size (and also able to be put on a socket extension for length).
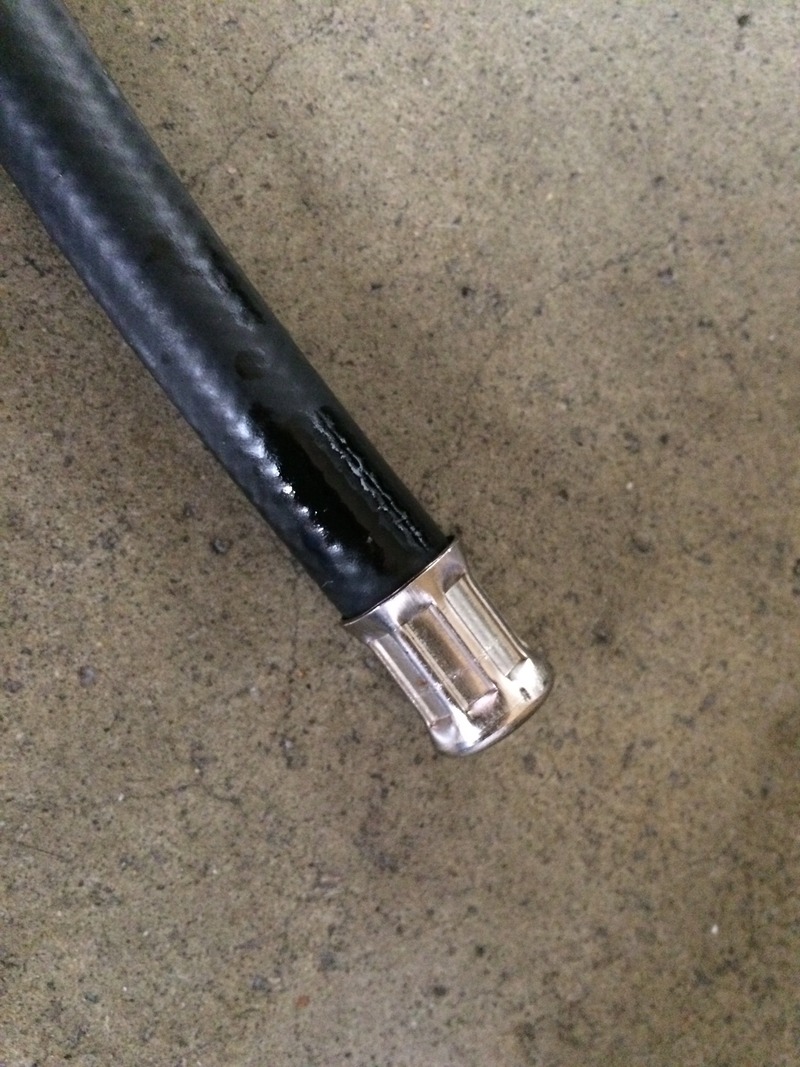
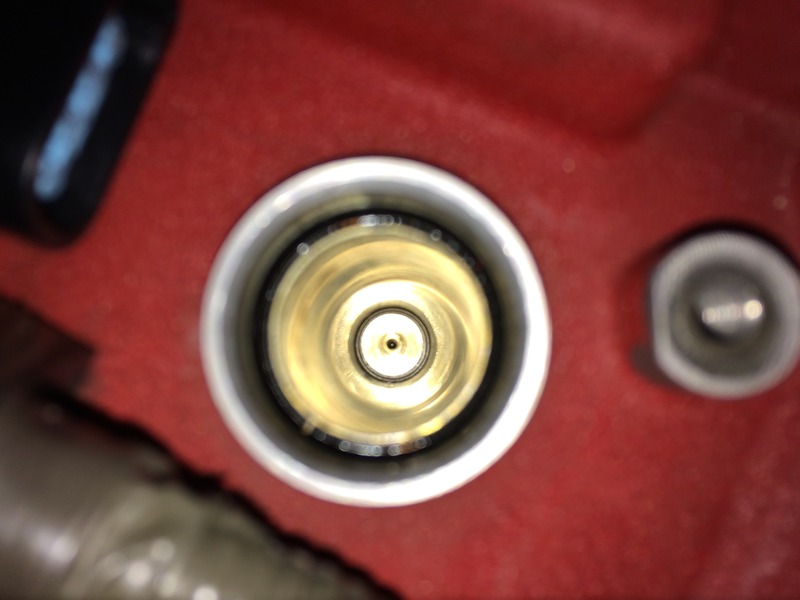
I used a T10 on the end of my extension and slightly tapped/jammed it into the little hole with a hammer (though a T15 would work too..but it would be much tighter and more hammer action needed. It came out with ease (of course…since it was only on there lightly hand tight). The T10 worked perfectly!
Whew!
So…if anyone here ever gets one of these pep boys or autozone rental compression testers breaking on you..try a T10 or T15 torx bit
I tried the “screw out while it’s still compressed” method first. And, it came out. But only the tube came out, leaving the screw/adapter metal end stuck in the head. A bit freaked out..I then tried looking for needle nose pliers or a screwdriver that I can maybe jam into the little hole; but none of mine were long enough while at the same time having a small/skinny enough tip. Then I ran into my torx bits while hunting for something and they looked to be the right size (and also able to be put on a socket extension for length).


I used a T10 on the end of my extension and slightly tapped/jammed it into the little hole with a hammer (though a T15 would work too..but it would be much tighter and more hammer action needed. It came out with ease (of course…since it was only on there lightly hand tight). The T10 worked perfectly!


Whew!
So…if anyone here ever gets one of these pep boys or autozone rental compression testers breaking on you..try a T10 or T15 torx bit