When you click on links to various merchants on this site and make a purchase, this can result in this site earning a commission. Affiliate programs and affiliations include, but are not limited to, the eBay Partner Network.
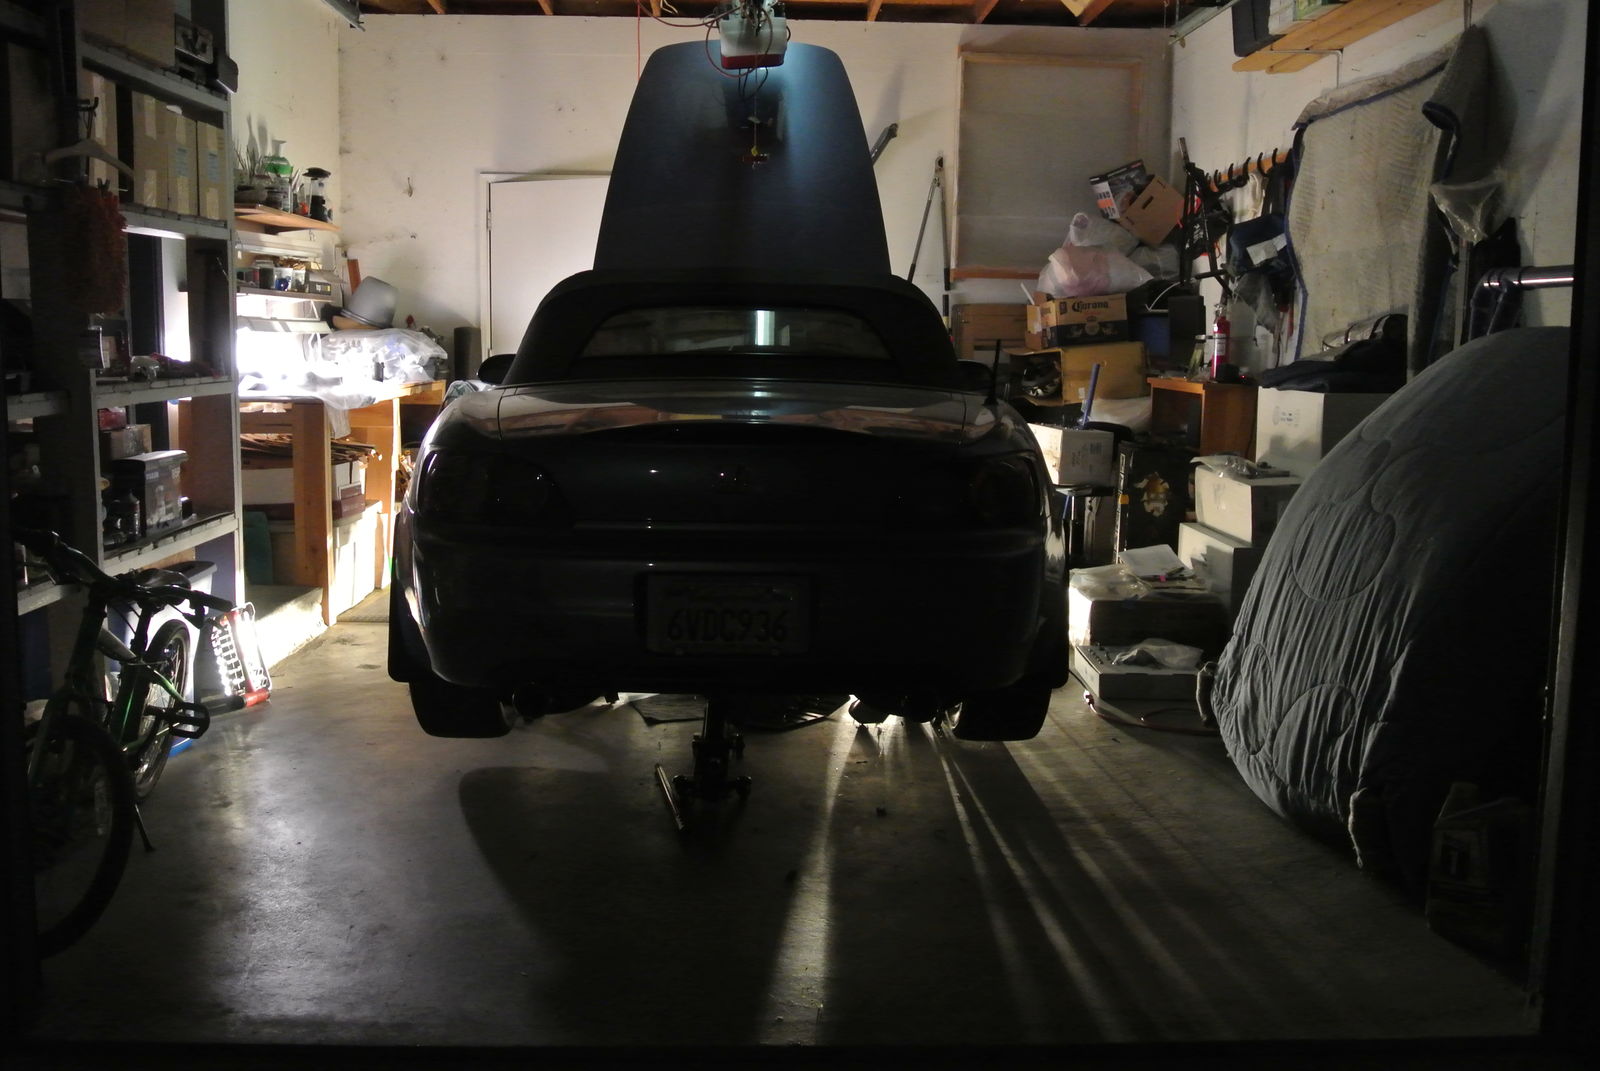
That is what my S has been doing for the last 2 months. Up on jack stands in my garage, sitting collecting dust. How did it get there? If you're interested in the back story you can start with this post. Some of you might be wondering "where have I read about this saving4one character before?" Again, if you're interested you can go here to read what I've mainly been doing with my S for the past four year's or so. And if you really like to read (at work, on the toilet, even on the toilet at work) you can check out my OHLINS post, which is the only real major mod I have done to my nameless, purchased brand new in May 2003, mostly stock, never had a mechanical issue with (until now), '03 Suzuka Blue S2000. Up to speed now? So basically I needed to remove the head from my car to have the burnt exhaust valve/seat fixed.
Well that sure made it look easy, didn't it? Don't get me wrong, it wasn't that bad of a job. I have the shop manual and I'm a fairly competent mechanic, but when you're wrenching on your most prized 4-wheel possession, you can certainly become anxious about the whole thing. In my next post I will elaborate more on this business of removing my head, which I intended to put all in this first post, but right now I hear my life calling.
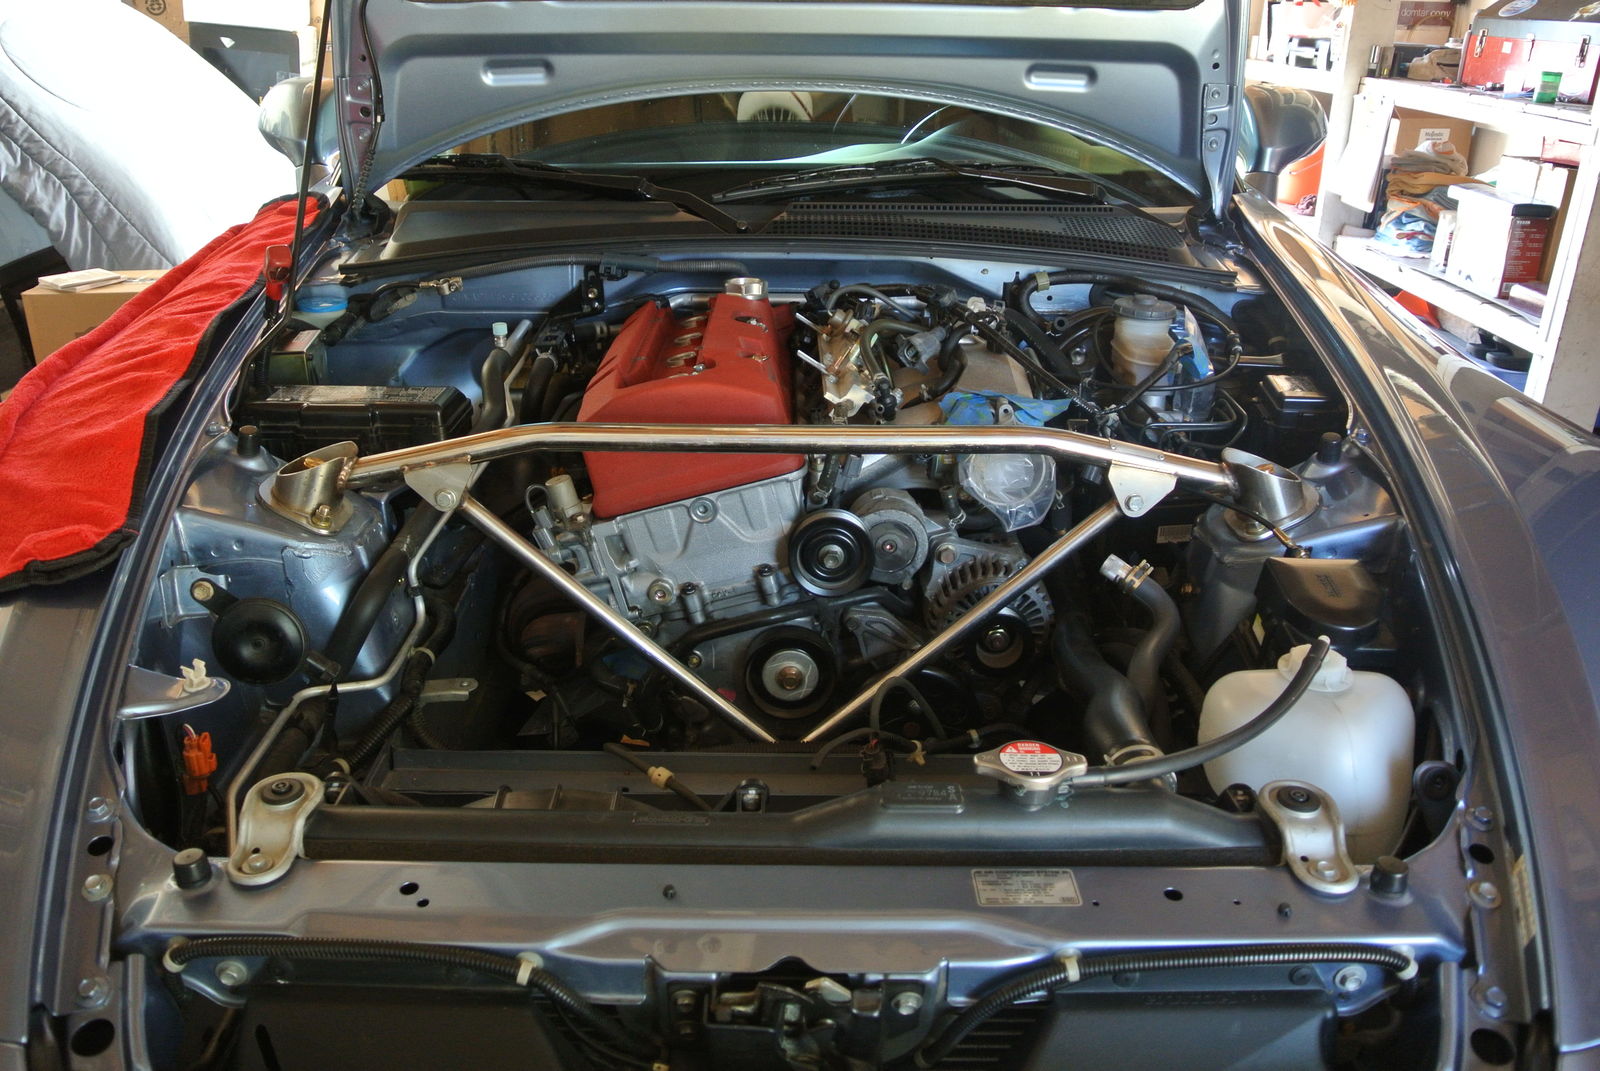
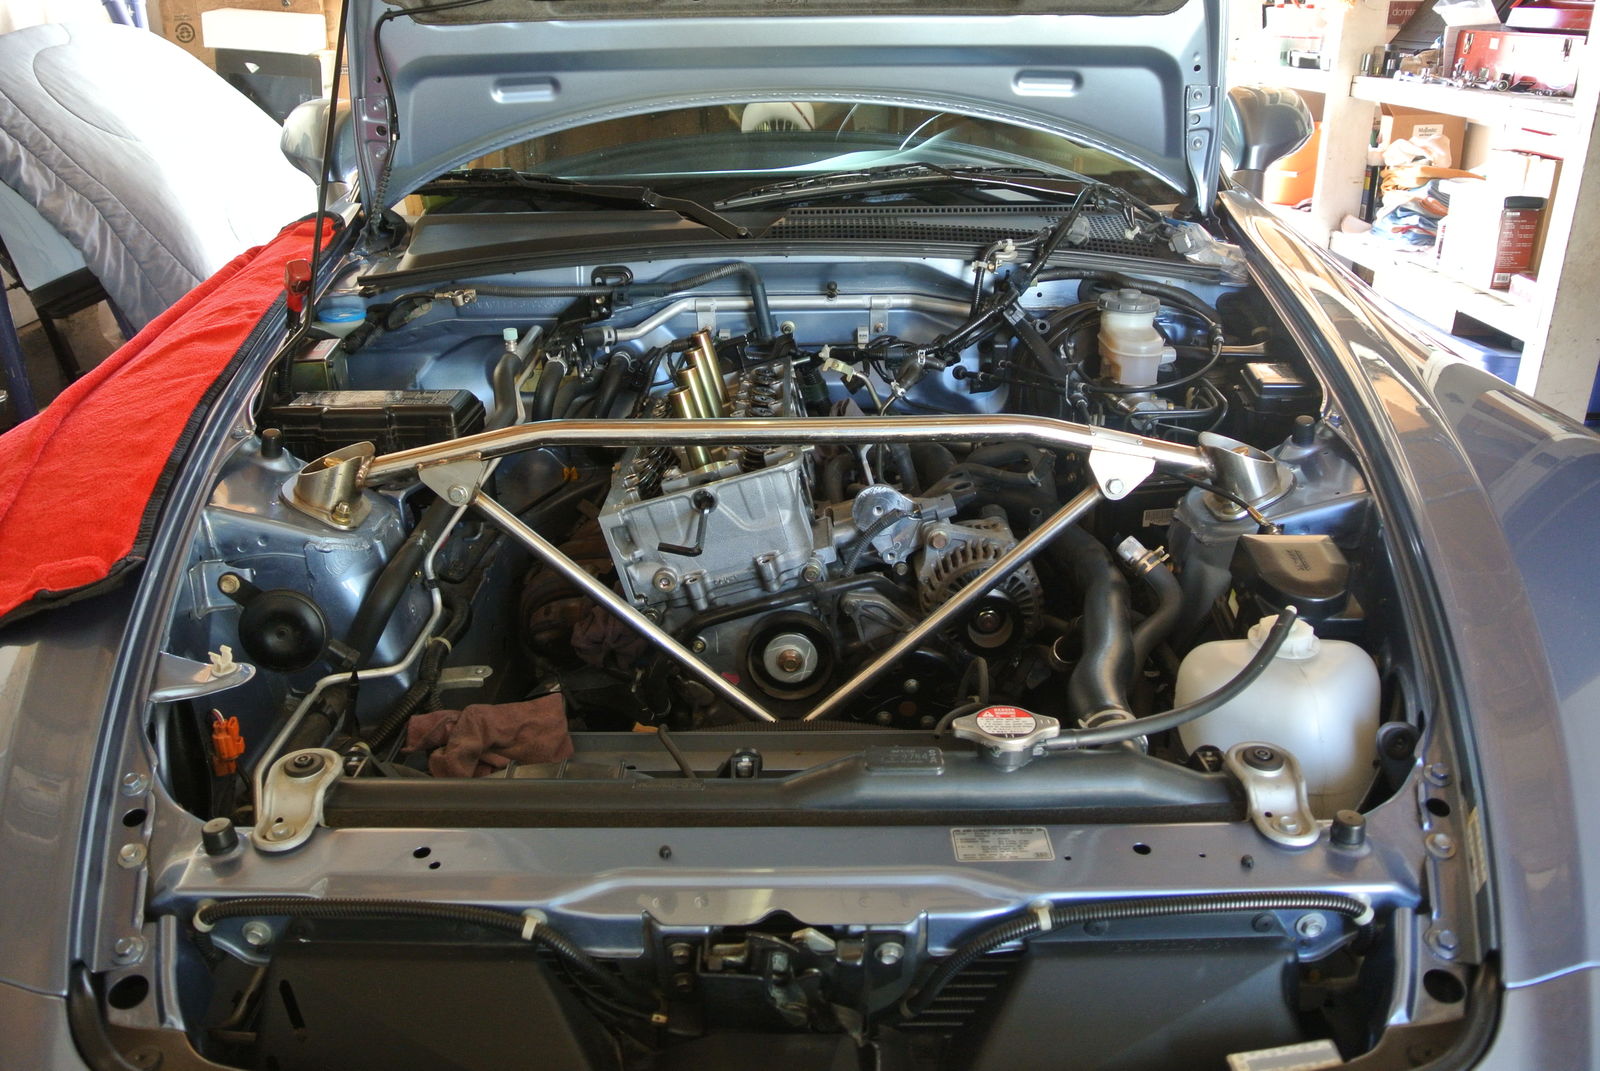
My CEL first lit up on 6/25, and I didn't get it up on jack stands to start this job until 7/27. During that almost a months worth of time, I performed several compression tests, valve lash adjustments and finally a leak down test. The whole time seeking advice from members who frequent the Under the Hood forum here on S2ki, trying to exhaust every possible fix before I actually started the job of removing my head because I knew it wasn't going to be easy. But after that leak down test, and hearing the air escaping out the exhaust side of the head, I knew I needed to get to it if I wanted to get my S up and running in tip-top shape again. So I got the car up on stands, broke out the Helms manual and got to work. First steps: disconnect and remove battery (put it on my minder), drain coolant ( I just changed my coolant at it's 10 year interval, 2 years ago, dammit) and.....here was my first headache:
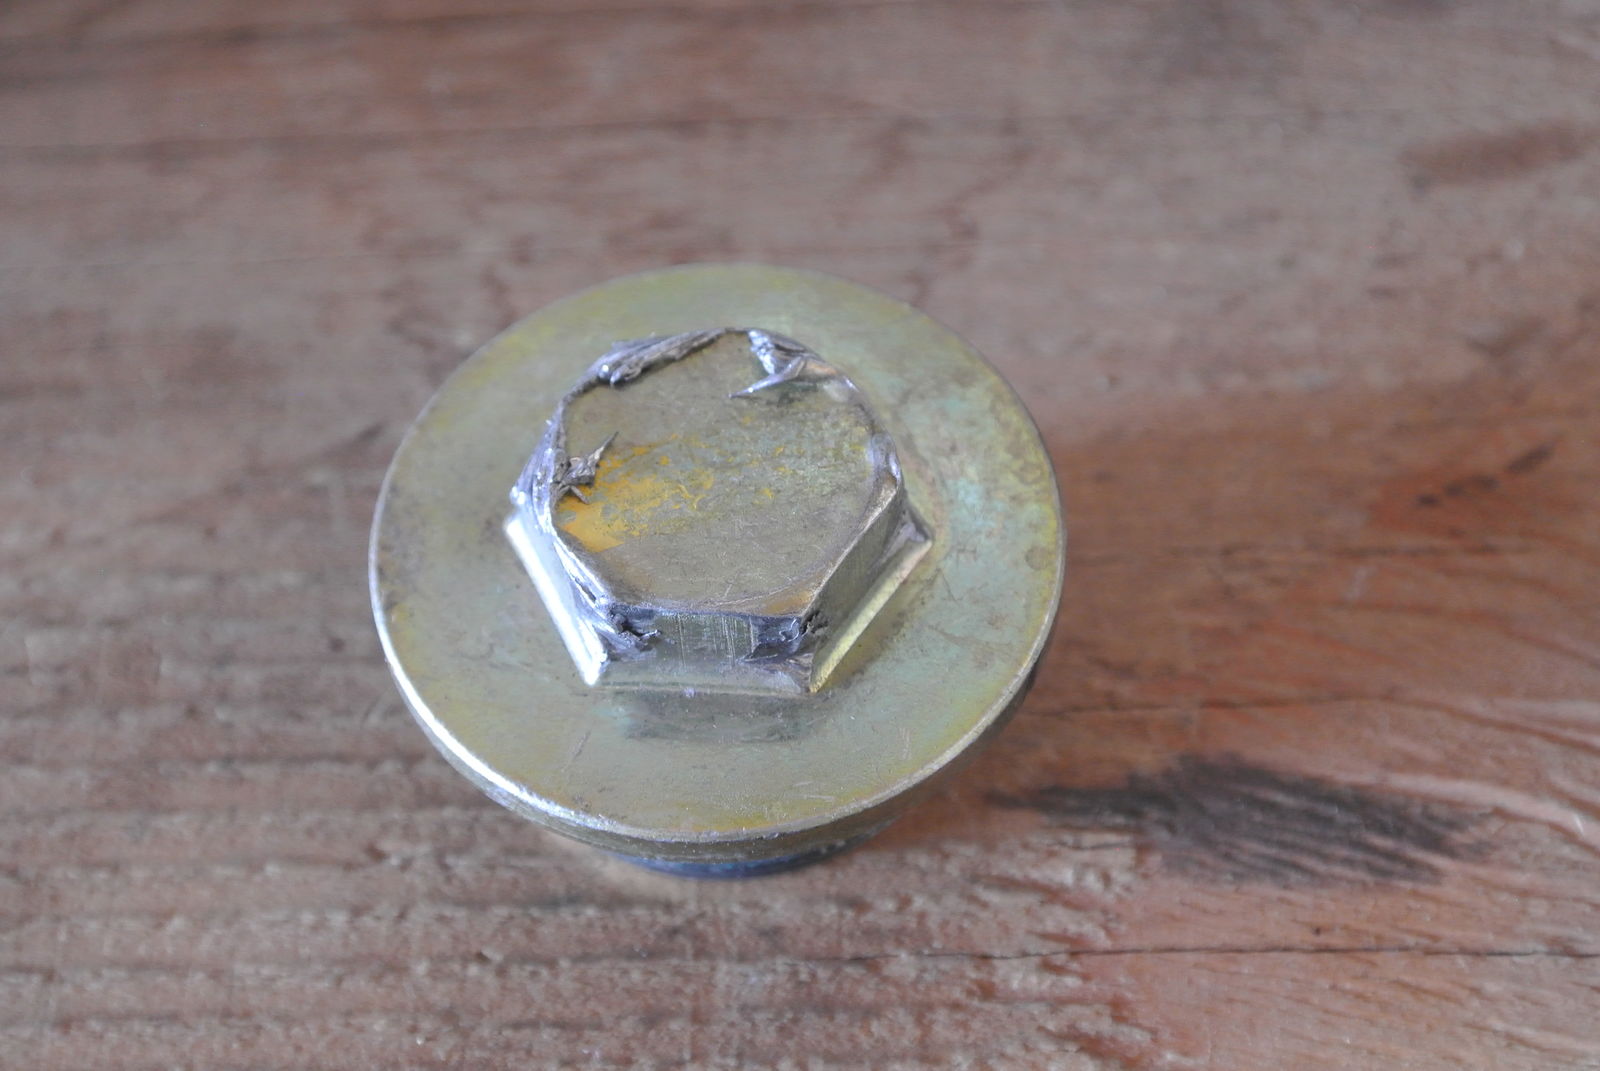
Yeah, I know that picture is after the header was unbolted but it does show the location of that coolant plug. I didn't have a problem with it at all the last time I had it out, but this time I just couldn't get the right socket or extension to fit on without slipping all the while trying to get clearance between the header and motor mount. I almost gave up because I knew I was rounding it off fairly bad, but then I tried my 19mm lug nut socket and it finally broke loose. Yup, had to buy a new one of those.
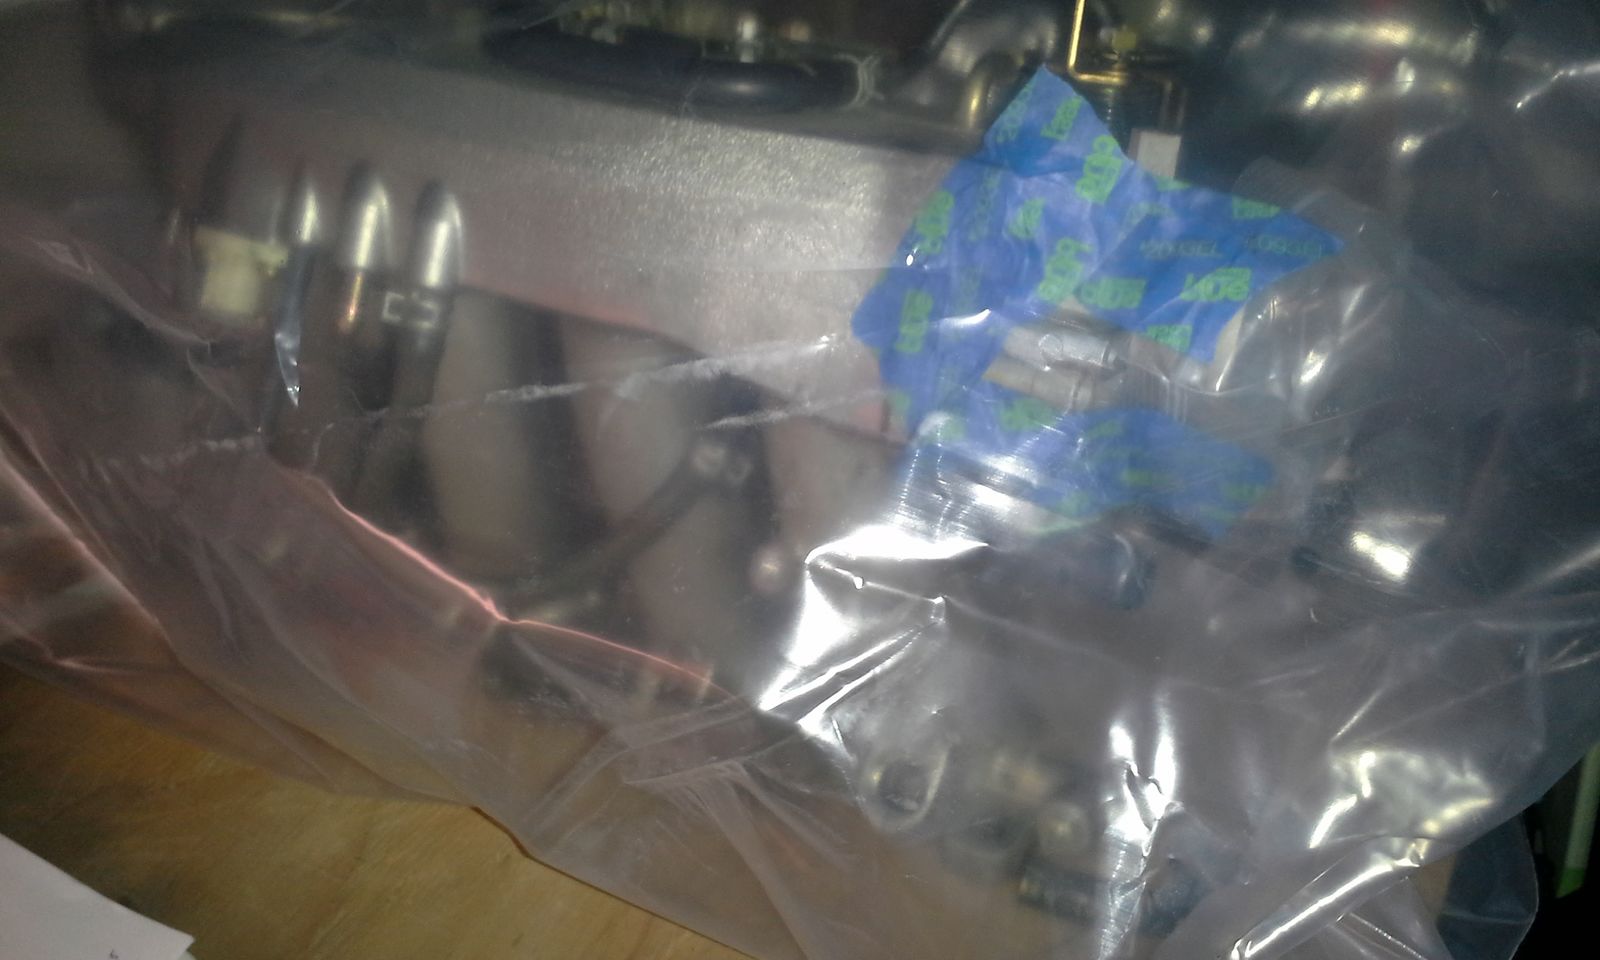
After sufficiently wrecking that coolant plug, I quickly went through the next steps, drain oil, remove air box, acc. belt, throttle cable, relieve fuel pressure, and then when I started unhooking hoses, wire harness connectors and (blind) bracket bolts on the intake manifold I started to see how this could get messy. But just as I started to realize the rats nest of stuff lurking under the intake, the service manual moved me over to the exhaust manifold. Good. All of the exhaust stuff came off easily. Even though my S spent it's first 8 years in NY, it never saw any salt. So the usual having to put heat (torch) to, or just snapping rusty fasteners off, thankfully, did not apply. And then back to the intake to finish removing it, not easy, not easy at all. I had to buy a set of universal joint sockets and extensions, in three different sizes, just to get all of the intake manifold bolts removed. PITA. Also, as with removing the head itself, the Helms manual omits some key items that logically need to be removed, for example the auto-tensioner, and fuel rail. The fuel rail just disappears from the intake drawings from one page to the next! I was pretty psyched the night I actually removed the intake manifold and bagged it up.
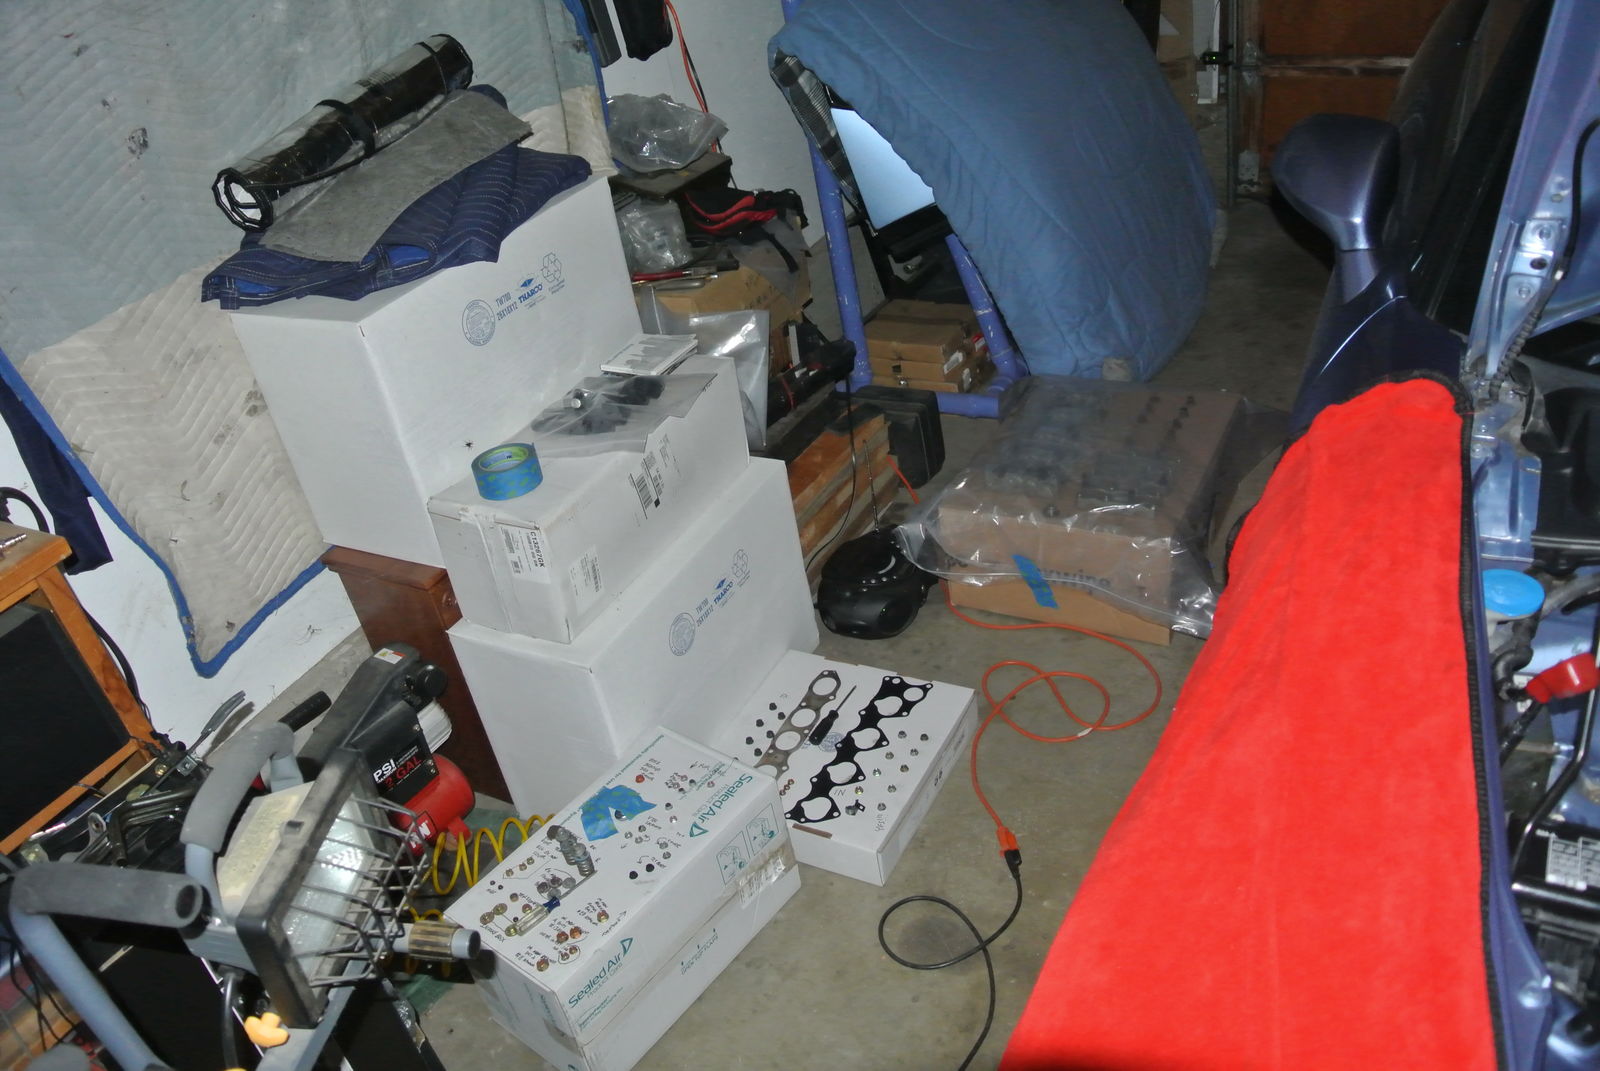
You can tell from the first picture posted in my build thread that I have a pretty small and cluttered garage, so I had to plan how I was going to store all of the parts that I was removing. Easy enough, some stuff (air box, heat shields, etc.) I bagged up and stored under the car. Luckily, my wife is letting me use her gardening bench where I can put my intake man., cams, etc. and still have a little space for my book, and a small work area for when my head is finished.
I used cardboard boxes to keep all of my fasteners organized and labeled.
Some stuff doesn't need to be labeled....just placed in the right direction. Currently, all of the head bolts, rocker arm assembly, and cam holders are cleaned and bagged, awaiting re-assembly.
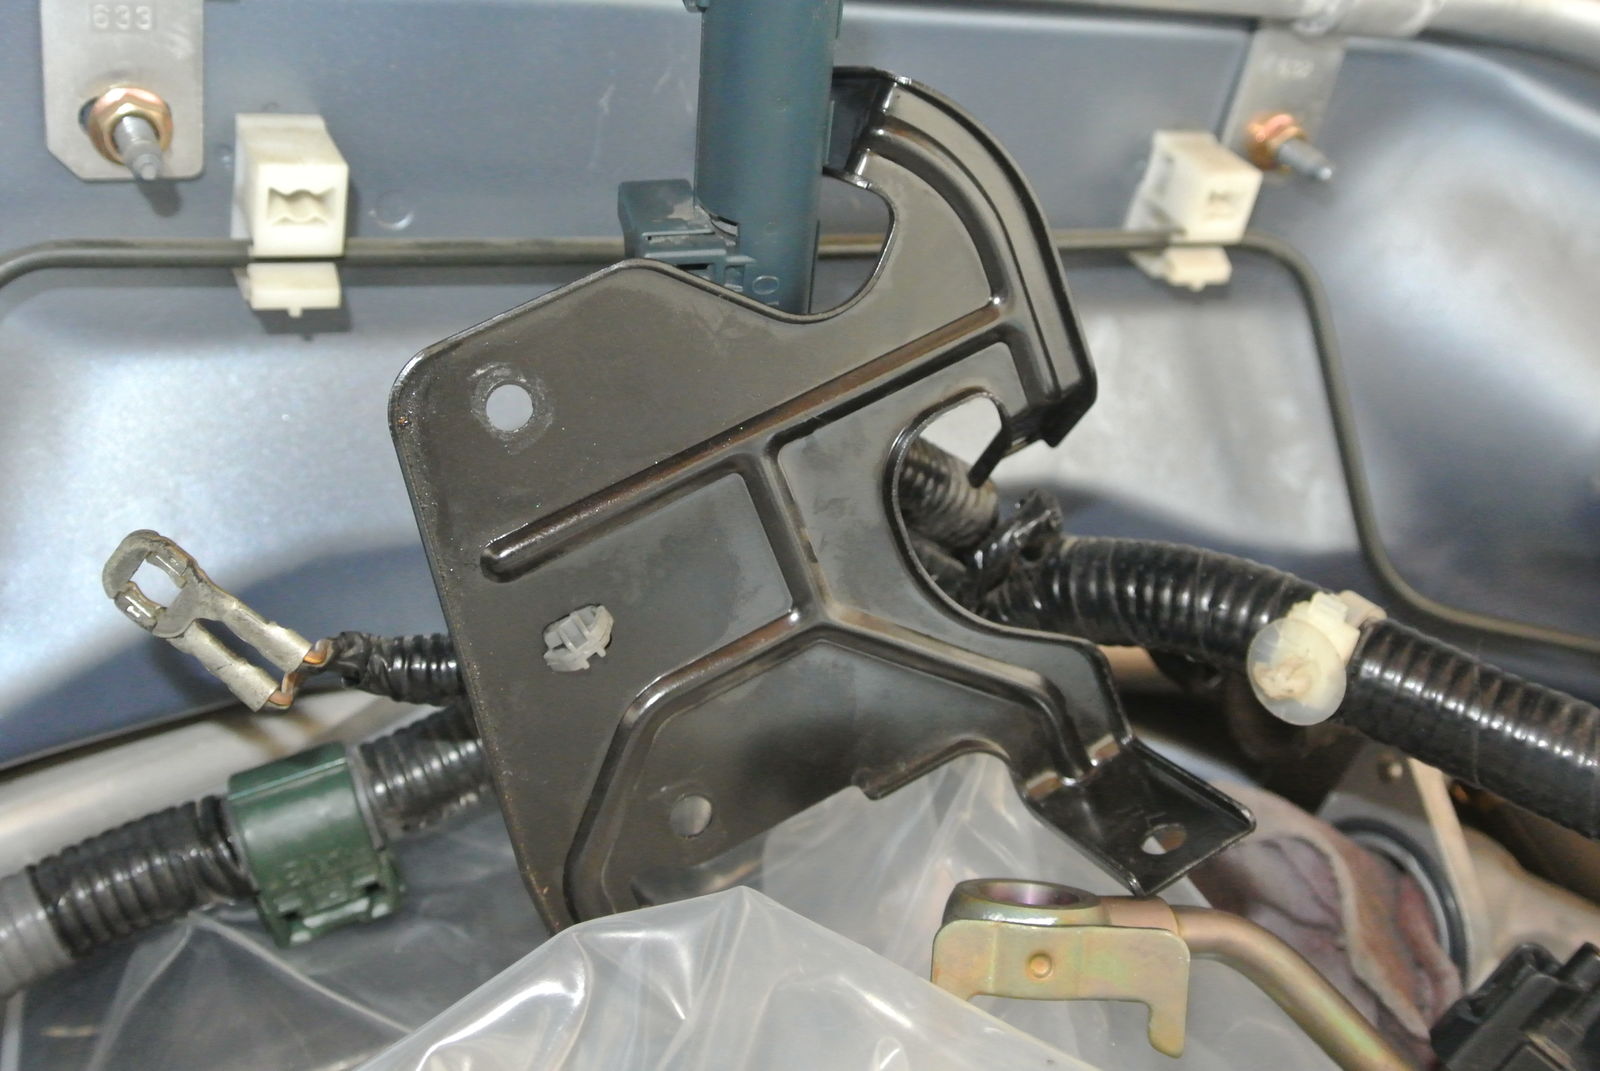
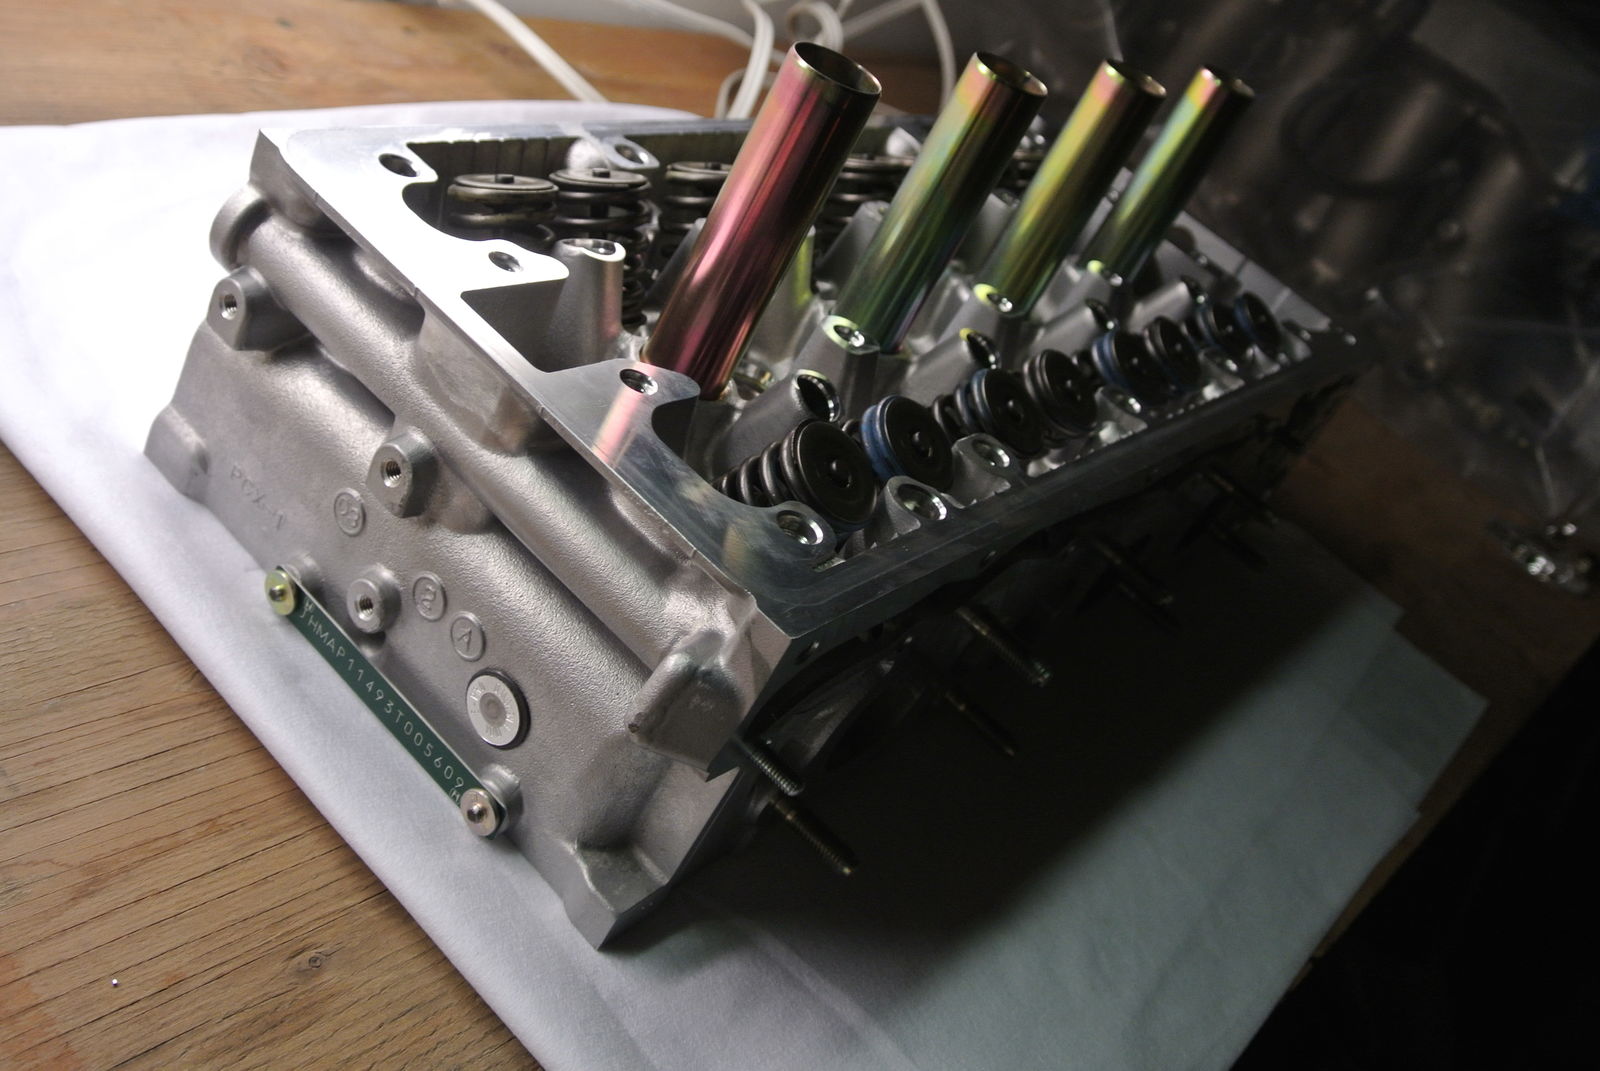
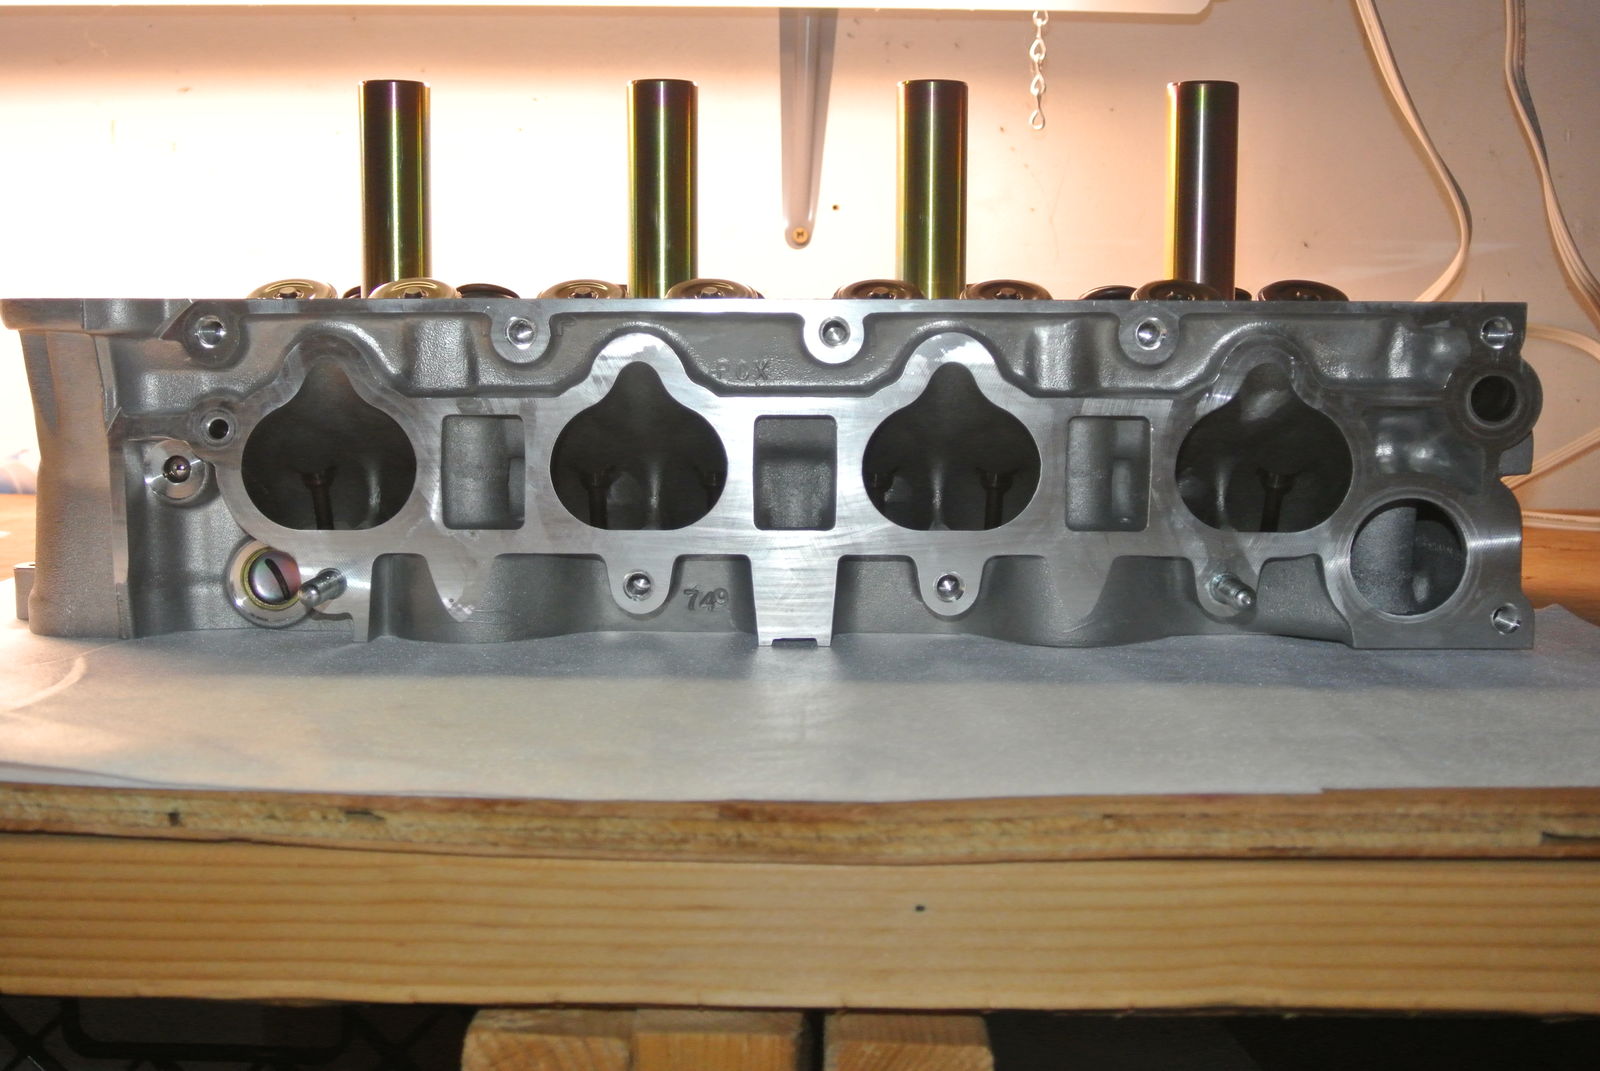
After the intake was off everything went smoothly, TCT retracted, camshaft holders, cams, timing chain sprocket (didn't drop that washer ), head bolts out and the next day I went to buy a rubber mallet so I could tap on the head to get it off. So the next day I came home from work and never even needed that mallet, all it took were a couple of pushes and pulls from the night before and it just popped off. Except for this guy:
I had unhooked the harness connectors from it, thinking I would just leave it attached to the head, not knowing there is also a ground cable attached to this bracket. The book also made no mention of such things, and as many of you know the clearance between the back of the head and firewall is very tight....So, I carefully set the head back down onto the block and went to work removing the 3 bolts attaching the bracket and ground wire....when headache #2 of this job plinked and plunked its way down somewhere into the abyss of my engine bay. Yup, I dropped that last bolt. I was pretty sure it didn't fall magically forward into the head or block, so I finished pulling the head out and got it on the bench to do a visual inspection. I had to find that bolt, I just had to, so I spent about an hour with a flashlight and magnet, above the car, below the car, above the car, below the car.....and then I did get to use that rubber mallet, to tap on this heat shield:
Figures that bolt would fall perfectly into the space between the firewall and that heat shield! I wouldn't say one in a million but maybe one in a thousand. At least it didn't fall into the header or some crazy shit like that!
Last edited by saving4one; 01-21-2021 at 10:12 AM.
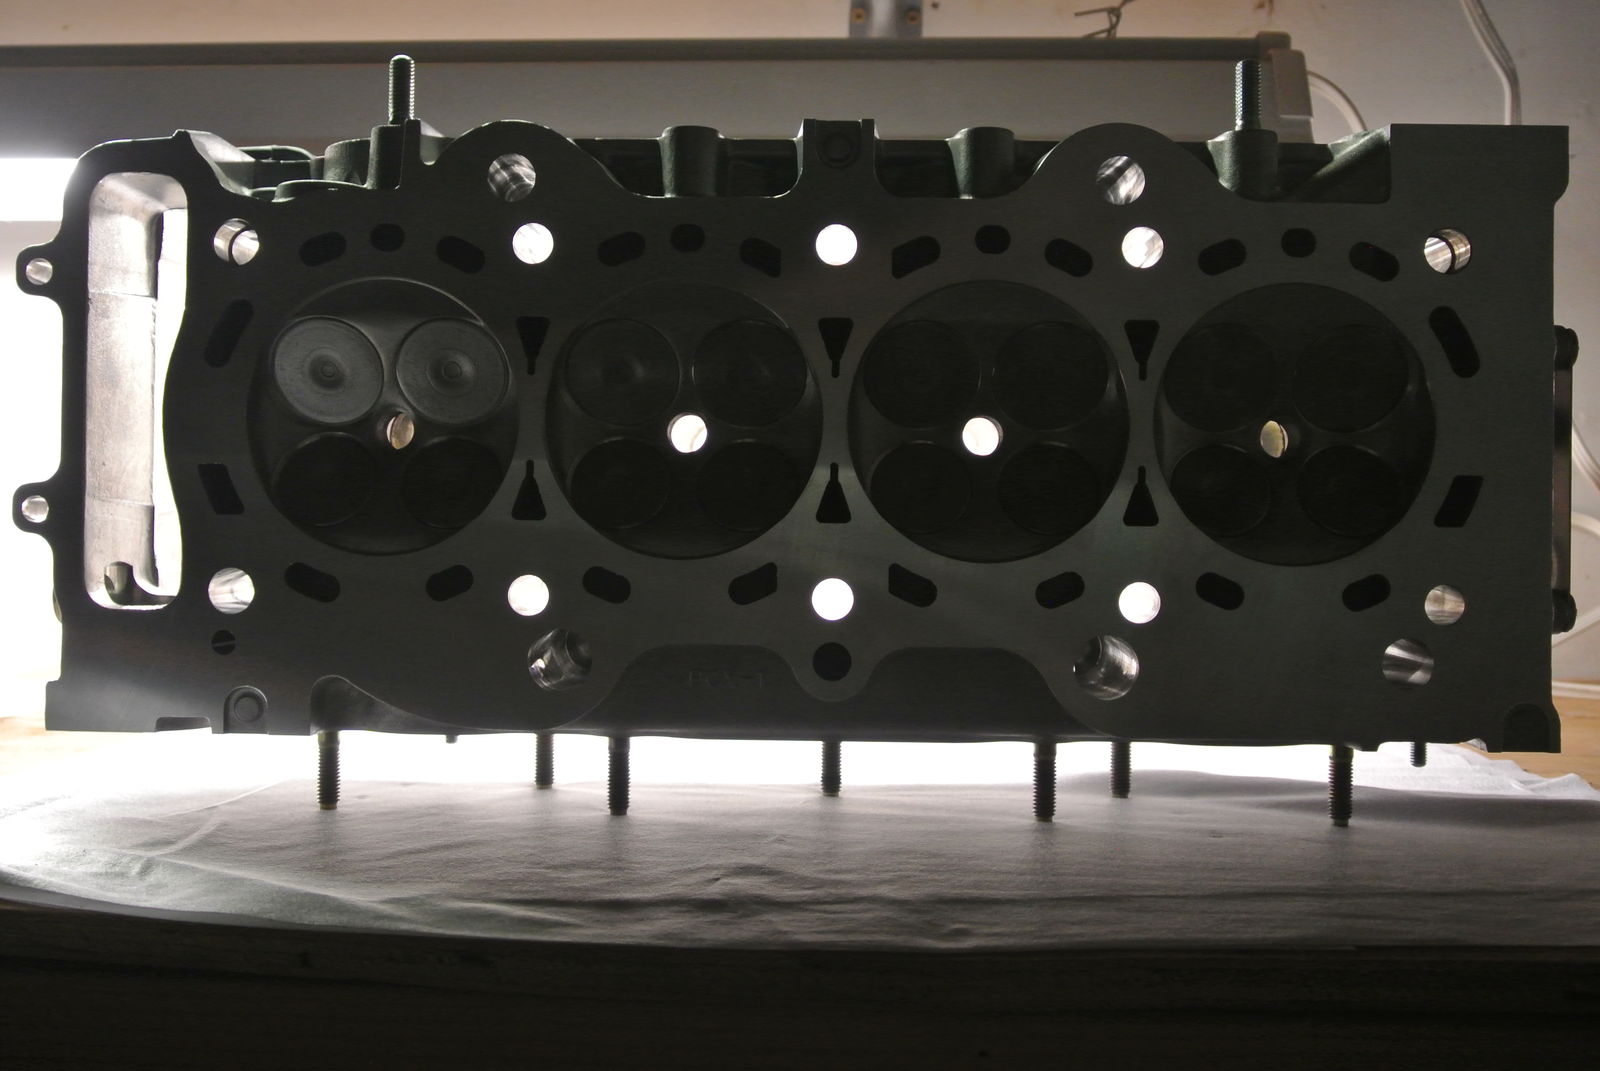
On 8/10 I took my head to a machine shop in Medford, OR, which was recommended by a Honda dealer after they told me they wouldn't touch my head. Because I had removed it myself, they couldn't work on it. If they had done all of the work ($3400) themselves they would also warranty their work. This machine shop was where the dealership farmed out much of their head-work, they did offer a warranty, they built race heads, etc. etc. I do have a couple of shops local to me but the best of the two is backed up for months and I wanted to be able to race in my sports car club's Fall Enduro in October. I thought a couple of weeks in the machine shop and I would be buttoning my S back up and living the good life.
Here is a breakdown of what I have spent so far:
Compression tester - $30
Leak Down tester - $70
Fender cover - $35
Majestic Honda OEM parts - $210
Coolant & oil - $70
Injectors - $102
Shop misc. - $60
Tools - $170
While my head was away I cleaned stuff,
measured stuff, swept the garage, read the shop manual, book-marked sections for procedures not in head removal section, cleaned some more stuff, swept the garage, received my parts in from Majestic,
decided not to change my v-tec solenoid gasket because it doesn't leak and the new one has a squished screen (sure I could re-form it, but meh),
sent my injectors out to be cleaned, swept the garage, bagged and labeled some stuff, blah, blah, blah. Machine shop owner called me on 8/29 saying my head would be done by the following week, I only had a bad exhaust seat, he'll fix that and 'valve job' whole head and all new stem seals. That week came and went, so I called on 9/8, now they've found that #1 exhaust valve guide is shot and all the rest of the ex. guides are recommended to be changed out for new.
Ugh. I never trust machine shops. Maybe with a Chevy 350 small block, but not with any modern heads. At least you have hope that they have actually seen an S2000 head before. I hope you have a good experience.
Good luck. I like reading through your stuff. This is good documentation of your rebuild as well.
I'm always saying I wish I had the mechanical know how for doign this stuff, then I realize i'm not really willing to put in the hard work to learn, nor am I willing to risk screwing up...
Thanks guys. What else can I do but wait? I forgot to mention that the shop owner told me last Friday, that it would be done this week - hello - it's Thursday and still no word. Good thing I'm not holding my breath. Below is a quote from the Misfire thread:
Originally Posted by saving4one
No I didn't see any actual measurements, that one bad guide in #1's valve wobbled quite noticeably and from there back they had progressively less play. Remember the other cylinders besides #1 all had very low leak percentages. Yes, they are going to do all of the exhaust guides. I copied all of the Helms manual valve/head instructions/specs for them and dropped them off at the shop this morning, and I left my vin and a printout of the head parts schematic from Majestic last night. Stressing that I wanted them to use all OEM parts. Not much of a warranty, I think it was a month or something, certainly have to discuss that with them again. Honda dealership wouldn't touch my head because I took it out myself. The place I went with was the only one that even offered any kind of warranty. The whole thing is pretty stressful, worrying about whether or not they are going to f-up my head
I did feel a little better about it after I talked it over with the shop owner last evening. But at the same time, I did have to call him to find out what was going on, and he said it was going to be done last week. I have a race the first weekend of October, don't know if I can get it back together by then even if he finishes it next week, as he committed to yesterday.
Still sitting in my garage collecting dust. I called the machine shop on 9/19 to see how things were going and was informed that they were waiting on parts. Parts (exhaust guides) that should be there by 9/21, to which I replied, "Oh, so I guess it won't be done this week then?" After a slight pause the shop owner said, "If we get the parts by Wednesday there's no reason why it wouldn't be done by Friday." Then he said something about (I don't recall verbatim) how it was a fairly simple job of removing the old guides, slapping in the new ones and doing a valve job, done. "I'll call you when it's finished."
I figure I don't need to comment on the......um.....irony? of the above conversation.
i·ro·ny[sup]1[/sup]ˈīrənē/ noun
the expression of one's meaning by using language that normally signifies the opposite, typically for humorous or emphatic effect.“Don't go overboard with the gratitude,” he rejoined with heavy irony"
synonyms:sarcasm, causticity, cynicism, mockery, satire, sardonicism"that note of irony in her voice"
a state of affairs or an event that seems deliberately contrary to what one expects and is often amusing as a result.plural noun: ironies"the irony is that I thought he could help me"
synonyms:paradox, incongruity, incongruousness"the irony of the situation"
a literary technique, originally used in Greek tragedy, by which the full significance of a character's words or actions are clear to the audience or reader although unknown to the character.noun: dramatic irony
I like that last one the best ^
Yes, it is Friday night, the 23rd of September, and no call from the machine shop. At least I can get a refund of my entry fee for the Fall Enduro, and the next person on the waiting list will get to run because I dropped out (our clubs most popular event). I had asked a fellow club member if I could drive one of his cars in that race, and he was happy to oblige, but I really wanted to drive my car, to try and beat my previous best time.
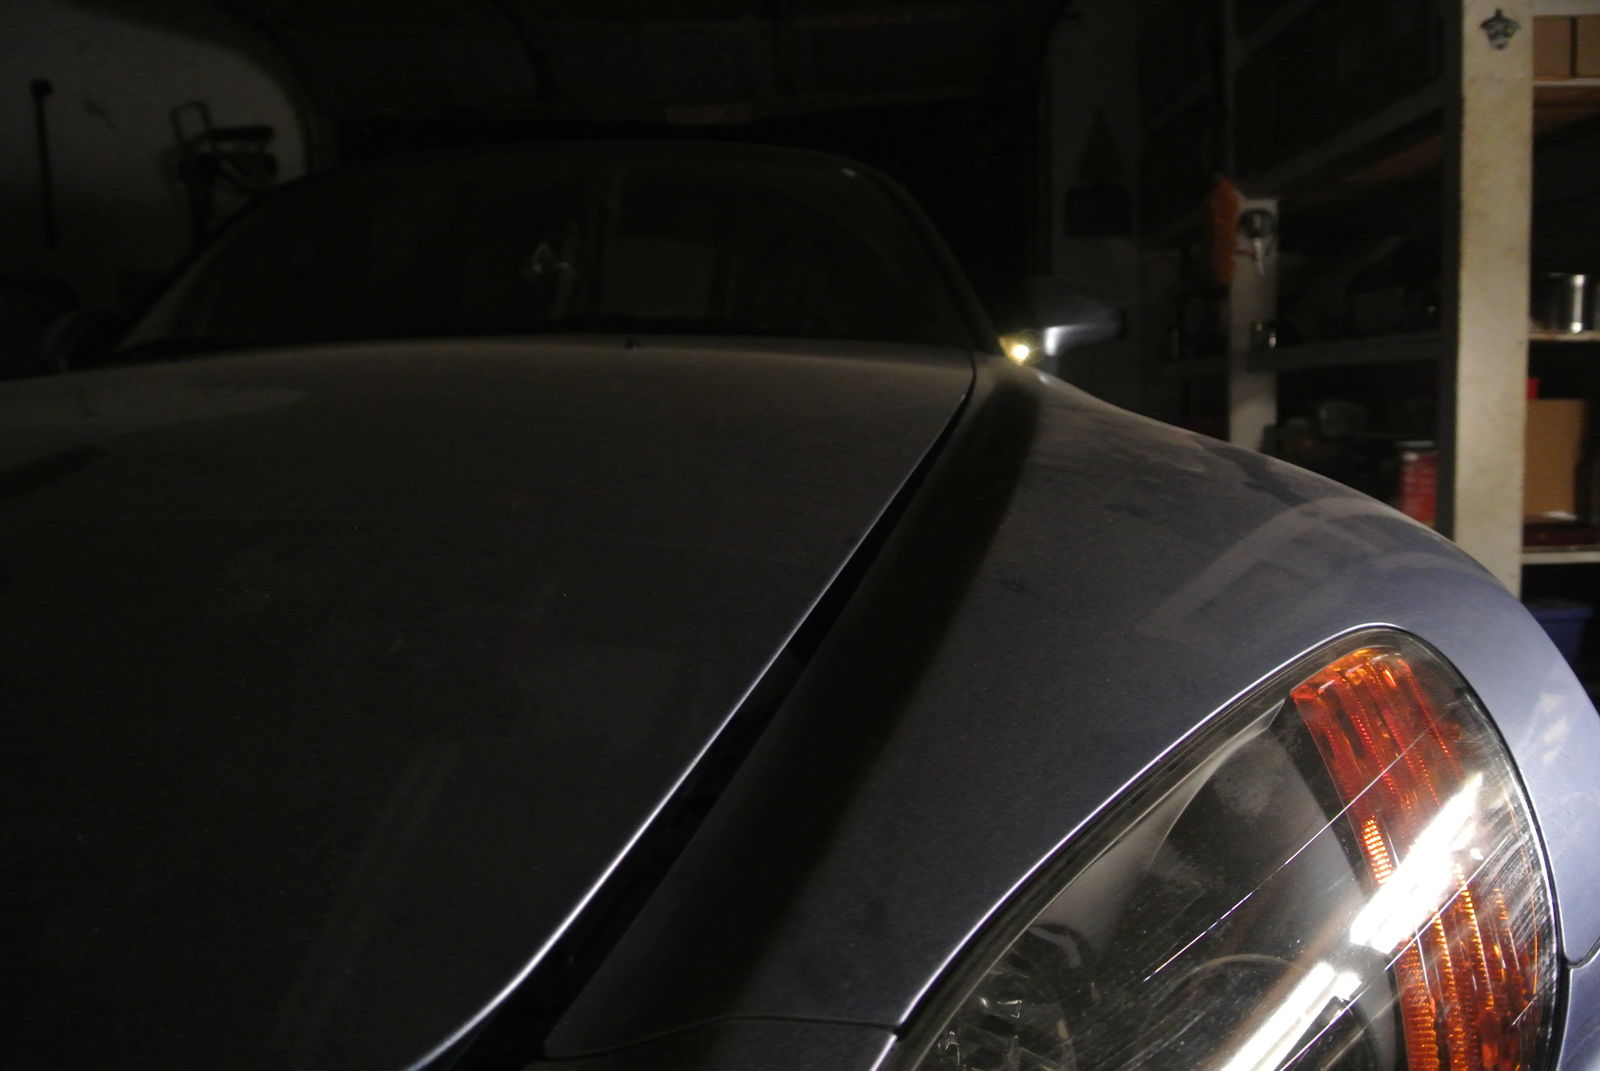
On to something not so frustrating (my head has been at the shop for 6 weeks) the layer of dust on my S:
I thought maybe S1 S2 in his above comment was referring to how many times I wrote that I swept the garage. We rent our house and my garage door is pretty much shot, so much so that the horizontal panels sag in the middle and create huge gaps where the door should seal against the concrete floor. In turn, all kinds of dust, leaves, pigeon feathers, dirt, and sometimes tumble weeds blow into my garage. I'm letting the dust build up on the S until the day it finally sees sunlight again, and I can marvel at the cool windswept designs that are created in the dust when I hit escape velocity, or something like that. If you look above the amber part of my headlight, there is a spot where one of my childrens touched the fender, so you can better gauge the dust thickness
 09-04-2016, 10:20 AM


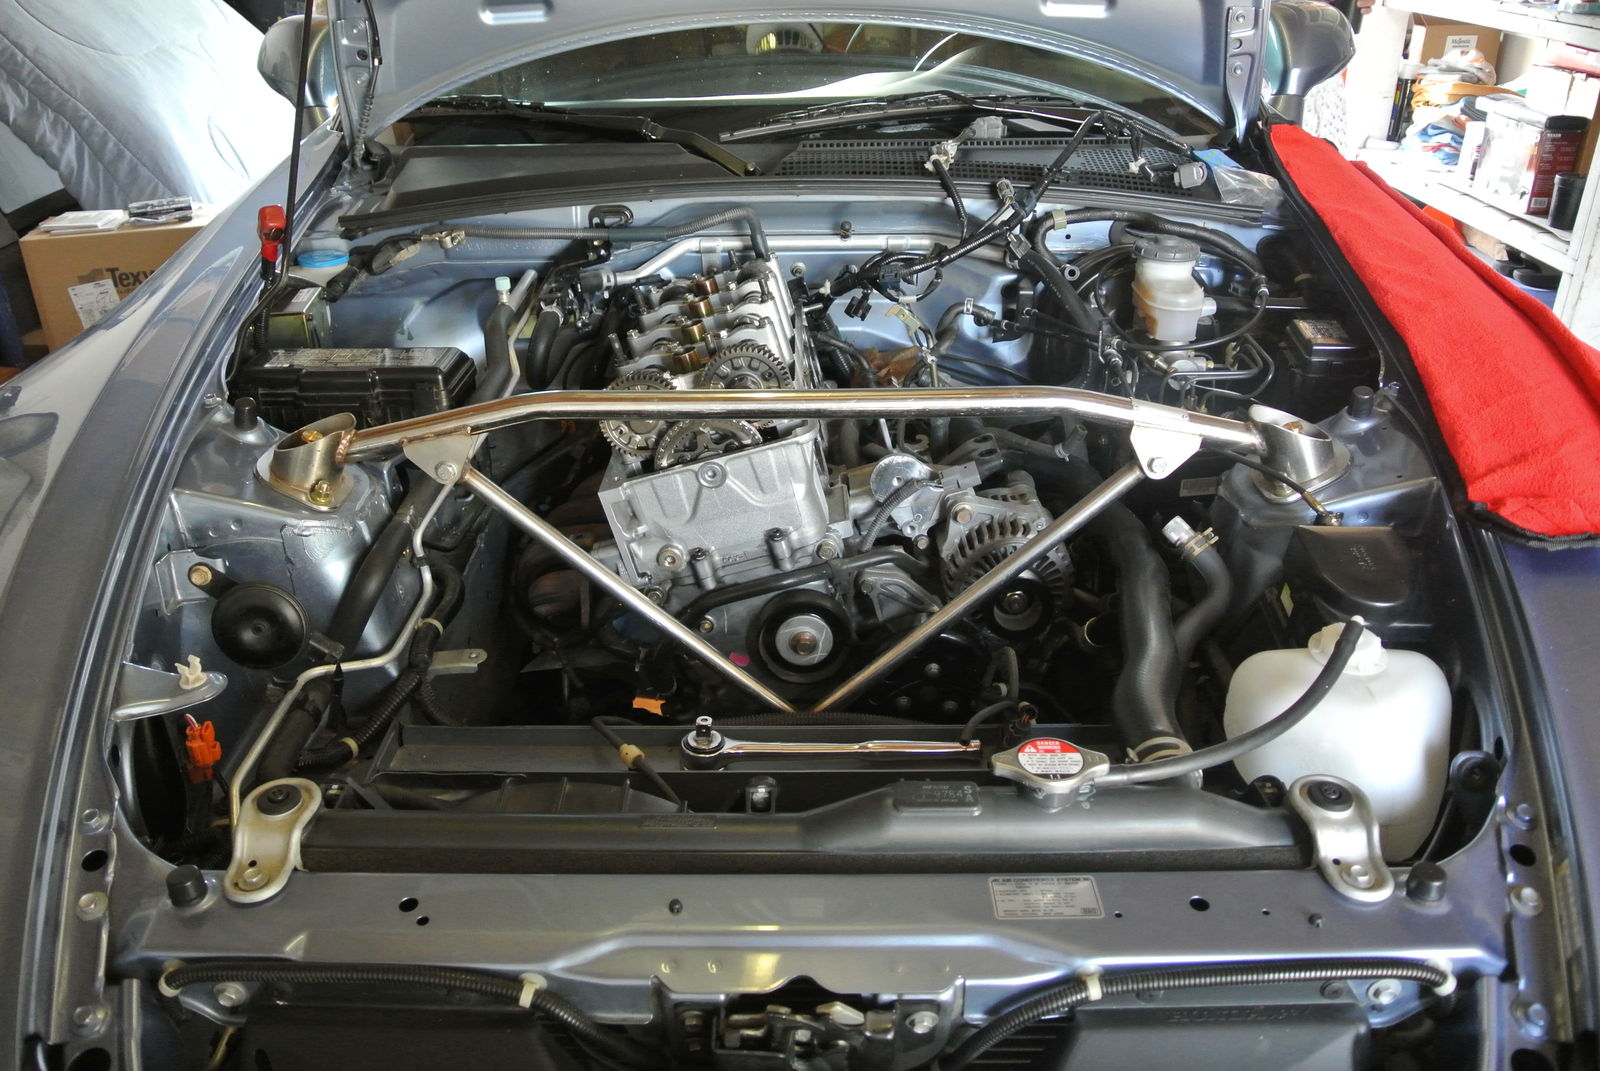


 ), head bolts out and the next day I went to buy a rubber mallet so I could tap on the head to get it off. So the next day I came home from work and never even needed that mallet, all it took were a couple of pushes and pulls from the night before and it just popped off. Except for this guy: