Sick_AP1 - SCCA STR Build - Stacy Aka Clean Yellow AP1


 from BS to STR log was a good read. taking notes for when i eventually go to STR in my01.

 10-15-2014, 12:02 AM
#23

Originally Posted by matt96ex
Awesome thread, man!
Those Ohlins...I dream of them. Someday maybe!
Maybe I missed it, but do you run factory brake pads or something else?
Those Ohlins...I dream of them. Someday maybe!
Maybe I missed it, but do you run factory brake pads or something else?
Brakes are one of my weak points right now as I am losing time because the stock pads are very bad during the first 2-3 runs because they are cold. This causes me to go with the theory " less braking, more gas" which is working for the moment lol.
10-15-2014, 06:05 PM
#24
Great thread. Keep us updated!
I really appreciate the thought put into each piece and the desire to keep the car clean.
I really appreciate the thought put into each piece and the desire to keep the car clean.
10-15-2014, 07:05 PM
#25

Originally Posted by matt96ex
Awesome thread, man!
Those Ohlins...I dream of them. Someday maybe!
Maybe I missed it, but do you run factory brake pads or something else?
Those Ohlins...I dream of them. Someday maybe!
Maybe I missed it, but do you run factory brake pads or something else?
Brakes are one of my weak points right now as I am losing time because the stock pads are very bad during the first 2-3 runs because they are cold. This causes me to go with the theory " less braking, more gas" which is working for the moment lol.
 stock pads dont need any warm up
10-16-2014, 10:08 AM
stock pads dont need any warm up
10-16-2014, 10:08 AM
#26
Originally Posted by sillyboybmxer
stock pads dont need any warm up
10-13-2015, 04:02 PM
#27
Modification 22
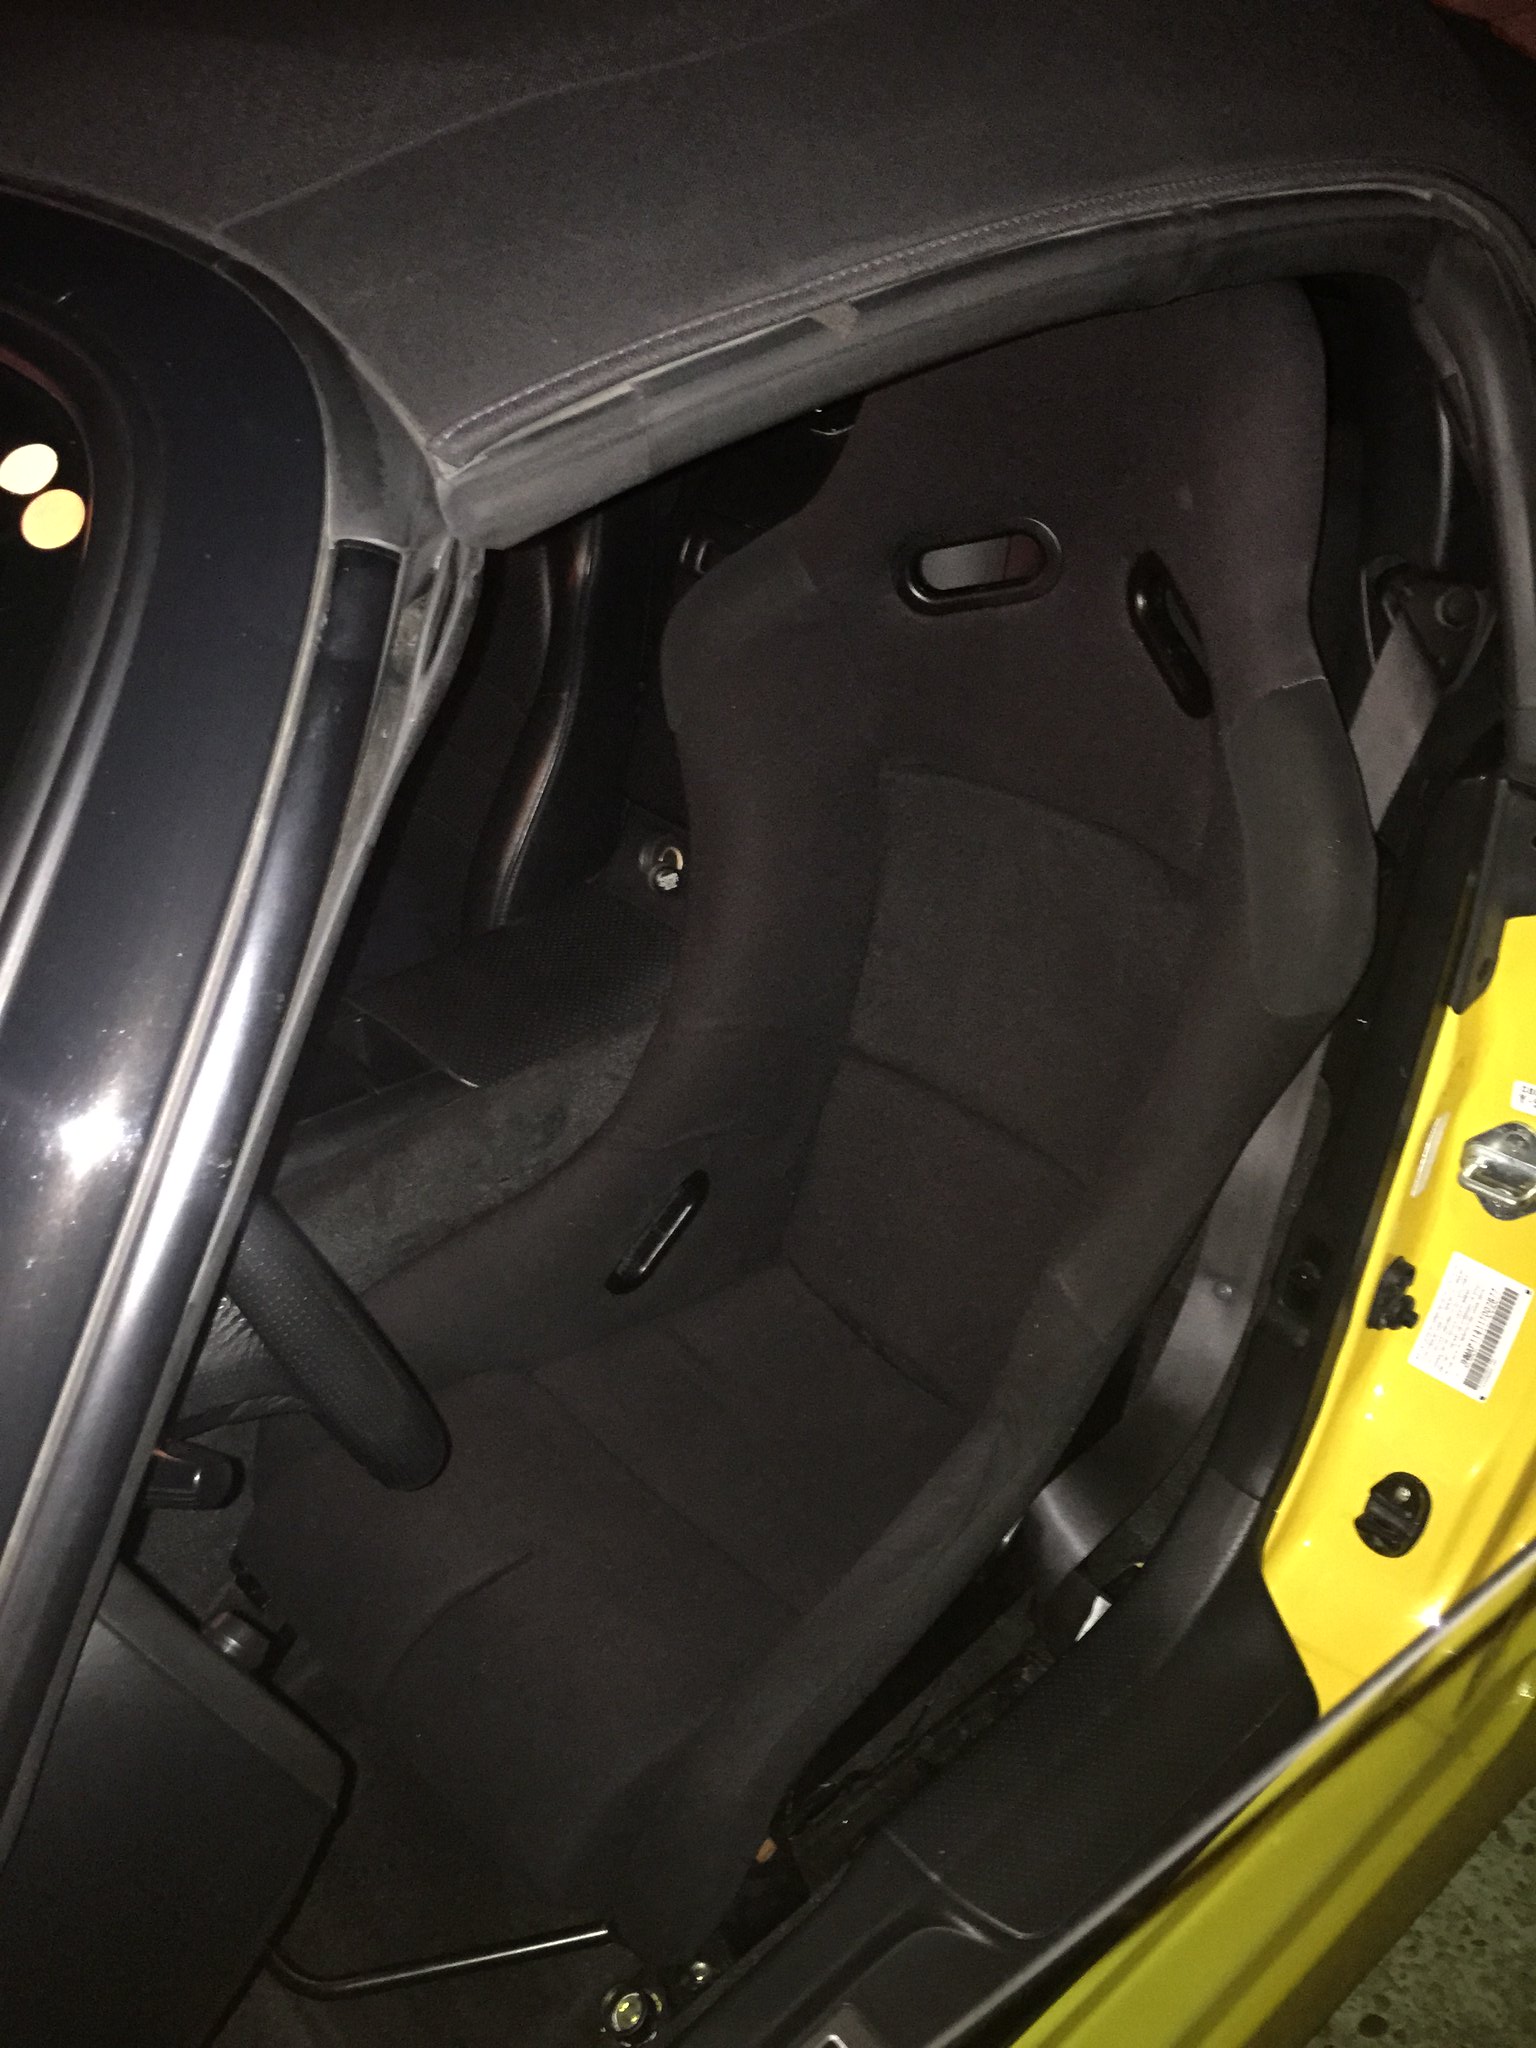
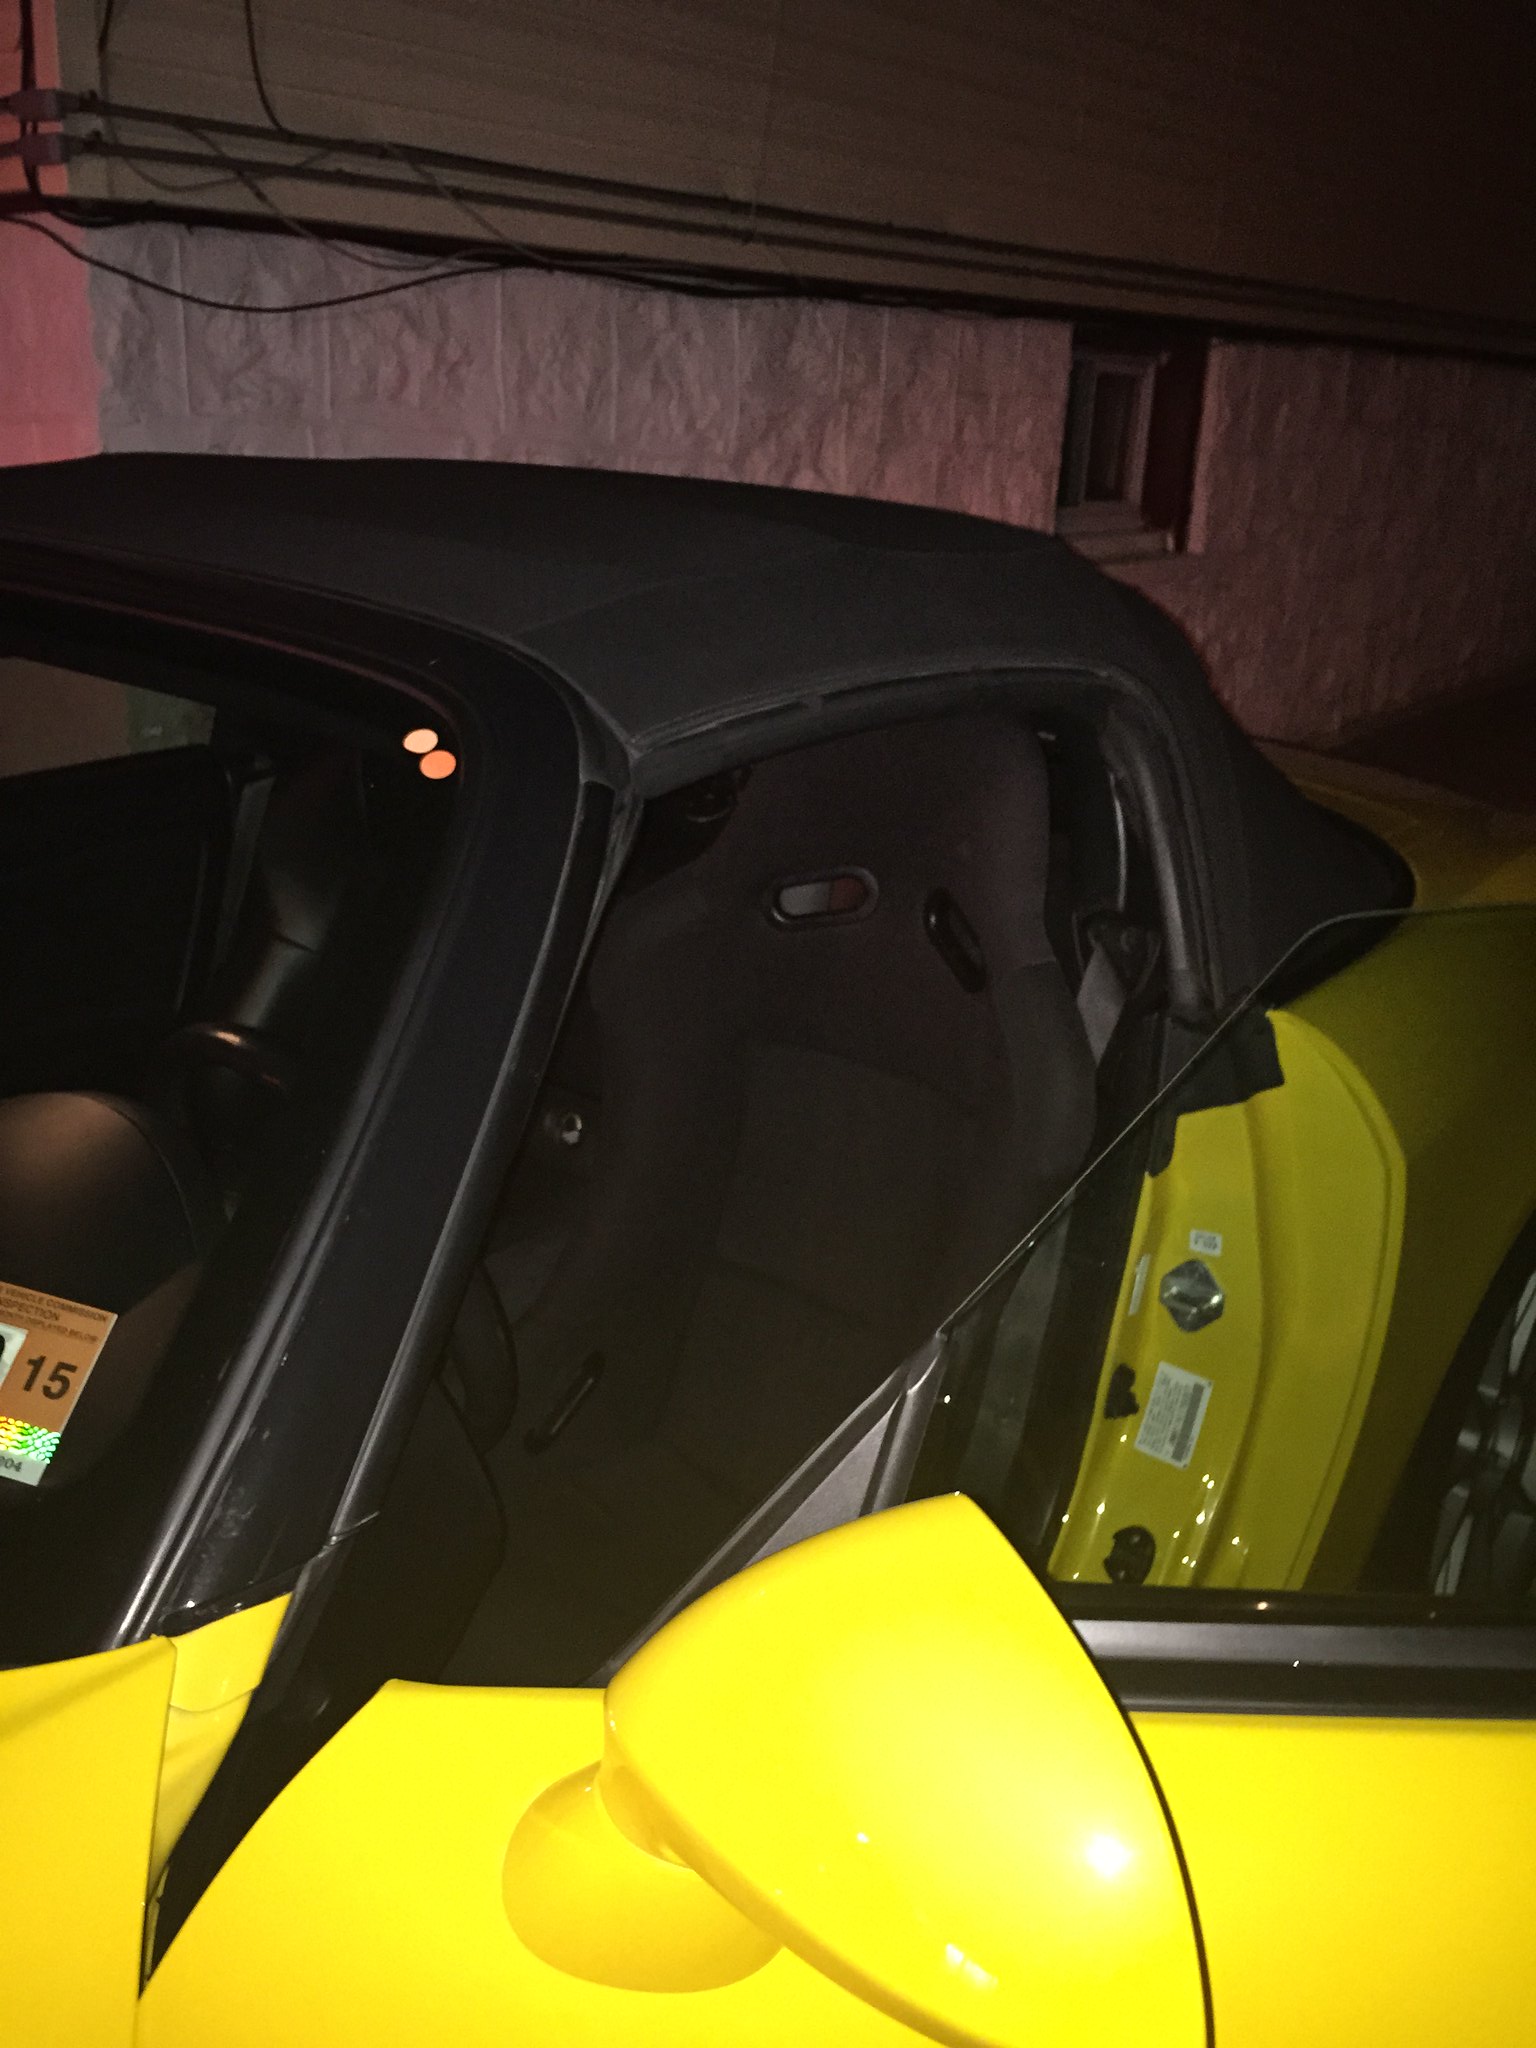
Racing Seat - F1 Spec Type 5 Seat W/ Buddy Club Seat Rails
1st Impressions on the seat are they are well worth the money even though I bought this second hand it was kept in good condition. The Buddy Club Seat Rails in my opinion is the downfall of this setup everything on the rails are in pieces and it has to be put together with Loctite (RED High Strength recommended). The main flaw on the rails are the bottom brackets that hold the bracket to the floor of the car.
As shown here
 RED BRACKETS by Otto Munoz, on Flickr
These brackets are held in by TWO Philip Screws (each bracket) which makes this pretty dangerous because they do get loose with usage if you do not use loctite to keep it in place. Eventually I will be getting these brackets welded into place or upgrading to something more durable such as a stationary bracket.
Here are the picture of the install
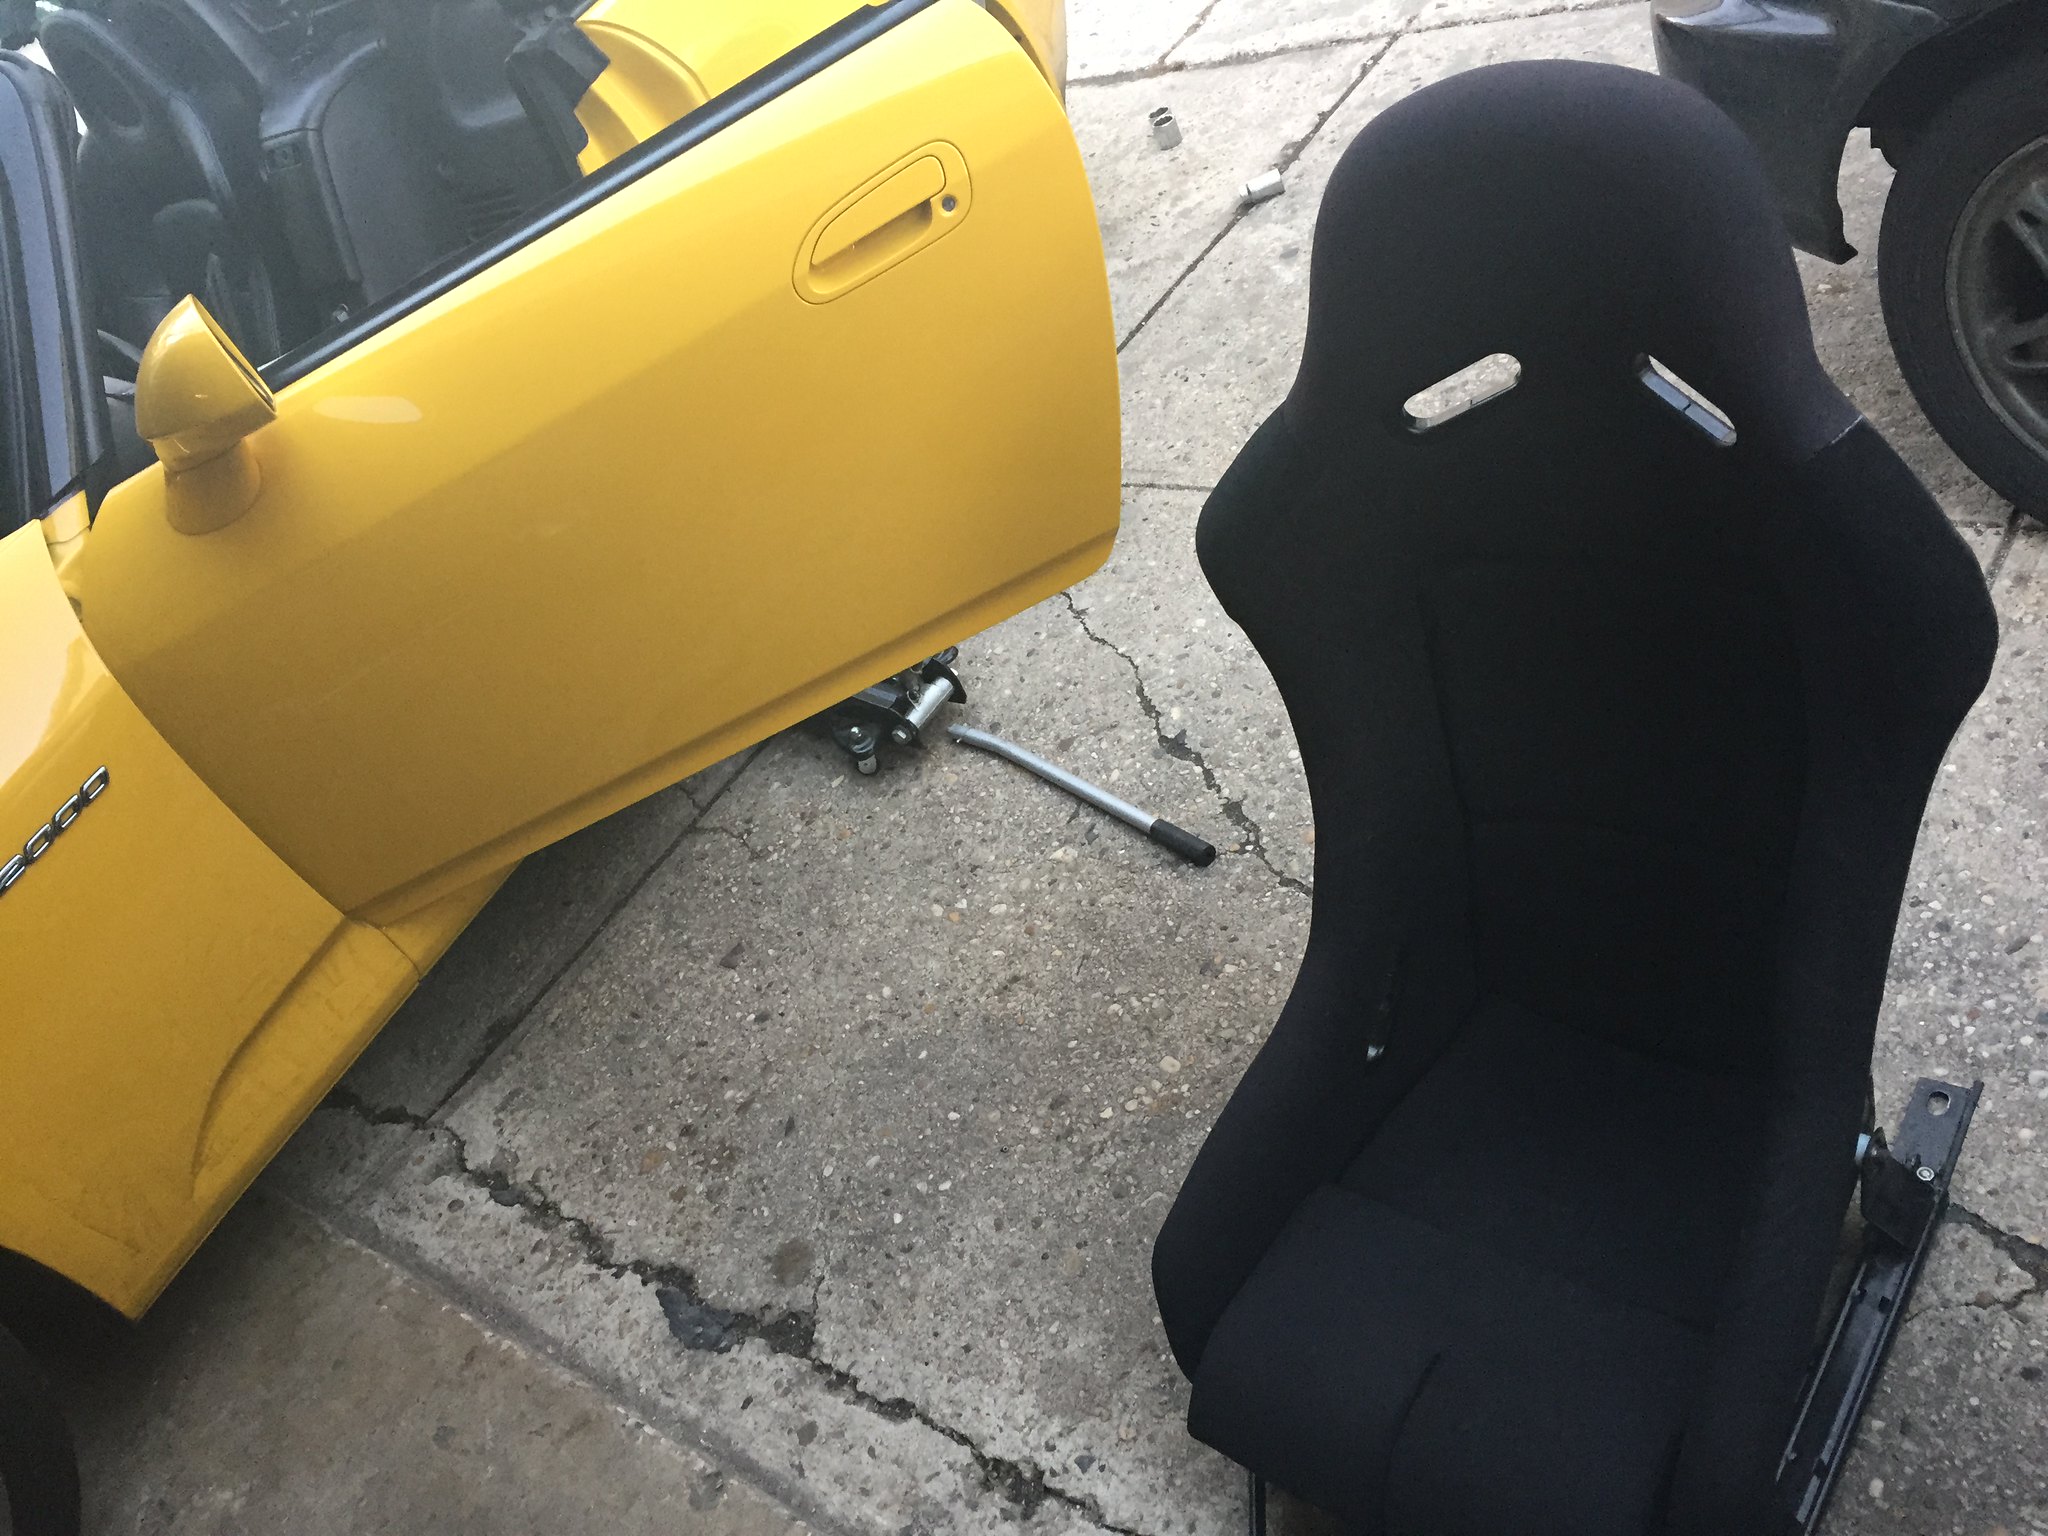 IMG_3067 by Otto Munoz, on Flickr
 attachment_1426249193202_IMG_3072 by Otto Munoz, on Flickr
 IMG_3073 by Otto Munoz, on Flickr
 IMG_3075 by Otto Munoz, on Flickr
Not a Mod but EhhHh I wanna Share -- Got Some Name/Number Plates to avoid the taped numbers.
 DSC_2147 by Otto Munoz, on Flickr
A couple months after I got my race seat all settled in it was time to test it out at the annual NNJR SCCA National Pro Solo.
First National event so I was more nervous than determined lol
 DSC_0031 by Otto Munoz, on Flickr
And here is a picture of my BEAUTY! she got magnets and stickers == EXTRA HORSEPOWER!!!


 DSC_0034 by Otto Munoz, on Flickr
and of course the launch TREE!!!!
 DSC_0036 by Otto Munoz, on Flickr
I will post videos later of my runs -- but since this was my first National event and since I was going up against already prepared STR SPEC S2000 it was brutal. Their was many downfalls one AP1 vs a field of ap2 meaning low torque but then of course I wasn't 100% prepared 50% worn out tires/ stock cat/ and no tune.
I had a blast though was one of the most amazing event ever and would push anyone to go and get the experience because I cannot wait until next years event.
Placed 15th out of 17 cars EHHhHhhh better than last.
Racing Seat - F1 Spec Type 5 Seat W/ Buddy Club Seat Rails
1st Impressions on the seat are they are well worth the money even though I bought this second hand it was kept in good condition. The Buddy Club Seat Rails in my opinion is the downfall of this setup everything on the rails are in pieces and it has to be put together with Loctite (RED High Strength recommended). The main flaw on the rails are the bottom brackets that hold the bracket to the floor of the car.
As shown here
RED BRACKETS by Otto Munoz, on FlickrThese brackets are held in by TWO Philip Screws (each bracket) which makes this pretty dangerous because they do get loose with usage if you do not use loctite to keep it in place. Eventually I will be getting these brackets welded into place or upgrading to something more durable such as a stationary bracket.
Here are the picture of the install
IMG_3067 by Otto Munoz, on Flickrattachment_1426249193202_IMG_3072 by Otto Munoz, on FlickrIMG_3073 by Otto Munoz, on FlickrIMG_3075 by Otto Munoz, on FlickrNot a Mod but EhhHh I wanna Share -- Got Some Name/Number Plates to avoid the taped numbers.
DSC_2147 by Otto Munoz, on FlickrA couple months after I got my race seat all settled in it was time to test it out at the annual NNJR SCCA National Pro Solo.
First National event so I was more nervous than determined lol
DSC_0031 by Otto Munoz, on FlickrAnd here is a picture of my BEAUTY! she got magnets and stickers == EXTRA HORSEPOWER!!!
DSC_0034 by Otto Munoz, on Flickrand of course the launch TREE!!!!
DSC_0036 by Otto Munoz, on FlickrI will post videos later of my runs -- but since this was my first National event and since I was going up against already prepared STR SPEC S2000 it was brutal. Their was many downfalls one AP1 vs a field of ap2 meaning low torque but then of course I wasn't 100% prepared 50% worn out tires/ stock cat/ and no tune.
I had a blast though was one of the most amazing event ever and would push anyone to go and get the experience because I cannot wait until next years event.
Placed 15th out of 17 cars EHHhHhhh better than last.
10-13-2015, 04:19 PM
#28
Mod 23
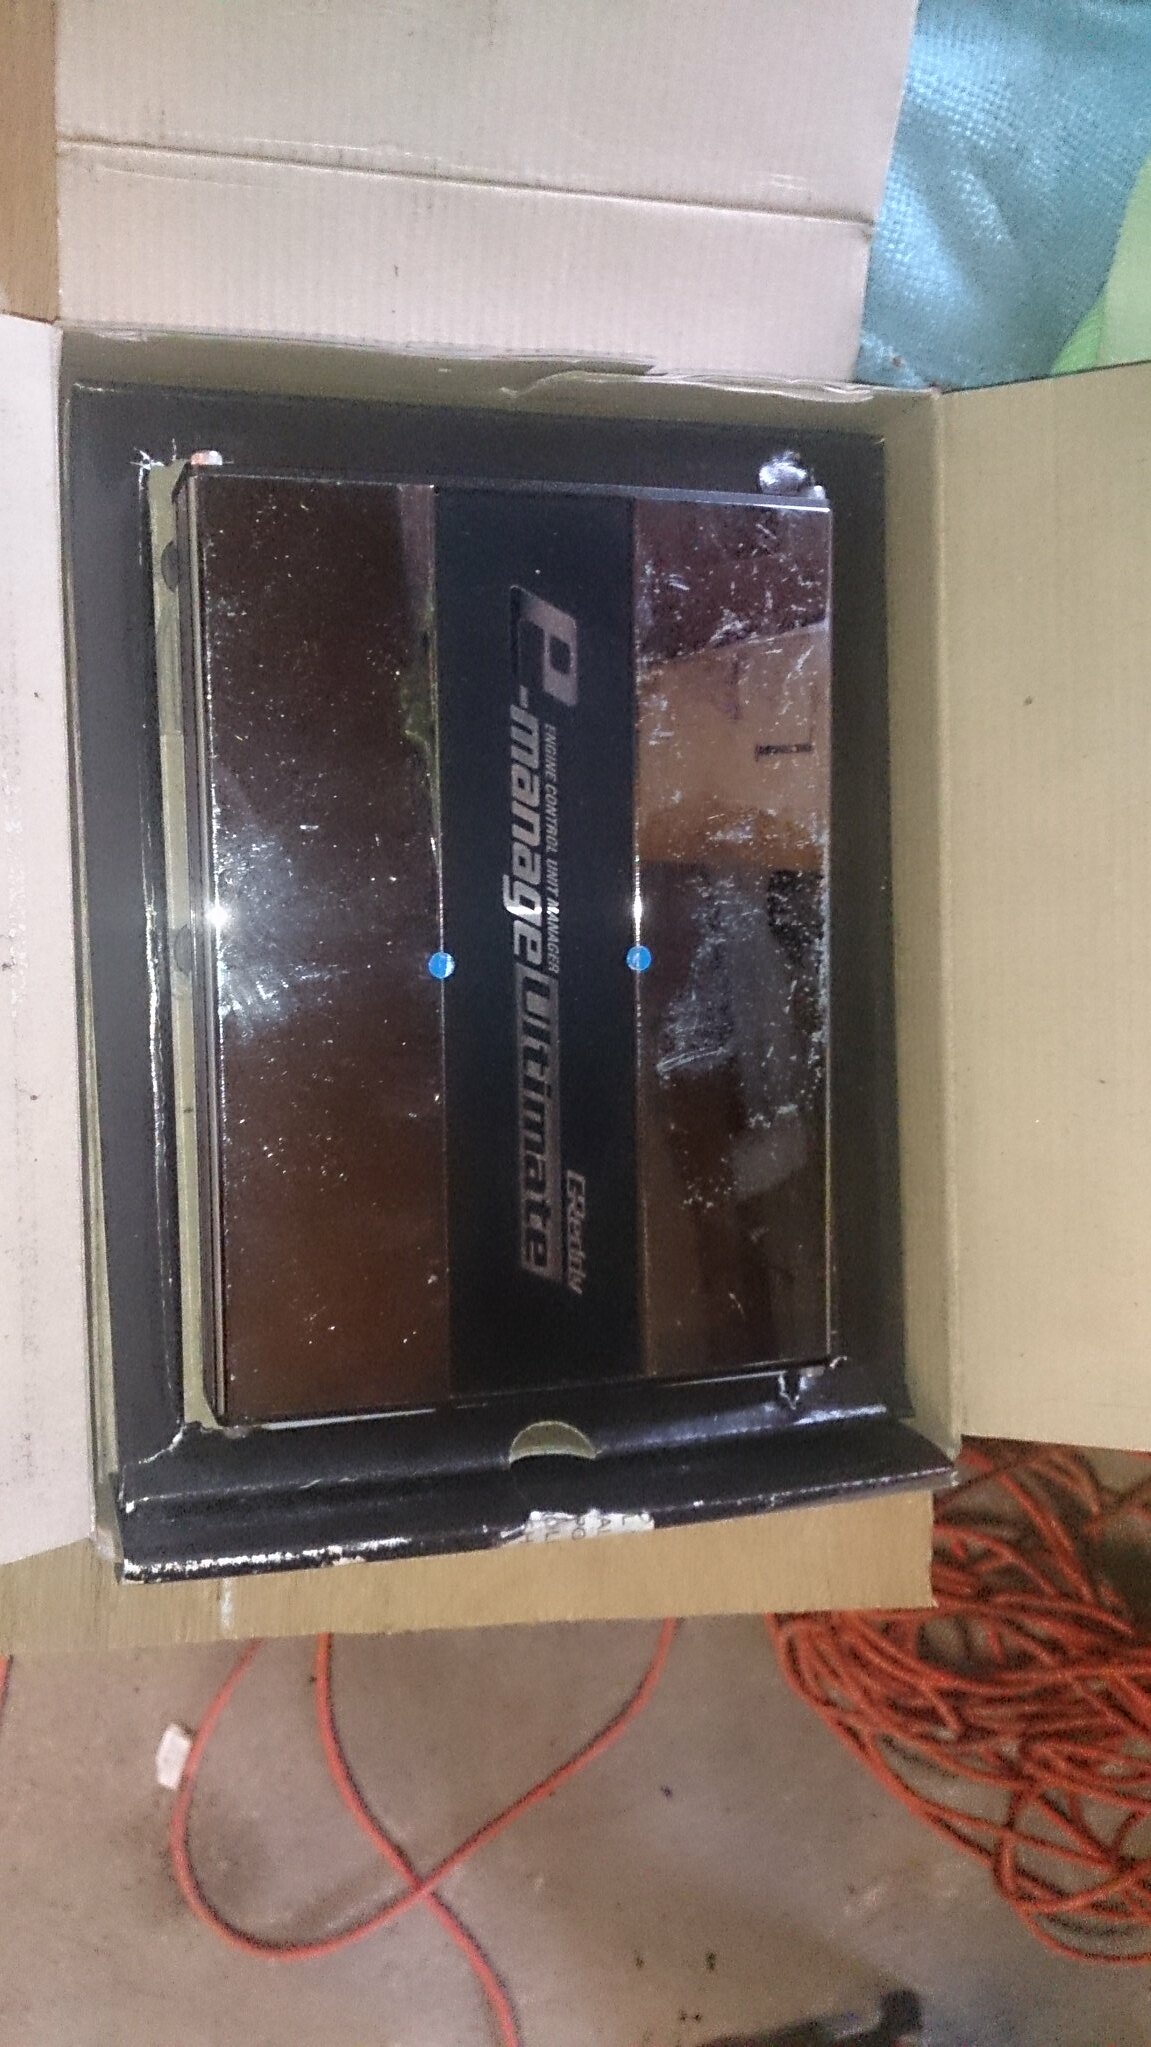
TUNE!!!! - Greddy Emanage Ultimate W/ BoomSlang- With Karcepts Base Tune -- dropping Vtec to about 4000 rpm - Depending on the load placed by me. So basically starting at full throttle from 1st gear engages Vtec engages down around 4000rpm when cruising Vtec engages at normal 6000 unless full throttle is engaged then it is dropped to the next 500/1000rpm.
Here is the product pictures and installed pictures
 DSC_0044 by Otto Munoz, on Flickr
 DSC_0045 by Otto Munoz, on Flickr
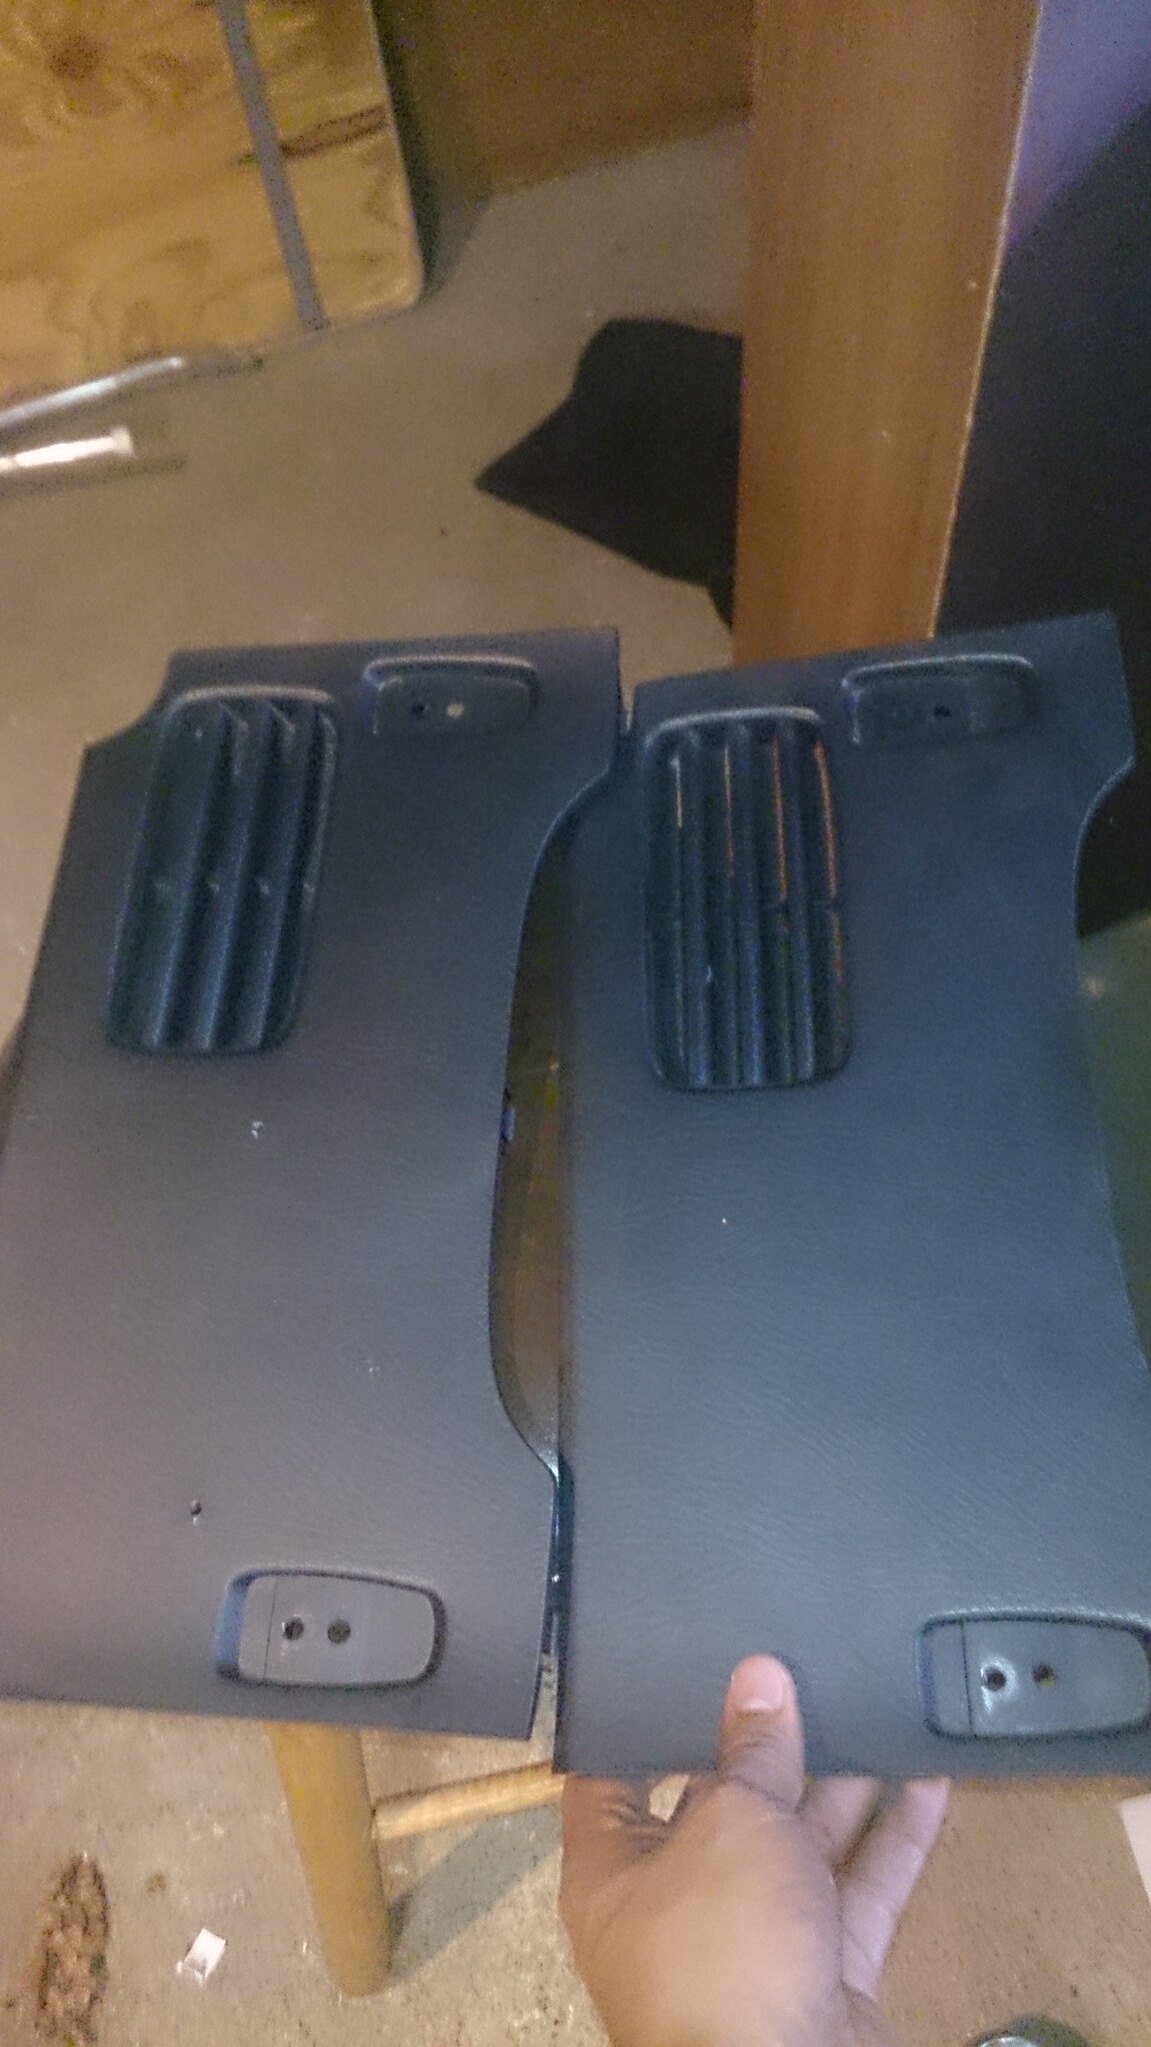
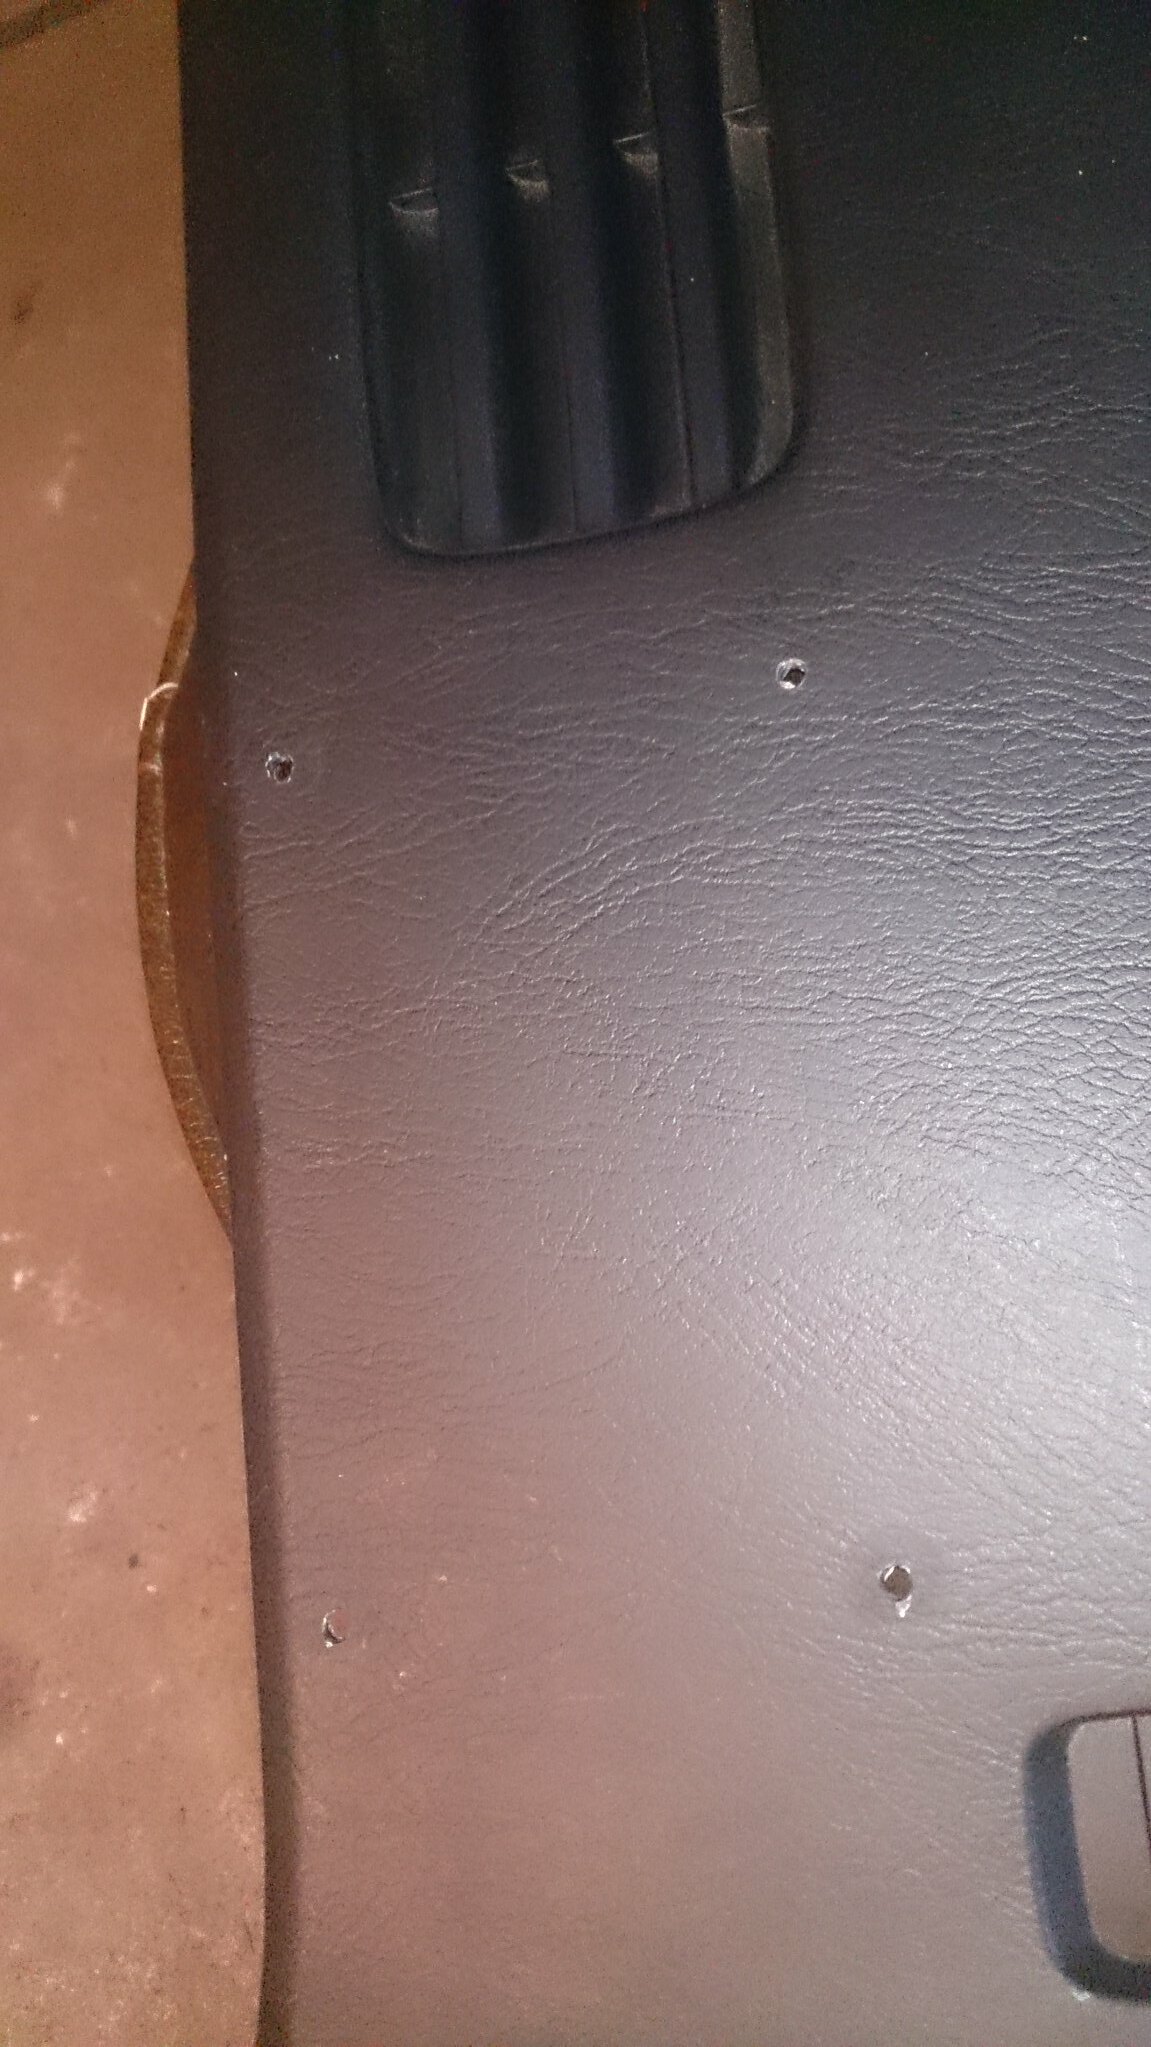
This was mounted behind the driver seat on one of the panels covering the seat belt and car frame.
Stock Panel and Panel drilled to hold the Greddy Emanage Ultimate
 DSC_0046 by Otto Munoz, on Flickr
 DSC_0047 by Otto Munoz, on Flickr
and now the Greddy Emanage Ultimate
 DSC_0048 by Otto Munoz, on Flickr
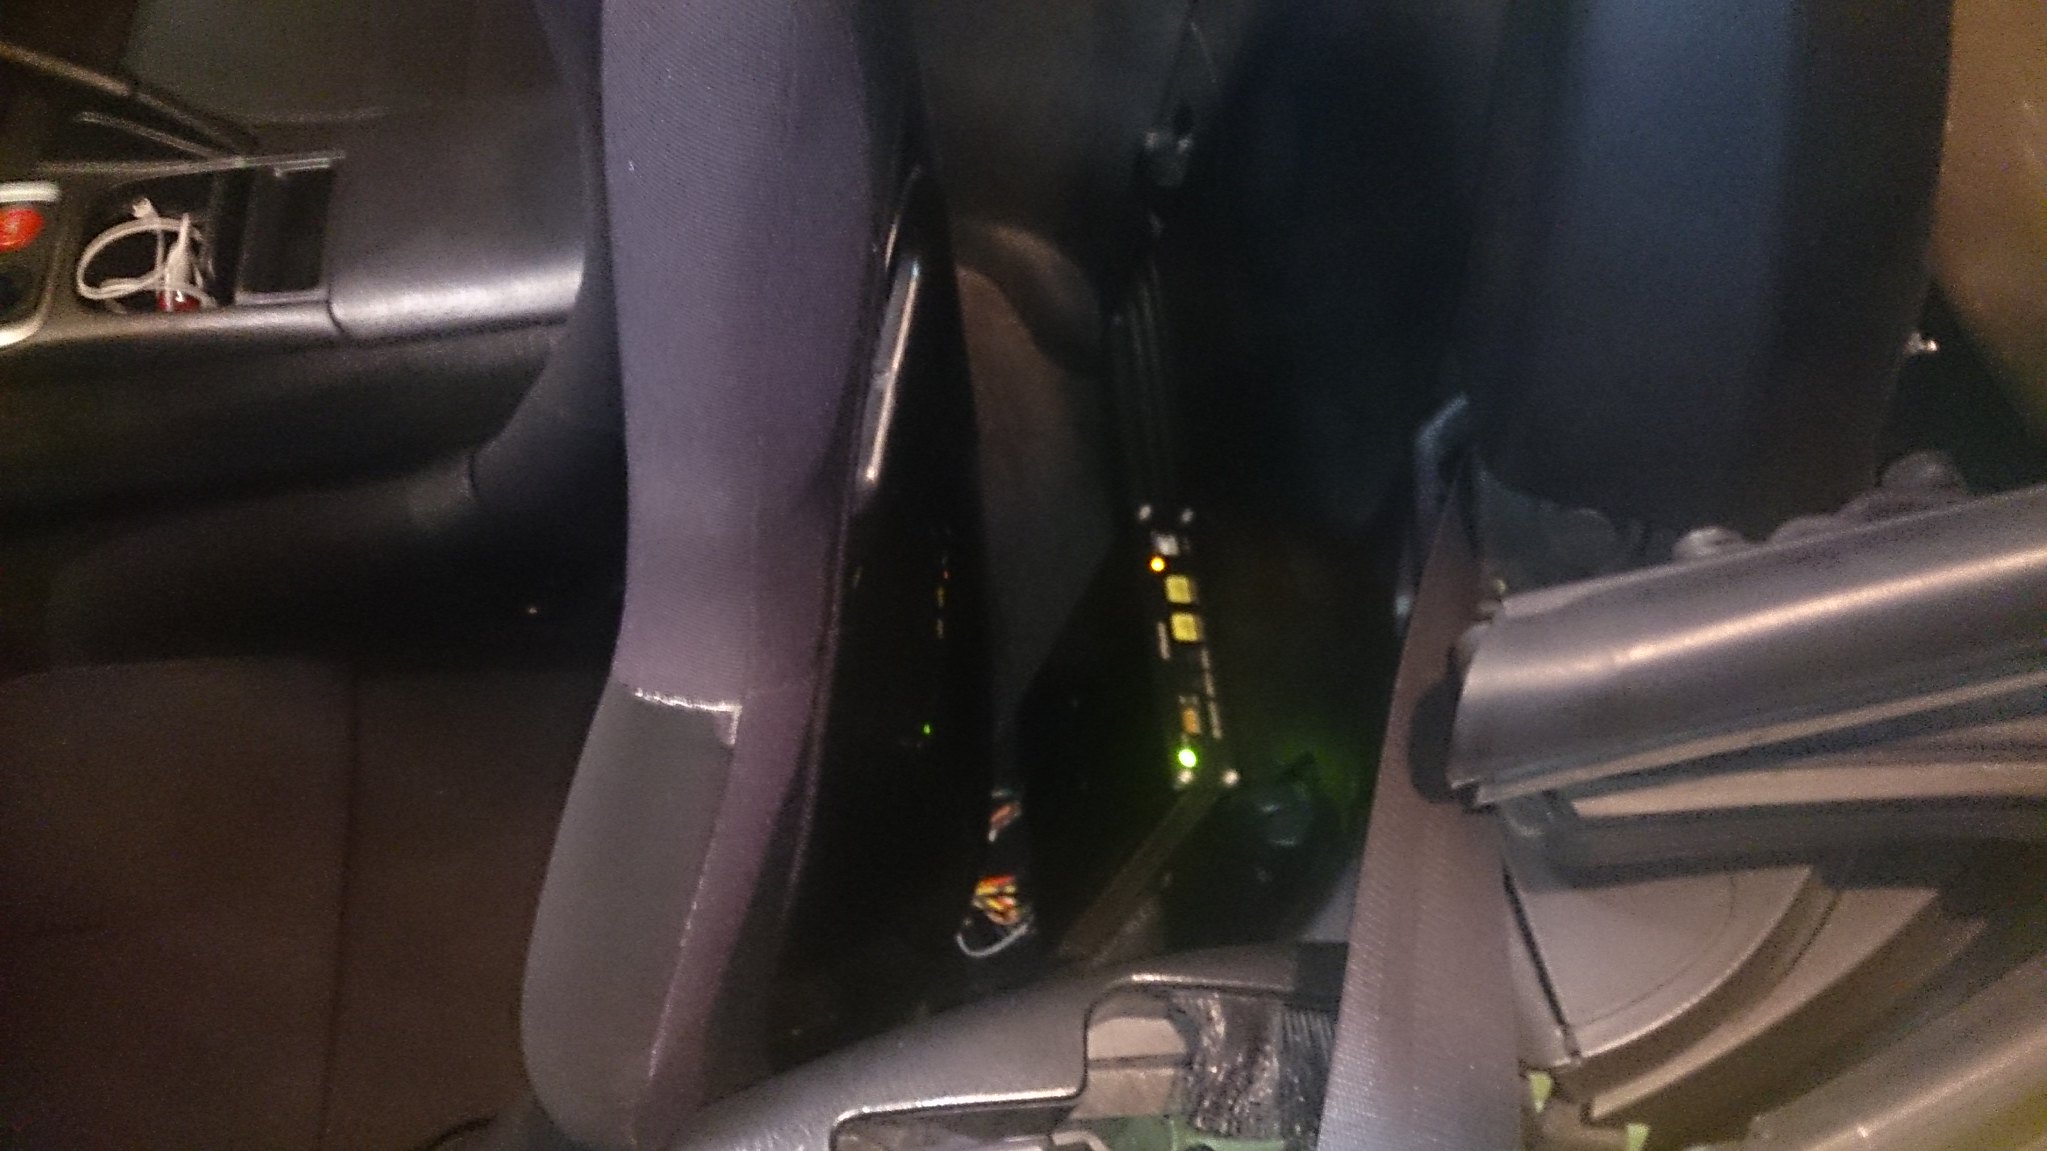
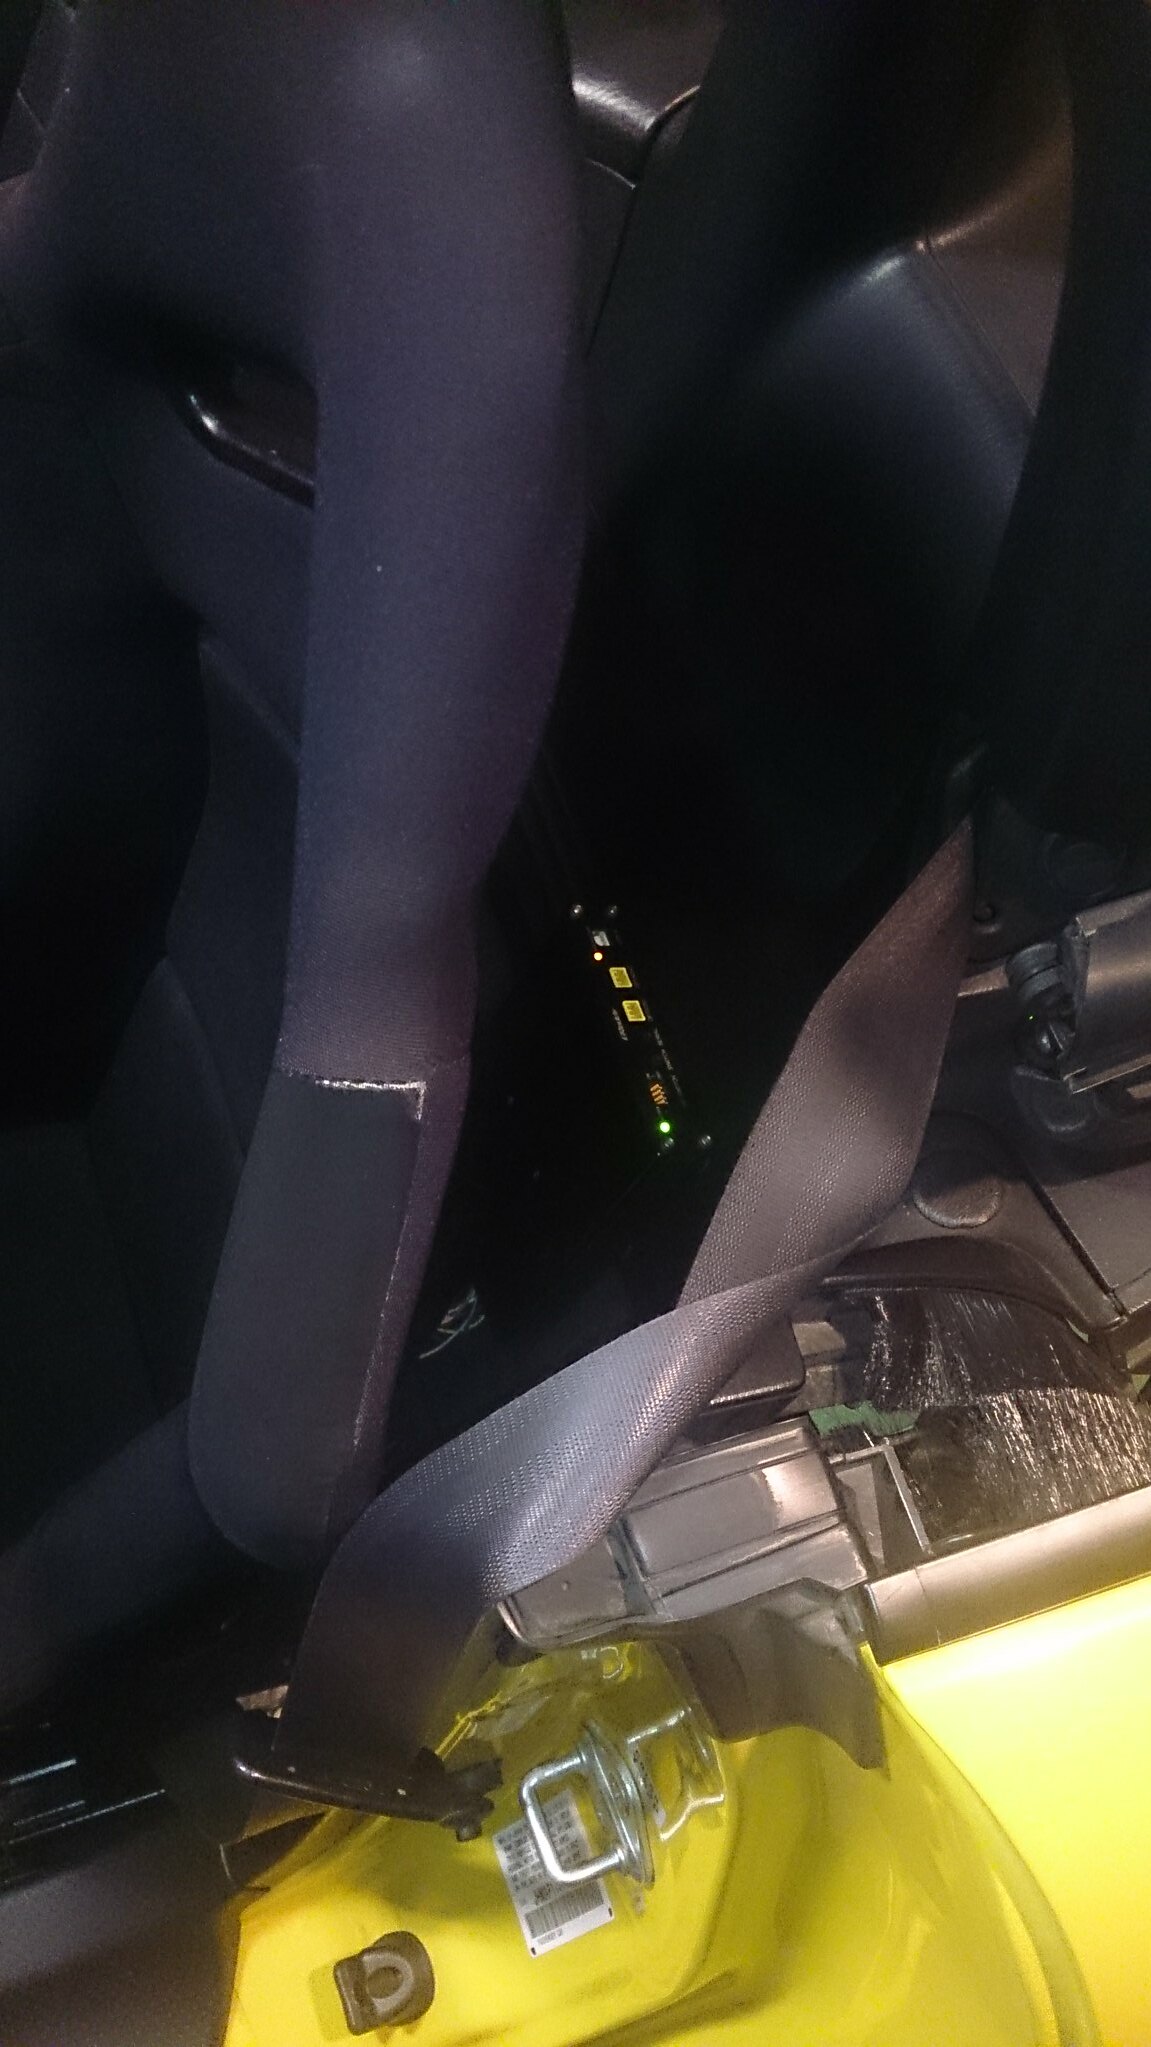
Already placed on the panel behind the seat
 DSC_0053 by Otto Munoz, on Flickr
 DSC_0052 by Otto Munoz, on Flickr
 DSC_0054 by Otto Munoz, on Flickr
Mod 24 - Berk 70 MM HFC
So after being away from Autocross for about 2 month - I ended up buying a HFC for the car just for the time being
even though it was currently not STR LEGAL I had the O2 Bung fix - cut and placed next to the cat. Eventually the HFC will be replaced with something better - Gernby midpipe hopefully during the off season.
Comparison - before I took to get fixed .
 DSC_0379 by Otto Munoz, on Flickr
 DSC_0378 by Otto Munoz, on Flickr
Forgot to take picture after the welds.
Next up
Removed Mod #20 Miata Front sway bar installed in the rear
So after tweaking the car a Bit and consulting with one the local autocross experts = NFRAD
I decided to take the FSB-Miata bar off the rear of the car as it was making the car way to stiff in the rear end. I would experience the tail of the car giving out so much more once it was placed on the car making it very difficult to maneuver such sections of the course such as slaloms. I thought in the beginning that the issue was my driving style because I was getting use to the coil overs / tune / front bar.. etc but this wasn't the case. The car was just way to unforgiving and as soon as I removed the car this car became a totally different car I ended up being able to push the car into corners at higher speeds without having to worry about spinning out in mid turn.
Here are links to my Recent videos without the rear bar --
of course I'm running on last years worn out Dunlop ZII and still figuring out rebound/dampening on the shocks without the bar but what an improvement
Here is 1st event without the rear bar - (sorry for the angle didn't know my camera was tilted)
https://youtu.be/_0qgHtB85LU
and here is 2nd event without the rear bar - I was racing in my own class this event as now locally they are running PRO CLASS (PAX) which will be my goal to compete in next year
https://youtu.be/63W1ApS36r8
TUNE!!!! - Greddy Emanage Ultimate W/ BoomSlang- With Karcepts Base Tune -- dropping Vtec to about 4000 rpm - Depending on the load placed by me. So basically starting at full throttle from 1st gear engages Vtec engages down around 4000rpm when cruising Vtec engages at normal 6000 unless full throttle is engaged then it is dropped to the next 500/1000rpm.
Here is the product pictures and installed pictures
DSC_0044 by Otto Munoz, on FlickrDSC_0045 by Otto Munoz, on FlickrThis was mounted behind the driver seat on one of the panels covering the seat belt and car frame.
Stock Panel and Panel drilled to hold the Greddy Emanage Ultimate
DSC_0046 by Otto Munoz, on FlickrDSC_0047 by Otto Munoz, on Flickrand now the Greddy Emanage Ultimate
DSC_0048 by Otto Munoz, on FlickrAlready placed on the panel behind the seat
DSC_0053 by Otto Munoz, on FlickrDSC_0052 by Otto Munoz, on FlickrDSC_0054 by Otto Munoz, on FlickrMod 24 - Berk 70 MM HFC
So after being away from Autocross for about 2 month - I ended up buying a HFC for the car just for the time being
even though it was currently not STR LEGAL I had the O2 Bung fix - cut and placed next to the cat. Eventually the HFC will be replaced with something better - Gernby midpipe hopefully during the off season.
Comparison - before I took to get fixed .
DSC_0379 by Otto Munoz, on FlickrDSC_0378 by Otto Munoz, on FlickrForgot to take picture after the welds.
Next up
Removed Mod #20 Miata Front sway bar installed in the rear
So after tweaking the car a Bit and consulting with one the local autocross experts = NFRAD
I decided to take the FSB-Miata bar off the rear of the car as it was making the car way to stiff in the rear end. I would experience the tail of the car giving out so much more once it was placed on the car making it very difficult to maneuver such sections of the course such as slaloms. I thought in the beginning that the issue was my driving style because I was getting use to the coil overs / tune / front bar.. etc but this wasn't the case. The car was just way to unforgiving and as soon as I removed the car this car became a totally different car I ended up being able to push the car into corners at higher speeds without having to worry about spinning out in mid turn.
Here are links to my Recent videos without the rear bar --
of course I'm running on last years worn out Dunlop ZII and still figuring out rebound/dampening on the shocks without the bar but what an improvement
Here is 1st event without the rear bar - (sorry for the angle didn't know my camera was tilted)
https://youtu.be/_0qgHtB85LU
and here is 2nd event without the rear bar - I was racing in my own class this event as now locally they are running PRO CLASS (PAX) which will be my goal to compete in next year
https://youtu.be/63W1ApS36r8