SoHonda Garage. S2000 Build
 03-12-2014, 08:20 AM
#111
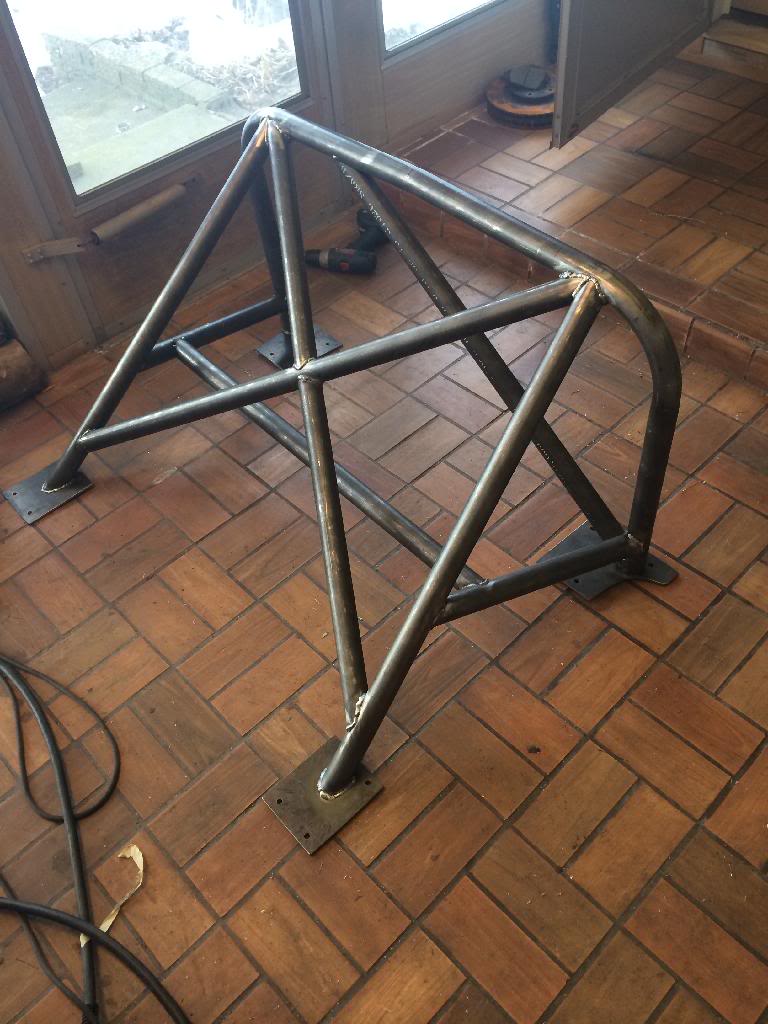
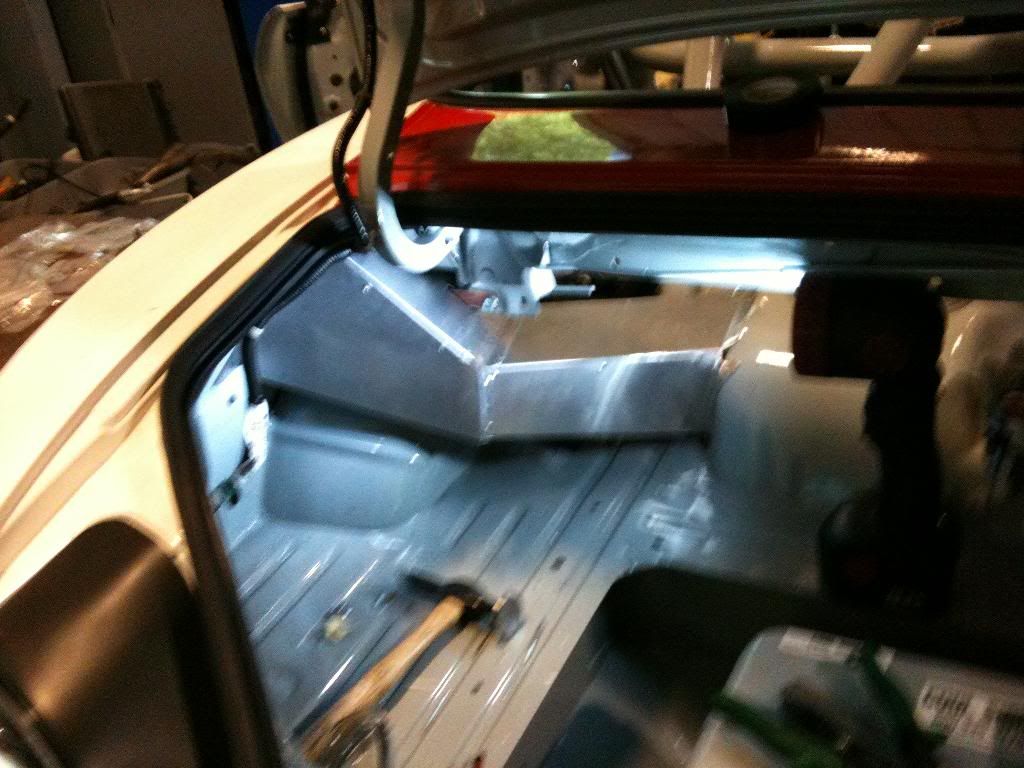
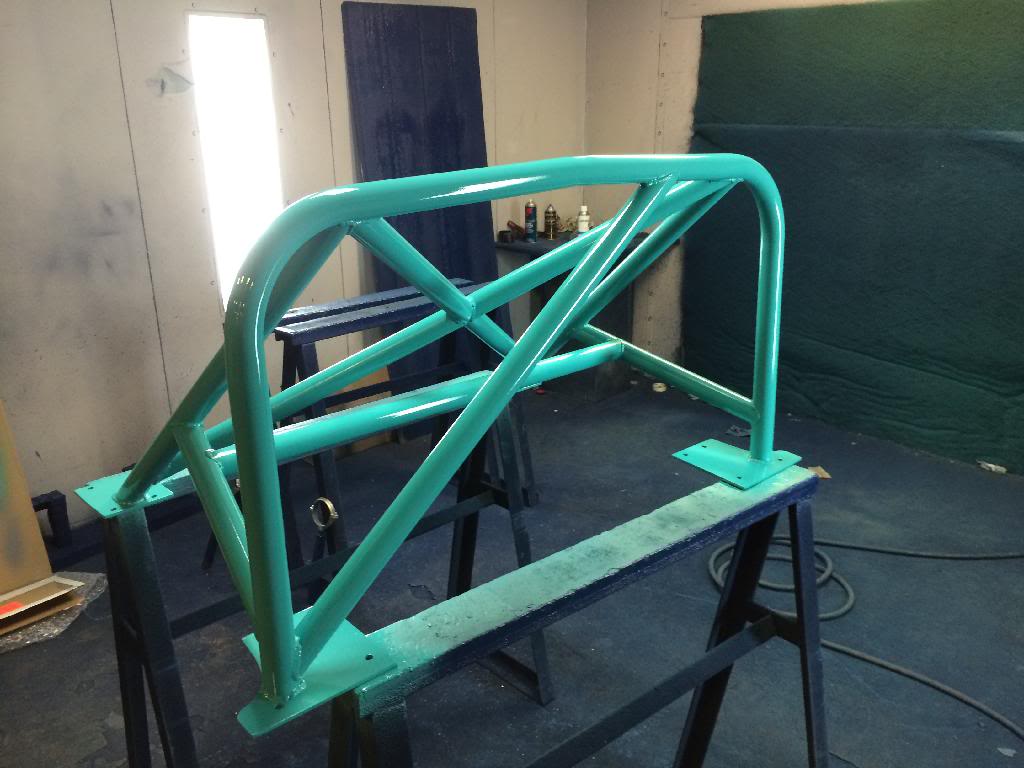
Here is a glimpse at the final design. Should be sanded and prepped for paint this weekend.
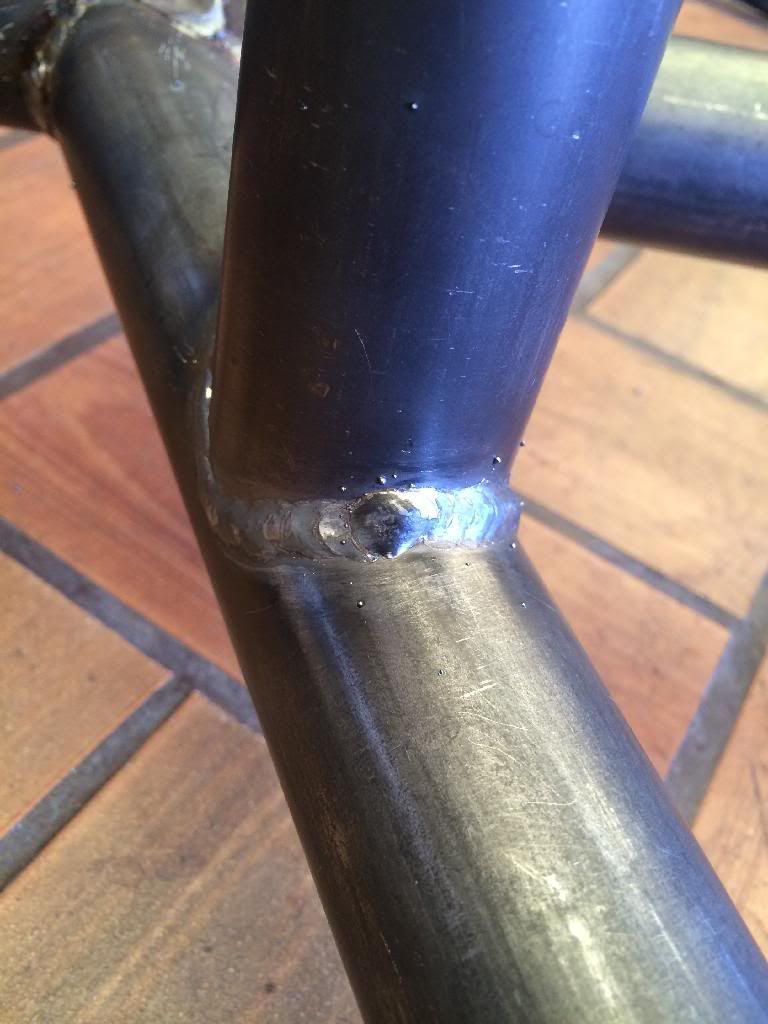
Still not the best but I am getting better with practice...
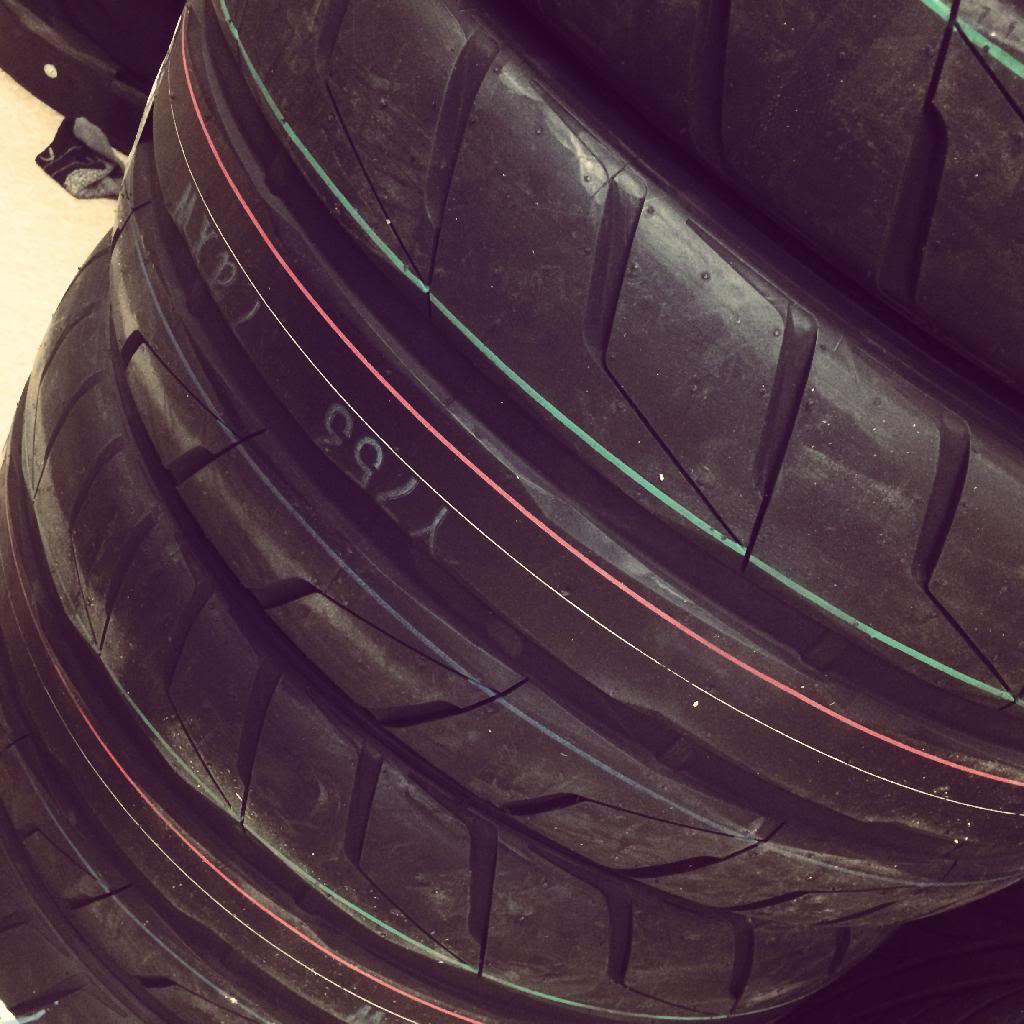
Also got my rubber delivered...
Still not the best but I am getting better with practice...
Also got my rubber delivered...
 03-12-2014, 08:54 AM
#112
Community Organizer


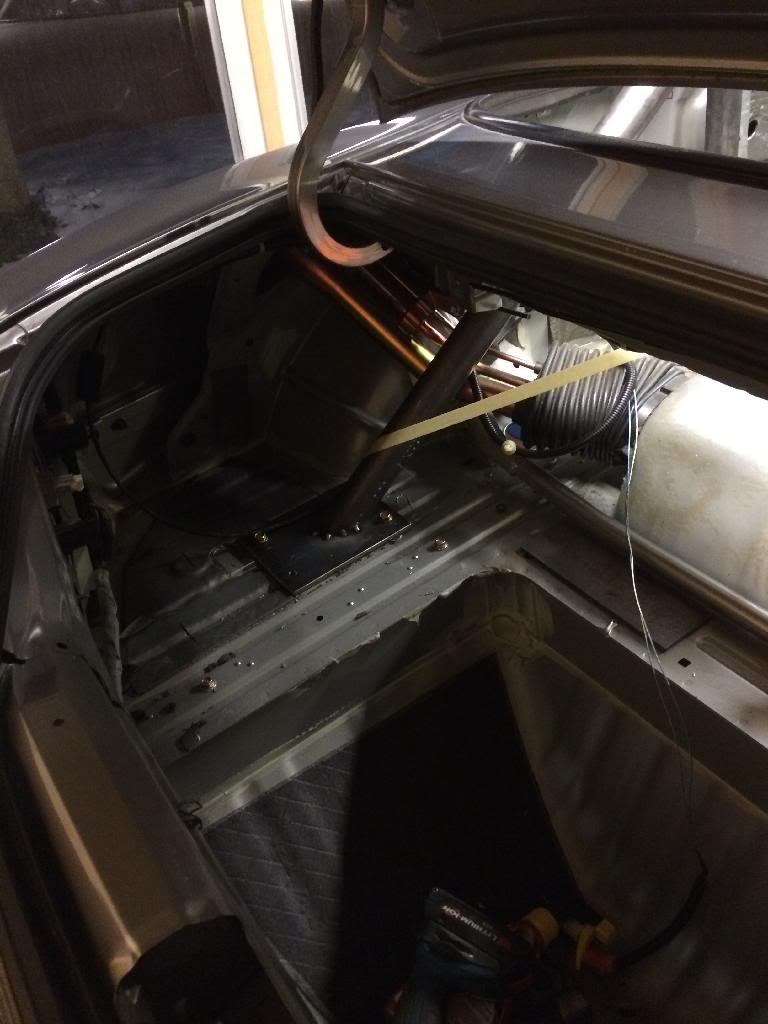
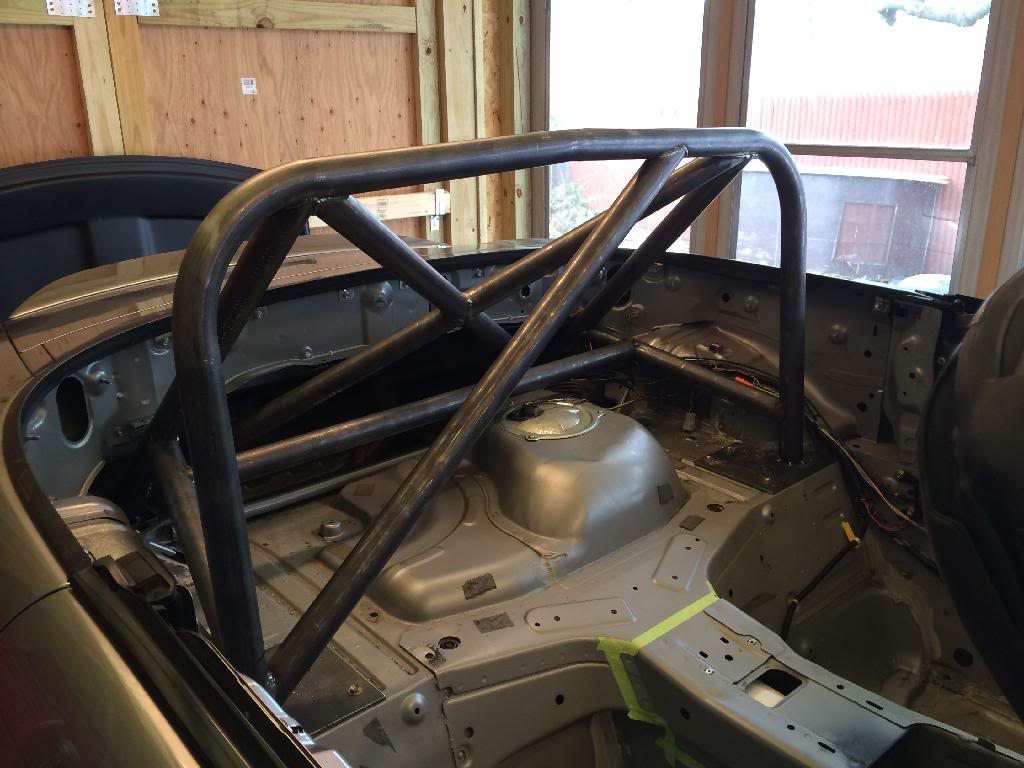
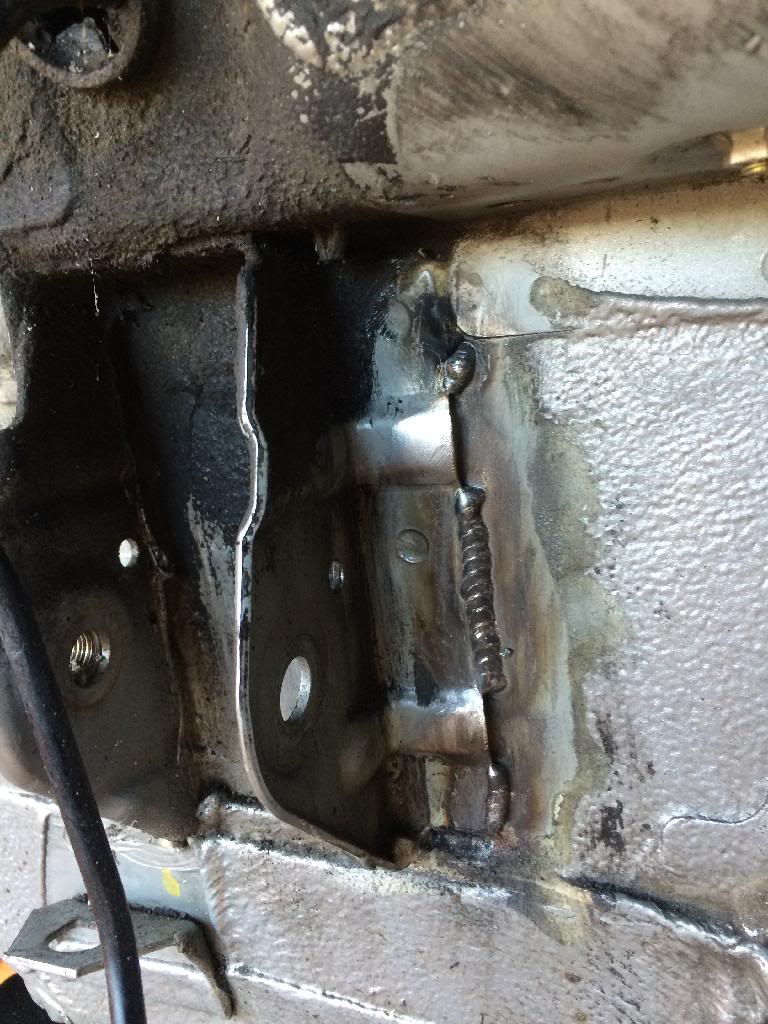
For a track only car, I'd remove that rubber cover that goes over the filler neck. Especially if some sort of shock adjustment is under there.
03-12-2014, 12:13 PM
#113
crappy pic
 03-12-2014, 02:17 PM
#114
Community Organizer
Originally Posted by freq' timestamp='1394643242' post='23059130
For a track only car, I'd remove that rubber cover that goes over the filler neck. Especially if some sort of shock adjustment is under there.
crappy pic
Huh!?! I have never seen anything like your tin cover on a W2W S2000. I track occasionally and street drive less that 3K miles / year but have removed that rubber cover for easier access to my Konis.
That said, I have never smelled fuel in the cabin. Nor would I expect to.
Nice write-up regarding Thompson.


 03-13-2014, 07:57 AM
#117
The front plates are using existing hole/bolt locations that have been drilled out larger for larger M10 hardware. I will be making pass through access holes for the front bolts through the chassis with 1/8" backing plates. Rear will be the same 1/8" backing plates with M10 hardware.
03-17-2014, 07:40 AM
#118
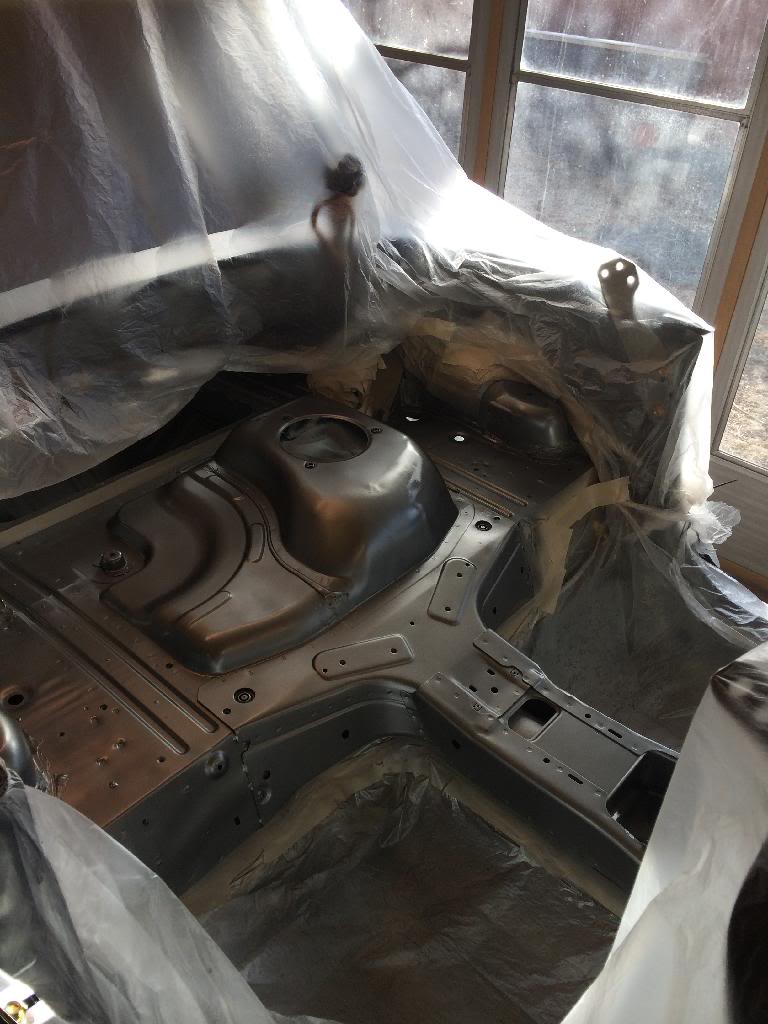
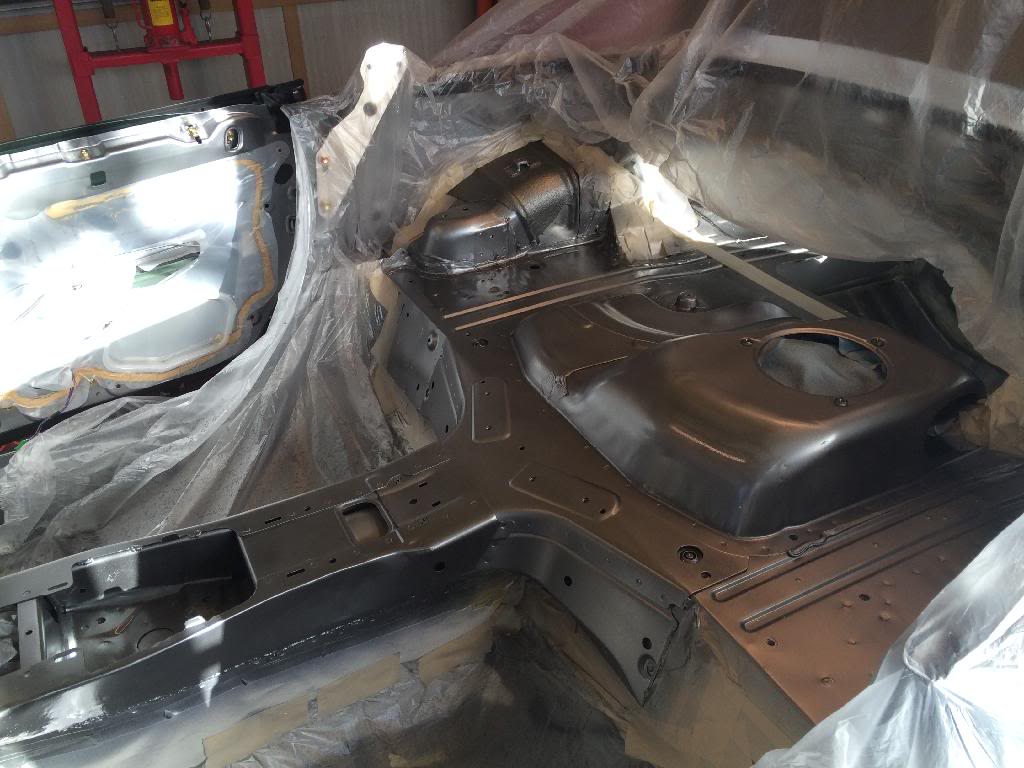
The rear shelf interior paint was looking a little ratty and I needed to paint the center tunnel anyway so this weekend I got the interior prepped and re painted base SSM.
before
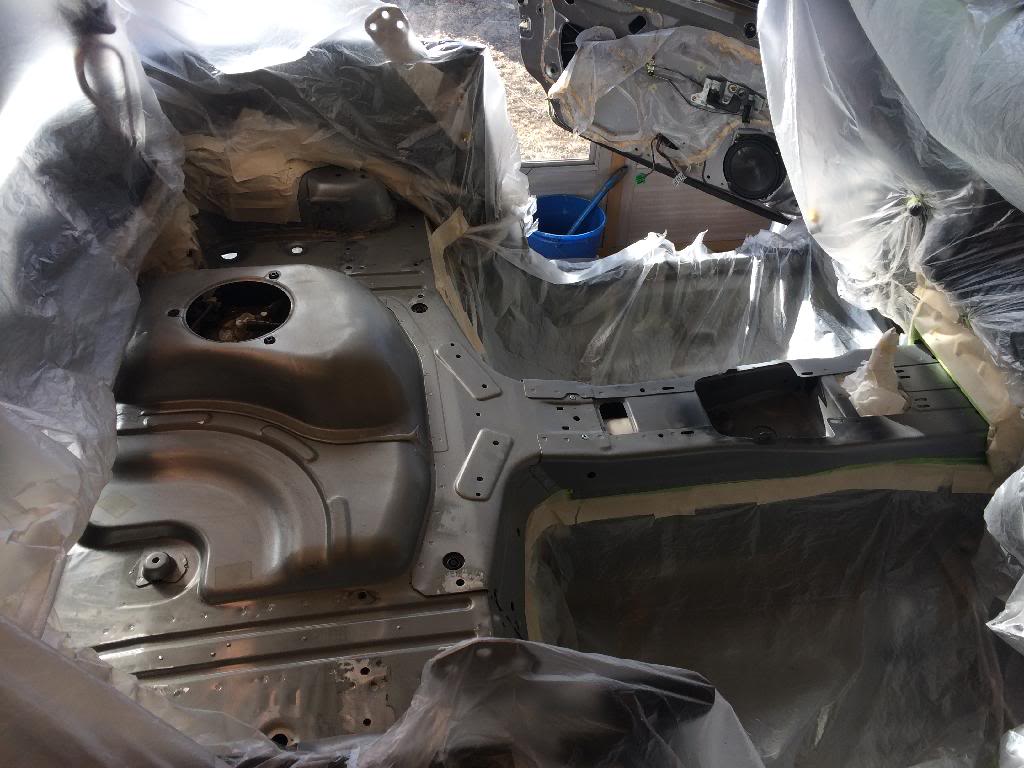
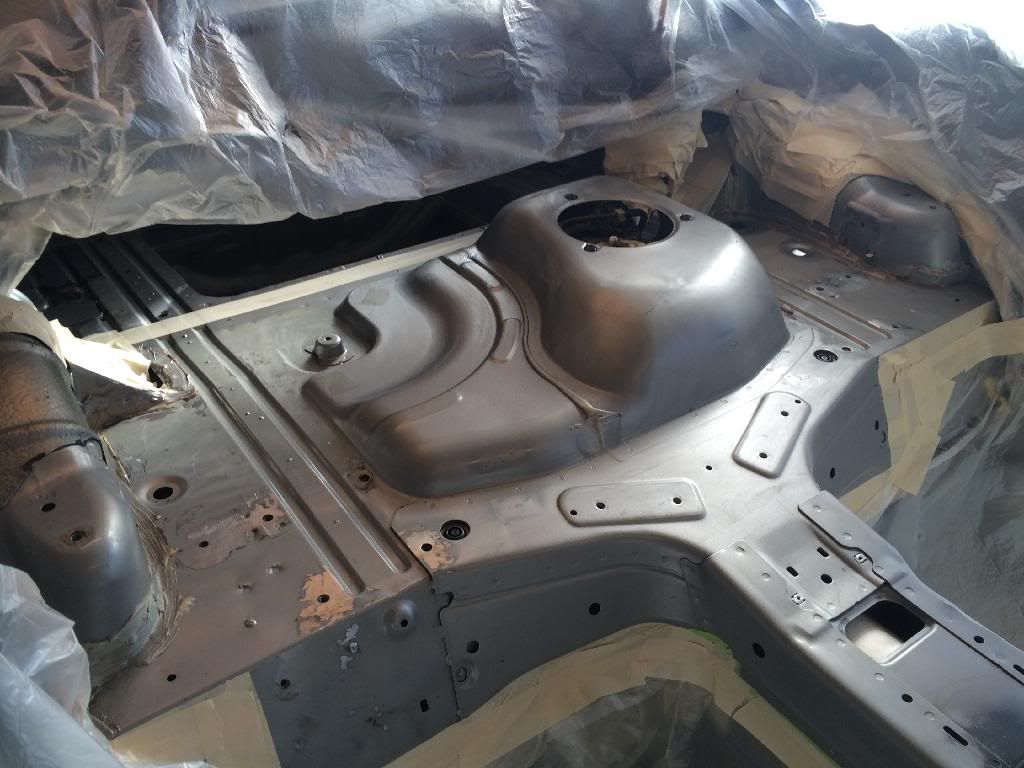
after:
The wheel wells after 14 years were also looking a bit tired so I cleaned, brushed and wired wheeled them to prep for some fresh undercoat. While I was at is I added a few extra beads to better secure the upper arm mounting points which have been known to tear out with out this treatment.
I tossed around many ideas for wheel well paint or coatings but at the end of the day this car will be used and used hard so spending a huge amount of ware to being everything down to metal and repaint a nice silver would really be worth it. I decided to just redo what Honda did from the factory and used some nice Dupicolor undercoat. It left a nice hard coating exactly like OEM so I was pleased with the results.

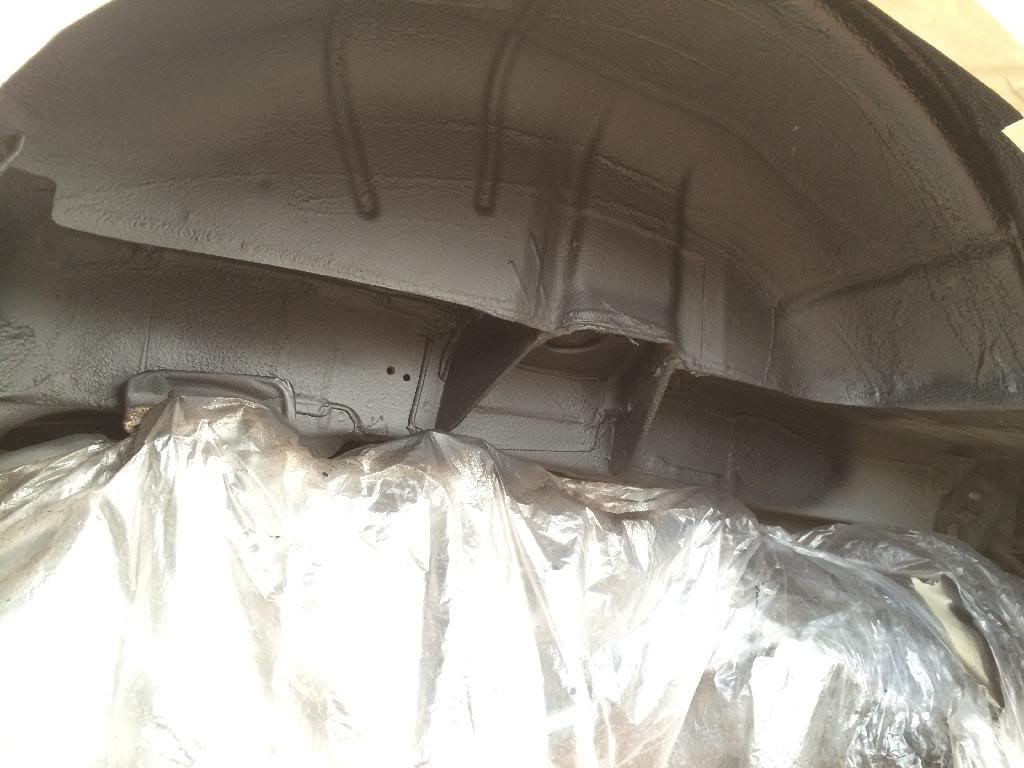
The cage and suspension arms will be painted this week(end) and then things will start to go back together!
before
after:
The wheel wells after 14 years were also looking a bit tired so I cleaned, brushed and wired wheeled them to prep for some fresh undercoat. While I was at is I added a few extra beads to better secure the upper arm mounting points which have been known to tear out with out this treatment.
I tossed around many ideas for wheel well paint or coatings but at the end of the day this car will be used and used hard so spending a huge amount of ware to being everything down to metal and repaint a nice silver would really be worth it. I decided to just redo what Honda did from the factory and used some nice Dupicolor undercoat. It left a nice hard coating exactly like OEM so I was pleased with the results.
The cage and suspension arms will be painted this week(end) and then things will start to go back together!
 it may be a bit bright for some folks but I promise when the interior and car is all said and done it will make sense.