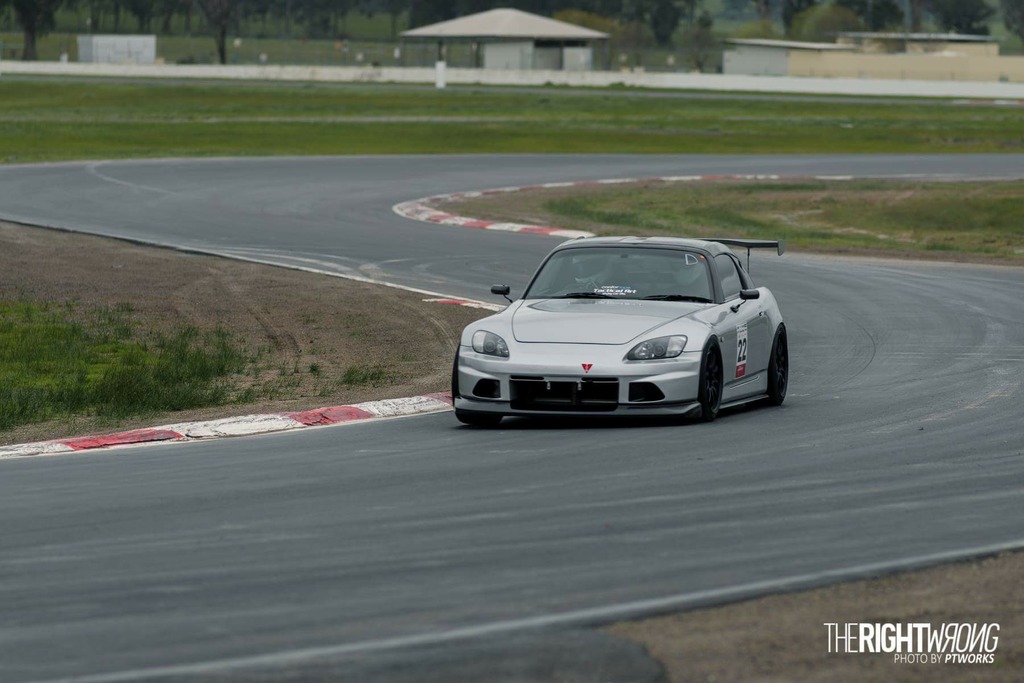
Todds track/daily s2000


 08-29-2016, 03:28 PM
#162
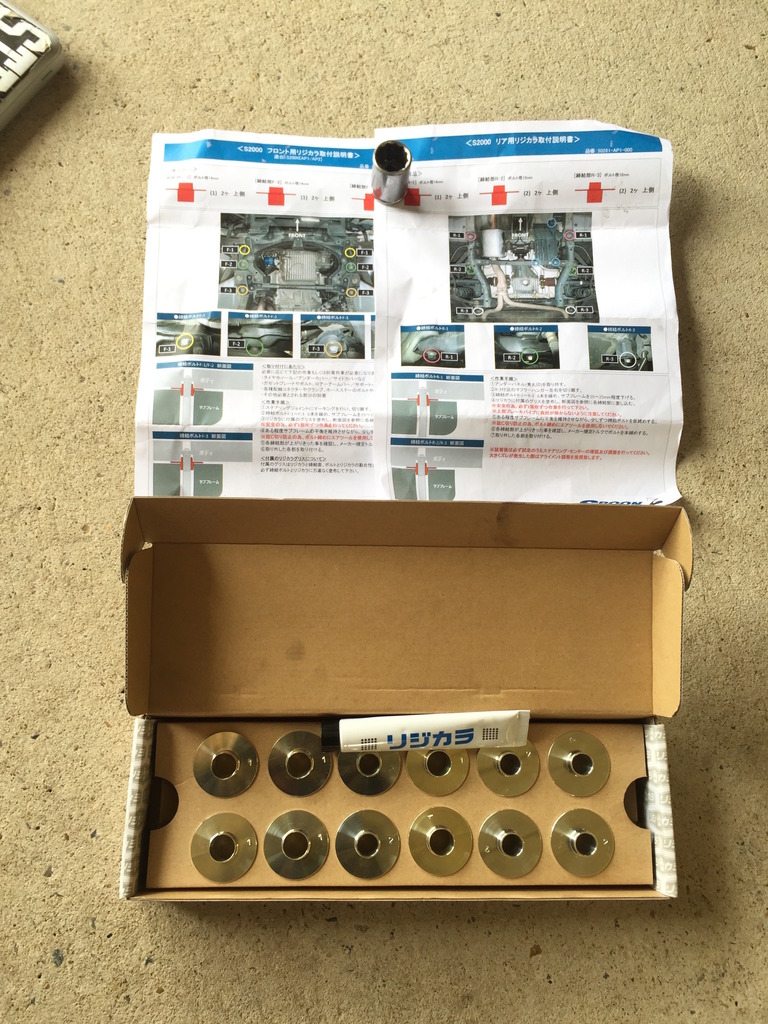
A while ago I purchased a spoon rigid collar kit through Bede at Gaijin Garage along with my rear view mirror.
Before my track day at Winton my alignment guy mentioned that my alignments although close together tend to be a fair bit out after every track day. I'm putting this down to track day abuse but maybe this install will help a bit.
The idea behind the rigid collars is that the subframe bolt holes are a lot bigger than the bolts themselves allowing for play and ease of install. The rigid collars slide into the subframe holes and center the bolt allowing for almost zero play which centers the subframe properly and should hopefully stop it from moving around as much?
Explained here in this video
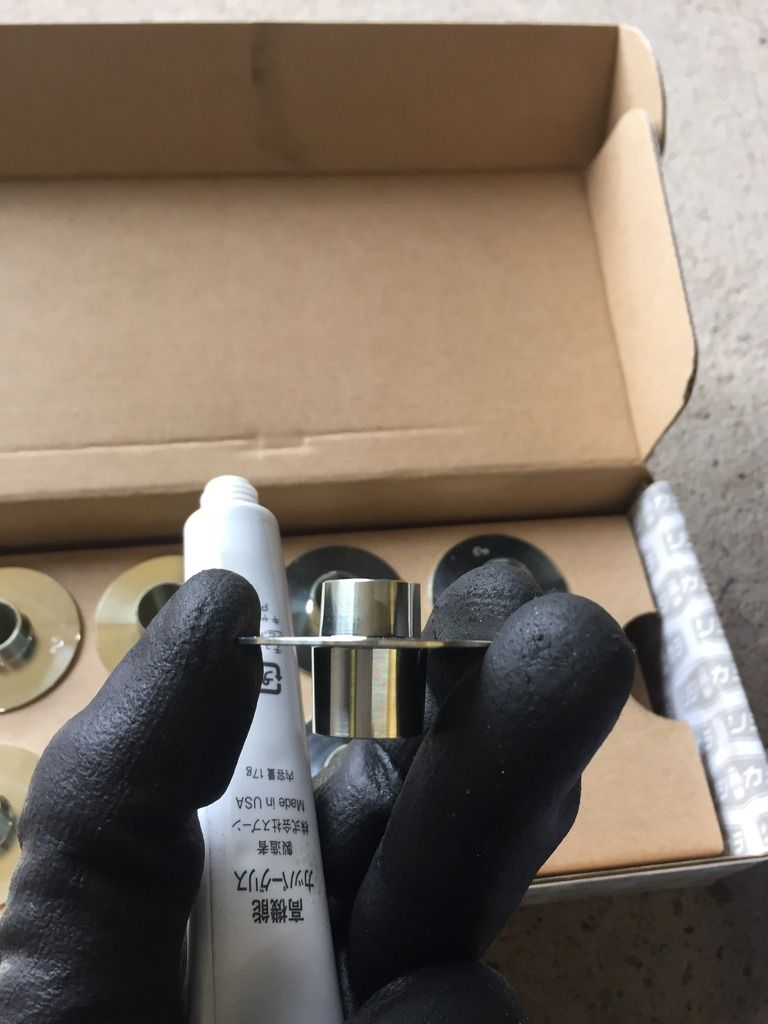
http://www.youtube.com/watch?v=zWyUD6UXfog The kit comes with all the collars for the front and rear subframes (there's two sizes for specific bolt sizes), some copper grease and instructions. Although they're in Japanese the instructions help a lot with the pictures supplied so install is easy enough.
I started with the rear subframe, which is meant to be the harder of the two.
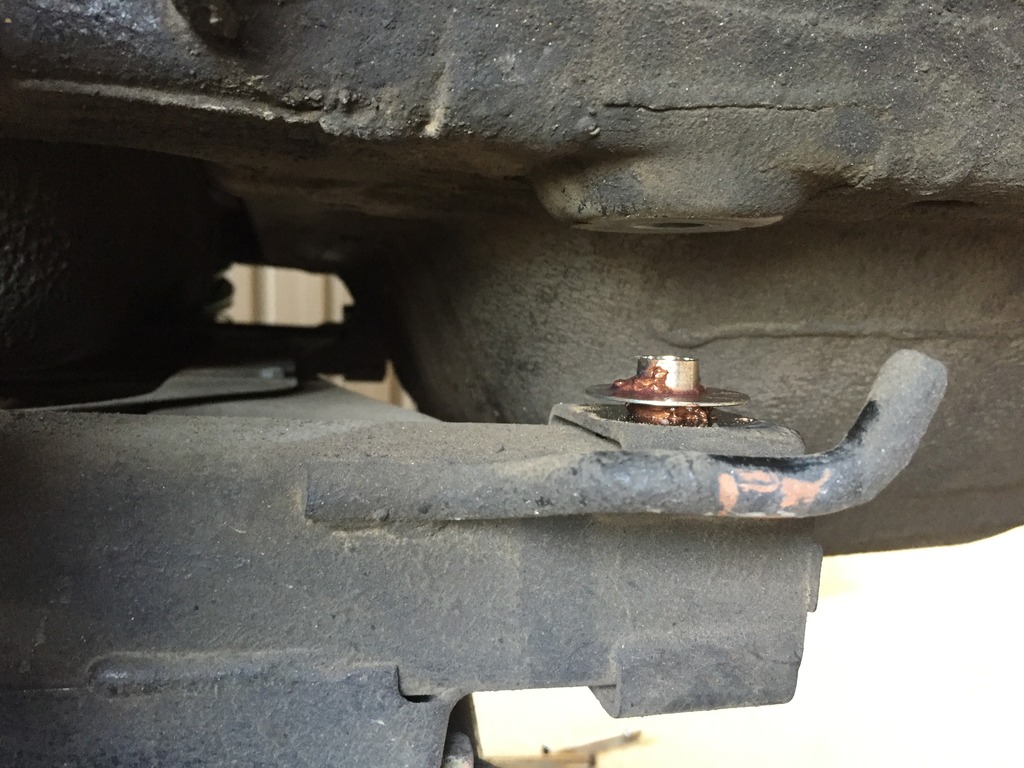
Basically support the subframe and drop the bolts out leaving about two inches room to slide the collar in. The larger side slides into the subframe and the smaller into the chassis. Apply a bit of grease on both sides to stop it from binding and once they're back in raise the subframe back up and position it back in place. This will take a bit of play as the subframe is so far out originally.
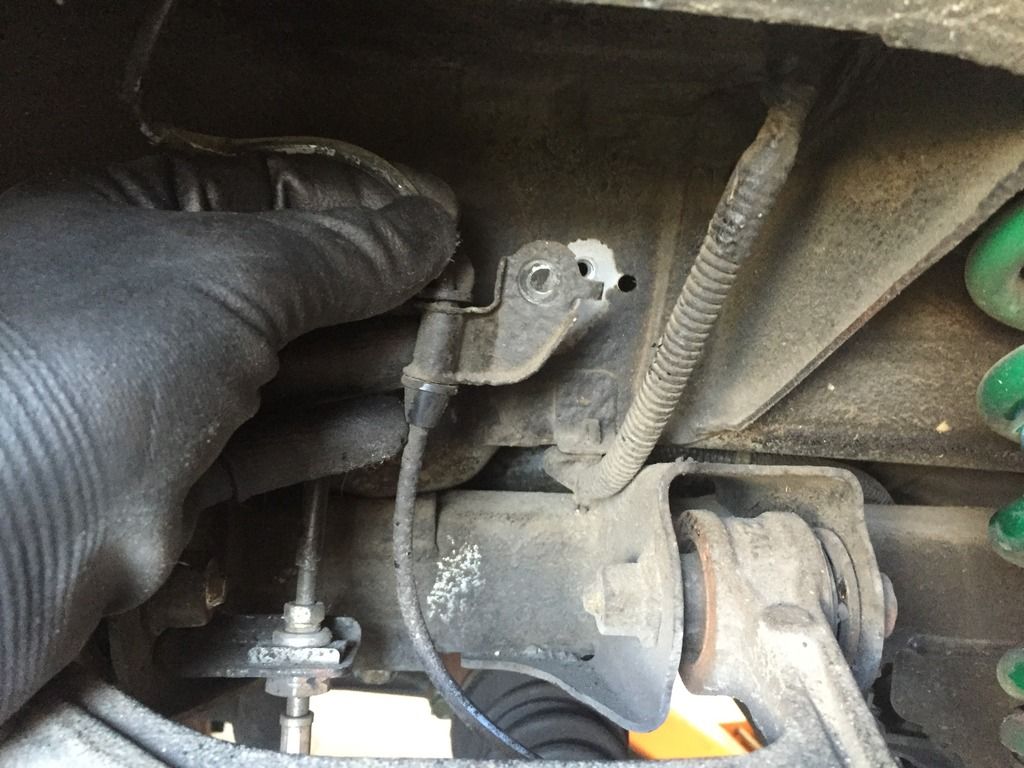
The rear subframe took me about an hour all up. I did find that removing these brake line brackets was essential as when dropped there was a lot of pull on them and I didn't want to damage them.
Front subframe is the same. Support and drop the bolts out. Install the collars the correct way with a bit of grease then raise back up and centre properly.
Now this is where I had an issue. Adjusting took forever and after 4 hours of trying I finally got it but not without lots of swearing and shouting haha
This was meant to be the easier of the two
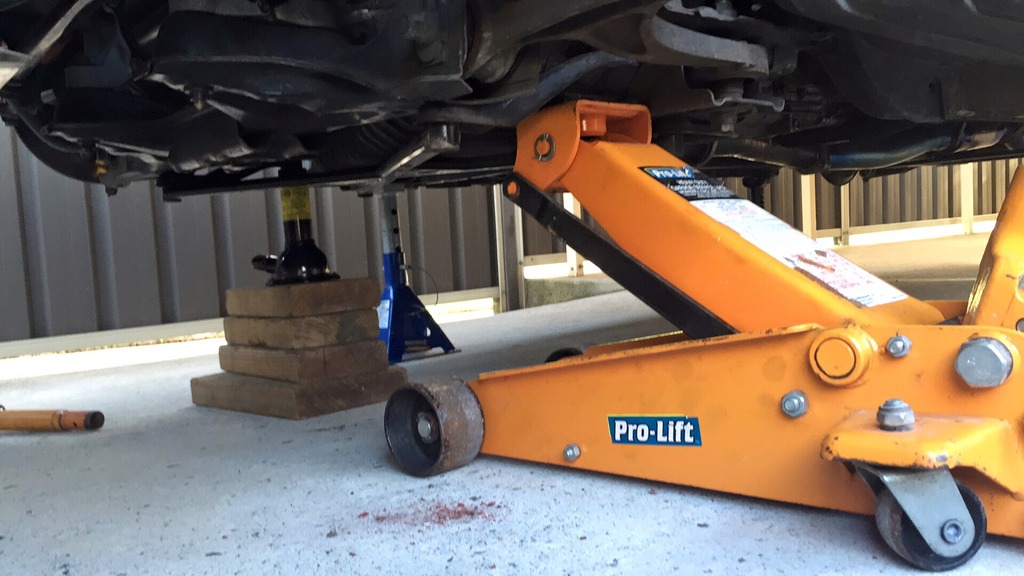
I made it difficult trying to install by myself and with one proper jack so I definitely recommend this as a two person/two jack job just to help with adjusting the subframe once the collars are in place.
Already with street driving i have noticed that the car feels a lot smoother and bumps and joins in the road dont feel as harsh through the cabin.
I got my usual wheel alignment done this morning and am getting ready to head out to SMSP for this afternoons session so we will see how they perform there but so far so good.
Before my track day at Winton my alignment guy mentioned that my alignments although close together tend to be a fair bit out after every track day. I'm putting this down to track day abuse but maybe this install will help a bit.
The idea behind the rigid collars is that the subframe bolt holes are a lot bigger than the bolts themselves allowing for play and ease of install. The rigid collars slide into the subframe holes and center the bolt allowing for almost zero play which centers the subframe properly and should hopefully stop it from moving around as much?
Explained here in this video
http://www.youtube.com/watch?v=zWyUD6UXfog The kit comes with all the collars for the front and rear subframes (there's two sizes for specific bolt sizes), some copper grease and instructions. Although they're in Japanese the instructions help a lot with the pictures supplied so install is easy enough.
I started with the rear subframe, which is meant to be the harder of the two.
Basically support the subframe and drop the bolts out leaving about two inches room to slide the collar in. The larger side slides into the subframe and the smaller into the chassis. Apply a bit of grease on both sides to stop it from binding and once they're back in raise the subframe back up and position it back in place. This will take a bit of play as the subframe is so far out originally.
The rear subframe took me about an hour all up. I did find that removing these brake line brackets was essential as when dropped there was a lot of pull on them and I didn't want to damage them.
Front subframe is the same. Support and drop the bolts out. Install the collars the correct way with a bit of grease then raise back up and centre properly.
Now this is where I had an issue. Adjusting took forever and after 4 hours of trying I finally got it but not without lots of swearing and shouting haha
This was meant to be the easier of the two
I made it difficult trying to install by myself and with one proper jack so I definitely recommend this as a two person/two jack job just to help with adjusting the subframe once the collars are in place.
Already with street driving i have noticed that the car feels a lot smoother and bumps and joins in the road dont feel as harsh through the cabin.
I got my usual wheel alignment done this morning and am getting ready to head out to SMSP for this afternoons session so we will see how they perform there but so far so good.
 11-03-2016, 04:59 PM
#164
After reading that I think I'm going to pay someone to do my rigid collars whenever I eventually get around to it  . Car look great
. Car look great

Thread
Thread Starter
Forum
Replies
Last Post