// wingz' build: flyin' low


 09-05-2015, 02:20 PM
#12


GREAT!
09-05-2015, 09:32 PM
#13

Thread Starter

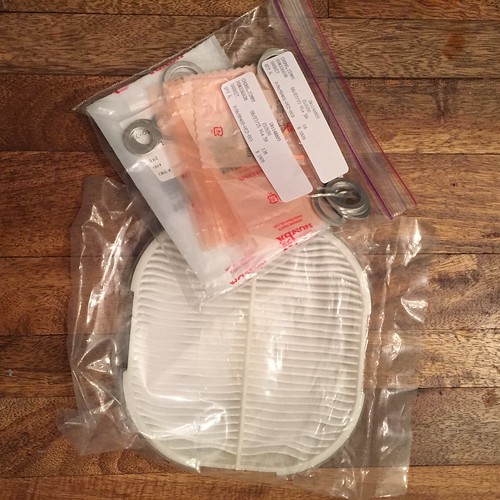
// momo mod.78 350mm leather & works short hub & rapfix ii qr (yoshioka edition)
picked up this set from evasive. thanks josh!
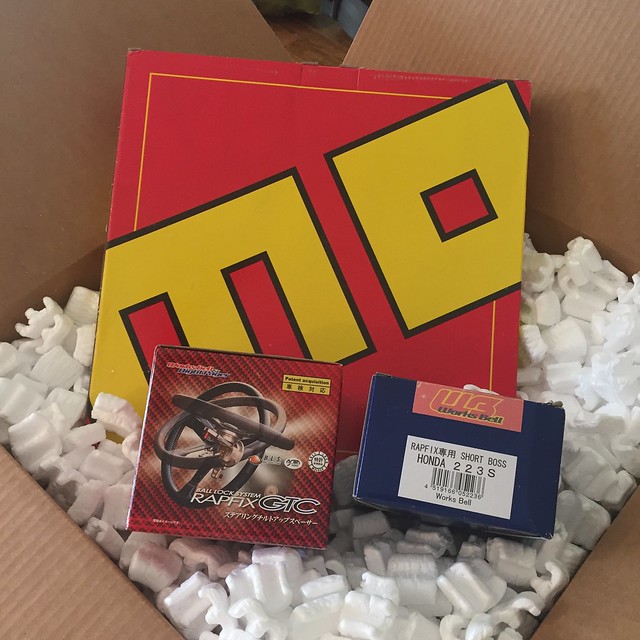
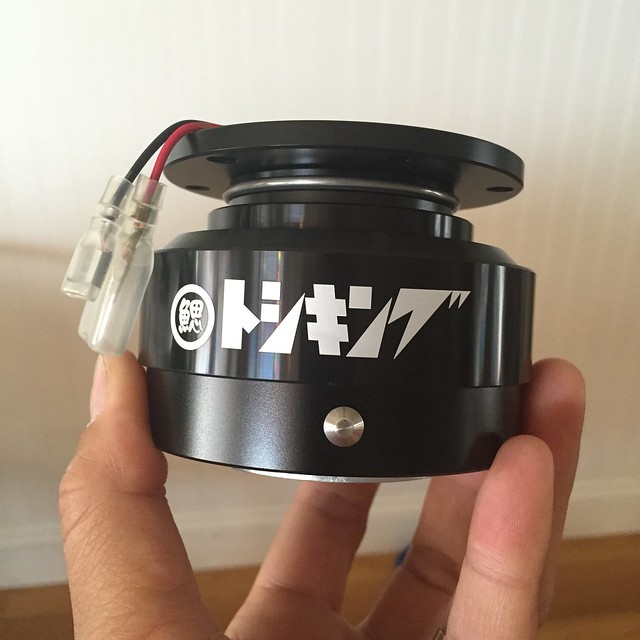
i really wanted the yoshioka edition, and evasive was the only one that i knew of that had it in stock. i personally like this black finish better than the regular black version, which is ultimately the reason why i wanted it. the japanese writing is kinda cool, too.
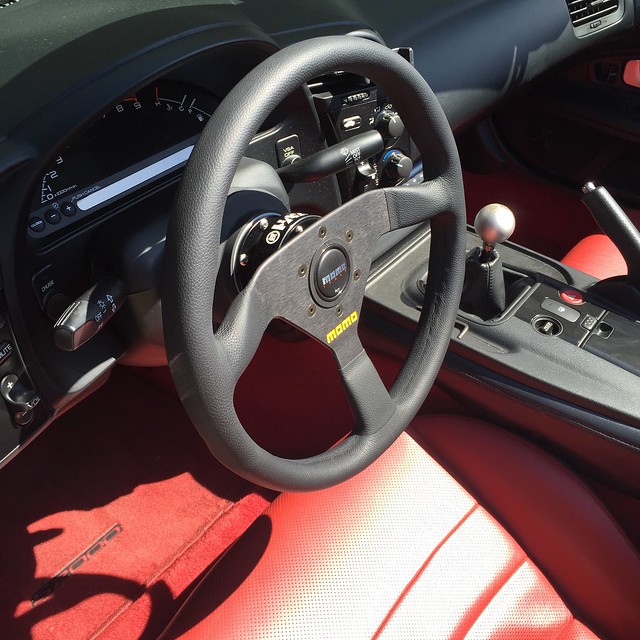
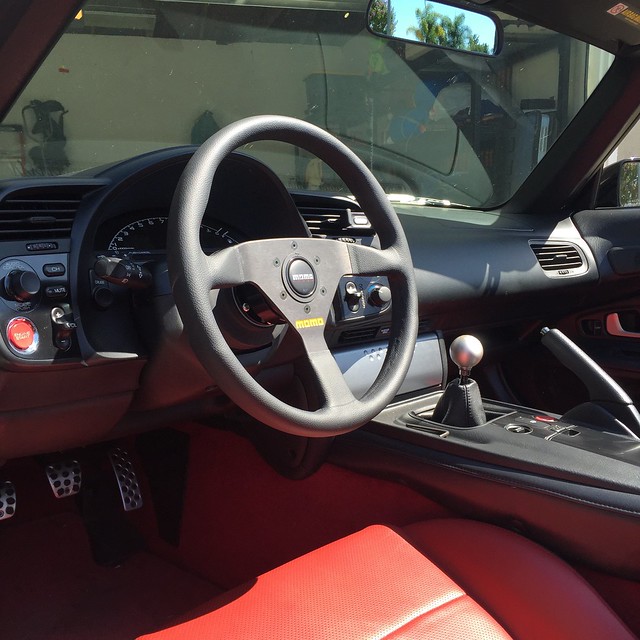
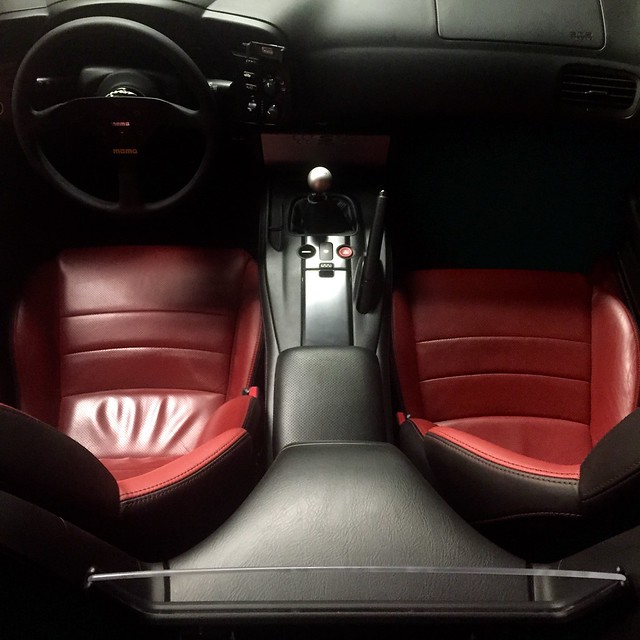
here it is installed. everything was pretty straight forward. no issues w/ the horn install, although i have issues with how it looks. thinking about getting the nsx horn, but i need to get over the fact that it will cost more than the steering wheel.
happy about the steering wheel. i personally think the mod.78 looks better than the tuner and the more popular monte carlo. all in all, i'm happy w/ the look and feel of the wheel, although i wish it were a bit thicker like the oem steering wheel.
one issue i did have was the vsa + (!) light came on during my test drive. based on some searches on s2ki, this happens time to time for some folks. in order to get rid of the light the steering angle system (sas) needs to recalibrate back to 0 degrees. i don't want to spend a couple hundred dollars for a calibration tool. i also don't want to spend over $300 for a new replacement. i'm thinking of removing the bulb, along with the tpms bulb.
picked up this set from evasive. thanks josh!
i really wanted the yoshioka edition, and evasive was the only one that i knew of that had it in stock. i personally like this black finish better than the regular black version, which is ultimately the reason why i wanted it. the japanese writing is kinda cool, too.
here it is installed. everything was pretty straight forward. no issues w/ the horn install, although i have issues with how it looks. thinking about getting the nsx horn, but i need to get over the fact that it will cost more than the steering wheel.
happy about the steering wheel. i personally think the mod.78 looks better than the tuner and the more popular monte carlo. all in all, i'm happy w/ the look and feel of the wheel, although i wish it were a bit thicker like the oem steering wheel.
one issue i did have was the vsa + (!) light came on during my test drive. based on some searches on s2ki, this happens time to time for some folks. in order to get rid of the light the steering angle system (sas) needs to recalibrate back to 0 degrees. i don't want to spend a couple hundred dollars for a calibration tool. i also don't want to spend over $300 for a new replacement. i'm thinking of removing the bulb, along with the tpms bulb.
09-05-2015, 10:01 PM
#15
Thread Starter
// challenge ss brake lines
picked these up from coquinn, bnib.
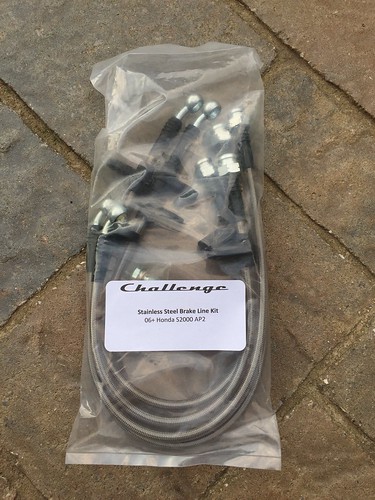
this was my first diy brake line replacement. overall, not too difficult. the hardest part is being patient. i had re-bled the brakes a couple more times because the pedal was feeling mushy. but even after that i wasn't completely satisfied w/ the feel. after doing some searches on s2ki, what ultimately did the trick was to activate abs. its fairly easy to activate abs even at low speeds. after doing this a few times, i went back home and re-bled the brakes one more time. my brakes feel rock solid now.
note: gravity bled with motul rbf 600.
// eibach front sway bar
ryan (xqizit) hooked me up with this piece. thanks ryan!

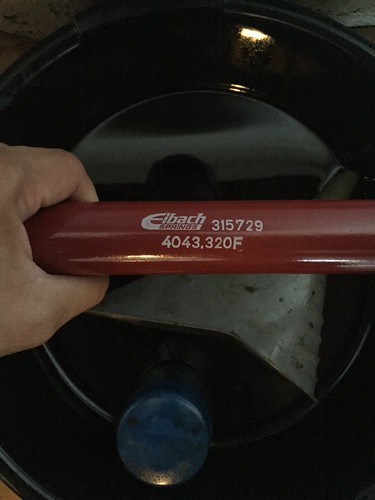
this diy was pretty easy since its a direct bolt-on. the biggest pain in the rear was getting the nuts off the end links. super annoying.
the fsb definitely decreased my oversteer significantly, but not completely. just the way i like it. the car is super stable now as i feel much more grounded and attached to the road. there is still more work to do in fine tuning my suspension. i still need to mess with my kw compression/rebound settings to accommodate my stiffer springs.
picked these up from coquinn, bnib.
this was my first diy brake line replacement. overall, not too difficult. the hardest part is being patient. i had re-bled the brakes a couple more times because the pedal was feeling mushy. but even after that i wasn't completely satisfied w/ the feel. after doing some searches on s2ki, what ultimately did the trick was to activate abs. its fairly easy to activate abs even at low speeds. after doing this a few times, i went back home and re-bled the brakes one more time. my brakes feel rock solid now.
note: gravity bled with motul rbf 600.
// eibach front sway bar
ryan (xqizit) hooked me up with this piece. thanks ryan!
this diy was pretty easy since its a direct bolt-on. the biggest pain in the rear was getting the nuts off the end links. super annoying.
the fsb definitely decreased my oversteer significantly, but not completely. just the way i like it. the car is super stable now as i feel much more grounded and attached to the road. there is still more work to do in fine tuning my suspension. i still need to mess with my kw compression/rebound settings to accommodate my stiffer springs.
09-05-2015, 10:38 PM
#16
Thread Starter
// rpf1s gone...
after much thought, i decided to sell my rpf1s. i listed them for sale in the bay area forum, and they were sold and picked within 24hrs. part of me wished i kept these as back-up wheels.
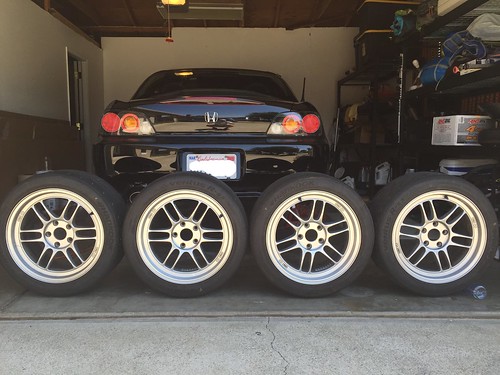
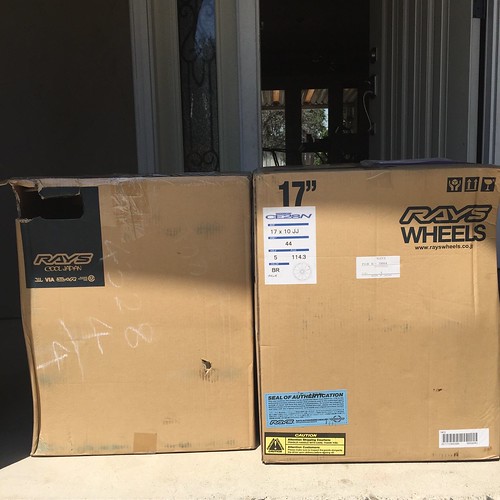
// volks ce28n, bronze - 17x10 +44 (x4)
i knew i wanted a set of ce28n, but the hardest part was deciding on the wheel specs and finish. in a perfect world, i would have loved a setup of 9.5 +47 in ti silver, mercury silver, or formula silver. another option was to go 9 +40 and wait 5 months which i was willing to do until i saw this set from icbmatt. so many people have done the black and bronze look, so i was a bit hesitant to make the leap. i figured if another set of wheels came along that i really wanted, i wouldn't have a problem finding a buyer for this set. at the end of the day, matt @ icb gave me a great deal on these which made it more difficult to pass up.
here they are in their boxes shortly after delivery.
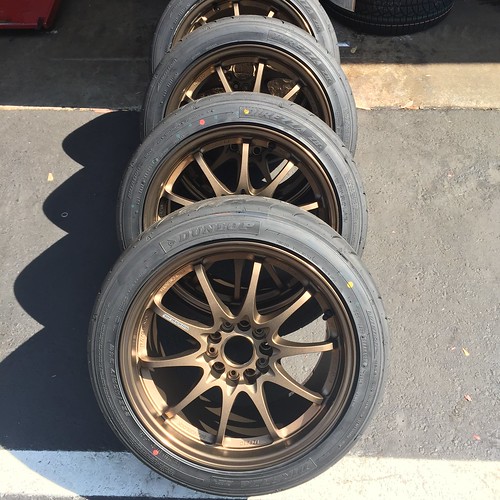
// dunlop direzza ii* - 255/40/17
i also ordered a set of tires from tire rack, which coincidentally arrived the same day i received the wheels! i immediately took them to the tire shop to get them mounted/balanced. here they are mounted and ready for pickup.
fyi, side note for all you bay area folks: avoid wheel works in dublin, ca. in short, they didn't mount and balance all of my wheels. 3 of them were out of spec which explained why i was experiencing some steering issues under acceleration and deceleration.
after much thought, i decided to sell my rpf1s. i listed them for sale in the bay area forum, and they were sold and picked within 24hrs. part of me wished i kept these as back-up wheels.
// volks ce28n, bronze - 17x10 +44 (x4)
i knew i wanted a set of ce28n, but the hardest part was deciding on the wheel specs and finish. in a perfect world, i would have loved a setup of 9.5 +47 in ti silver, mercury silver, or formula silver. another option was to go 9 +40 and wait 5 months which i was willing to do until i saw this set from icbmatt. so many people have done the black and bronze look, so i was a bit hesitant to make the leap. i figured if another set of wheels came along that i really wanted, i wouldn't have a problem finding a buyer for this set. at the end of the day, matt @ icb gave me a great deal on these which made it more difficult to pass up.
here they are in their boxes shortly after delivery.
// dunlop direzza ii* - 255/40/17
i also ordered a set of tires from tire rack, which coincidentally arrived the same day i received the wheels! i immediately took them to the tire shop to get them mounted/balanced. here they are mounted and ready for pickup.
fyi, side note for all you bay area folks: avoid wheel works in dublin, ca.
in short, they didn't mount and balance all of my wheels. 3 of them were out of spec which explained why i was experiencing some steering issues under acceleration and deceleration.
09-06-2015, 05:26 AM
#18
Thread Starter
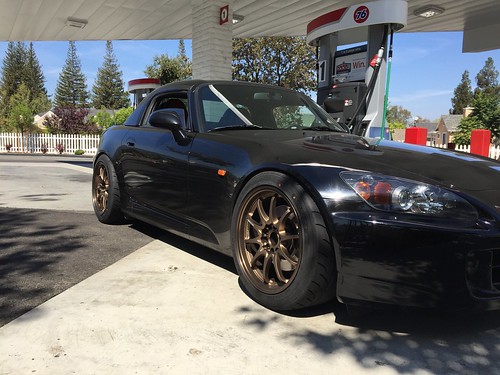
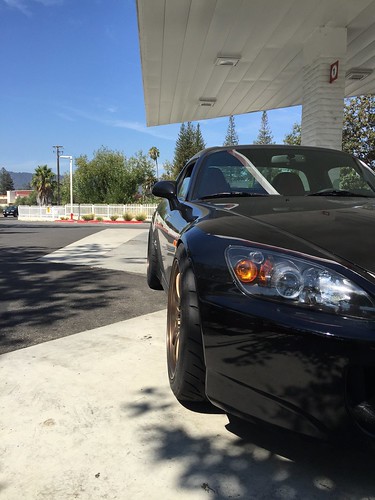
i have to admit, the bronze finish is amazing. they show off multiple tones of bronze during different times of the day. like the first pic below.
here are couple quick pics of them mounted:
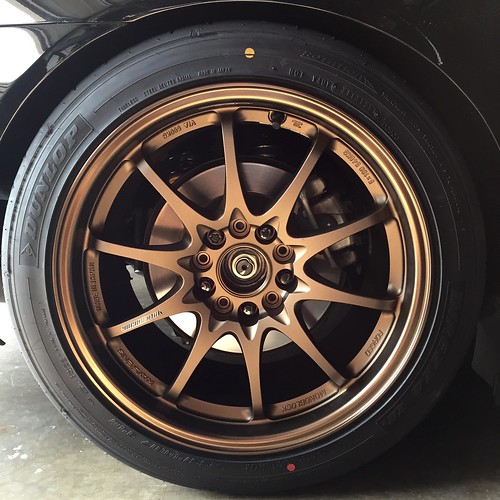
i'm still using mcgard spline lug nuts, but will get some r40 extended lugs at some point.
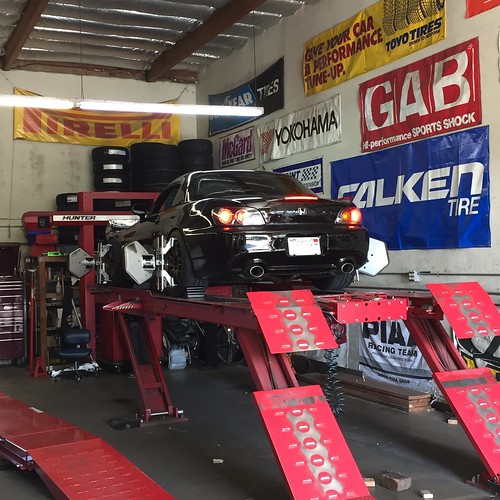
// 2nd alignment @ auto innovations
after changing springs, adjusting ride height, and getting new wheels and tires, it was time to go back auto innovations for a quick alignment.
current specs:
-3 camber all around
6.9 caster
0 toe in front
1/8 total toe-in rear
here are couple quick pics of them mounted:
i'm still using mcgard spline lug nuts, but will get some r40 extended lugs at some point.
// 2nd alignment @ auto innovations
after changing springs, adjusting ride height, and getting new wheels and tires, it was time to go back auto innovations for a quick alignment.
current specs:
-3 camber all around
6.9 caster
0 toe in front
1/8 total toe-in rear
 09-06-2015, 06:05 AM
#20
Thread Starter
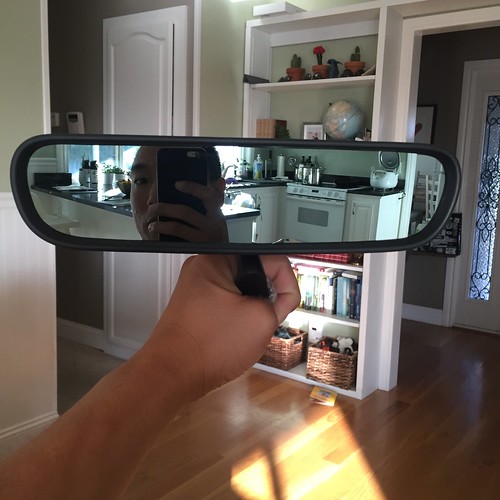
// zoom engineering ts mirror
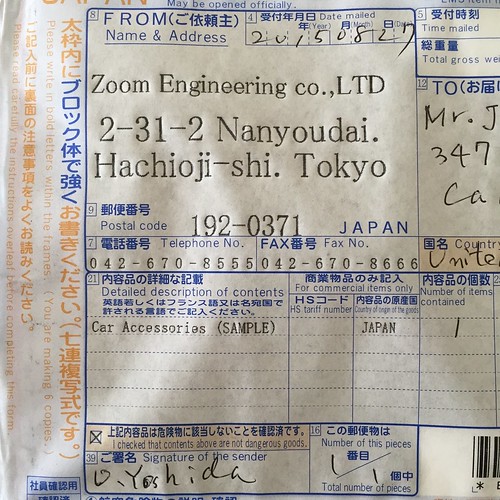
so, andrew convinced me to purchase a ts mirror. i actually went directly through zoom in japan. surprisingly got a super great deal on the mirror + bracket going through them directly. the mirror was shipped ems so it got here within a week. thank you yoshida san!

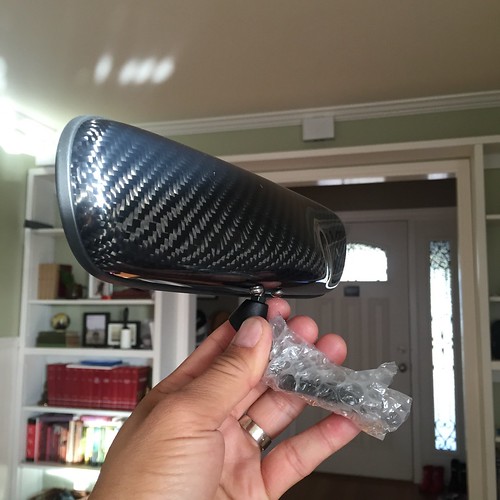
so, i'm holding it upside down. the bracket mounts on top, and the mirror hangs below it. it was just easier to take pics holding it like this.
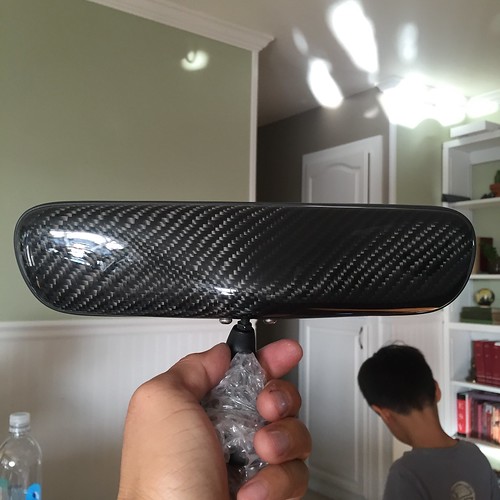
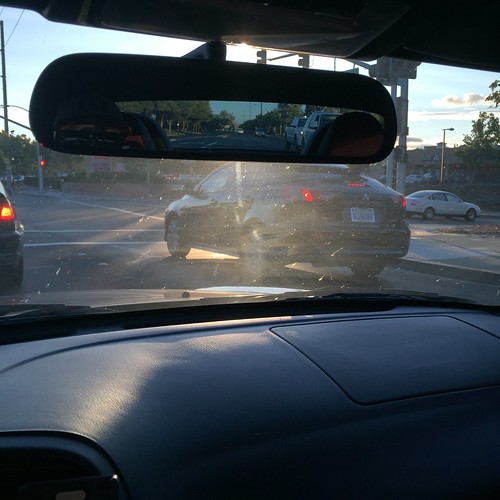
"objects are closer than they appear". the visibility of the rear view mirror matches almost exactly to the right side view mirror. the only real noticeable difference is the slight blue tint on the rear view mirror. the tint is very subtle. the main reason why i jumped on this mirror was because of the increased visibility in the rear through my hardtop. its a very noticeable difference. i can even see my blindspots through the rear view, although it is still recommended to turn your head and look before changing lanes. 
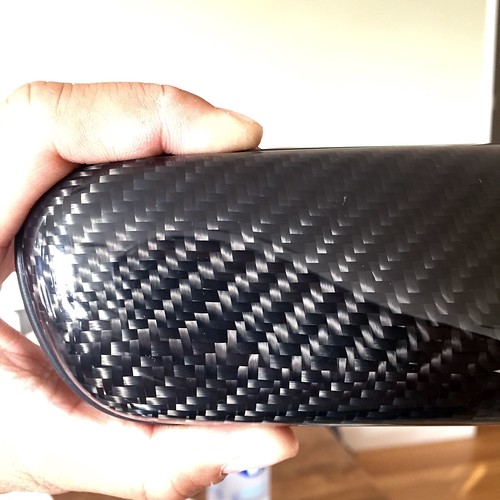
here's a close up detail of the carbon fiber. so, its definitely not mugen quality weaves. i'm a bit disappointed in the consistency of the weaves throughout the entire mirror, but i can deal with it.
the ball joint on the bracket used to adjust the mirror is much more sensitive than oem. i'm concerned that it will start slouching over time, or start moving under vibration. so far so good. only time will tell.
overall, i'm happy w/ this product.
pros:
- increased visibility (wider than oem)
- carbon fiber, super light
- plug n play install
- looks great
cons:
- quality of carbon fiber weave
- question long term durability of ball joint on the bracket
so, andrew convinced me to purchase a ts mirror.
i actually went directly through zoom in japan. surprisingly got a super great deal on the mirror + bracket going through them directly. the mirror was shipped ems so it got here within a week. thank you yoshida san! so, i'm holding it upside down. the bracket mounts on top, and the mirror hangs below it. it was just easier to take pics holding it like this.
"objects are closer than they appear". the visibility of the rear view mirror matches almost exactly to the right side view mirror. the only real noticeable difference is the slight blue tint on the rear view mirror. the tint is very subtle
. the main reason why i jumped on this mirror was because of the increased visibility in the rear through my hardtop. its a very noticeable difference. i can even see my blindspots through the rear view, although it is still recommended to turn your head and look before changing lanes. here's a close up detail of the carbon fiber. so, its definitely not mugen quality weaves.
i'm a bit disappointed in the consistency of the weaves throughout the entire mirror, but i can deal with it.the ball joint on the bracket used to adjust the mirror is much more sensitive than oem. i'm concerned that it will start slouching over time, or start moving under vibration. so far so good. only time will tell.
overall, i'm happy w/ this product.
pros:
- increased visibility (wider than oem)
- carbon fiber, super light
- plug n play install
- looks great
cons:
- quality of carbon fiber weave
- question long term durability of ball joint on the bracket