When you click on links to various merchants on this site and make a purchase, this can result in this site earning a commission. Affiliate programs and affiliations include, but are not limited to, the eBay Partner Network.
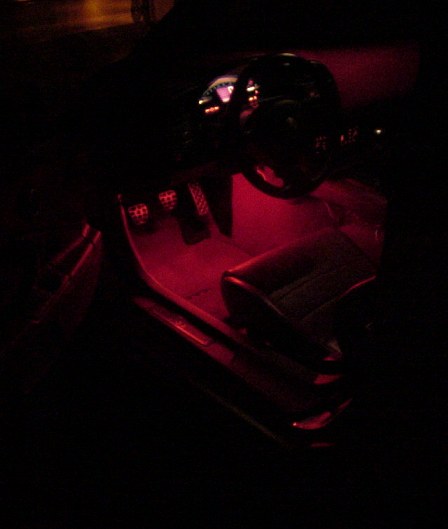
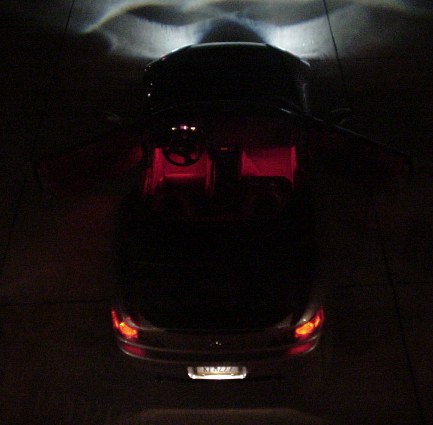
This is an install for putting in either LED or neon lights into your footwells. I did this mainly to add a bit more light to the interior of my S2000. I thought the red neon would be a nice touch. The finished product looks something like this:
With this install, you will have the neon lights turn on 2 different ways. There is a toggle switch that when in the relay/off position makes it so the lights come on only when the driver or passenger door opens. If you flip the switch, the neon lights stay on all the time, for a nice show car interior effect. I am by no means an electrical technician, and this is a true layman's terms install, since I knew jack squat about this before I started. Pardon if my part names and diagram are crude.
You will need:
2 neon light tubes (i used 2 15" tubes from circuit city)
electrical tape
wire cutters and scissors
vampire taps
some 18 or 24 gauge wire to run to the battery or other 12v source
i used an adjustable wrench for the bolts
toggle switch (5A is good) (this switch has 2 positions)
automotive relay (I used a 20/30A 12v)
zip ties
20A fuse and fuse holder to put into power wire that runs to battery
female wire connectors to hook onto the relay
flash light would help too
I also want to thank macguyver for help with my initial install.
This is the basic wiring for the relay and install (slightly modified from the original thread):
This is the underside of the relay. (it does not have to have an 87a as that is not used in this application)
To start, take your neon tubes and cut the neon wires from the 12v cigarette adapter plugin (since most come from the store like this). Then figure out where you are going to place the tubes. I was able to wedge the tube in the right of the footwell for the passenger side. This can be done right away.
The driver's side I was able to use zip ties to tie up to wires and plastic on the underside of the steering column. I'd wait to do this as it will make it easier to wire everything else without the neon tube in the way. (this pic was before I zip tied it up snug and underneath)
Remove the radio/kick panel on both sides of the center console. This is a rounded triangular shape piece of plastic that is held in by plastic tabs so you should be able to pull it off. Run the wires for the passenger neon light through the console once you remove these panels. (here is the passenger side removed)
Since you need to ground the negative wires from each tube, I tied the two together and then grounded them to the bolt shown on the driver's side radio kick panel. Here is the driver's side removed and the ground wires shown.
Now tie the positive wire from each tube together and connect them to one receptor on the toggle switch.
Next you can run the electrical wire from the 12v battery. I also put my 20a fuse and fuse holder in right at the battery. Here is where I ran the wire from the battery. You can see it runs up over the engine and over the oil cap. Incidentally I ran this wire along the same route my power wire ran for my sub amplifier. I would not actually connect the wire to the battery until you are completely finished with the rest of the install.
Now you need to remove the kick panel on the left side of the driver's footwell. To do this open the door and pull up and remove the "S2000" panel door guard. Next reach back behind the clutch and to the left and there is one plastic screw which you need to pop out to remove this kick panel. Simply get your hand underneath the panel and pull, and the plastic screw/clip will pop out. You can see where the screw connects into in this picture here. It is just to the left of the clutch, right below the big chunk of cables.
You will also need to pull the hood release latch as you continue to slide this entire panel out. You'll notice another plastic screw attaches to the top of this panel as it runs up the inside of the door jamb near the door hinge. I never disconnected this piece, as once you pull out the kick panel, the entire thing can just swivel on this screw and out of the way.
Then you can run the wire down through the hole in the firewall on the driver's side, as seen here.
This is where the wire will come into the footwell through the firewall to the left of the clutch pedal.
Now, take this wire and attach it to the 87 connector on the relay as shown in the diagram. I then took another piece of about 6 inch wire and vampire tapped into the wire from the battery. I then attached this 6 inch wire to the 85 connector on the relay. (since 85 and 87 both have to run to the 12v source)
Lastly, I took another section of wire and attached one end to the open connector on my toggle switch, as shown in the diagram. The other end I used a vampire tap to once again tap into the wire that ran directly to the 12v battery source.
NOTE: there may be another constant 12v source you can tap into rather than running right to your battery, but this was the easiest and most available method for me at the time I did this.
Next take a section of wire and attach one end to the 30/50 connector on the relay. Use a vampire tap to tap this wire into BOTH positive wires from the neon tubes BEFORE it connects to your toggle switch. I was able to get all 3 wires (the 2 + neon wires and the relay wire) into one vampire tap just fine.
(there is another alternative to this. You can get a 2 way switch, with 3 connectors (a true spst switch) on the back. the first 2 connect up the same way, however you can use the 3rd to connect your 30/50 relay wire to, instead of tapping into the positive wires. In essence, you'd then toggle between the door and the always on position.) Here you can see such a setup in this diagram that macguyver drew. Hindsight, I probably would have gone this route had I known how to, but again, I'm no electrician and this was my first install like this.
Likewise, if you dont want to install a toggle switch to manually turn on the lights at all, you can simply connect the positive wires of the neons to the 30/50 connection on the relay. This means it will ONLY turn on the neons when the doors open, and you will have no switch to turn them on yourself.
You're almost done! The last tap you need to make is into the door switch wire that runs into the keyless entry remote module. Take a section of wire and attach one end to the 86 connector on the relay. Take the other end and use a vampire tap to tap into the GREEN with gray spots/sections wire that runs into the module. Here are detailed pictures to see this tap.
As you can see in the above picture, the remote keyless entry module is located up under the left side of the steering column. It is that white connector seen just to the left of the middle of the above picture. Here you can see a picture of where this wire bundle from the module is located in relation to the hood release latch. You can see my vampire tap in both the above picture and the following picture.
Note the wire in the pic looks almost yellow, however it is a light green color with the silver sections.
Now figure out where you'd like to place your toggle switch. I was able to wedge mine under the steering column as seen here.
Now make sure your doors are closed and go back and finally attach the 12v wire to the positive terminal on the battery. Now test it. (assuming the toggle switch is turned to the relay connection) -when you open either door, the neons should come on. Get in the car and close the door and the neons go off. Now test the switch. Flip it and the neons should come on even though both doors are closed.
Once everything is working to your satisfaction, you can zip tie, and use electrical tape to secure all of your wires. Put the kick panel back on the same way you took it off, and you're done.
If anyone has comments or anything to add, please let me know and I will edit the post. If I missed something let me know!
A pair of neons won't draw that much amps, why even bother using a relay? Relays are used to trigger high current, but I think the use of a relay in this project is really overkill. Alot of wiring could have been avoided.
 02-15-2005, 02:15 PM