When you click on links to various merchants on this site and make a purchase, this can result in this site earning a commission. Affiliate programs and affiliations include, but are not limited to, the eBay Partner Network.
S2Ki has seen a lot of great info on cracked valve retainers, but there's never been a comprehensive DIY for replacing them. Hopefully this thread will save people from some of the exhaustive searching that I did.
Please comment and I'll try to make updates with your suggestions. In particular, I haven't attempted to cover spring/guide/seat replacements (cause I didn't do it!). I'm happy to add those steps if someone provides the narrative and pictures (I know krazik has posted some pics). For now I'll just point out where they would occur.
Background:
The phenomenon of F20C retainers experiencing cracking due to mechanically-induced over-revs has been known on this board since the early days of AP1 production, but a sea change occurred in 2004. Honda's new F22C design used revised retainers, and it wasn't long before Billman250 posted this thread: https://www.s2ki.com/forums/index.php?showtopic=236314
Titled "Disturbing Find Today/Motor Ready to Blow", the thread would ultimately clarify the specific symptoms and point to the DIY remedy given here (i.e. replacing the F20C retainers with F22C retainers). That thread's particularly notable since Woodwork (a top NSX/S2000 engineer in Torrance) made one of his very rare posts in it: he noted that F20C engine failures observed during normal driving were often due to one or more previous over-revs. Specifically, F20C intake-valve retainers can crack during valve float, but their ultimate (and inevitable) catastrophic failure might occur only after a long while, and could even happen during normal cruising. Frighteningly, the motor will run absolutely normally right up to the moment of failure. Woodwork never specifically said it (perhaps there wasn't enough data at the time), but it soon became clear that the F22C retainer design was indeed stronger; in fact, the upgraded part has never been known to fail.
Note: The exhaust-side retainers of the F20C, although identical to the intake-side, have also never been observed to fail, due to the lower stresses on the exhaust valvetrain. Therefore, if you're keeping the stock springs, you only need to replace the intake-side retainers. (If using upgraded springs, you'll want to do the exhaust side as well; the procedure is identical.)
Note: I found six cracked retainers, but none were severe, and the check described above was inconclusive at best. The only sure way to find all the cracked parts is to remove them, in which case you may as well replace them.
OK, to the DIY.
=============
Disclaimer: In a nutshell, this DIY involves removing and reassembling the valve cover, cams, valve springs, and possibly the rocker assembly. Some special tools are required, and a valve clearance adjustment is necessary. Finally, there are about 3 dozen steps in the procedure that aren't spelled out here -- instead, they are "incorporated by reference" to other DIY threads. So, if you're attempting this, you should consider yourself somewhat experienced with auto repair (enough to have acquired a half-decent set of automotive tools), and of course you must have a copy of the S2000 Helm manual.
Parts: (sufficient for intake side only) 8 F22C valve retainers, part number 14765-PRB-A01 16 F22C retainer keepers ("cotters"), part number 14781-PCX-004
Tools:
'00-'03 Helm manual (pdf scan widely available on the web; all Helm page references are from this version)
Overhead-valve spring compressor tool (and possibly an angle-grinder to modify it)
Magnetic screwdriver or pick-up tool
Compressed-air source
Air hose with a spark-plug-thread adapter (usually included with compression-test or leakdown-test kits)
Torque wrench
5mm hex wrench
Ratchet wrench, metric sockets/extensions
5/8" spark plug socket tool
Deep socket, less than about 1/2"
19mm box-end wrench or low-profile ratchet/socket
Pliers
Small needle-nose pliers or tweezers
Flat-head screwdriver
Clean shop towels
Several pairs of latex or vinyl gloves (optional)
Valve-adjustment tools (e.g. feeler gauges; see nibble's thread).
Prep:
Conduct the usual prep (ensure you have plenty of light; protect your front fenders with a blanket; gather all the needed tools and parts; read and understand the whole procedure; ideally recruit a helper; etc.). For this job, you'll want to clear off some surfaces on which to place the valve cover, cams, and cam caps (and potentially the rocker assembly). Spread clean shop towels over the surfaces.
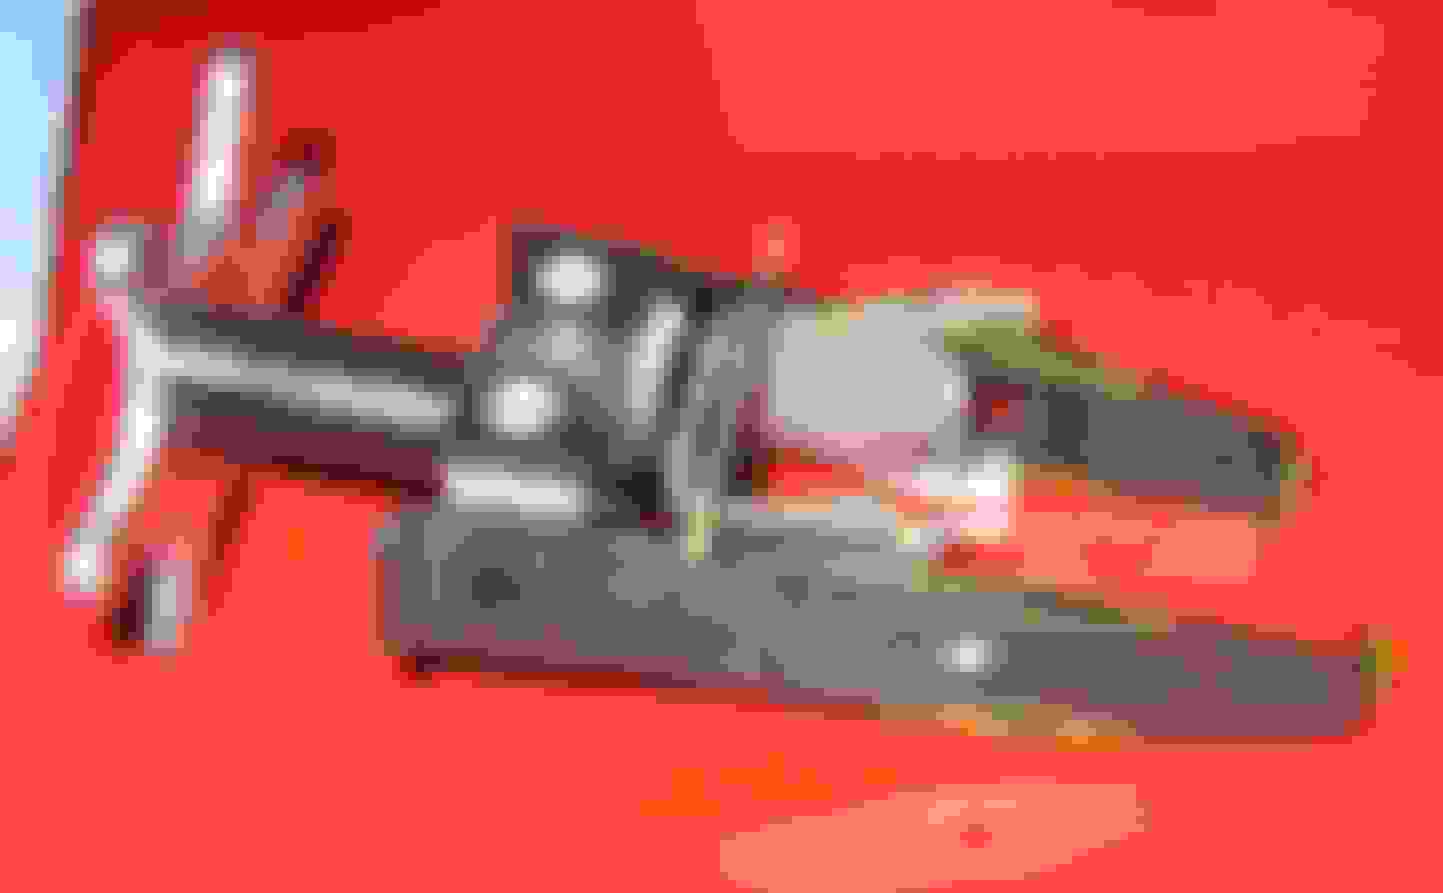
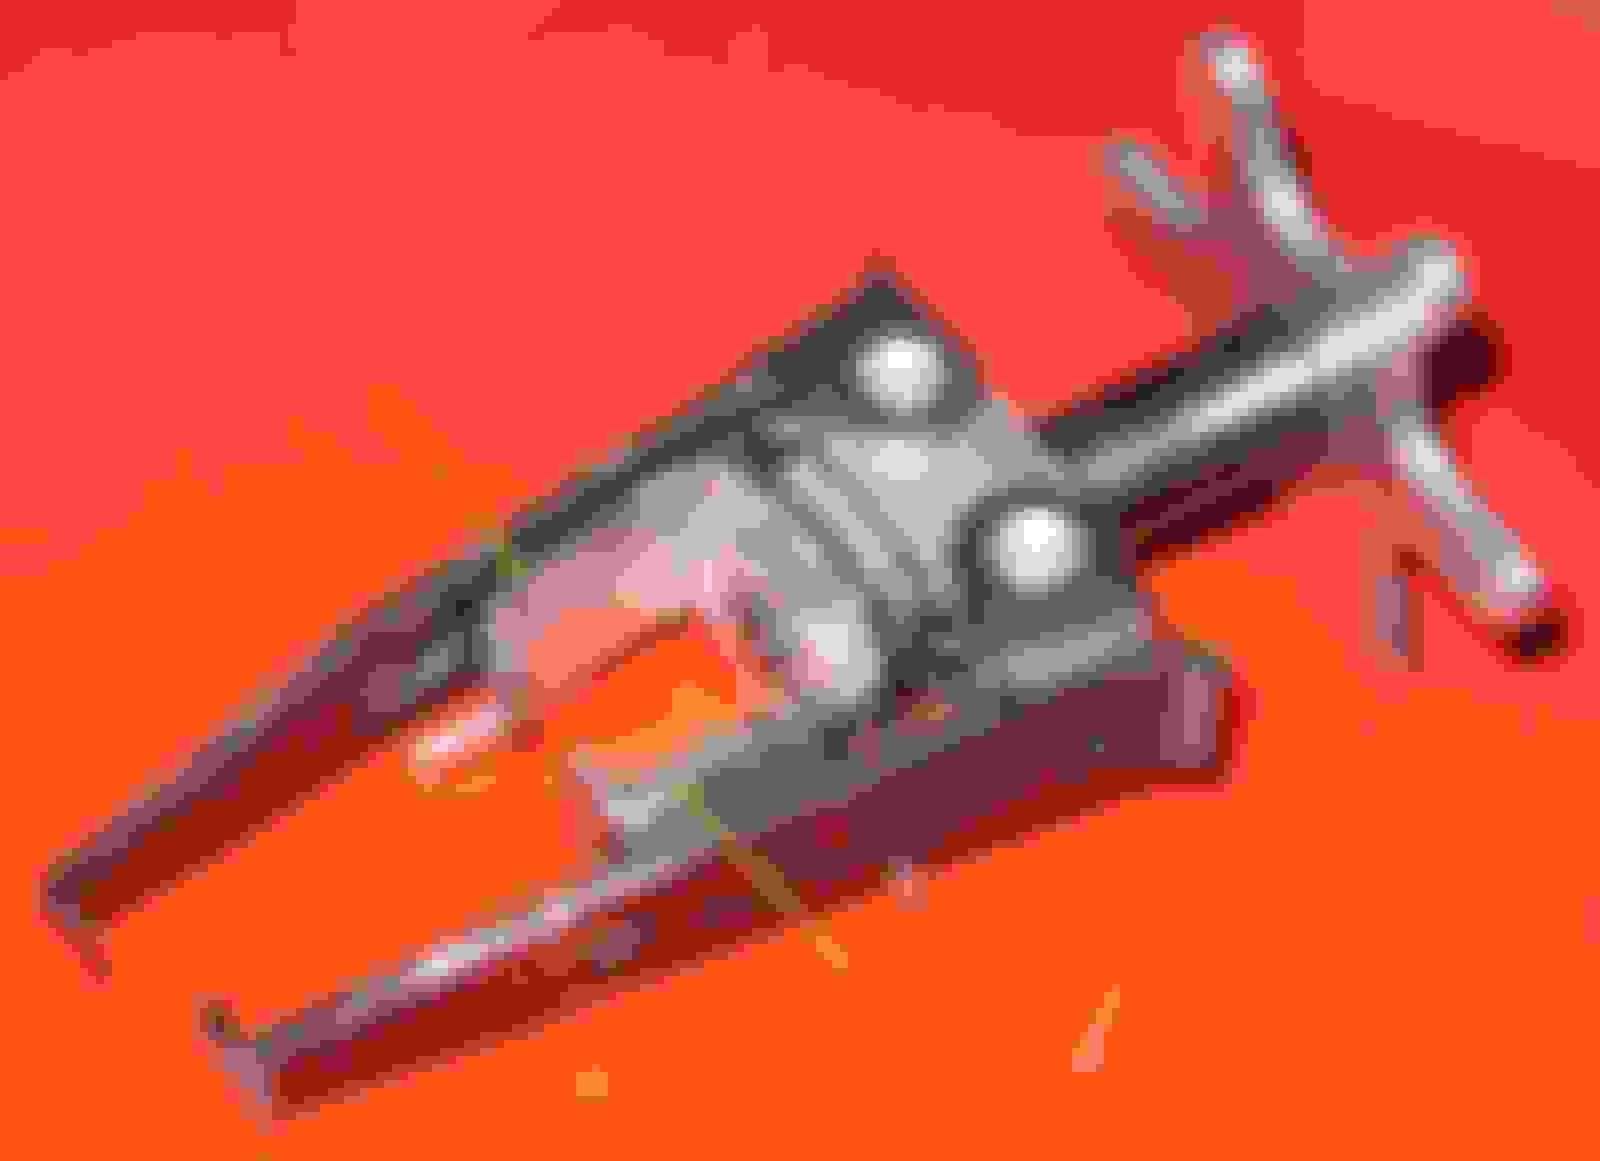
Assuming you're using a typical overhead-valve spring compressor tool, it's wise to grind it down to better fit in the confined spaces of the F20C head (thanks to Billman250 for the tip). Here's the tool most of us have used; something similar is available at most local auto parts stores. I've indicated the places I ground it down using a cheap 4" angle grinder (I'd already hacksawed off one of the metal tabs before deciding that wasn't going to work out). Don't be hatin' on my mad Paint skillz.
The final state of the tool...You might also want to close down the inner metal arms a bit, as indicated by the arrows (the outer black arms open completely out so this can be done with big pliers or a vise).
Finally, when taking a break with the valve cover off, cover the exposed head with a towel or sheet of plastic to keep out dust and debris.
2) Make sure the car is in neutral. Use the 19mm wrench on the crankshaft bolt to turn the engine to TDC for cylinder #1: the marks on the cam gears will align as shown below (page 6-12 in the Helm manual).
3) Remove the cam caps and cams as follows (p. 6-30 in Helm):
a) Loosen the rocker arm adjusting screws
b) Loosen the cam cap bolts in the reverse order of that shown on p. 6-49.
c) Lift off the cam caps and cams, set them aside on a clean surface.
d) If you're just replacing retainers, it's not necessary to remove the rocker arm assembly. Just rotate the rockers/followers up off of the springs, exposing the retainers.
Note that leaving the rockers in place limits even further the available space for the spring compressor tool, but obviously it saves some steps. If you're replacing springs/guides/seats as well, you'll definitely remove the rockers (see krazik's thread for pics of the head without rockers).
4) Stuff wads of clean shop towels in all the oiling holes in the head, to prevent stray keepers from dropping into the block. Pic below shows the general locations of the oiling holes; you'll want to peer around with the shop light to find all of them. It also shows the rockers rotated up off of the retainers.
5) Remove the spark plug from cylinder #1, screw in the air hose adapter, and connect the compressed air source. This is just to keep the valves from dropping into the cylinder after the keepers are removed, so you only need 30-40psi; much more and you'll start spinning the crankshaft. Pic below shows the adapter hose and one of my old plugs.
6) Carefully position the valve spring tool and compress one of the intake springs, pushing the compressed spring/retainer down the valve stem toward the head, exposing the keepers. Use the magnetic pick-up tool to retrieve the keepers and set them aside.
(Above photo is actually from when I was inserting the new parts, but it looks about the same.)
Stuck Keepers: If the entire valve moves along with the compressed spring when you push down, the keepers are stuck. Release the tension on the spring and remove the tool. Place a deep socket over the retainer, and give the socket a few taps with a hammer; you might have to increase the force progressively (and you might want to turn up the air pressure a bit). It's hard to know exactly when the keepers are knocked loose, and it's a pain going back and forth with the compressor tool and the hammer/socket. The only hint I can give is that I noticed that while they're still stuck, the hammer blows will make a hollowish "thunk" sound; once the keepers are freed, the sound changes abruptly to more of a "clack". So listen for "thunk-thunk-thunk-thunk-thunk-clack." Be prepared for particularly stubborn keepers to pop out suddenly (that's why you filled the oil holes and have a magnetic pick-up tool!).
7) Lift the spring and retainer out, release tension on the spring, and set the old retainer aside. Rub a drop of engine oil over the new retainer, set it on the spring, and compress the spring again with the tool. If you forgot the spring orientation, the end with the more closely-wound coils is the bottom end (i.e. it sits on the spring seat in the head); the retainer sits on the more loosely-wound top end. My original factory springs also had some paint on the top end.
8) Place the the compressed spring with new retainer back over the valve stem. Using fine needle-nose pliers, tweezers, or similar tool, carefully place the new keepers between the retainer and the valve stem. The wider, ridged end of the keeper is the top edge.
(photo = deja vu?)
9) Release the spring tension, making sure that the keepers seat themselves properly in the ridge on the valve stem.
10) Repeat steps 6-9 for the other intake valve.
11) Turn off the air, remove the hose adapter, and replace the spark plug (tighten to 18 lb-ft).
12) Repeat steps 5-11 for the other three cylinders.
13) Rotate the rockers/followers back down over the valves (or reinstall the rocker assembly).
14) Set the cams and caps back in place so that the cam gears and cam chain sprocket are aligned for TDC on cylinder 1. (If the crank has moved, be sure to rotate it back first.) Here's a good thread on cam alignment: https://www.s2ki.com/s2000/topic/543034-
15) Gradually tighten the cam cap bolts in the proper sequence (Helm p. 6-49), making 2 or 3 runs through the sequence before getting to 16 lb-ft.
16) Adjust the valve clearances to spec, per Helm pages 6-12 and 6-13. Also see nibble's thread.
17) Reinstall the valve cover, connectors, ignition coils, etc. per Helm.
18) Start 'er up and pray (not necessarily in that order)!
If you are replacing the springs and seats there are some other steps involved.
Oh, and be sure to put some of the long bolts that hold the cam assembly together back into the cam while it is out of the engine (as shown in this picture). If you don't the whole thing can come apart, and then you have a nice little jigsaw puzzle of cams and rockers and VTEC pins and ... well, you have a real mess.
The Helm manual describes how to do this. I really, really should have followed the directions, but I got so excited about taking the cams off that I didn't notice this step....
To be clear, the usual scenario of cracking the keepers is due to an over-rev. This over-rev is caused only by down-shifting into the wrong gear compared to the road speed, correct? It's not possible to call slamming into the hard rev limiter an over-rev?
I ask because I've hit the soft limiter numerous times while autocrossing and hit the hard limiter once (1st gear acceleration, probably a slight downhill to boost acceleration, no "pop-pop-pop" limiter, a complete loss of power until speed/revs reduced sufficiently).
Yes, mechanical over-rev only; riding the limiter is perfectly harmless. Retainer cracking occurs during valve float, when the rockers lose contact with the cams and the spring slams the valve shut abruptly. This doesn't occur till somewhere north of 9000 rpm. See Woodwork's post in the thread mentioned at the top.
 02-21-2008, 02:56 PM


 Be prepared for particularly stubborn keepers to pop out suddenly (that's why you filled the oil holes and have a magnetic pick-up tool!).


