My crazy build! Shaving the engine bay
 03-04-2010, 06:55 PM
#1

Thread Starter

Well I finally decided to go all out. First it was a simple wire tuck and now it evolved into a full shave. I've been going at it since September of last year.
This will document my build. For now enjoy the pictures and I will add more specific details as time goes by.
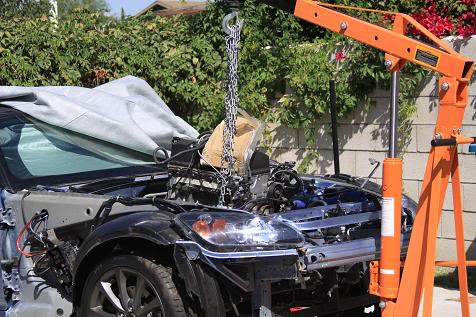
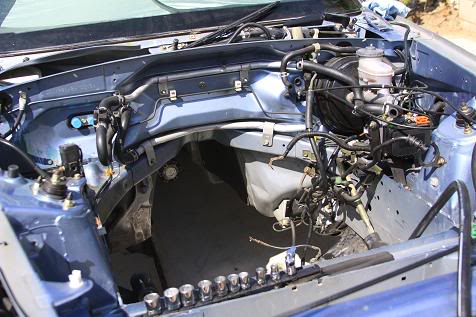
Pictures 1-9:
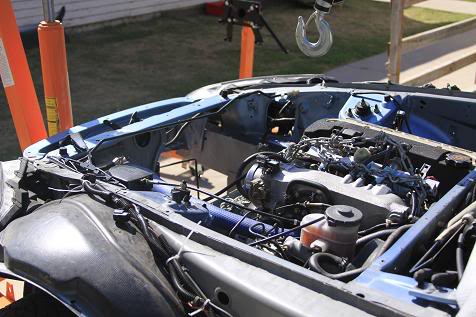
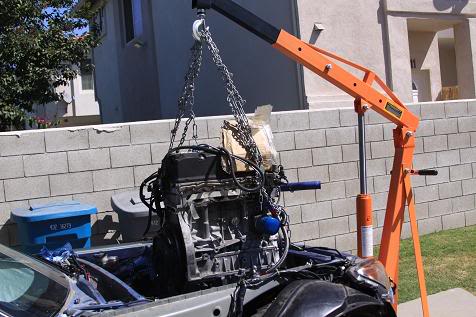
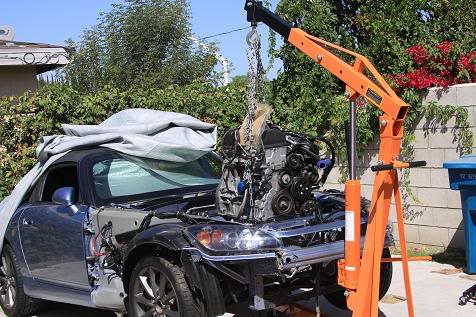
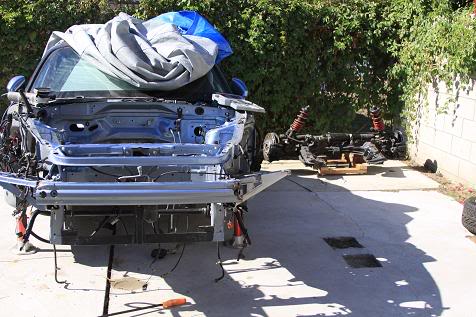
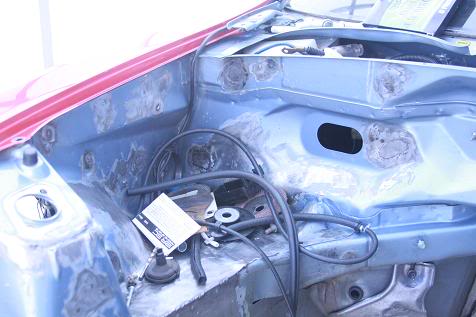
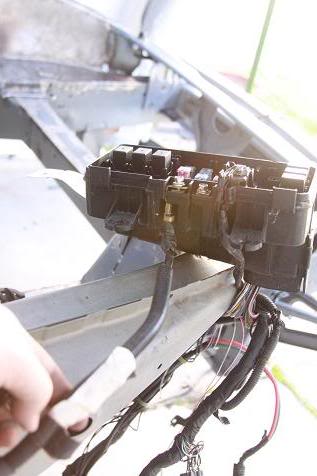
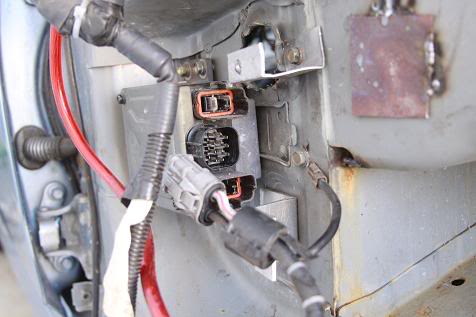
Pulling the motor out having already completed a partial wire tuck on the passenger side including EPS module, Fuse Box, and wiring harness.
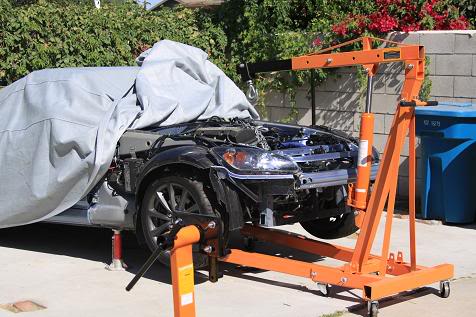

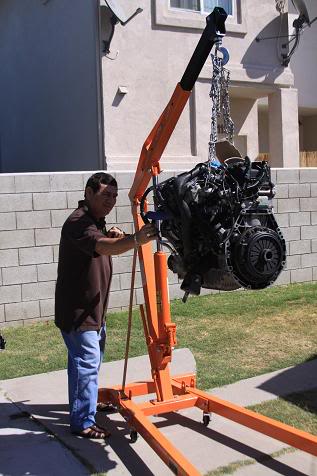
The old man (dad) helping out...
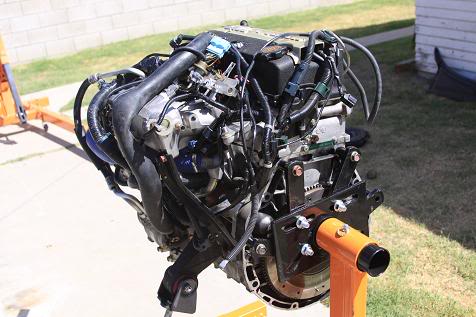
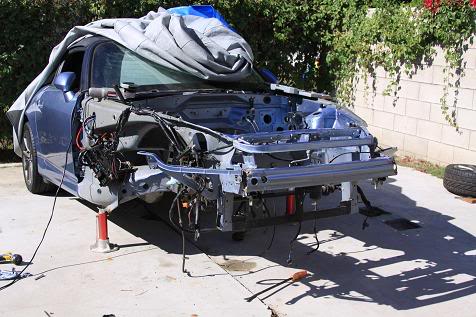
No more engine!!!
Masterpiece of engineering.
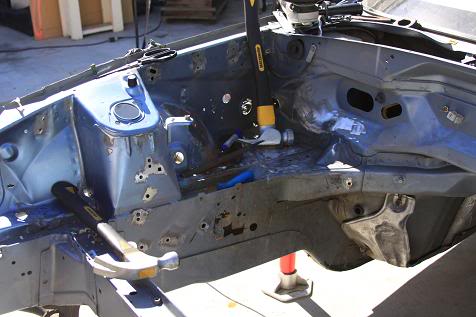
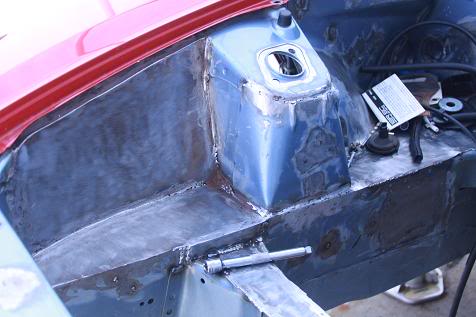
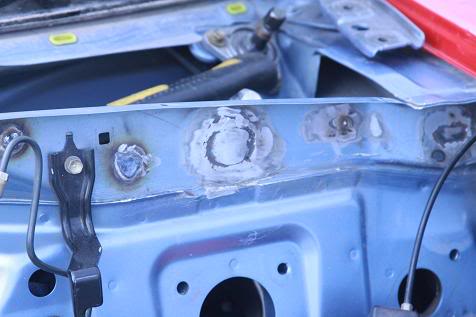
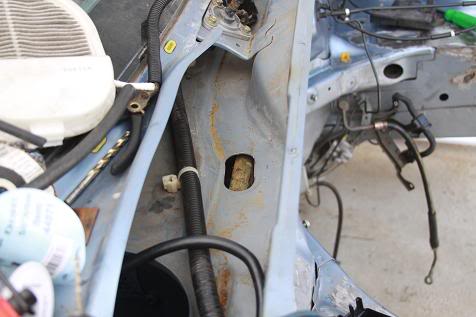
Starting grinding away paint to prepare for welding. I used a grinder with a 120 grit flap disk. The flap disk is better to use since it prevents any nasting gouging that may be caused by using a hard disk in the hands of the inexperienced (which I was at the beginning)
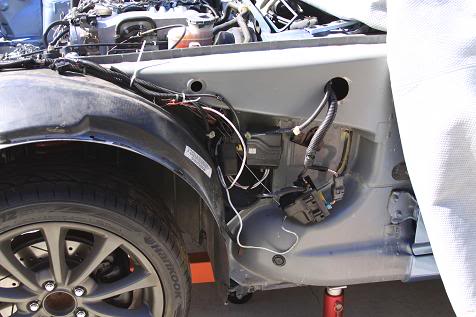
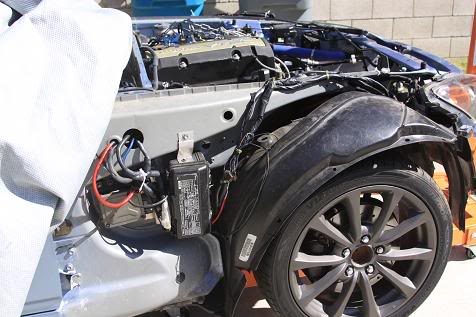
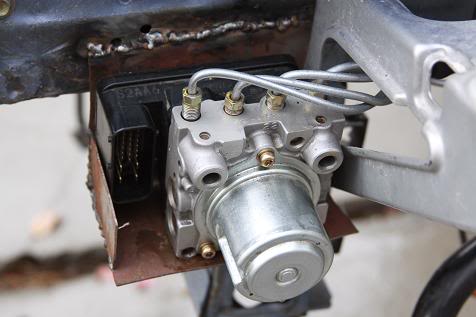
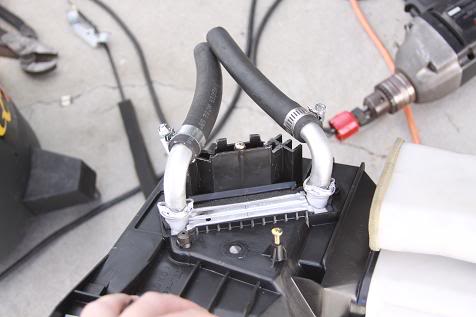
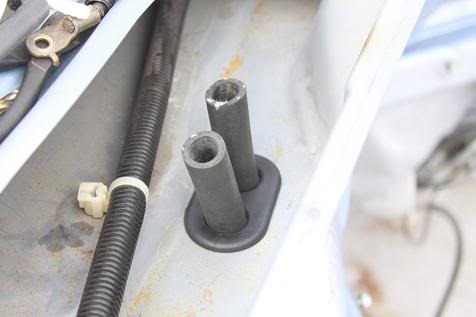
ABS relocation:
I made a custom bracket to hold the ABS module. This is not a show/trailer queen so keeping it as stock as possible was one of my priorities. I made custom hardlines using 3/16 steel tubing from:
http://www.summitracing.com/parts/SUM-220136/
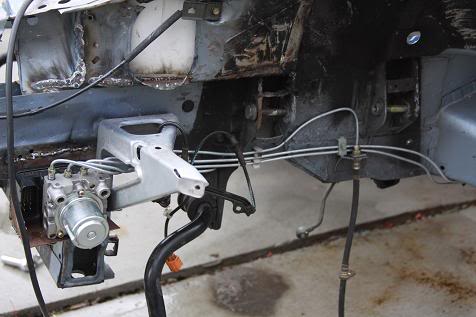
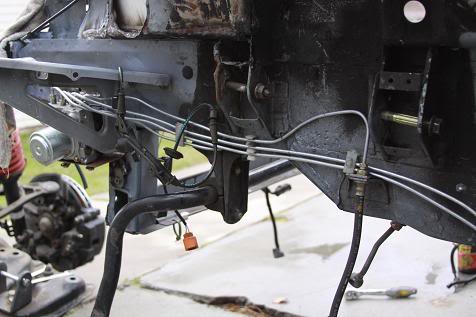
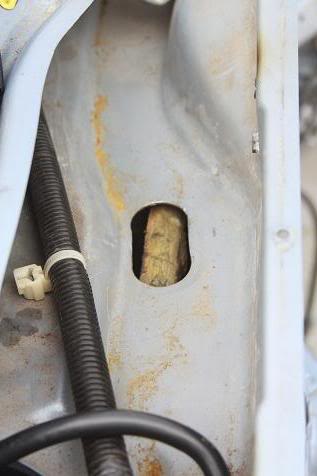
I also cut up some patches of sheet metal to close of the headlight harness access points. I used 18 gauge steel.

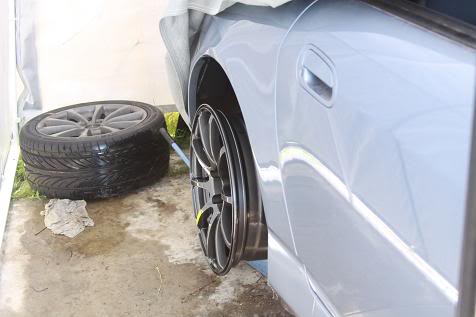
A little teaser of my future wheels....gotta love em
This will document my build. For now enjoy the pictures and I will add more specific details as time goes by.
Pictures 1-9:
Pulling the motor out having already completed a partial wire tuck on the passenger side including EPS module, Fuse Box, and wiring harness.
The old man (dad) helping out...
No more engine!!!
Masterpiece of engineering.
Starting grinding away paint to prepare for welding. I used a grinder with a 120 grit flap disk. The flap disk is better to use since it prevents any nasting gouging that may be caused by using a hard disk in the hands of the inexperienced (which I was at the beginning)
ABS relocation:
I made a custom bracket to hold the ABS module. This is not a show/trailer queen so keeping it as stock as possible was one of my priorities. I made custom hardlines using 3/16 steel tubing from:
http://www.summitracing.com/parts/SUM-220136/
I also cut up some patches of sheet metal to close of the headlight harness access points. I used 18 gauge steel.
A little teaser of my future wheels....gotta love em

 03-04-2010, 09:11 PM
#7
Thread Starter
Originally Posted by justind,Mar 4 2010, 08:14 PM
sweet!
why are your fenders red in a few pics though?
why are your fenders red in a few pics though?
Thanks James!


