When you click on links to various merchants on this site and make a purchase, this can result in this site earning a commission. Affiliate programs and affiliations include, but are not limited to, the eBay Partner Network.
How To Guide: Install a racing transponder in your s2000
DIY Guide: How to Install a Racing Transponder in an S2000
PLEASE INSTALL AT YOUR OWN RISK AND TAKE PROPER SAFETY PRECAUTIONS. I TAKE NO RESPONSIBILITY FOR ANYTHING THAT OCCURS AS A RESULT OF YOU FOLLOWING MY INSTALLATION INSTRUCTIONS. I WROTE THESE AS A HELPFUL GUIDE ONLY.
I looked for one of these prior to doing my install and came up empty handed so I thought I would put a guide together to demonstrate how I installed mine. I needed a transponder for NASA Time Trials, but many different racing organizations use them for timing and scoring.
The model I purchased is the MyLaps X2 Transponder for Car. You can find it at: WWW.MYLAPS.COM
I got the DIRECT POWER option. Here’s why: The unit comes with a rechargeable battery that supposedly lasts like 4-5 days. You can just use the unit that way but then you have to remember to recharge it before each event. For a minimal fee you can ad the direct power option when you order it which allows you to connect it to the car’s power so you never have to worry about charging it. By hooking the unit up to the car’s accessory power source it turns on every time I start the car and turns off when I turn the car off. SIMPLE. Set it and forget it.
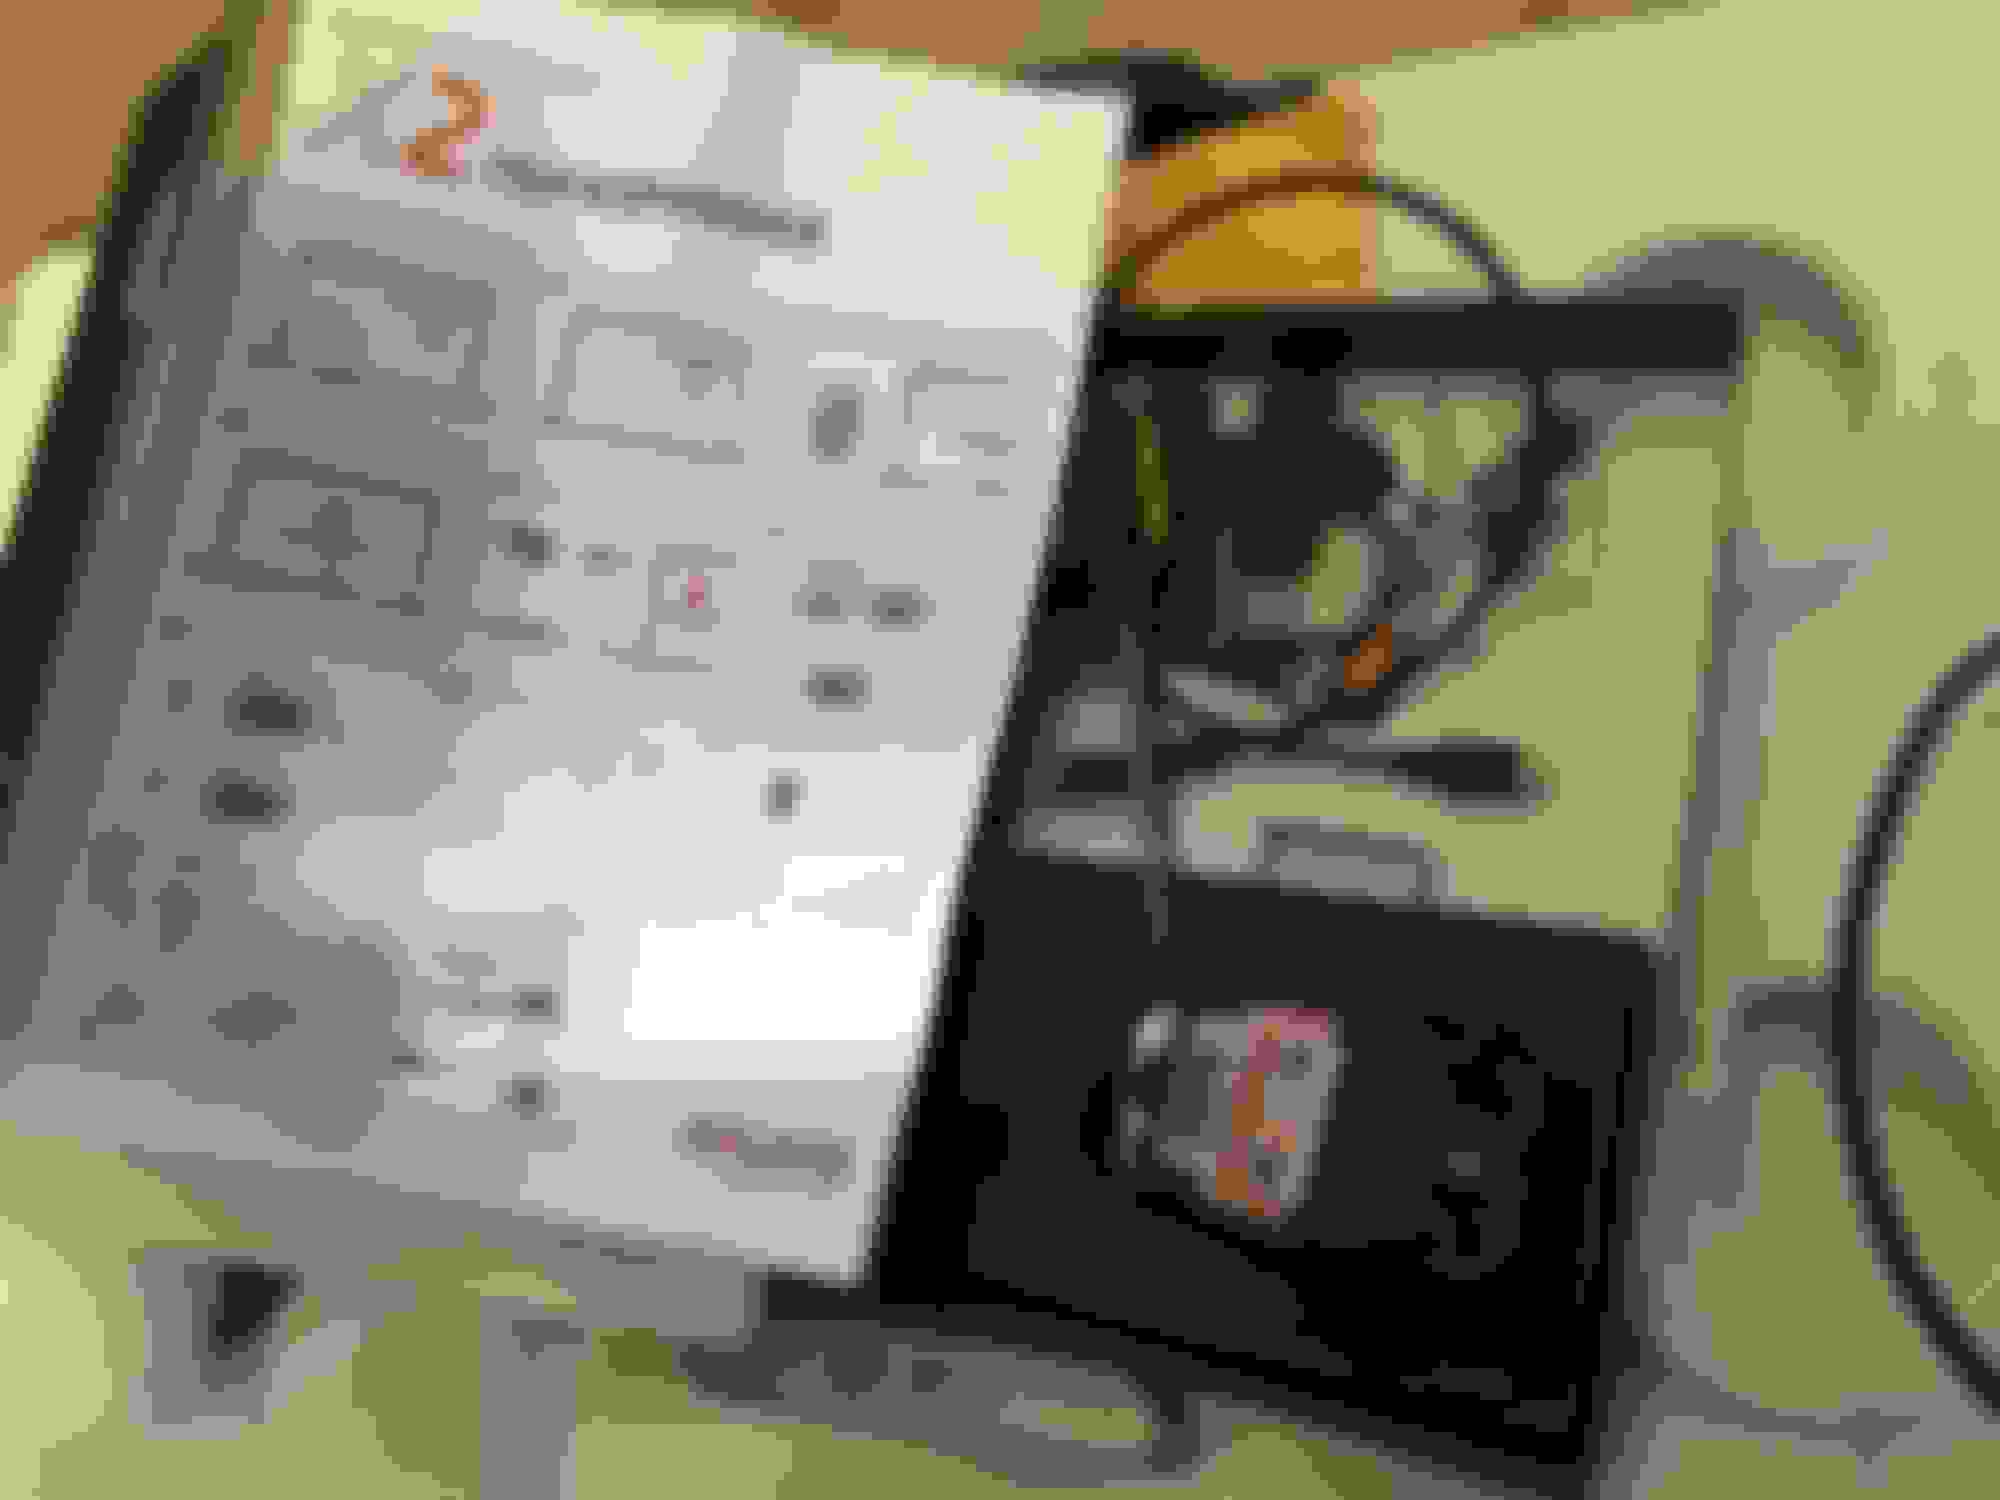
Here is what it looks like:
It includes the transponder, race key, mounting bracket, wires for connecting, a wire for charging, instructions and some stickers.
IMPORTANT: BEFORE YOU INSTALL THE UNIT IN YOUR CAR USE THE USB CABLE TO HOOK IT UP TO YOUR COMPUTER AS OUTLINED IN THE INSTRUCTIONS INCLUDED WITH THE UNIT AND SET UP YOUR MYLAPS ACCOUNT.
Now on to the installation…
THINGS YOU WILL NEED:
1. Large, thick, zip ties at least 1 foot long(I got mine at Lowes in the electrical section)
2. An exacto knife or box cutting knife.
3. A set of wire strippers(look like pliers but used to strip wires)
4. Socket set or wrenches(to remove the car battery)
5. One ¼” spade connector (for connecting wire to accessory power)
6. Vice Grips or pliers (to crimp wire connection)
Steps for installation:
1. remove the car battery. There are many threads on how to do this, but basically disconnect the leads, remove the bracket and lift the battery out. Please be careful. It is heavy.
2. Once you have the battery removed you will be able to see where a large bundle of cables pass from the engine bay through the firewall via a rubber grommet. You can use the exacto knife/box cutter to cut a SMALL slit in the grommet near where the wires pass through.
3. Take out your long cables that came with your transponder. One has connectors on both ends and the other only has a connector on one end. You want the one that has connectors on both ends for this step. Connect one end to your race key and the other end to your transponder, so yu can see which end connects to what. Run THE END THAT CONNECTS TO THE RACEKEY through the slit you made in the rubber grommet. Keep pushing it through until you see it come out the other side in the passenger footwell. You may have to look under the passenger footwell/dash are for it.
4. Connect the wire you just brought through the firewall to the race key which should now be inside the cabin of the car. You can also go ahead and connect the other wire that only has the connector on one end to the race key as well.
5. Use your exacto knife to CAREFULLY(don’t stab yourself in the arm like I did) cut open the end of the wire that doesn’t have a connector on it to expose the 4 smaller wires inside. You will probably want to remove at least 8” to 12” of the outer black rubber casing exposing these 4 individual wires. Sorry I didn’t get a photo of this.
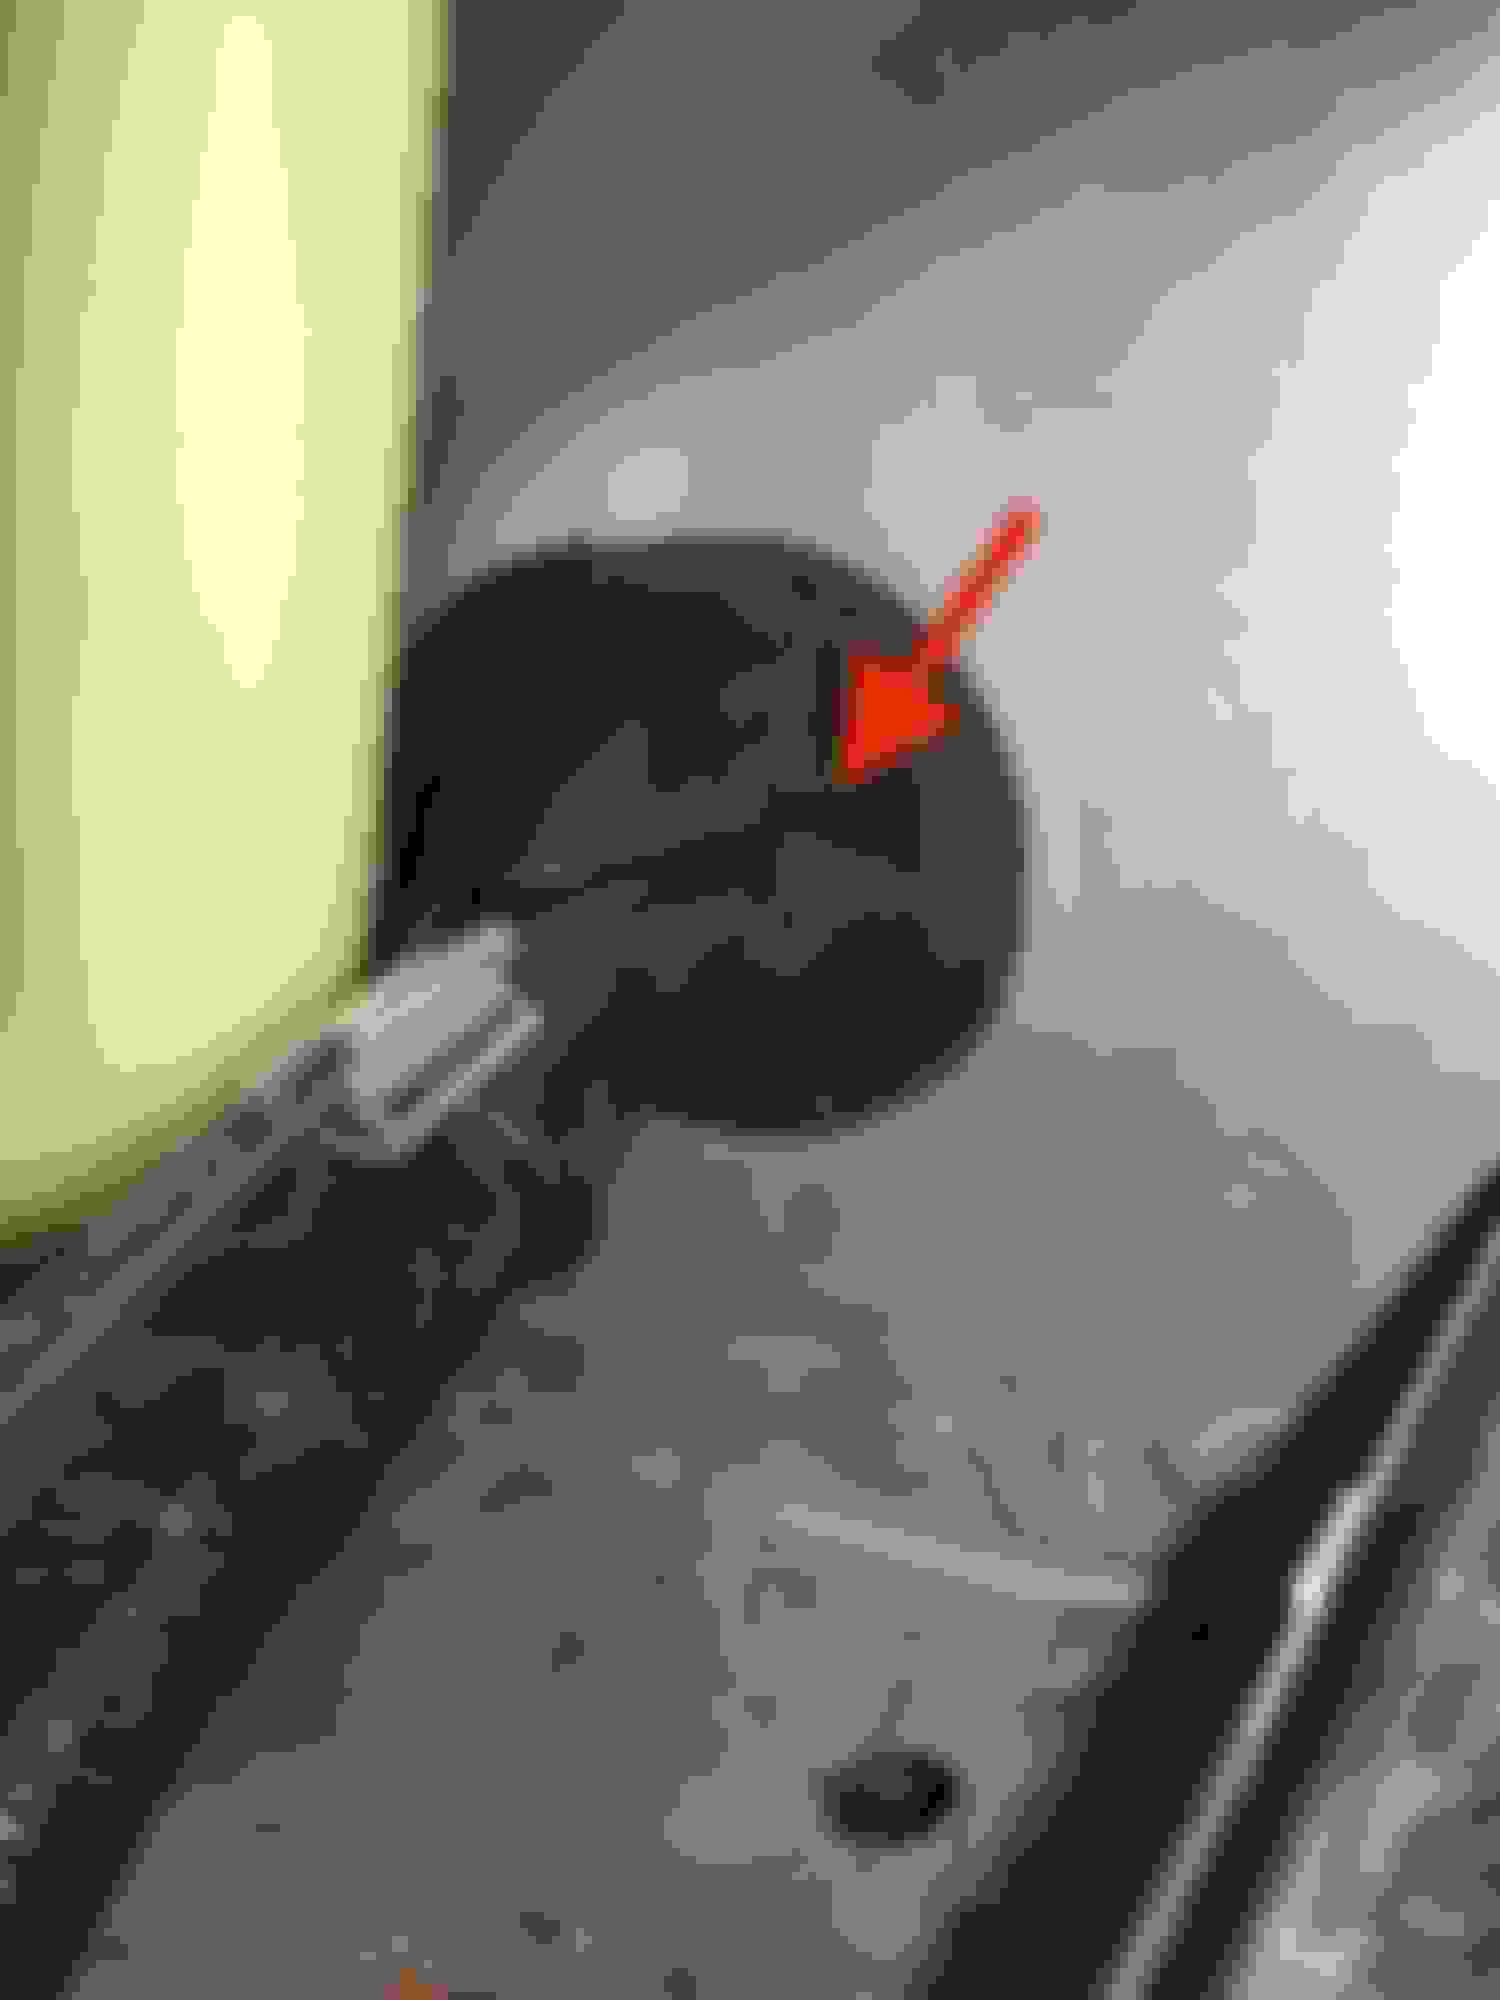
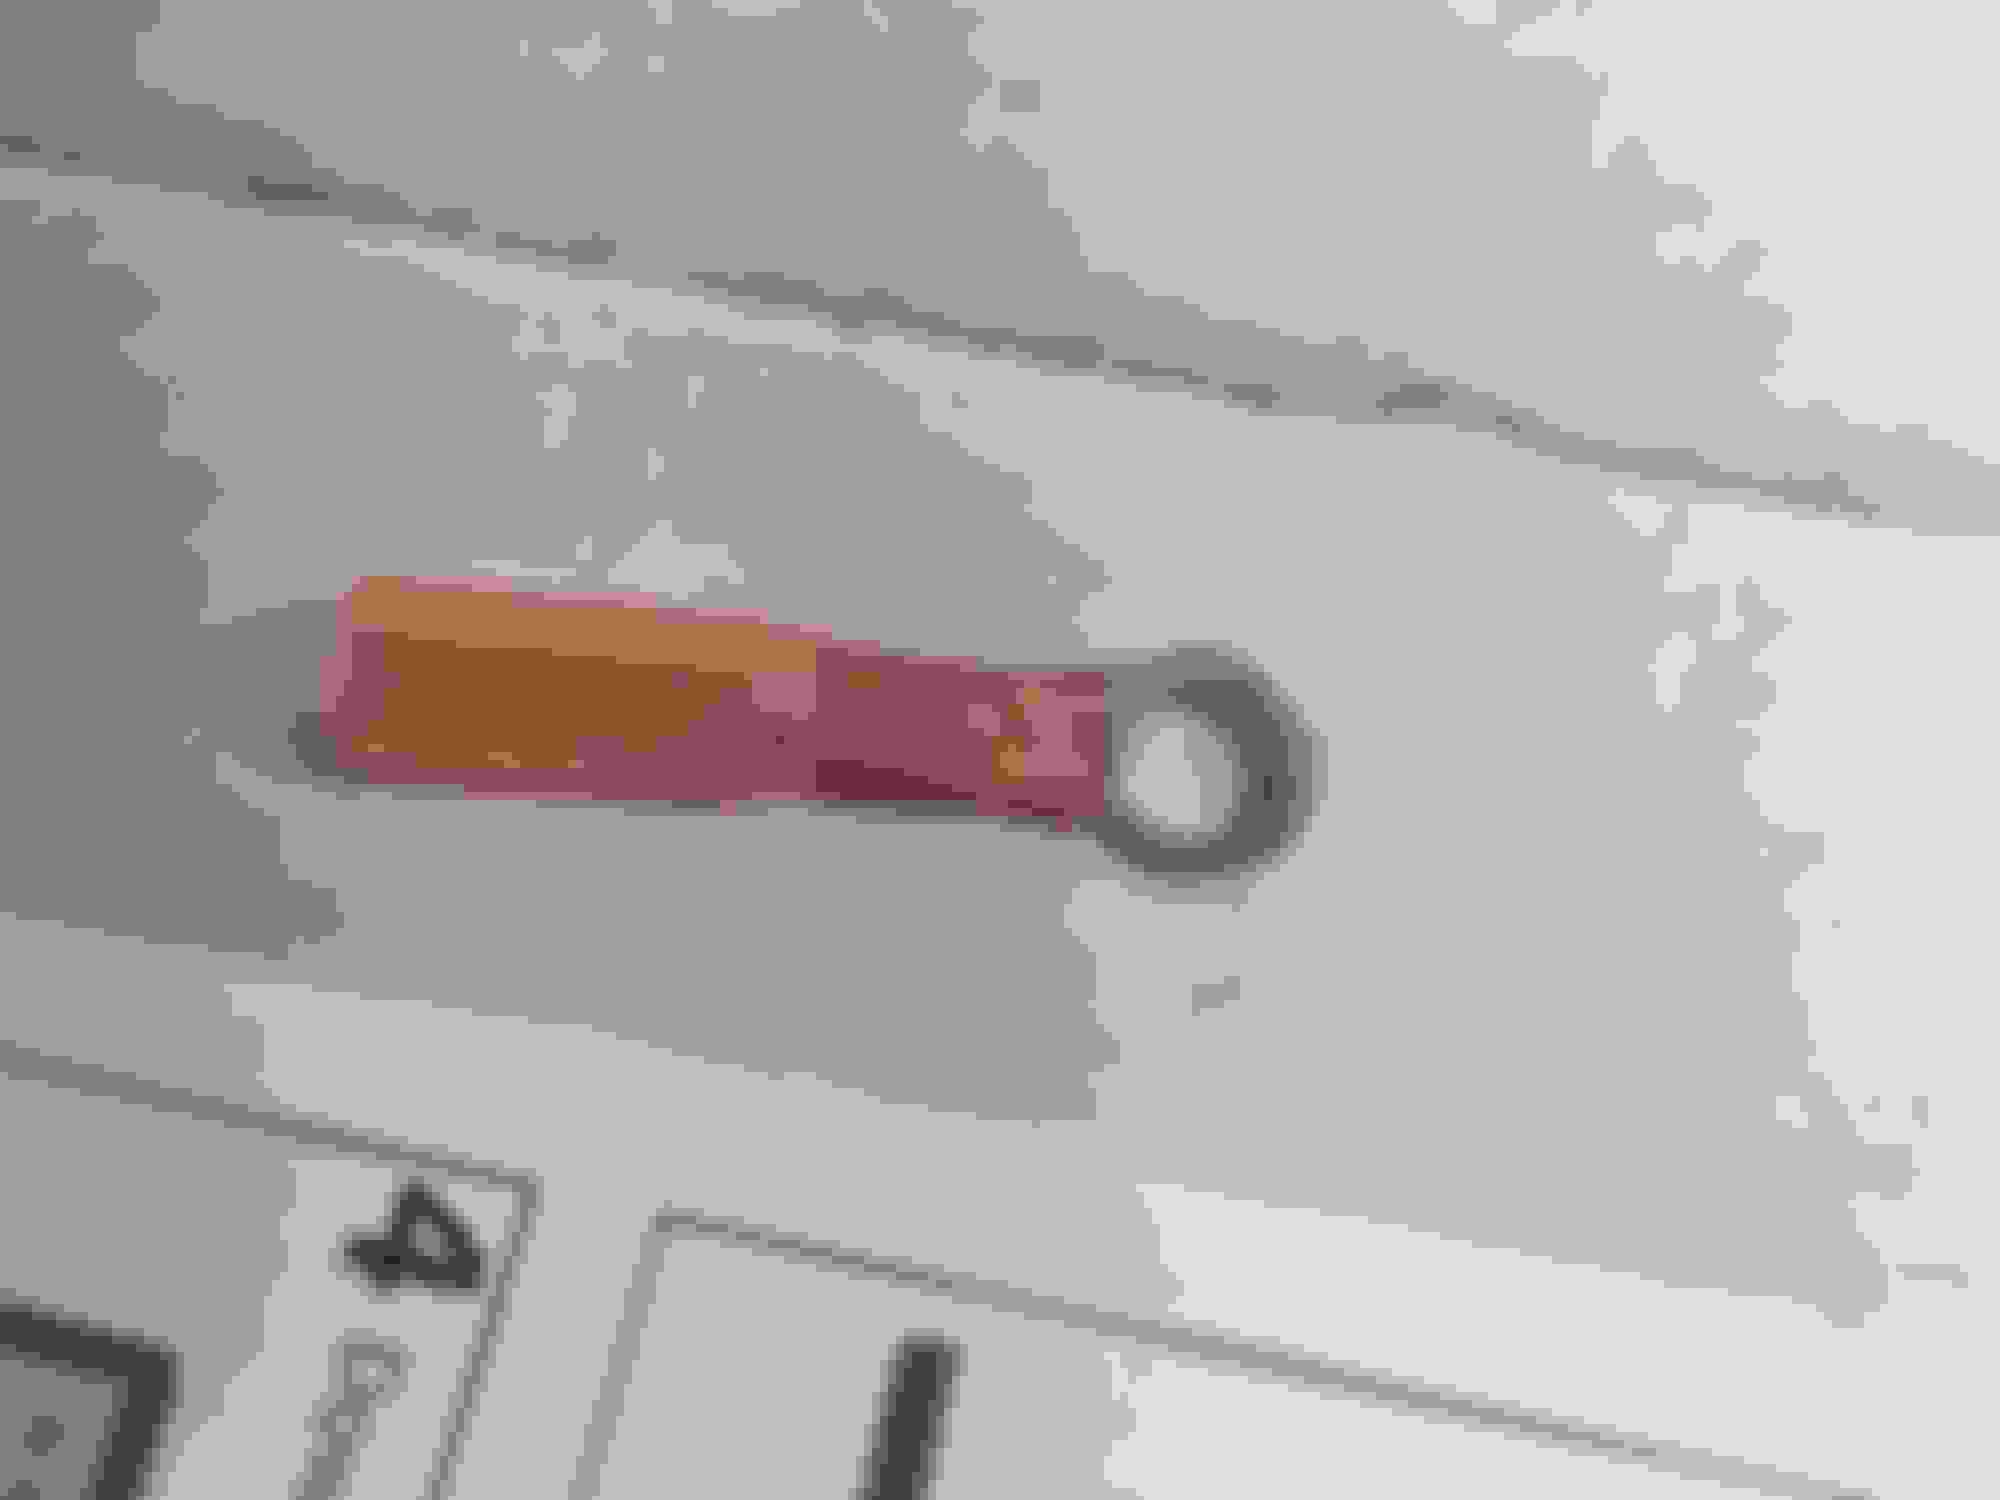
6. Strip the power wire (mine was brown—but consult the instructions that came with the transponder to make sure you have the right one) a bit at the end—just an inch or so. Slide it into your ¼” spade connector and use your pliers/vicegrips to crimp it hard so it cant slide out. Crimp it. Crimp it REAL GOOD. Below is a picture of the spade connector I used.
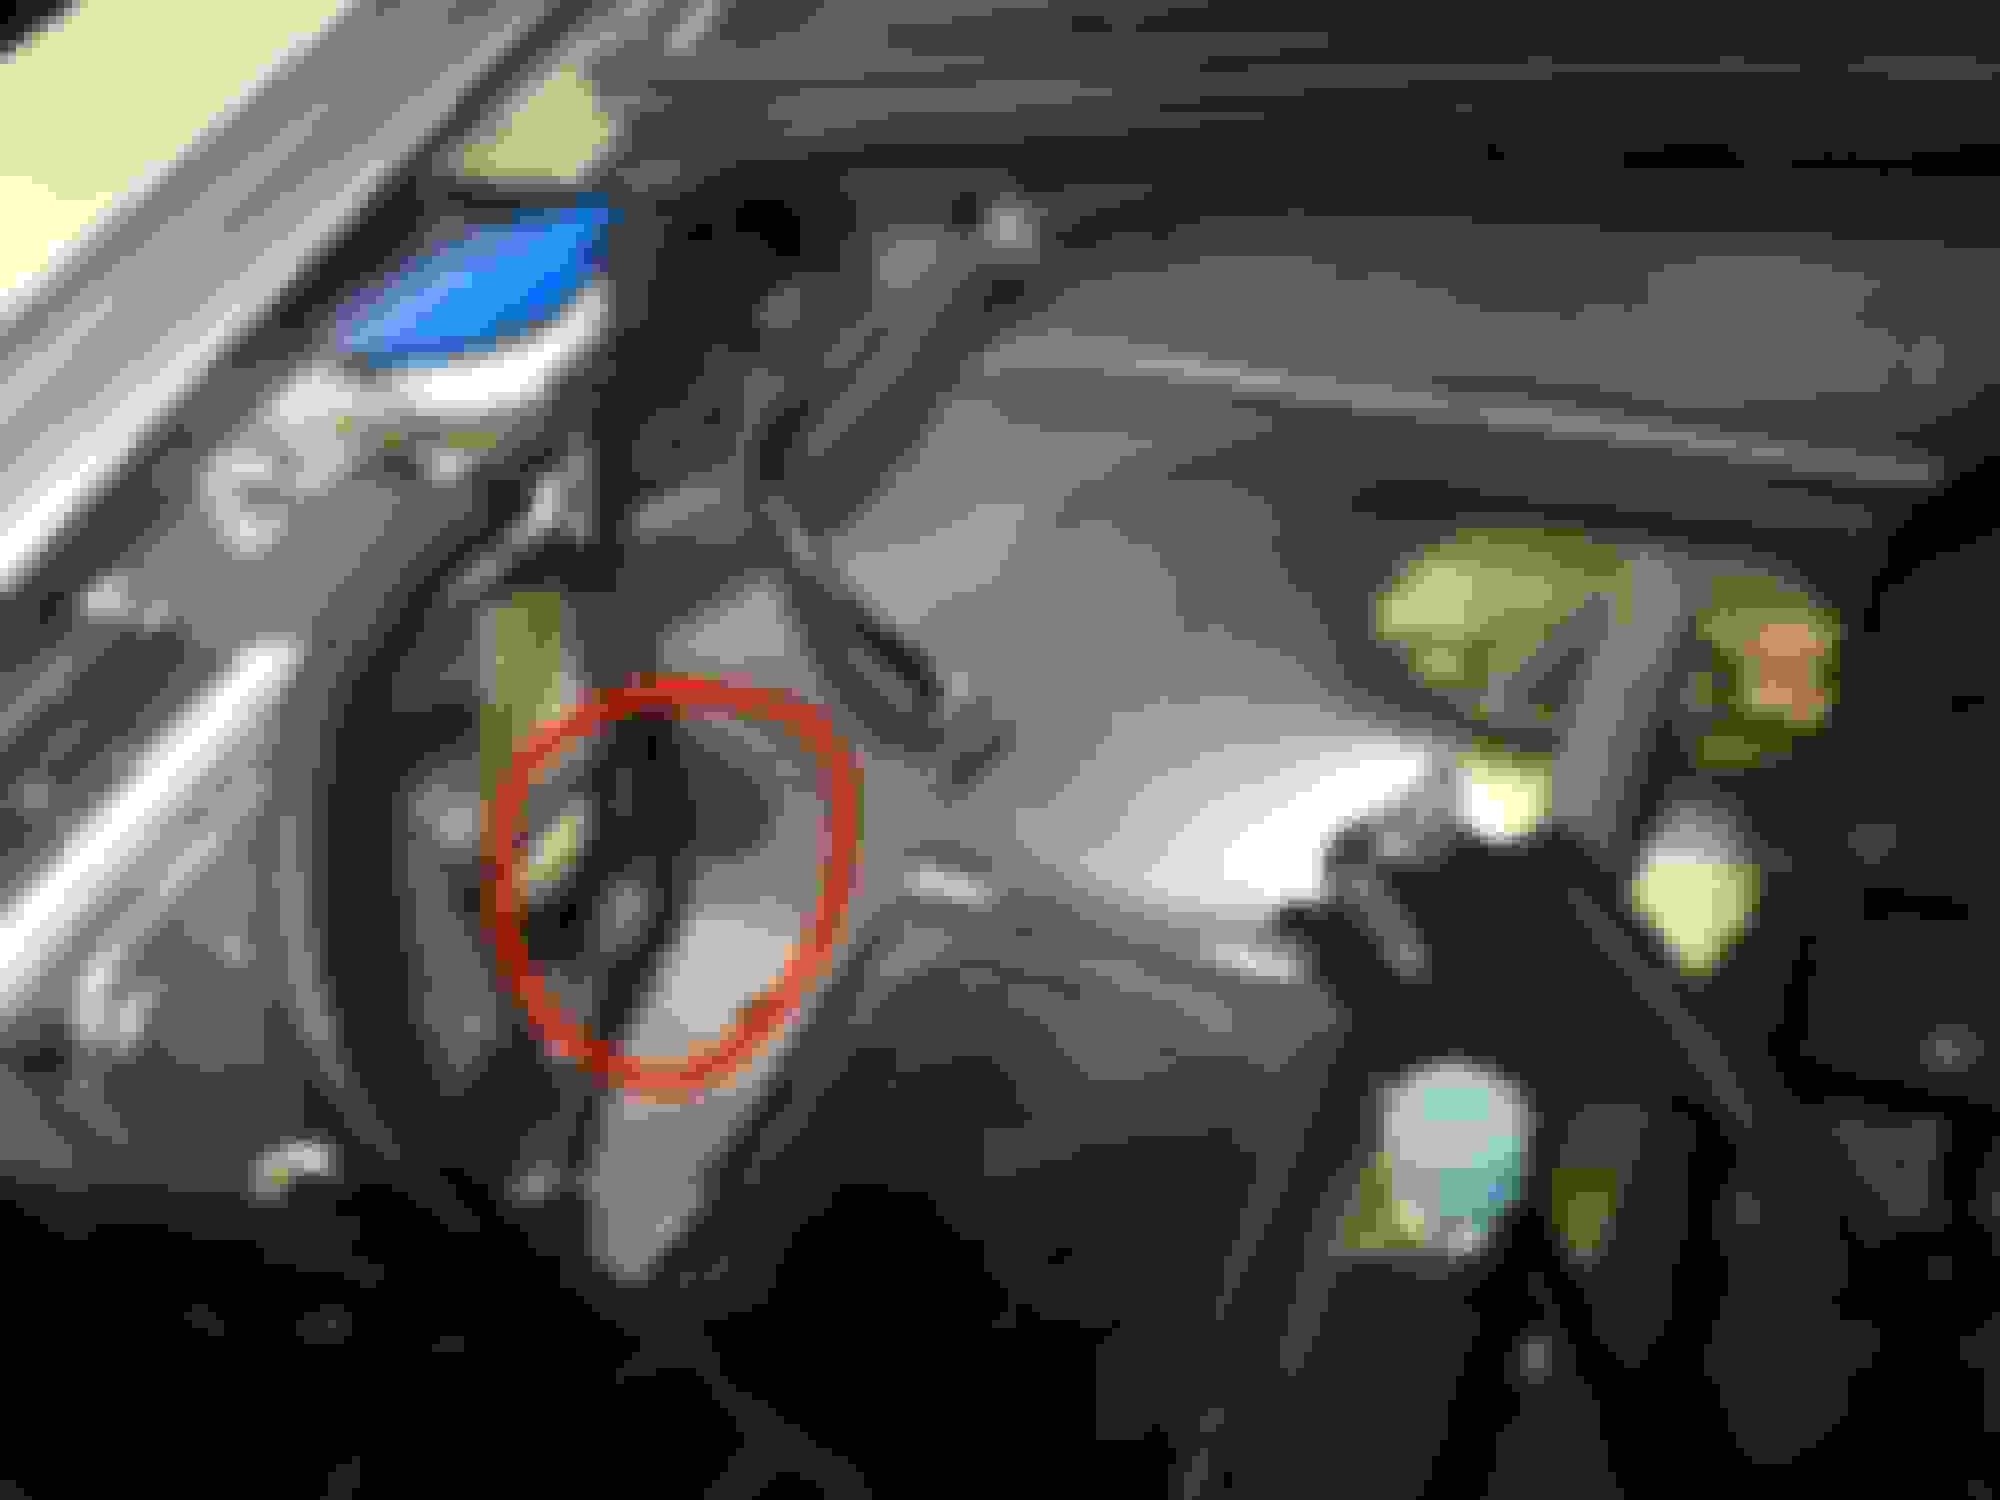
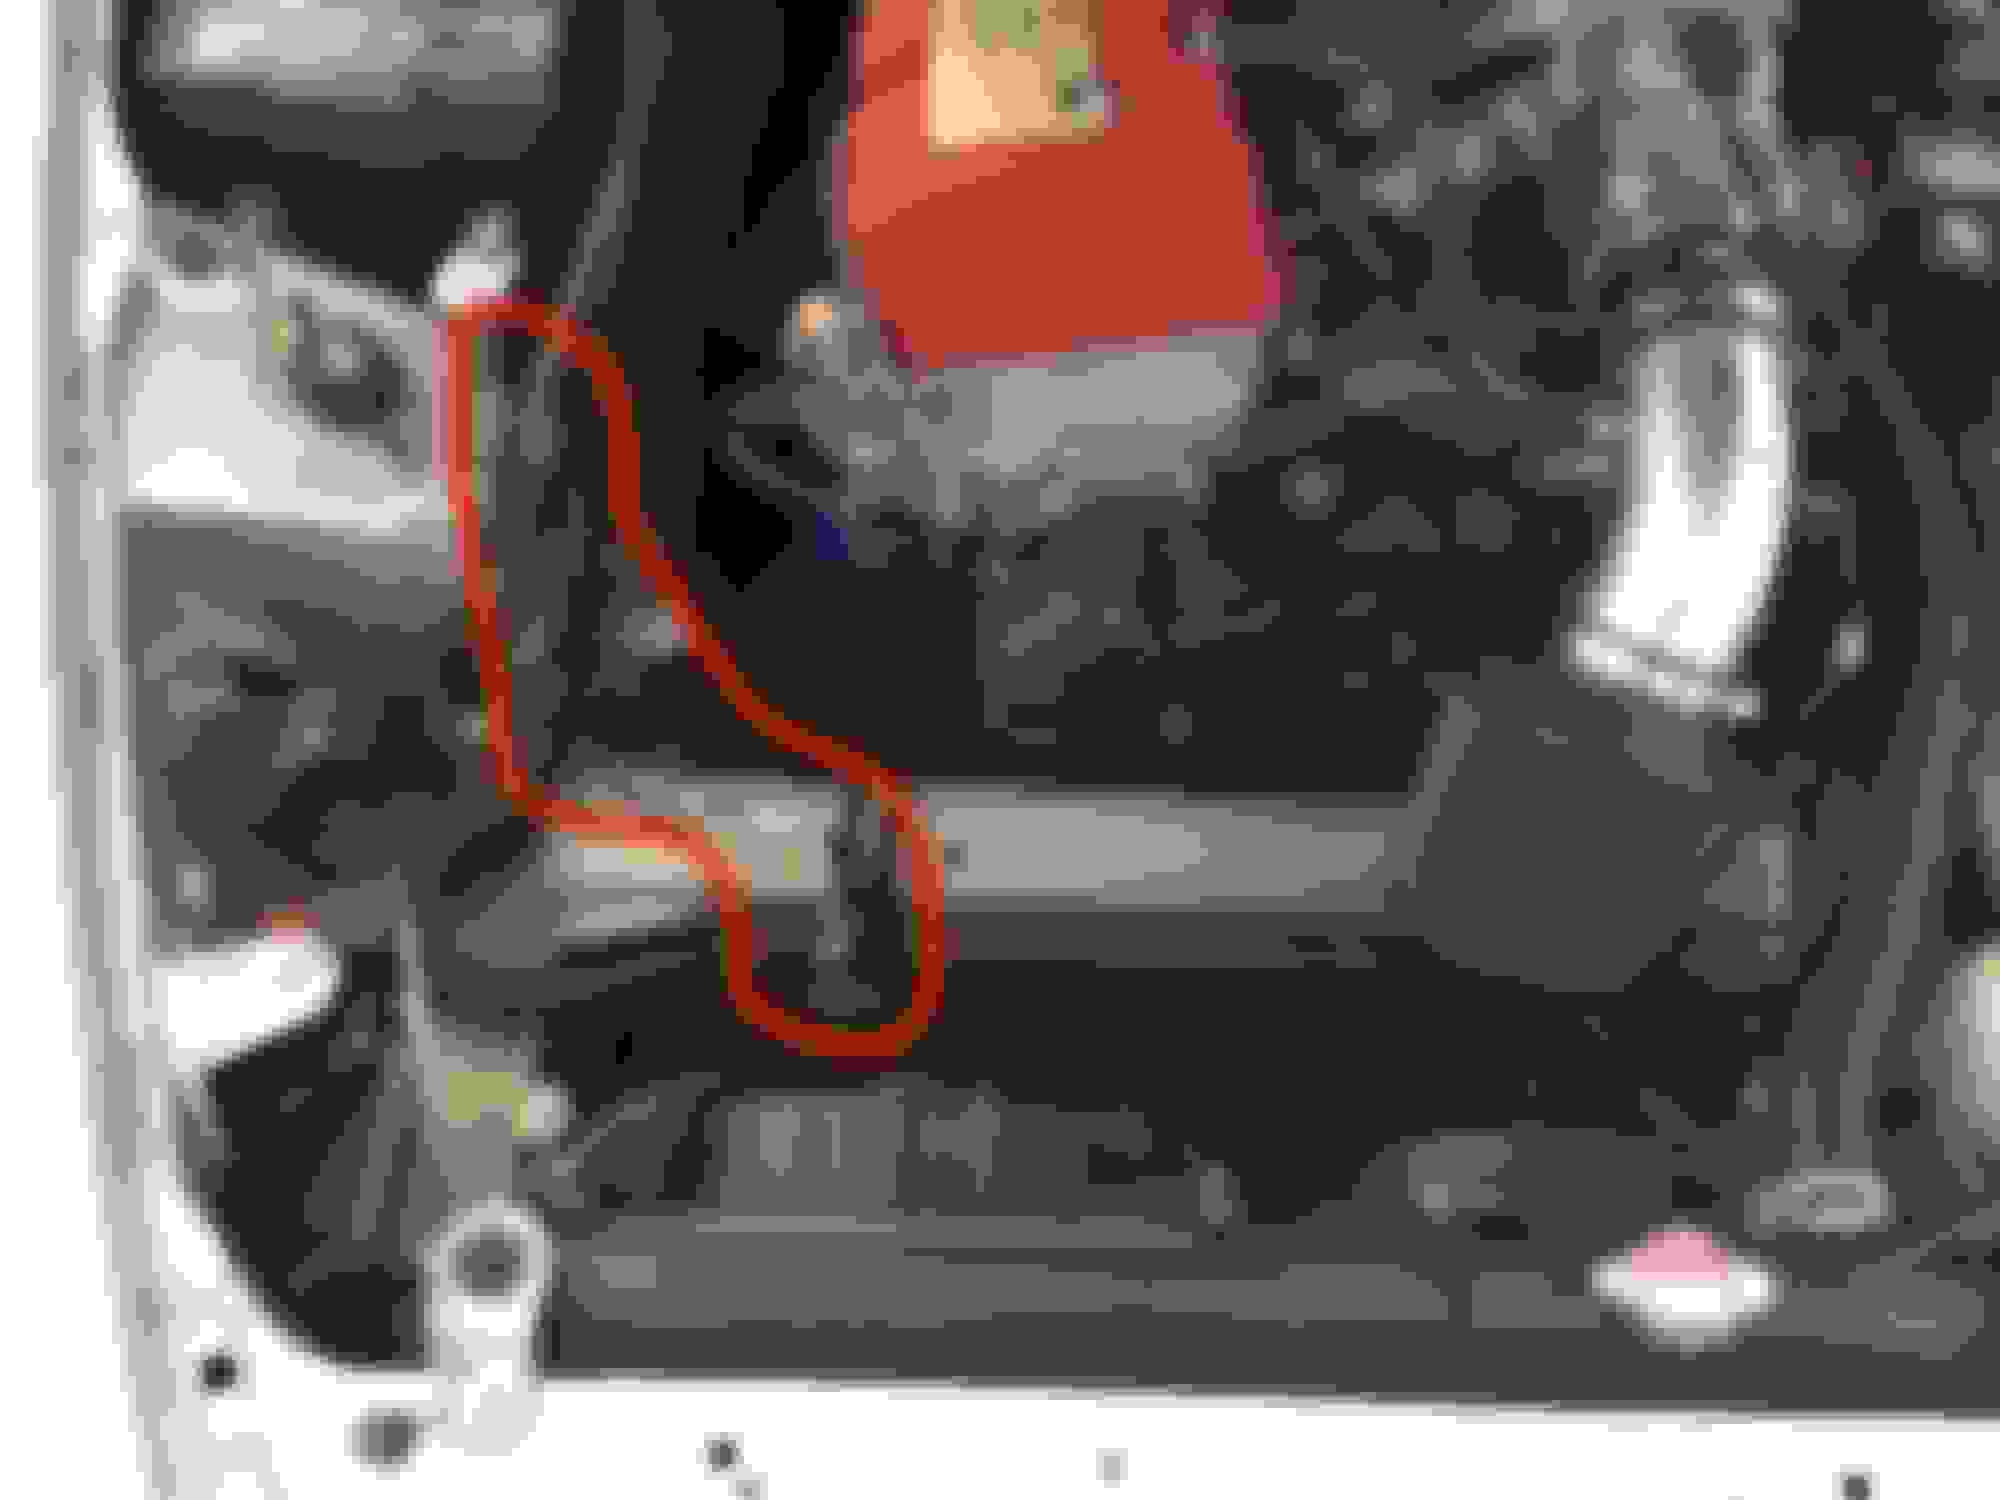
7. Now this is probably the hardest part….Insert the spade connector (that is now attached to your power wire) into the ACCESORY power slot under the driver’s dash. IT IS THE ONE MARKED "C Ignition" IN THE BELOW IMAGE. If you are sitting in the driver’s seat the power slots would be close to the area where your left knee is, but up under the dash. It is very hard to contort yourself to see up there. I recommend wearing a headlamp as it is hard to do this and hold a flashlight in the right position. They are cheap and it makes life easier. I got an LED one at lowes for like $15 made by energizer.
8. Now connect the ground wire(another one of the four small wires—Mine was blue-- but again consult the instructions that came with your transponder to be sure you have the correct wire) to any ground source under the dash. If you look in the same general area you will see a bunch of black wires connected to a single grounding bolt. You can connect to that or splice into one of those wires. Because the previous owner of my car had some aftermarket door speakers installed it was nearly impossible for me to access this grounding point. I just used a strong alligator clip to attach my ground wire to one of the clips on this grounding point—but I would recommend a more permanent solution. I will eventually remove the speakers and when I do I will do something more permanent. Search S2KI for “ground sources under dash” for other ideas if you can’t use the one I described.
9. Run the wire-- that is sticking out under your hood where you removed the battery-- along the passenger side of the engine bay towards the front to the place where you want to mount your transponder. Try to keep it away from things that get hot like the exhaust manifold. Just stay as close along the passenger side of the engine bay as you can until you get past the heat shield for the exhaust manifold. You don’t want your wires melting…
10. This is a good time to reinstall your car battery and hook your transponder up to the cable under your hood and make sure everything works as it should. If you have installed everything correctly when you turn on the ignition the race key should start cycling through a bunch of different colored lights ending with some green flashing lights and then the lights will all go out. Assuming everything is working, go on to the next step.
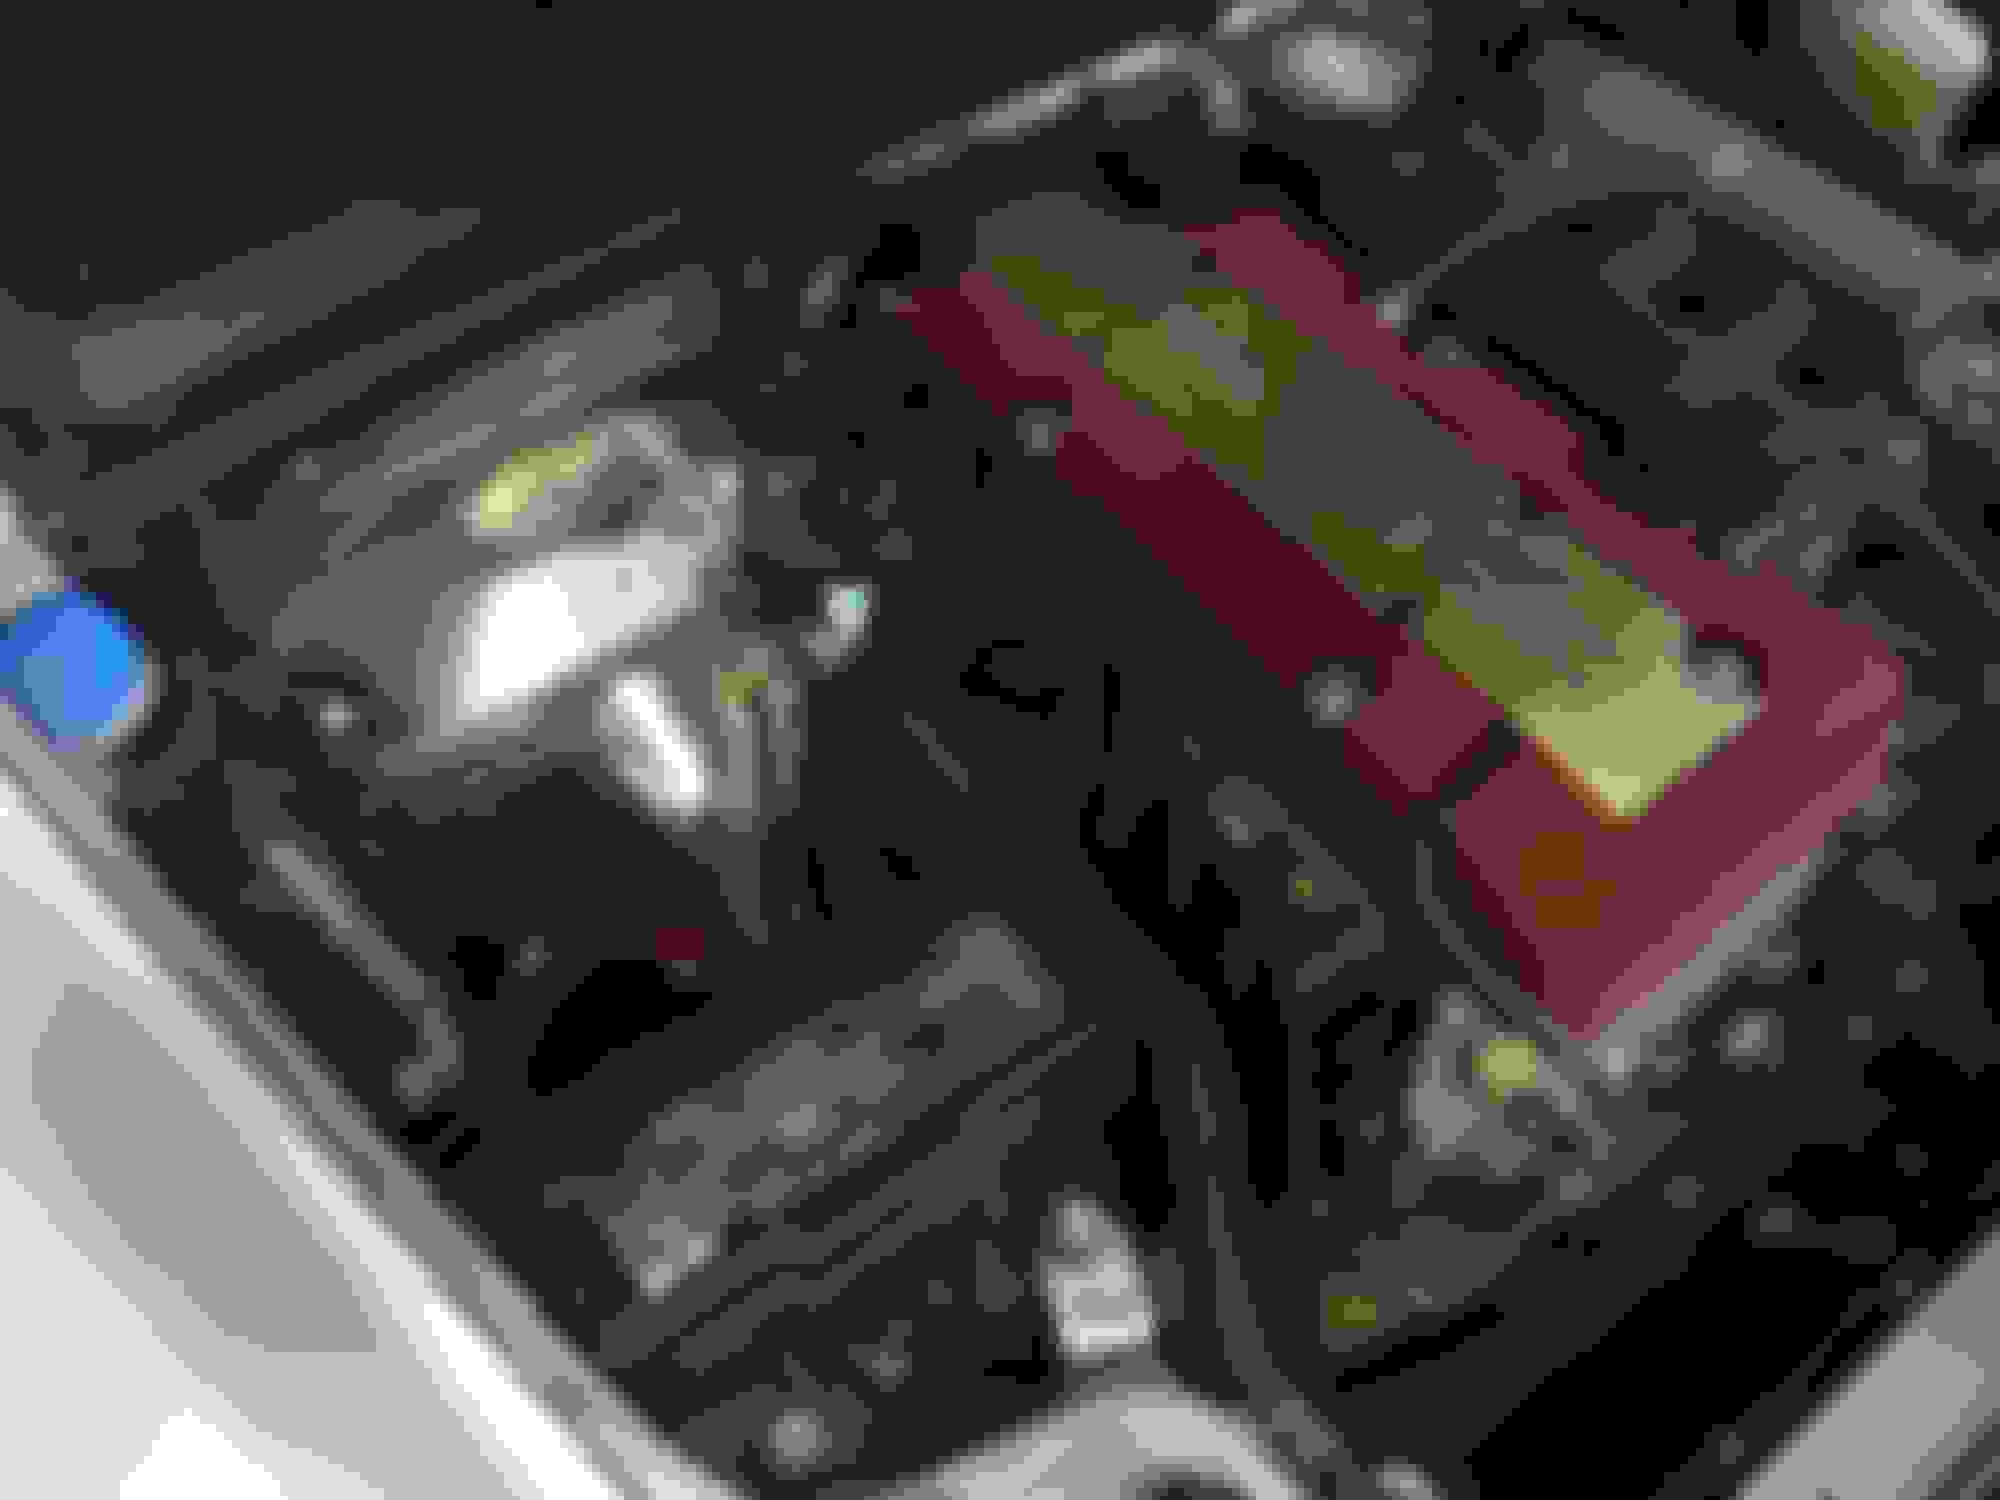
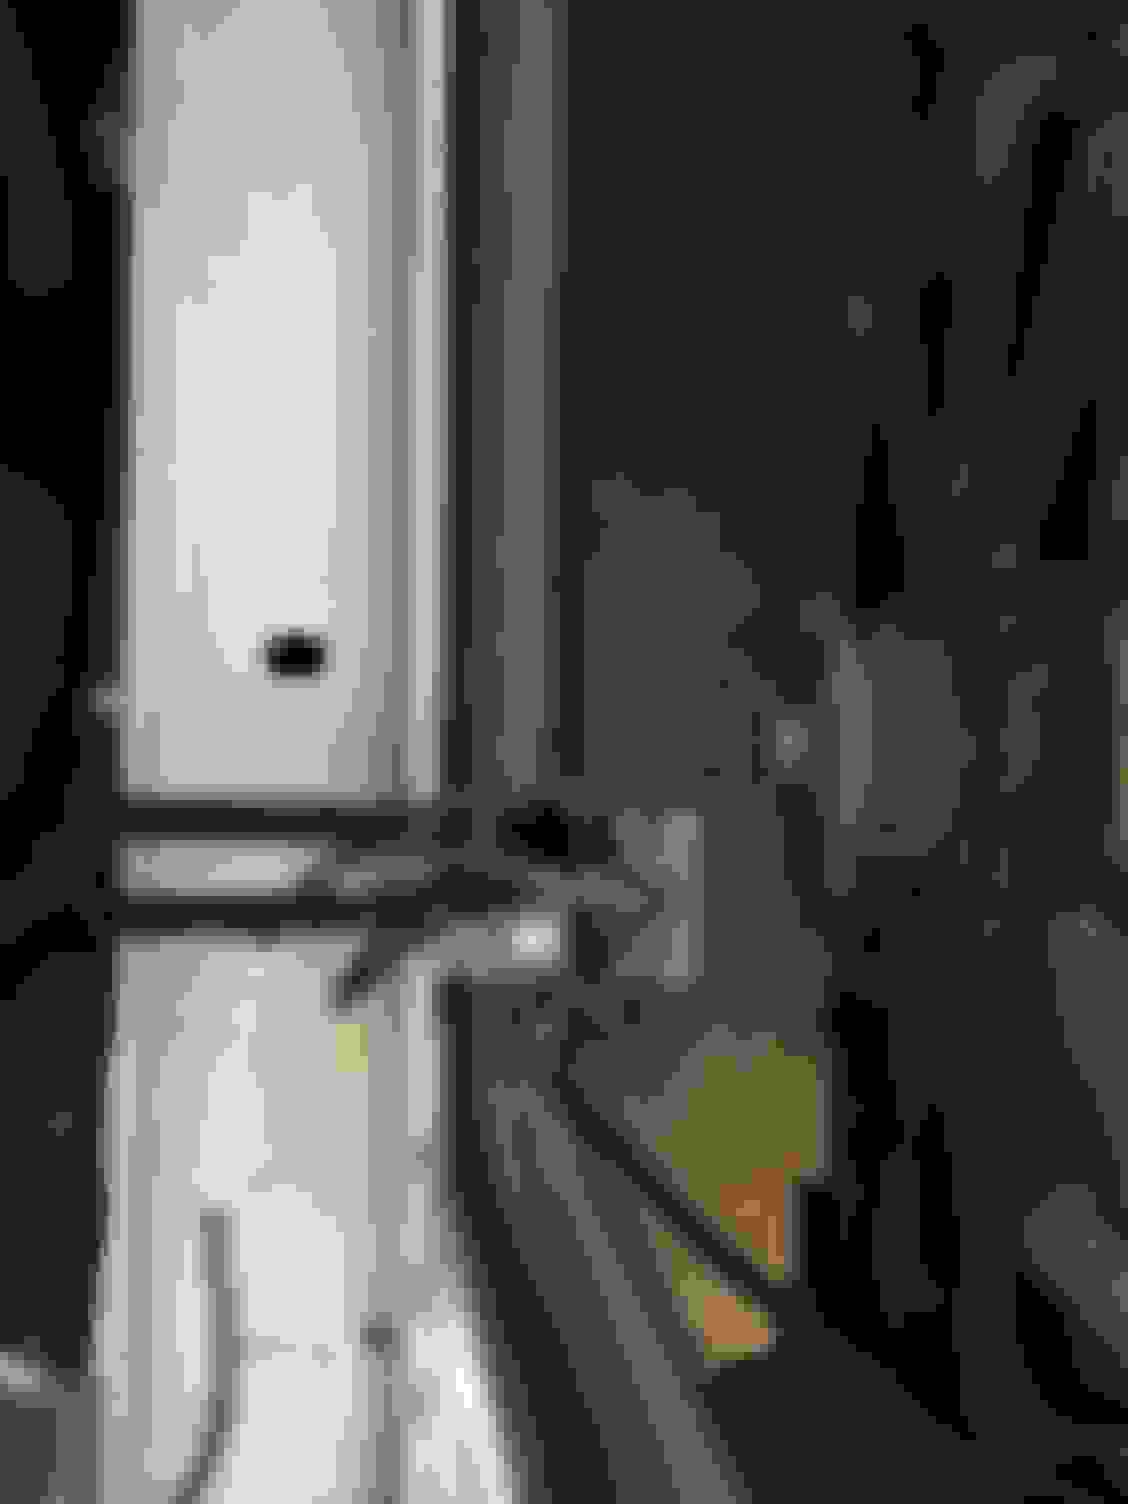
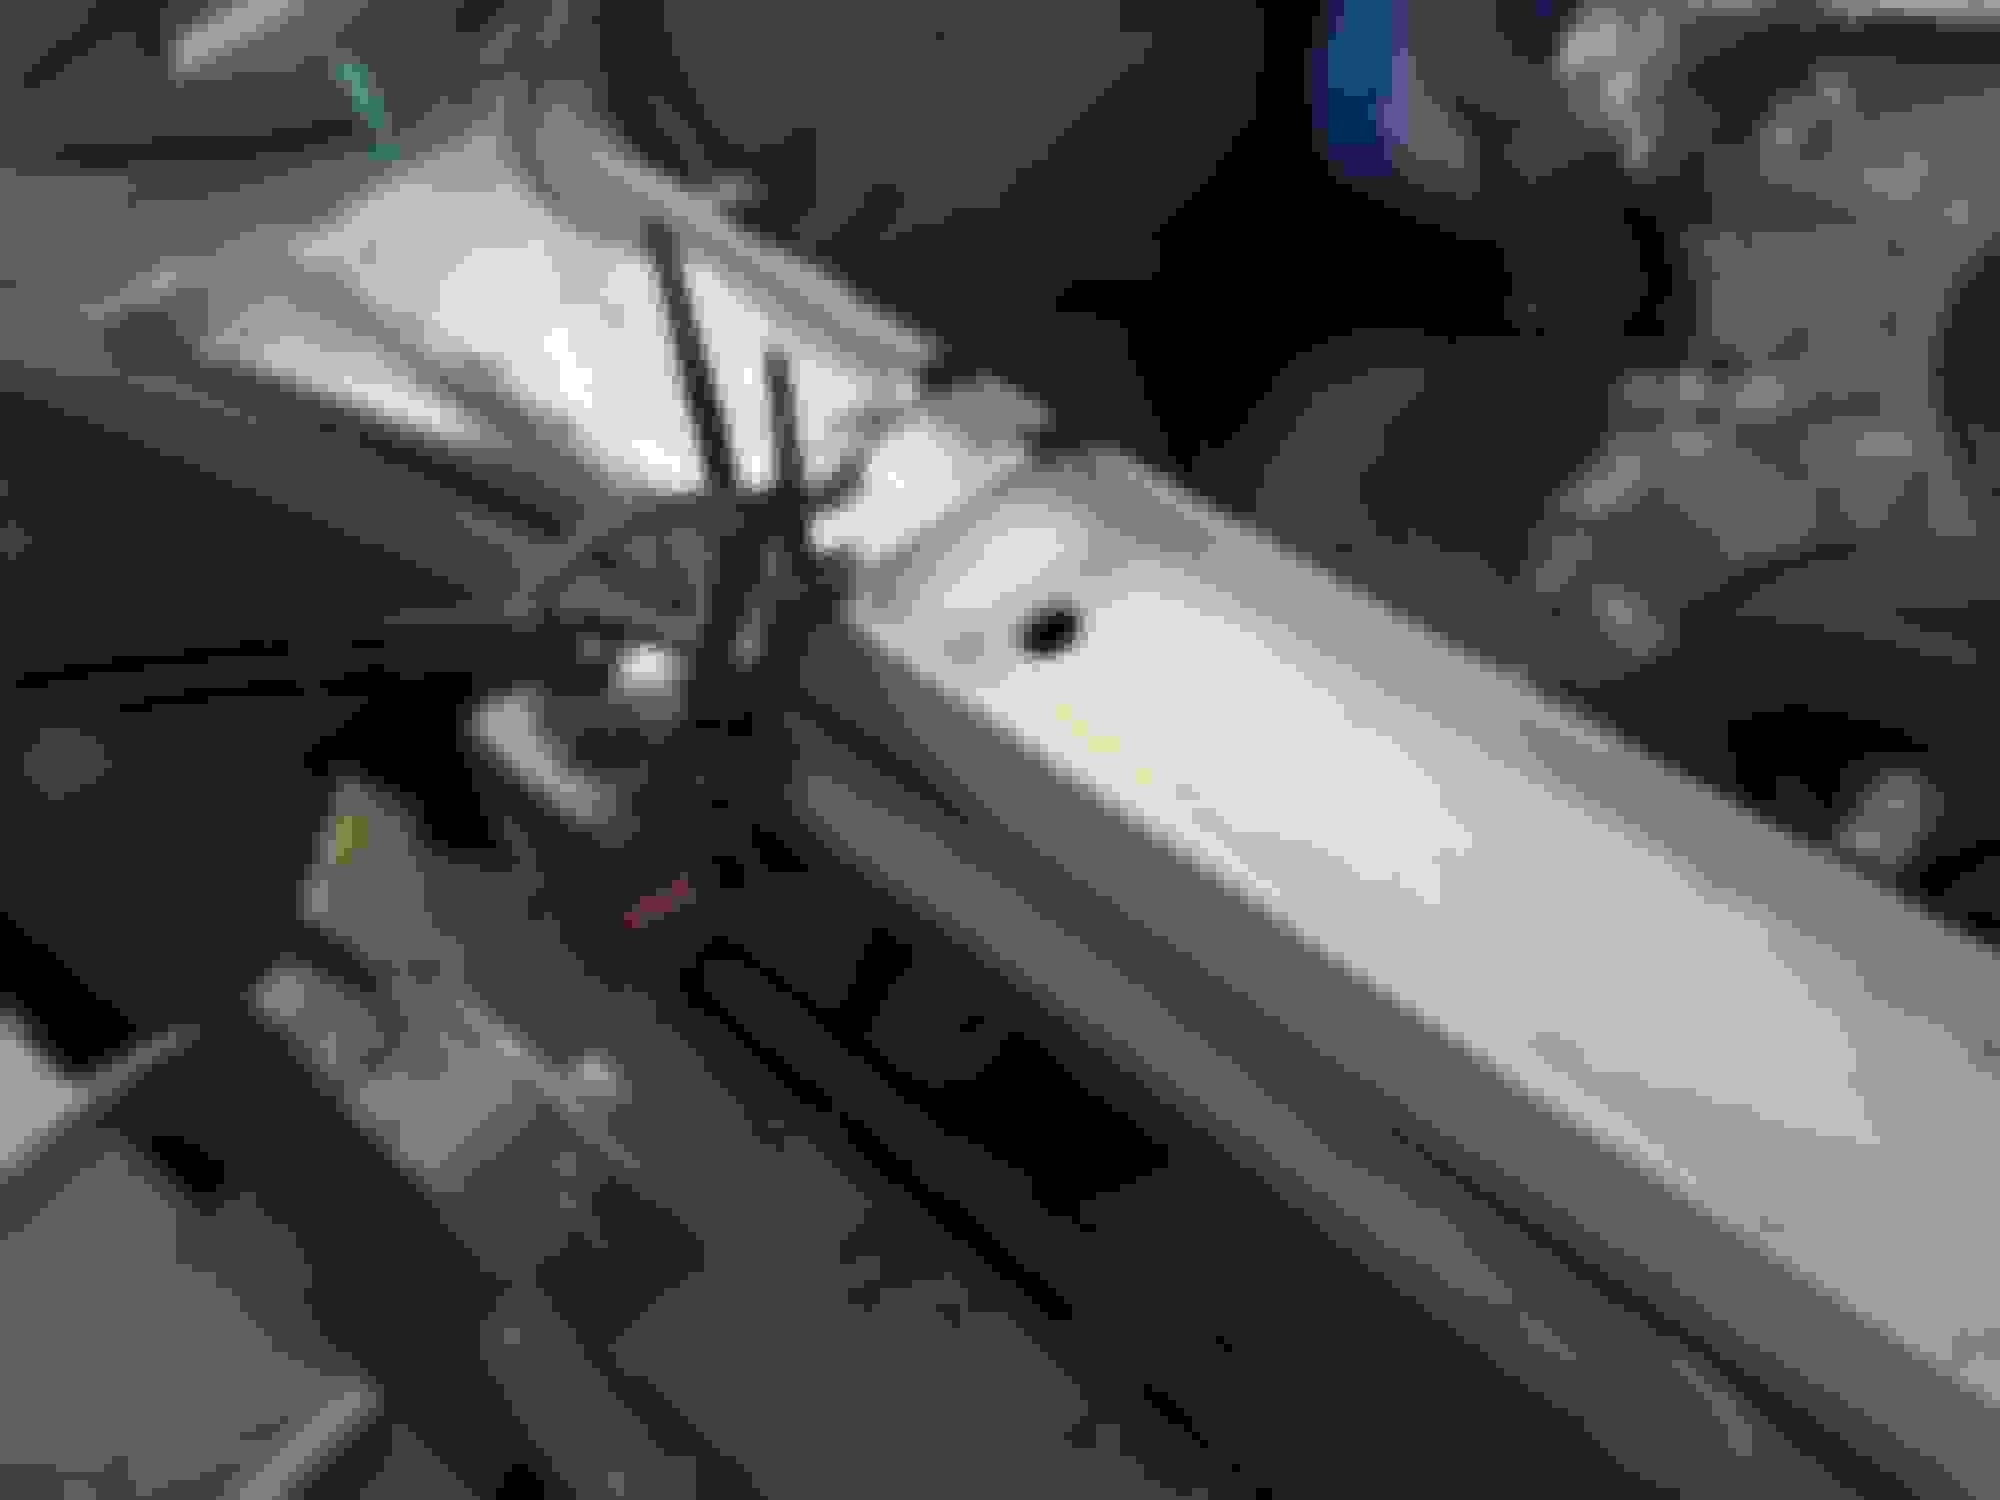
11. Mount your transponder in a position you like. I mounted mine on the crossbeam as pictured below. Keep in mind it needs a clear unobstructed view to the ground. It is also supposed to be between 12” and 24” above the ground. It must be oriented vertically as I have mine in the below photos and as described in the instruction manual. As you can see from the photos below this is a perfect location both in terms of having a clear view to the ground, away from heat, and correct height. I am doing time trials so I don’t need my transponder hanging all the way off the front of the car like some of the racers do. Again—mounting location is up to you, but this is what I selected. As you can see I used the included mounting bracket and ran 2 of the large zip ties through it. I then ran 2 more large zip ties vertically through those zip ties and around the cross beam. This seems very stable. You don’t have to go super super tight. Don’t worry about the foam coated pipe running along the cross beam it is just part of the air conditioning system. Trim the ends of the zip ties after you are done (as seen in the first photo below) so they don't interfere with your radiator fans or anything else.
12. Now mount your race key in the cabin. I just wedged it in the Slot in the passenger dash. It fits perfectly and is very snug. I ran the cable from the driver side dash along the dash then behind the knee brace/padding that pads the driver’s right knee and along between the radio and the shifter surround and then through the cargo net in the passenger footwell and up to the race key. The other cable from the transponder I ran under the passenger dash and then also looped through the cargo net and then to the race key as pictured below.
That’s it-- you’re done! I ran time trials with zero issues with this setup. IT WORKED GREAT!
Just a n00b question, but why did you mount it under the hood? I see it's, at least pictorially, suggested in the instructions, but just trying to understand the logic.
Just a n00b question, but why did you mount it under the hood? I see it's, at least pictorially, suggested in the instructions, but just trying to understand the logic.
This seemed to be the best location. Since it is direct powered I am leaving it installed all of the time.
-In this position under the hood it is protected from the elements but still has a clear view to the ground and is at the correct height from the ground for best reception.
-The cables for direct power only reach so far, so you are limited to a certain degree
-If the car is involved in a minor frontal impact it won't destroy the transponder(some guys mount them out on the front bumper/grill for wheel to wheel racing)
-Transponder is hidden from view when the car is sitting so won't be stolen.
For the wires that are in front of the radio door, you can run those under the radio. That small kick panel has one small Phillips head screw on both sides and just pops off. I have my USB cable from my Haltech and Wideband wireloom ran through that space. Makes it just a little cleaner, and no worries of it getting snagged by anything.
I've never seen a transponder that looks like this. What is the race key? is this one of the new subscription based models? I'm use to seeing the old red one.
Thanks for the additional info! Yes this is the new model that replaced the red ones. It is subscription based. The race key is another little box that you mount somewhere you can see it and it relays info from the transponder via 3 colored LED lights. It indicates that your subscription is active and that the unit is operating properly. It is a peace of mind thing--so when you jump in the car you know all is working. I think it also might indicate battery life if you are using the transponder without the direct power setup I have.
 12-08-2016, 01:07 PM


 I see it's, at least pictorially, suggested in the instructions, but just trying to understand the logic.
