*IN PROGRESS* OEM top replacement DIY for MY02+
 07-12-2011, 05:56 PM
#1
Registered User

Thread Starter

All,
I know there are a few very good DIY posts for the top replacement, but none were from OEM to OEM on a MY02+. The MY02+ has enough differences that I thought a DIY was a good idea so I documented mine. I used the Honda manual and some of the other DIY's to guide me, and I think I've added some things that were not covered in some of the other DIYs.
Mods, I would be honored if this was made a sticky
GO AHEAD WITH REPLIES...basically done. Mods, can you take the IN PROGRESS out of the title?
********************************
Tools used:
NECESSARY:
Screwdriver, flat and philips
Offset philips screwdriver, or ratchet with 1/4" hex bit attachment
10mm, 12mm, 14mm sockets, at least a 6 inch extension
drill, 5/32 and 3/16 bits
rivet tool, ideally one that can do up to 5mm
New top
Utility knife
Pliers...I used slip joint ones
RECOMMENDED:
cordless impact driver...makes the bolts EASY
cordless screwdriver...with decent torque. Mine is lithium, a NiCd one may not work on some of the harder screws
TIME NEEDED: I did it in about 9 hours total. Some of that was breaks from the heat, and I was also alone. I did it over 2 days, so some of that was hauling my crap in and out more than needed. Oh, and I stopped to take lots of pics. I actually had fun doing it for the most part. If I'm close to you (central FL) I'd be happy to help. I don't think this requires special skills, but it does require patience.
I'm not sure what the "book time" is, but I'd imaging 8-10 hours. Depending on labor rate, you're saving in the ballpark of $1,000 doing this yourself. Think of what you can get for your car for $1,000...you still want to pay someone to do this...someone that won't do it with the care that you would????
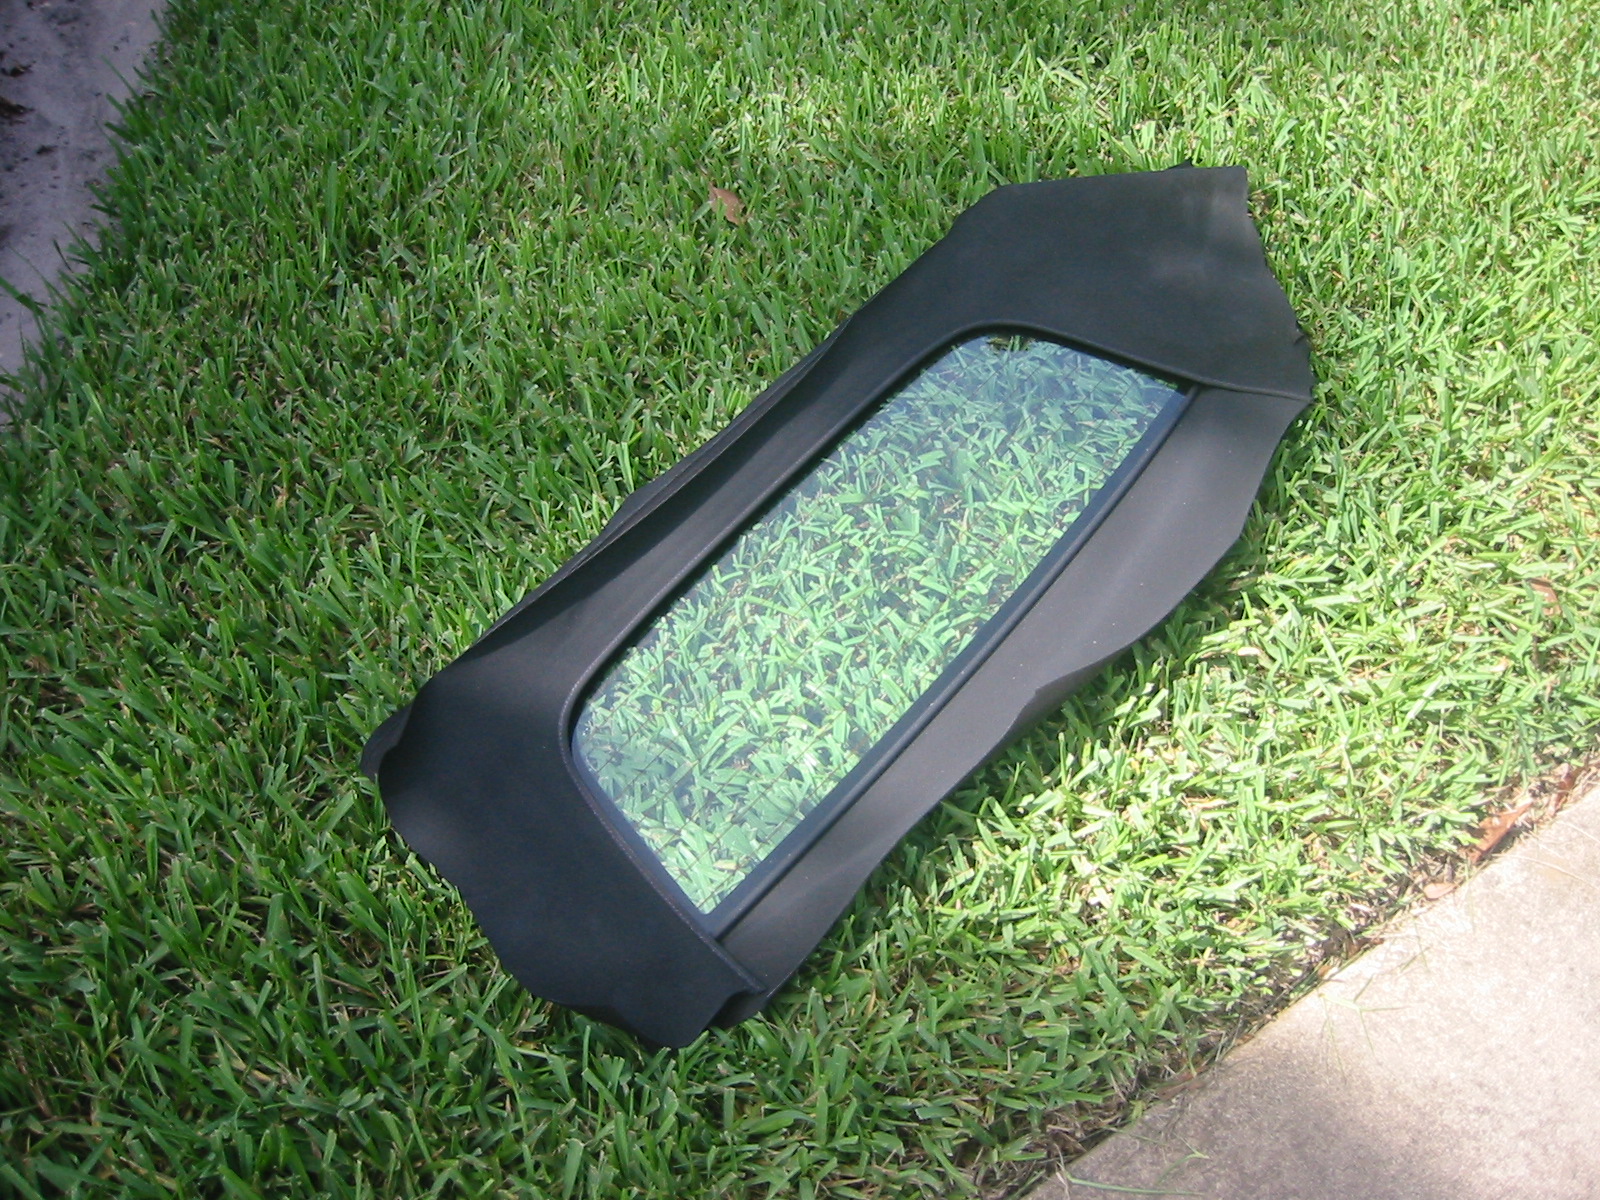
Well, after 9 years in FL, my OEM top finally gave up the ghost. I have been patching this thing up, but it got a tear in the front that I could not fix, so I got a new Honda blue top to replace it. It sucks the old top is gone, but it made it 9 years, so I can't be too sad. The top was bought at Majestic...it's in the Accessories section with the wings and stuff.

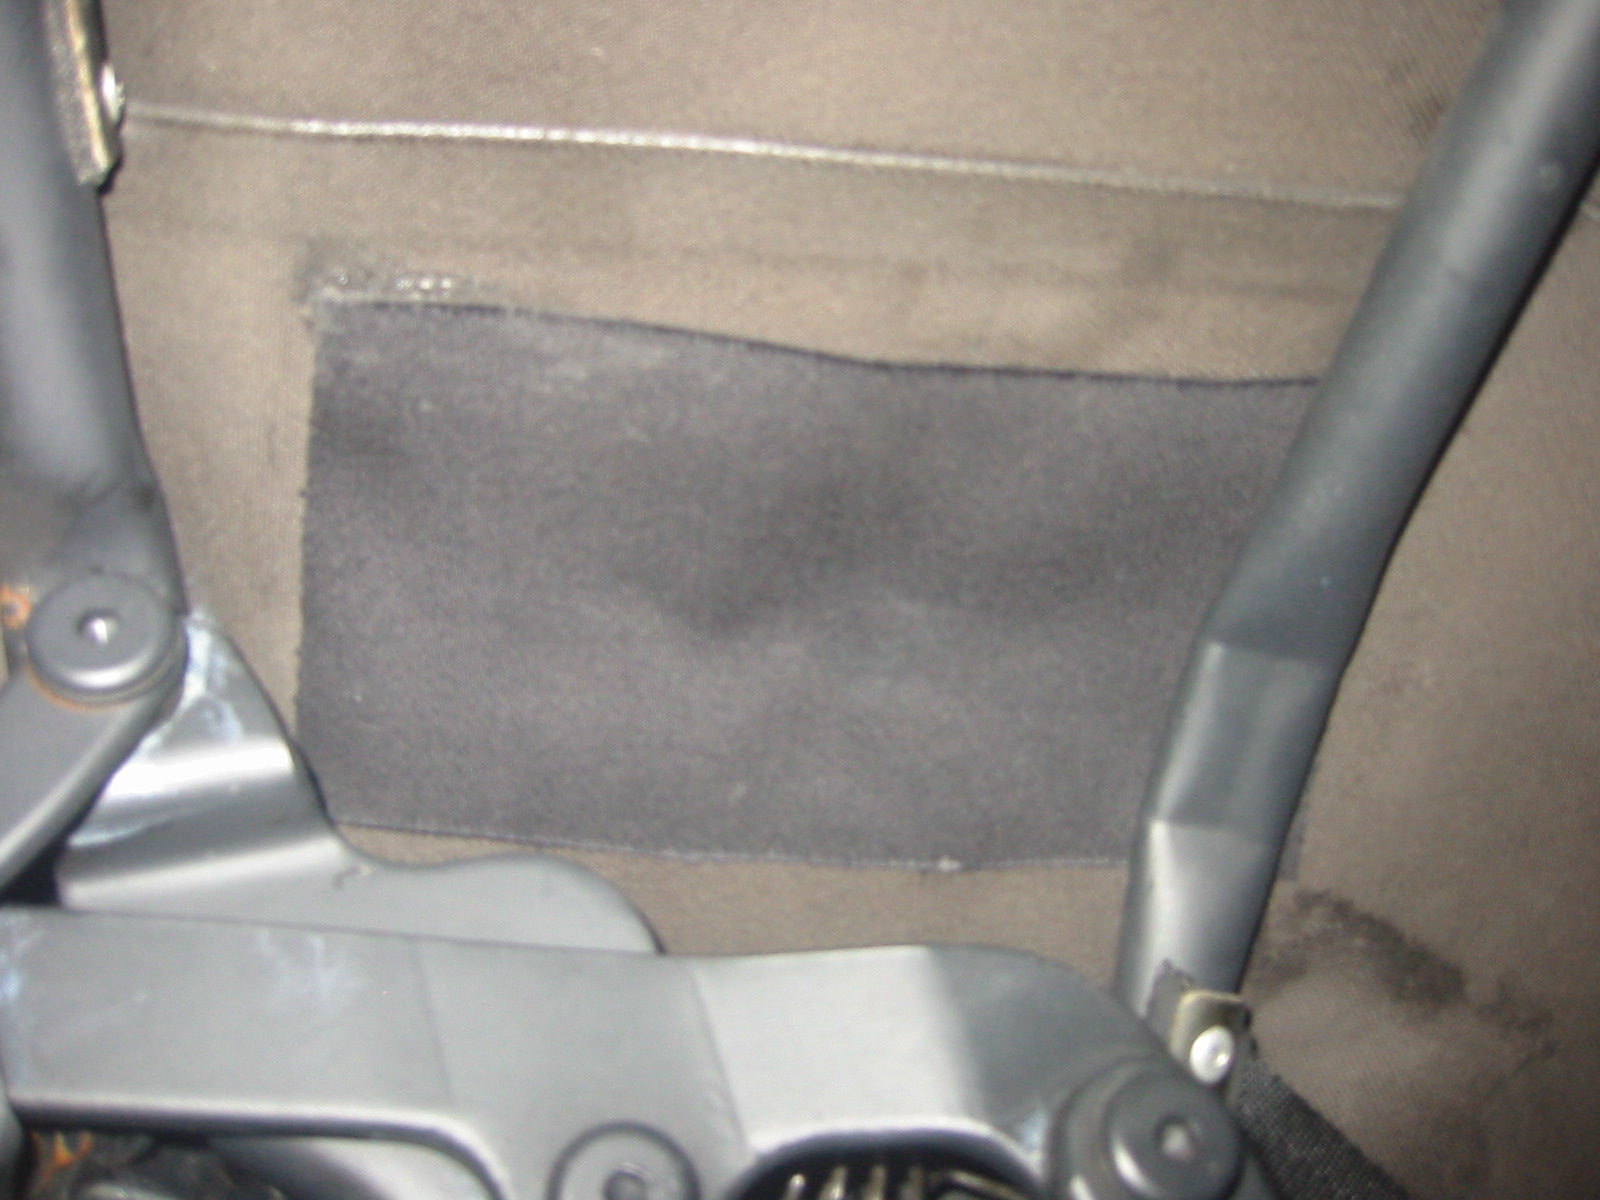
Here's one of the other patchings I did. It's amazing how much the inside has changed over 9 years of dirt and sun due to top down driving

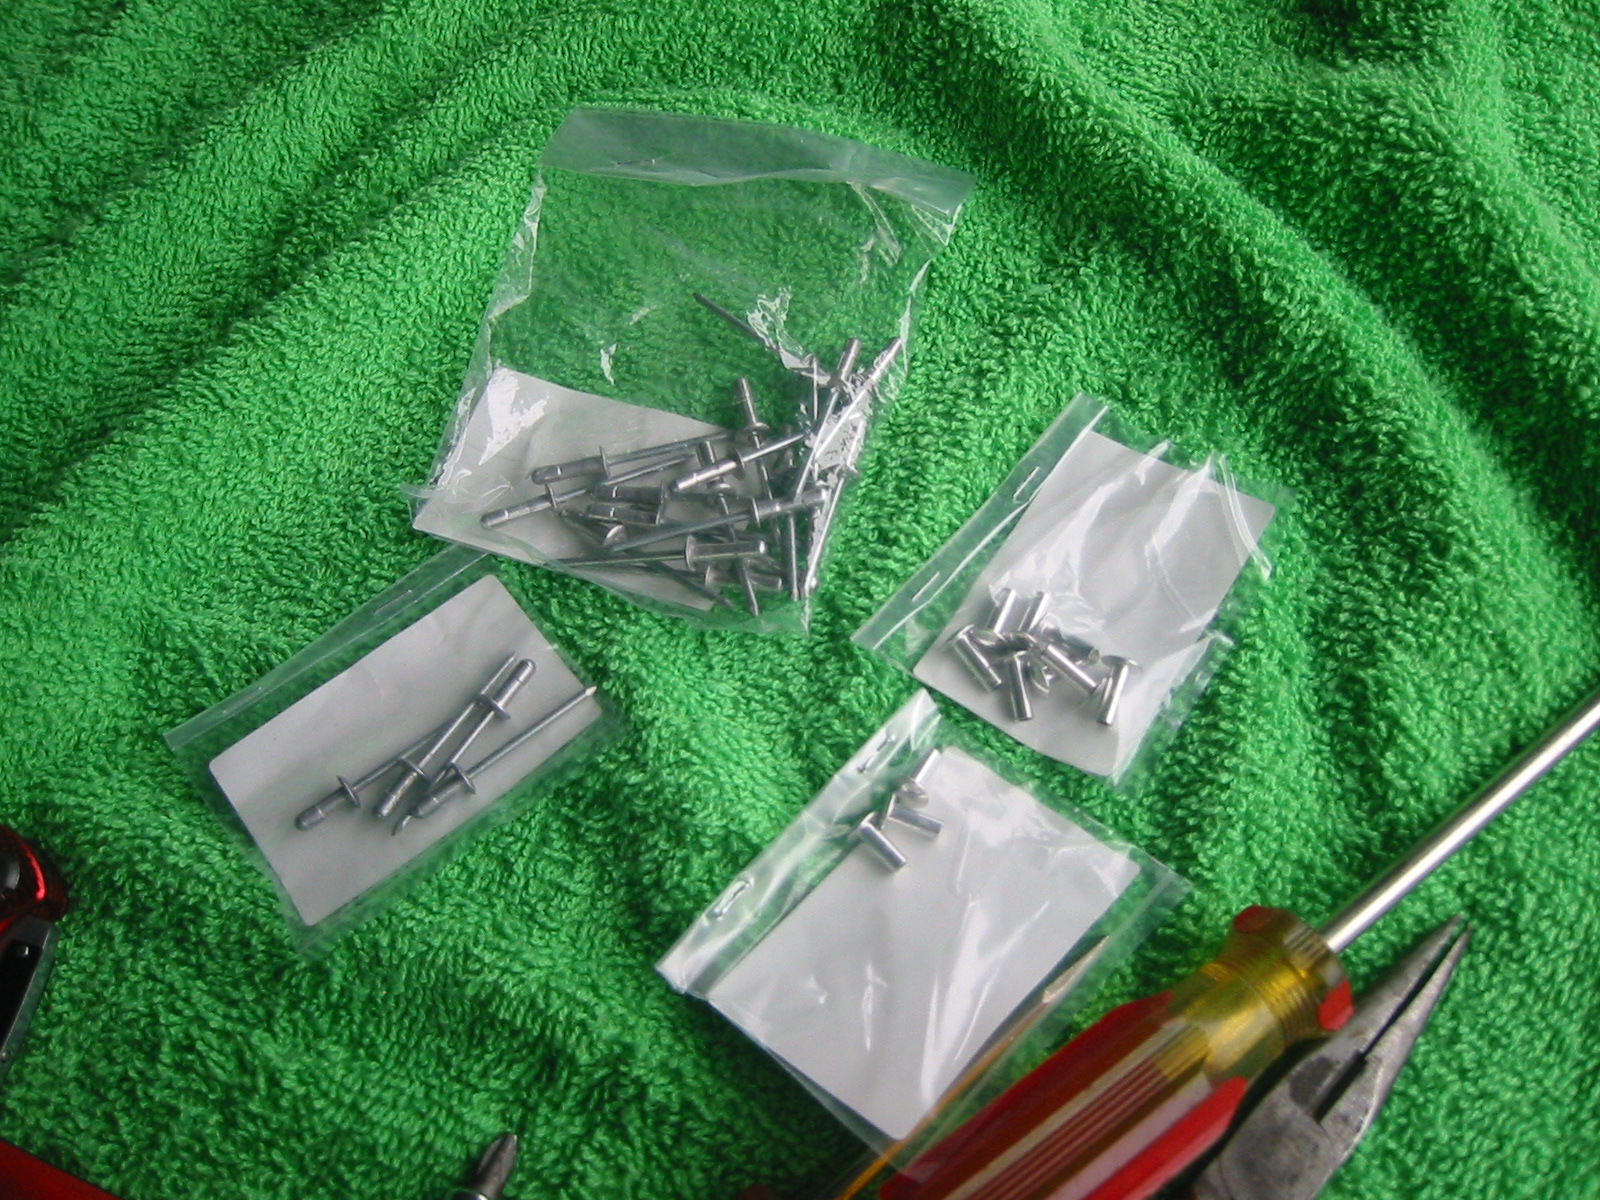
Before I jump into how I did it, I'll include some pics of the top before installation. The top comes with a bag of rivets (both blind and tubular), some tape, and seals, too. You can't see it so well in my pics due to the foam padding I kept on the top until installation, but it's the same Honda glass as the black top...this is OEM in every way, not an aftermarket top that is just listed by dealers. No instructions I've seen list where to put the seals, but I kind of guessed based on what was there and weathered away by time...still have some left (the big square foam ones for example). Tubular rivets were on the old frame, and for the new top you can use either type...I used the blind rivets as I bought a tool for them.


Well, time to start the show! First thing I did was took out the seats. Sorry, no pics of that...but if you can't do that you should just stop reading now because you'll never get the rest done if you can't handle that
Gum anyone?

Next, pull the center console up to take out the 2 screws underneath. I didn't need to pull the center console out...you can, but it's not needed.

Next, take the 1 screw out of the back of the console storage. Save the screw...there are plenty of these like this and you can make a pile.

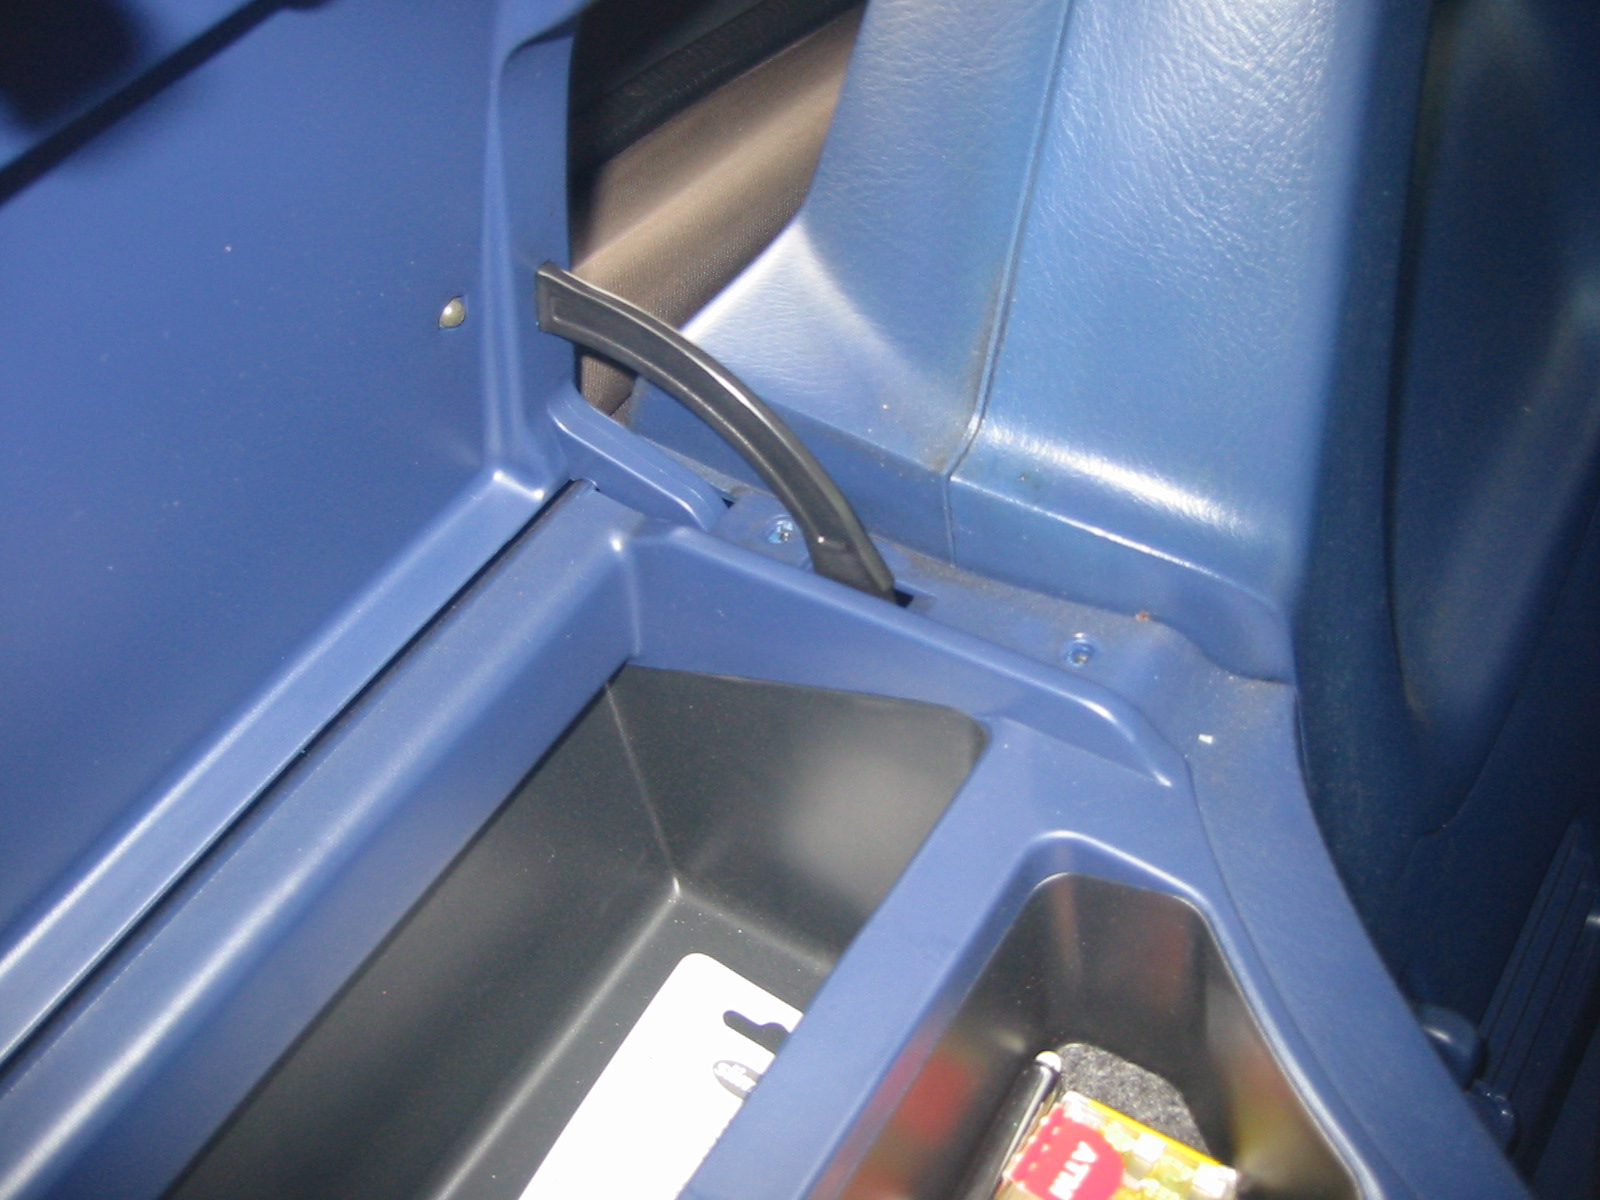
What the heck?!?! Nope, nothing to see here, move along. Well, after you take out the 4 screws. These are a little different with a flat head, so make another pile for them.
Now, take out the side sill things. They pop up and out...very easy. Each has 3 white clips so make sure you account for them.

Next, take out 1 screw per side panel. You can put these screws into the screw pile of like screws 3 + these 2 so far).

Next, take out the 2 back panels with the hooks on them. Flip the panel down and take them off with either a socket (8mm I think) or screwdriver. They pop right off.


Now, you can also pull the side panels, too. Since you've taken off the back panel and the screw, they will come right off. Make sure you account for the white retainer clip.

Next, take of the 2 screws shown here, and put them in the pile.

2 more screws over on this side. The horizontal screw on the very right is shorter than the others and does NOT need to come out!


Well, time to cut out this old raggety top. Here's where I started. MAKE SURE YOU DO NOT CUT THIS STRAP. IT IS CRITICAL. ALSO DO NOT CUT THE DEFROSTER WIRE.

Wooo, I'm a hoodlum now, I'm gonna get me some seats! Seriously, though, be careful.

My cutting yielded this nugget. Go ahead and remove it; the new top has one.

Nice, perfect equilateral triangle. Notice the strap is still there...hope yours is too.
Defroster wire. Be careful with it. Notice the zip tie...cut it out. The new top has another.

I know there are a few very good DIY posts for the top replacement, but none were from OEM to OEM on a MY02+. The MY02+ has enough differences that I thought a DIY was a good idea so I documented mine. I used the Honda manual and some of the other DIY's to guide me, and I think I've added some things that were not covered in some of the other DIYs.
Mods, I would be honored if this was made a sticky
GO AHEAD WITH REPLIES...basically done. Mods, can you take the IN PROGRESS out of the title?
********************************
Tools used:
NECESSARY:
Screwdriver, flat and philips
Offset philips screwdriver, or ratchet with 1/4" hex bit attachment
10mm, 12mm, 14mm sockets, at least a 6 inch extension
drill, 5/32 and 3/16 bits
rivet tool, ideally one that can do up to 5mm
New top
Utility knife
Pliers...I used slip joint ones
RECOMMENDED:
cordless impact driver...makes the bolts EASY
cordless screwdriver...with decent torque. Mine is lithium, a NiCd one may not work on some of the harder screws
TIME NEEDED: I did it in about 9 hours total. Some of that was breaks from the heat, and I was also alone. I did it over 2 days, so some of that was hauling my crap in and out more than needed. Oh, and I stopped to take lots of pics. I actually had fun doing it for the most part. If I'm close to you (central FL) I'd be happy to help. I don't think this requires special skills, but it does require patience.
I'm not sure what the "book time" is, but I'd imaging 8-10 hours. Depending on labor rate, you're saving in the ballpark of $1,000 doing this yourself. Think of what you can get for your car for $1,000...you still want to pay someone to do this...someone that won't do it with the care that you would????
Well, after 9 years in FL, my OEM top finally gave up the ghost. I have been patching this thing up, but it got a tear in the front that I could not fix, so I got a new Honda blue top to replace it. It sucks the old top is gone, but it made it 9 years, so I can't be too sad. The top was bought at Majestic...it's in the Accessories section with the wings and stuff.
Here's one of the other patchings I did. It's amazing how much the inside has changed over 9 years of dirt and sun due to top down driving
Before I jump into how I did it, I'll include some pics of the top before installation. The top comes with a bag of rivets (both blind and tubular), some tape, and seals, too. You can't see it so well in my pics due to the foam padding I kept on the top until installation, but it's the same Honda glass as the black top...this is OEM in every way, not an aftermarket top that is just listed by dealers. No instructions I've seen list where to put the seals, but I kind of guessed based on what was there and weathered away by time...still have some left (the big square foam ones for example). Tubular rivets were on the old frame, and for the new top you can use either type...I used the blind rivets as I bought a tool for them.
Well, time to start the show! First thing I did was took out the seats. Sorry, no pics of that...but if you can't do that you should just stop reading now because you'll never get the rest done if you can't handle that
Gum anyone?
Next, pull the center console up to take out the 2 screws underneath. I didn't need to pull the center console out...you can, but it's not needed.
Next, take the 1 screw out of the back of the console storage. Save the screw...there are plenty of these like this and you can make a pile.
What the heck?!?! Nope, nothing to see here, move along. Well, after you take out the 4 screws. These are a little different with a flat head, so make another pile for them.
Now, take out the side sill things. They pop up and out...very easy. Each has 3 white clips so make sure you account for them.
Next, take out 1 screw per side panel. You can put these screws into the screw pile of like screws 3 + these 2 so far).
Next, take out the 2 back panels with the hooks on them. Flip the panel down and take them off with either a socket (8mm I think) or screwdriver. They pop right off.
Now, you can also pull the side panels, too. Since you've taken off the back panel and the screw, they will come right off. Make sure you account for the white retainer clip.
Next, take of the 2 screws shown here, and put them in the pile.
2 more screws over on this side. The horizontal screw on the very right is shorter than the others and does NOT need to come out!
Well, time to cut out this old raggety top. Here's where I started. MAKE SURE YOU DO NOT CUT THIS STRAP. IT IS CRITICAL. ALSO DO NOT CUT THE DEFROSTER WIRE.
Wooo, I'm a hoodlum now, I'm gonna get me some seats! Seriously, though, be careful.
My cutting yielded this nugget. Go ahead and remove it; the new top has one.
Nice, perfect equilateral triangle. Notice the strap is still there...hope yours is too.
Defroster wire. Be careful with it. Notice the zip tie...cut it out. The new top has another.
 07-12-2011, 06:40 PM
#2
Registered User
Thread Starter
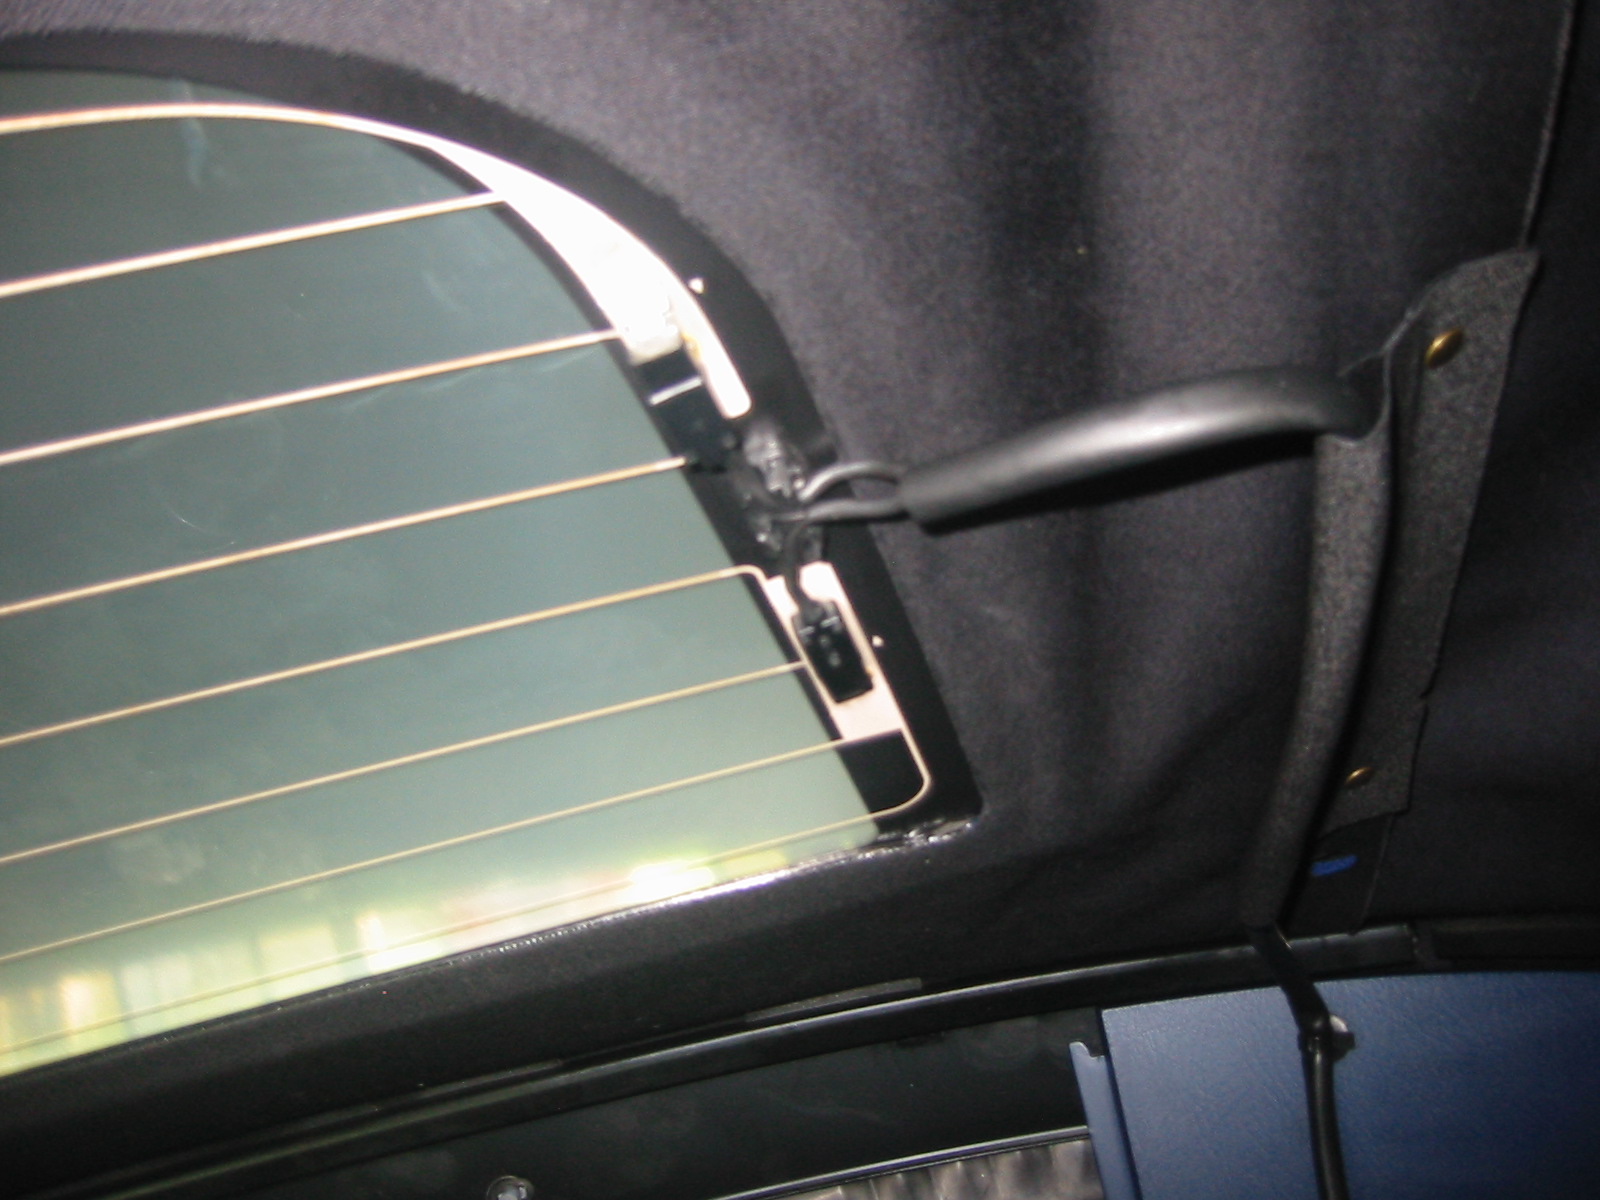
This is where the defrost wire connects to the window. You have to pull off the plastic cap here. If you can do it without scratching it, you're better than I am. Get that thing off and the wires lift out, then disconnect from the 2 spots on the window. Put a towel on your trunk so you don't scratch it.

The zip tie again...remove.

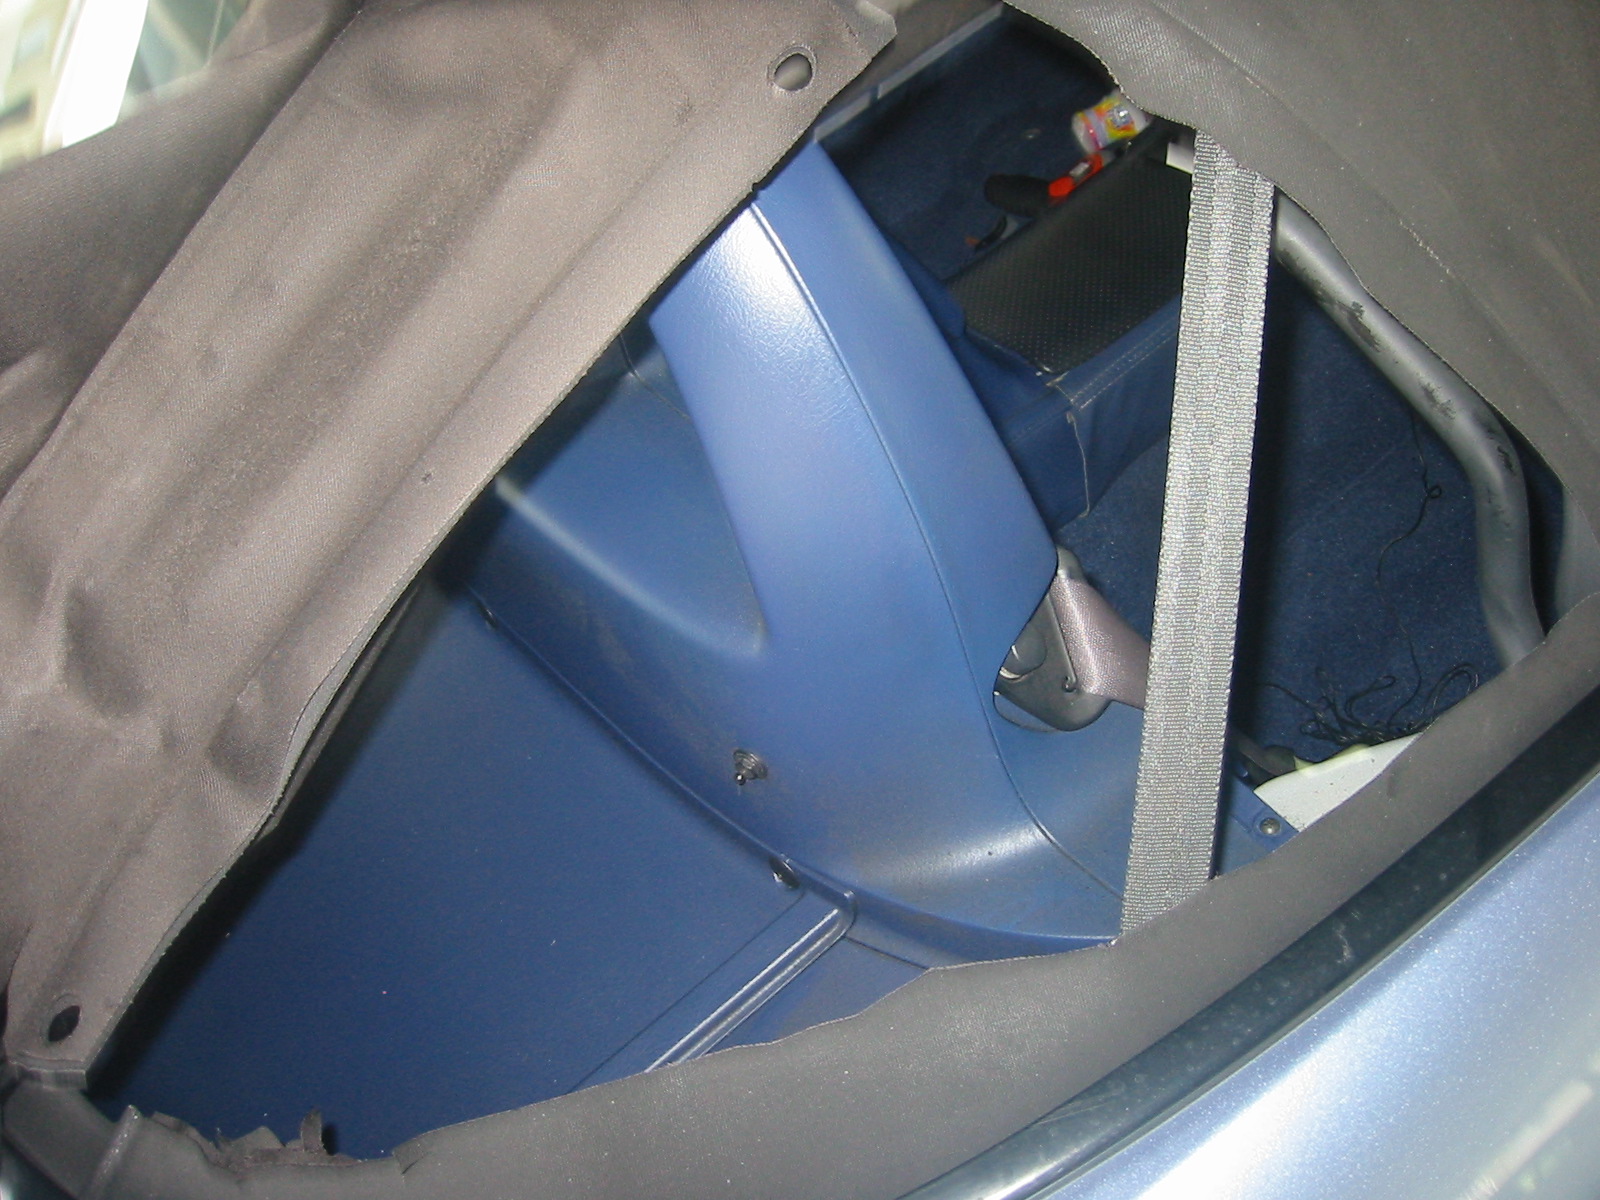
My window, all cut out. Perhaps someone can buy it and sew it into theirs...PM me if you want it.
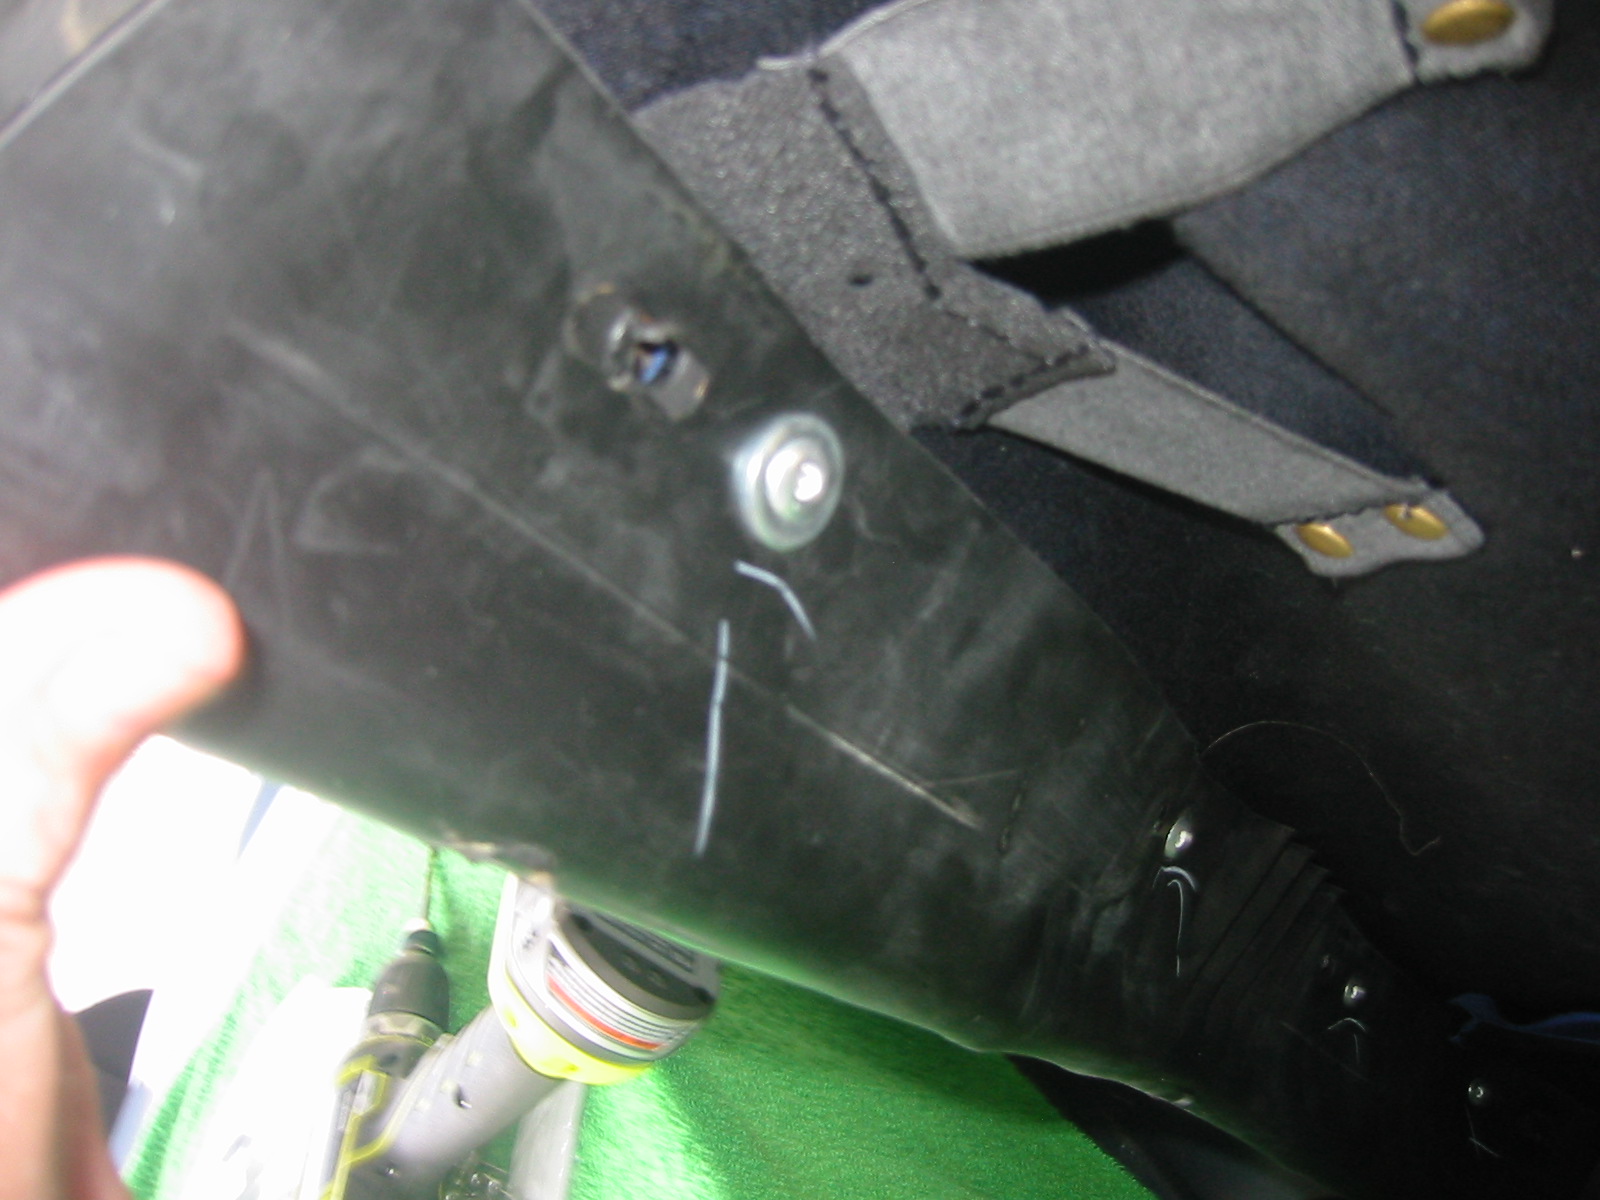
Retainer push clips with button. 3 black/red/blue/tan-color ones on the rear of the rear tray, 4 black ones on the front. Pop in the button a little, pry a little, and lift out. They're easy to pull without breaking them. Of course, I managed to step on my pile...good thing I bought extras from when I did my fuel pump.


Once you got all 7 push-clips, time to take out this panel in the back. It should pry out with little effort...bottom side first.

Next take out the cover for the spare

Then take out the spare

Go ahead and take the other side out too...2 clips...kind of a pain

Now pop up these 4 white things at the top of the spare cavity...they pop out the rear tray
Now you can get the rear tray out. It's good to lift the front of it higher and then maneuver it so you can get it out through the trunk...best practice this...it has to go back IN this way too. It's not as hard as "they" say...but it is if you try to take it out through the cabin I guess.

Now 2 more screws are visible...they're for the center console
Lift this panel out...light effort

The zip tie again...remove.
My window, all cut out. Perhaps someone can buy it and sew it into theirs...PM me if you want it.
Retainer push clips with button. 3 black/red/blue/tan-color ones on the rear of the rear tray, 4 black ones on the front. Pop in the button a little, pry a little, and lift out. They're easy to pull without breaking them. Of course, I managed to step on my pile...good thing I bought extras from when I did my fuel pump.
Once you got all 7 push-clips, time to take out this panel in the back. It should pry out with little effort...bottom side first.
Next take out the cover for the spare
Then take out the spare
Go ahead and take the other side out too...2 clips...kind of a pain
Now pop up these 4 white things at the top of the spare cavity...they pop out the rear tray
Now you can get the rear tray out. It's good to lift the front of it higher and then maneuver it so you can get it out through the trunk...best practice this...it has to go back IN this way too. It's not as hard as "they" say...but it is if you try to take it out through the cabin I guess.
Now 2 more screws are visible...they're for the center console
Lift this panel out...light effort
07-14-2011, 04:55 PM
#3
Registered User
Thread Starter
3 more screws here...back of the center console

Center console can pretty much come right out now. That silver thing is my XM antenna...it goes back on...magnet You can really leave your junk in there...just close it

Oh, don't forget to take the plug out for the trunk release. Another for the lighter socket...pops right off.

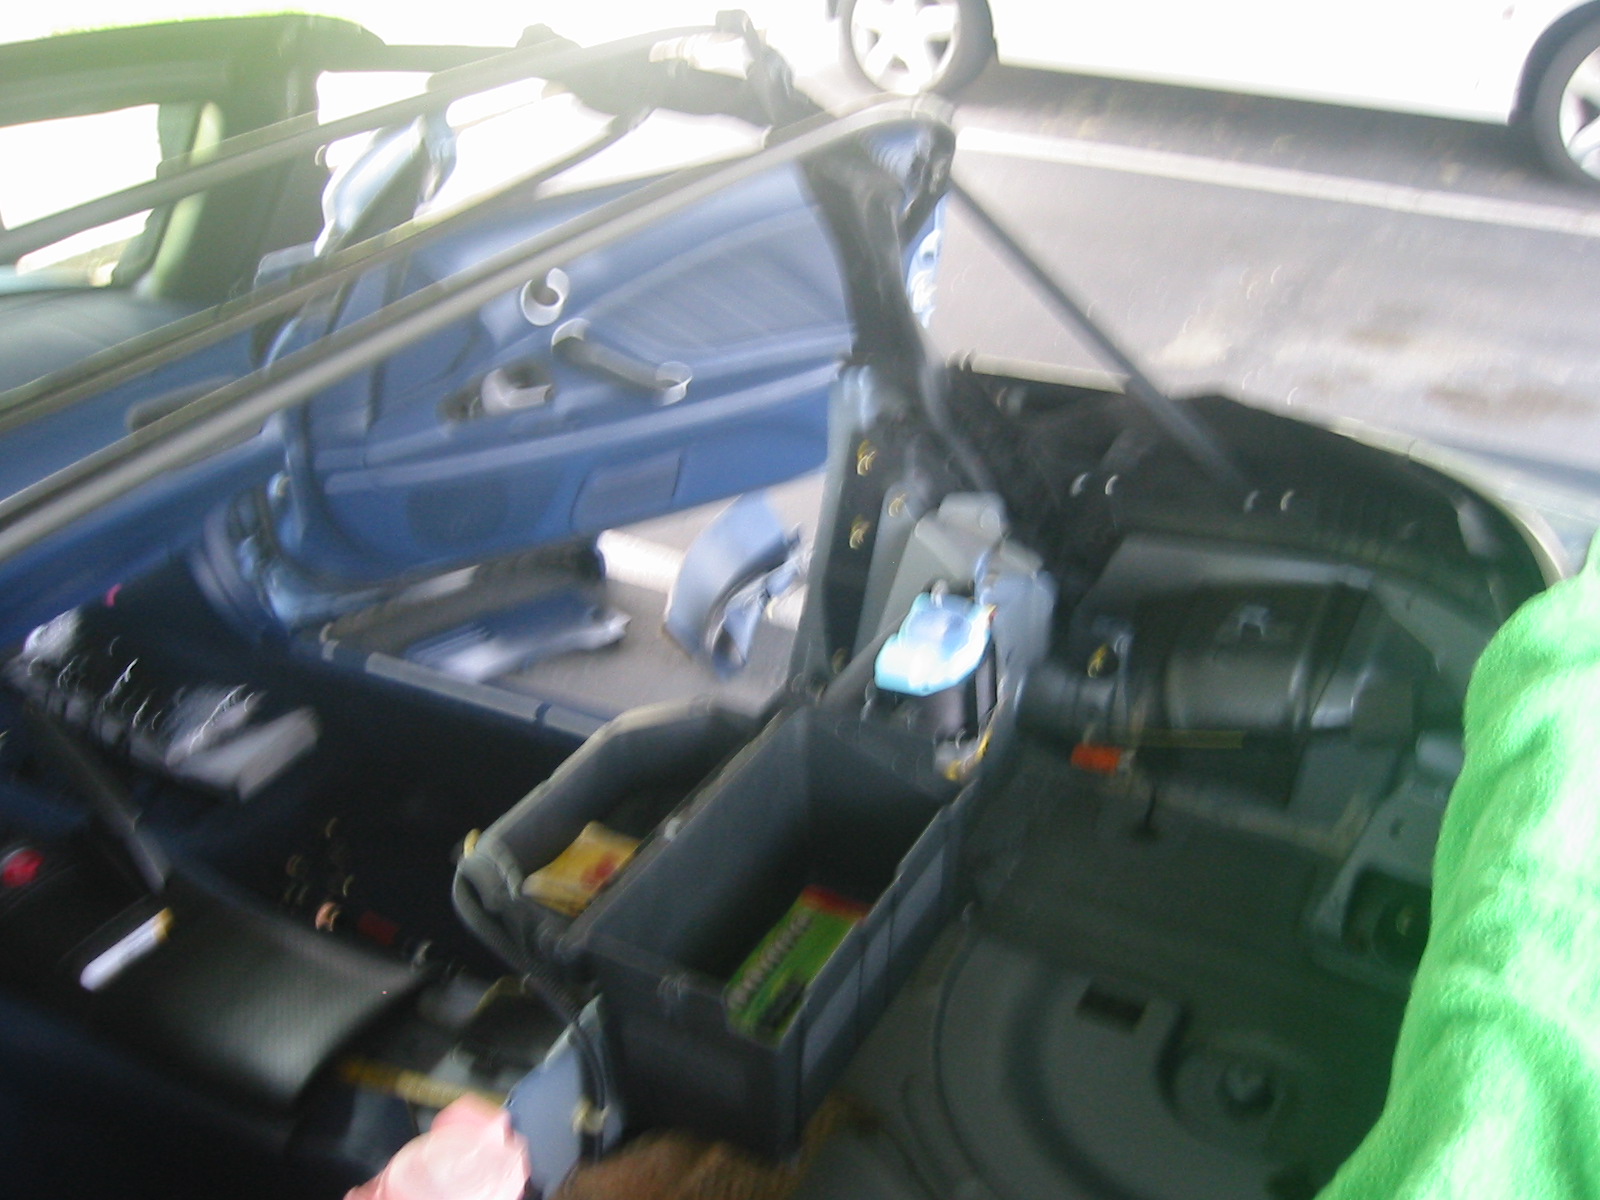
Now time to unbolt the rollbars. 16X 12mm bolts, all accessible from the front. Impact wrench comes in VERY handy...


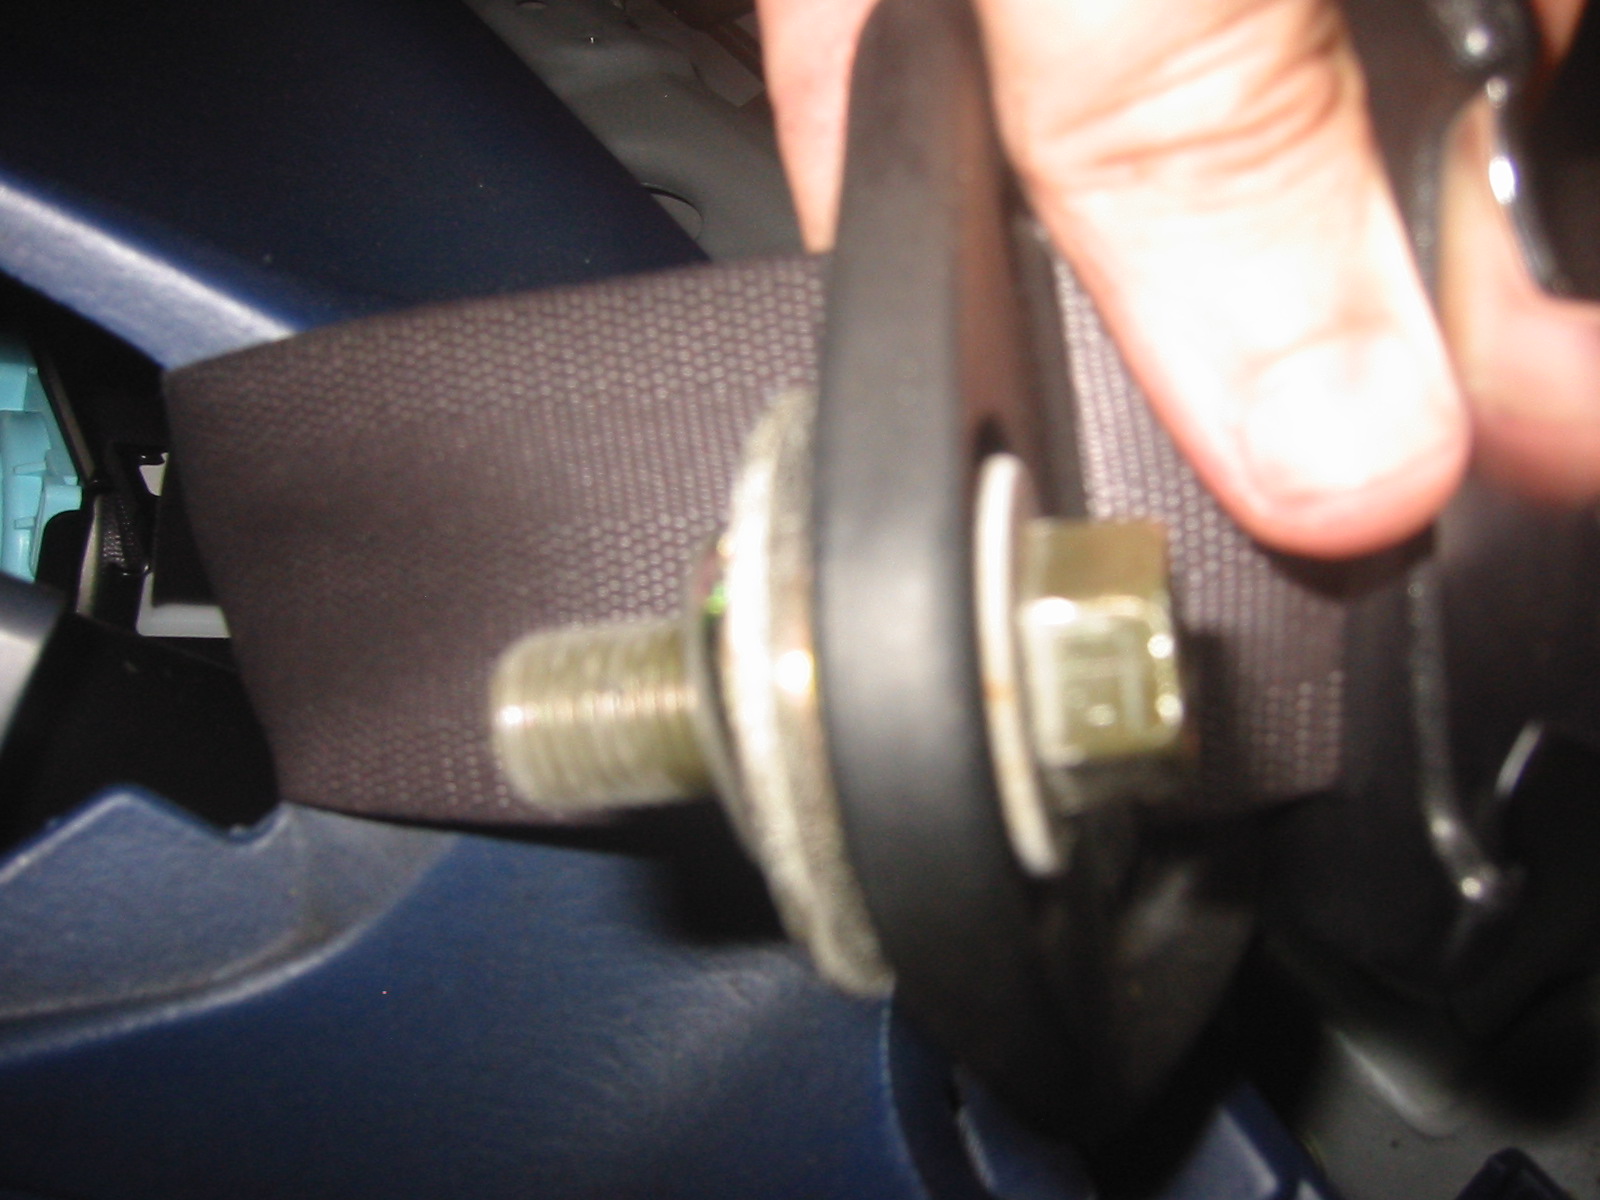
Time to take out the seat belts...14mm

The bolt does not come out of the seat belt.

Take the cap off the bolt by your shoulder (if you were in the car)

Remove the bolt for the seat belt from the rollbar

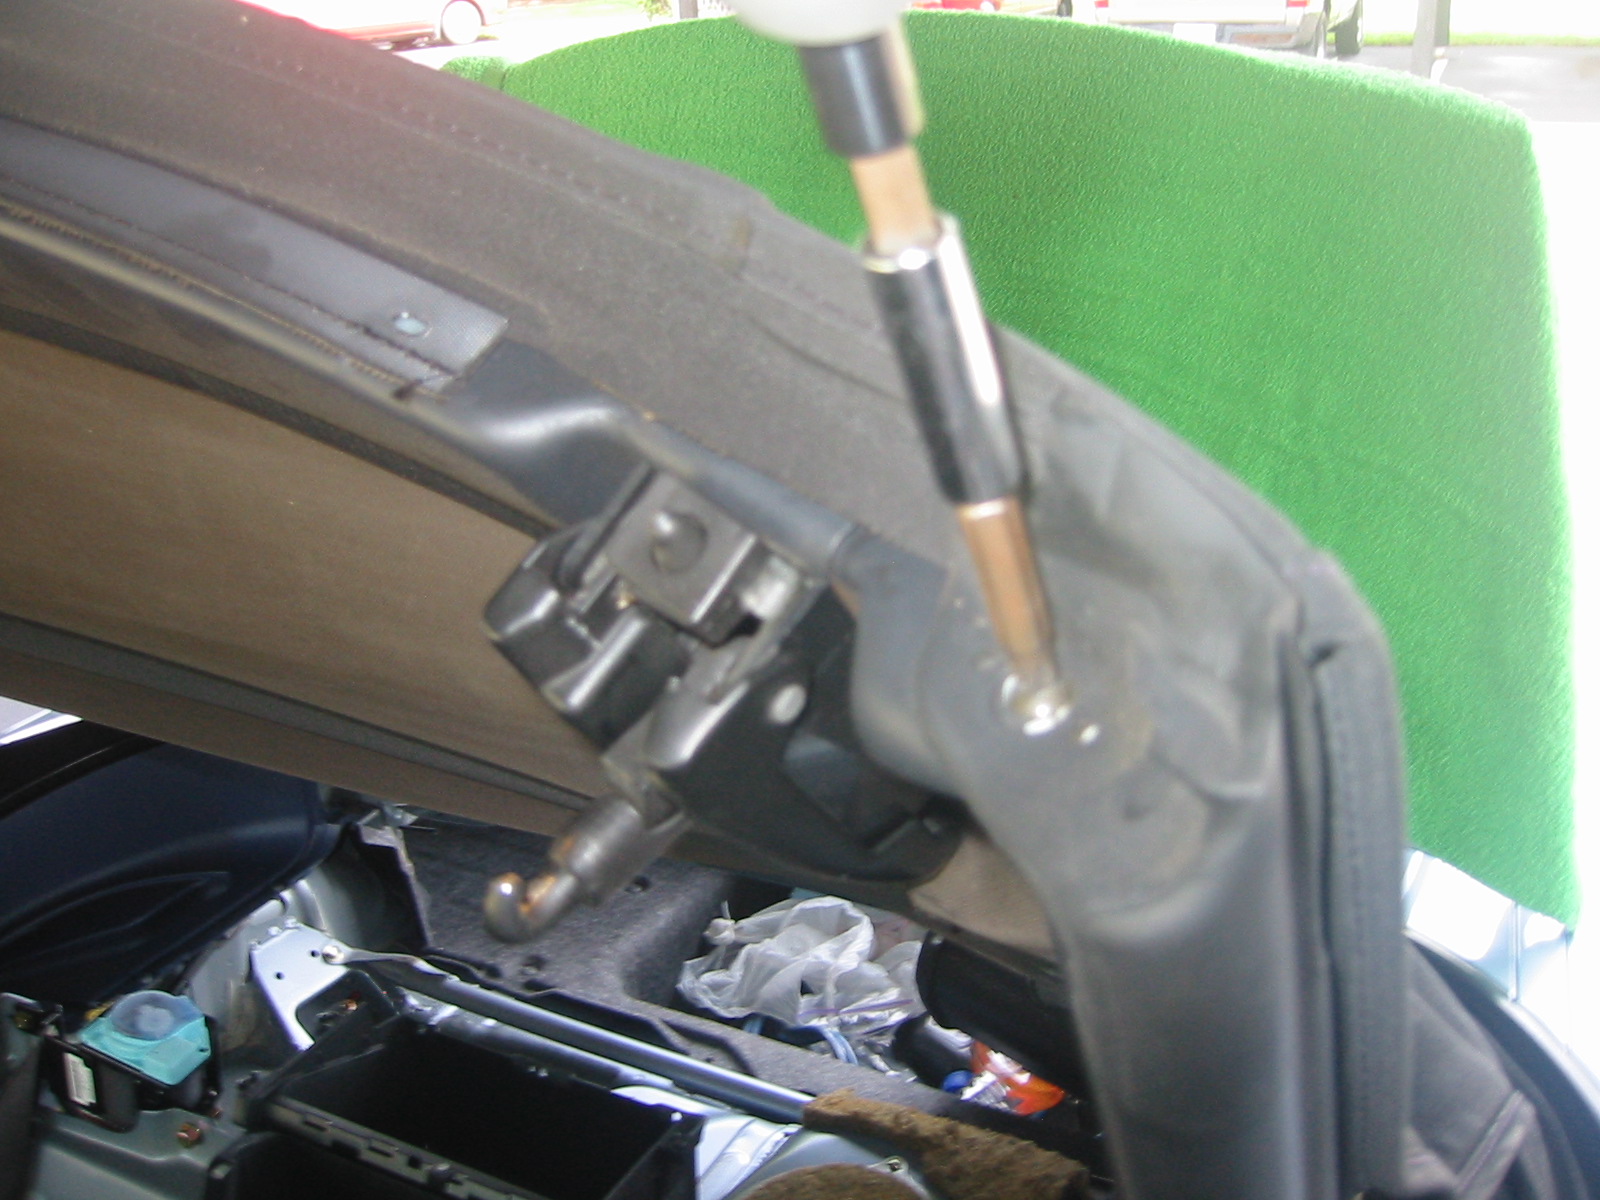
Roll bars are ready! Well, not yet...one more screw on each behind the rollbars...I'd advise you not to drop this screw.
Remove the top seat belt anchor from the rollbar. Thread the seatbelt out through the hole in each rollbar.
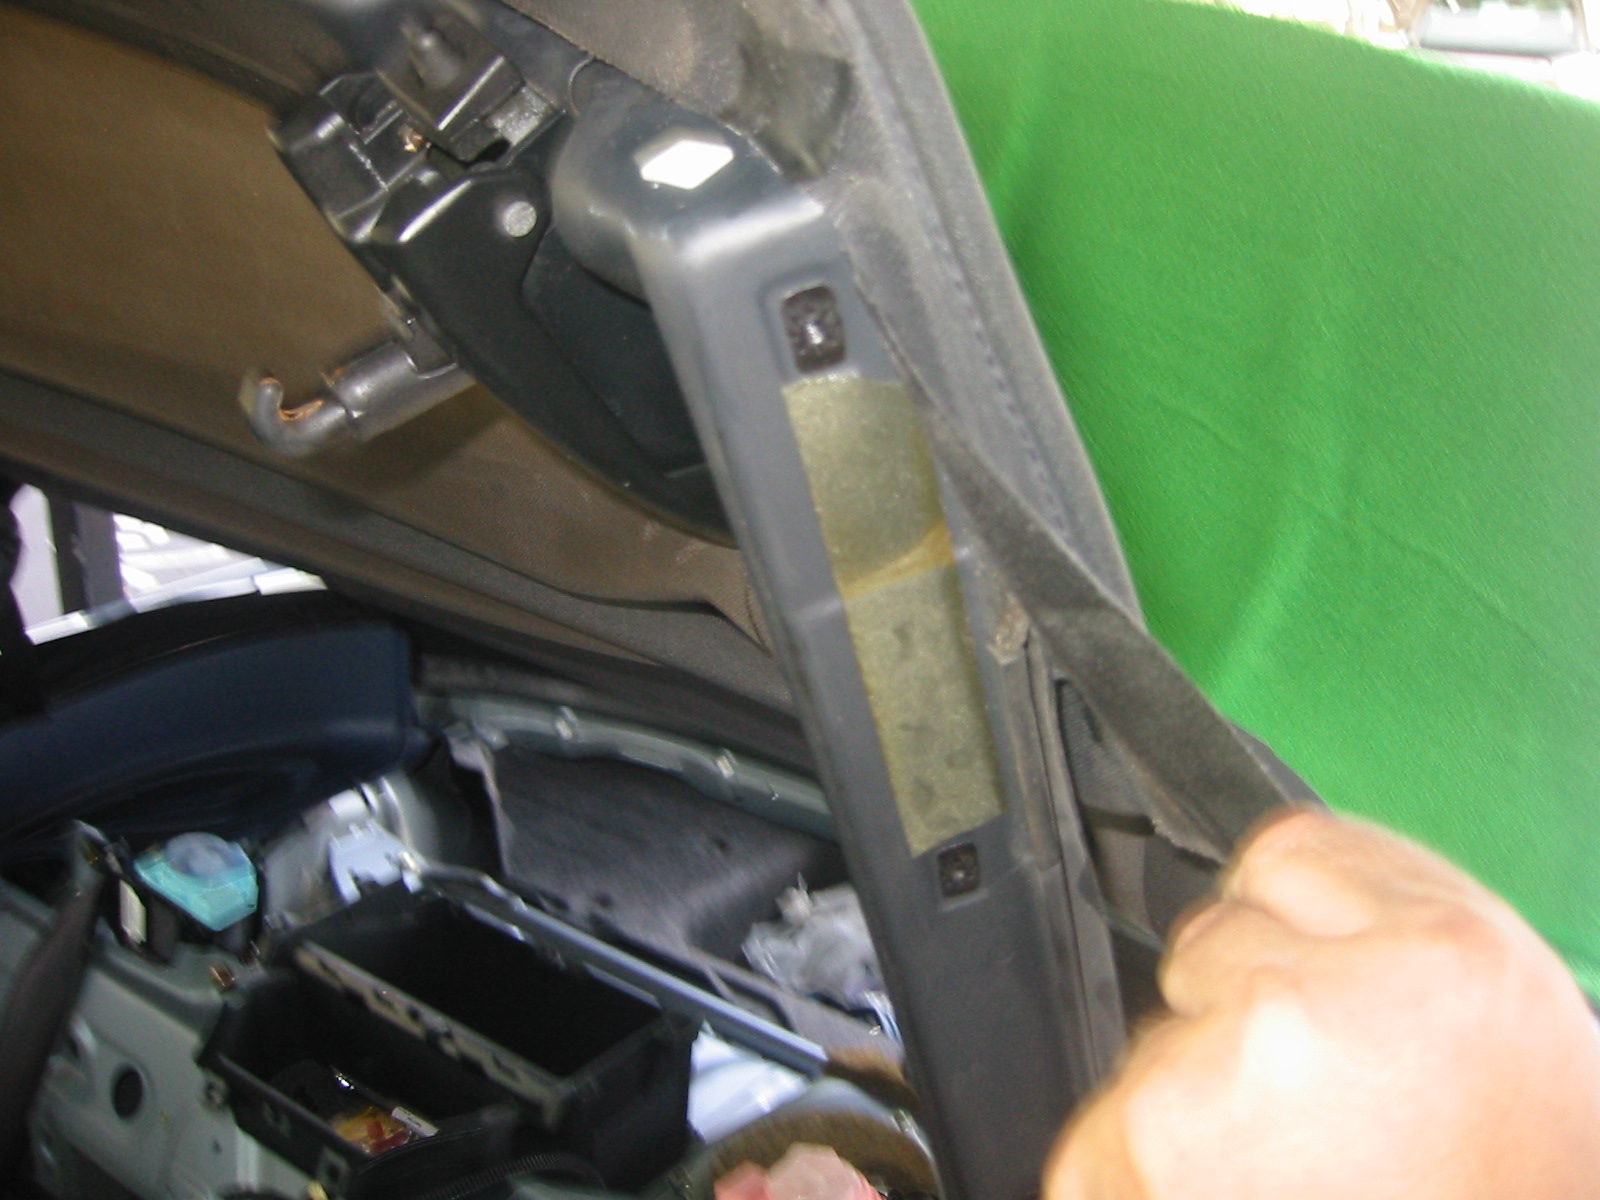
This is what's left.

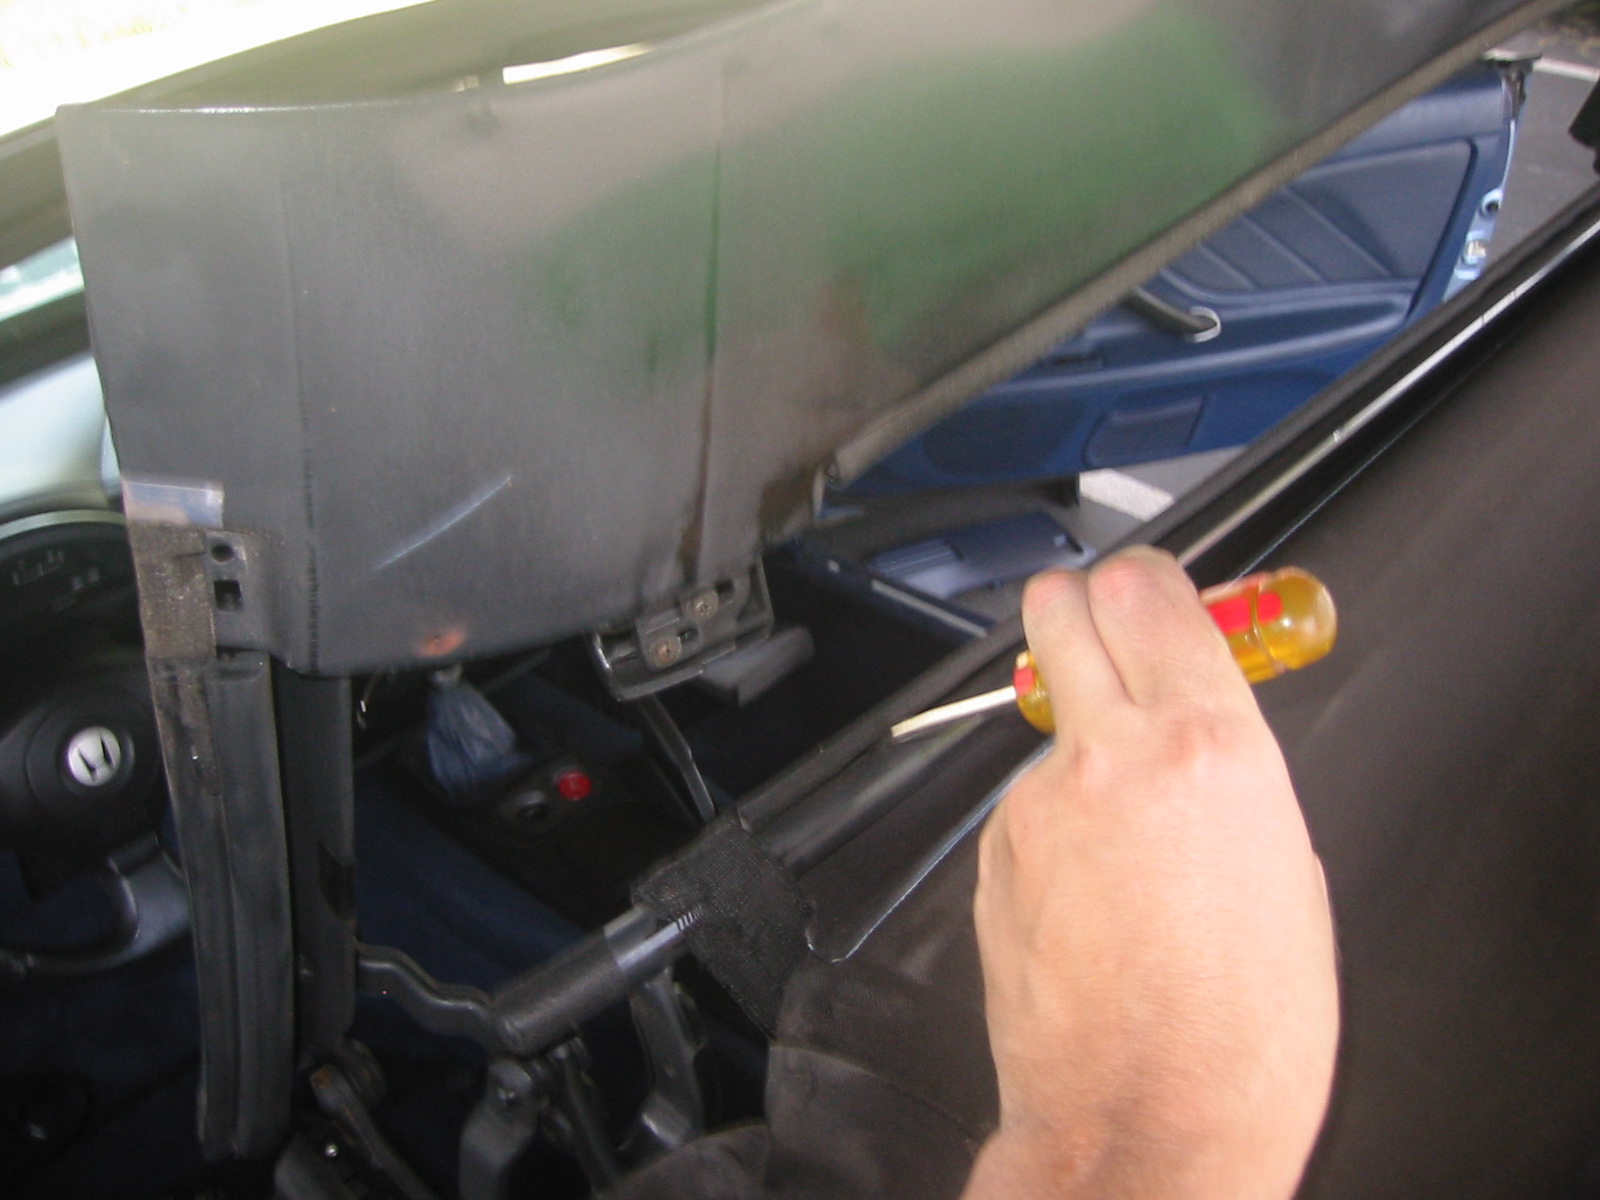
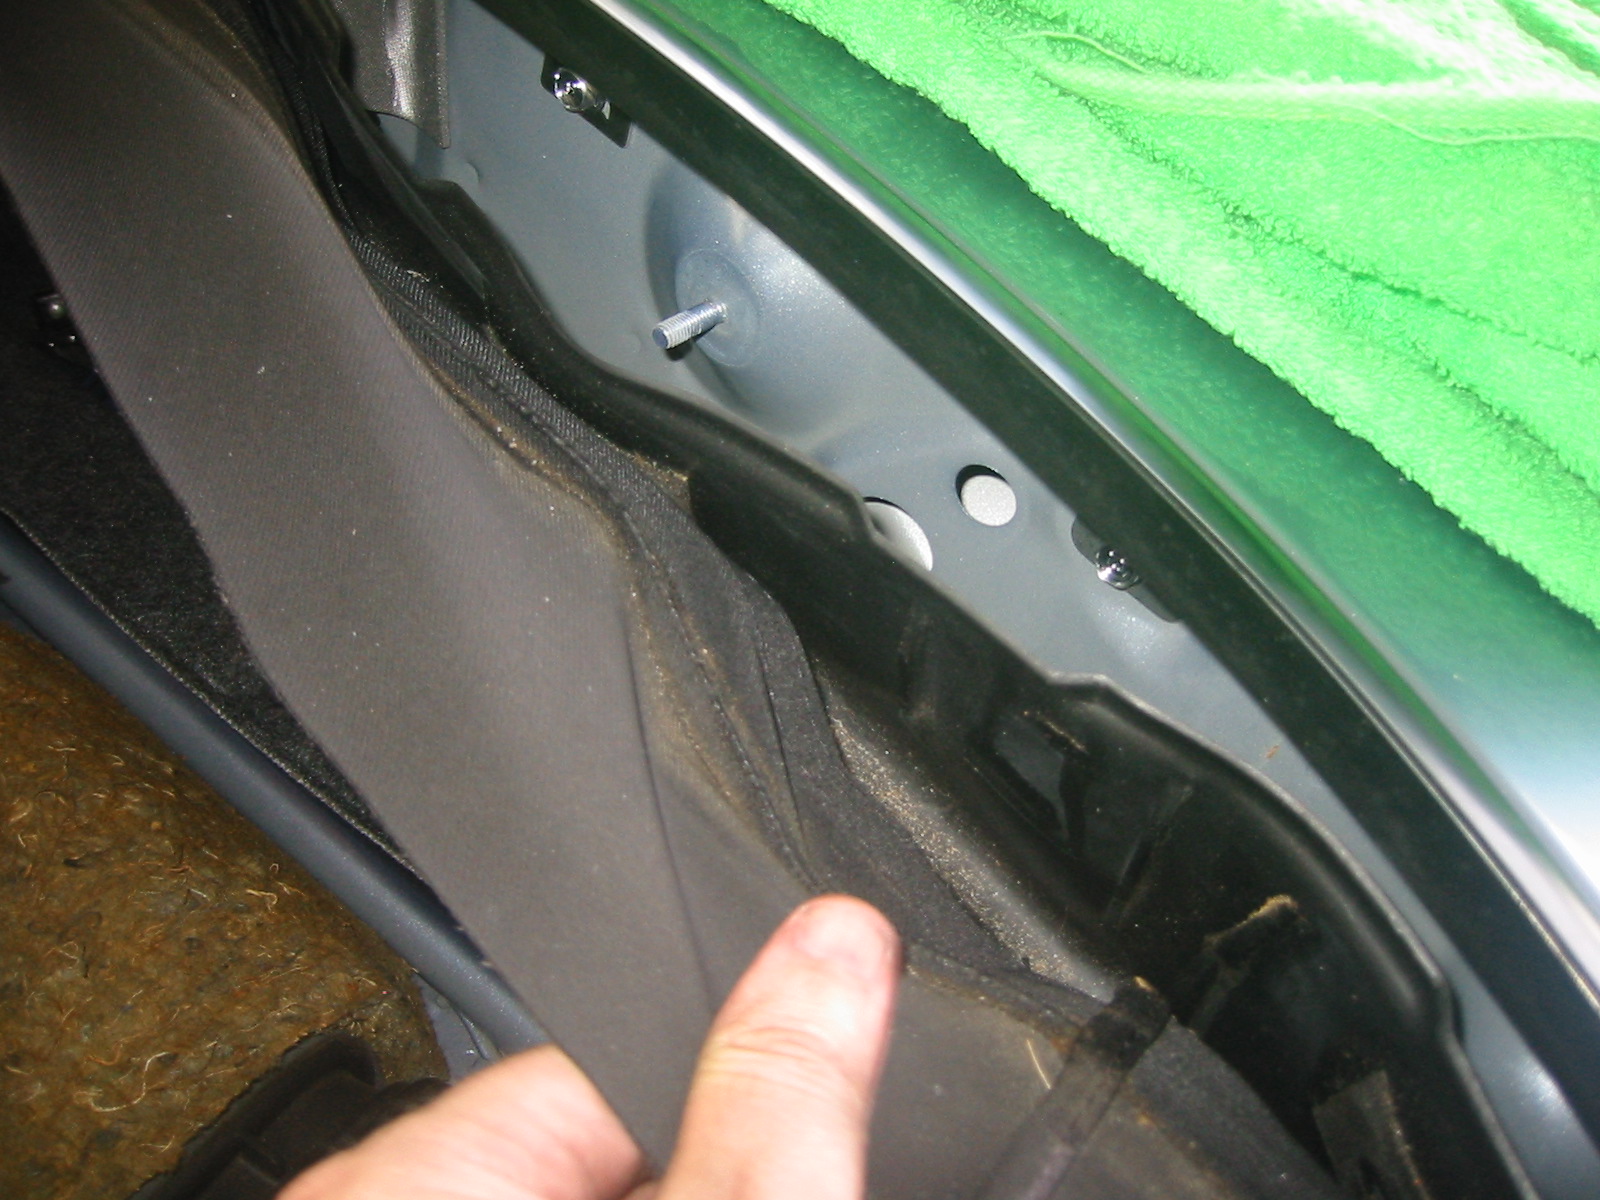
Let's go to the front of the car now. Take out the 7 screws at the leading edge of the top. Take the little bracket out and put it aside. These screws are the same size as the others, but have a washer on them, so keep them seperate.

Now, one screw at the front-corner on each side. Just like most of the others.
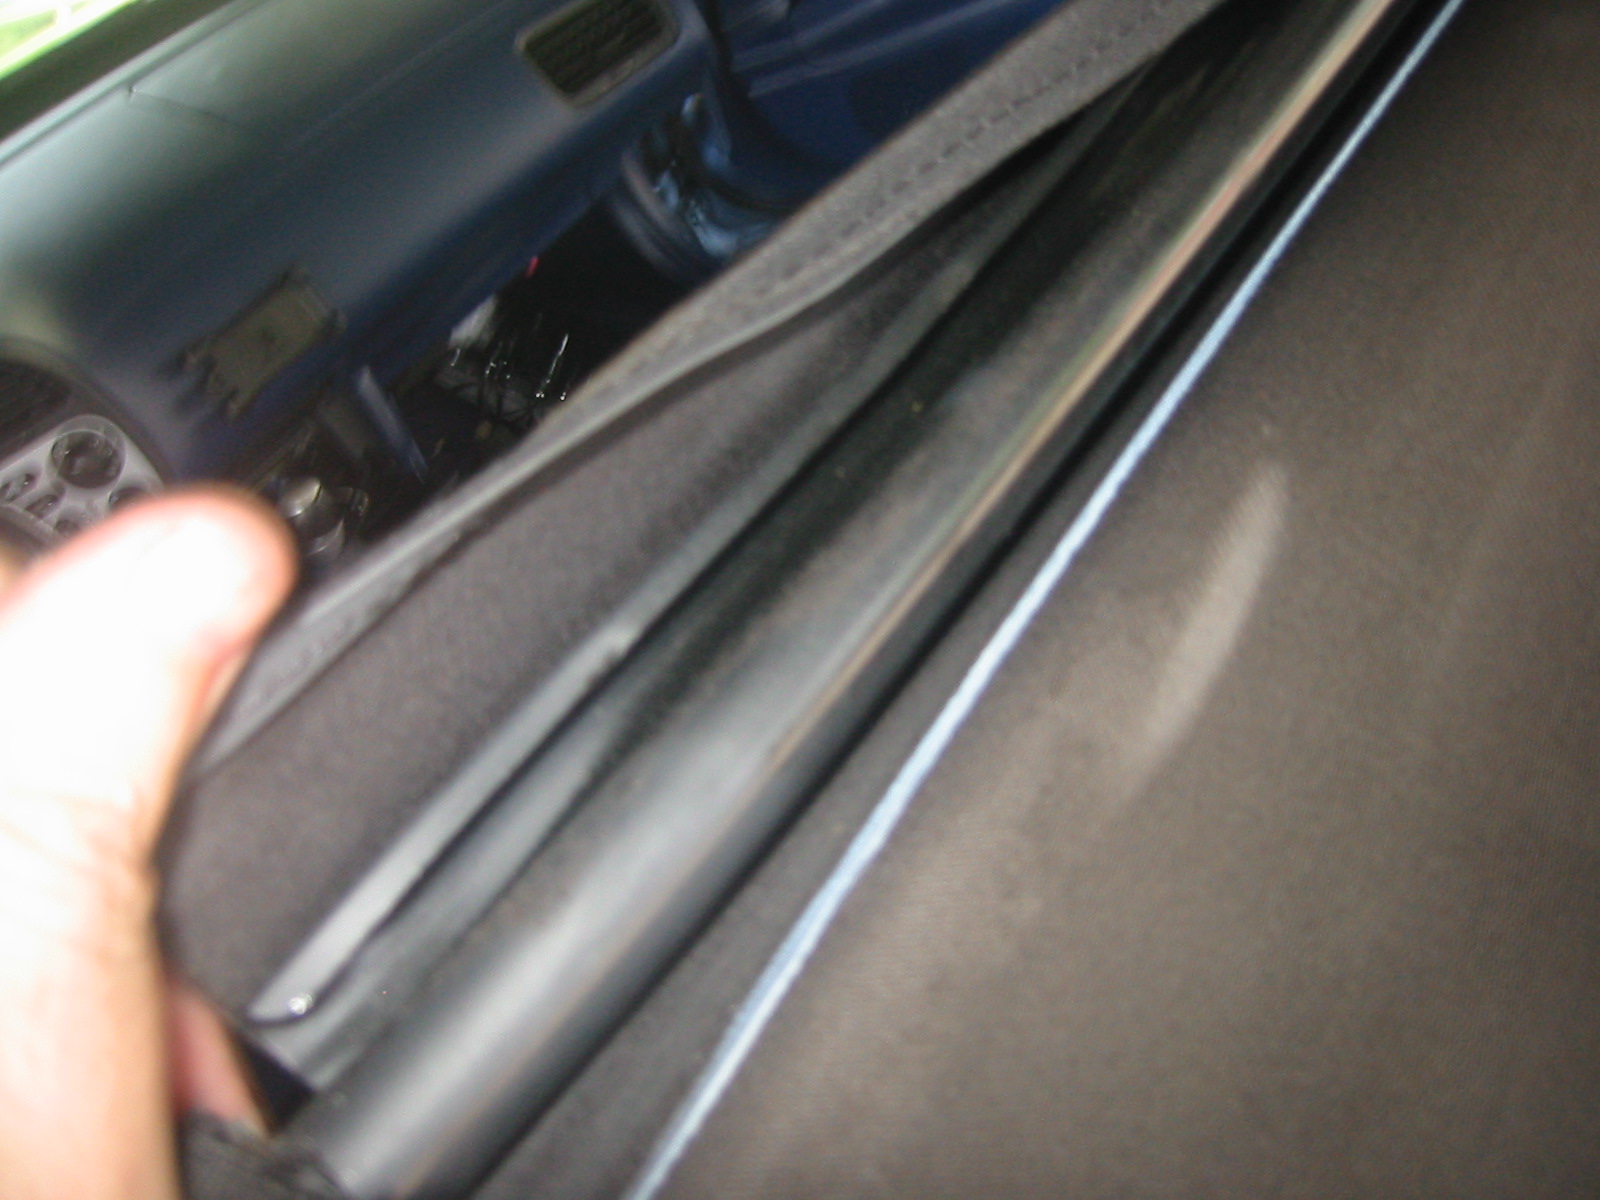
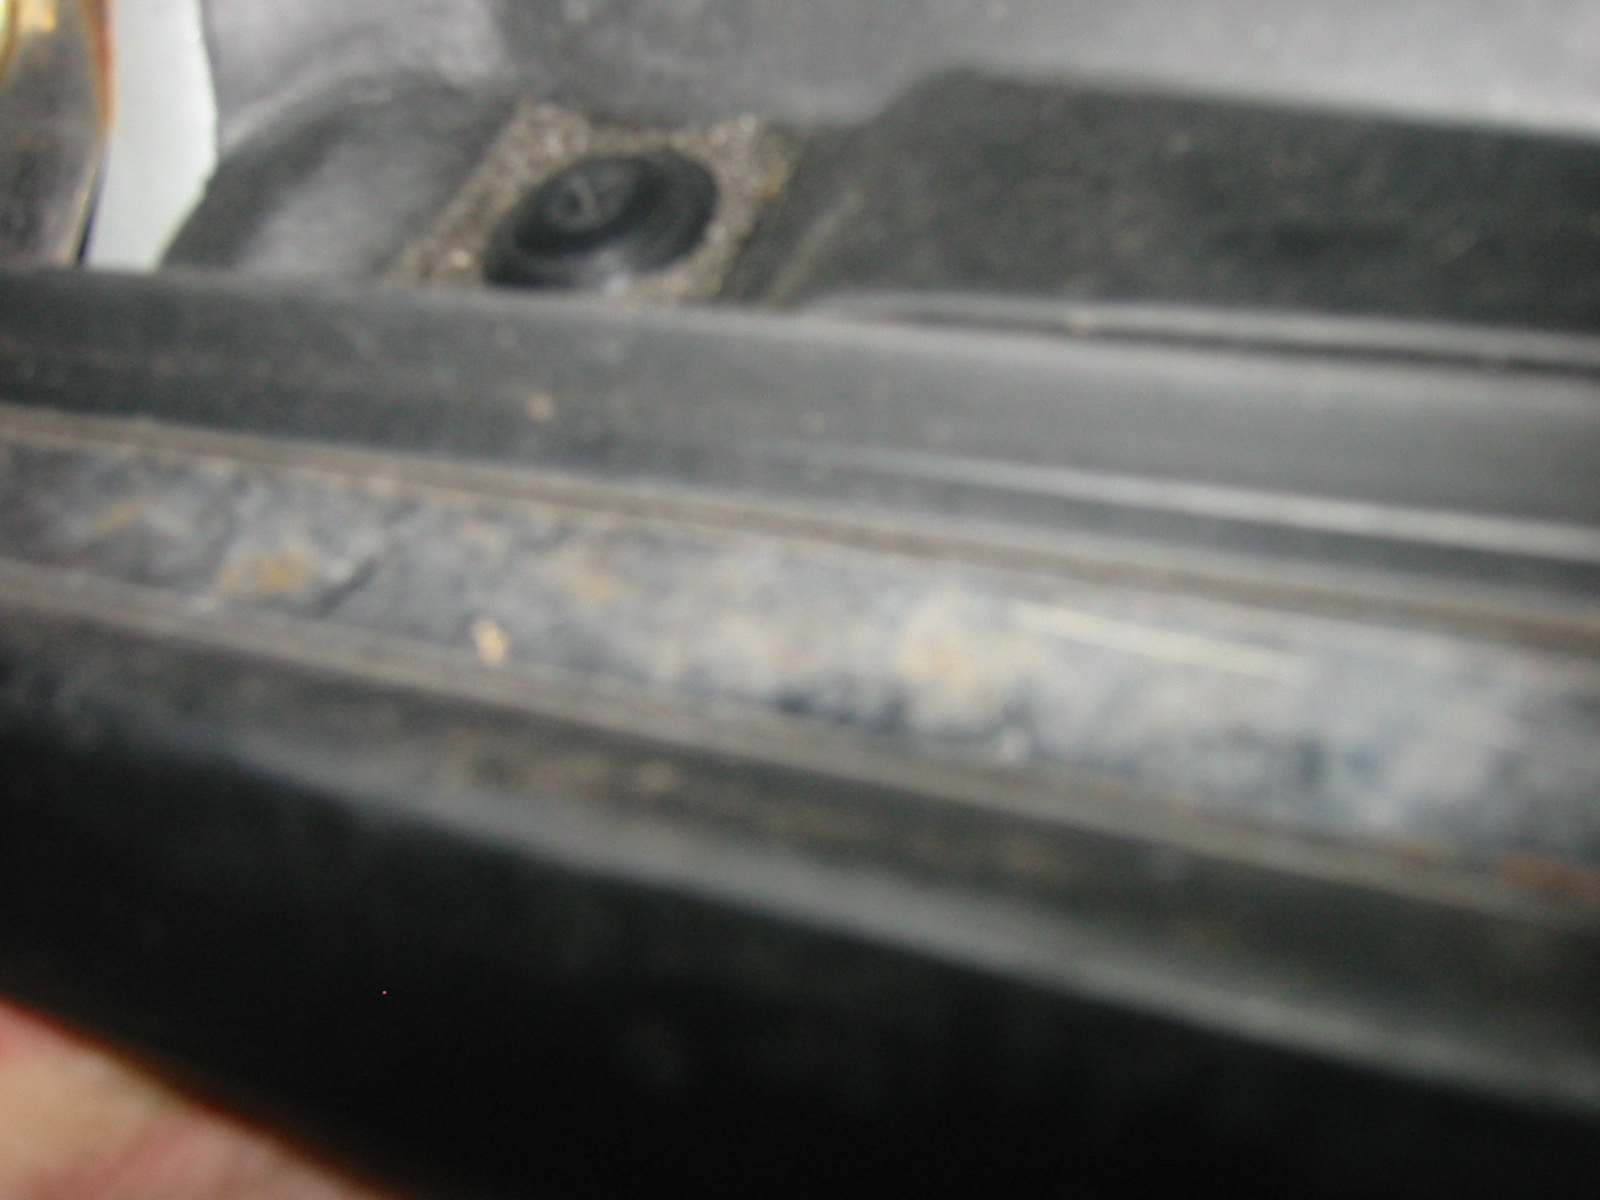
Now, start taking out weatherstrip. Be careful, and take it easy. I have the front and middle pictured here, the rest will be later. It really does come out easy...and back in easy once you figure it out.


On the 8 screws on the weatherstrip brackets, mark the position of the screws. A sharpie works better than plasti-dip. I can't say how I know You may only mark 5 per side at this point...I haven't taken out the back weatherstrip yet.

Now take out the screws, 8 per side (5 at this time).

Now the front of the top is ready to come off. Just lift it out, really.

Center console can pretty much come right out now. That silver thing is my XM antenna...it goes back on...magnet
You can really leave your junk in there...just close it Oh, don't forget to take the plug out for the trunk release. Another for the lighter socket...pops right off.
Now time to unbolt the rollbars. 16X 12mm bolts, all accessible from the front. Impact wrench comes in VERY handy...
Time to take out the seat belts...14mm
The bolt does not come out of the seat belt.
Take the cap off the bolt by your shoulder (if you were in the car)
Remove the bolt for the seat belt from the rollbar
Roll bars are ready! Well, not yet...one more screw on each behind the rollbars...I'd advise you not to drop this screw.
Remove the top seat belt anchor from the rollbar. Thread the seatbelt out through the hole in each rollbar.
This is what's left.
Let's go to the front of the car now. Take out the 7 screws at the leading edge of the top. Take the little bracket out and put it aside. These screws are the same size as the others, but have a washer on them, so keep them seperate.
Now, one screw at the front-corner on each side. Just like most of the others.
Now, start taking out weatherstrip. Be careful, and take it easy. I have the front and middle pictured here, the rest will be later. It really does come out easy...and back in easy once you figure it out.
On the 8 screws on the weatherstrip brackets, mark the position of the screws. A sharpie works better than plasti-dip. I can't say how I know
You may only mark 5 per side at this point...I haven't taken out the back weatherstrip yet.Now take out the screws, 8 per side (5 at this time).
Now the front of the top is ready to come off. Just lift it out, really.


 07-15-2011, 04:35 AM
#7
Registered User
Thread Starter
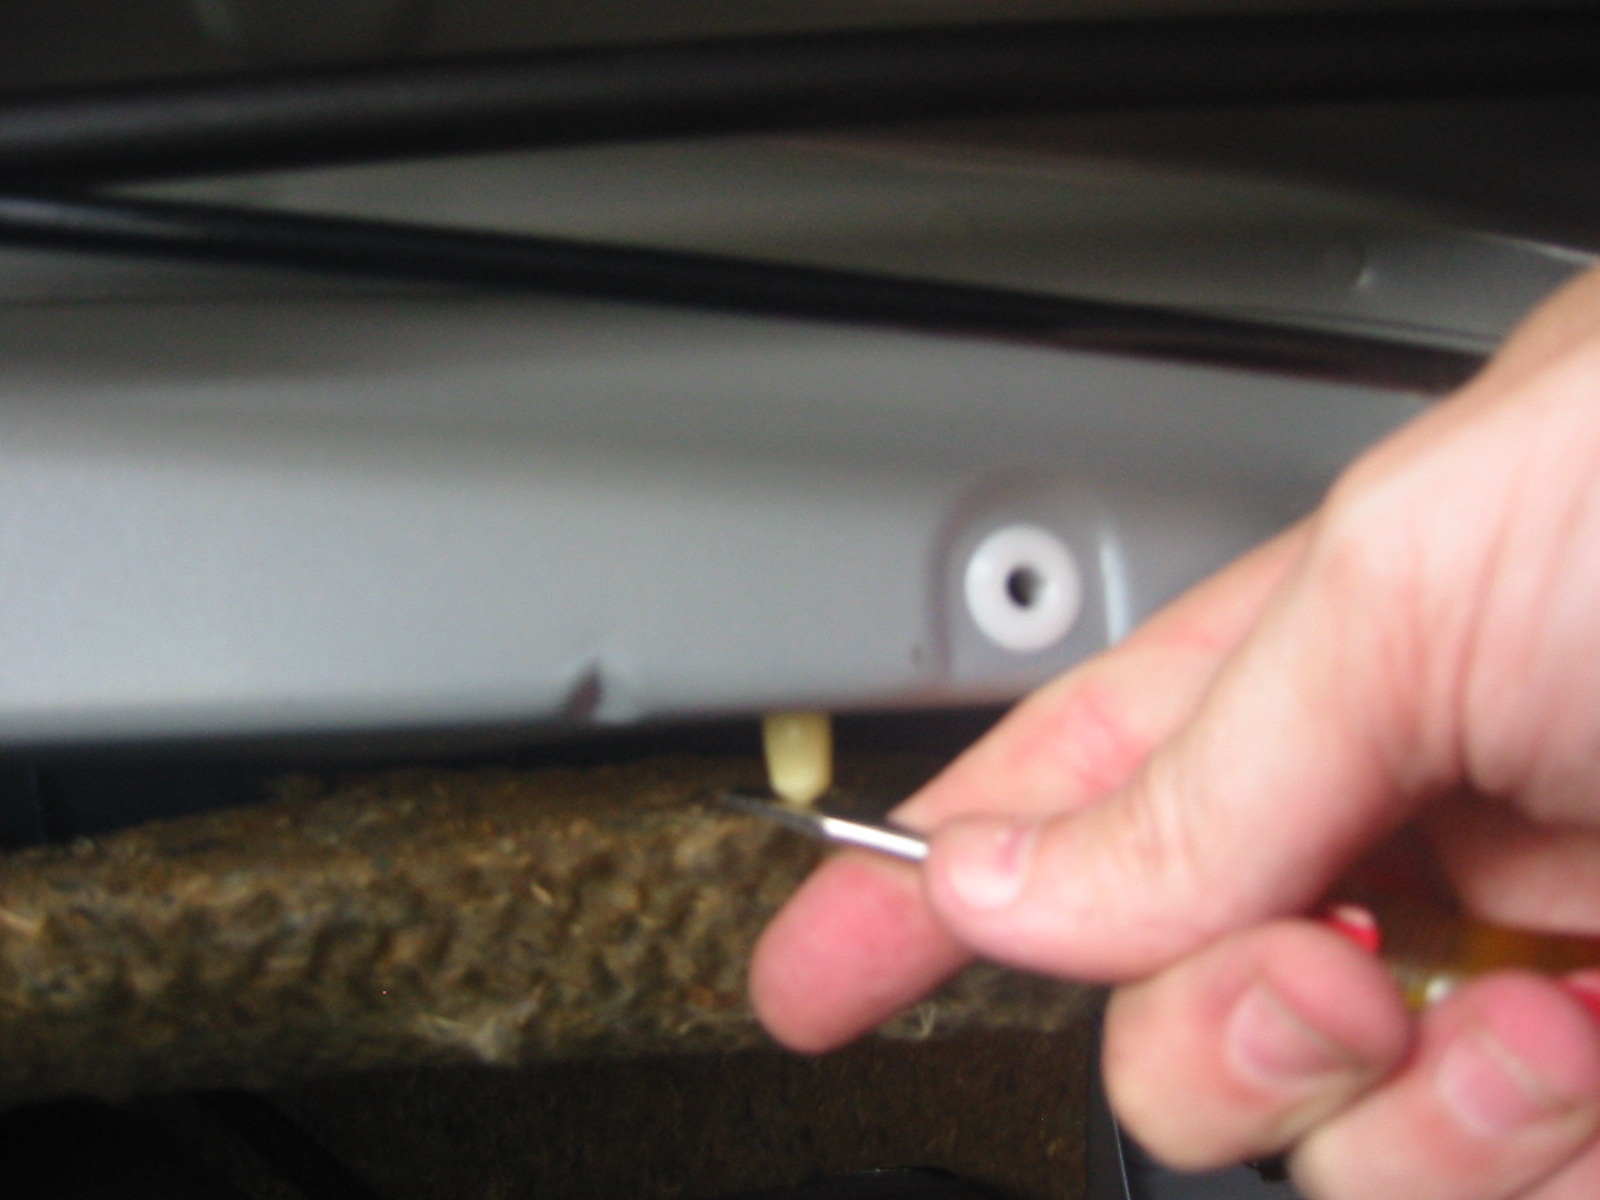
Now, it's time to drill out the rivet. Use a 4mm or 5/32" drill bit. I've never seen a metric drill bit. Once you drill through the rivet, the cable will come right out. The cable is a tension cable...this is up front, and a spring is in back. It helps to "pull" the front back when folding. The new top comes with these pre-installed (you still have to mount them to the frame). Not sure if the black top comes with these, as they were outside the bounds of Majestic's diagram, so you may need to re-use yours. The blue top may come with more stuff as it's an accessory item, not a replacement part...and it's almost a C-note cheaper.

Now, it's time to pry the top material out of the bows. There are 2 of them. TAKE NOTES REGARDING HOW THESE ARE ORIENTED. They wrap AROUND the bow and then into it. I got that wrong and had to backtrack, and it was frustrating. You really don't need to pry very much. I used a flat screwdriver. No worries about scratching...you can't see the bows when the top is installed. I used slip-joint pliers to reinstall.
Second (rear) bow

Time to take out the back weatherstrip. You could have done this earlier. 3 screws...remember to mark them.
There's a ratchet-clip at the bottom of the weatherstrip, and it's LOOONGGG. It wasn't hard to remove...these kind of clips usually are.
Once you get the 3 screws off and the metal weatherstrip holder, there are 2 rivets. Dispatch them with a 5/32" drill bit!

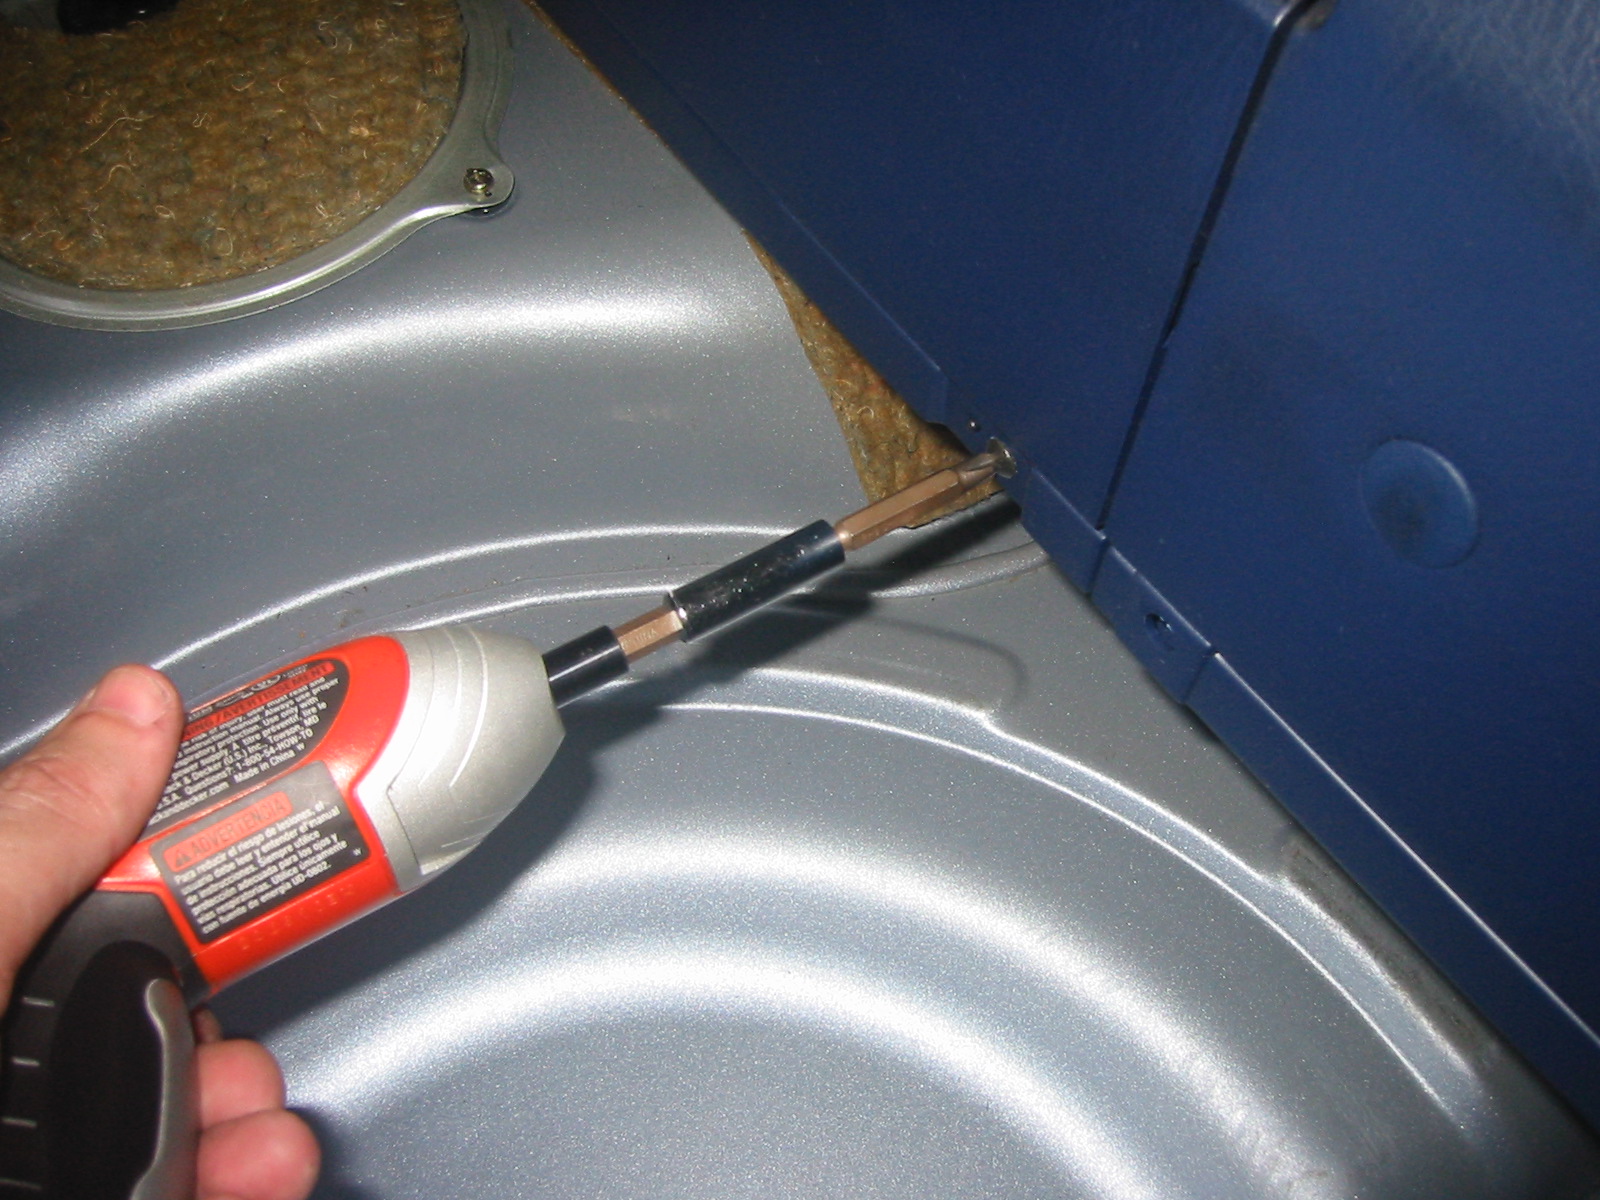
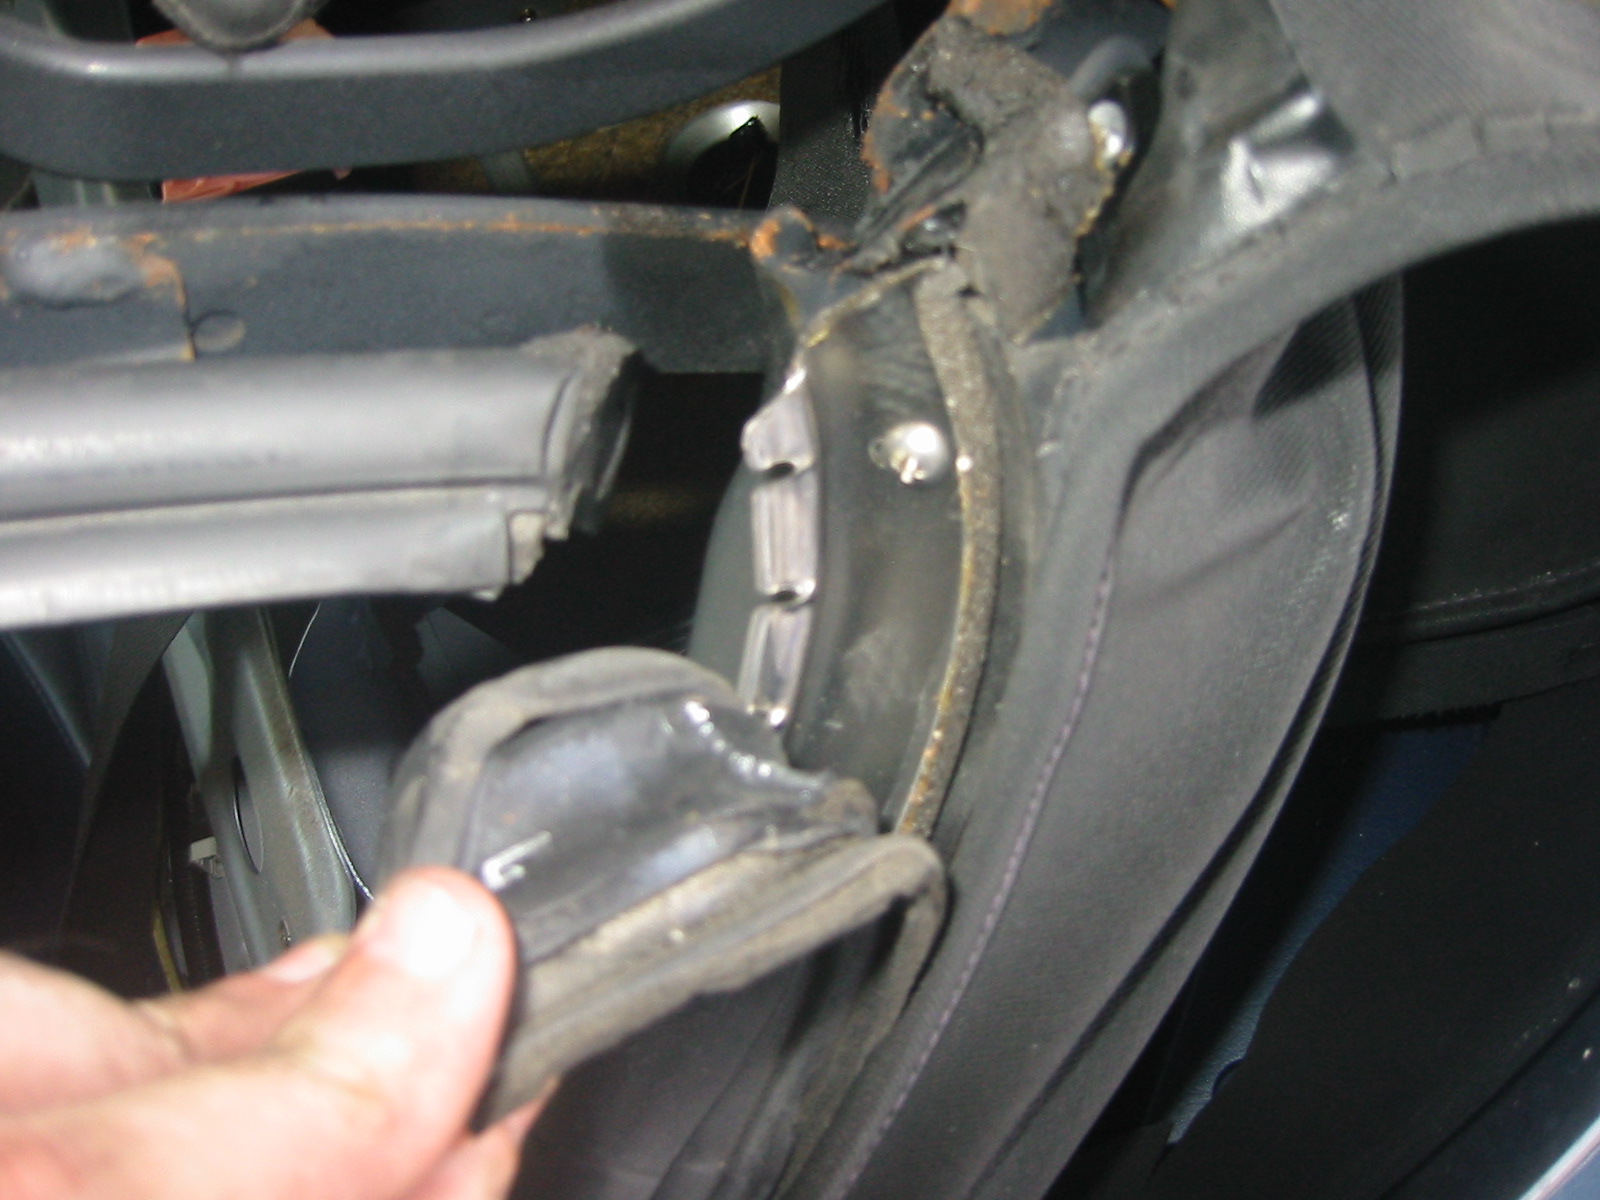
Now, at the very bottom, where you pulled out the ratchet-clip, there are 2 more screws. The bottom one might be covered in gunk, but it's there, and easy to pull out. The top screw, not so much. This is where an offset screwdriver is needed. I had a ratchet attachment that accepts 1/4" bits. Home Depot had a set cheap...and I got it pretty much JUST for the bit-socket thing!

Be warned. Taking this off is easy, but it is a PITA to get back on. Save the metal bracket that comes out when you get the screw. Don't drop either screw either! I bet they can't be fished out.

Taking out the bottom screw.

Screws out. The material can be folded away now.

Start pulling out the top in that area.

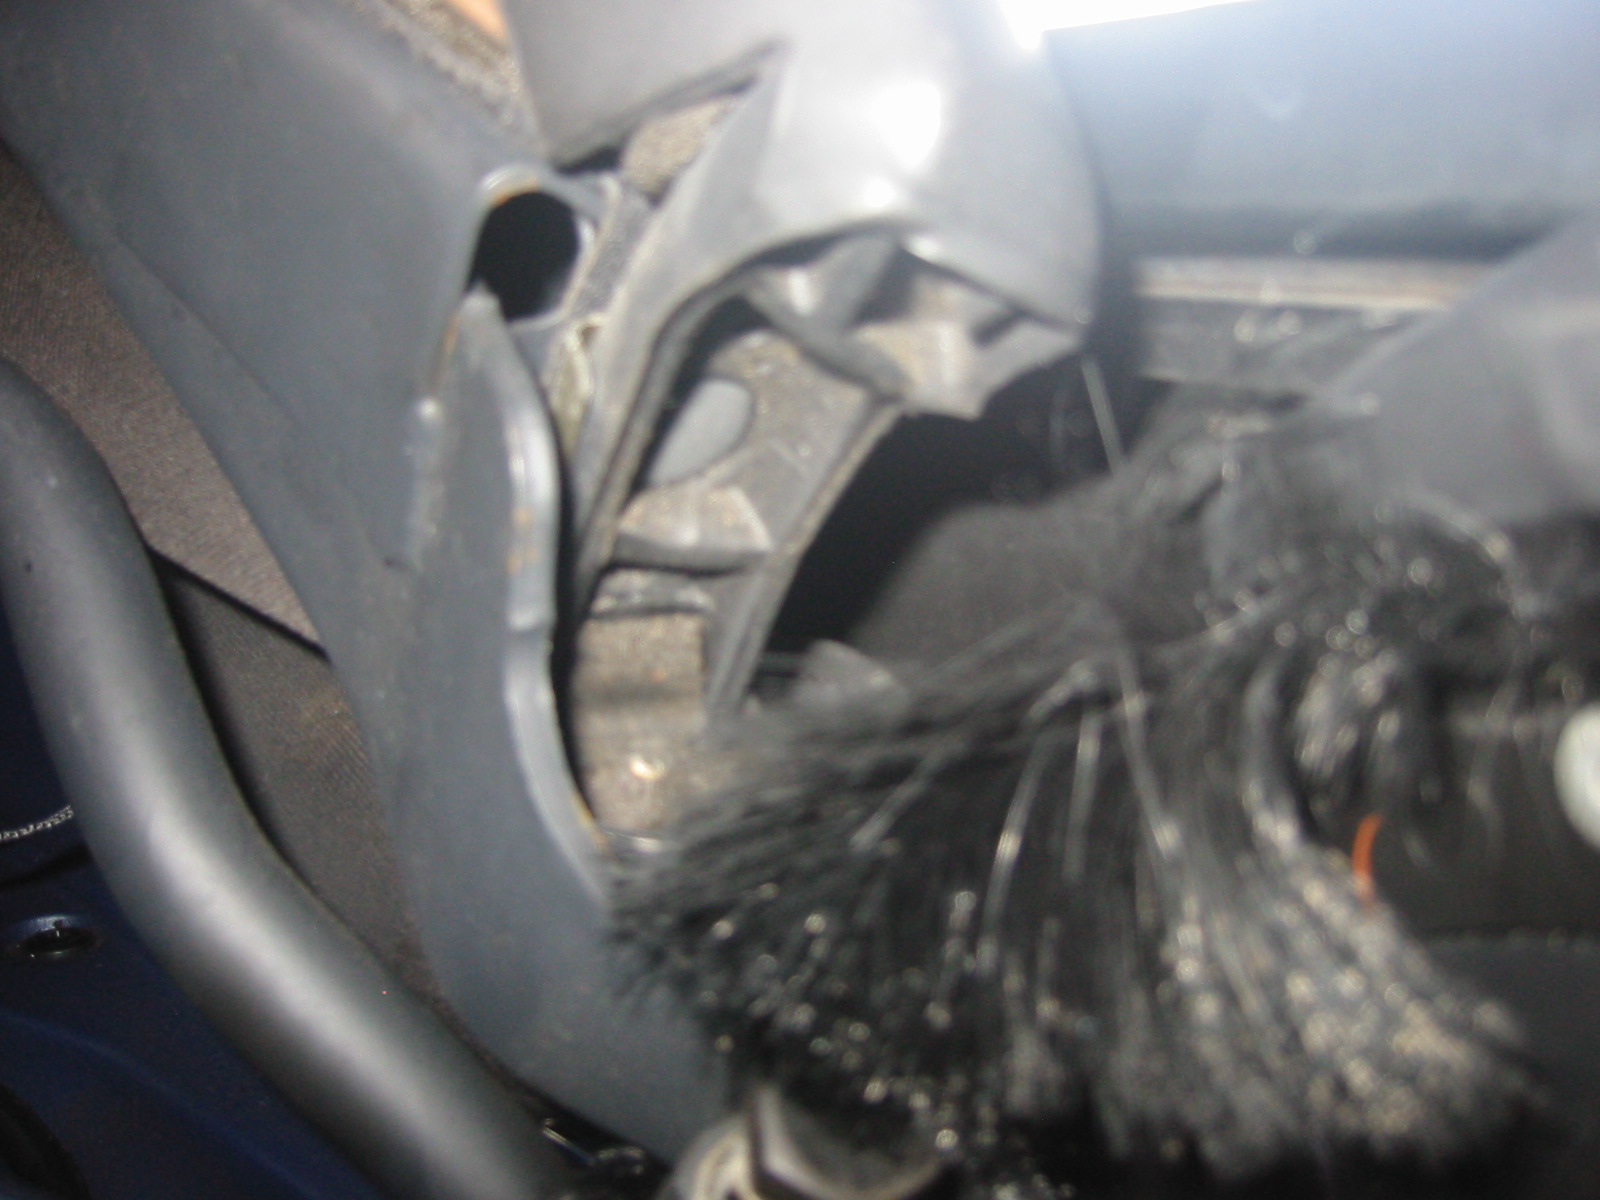
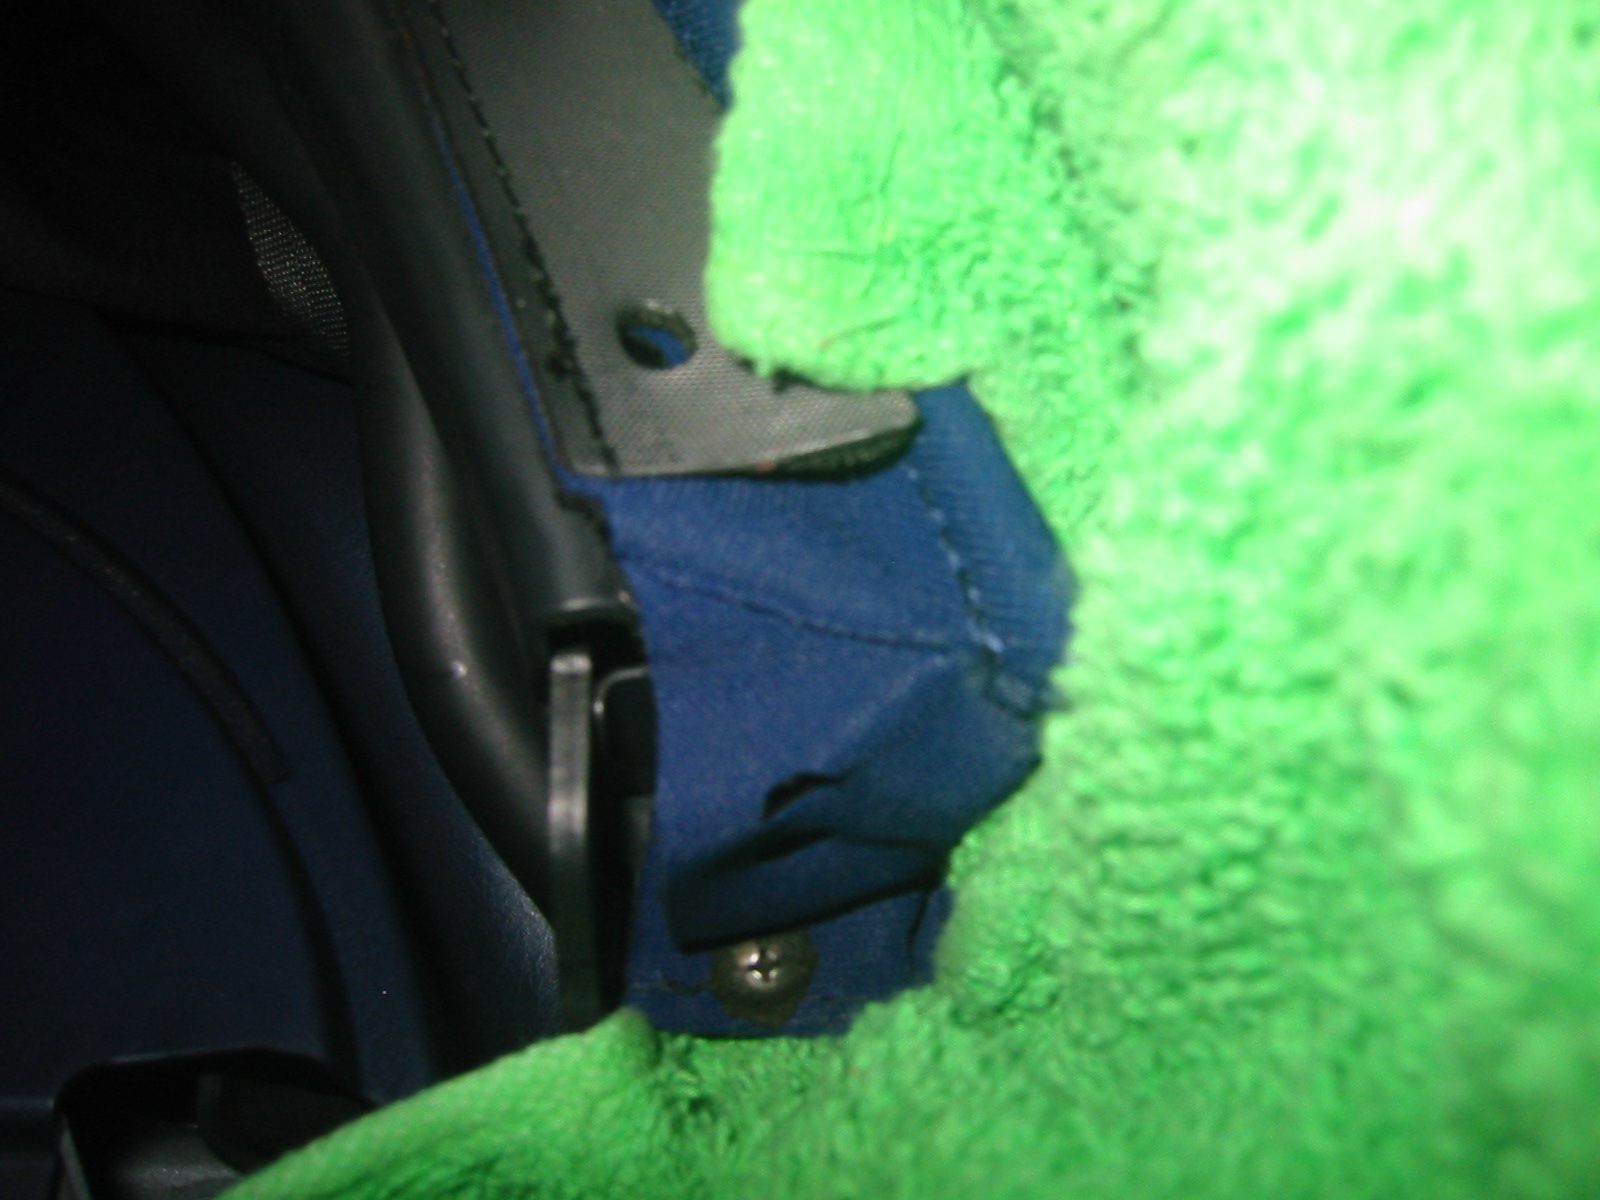
And now on to the side tray pieces. 1 push-clip at the back, one screw-clip, and one other snap-clip that just comes right off (under the whole thing).

My screw clips did not work...so I had to take them off with prying and effort. These are pretty sadistic as they tease you with being easy to remove, but they are not. Cursing Honda's engineers helped for me.

Whatever method you use to remove the screw-clip, don't forget to disconnect the defroster wire when removing the panel. With the roll-bars out these come out pretty easy...after the clips are taken care of anyway.

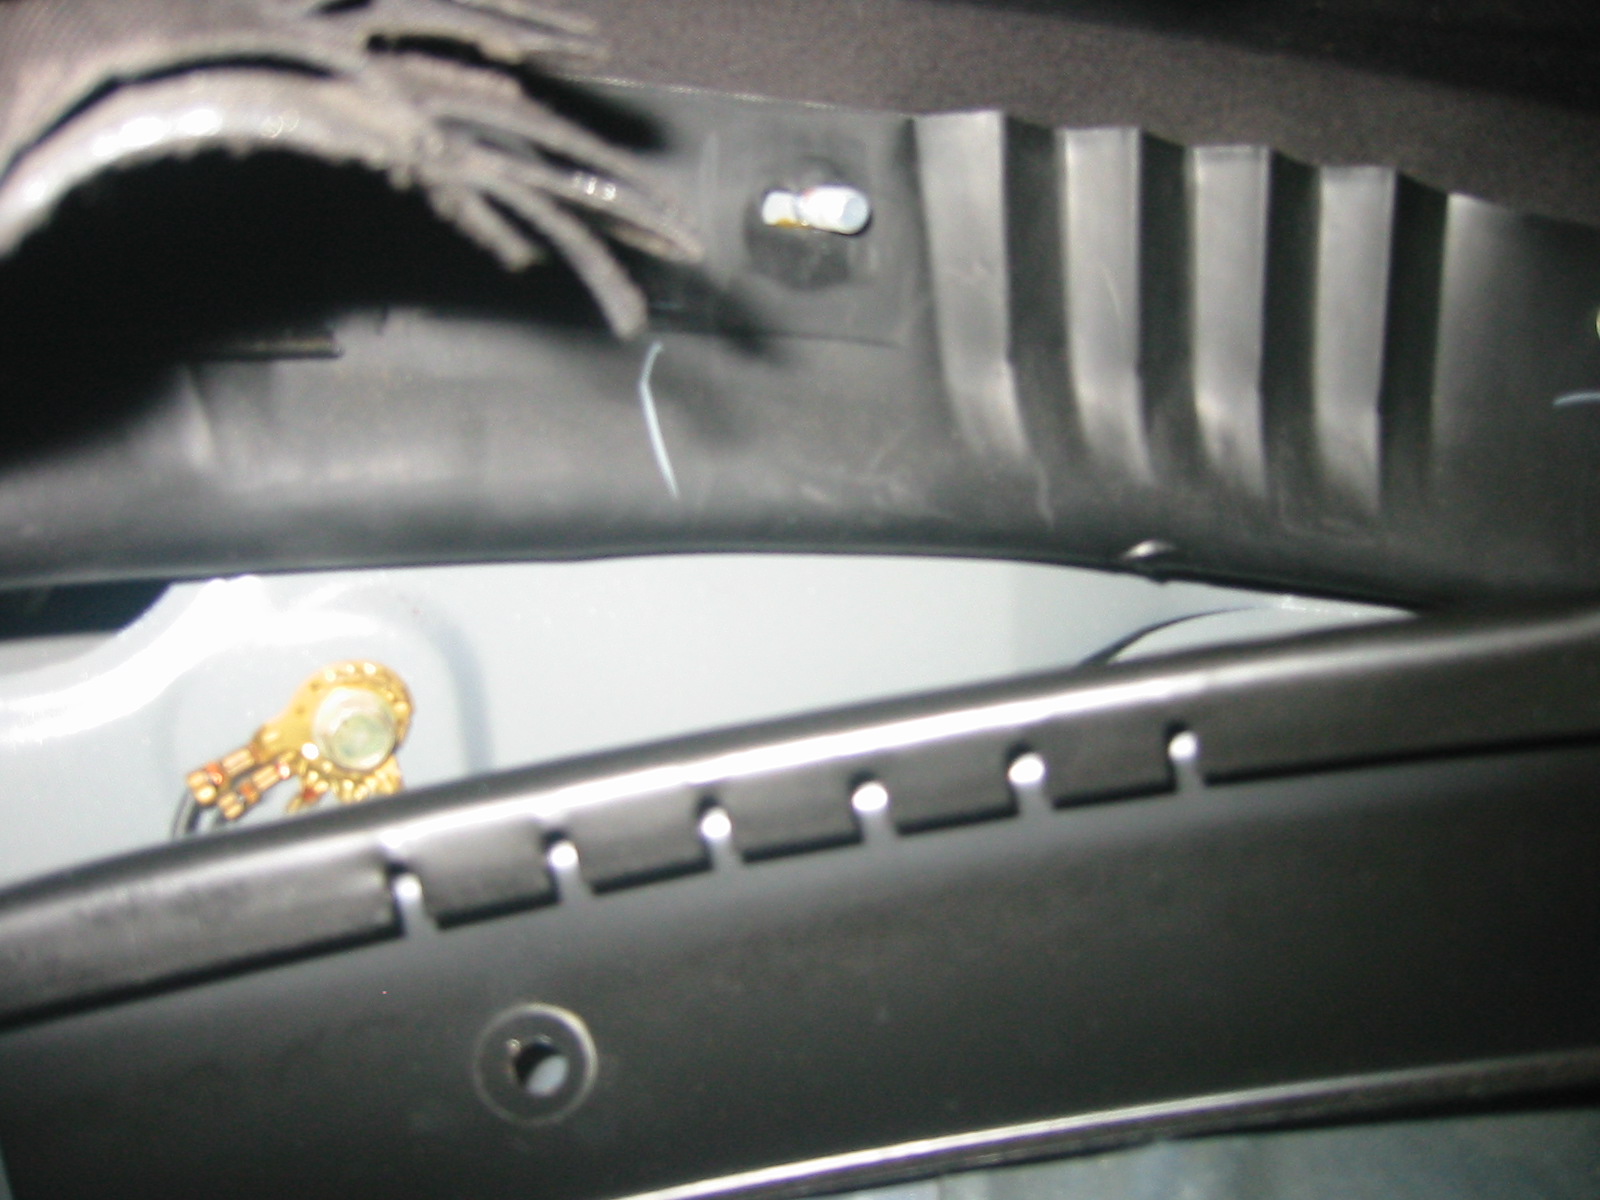
Now, time to take out the 11 nuts along the back. 10mm.

Now, take out the metal retaining panels. 2 side, one rear. Don't forget to put them back on when you reinstall the top...I had to remove the bolts again and slide these in.
I SHOULD MENTION THAT THOSE CRITICAL STRAPS CAN NOW COME OUT. BE CAREFUL, the SPRING in the FRAME will SNAP THE REAR 2 BOWS TOGETHER.

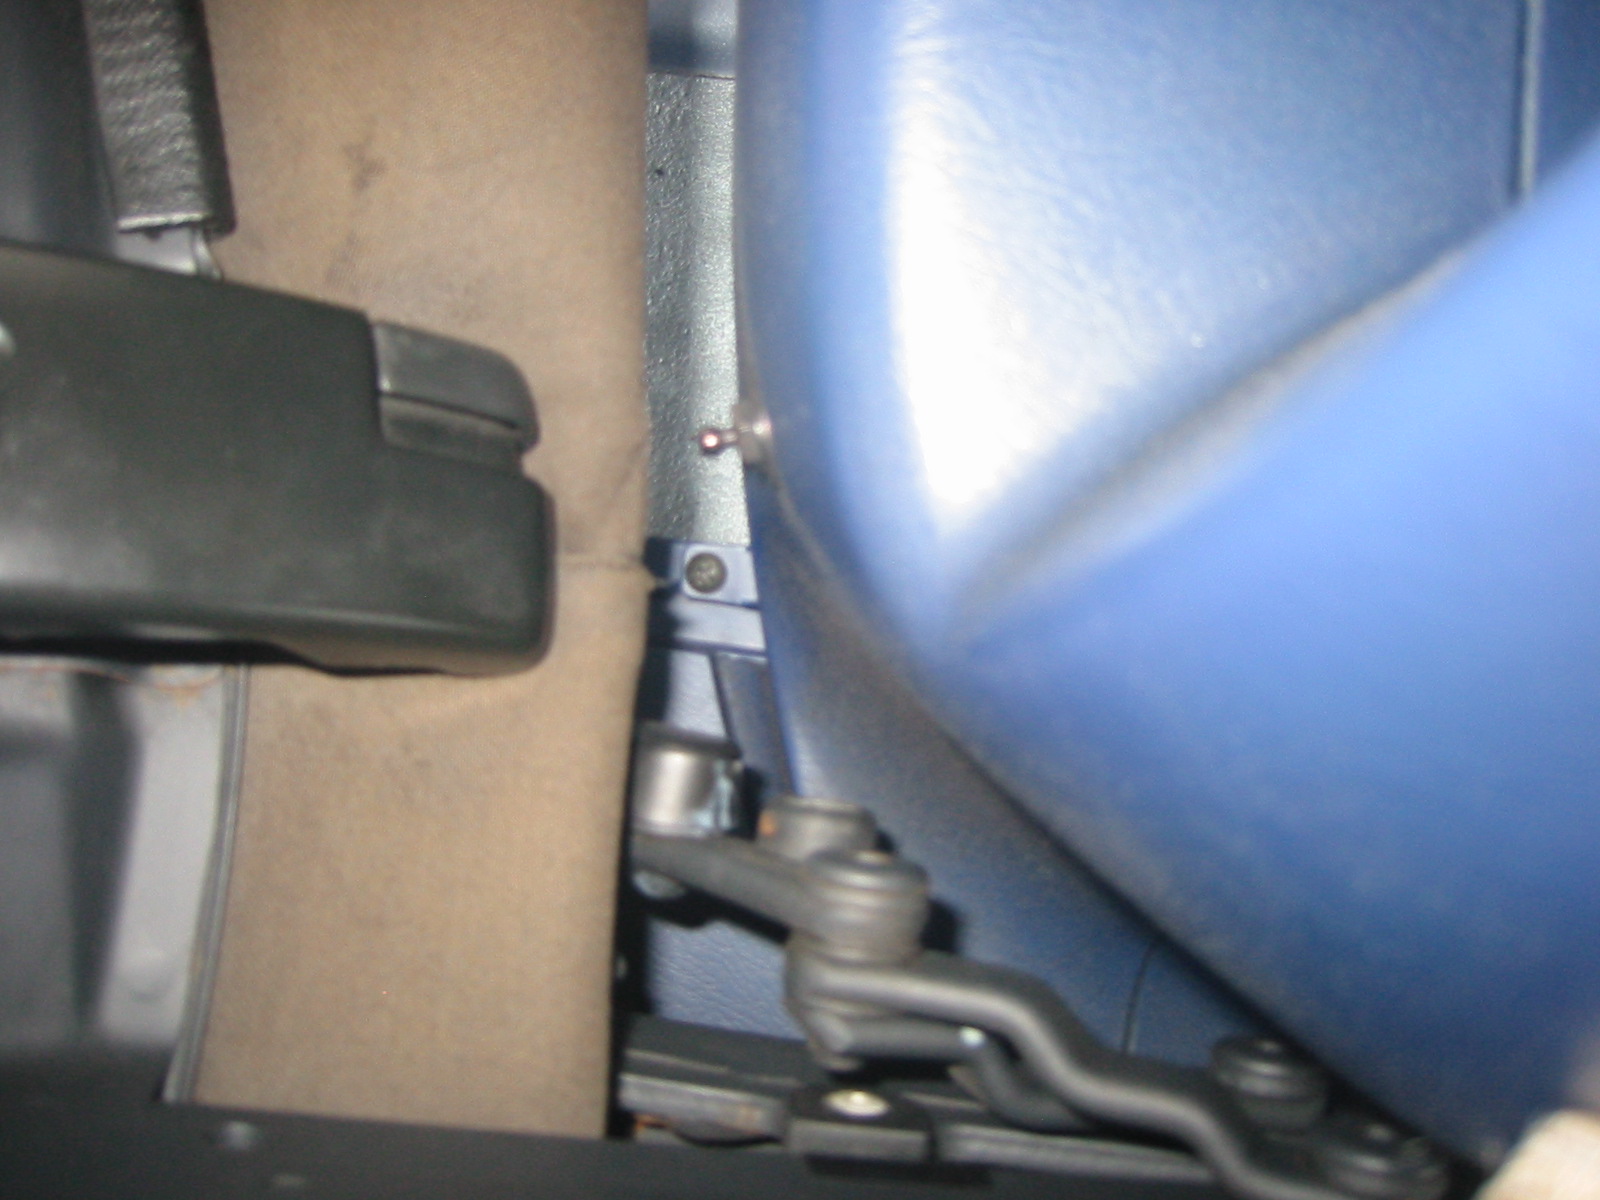
Now, take out the screw that's on the other side of that cable you removed the rivet from up front. Shot is out of frame; screw is at the bottom. Notice I have no middle straps...I got Modifry ones.

Then, thread it out. Note the orientation...they will go back in this way, too.

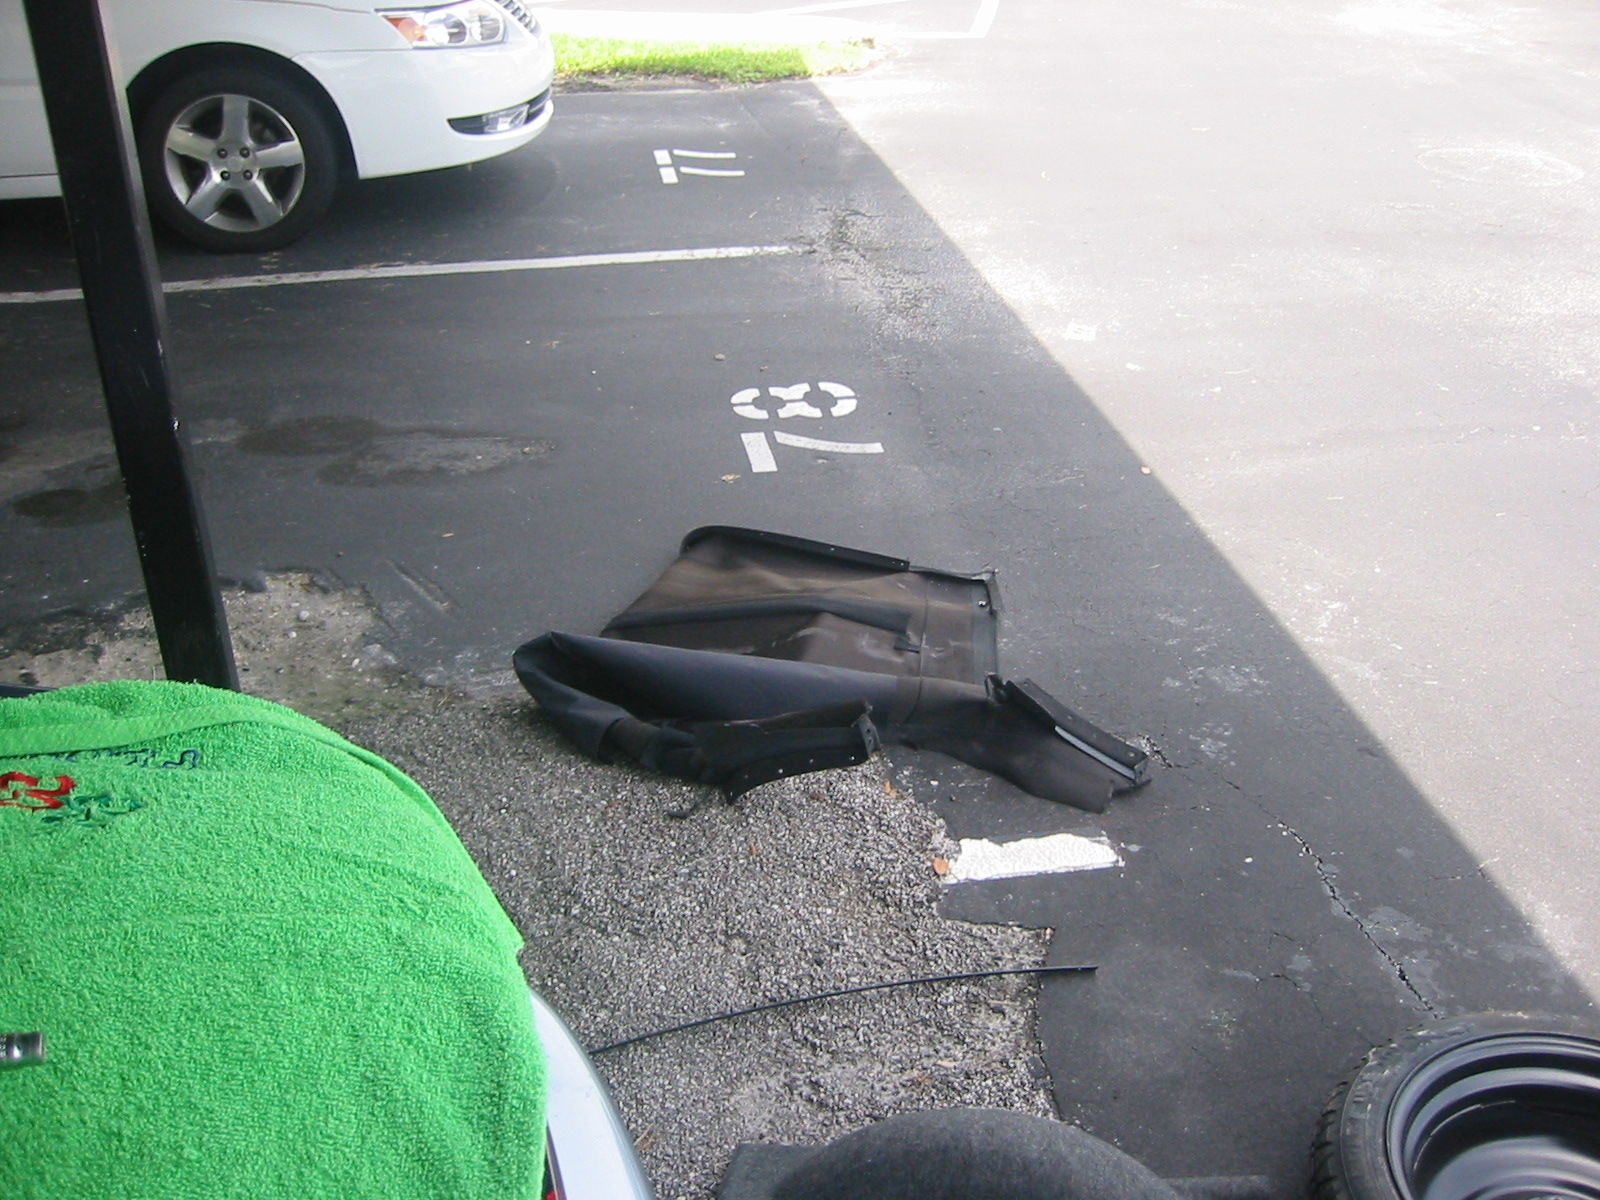
At this point, you should be able to remove the whole front part of the top...
...and throw it aside.
It's a good idea at this point to grease your frame with lithium grease. Mine was creaky, but it's not anymore.
Now, it's time to pry the top material out of the bows. There are 2 of them. TAKE NOTES REGARDING HOW THESE ARE ORIENTED. They wrap AROUND the bow and then into it. I got that wrong and had to backtrack, and it was frustrating. You really don't need to pry very much. I used a flat screwdriver. No worries about scratching...you can't see the bows when the top is installed. I used slip-joint pliers to reinstall.
Second (rear) bow
Time to take out the back weatherstrip. You could have done this earlier. 3 screws...remember to mark them.
There's a ratchet-clip at the bottom of the weatherstrip, and it's LOOONGGG. It wasn't hard to remove...these kind of clips usually are.
Once you get the 3 screws off and the metal weatherstrip holder, there are 2 rivets. Dispatch them with a 5/32" drill bit!
Now, at the very bottom, where you pulled out the ratchet-clip, there are 2 more screws. The bottom one might be covered in gunk, but it's there, and easy to pull out. The top screw, not so much. This is where an offset screwdriver is needed. I had a ratchet attachment that accepts 1/4" bits. Home Depot had a set cheap...and I got it pretty much JUST for the bit-socket thing!
Be warned. Taking this off is easy, but it is a PITA to get back on. Save the metal bracket that comes out when you get the screw. Don't drop either screw either! I bet they can't be fished out.
Taking out the bottom screw.
Screws out. The material can be folded away now.
Start pulling out the top in that area.
And now on to the side tray pieces. 1 push-clip at the back, one screw-clip, and one other snap-clip that just comes right off (under the whole thing).
My screw clips did not work...so I had to take them off with prying and effort. These are pretty sadistic as they tease you with being easy to remove, but they are not. Cursing Honda's engineers helped for me.
Whatever method you use to remove the screw-clip, don't forget to disconnect the defroster wire when removing the panel. With the roll-bars out these come out pretty easy...after the clips are taken care of anyway.
Now, time to take out the 11 nuts along the back. 10mm.
Now, take out the metal retaining panels. 2 side, one rear. Don't forget to put them back on when you reinstall the top...I had to remove the bolts again and slide these in.
I SHOULD MENTION THAT THOSE CRITICAL STRAPS CAN NOW COME OUT. BE CAREFUL, the SPRING in the FRAME will SNAP THE REAR 2 BOWS TOGETHER.
Now, take out the screw that's on the other side of that cable you removed the rivet from up front. Shot is out of frame; screw is at the bottom. Notice I have no middle straps...I got Modifry ones.
Then, thread it out. Note the orientation...they will go back in this way, too.
At this point, you should be able to remove the whole front part of the top...
...and throw it aside.
It's a good idea at this point to grease your frame with lithium grease. Mine was creaky, but it's not anymore.
Trending Topics
07-15-2011, 04:36 AM
#8
Registered User
Thread Starter
Time to take out the bottom part of the top with the rain rail. It comes right out...
...except for 2 more damn clips on each side. One push-clip (easy), and one screw-clip. You guessed it, the screw clip doesn't work! It's also the hardest to reach. Patience, prying, and cussing will get them out.

Now, it'll come out. It's pretty easy now. The rain rail will be re-used.

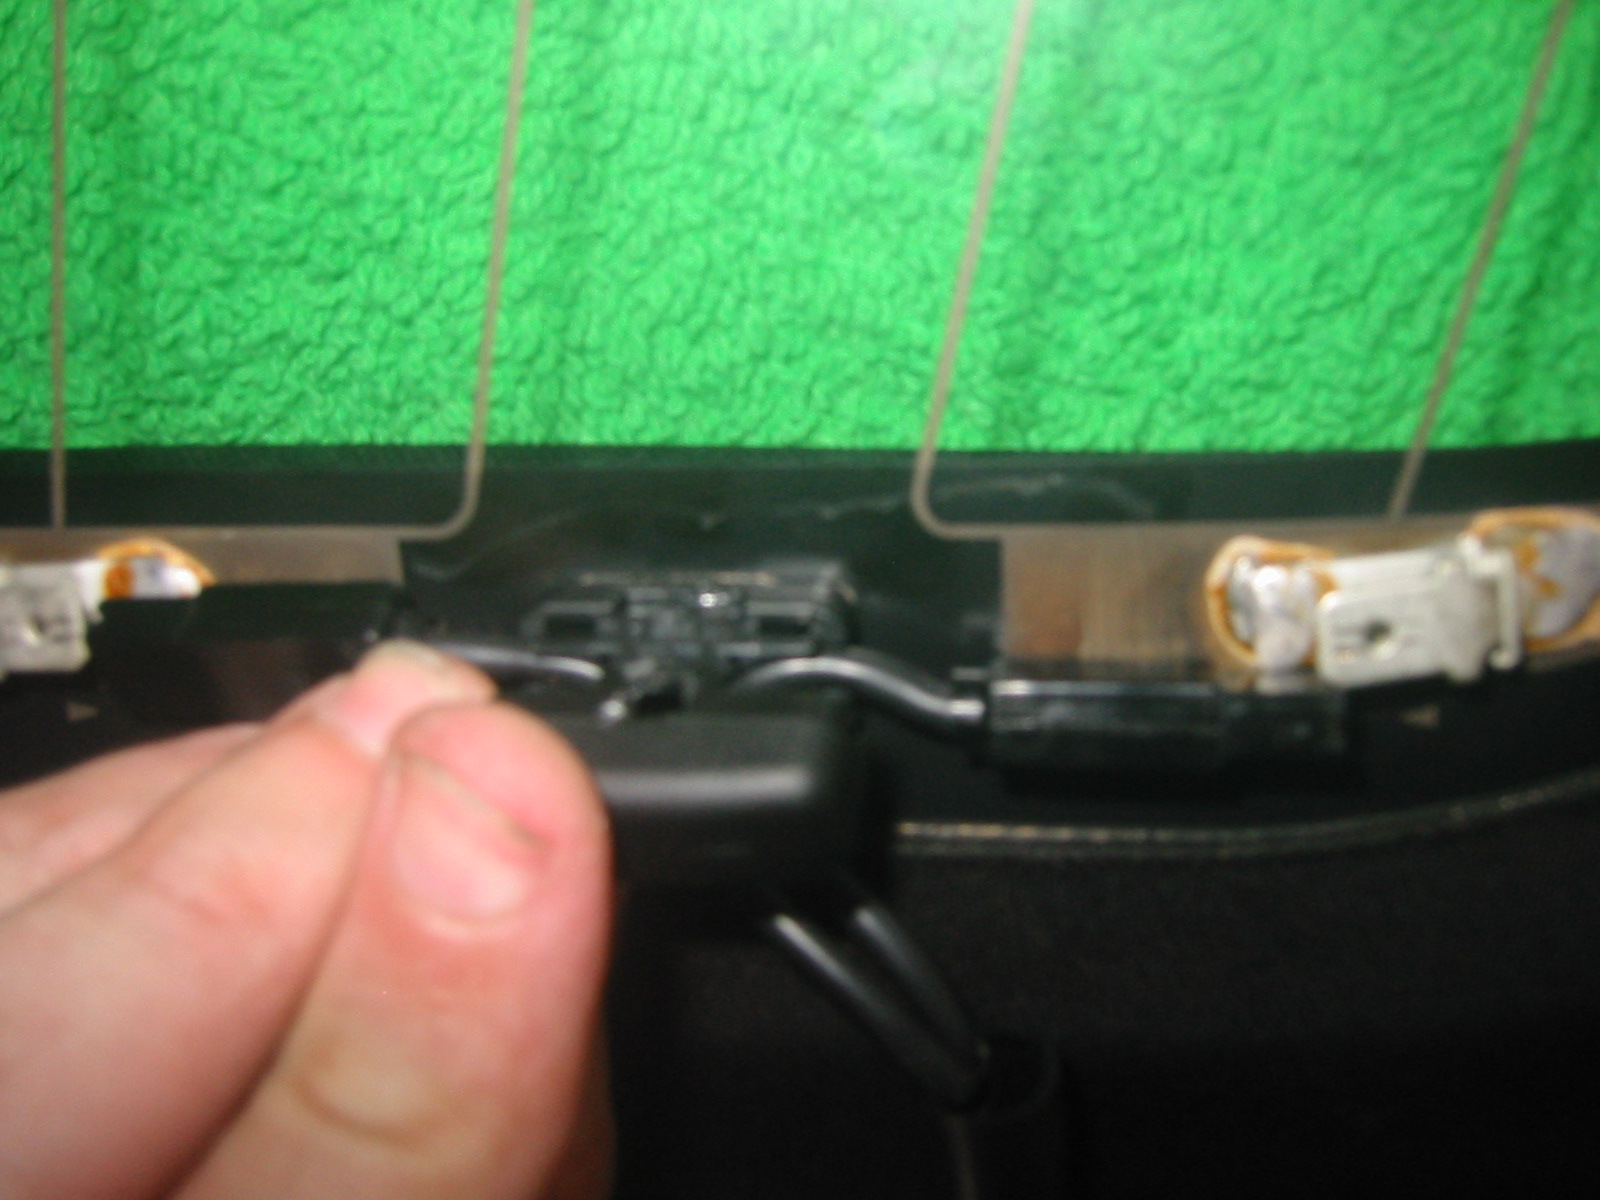
Now, you have to drill the 11 rivets out of the rain rail. The stock top used tubular rivets. The new top comes with tubular rivets AND blind (pop-type) rivets. I chose the latter because I have a tool and my name isn't Rosie so I don't know riveting that well. BE CAREFUL. Also, do not drill for more than a few seconds! The rivets can get VERY HOT and MELT THE RAIN RAIL. I drilled a little on one rivet, then moved on. Eventually all 11 came out. It's a good idea to clean the rain rail.

Top comes with semi-tubular and blind rivets. I gained my vast rivet expertise by looking up "rivet" in wikipedia. Needle-nose pliers were used on those stupid screw-clips.
When I drilled out the rivets, I saved the washers, as you need washers to put the new rivets in, too. The plastic ones are 2 each on the 3 inside holes...you don't really need them. The inside 3 holes actually had shorter rivets, too. But, this was all for naught, and I'll get into that soon. Towel is on the trunk to prevent scratches. Wrench at the top is ratcheting and was used on the 10mm nuts on the edge/side.

Now, you can put in the new top. It's just sitting there at this point. Don't break the window. I left the foam in there so I didn't scratch it. It is pretty durable, though.

Time to start riveting! Slip the rain rail onto the top. Tall side goes out side! Rivet heads will be in the inside (according to the Honda manual, which I followed...but the Honda manual is pretty light and leaves pretty much everything to the imagination ). Washers will be on the OUTSIDE.
First rivet was a bust! Mulligan!

Second time is a charm! Easy!

I'm Rivet-Man! Rivet the little holes, not the ones that look like they might be for bolts.


Well, not quite...I had many failures as the drilled-out washers I re-used were too big. And the Honda-sourced rivets aren't very good, either (my opinion). Good thing I had these spares handy. These are 5mm instead of 4mm...rivets and washers...they fit fine. Home Depot has them, and the rivet tool. These worked MUCH MUCH MUCH better. Save the other 4mm rivets for the sides and the cables (6 needed).

I was too aggressive drilling out one of the rain-rail rivets. It doesn't take much, and the hole was bigger than the rivets. I had some larger spare washers and used one of those on the inside. It didn't interfere with anything.
When all the rivets are in, slide in the rain rail and put it under the "lip" like it was before.

Don't forget the clips!

Now put those metal retaining pieces back on and put on the 11 bolts. I would advise you use those foam pieces and lay them out inside the car. You'll be lying on your tummy inside the car, and the metal is NOT comfortable. No pics, but it's easy. You'll want to use an extension for your ratchet (impact wrench FTW). Don't forget to put those 2 straps back on to the penultimate bolts on each side.
Go ahead and thread in that wire/spring on the retention cable, too. You could do this at another time, I suppose.

And mount the spring with the screw.
Mount the side tray pieces...don't forget to connect the defrost wire to the harness.
You can mount the defroster wire, too. Pop that piece you pried off earlier back on, and you can do the zip tie if you want (the top comes with one).
Pics are kind of sparse from this point on, but it is pretty much downhill now. Most things are the reverse of removal. You'll really need to put the interior back in at this point. The roll hoops have to go in before the rear tray...so you have to do some fumbling for that. I've done it twice now and it is NOT HARD. I don't know why people whine about it saying that this is hard. If you bring the rear tray in through the trunk it's pretty easy. If you try to bring it in through the cabin...that would suck.
Time to rivet the sides in. I used the provided rivets. 2 per side

Fitment wasn't absolutely perfect...but you won't notice when it's all done.

Back to this area. Bottom screw is easy.

The side ones...suck. It's best to take a break at this point and un-sweat. You have to take a screw, the metal bracket, put it through the BOTTOM hole in this picture, and somehow find the hole the screw is supposed to go into...and you have to stretch the fabric slightly. The first one was easy, the second took a half hour. Note the towel shoved in there just in case I drop the screw...and I did a few times.
...except for 2 more damn clips on each side. One push-clip (easy), and one screw-clip. You guessed it, the screw clip doesn't work! It's also the hardest to reach. Patience, prying, and cussing will get them out.
Now, it'll come out. It's pretty easy now. The rain rail will be re-used.
Now, you have to drill the 11 rivets out of the rain rail. The stock top used tubular rivets. The new top comes with tubular rivets AND blind (pop-type) rivets. I chose the latter because I have a tool and my name isn't Rosie so I don't know riveting that well. BE CAREFUL. Also, do not drill for more than a few seconds! The rivets can get VERY HOT and MELT THE RAIN RAIL. I drilled a little on one rivet, then moved on. Eventually all 11 came out. It's a good idea to clean the rain rail.
Top comes with semi-tubular and blind rivets. I gained my vast rivet expertise by looking up "rivet" in wikipedia. Needle-nose pliers were used on those stupid screw-clips.
When I drilled out the rivets, I saved the washers, as you need washers to put the new rivets in, too. The plastic ones are 2 each on the 3 inside holes...you don't really need them. The inside 3 holes actually had shorter rivets, too. But, this was all for naught, and I'll get into that soon. Towel is on the trunk to prevent scratches. Wrench at the top is ratcheting and was used on the 10mm nuts on the edge/side.
Now, you can put in the new top. It's just sitting there at this point. Don't break the window. I left the foam in there so I didn't scratch it. It is pretty durable, though.
Time to start riveting! Slip the rain rail onto the top. Tall side goes out side! Rivet heads will be in the inside (according to the Honda manual, which I followed...but the Honda manual is pretty light and leaves pretty much everything to the imagination
). Washers will be on the OUTSIDE.First rivet was a bust! Mulligan!
Second time is a charm! Easy!
I'm Rivet-Man! Rivet the little holes, not the ones that look like they might be for bolts.
Well, not quite...I had many failures as the drilled-out washers I re-used were too big. And the Honda-sourced rivets aren't very good, either (my opinion). Good thing I had these spares handy. These are 5mm instead of 4mm...rivets and washers...they fit fine. Home Depot has them, and the rivet tool. These worked MUCH MUCH MUCH better. Save the other 4mm rivets for the sides and the cables (6 needed).
I was too aggressive drilling out one of the rain-rail rivets. It doesn't take much, and the hole was bigger than the rivets. I had some larger spare washers and used one of those on the inside. It didn't interfere with anything.
When all the rivets are in, slide in the rain rail and put it under the "lip" like it was before.
Don't forget the clips!
Now put those metal retaining pieces back on and put on the 11 bolts. I would advise you use those foam pieces and lay them out inside the car. You'll be lying on your tummy inside the car, and the metal is NOT comfortable. No pics, but it's easy. You'll want to use an extension for your ratchet (impact wrench FTW). Don't forget to put those 2 straps back on to the penultimate bolts on each side.
Go ahead and thread in that wire/spring on the retention cable, too. You could do this at another time, I suppose.
And mount the spring with the screw.
Mount the side tray pieces...don't forget to connect the defrost wire to the harness.
You can mount the defroster wire, too. Pop that piece you pried off earlier back on, and you can do the zip tie if you want (the top comes with one).
Pics are kind of sparse from this point on, but it is pretty much downhill now. Most things are the reverse of removal. You'll really need to put the interior back in at this point. The roll hoops have to go in before the rear tray...so you have to do some fumbling for that. I've done it twice now and it is NOT HARD. I don't know why people whine about it saying that this is hard. If you bring the rear tray in through the trunk it's pretty easy. If you try to bring it in through the cabin...that would suck.
Time to rivet the sides in. I used the provided rivets. 2 per side
Fitment wasn't absolutely perfect...but you won't notice when it's all done.
Back to this area. Bottom screw is easy.
The side ones...suck. It's best to take a break at this point and un-sweat. You have to take a screw, the metal bracket, put it through the BOTTOM hole in this picture, and somehow find the hole the screw is supposed to go into...and you have to stretch the fabric slightly. The first one was easy, the second took a half hour. Note the towel shoved in there just in case I drop the screw...and I did a few times.
07-15-2011, 04:36 AM
#9
Registered User
Thread Starter
Weather stripping can go back on. Thread the ratchet clip for the rear in (top hole from previous step), put back on the weatherstrip holders, and line up the holes with your markings (you did mark them, right?) Putting in the weatherstrip may take a little while. Just be patient...you'll crack the code. A flat-tip screwdriver to do some VERY LIGHT pushing comes in handy.

Attach the fabric to the bows. I used slip-joint pliers to un-do my prying. Billman250 suggested never prying in the first place and do them from the side...that's a MUCH better way. Note the orientation that they were originally. If you get the front one wrong, the front bow won't come forward and you could tear the top when putting it up!!!!
Next, rivet the tension cable. Easy. Notice that tape there? The top comes with more of that, but I didn't need it.

Pic of the front bow correctly installed. Around the bottom and over the top.

Now, you can slide the new top onto the front! Tape it where the old tape was...tape comes with the top

I took some of the foam pieces that come with the top and used my best guess as to where to put them.


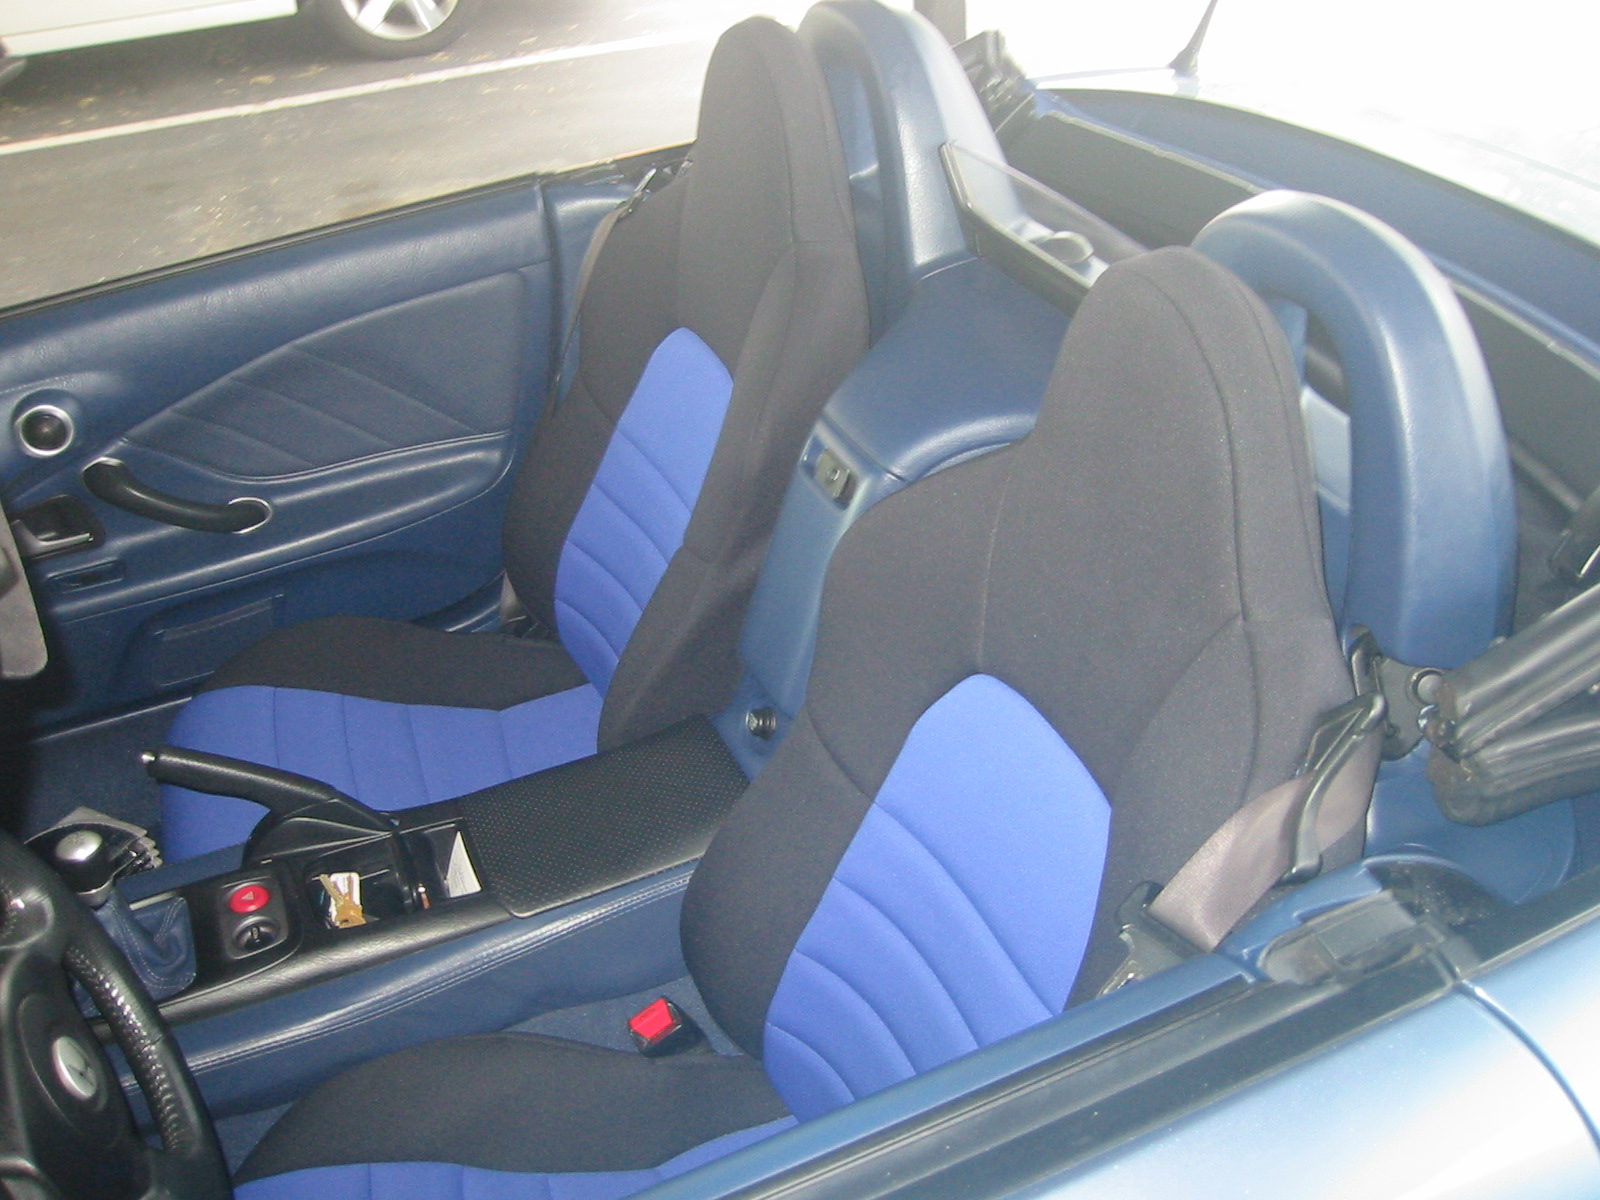
Interior all together! Stock seats, Wet Okole covers.
Hosed off the top and parked it in the sun to help stretching. It's OEM, so it fits well. Some of the aftermarket tops require a LOT of effort to close and should be left up and in the sun for a week. The OEM adapted within a day.

Back view. Yep, Science Of Speed plate, Comptech/CT exhaust (FILTHY). It's not rice, it's blown So, if anyone wants to say my car is girly/sensitive looking...maybe, but it's quick There's pics in my gallery.

I love the blue top! It changes the look of the car. It was looking pretty raggety and old with the old top, now it looks much newer...definitely not 9 years old! Other benefits...interior rattles 90% gone!
What do I do with the roughly $1,000 I saved?
Attach the fabric to the bows. I used slip-joint pliers to un-do my prying. Billman250 suggested never prying in the first place and do them from the side...that's a MUCH better way. Note the orientation that they were originally. If you get the front one wrong, the front bow won't come forward and you could tear the top when putting it up!!!!
Next, rivet the tension cable. Easy. Notice that tape there? The top comes with more of that, but I didn't need it.
Pic of the front bow correctly installed. Around the bottom and over the top.
Now, you can slide the new top onto the front! Tape it where the old tape was...tape comes with the top
I took some of the foam pieces that come with the top and used my best guess as to where to put them.
Interior all together! Stock seats, Wet Okole covers.
Hosed off the top and parked it in the sun to help stretching. It's OEM, so it fits well. Some of the aftermarket tops require a LOT of effort to close and should be left up and in the sun for a week. The OEM adapted within a day.
Back view. Yep, Science Of Speed plate, Comptech/CT exhaust (FILTHY). It's not rice, it's blown
So, if anyone wants to say my car is girly/sensitive looking...maybe, but it's quick There's pics in my gallery.I love the blue top! It changes the look of the car. It was looking pretty raggety and old with the old top, now it looks much newer...definitely not 9 years old! Other benefits...interior rattles 90% gone!
What do I do with the roughly $1,000 I saved?
The following users liked this post:
s2krayz (03-06-2019)

