When you click on links to various merchants on this site and make a purchase, this can result in this site earning a commission. Affiliate programs and affiliations include, but are not limited to, the eBay Partner Network.
DIY: Front LCA bushing replacement w/ seized bolts using press
I wanted to put together a DIY for front LCA bushing replacement as it took me awhile to dig through several threads to get most of the information i needed to perform the job. Hopefully this DIY can put everything together and make it easy for someone else replacing bushings. This is my first DIY so go easy on me!
I ended up using the Mugen compliance bushings and Powerflex black front LCA bushings.
The bolts were seized in place so that required me to sawzall the arm out. The sawzall was too large to gain access to the front LCA bushing so several steps were taken to make room. Sorry no pictures for this!
-Disconnect the brake lines from the hub and shock by removing the 12mm bolts.
-Remove the speed sensor along with brackets by removing several 10mm bolts. my sensor were practically seized in place so it took a lot of banging it back and forth to get it to come loose.
-Remove the strut assembly by removing 2 14mm bolts on top and the single 17mm bolt on the LCA.
-pop the upper ball joint using a separator tool
-support the hub assembly as to not stress other joints.
at this point, there is enough room to get a sawzall in there to cut the front LCA bushing out. Be patient and use new blades. The compliance bushing is straightforward, just need to remove the 17mm bolt then cut above and below bushing.
You will be left with this afterwards:
Now to pushing old and replacing with new. I soaked the arm with PB blaster overnight before working on it (not sure if this helped). The front LCA bushing has a lip on one side that makes it difficult to place a receiver cup on the other side when pressing out the old. The method i chose was to push back this lip and cut the entire side of the bushing off.
This is the lip after being chiseled away from the LCA. This creates space for the sawzall to cut off the end of the bushing.
I used a hammer and a demo chisel i had laying around. Its going to take some serious banging to pull the lip back.
Here is the end result after cutting off the bushing end. I could of been a little more precise and not hack into the LCA but it was tough doing this on the floor. You need a bench and vise to hold the arm in place.
Here is the sawzall i used. I recommend these blades as they made quick work of all bolts/bushings. Other videos ive seen say it takes 10+ blades...It only took me 2 for the entire job.
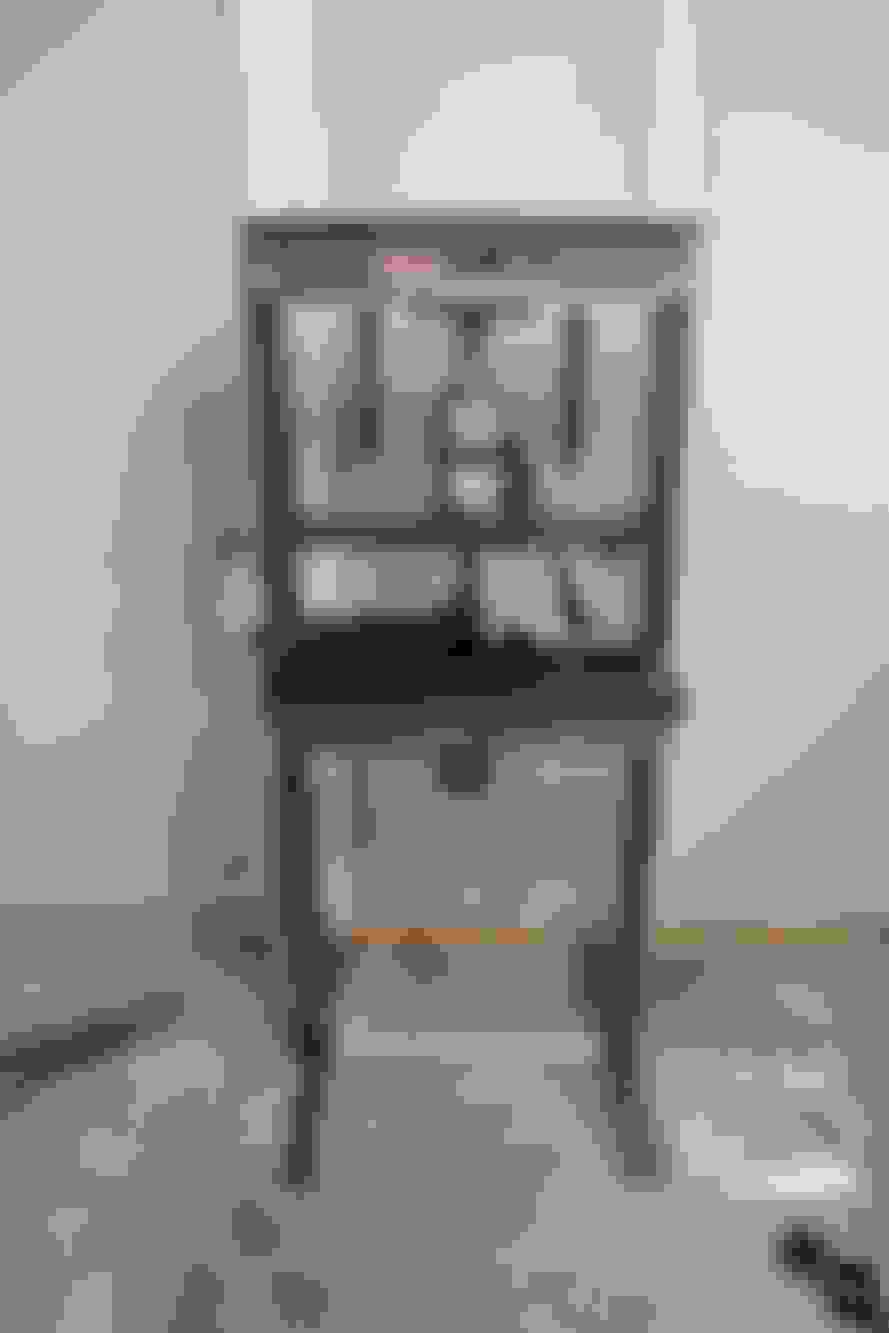
Now to the pressing. I recommend buying the Ball joint service kit for 2WD and 4WD vehicles at Harbor Freight. This gave me most of the correct tools needed for this job. Also, i invested in a 20T press from Harbor Freight, for only $135 its going to pay for itself quickly. I didnt want to build homemade pressing tools like many else did as its just easier to use a press.
I used a Craftsman 36mm 12 point socket to press out the bushing. Nothing from the kit fit perfectly, and luckily i had this laying around the garage. It fits 100% perfectly.
Now on to the compliance bushing. Before pressing it out, i made marks on the arm to indicate the OEM bushing placement.
I used one of the tools from the ball joint kit to break the compliance bushing from the arm, as it took some force.
Then i used a homemade press that i took from https://www.s2ki.com/forums/s2000-br...press-1083432/. There is nothing in the BJ kit that fits the compliance bushing inner diameter. I used this to press the compliance bushing the rest of the way.
Everything out and the new bushing ready to be pressed in.
Pressing in new compliance bushing using BJ kit tools. Making sure i properly aligned the bushing to match the OEM position.
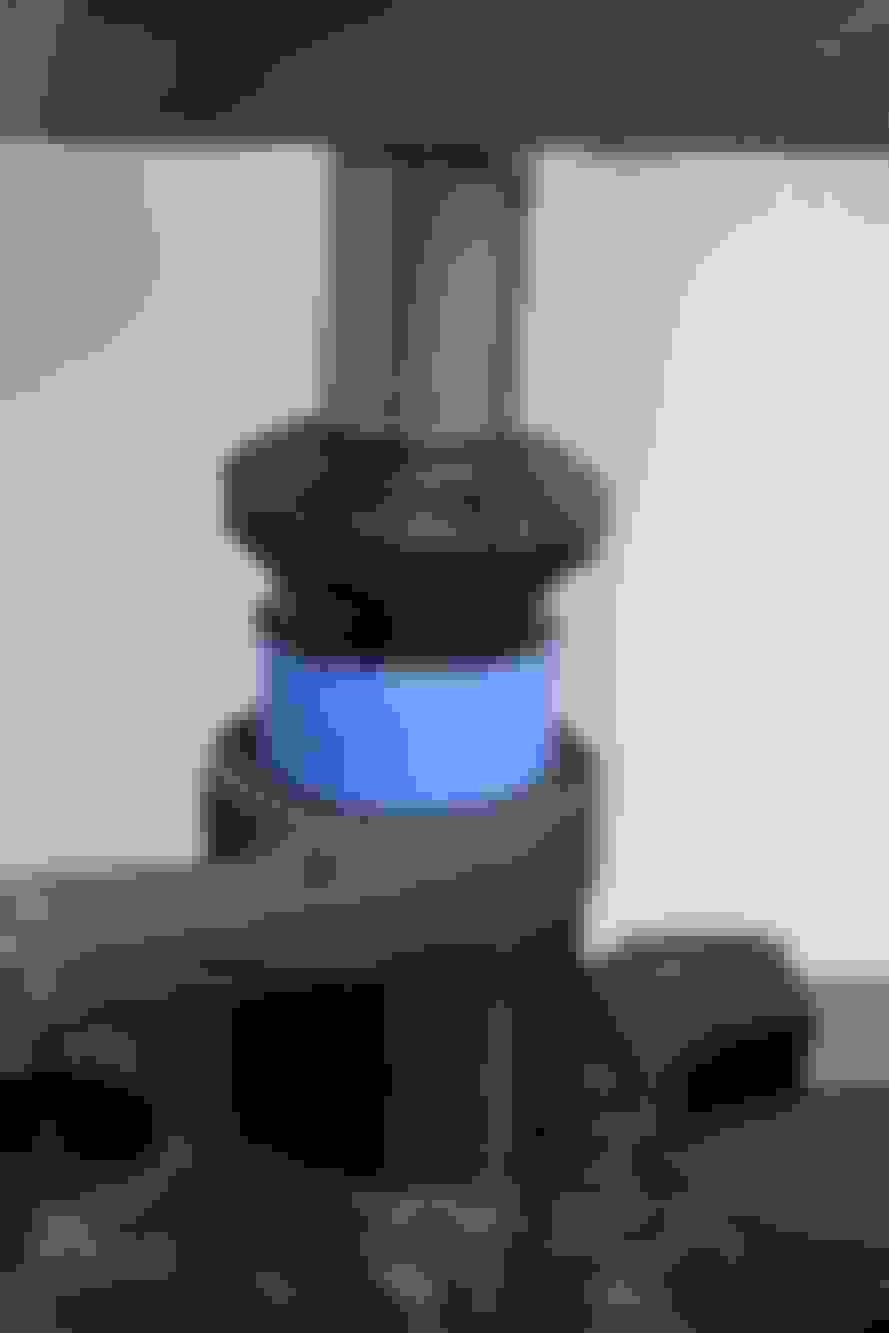
Pressing in the Powerflex bushings. It was a little sketchy pressing both sides at the same time but it worked out fine. Doesnt take much of a pressing force to get these in. I pressed in the center shaft afterwards. Making sure everything was heavily lubed using the silicone grease powerflex provided.
Finished Results!
I am very excited how this changes the steering feel. Ive only owned this car for under a year and the compliance bushings have been shot since day 1.
I hopes this helps anyone else looking to tackle this job. It looks very intimidating at first, as i was pretty stressed out during the research phase of this job. but surprisingly this has been one of the most rewarding feeling jobs ive done, even before having the arms back on the car.
All which cost a whopping $78! The only part i reused from the LCA was the compliance top nut/cam. It did not easily come out as clearances above the arm is tight, so it stayed.
Nice guide, I just want to point out you that you really shouldn't lube the outside of the poly bushing.
The bushing itself should never be able to move only the metal collar inside.
All which cost a whopping $78! The only part i reused from the LCA was the compliance top nut/cam. It did not easily come out as clearances above the arm is tight, so it stayed.
The cam nut comes out towards the inside of the chassis.
Nice guide, I just want to point out you that you really shouldn't lube the outside of the poly bushing.
The bushing itself should never be able to move only the metal collar inside.
I guess that makes sense. Good to know for the future!
Originally Posted by Slowcrash_101
The cam nut comes out towards the inside of the chassis.
Good call. I guess i didnt try hard enough to figure that out.
I saw in another diy that the cam nutneeds to be replaced. Trying to get my things together before hand, should I order that as well as the parts totaling the whopping 70somebucks?
I saw in another diy that the cam nutneeds to be replaced. Trying to get my things together before hand, should I order that as well as the parts totaling the whopping 70somebucks?
According to the service manual they are supposed to be replaced every time they are loosened but I doubt everyone who is having their caster adjusted at the alignment shop is having their nuts replaced so I'd say don't bother
 03-19-2017, 10:01 AM