When you click on links to various merchants on this site and make a purchase, this can result in this site earning a commission. Affiliate programs and affiliations include, but are not limited to, the eBay Partner Network.
UK & Ireland S2000 CommunityDiscussions related to the S2000, its ownership and enthusiasm for it in the UK and Ireland. Including FAQs, and technical questions.
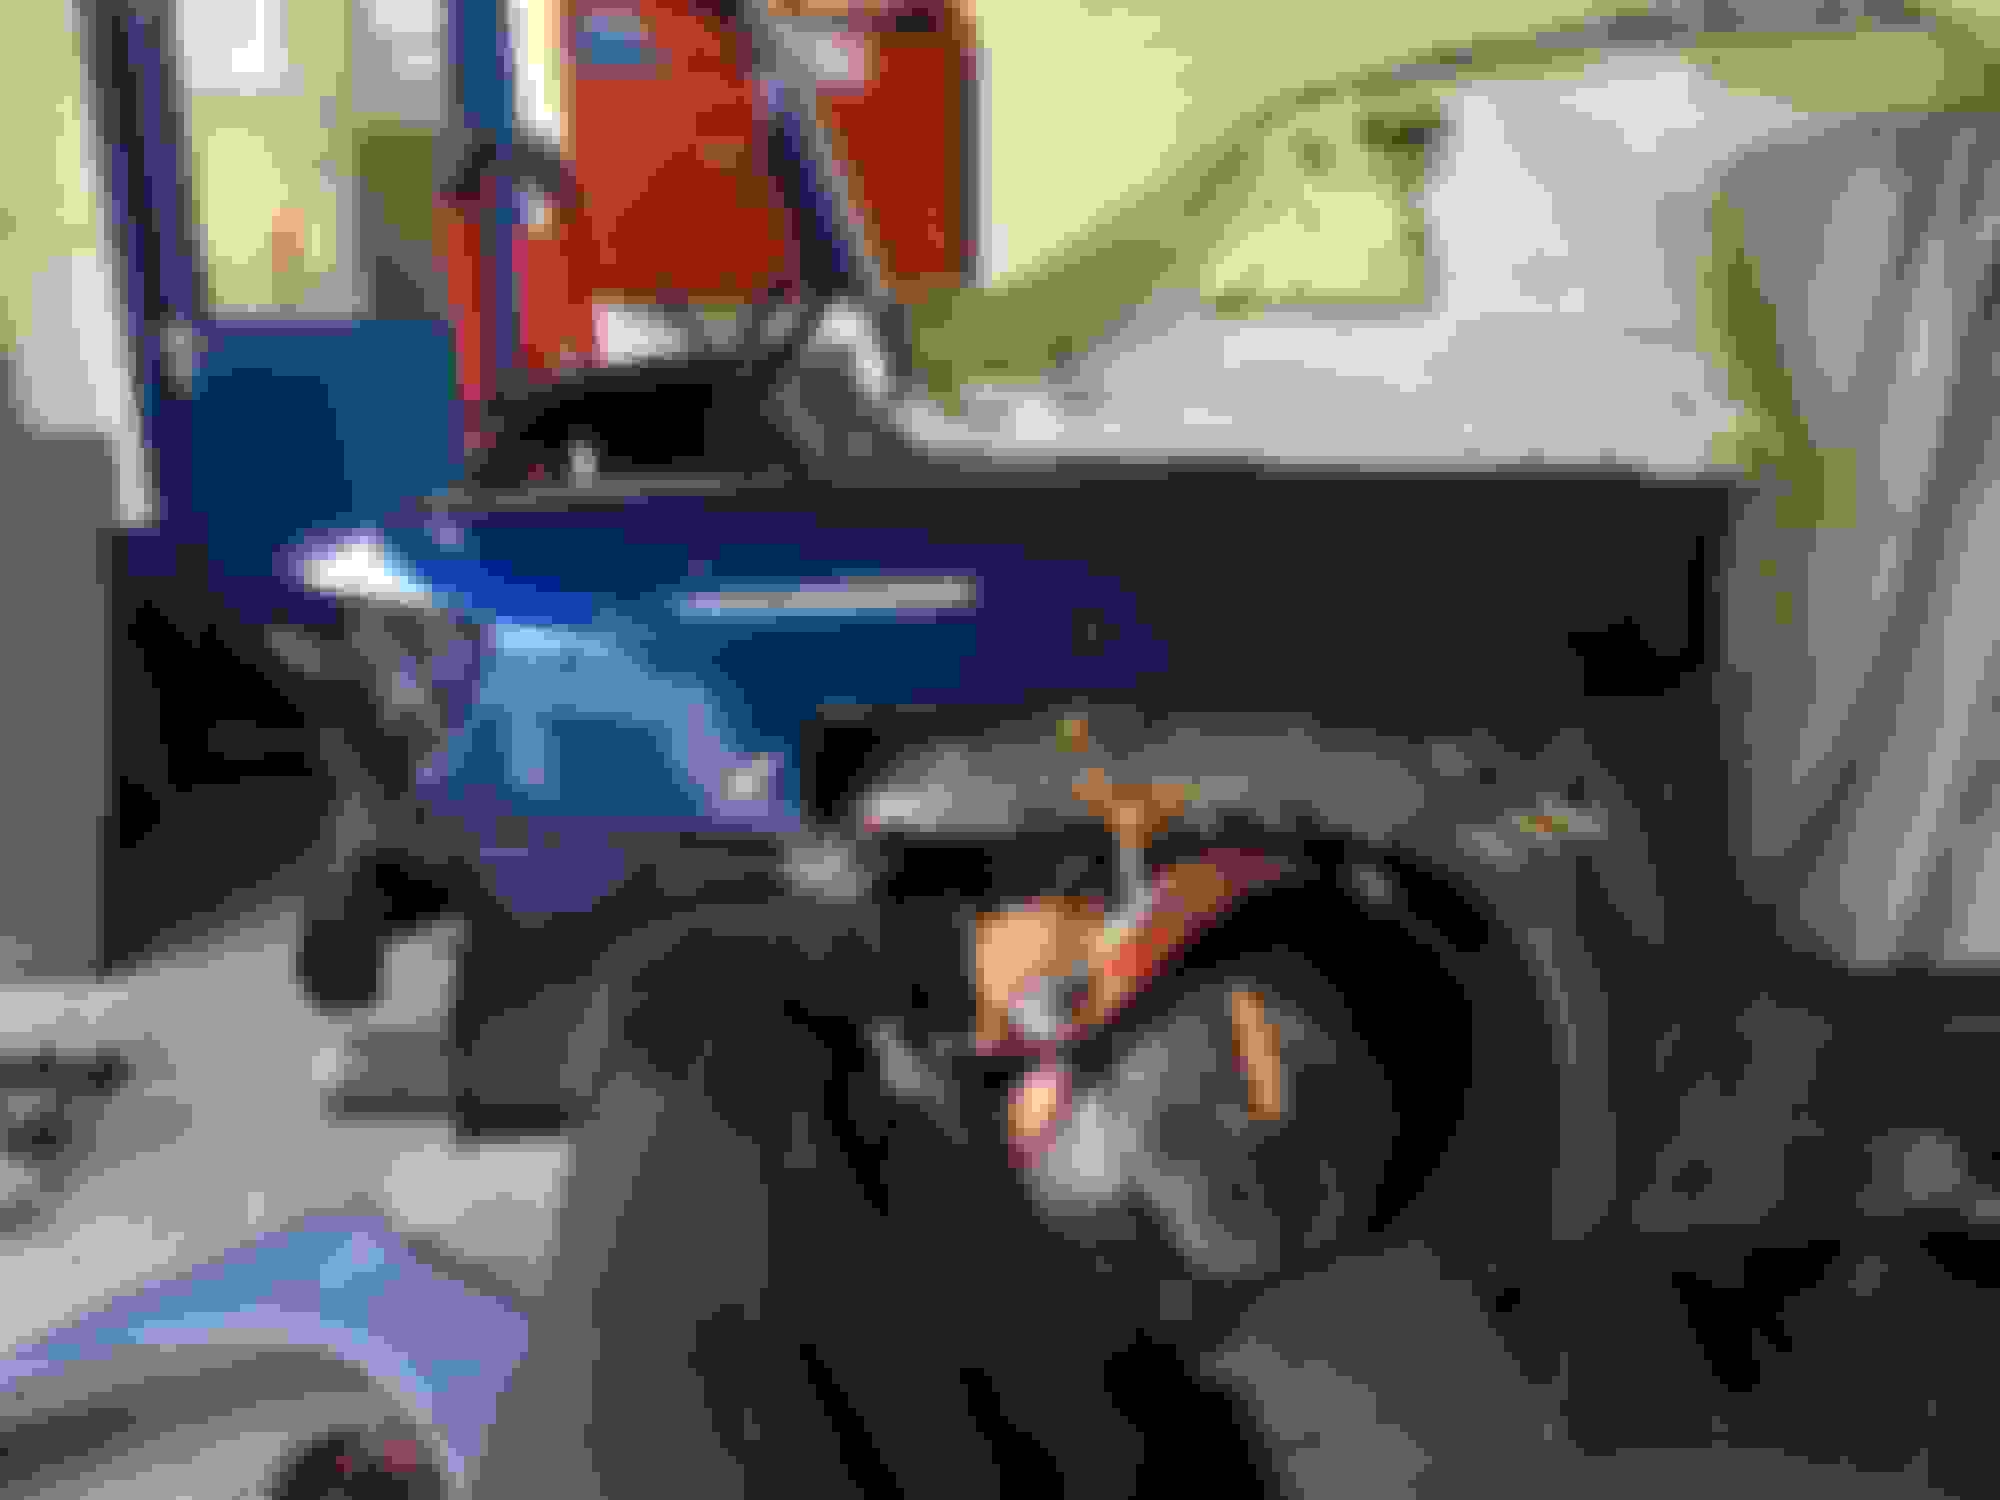
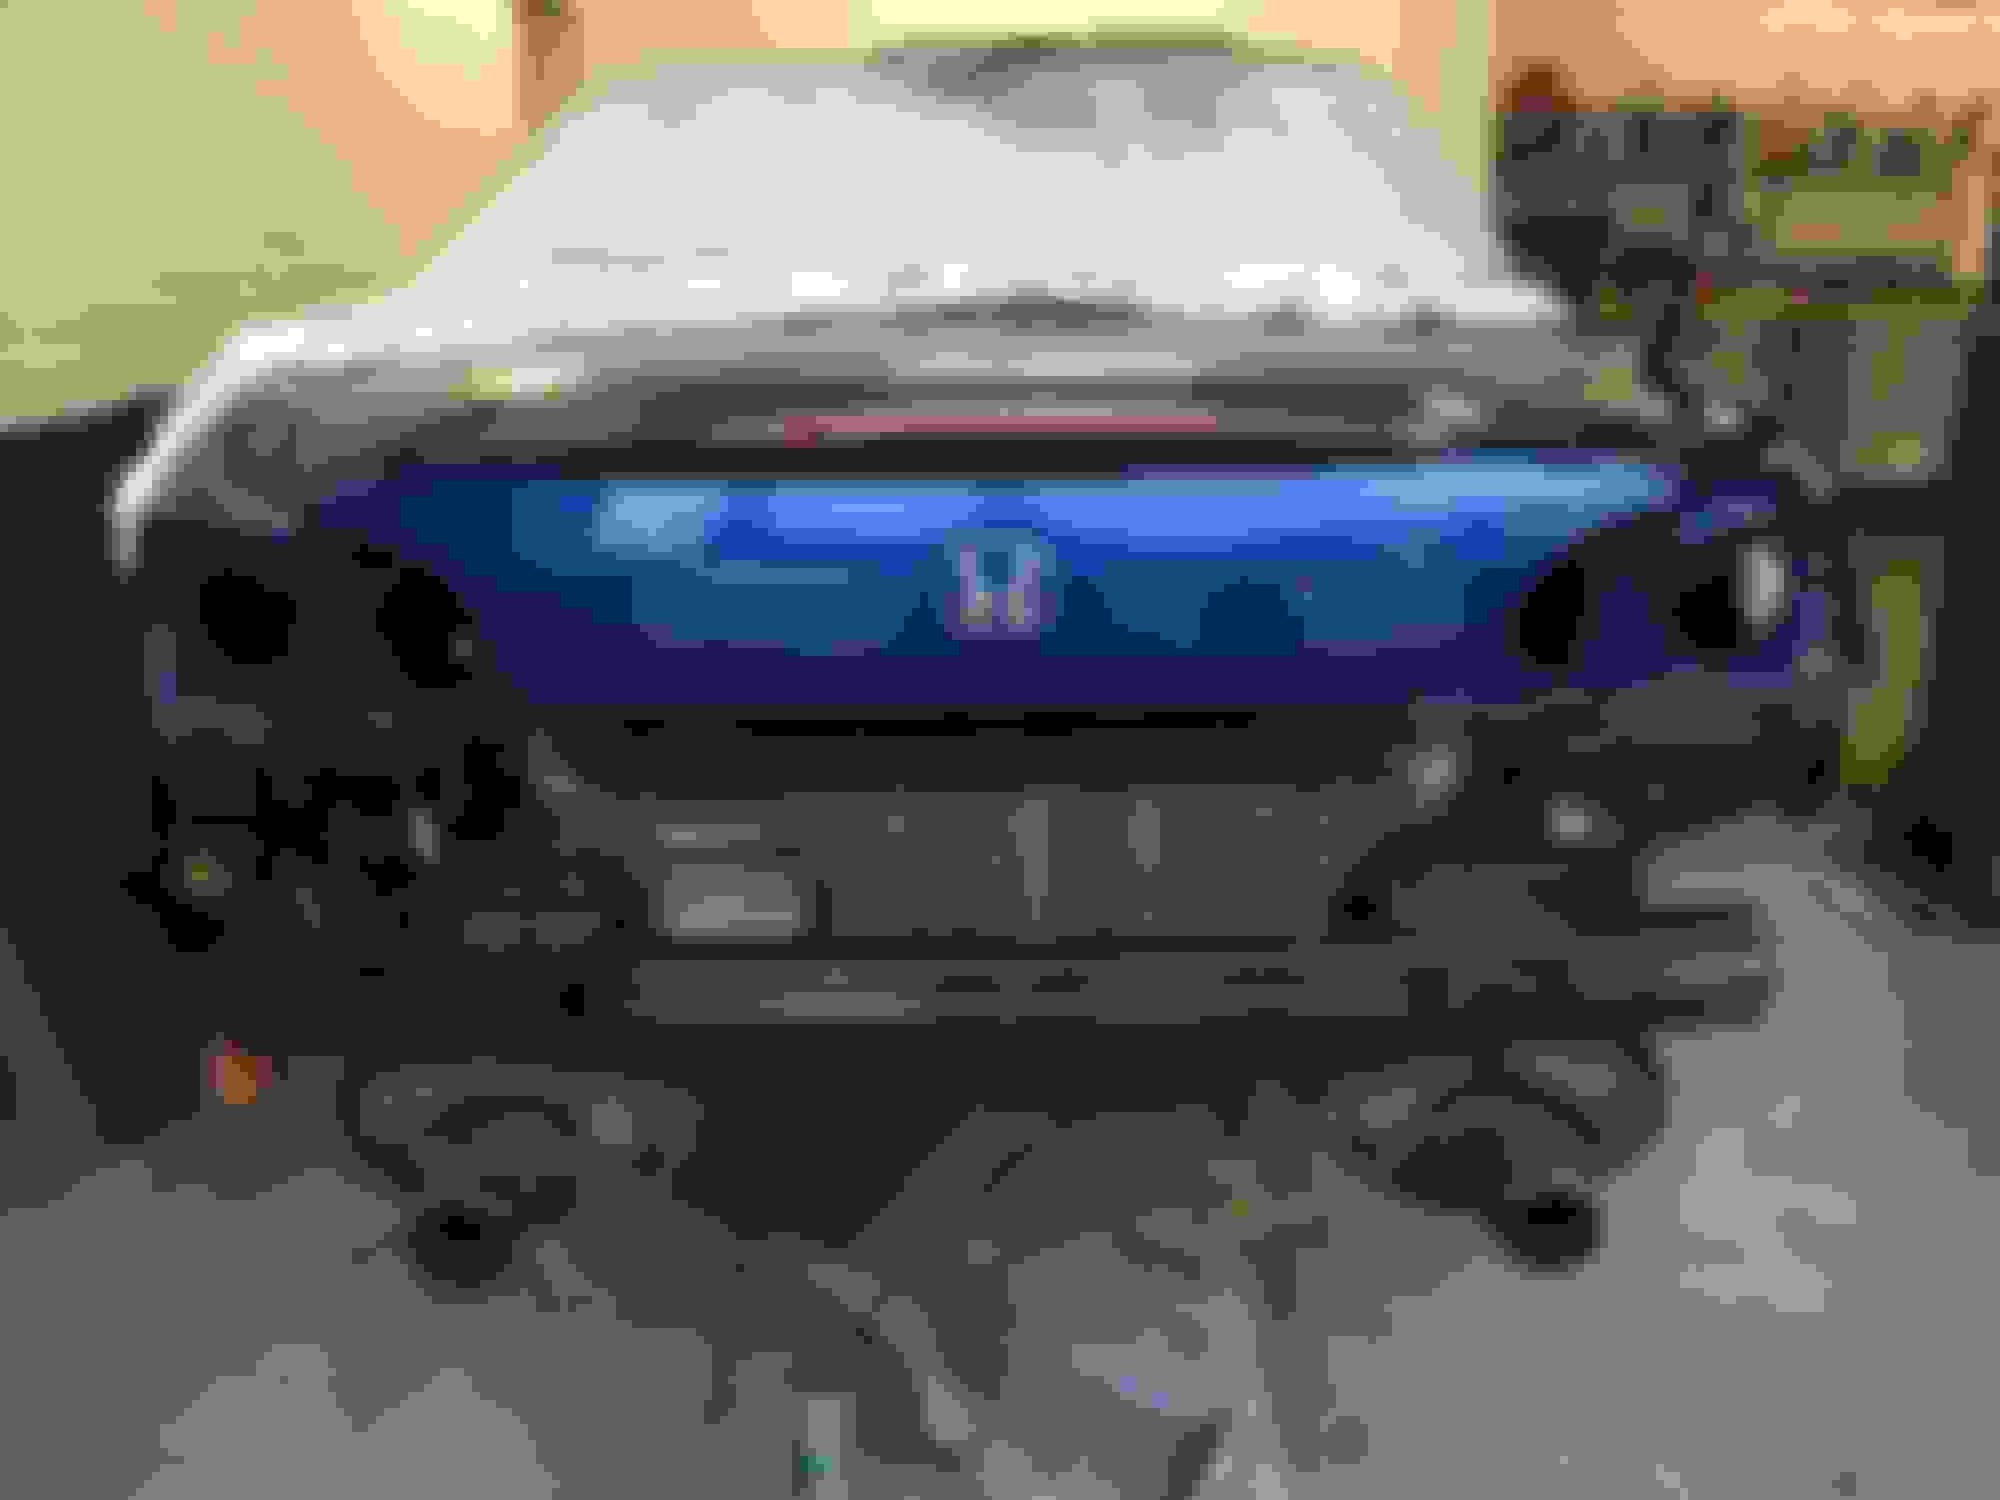
For quite a while now (maybe two years), I've been on at Ray about getting my arches repaired due to rust. Over the last year I noticed rust bubbles had started to form on the lower sill seam. A few months back Ray looked at the area and we realized a previous repair had taken place on the sill. With lots of filler removed, we could see it was holding water causing the area to rust. I don't know is this has caused any stress on the arch to cause rust, but fortunately it all seems to be on the one side. We decided to treat the area and leave for a while as we had a busy racing calendar. Now the season is over and timing permits work back on the the rusty rear.
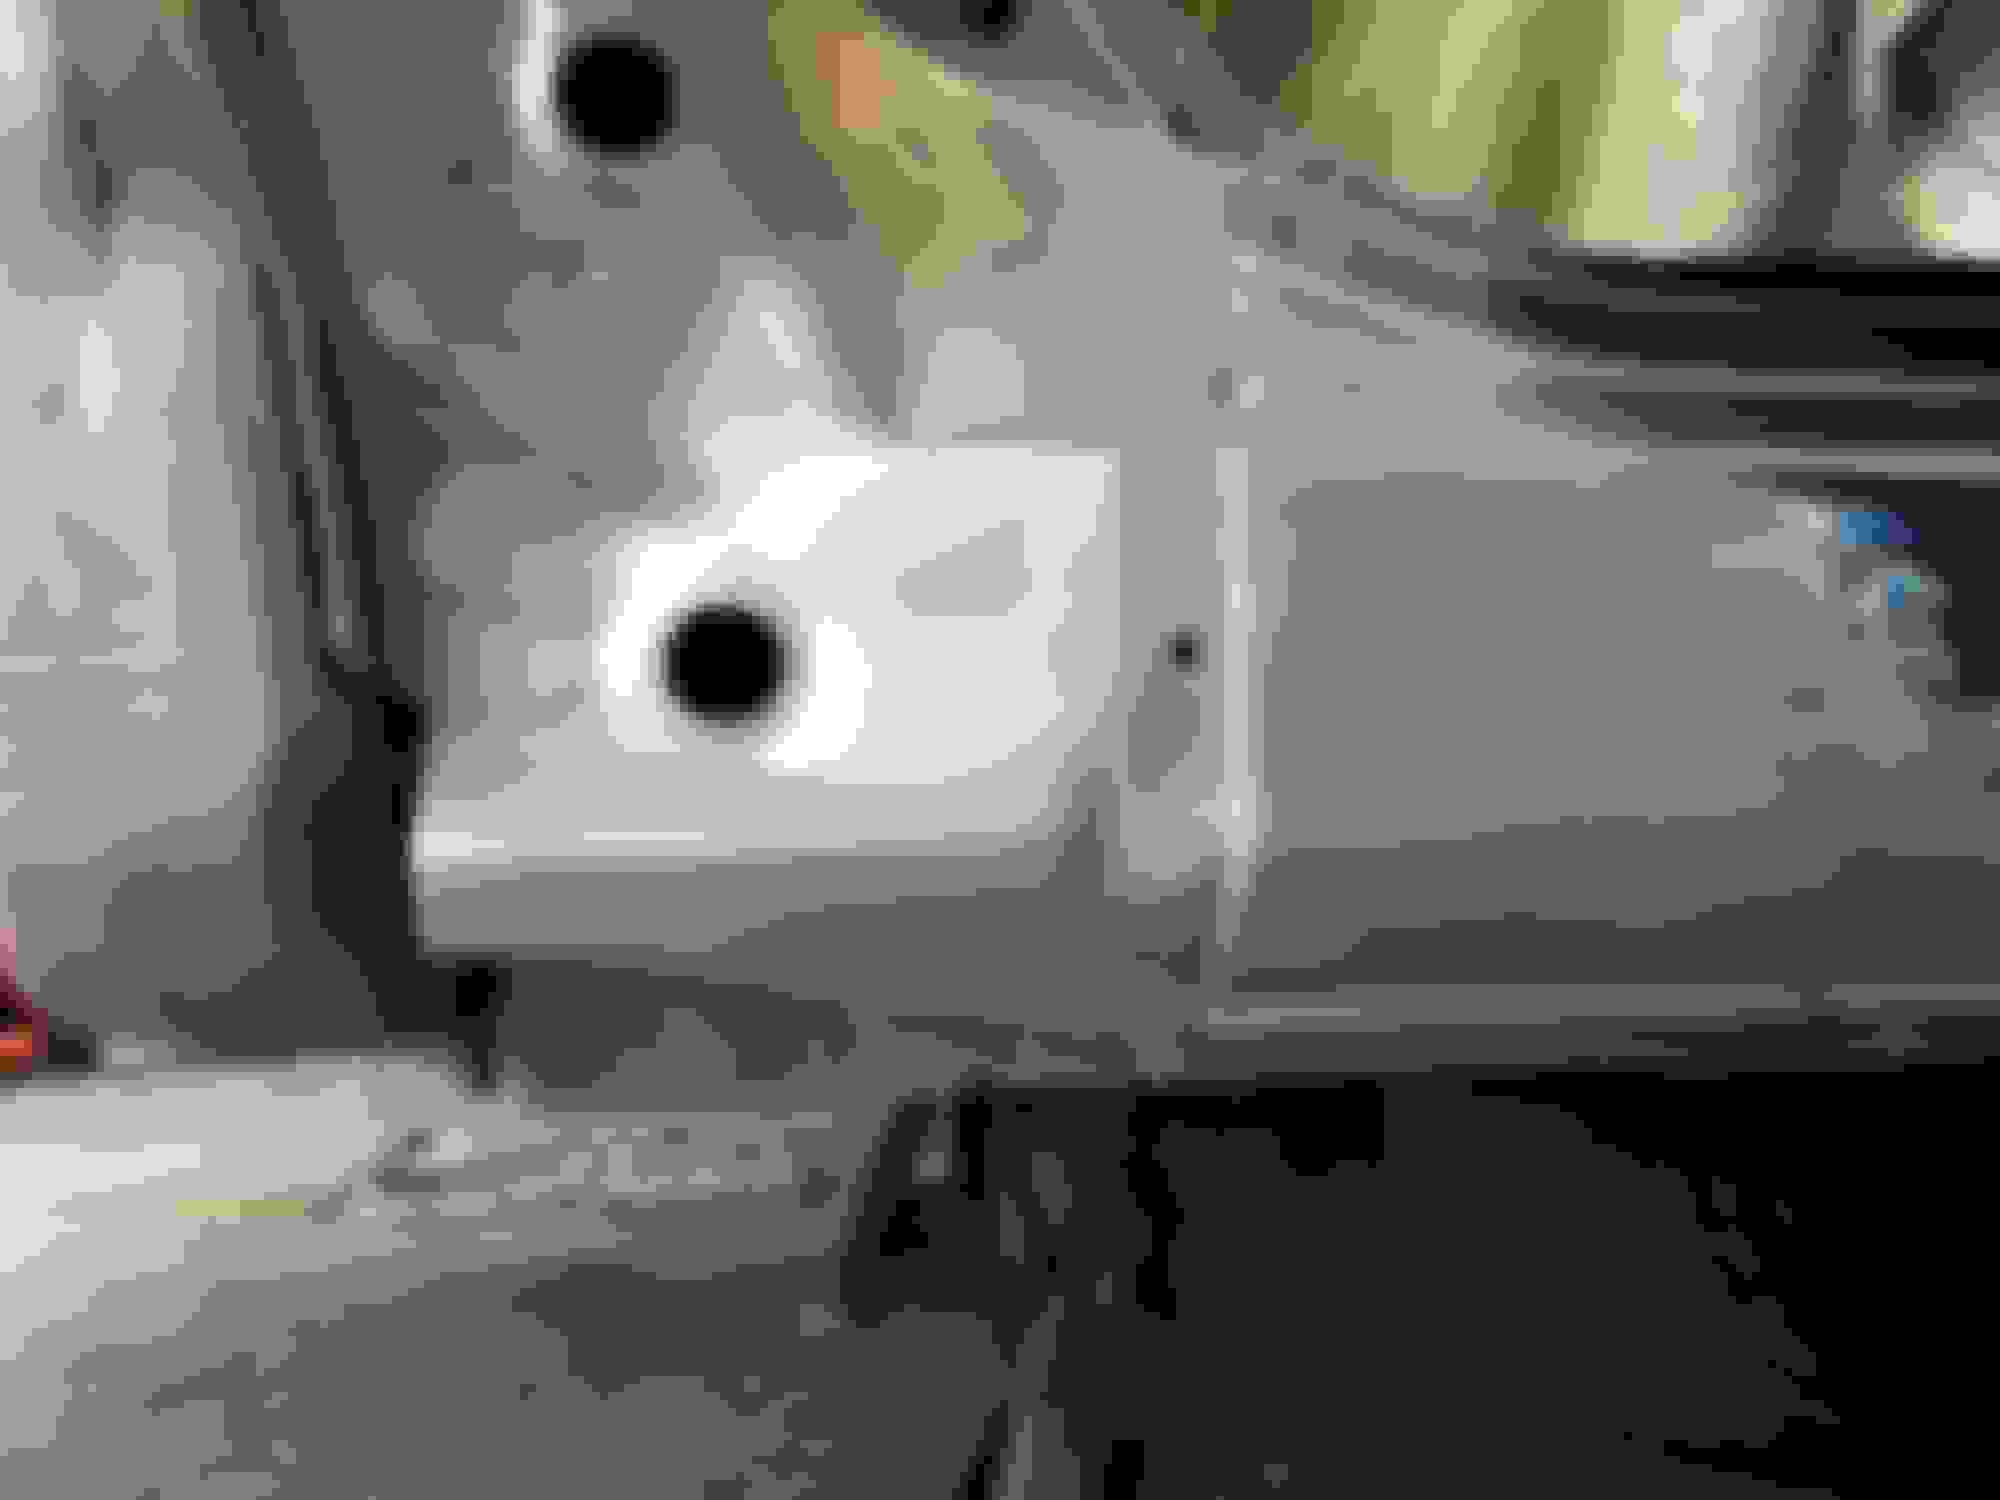
As you can see in the first picture, the arch has blistered badly and subsequently broken open during the final summer months.
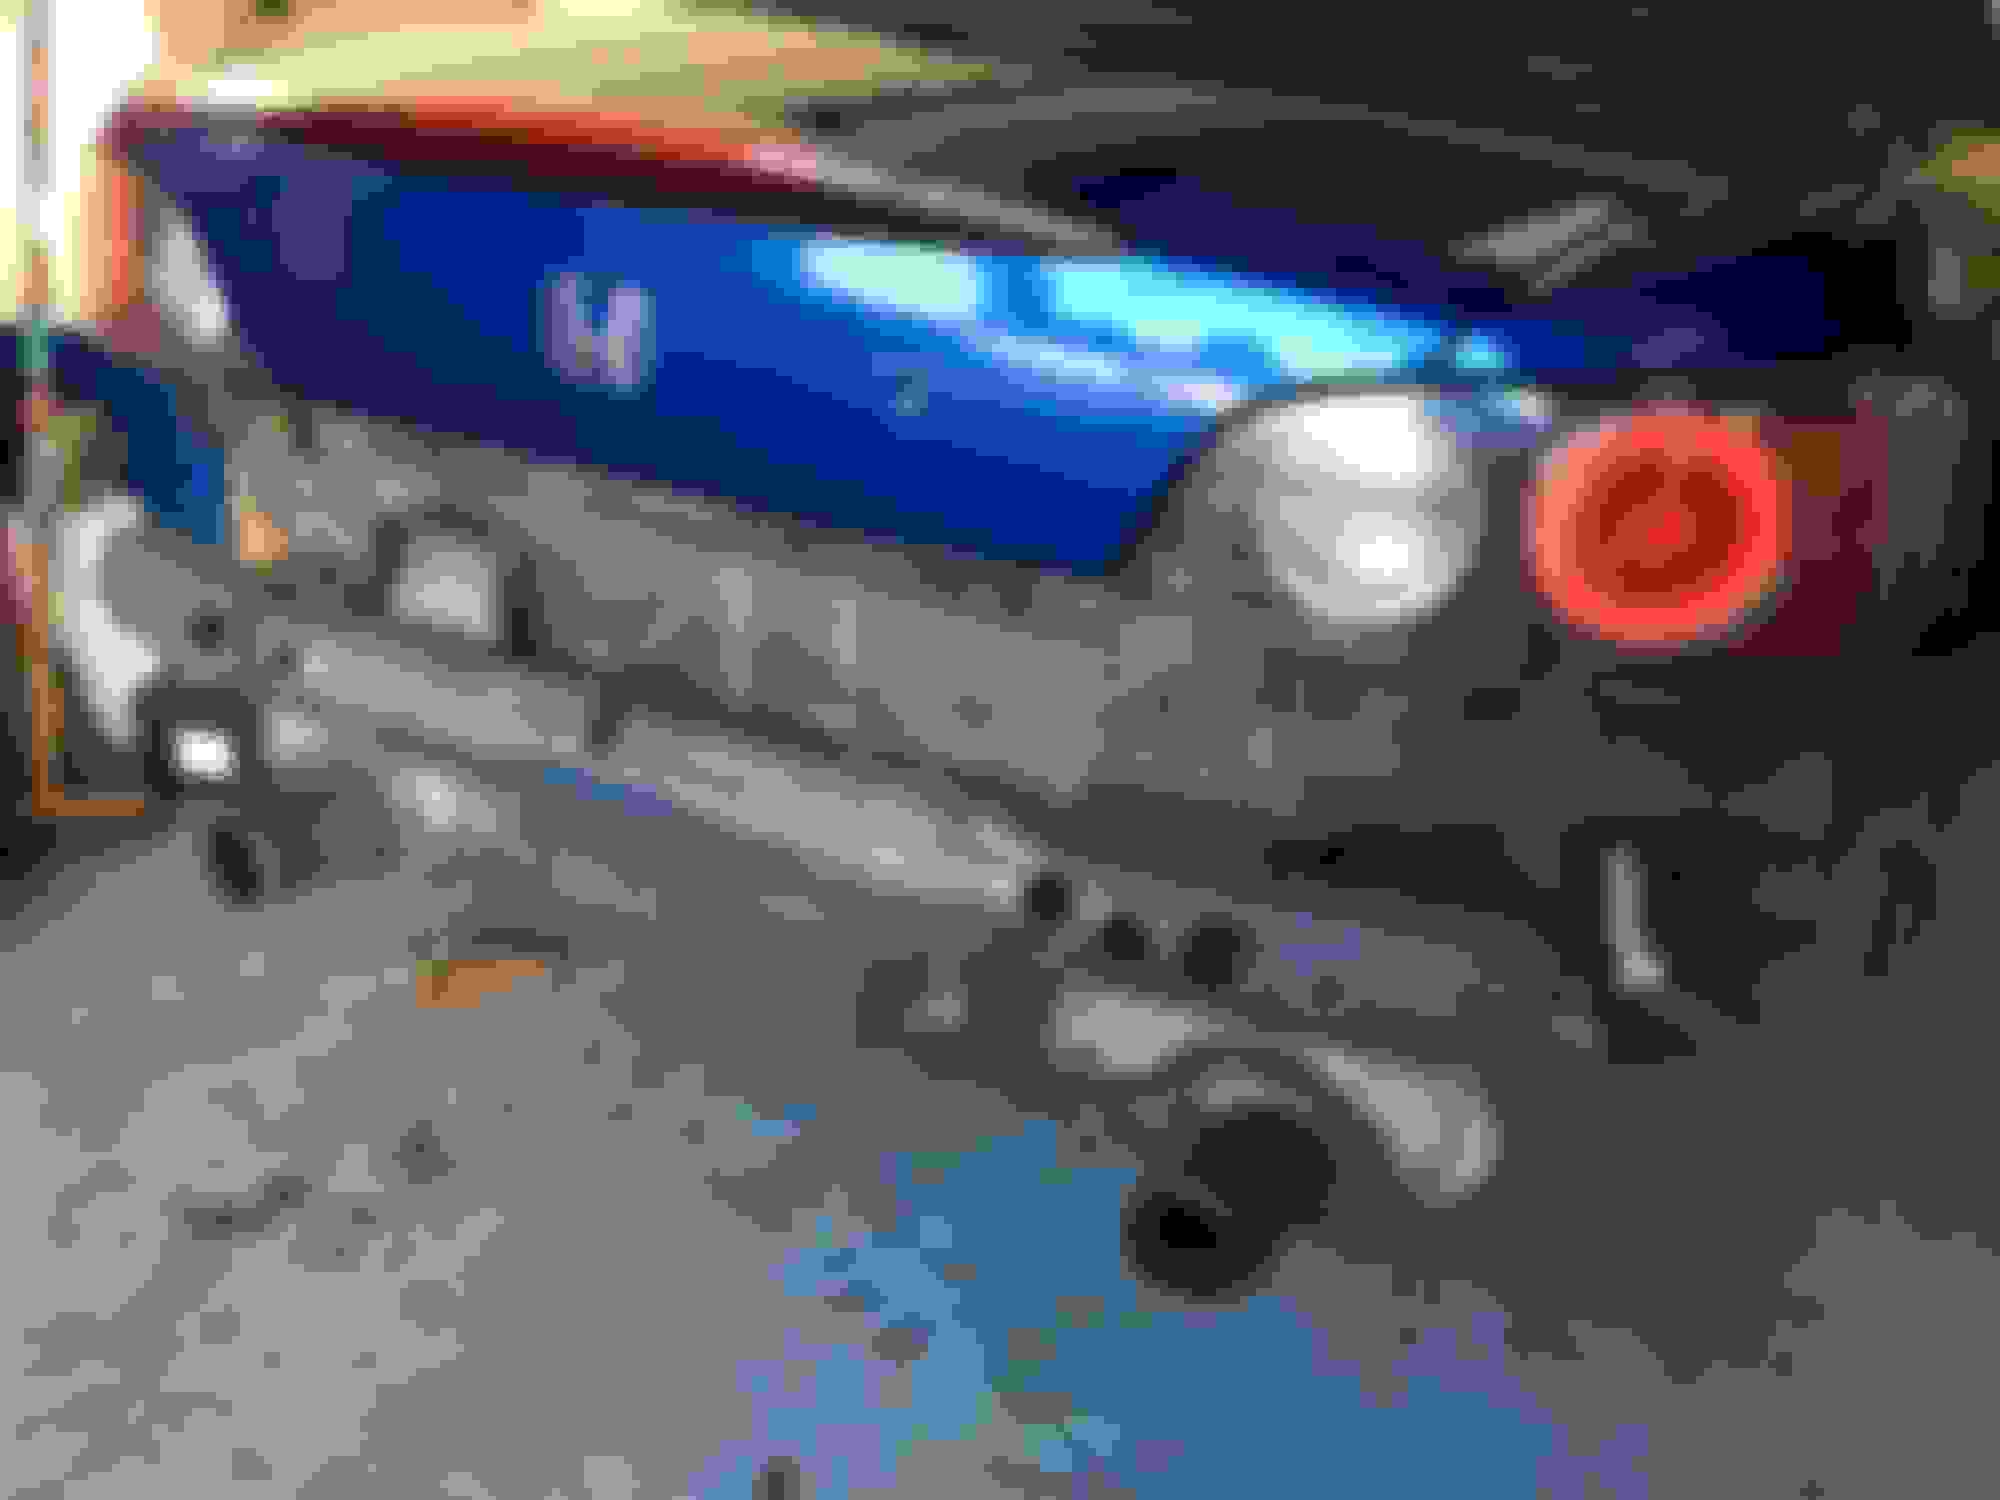
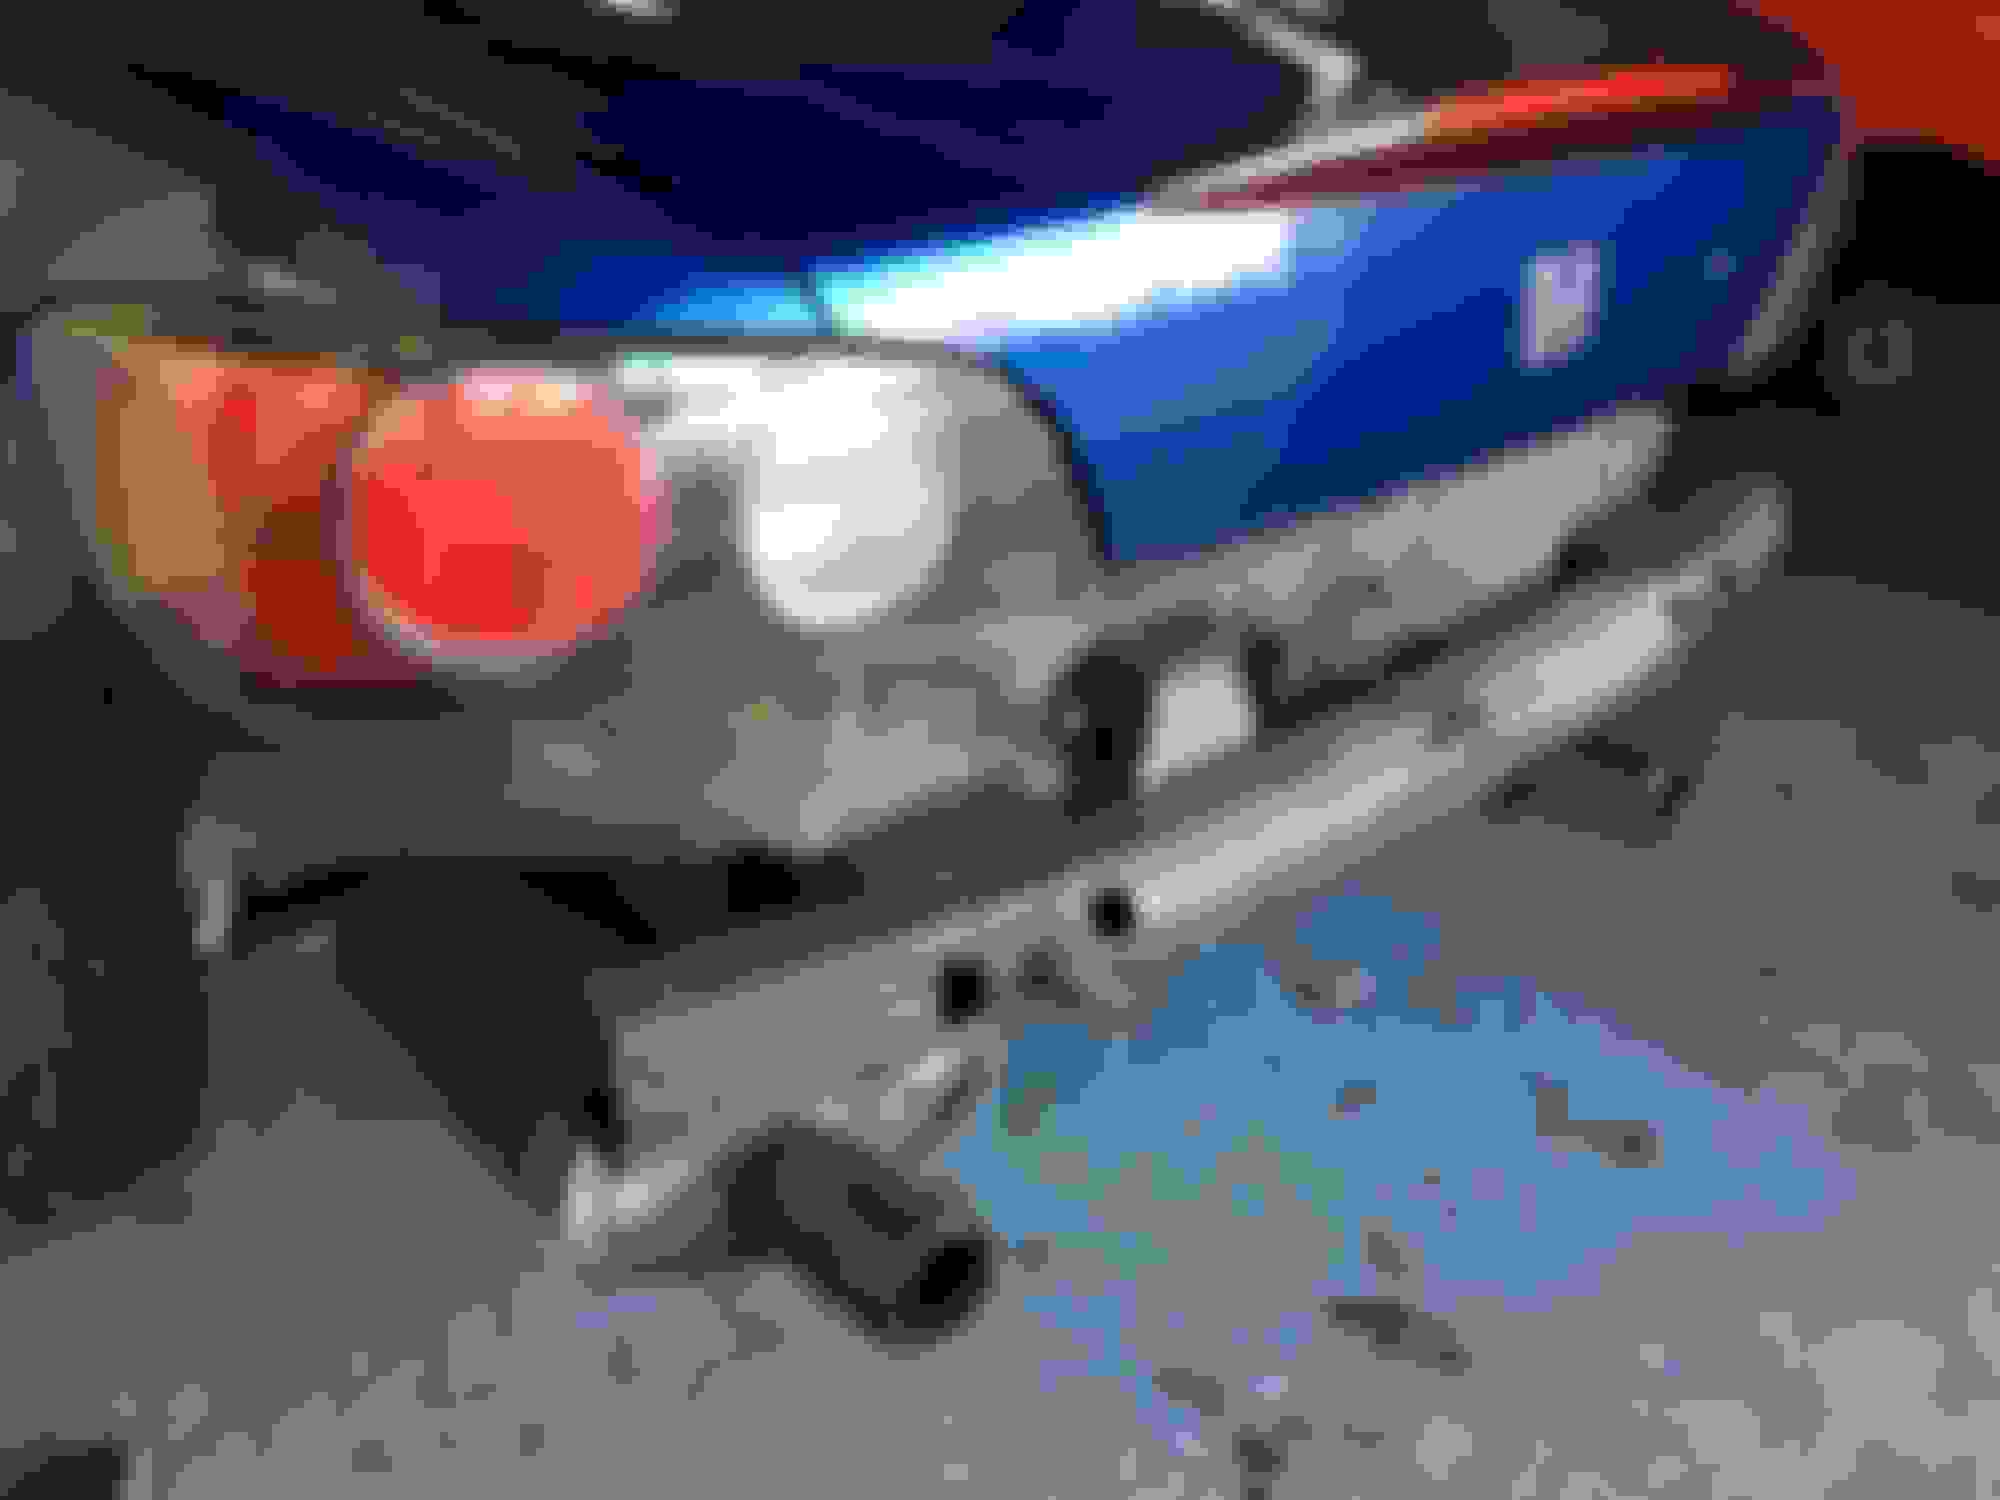
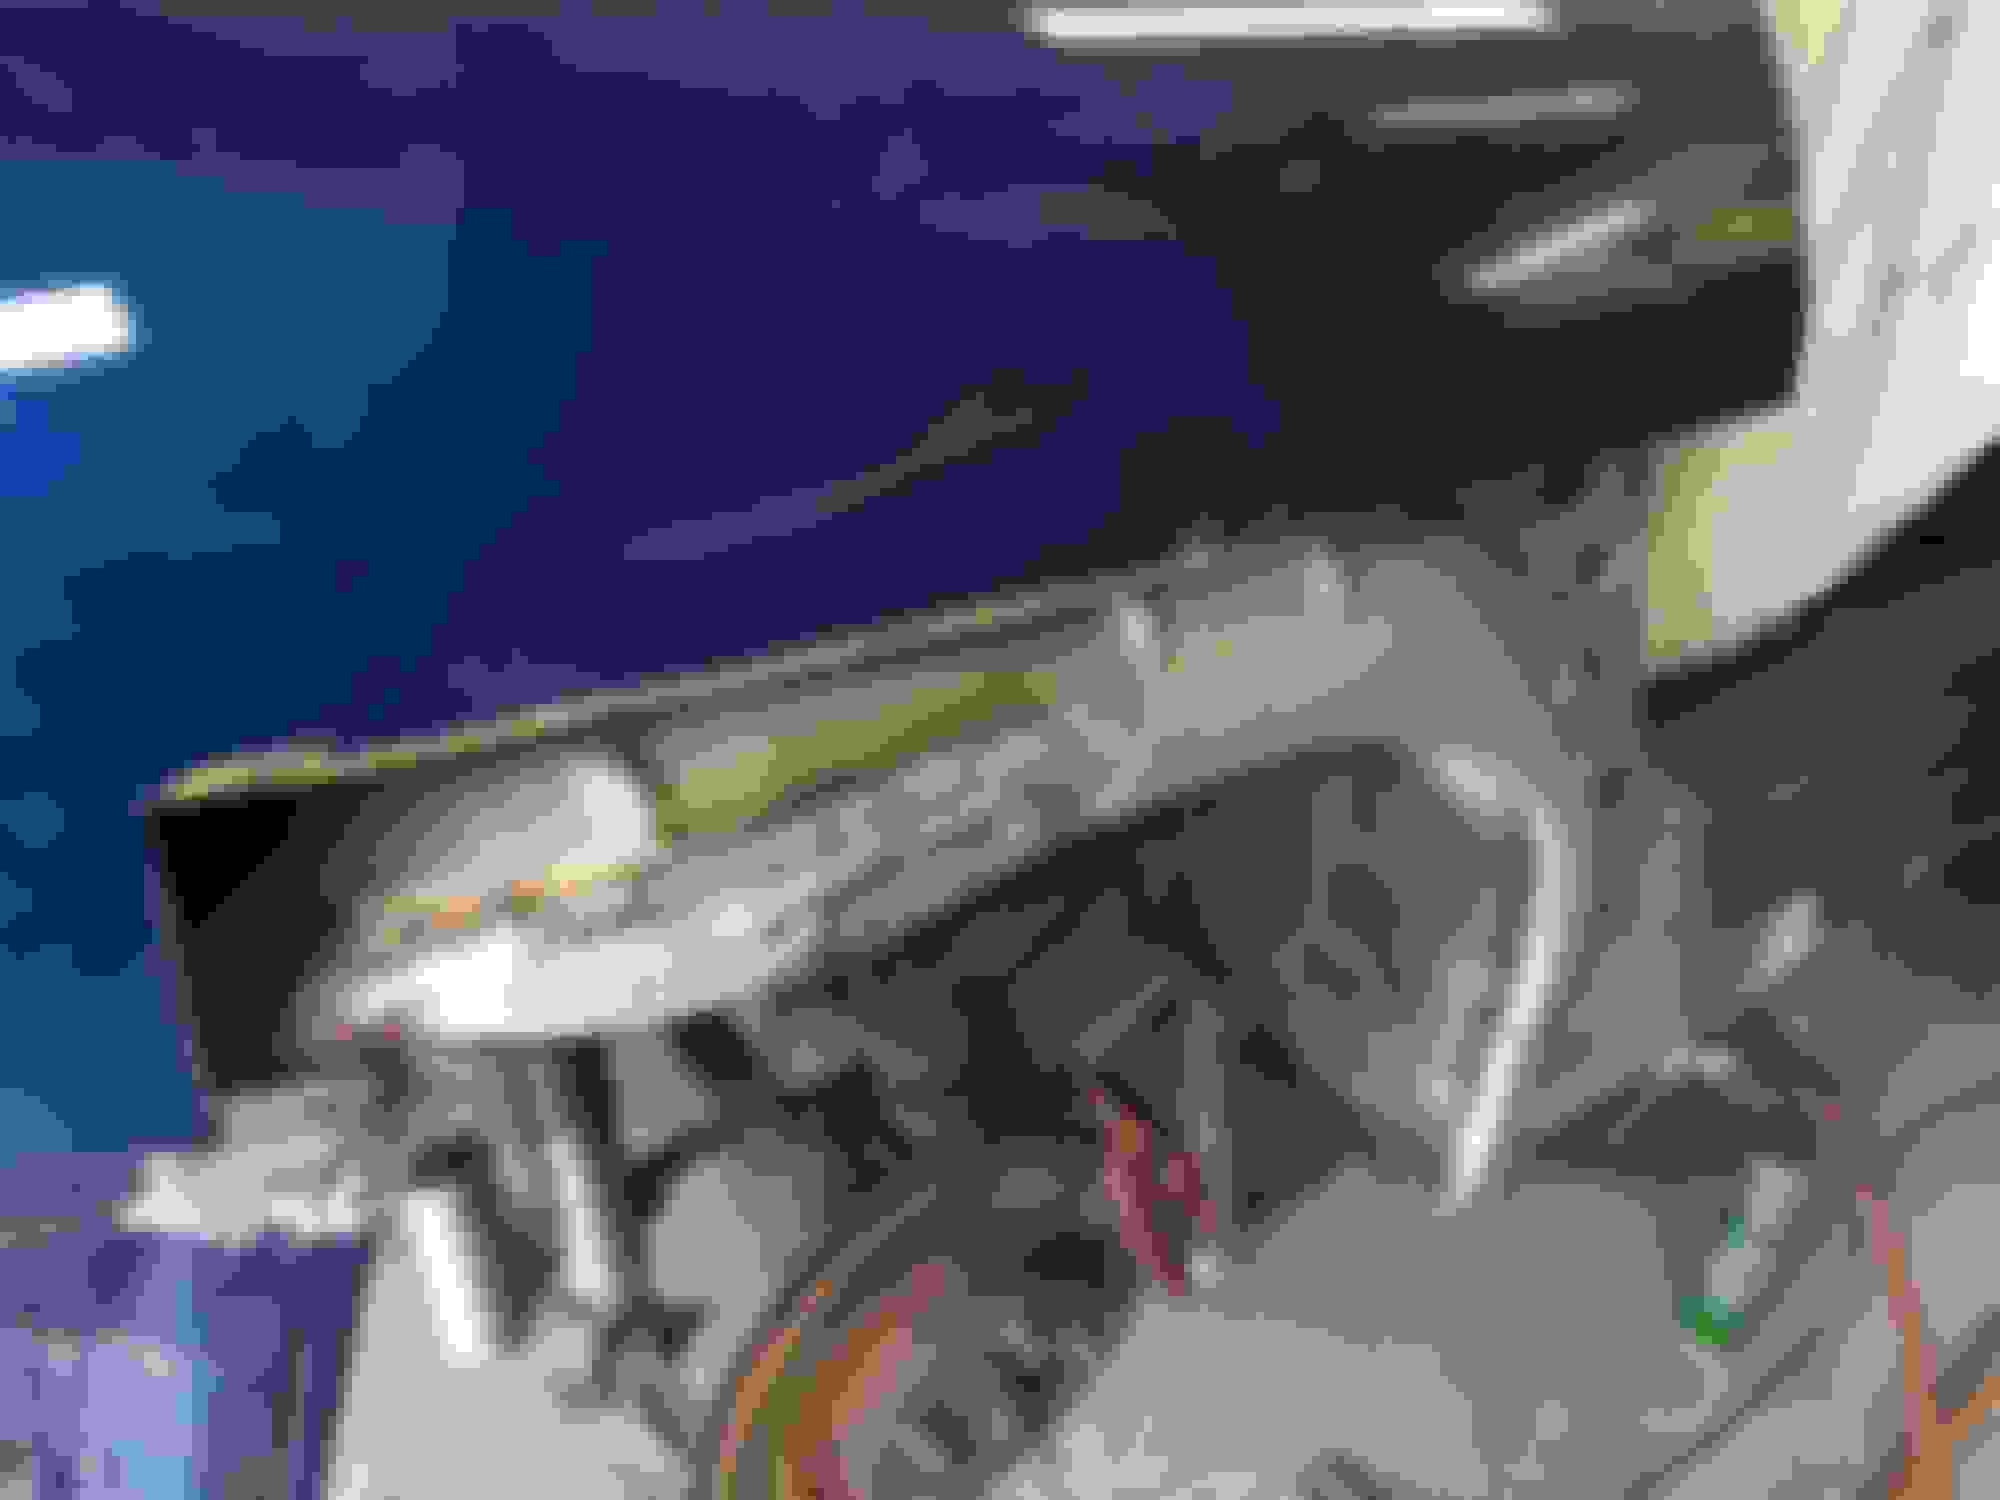
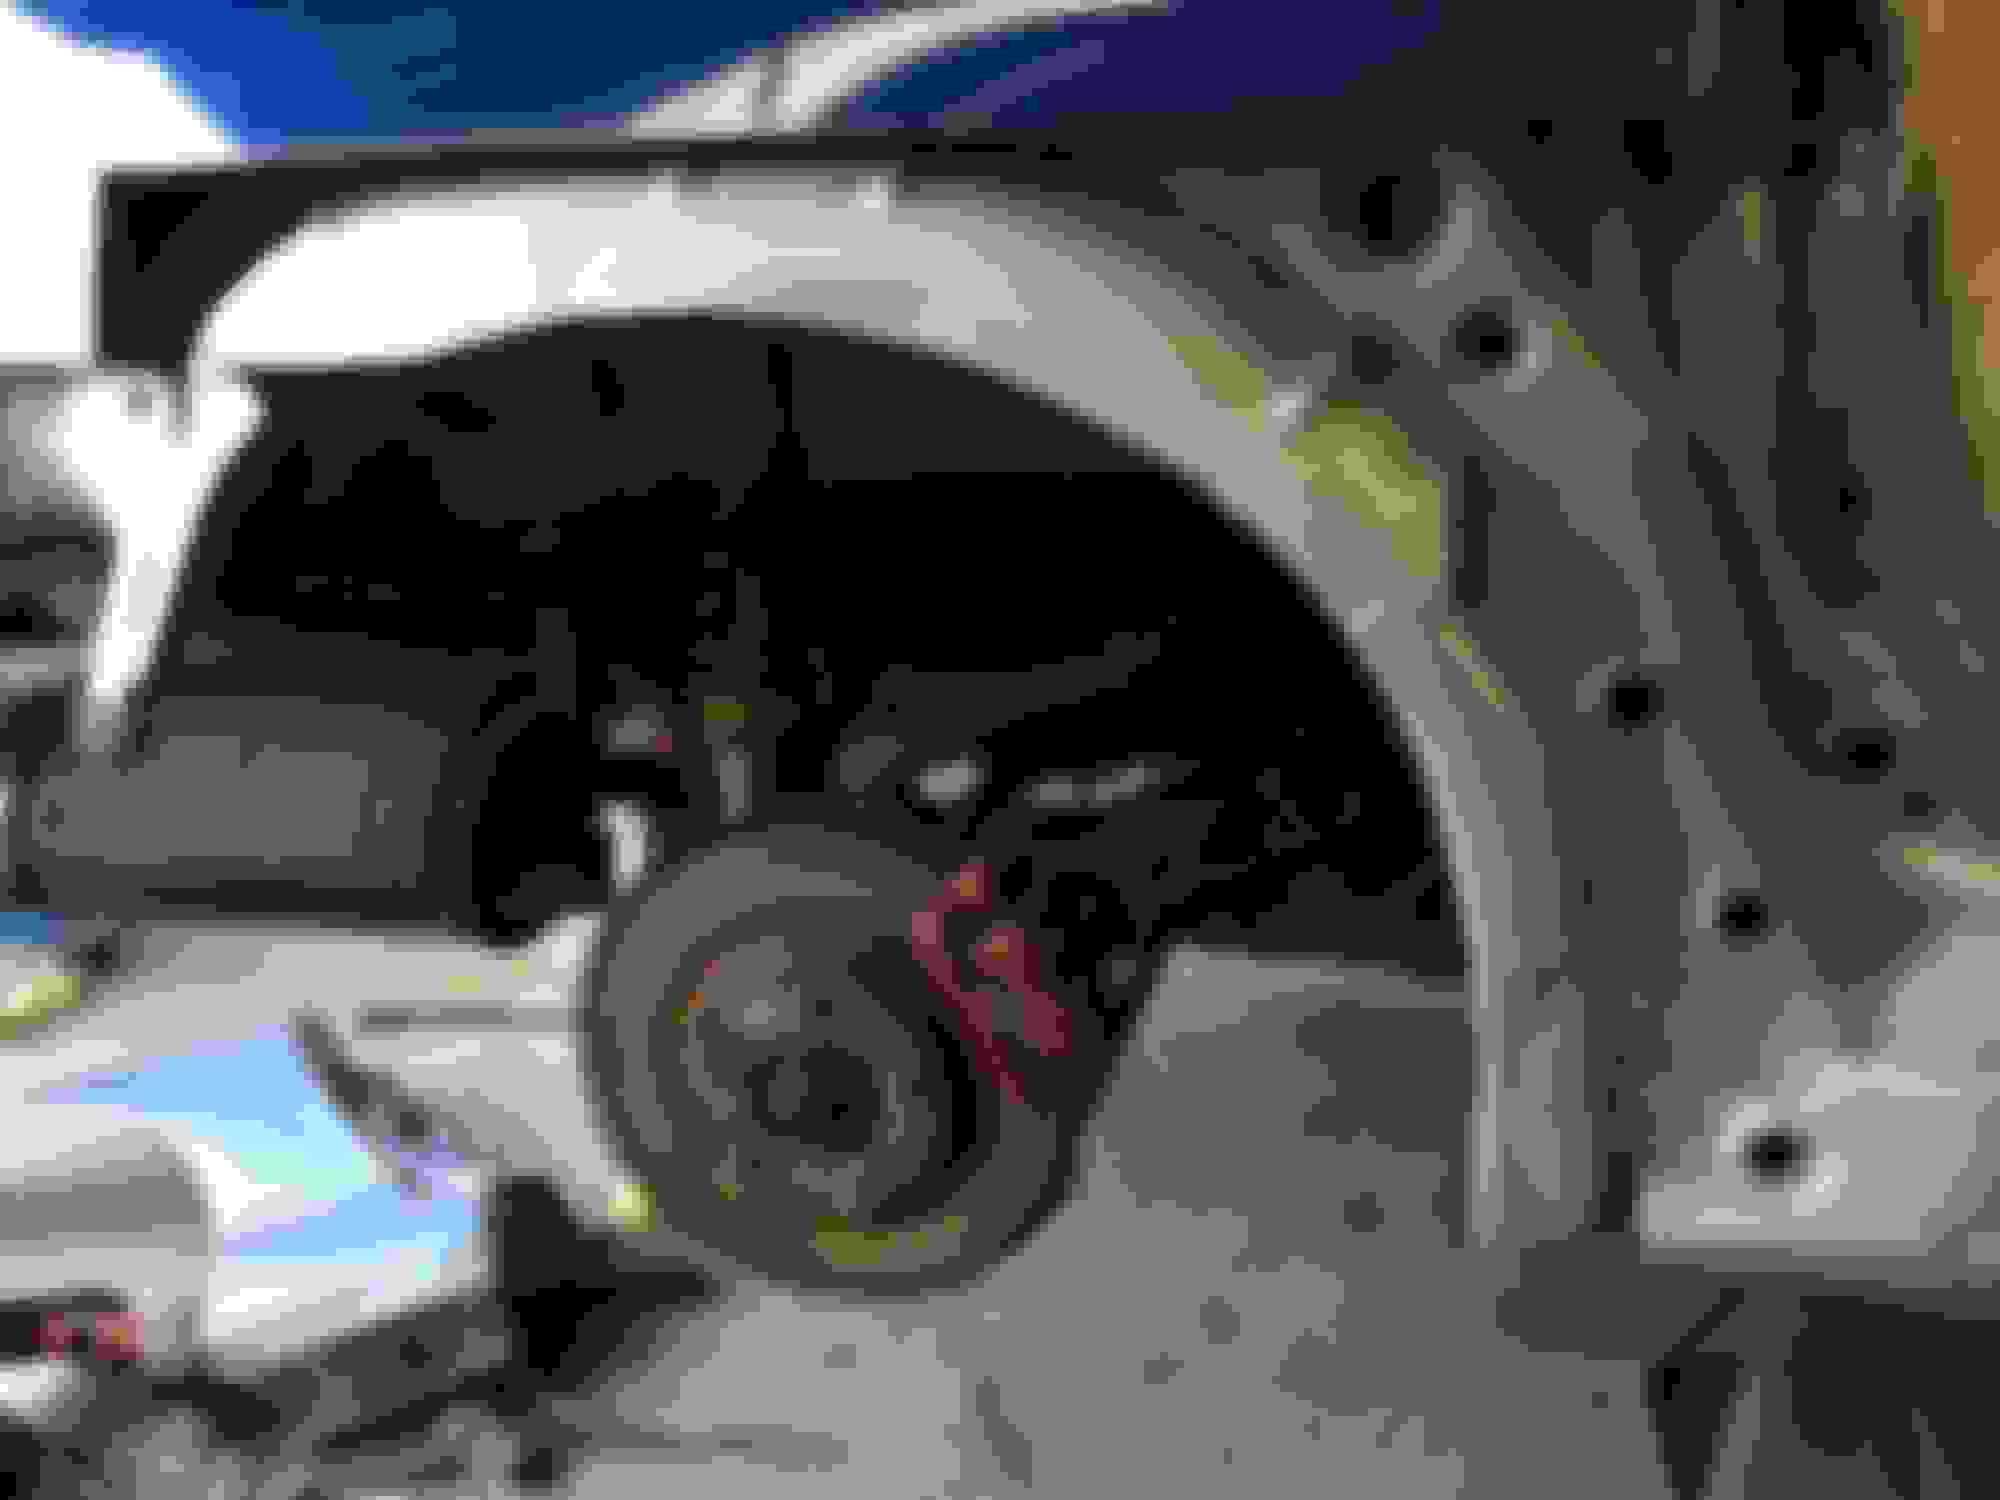
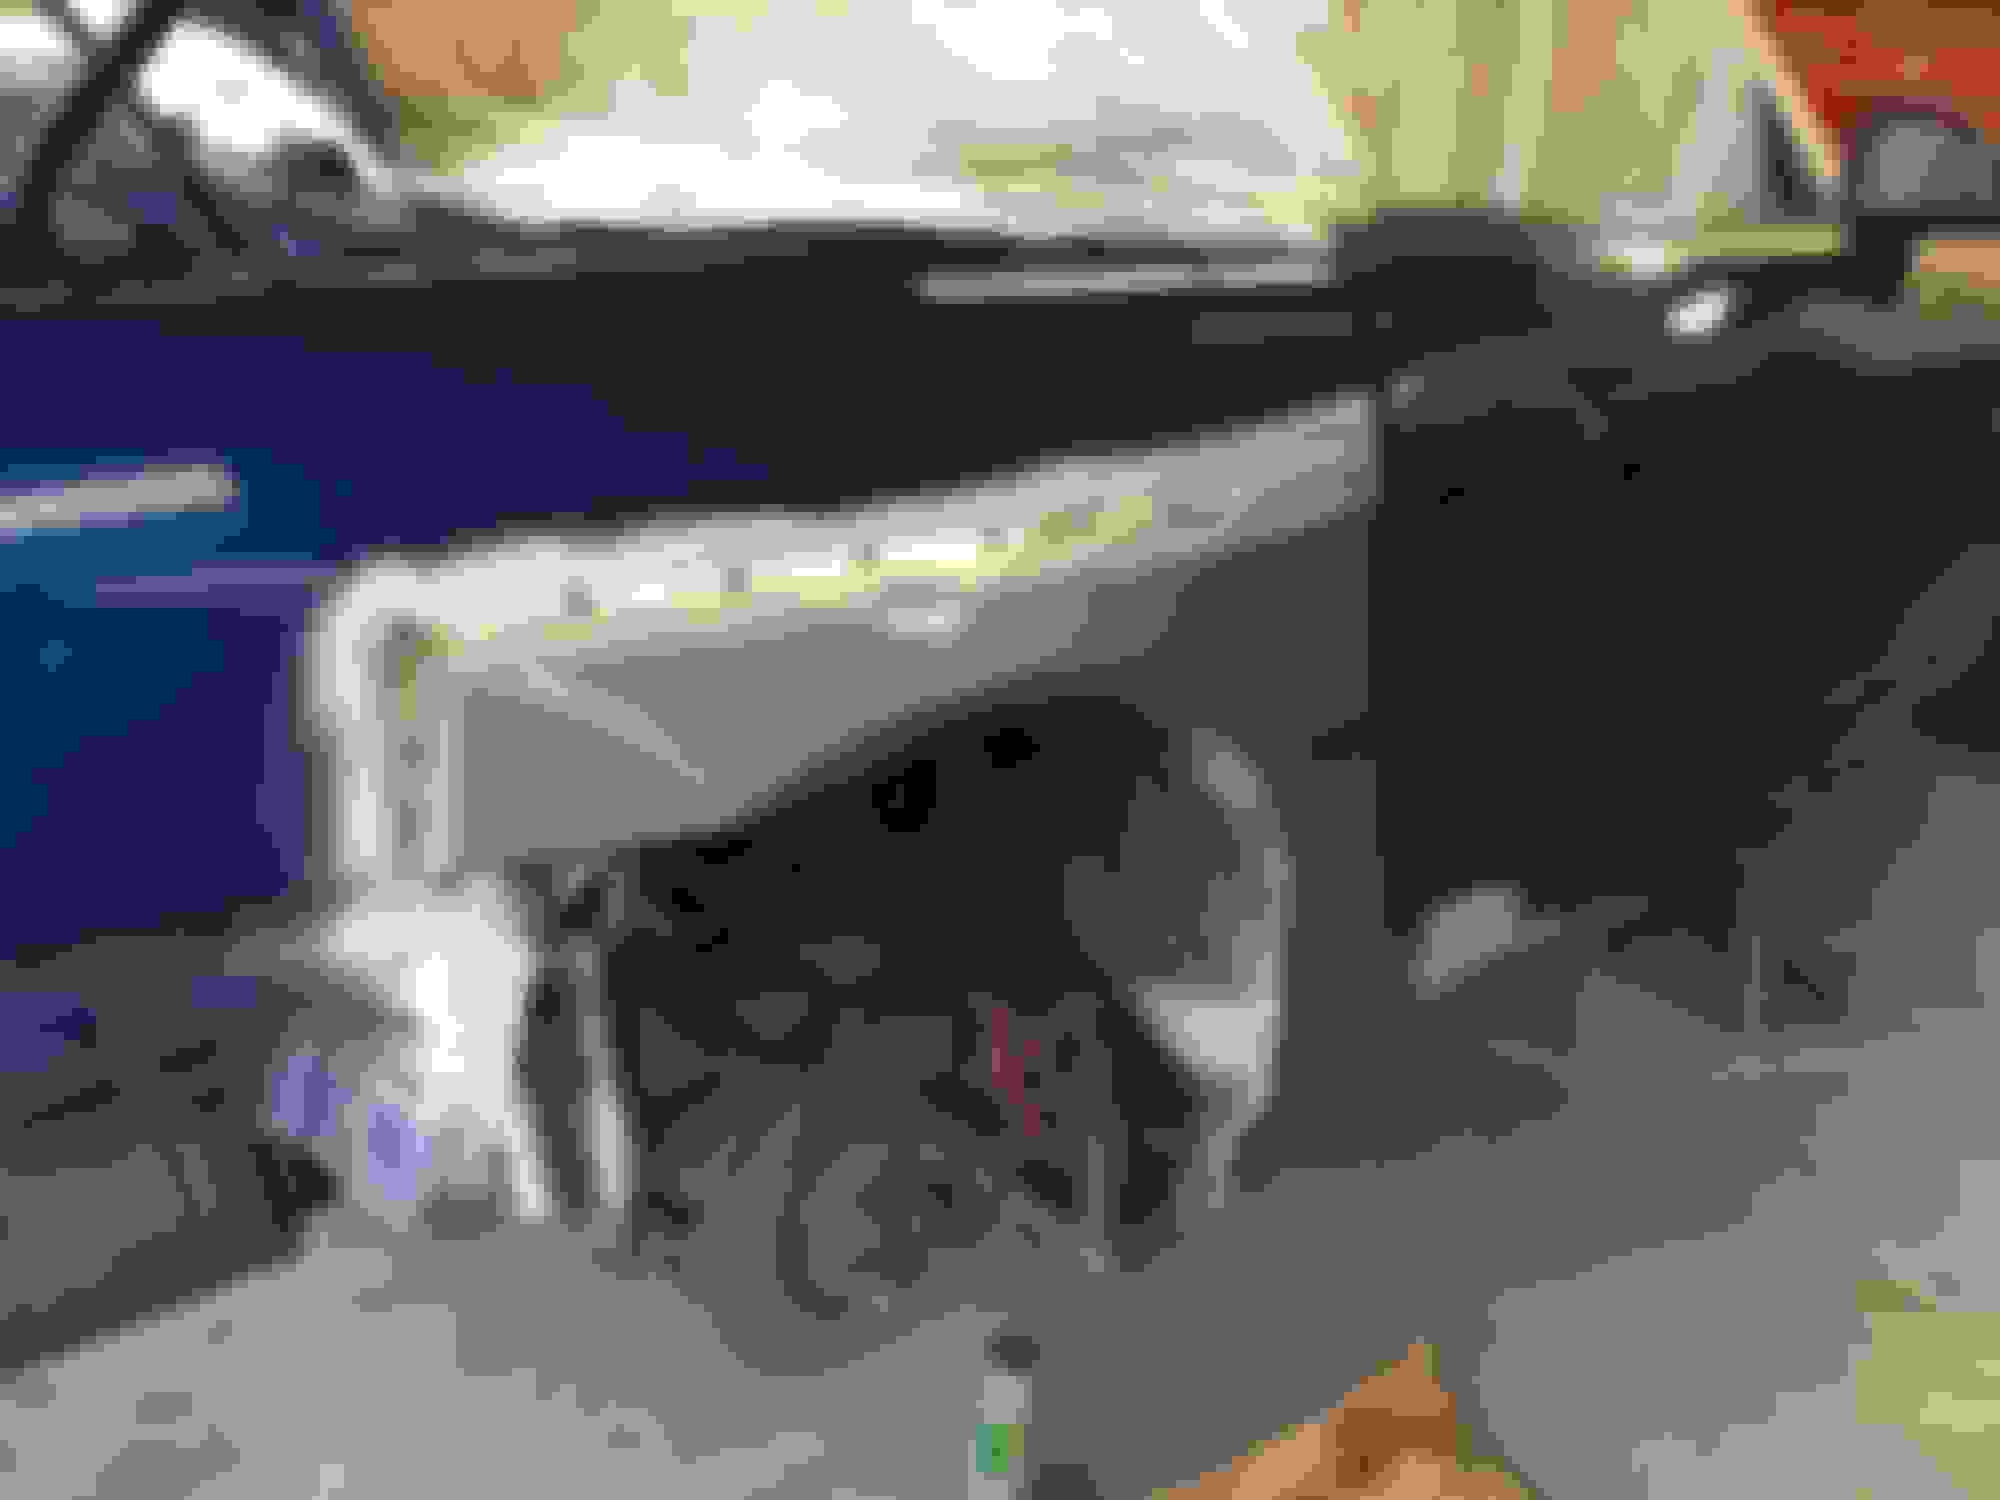
The job began with all the interior trim, drivers seat and carpets close to the job being removed. Another fun job was removing the rear bumper, as most people know who have taken one off the rear fog light can fall out easily. With everything disconnected and removed you can see the build up of rust on the rear crash bar and bumper supports
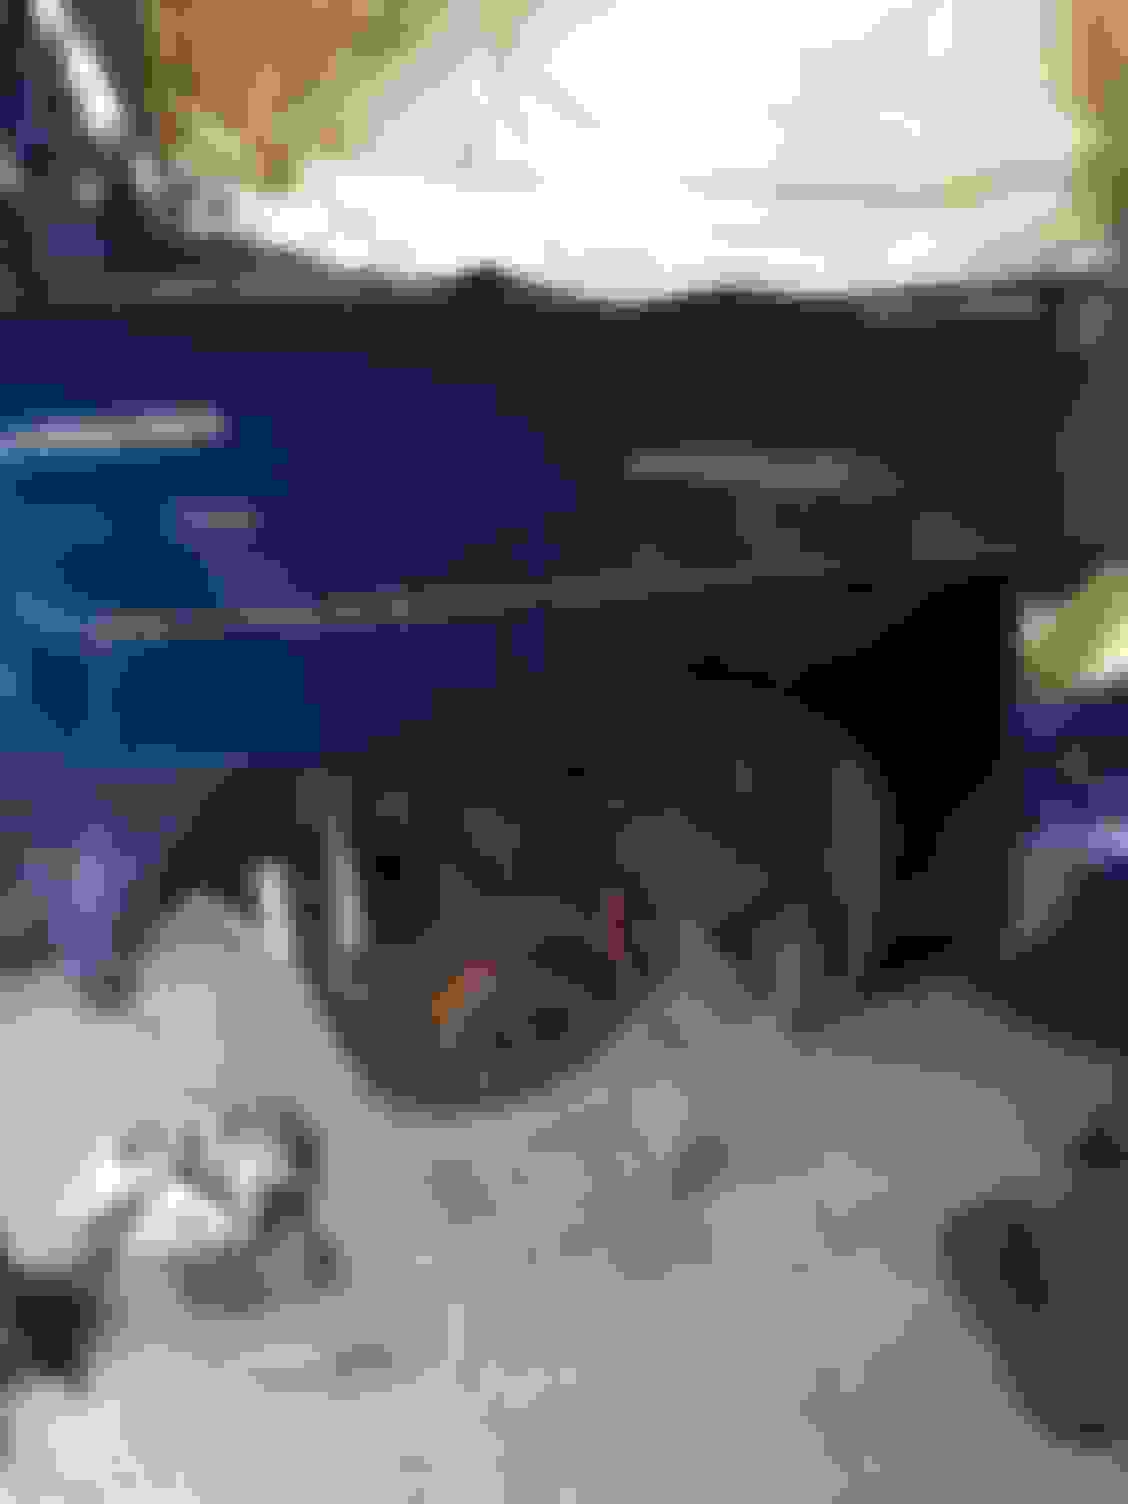
Lights were also removed to give ease of access to the back arch panel and prevent any damage during repair. The first major job was to drill out the spot welds around the arch and inside the door closure. This allows removal of the outer skin without significant damage to surrounding areas due to excessive force.
As you can see on the arches, there are lots of welds to remove.
Inside the door edge is an equally high number of welds.
A couple of sneaky spots welds to attack are behind the door latch and switch mechanism.
With all the welds drilled sufficiently, a guide line of the donor panel was drawn and cut onto the outer skin. Note, this is much small than donor panel at the moment, as it will be tided up and 'joggled'. We'll get to the master wizardry in a few snaps.
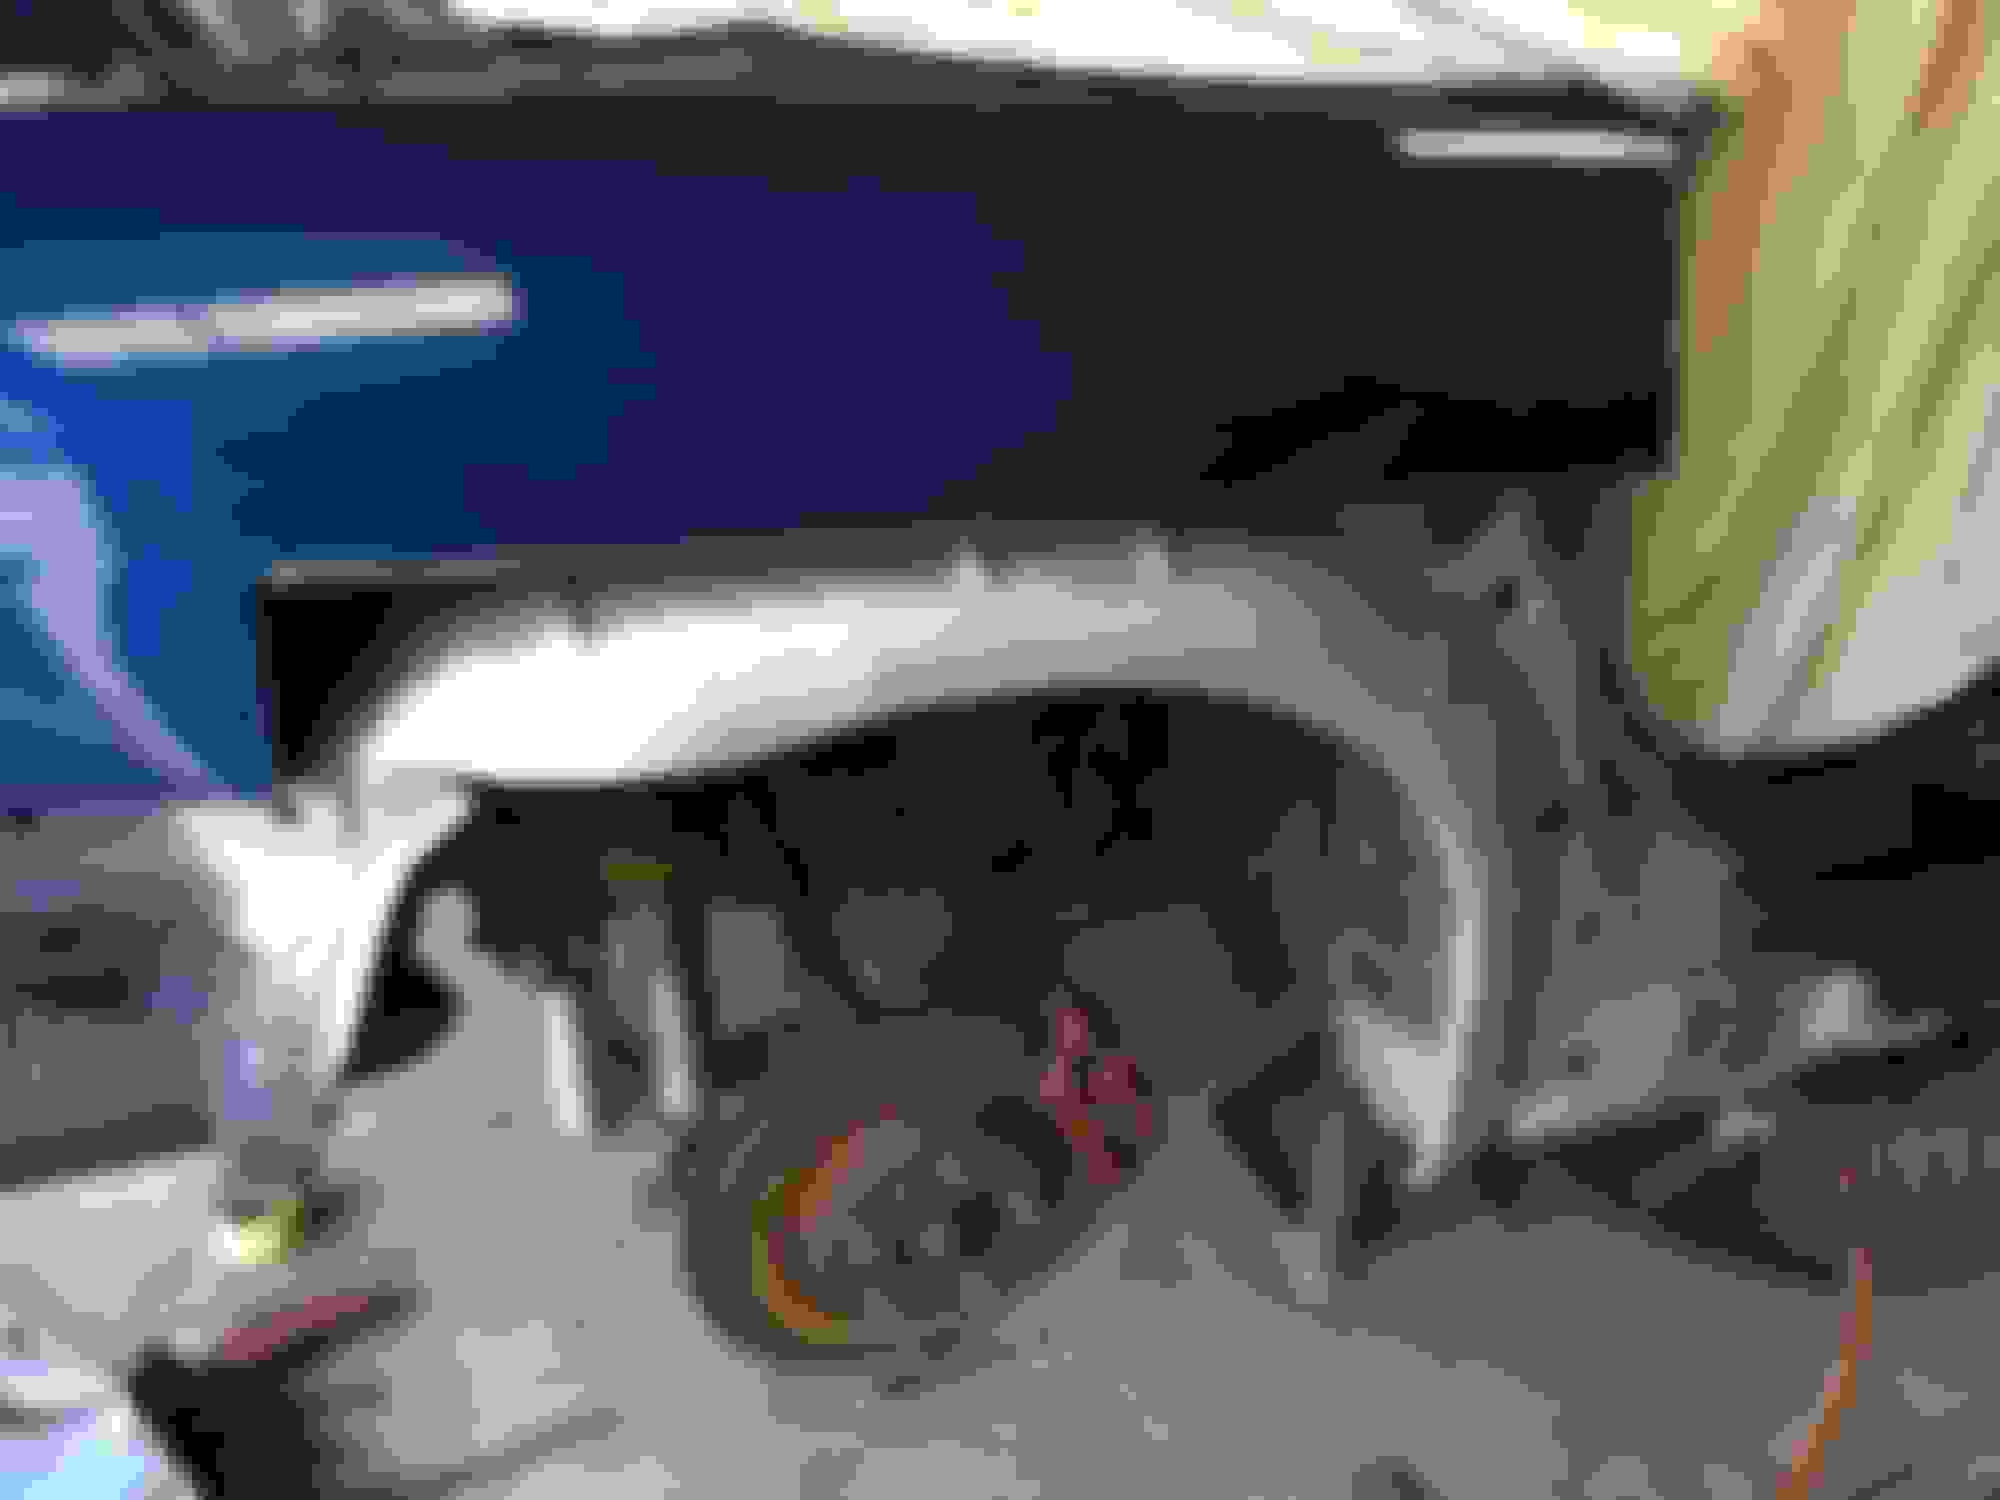
With the corner edge pealed open you can see the offending rust. Its chewed through the inner and outer skin, leaving both areas in need of repair.
As the skin is pealed open, using a chisel the spot welds are broken free allowing the outer panel to be removed. In the following picture you can see a concentration of rust on the right due to the poor repair and from a blocked drain hole on the left. Its important that these lower sill drain holes are clear to allow water drained from the roof to go free. The dirt here has blocked the drain causing quite a bit carnage.
The inner arch edge has been eaten away by rust. This section needs repair and love. Good maintenance of the arch liner strips would prevent this from happening. Stone chips breaking the paint and sealer is just as bad as allowing these to go without maintenance.
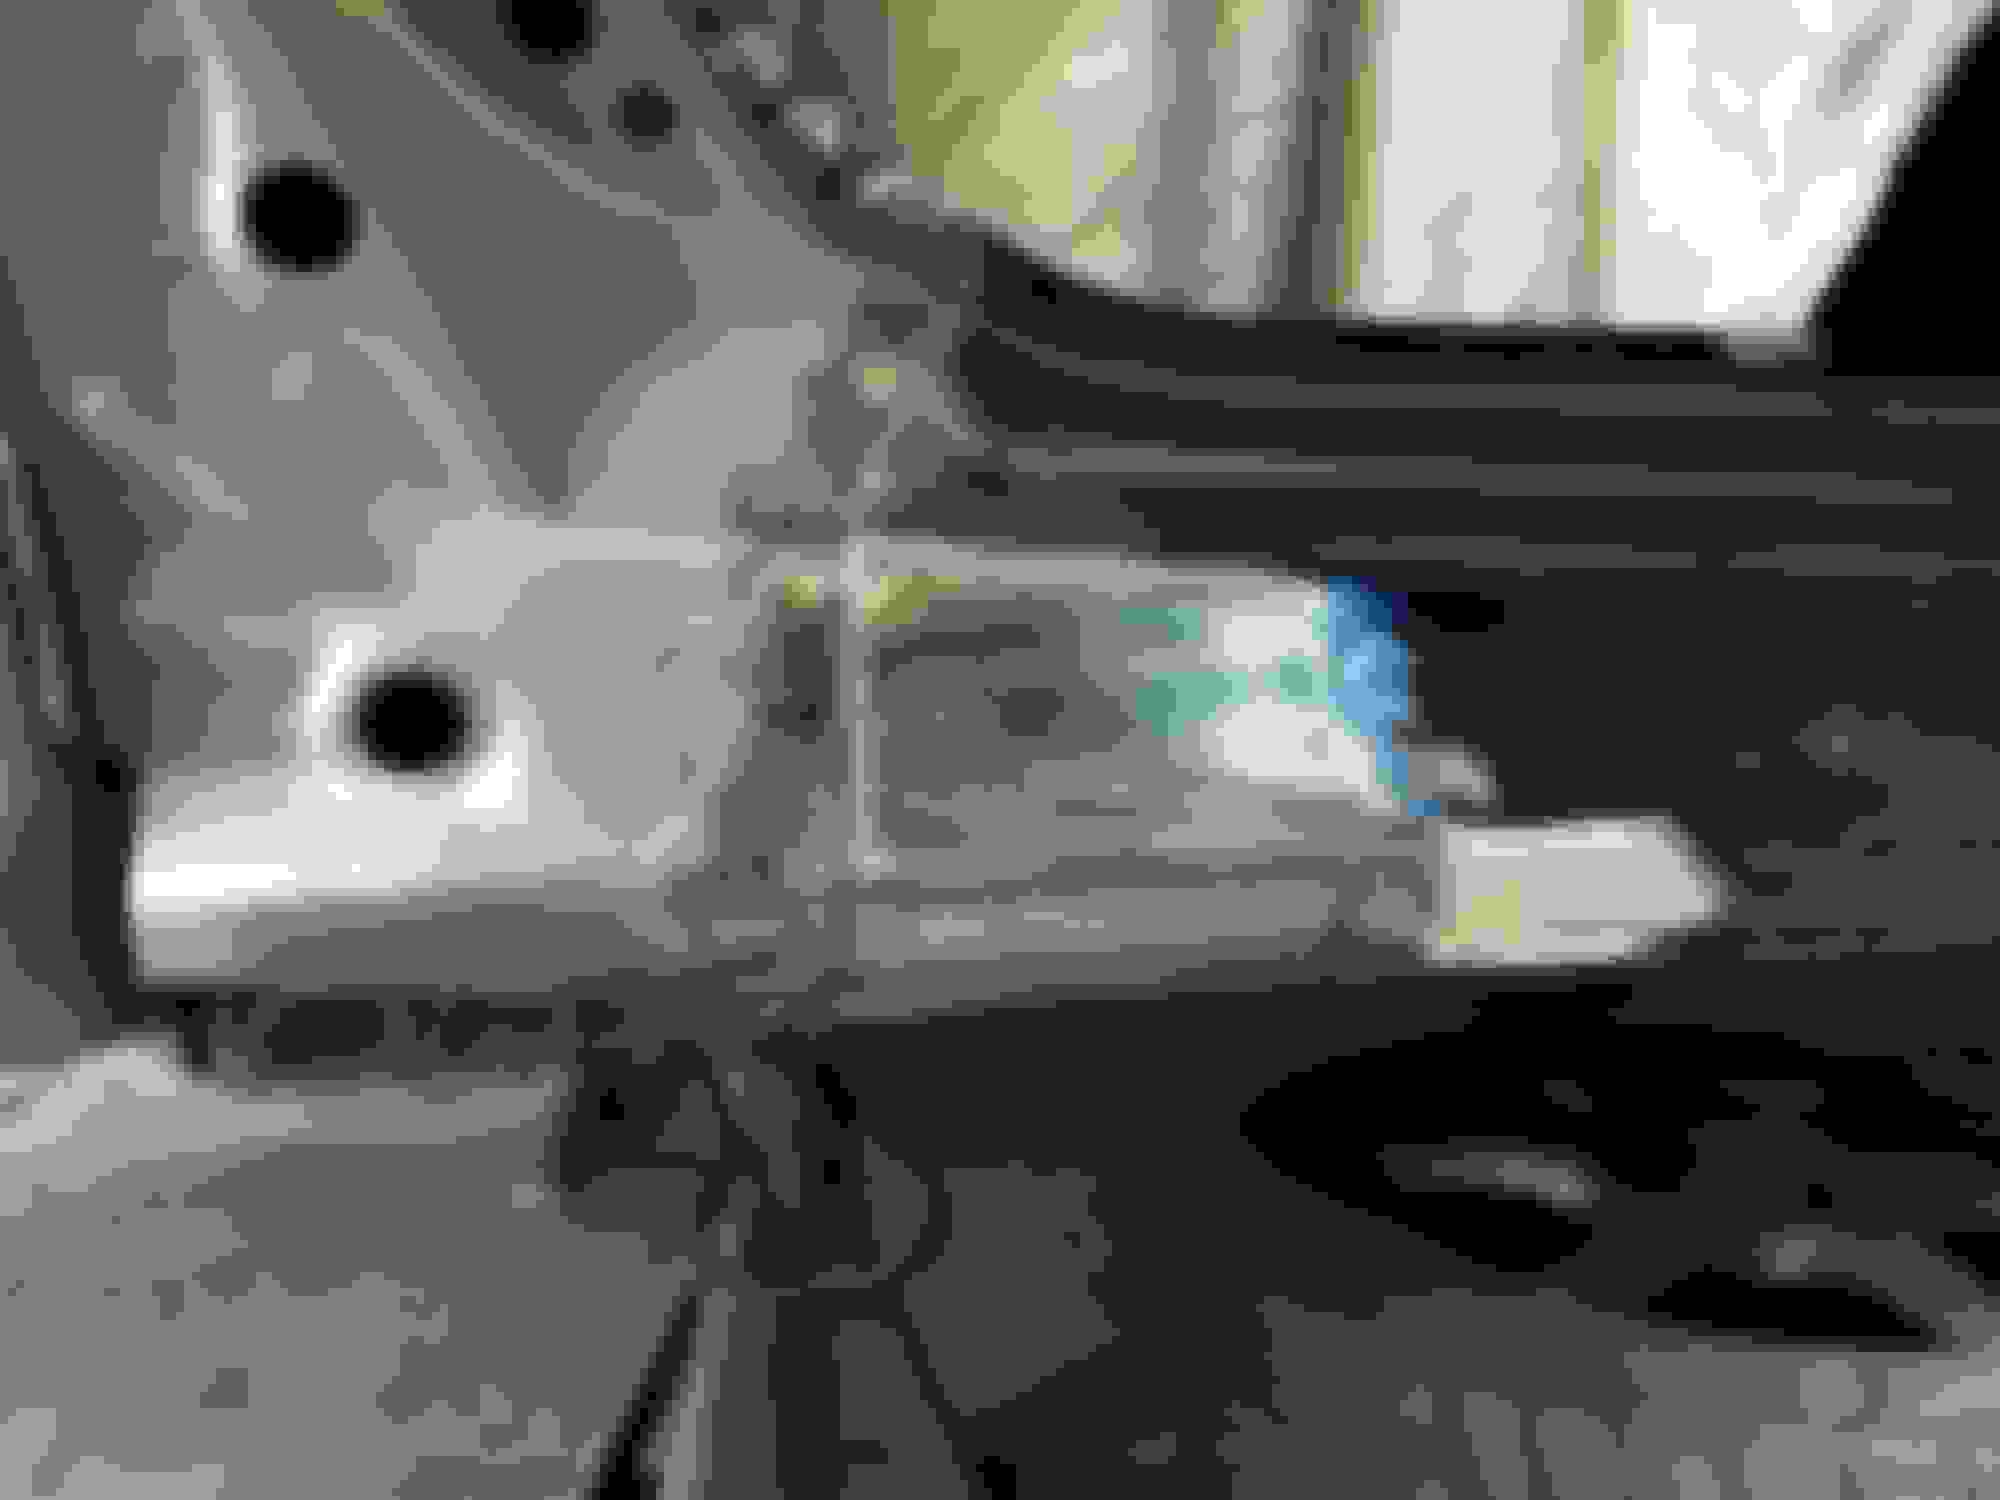
After several hours of cleaning with wire wheels for the tricky areas and lapping wheel, the rust was removed and taken back to bare metal. On the right hand side you can see the extent of the poor repair. An excessive amount of filler was used for what looks like kerb damage or someone jacking up on the outer sill.
Several sections of the upper arch needed repair. The donor panel inner skins wasn't perfect either, so some fabrication work was required to make everything correct.
The poor section was cut away and all the appropriate sections cleaned for welding.
The next two pictures show the inner section of the arch which can be found inside the boot. Rust had developed in the area. Its important when undersealing or protecting the car, to also treat this area. Remove the boot trim and go behind the strut tower and you can feel this area.
Small section of the arch was cut out and replaced with a donor piece. This shows the holding welds before a full stitching weld was performed.
Lots of cutting and welding here to fabricated the rear top arch sections from donor pieces and scratch.
The outer skin was trialled in position to ensure the inner repair section was in the right place. Without this being right the bumper would be fitted out of position.
The inner sill section all repaired and painted with Zinc primer ready for welding.
A new lower sill section was fabricated from scratch to resolve the previous poor repair and ensued rust.
As you can see from the picture below the rear bumper sections were all treated with Por15 having removing all rust. At this stage the inner arch section is looking fairly complete and ready for the outer skin.
The outer skin was removed of paint and the line cut and cleaned for the next stage.
Joggling is a new word and process to me. Essentially as I understand it from master hand (correct me if wrong), three repair methods can be employed along this section. 1. Overlap the new sections, which requires a lot of filler and preparation. 2. Stitch (Butt) welding with the panels touching. This is then using the lapping disc brought back flush to look near oem. This requires the least amount of filler to finish, however the panels on a S2000 are so thin they easily distort under welding. 3. Joggling, shown in the proceeding pictures, a crimp is placed on the original good panel and the donor is cut to fit inside the recess. This method uses much less filler than overlapping and has the added benefit of strength. A continuous weld is required, but any imperfections in the panel can be resolved in finishing. For the S2000 rear arch, this seams like the most appropriate action.
The self tappers are put in place to hold the skin in place during welding. Don't worry this are removed and gaps welded later on.
TBH, I think the self tappers looks pretty bad ass, but its not really the right look for the car. haha
So after several days of work, this is where we are at. The rusty butt has been scratched and treated, inner arch section repaired and prepped with new sections and donor. Under the car the donor outer section has been painted in weld primer ready for the next stages. A lot of work is still required to finish the job. Its been a very interesting experience learning the processes and ways in which to attack these sorts of problems. Massive thank you to Ray for all the hard work and knowledge. Stay tuned for the finished product.
Very educational sequence, there. It explains why is is a bugger of a job if you are to do it properly - or don't bother.
I thought Ray butt-welded his own car, or am I mis-remembering? Then again, becuz racecar it probably doesn't require the permanence of a customer's car.
Thing is, you've now got a lot of welds in there that cannot be galvanised, so plenty of waxy goo on them - and keeping an eye on them - will be required in order to slow the tin-worm's return.
When Ray repaired the damage to his car it was butt welded. That’s where he noticed the issue with it rippling requiring more time with filler and finishing. After that it was decided that the third method was the best way forard and will make for a sound repair.
Its great to watch the work unfold. The way problems are tackled don’t always seems logic or straight forward to begin with, but you end up seeing the ease and beauty of it.
Very educational sequence, there. It explains why is is a bugger of a job if you are to do it properly - or don't bother.
I thought Ray butt-welded his own car, or am I mis-remembering? Then again, becuz racecar it probably doesn't require the permanence of a customer's car.
Thing is, you've now got a lot of welds in there that cannot be galvanised, so plenty of waxy goo on them - and keeping an eye on them - will be required in order to slow the tin-worm's return.
aye i did butt weld mine but the panels are so thin that distortion is a big problem, replacing the whole panel creates more areas for future corrosion so a repair panel is a better bet, a joggle joint is an industry recognised way of joining panels and is stronger than a butt weld, most cars will have a joggle joint somewhere on the body from the factory, the treating of the internal panels is the down side of any body repair even simple dent removal can start the tin worm getting a hold and is the reason for using zinc weld through primer then as you say copious amounts of dinatrol or waxoyl
The old scrote is a Leg-end,He moaned and groaned about tidying up the bare metal and welded tank extensions on my chopper tank.Then did a quick spray over with a rattle can,The result is close to perfection,You can't see the welded on extensions and as for the crappy blow over with a rattle can( his words not mine)I would happily run the bike as is,but will probably vinyl wrap the mudguards either to match his spray job or go a different colour on all 4 painted parts,That's the 2 mudguards and the 2 petrol tanks.
I'm not sure if he realises how good he is,he moans and groans about how boring bodywork and filling and flatting is then presents me with as close to perfection as I can get......at any price I might add and did it for me for free,A return favour he called it.
 12-17-2017, 07:19 AM