
S2000 Fender Roll - Tab Relocation, Rolling Tips etc
 06-10-2013, 01:13 PM
#1
Site Moderator


Thread Starter
So it seems like there is a lot of questions about fender rolling and what not. So since I roll fenders I figured I would share some info. Today's tip are for the front fenders and how to keep the most of the fender liner as this seems to be a concern of many people. Here in the PacNW we get a ton of rain and so its important to keep the linear to protect the inside.
First off this is only meant as a helping guide and I am not responsible for you messing up your car in any way.
Second if you are considering rolling your own fenders look at this guide as it is very good.
https://www.s2ki.com/s2000/topic/953...-no-harm-done/
Also I list the tools I use down at the bottom. This Guide assumes you are using a fender roller and not a baseball bat or phone book or any of the other ghetto methods for doing this. I know someone will chime in that they did it with a lead pipe and their moms hair dryer but I don't care. Use the right tools and the results will be much better and most importantly repeatable.
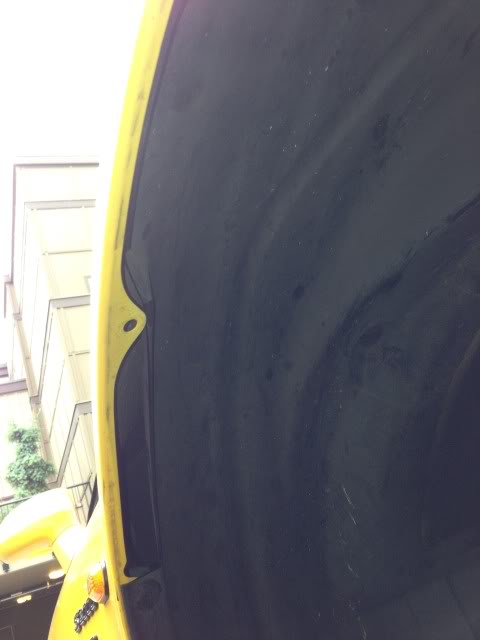
So here is the inside of the fender. Clips have been removed.
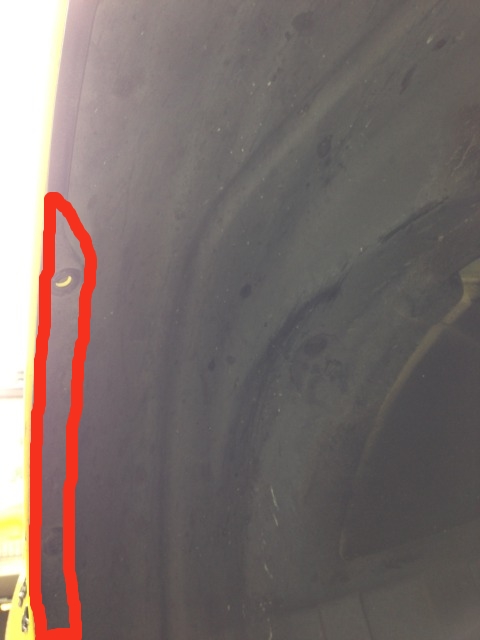
This is towards the front of the car. The area outlined in red is where you need to trim.
Here it is trimmed. See how the very smallest amount in the center is left? That what we want.
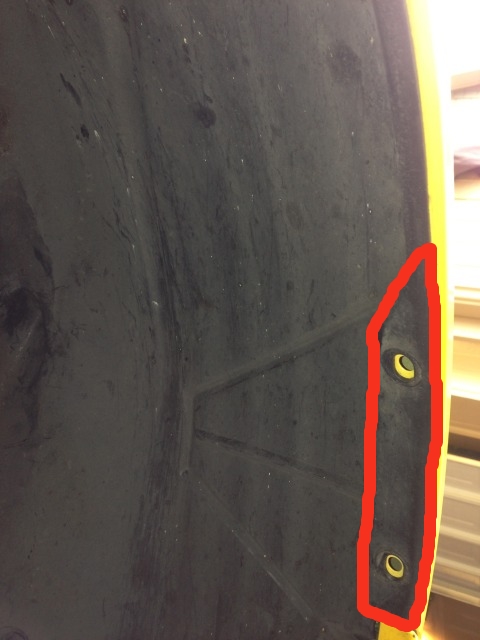
Rear of the fender. Same deal here cut the part in red. You go down to the next clip on the fender.
Rear part cut. You can see how far down I trimmed it. This leaves the 2 screws and one clip left holding in the liner.
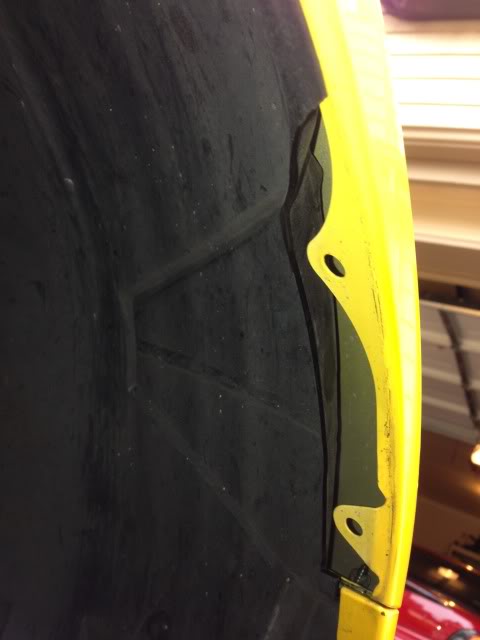
Here is the lip I was talking about We are going to push that in behind the fender lip.
Like So.

Front tabs mostly rolled. I touched this up a little.
Front fender rear tabs rolled.
Fender liner.
All done. Repeat on the other side and you should be good to go! It is worth mentioning that this works if you are trying ti leave the fender stock looking. If you are flaring it some this get more difficult as the liner isn't long enough. If that the case just trim that extra edge so it doesn't touch your tire.
The tools I use

Max GT Fender Roller. I like this one because they have worked to improve it through a few revisions where the eastwood one has basically been the same since the dawn of time. Up to you which to use but the Max one can be found
https://store.partsshopmax.com/shop/...itment/FR.html
Heat Gun
After having a much cheaper heat gun die on me after less than a year of use I spent a little more for this one.
It does the job nicely and I can adjust the heat and it has a high and low setting.
I also picked these up. They are must haves for this but they are amazing little tools.
Please feel free to ask questions.
Option for not cutting the liner original thread here. https://www.s2ki.com/s2000/topic/115...#entry24038179
First off this is only meant as a helping guide and I am not responsible for you messing up your car in any way.
Second if you are considering rolling your own fenders look at this guide as it is very good.
https://www.s2ki.com/s2000/topic/953...-no-harm-done/
Also I list the tools I use down at the bottom. This Guide assumes you are using a fender roller and not a baseball bat or phone book or any of the other ghetto methods for doing this. I know someone will chime in that they did it with a lead pipe and their moms hair dryer but I don't care. Use the right tools and the results will be much better and most importantly repeatable.
So here is the inside of the fender. Clips have been removed.
This is towards the front of the car. The area outlined in red is where you need to trim.
Here it is trimmed. See how the very smallest amount in the center is left? That what we want.
Rear of the fender. Same deal here cut the part in red. You go down to the next clip on the fender.
Rear part cut. You can see how far down I trimmed it. This leaves the 2 screws and one clip left holding in the liner.
Here is the lip I was talking about We are going to push that in behind the fender lip.
Like So.
Front tabs mostly rolled. I touched this up a little.
Front fender rear tabs rolled.
Fender liner.
All done. Repeat on the other side and you should be good to go! It is worth mentioning that this works if you are trying ti leave the fender stock looking. If you are flaring it some this get more difficult as the liner isn't long enough. If that the case just trim that extra edge so it doesn't touch your tire.
The tools I use
Max GT Fender Roller. I like this one because they have worked to improve it through a few revisions where the eastwood one has basically been the same since the dawn of time. Up to you which to use but the Max one can be found
https://store.partsshopmax.com/shop/...itment/FR.html
Heat Gun
After having a much cheaper heat gun die on me after less than a year of use I spent a little more for this one.
It does the job nicely and I can adjust the heat and it has a high and low setting.
I also picked these up. They are must haves for this but they are amazing little tools.
Please feel free to ask questions.
Option for not cutting the liner original thread here. https://www.s2ki.com/s2000/topic/115...#entry24038179
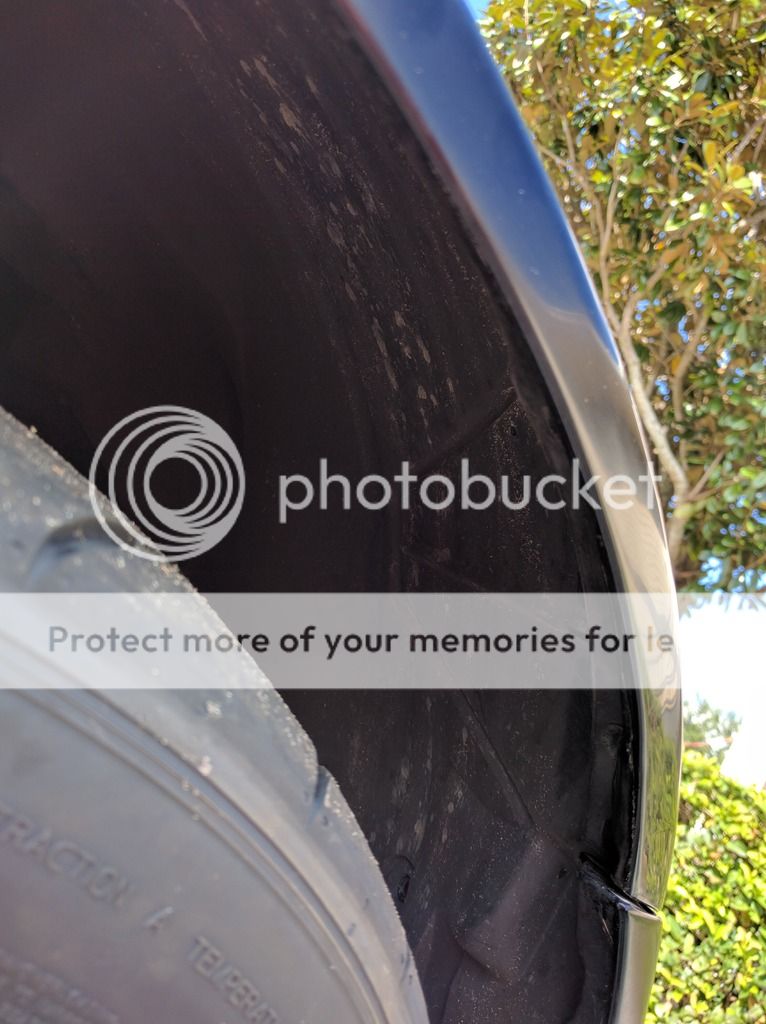
Just rolled my fenders this morning and figured I would share my plan. I read the DIY and it was suggested to trim the liner around the fender tabs. I didn't really want to do that as I like an OEM look so this is what I did.
1. Removed the top 3/4 clips that hold the liner on.
2. Rolled the fenders with the liner still over the lip of the fender. I did not move the liner out of the way.
3. When rolling was done, I tucked the liner inside of the rolled lip, then gave it a couple more passes to lock it in.
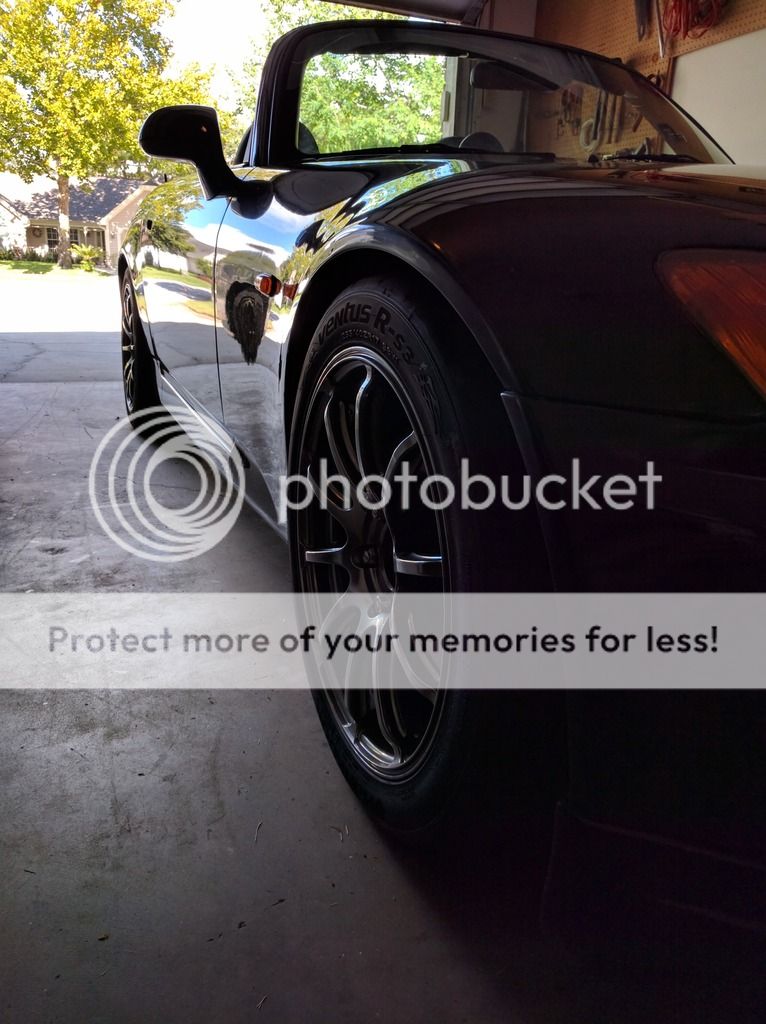
The liner sits higher up than stock, looks completely stock because I didnt cut anything, and it doesn't sag at all. Got rid of rubbing on my 17x9+63 advans with 255 RS3s.
Here are some pics:
1. Removed the top 3/4 clips that hold the liner on.
2. Rolled the fenders with the liner still over the lip of the fender. I did not move the liner out of the way.
3. When rolling was done, I tucked the liner inside of the rolled lip, then gave it a couple more passes to lock it in.
The liner sits higher up than stock, looks completely stock because I didnt cut anything, and it doesn't sag at all. Got rid of rubbing on my 17x9+63 advans with 255 RS3s.
Here are some pics:


 06-10-2013, 01:14 PM
#2
Site Moderator
Thread Starter
Second round of tips! This time focused on the rear!
The rear fenders are much stronger than the fronts which means it takes a bit more muscle to roll them but they aren't so fragile. When I do a car I usually start with the rear and then do the fronts.
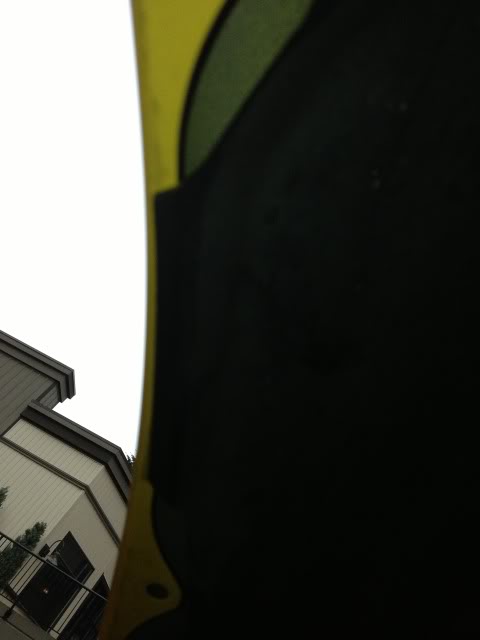
For the rear you really only need the top part of the fender to be rolled. In this pic where my figure is is where I stop. The reason for this is at that point there is more metal and it becomes nearly impossible to roll more. It is also out of the way of the wheel.
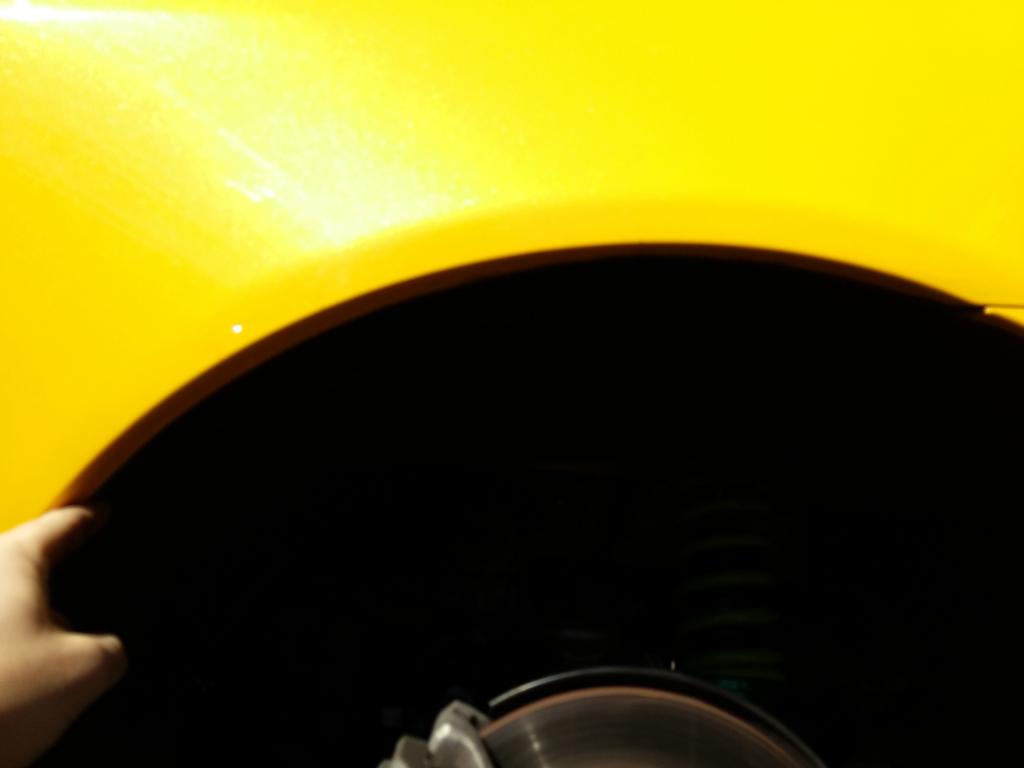
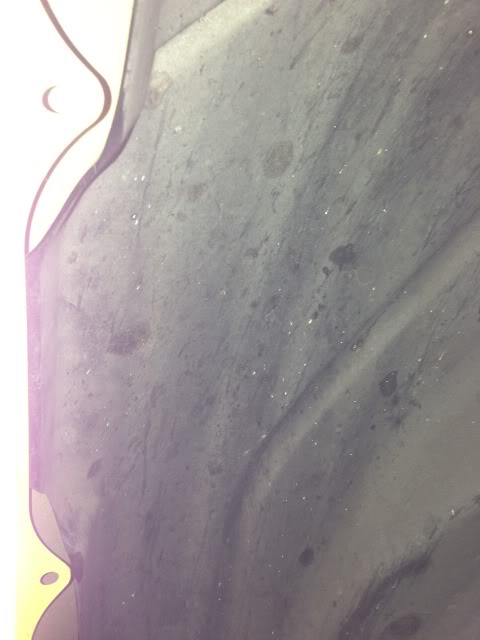
Start off slow pushing the lip so it is perpendicular to the fender.
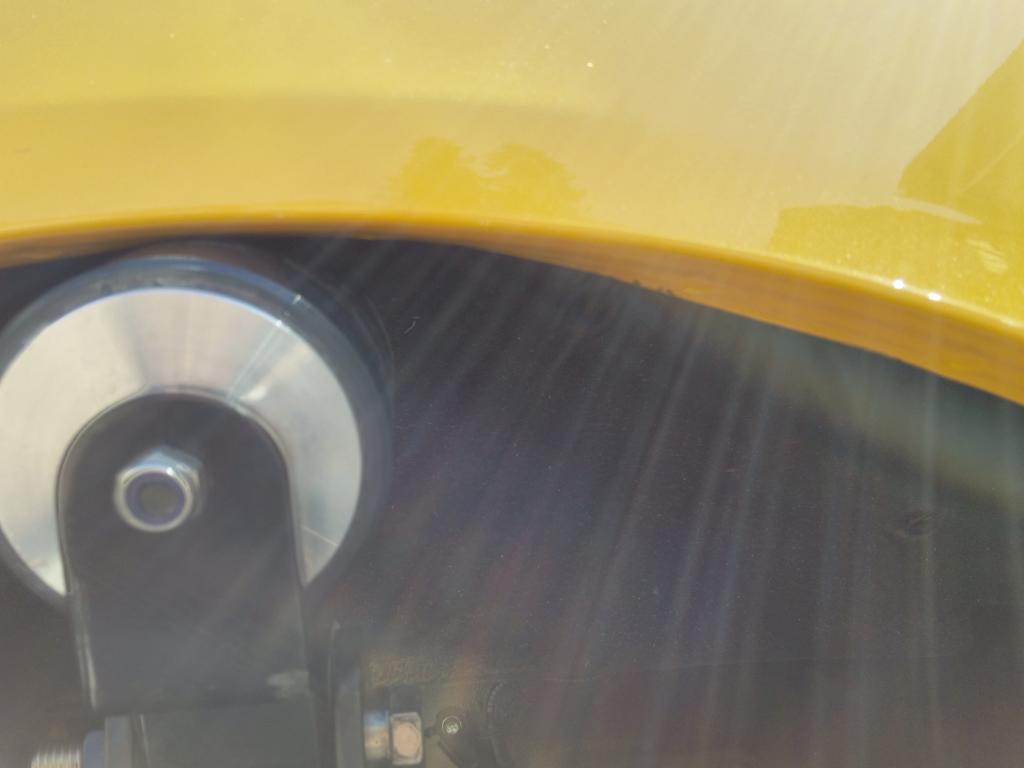
I usualy adjust the head of the roller 3-4 times to get it flat. As you can see it is getting much flatter here.

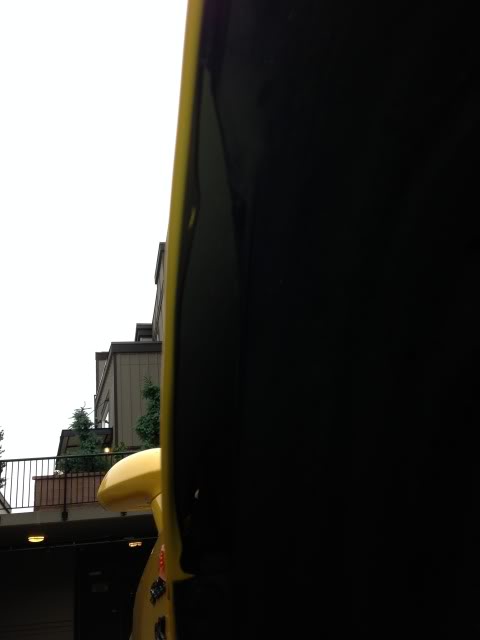
This is pretty much done. Feel the inside to see if there is any where that the lip is still not flat against the inside. The goal is to make it so there isn't an easy spot for the tire to grab.

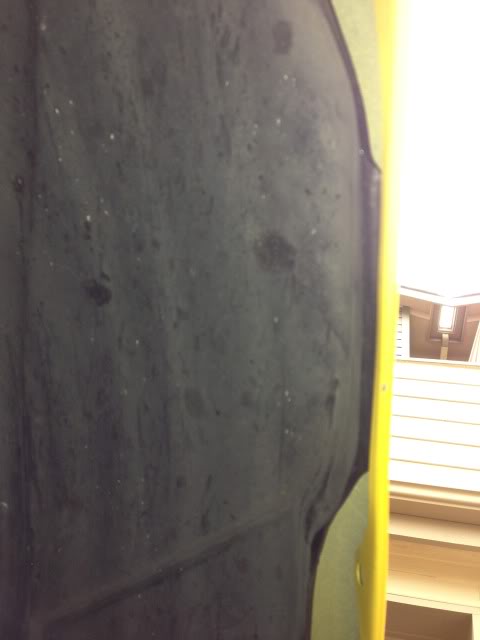
Just keep the fender hot (and when I say hot I mean hot enough it hurts to touch it) and work it in sections.
The rear fenders are much stronger than the fronts which means it takes a bit more muscle to roll them but they aren't so fragile. When I do a car I usually start with the rear and then do the fronts.
For the rear you really only need the top part of the fender to be rolled. In this pic where my figure is is where I stop. The reason for this is at that point there is more metal and it becomes nearly impossible to roll more. It is also out of the way of the wheel.
Start off slow pushing the lip so it is perpendicular to the fender.
I usualy adjust the head of the roller 3-4 times to get it flat. As you can see it is getting much flatter here.
This is pretty much done. Feel the inside to see if there is any where that the lip is still not flat against the inside. The goal is to make it so there isn't an easy spot for the tire to grab.
Just keep the fender hot (and when I say hot I mean hot enough it hurts to touch it) and work it in sections.
06-10-2013, 01:14 PM
#3
Site Moderator
Thread Starter
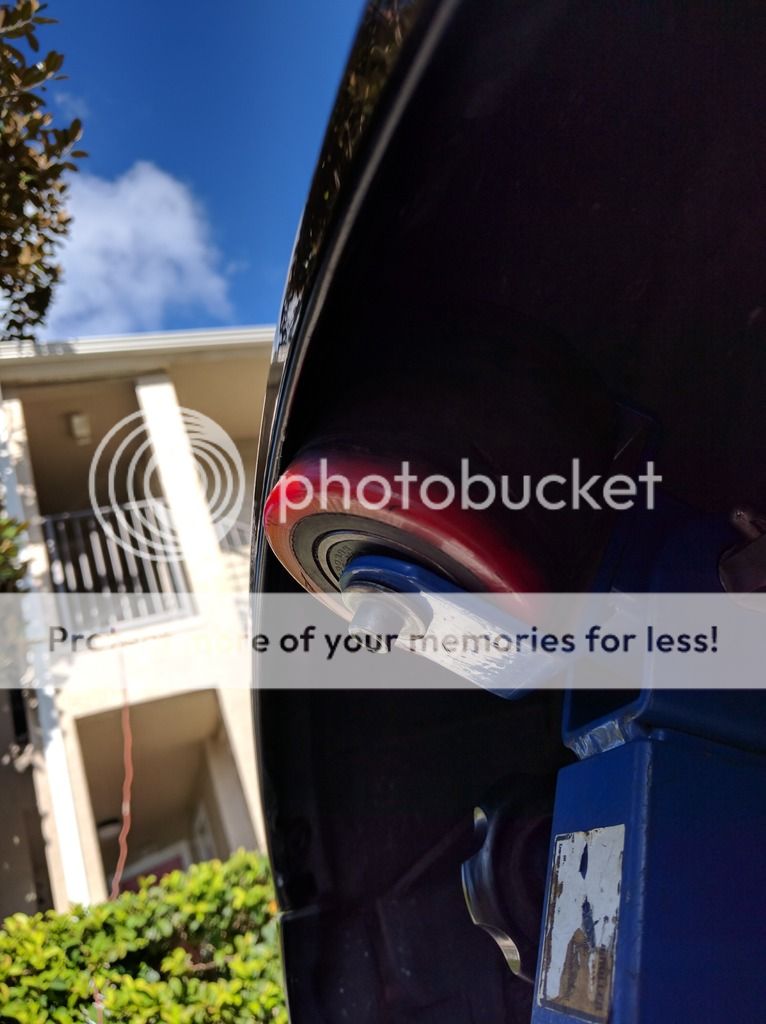
Tab Relo.
Since the tab relo DIY pictures don't work anymore here is my process.
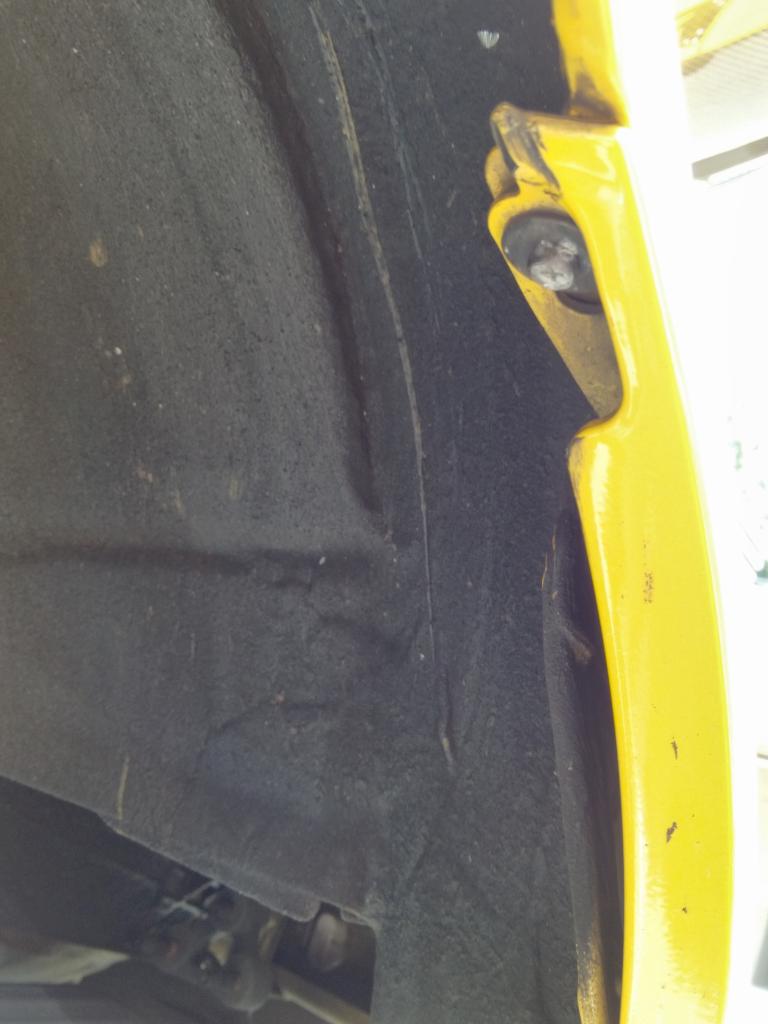
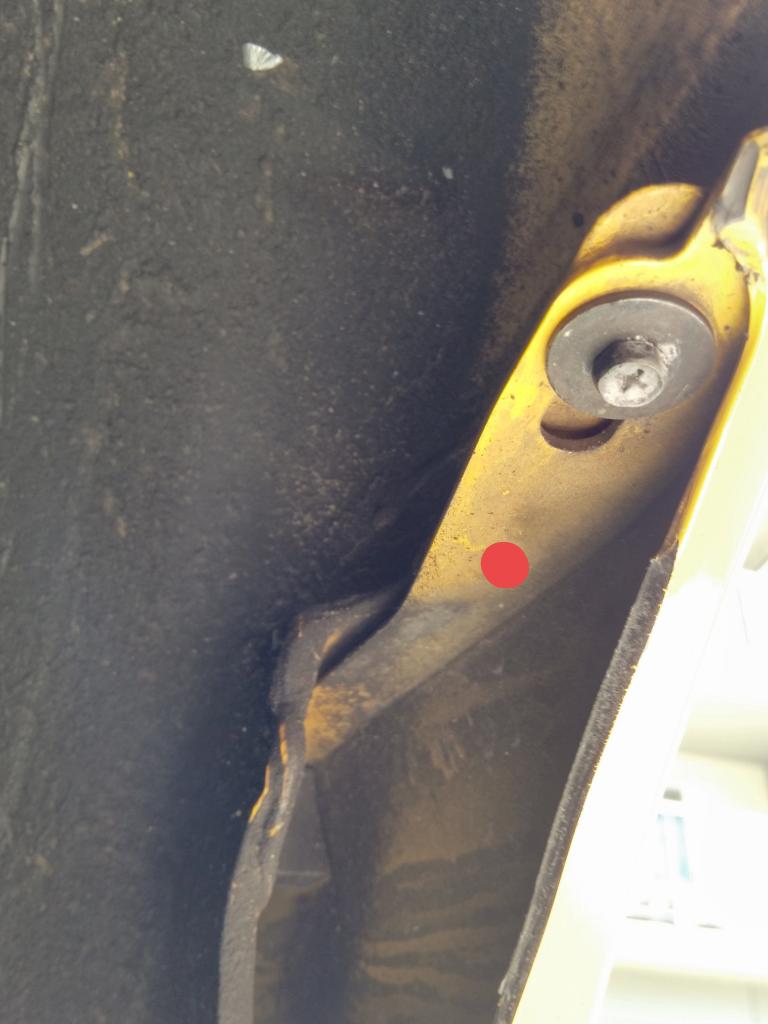
Here is the tab. You can see there was already a little rubbing happening.
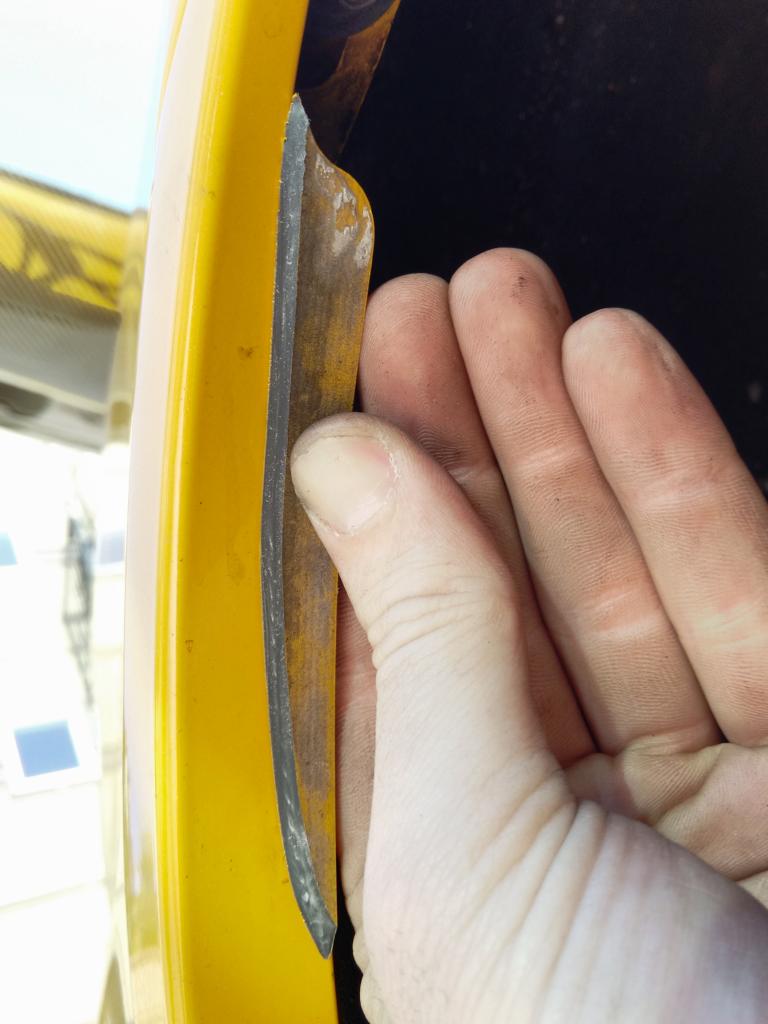
Step 1 trim the bumper. I just heat the bumper a little with my heat gun and use a razor blade. It cuts very easily. You can use a dremel I just don't like that they can jump so easily.
TIP: Keep the piece you cut off handy for the other side.
Step 2 new screw. I use a 1/2 inch self tapping screw. Makes it very easy to sink in. You want to make sure there is enough metal for it to grab and that it won't hit the actual quarter. The red dot is usual about where I put the screw.
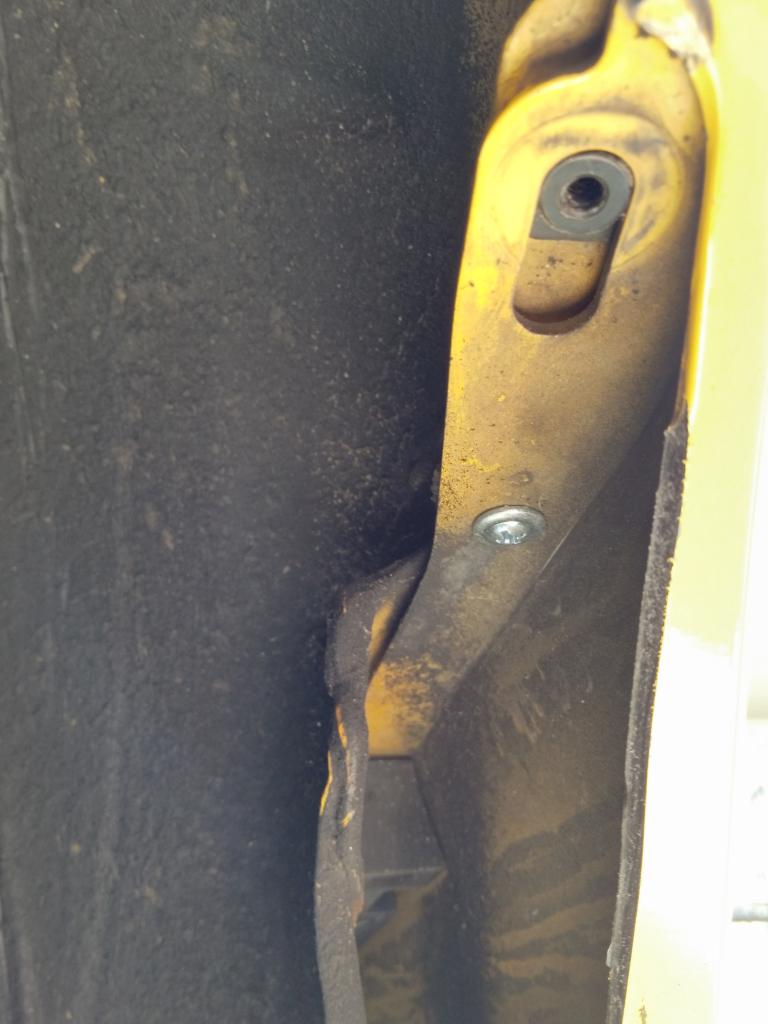
New Screw in old one out.
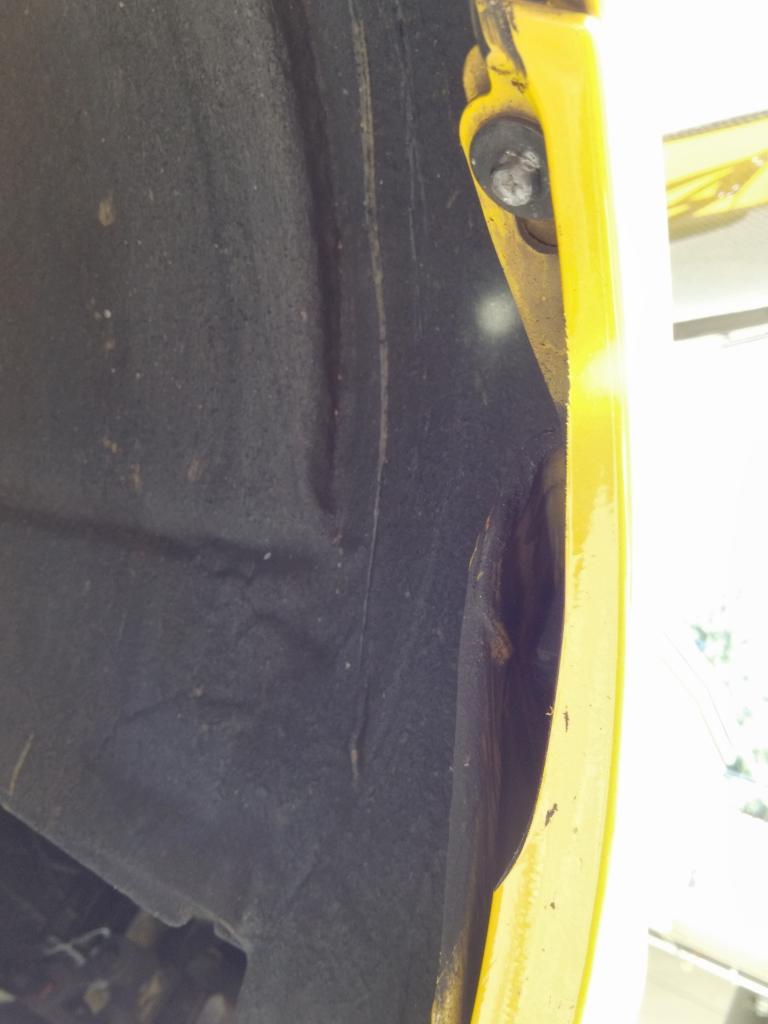
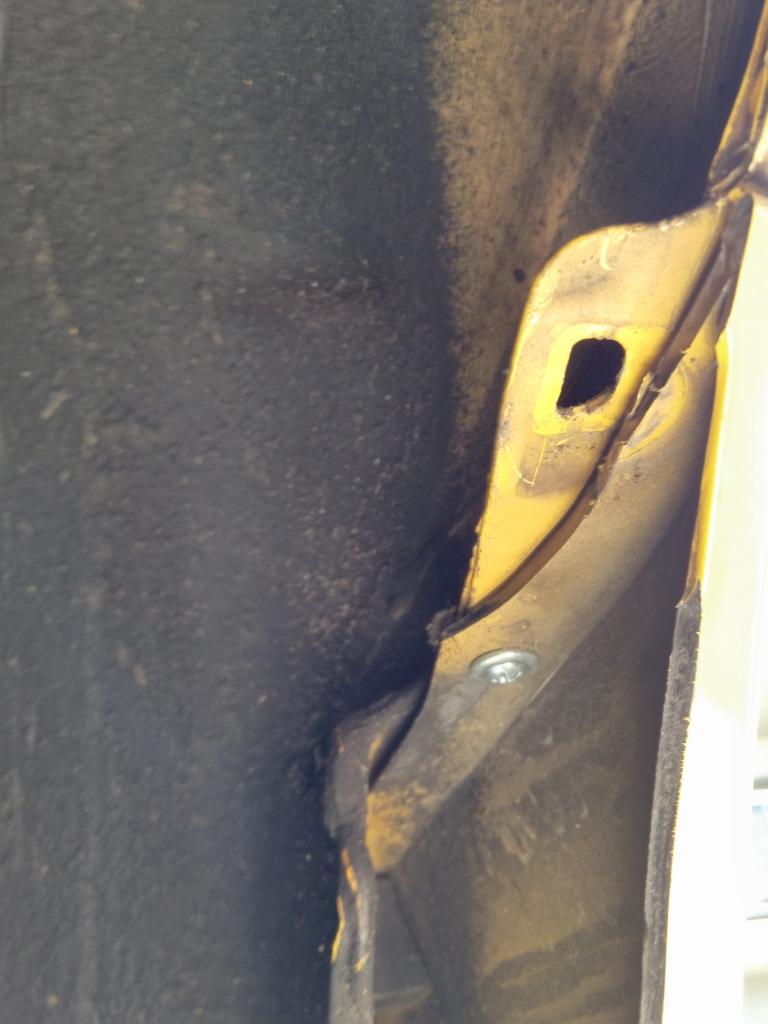
Step 3 Cut the bumper part of the tab away to expose the metal tab and the clip the old screw went into. Remove the clip with a flat head screwdriver.
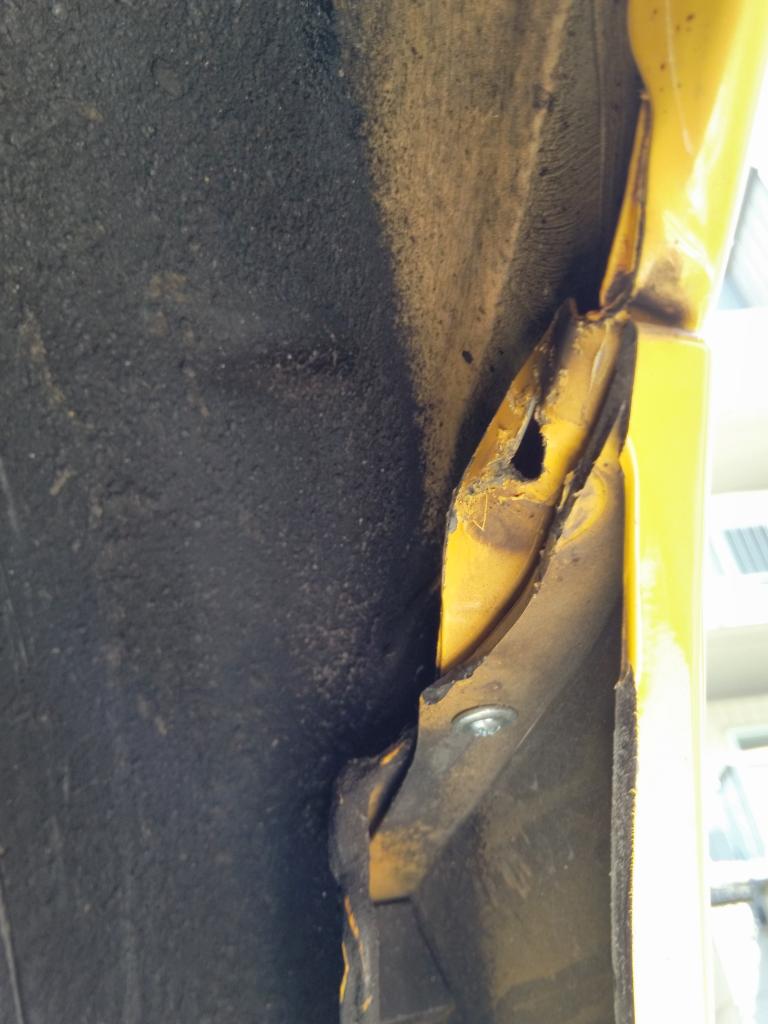
Step 4 Hammer!!!!! Hammer the tab out of the way. I still hammered this more but you get the idea. Again you can cut this but that isn't needed for most applications.
Hope that helps!
Since the tab relo DIY pictures don't work anymore here is my process.
Here is the tab. You can see there was already a little rubbing happening.
Step 1 trim the bumper. I just heat the bumper a little with my heat gun and use a razor blade. It cuts very easily. You can use a dremel I just don't like that they can jump so easily.
TIP: Keep the piece you cut off handy for the other side.
Step 2 new screw. I use a 1/2 inch self tapping screw. Makes it very easy to sink in. You want to make sure there is enough metal for it to grab and that it won't hit the actual quarter. The red dot is usual about where I put the screw.
New Screw in old one out.
Step 3 Cut the bumper part of the tab away to expose the metal tab and the clip the old screw went into. Remove the clip with a flat head screwdriver.
Step 4 Hammer!!!!! Hammer the tab out of the way. I still hammered this more but you get the idea. Again you can cut this but that isn't needed for most applications.
Hope that helps!
The following users liked this post:
S2K VINCE (09-28-2023)


