Retorquing the Rear Axle Nuts, How-to and Why
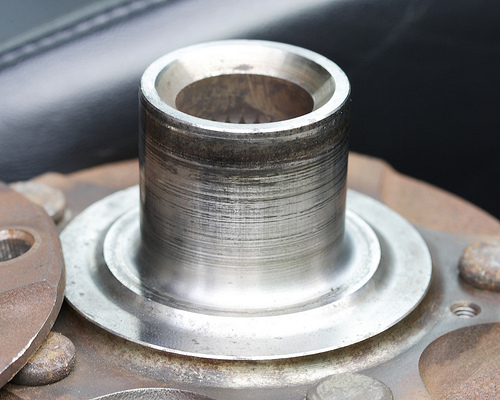
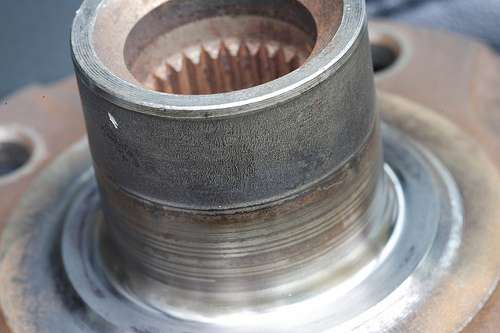
One of the few yet common problems many S2000s face is the rear axle nuts not being tight enough from the factory. Regardless of model year, if you hear a single pop or creak from the rear of the vehicle when changing direction from forward to backward and vice versa, the problem is likely wheel bearing movement on the rear hub. The original factory spec of 180 lb-ft is insufficient and allows for the wheel bearing to move on the hub. Tightening the axle nuts is intended to properly seat the wheel bearing on the rear hub. This procedure prevents this motion and subsequent wear and premature failure of the hubs and bearings. A Service News Article released by Honda in 2001 lists a revised torque spec of 220 lb-ft. Unfortunately, 220 lb-ft is still insufficient. The inner bearing races need to remain pressed tight on the hub. If axle nut torque is not correct, the inner race will continually shift on the hub, destroying it. Then the bearing destroys itself. Billman250 suggests that ALL S2000s have this procedure performed regardless of any current issues as a preventative measure.
Original DIY write-up by dwight and endorsed by Billman250
Even though this topic has been beaten to death and s2000ellier also already has an excellent Axle Nut DIY, dwight decided to collaborate with Billman250 to make another. Here’s a summary of the steps and a detailed DIY.
- Remove wheel center caps
- Unstake nut (optional)
- Remove nut and grease nut face
- Tighten nut to original position (approximately 180 ft-lbs)
- Tighten nut approximately 60°
- Stake nut
- Replace center cap
Recommended Tools:
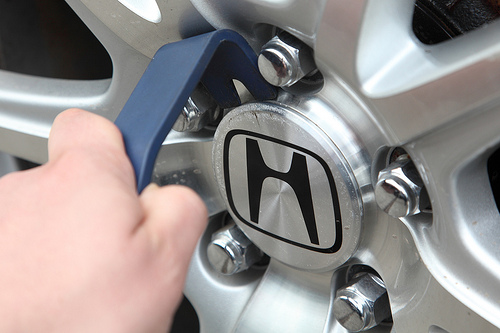
- Trim removal tool
- Multi-purpose grease
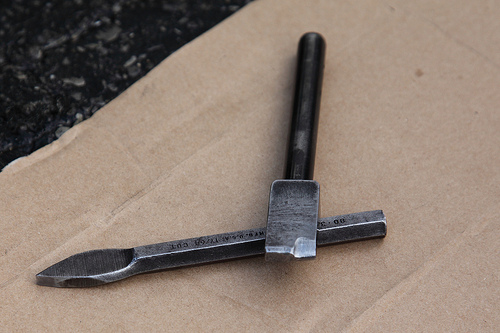
- Staking tools
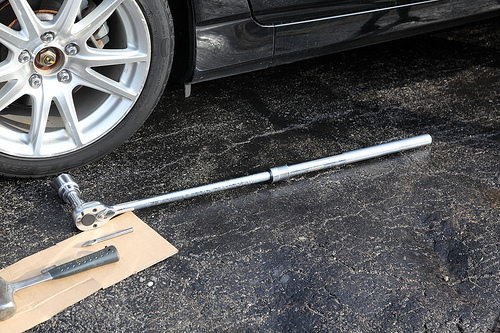
- 36mm socket and extension
- Heavy duty ratchet or breaker bar (3/4″ drive highly recommended)
- Depending on the length of the ratchet/breaker bar, you may also need a cheater pipe
1. Remove Wheel Center Caps
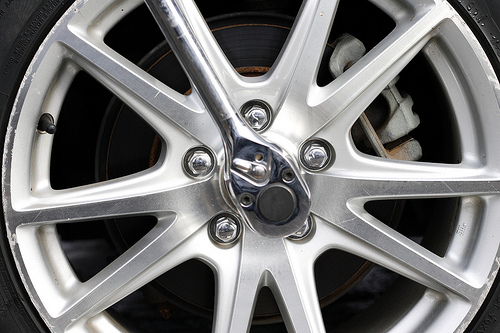
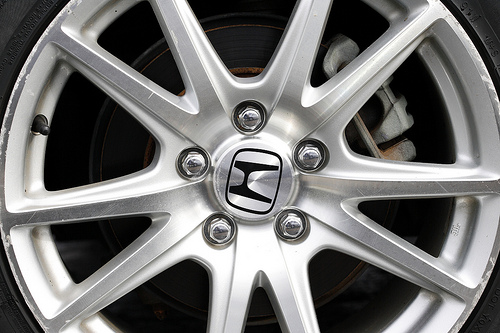
Park the car, apply the emergency brake and leave it in gear. This is easier to do with the car on the ground rather than jacked up. Taking care to not scratch them, remove the center caps with trim removal tools or whatever you have available.
2. Unstake Nut (optional)
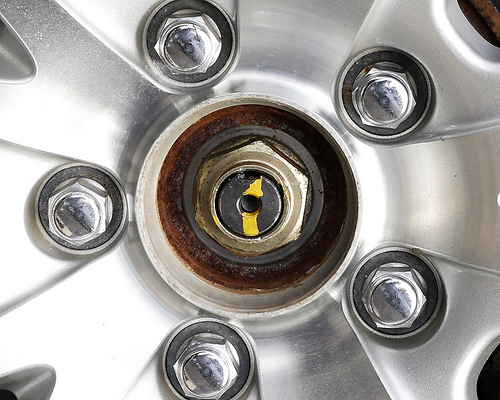
Use the staking tool to unstake the nut. It seems that you can remove the nut without unstaking, but it doesn’t take very long to do.
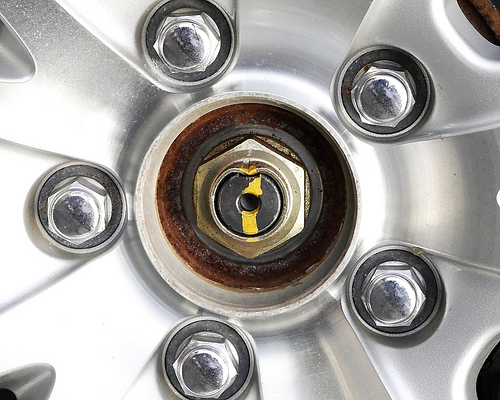
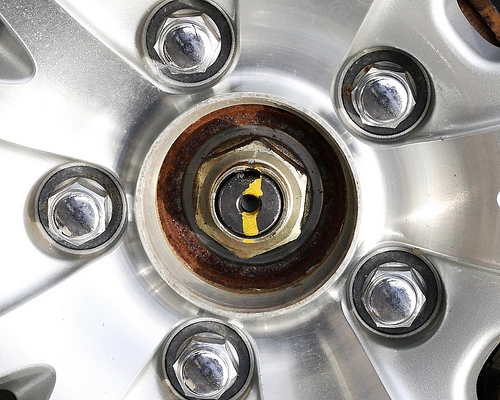
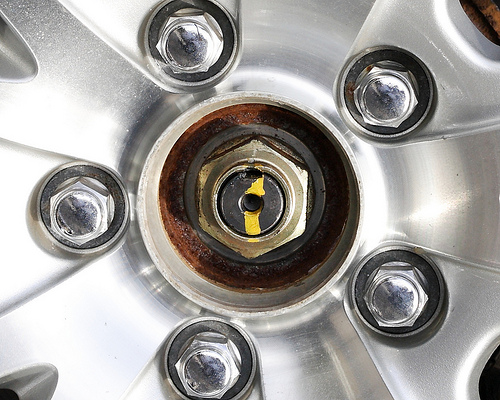
An untouched staked wheel nut from the factory. Notice that the paint line follows from axle to the nut.
3. Remove Nut and Grease Nut Face
Remove the nut. You can use an impact wrench for this. Using multipurpose grease, grease the face of the nut only (not the threads).
4. Tighten Nut to Original Factory Position (150-180 ft-lbs)
You can use an impact wrench to do this. This is to help verify that the final tightening is done from the proper starting point. If your axle nuts were still at the torque setting from the factory, this will be the position that you found them in. If the nuts had already been tightened, they won’t be and you should have left them alone.
5. Tighten Nut Approximately 60°
Using the ratchet/breaker bar, you’ll be tightening the nut another 60°. One easy way to do this is to set the ratchet slightly above horizontal and then push up until it’s almost vertical. Even though Billman250 makes it look easy, you need to make sure you have a lot of leverage and will have to put some muscle into it.
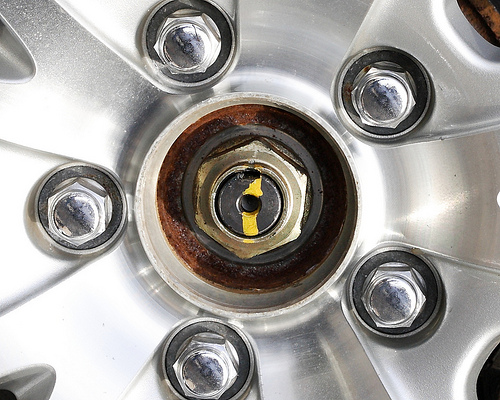
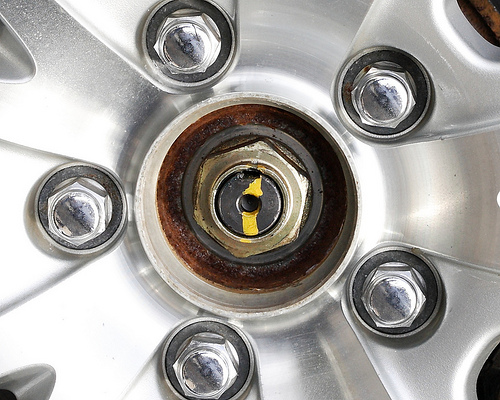
The corners of the nut should point in the same directions as they were when the nut was torqued to 180 ft-lbs.
6. Stake Nut
Use the staking tools to stake the nut. The tool should have a rounded edge so you don’t cut the nut.
7. Replace Center Cap
Replace the center cap with the H pointing away from the valve stem.
Purpose
The axle nut tightening is needed to properly seat the wheel bearing on the rear hub. The factory torque setting is insufficient and allows for the wheel bearing to move on the hub. Tightening the axle nut prevents this motion and prevents wear on the parts.
Torque Spec
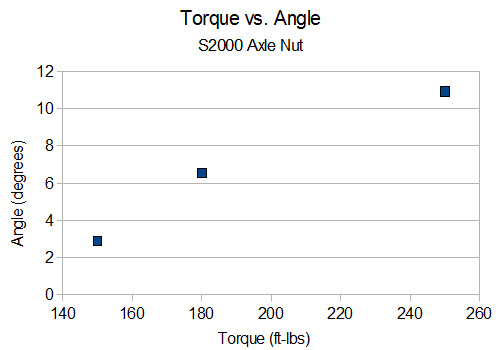
One of the reasons for this DIY was to establish a torque specification for the axle nut. Unfortunately, it seems that the axle nut needs to be tightened far beyond what we were able to measure and, as a result, we’re continuing to recommend the twelve o’clock to two o’clock (60-70°) past factory torque. On my car, we ended up moving the nut 68.1°.
For reference, one website lists the fully lubricated (both threads and face) torque spec for 24mm Class 8.8 (weak graded metric bolt) fastener as 407 ft-lbs.

