When you click on links to various merchants on this site and make a purchase, this can result in this site earning a commission. Affiliate programs and affiliations include, but are not limited to, the eBay Partner Network.
(edit by wanabe: be sure to read this entire thread... the opinions and conclusions change- this is one of our most "evolved" and interesting threads)
With the onset of colder weather, I noticed that the previous owner's paint chip fixes were popping out... ALOT of them! So in my dismay and disgust I went crazy with a paint pen a couple of weeks ago and filled them ALL in, easily took 3-4 hours of painstaking concentration.
You can see all the little pimples on my hood...
DISGUSTED again with the new results, I eyed my new Ebay find: a PORTER CABLE!! I cut out strips of 1500 sand paper/wrapped my thumb with it /used my thumb as a block (use a real wood block if you do this) and did the front drivers corner to test to see if the pc could handle what I had planned...
Sure enough, the pc + orange pad + menzerna intensive polish took out the 1500 grit scuffs in 3-4 tries. Convinced I could do this extensive fix, I drove ahead and took out all the little buggers...
Once I was done prepping(about 8 hours of sanding this past saturday) , I stepped back and let out a collective GASP!
You can see the driver's corner that I was hanging my hat on...
I taped off to do a comparison and away I went with the pc...
It took me about 4 hours to do the one side and some of the spots took about 8-10 go overs to get rid of...
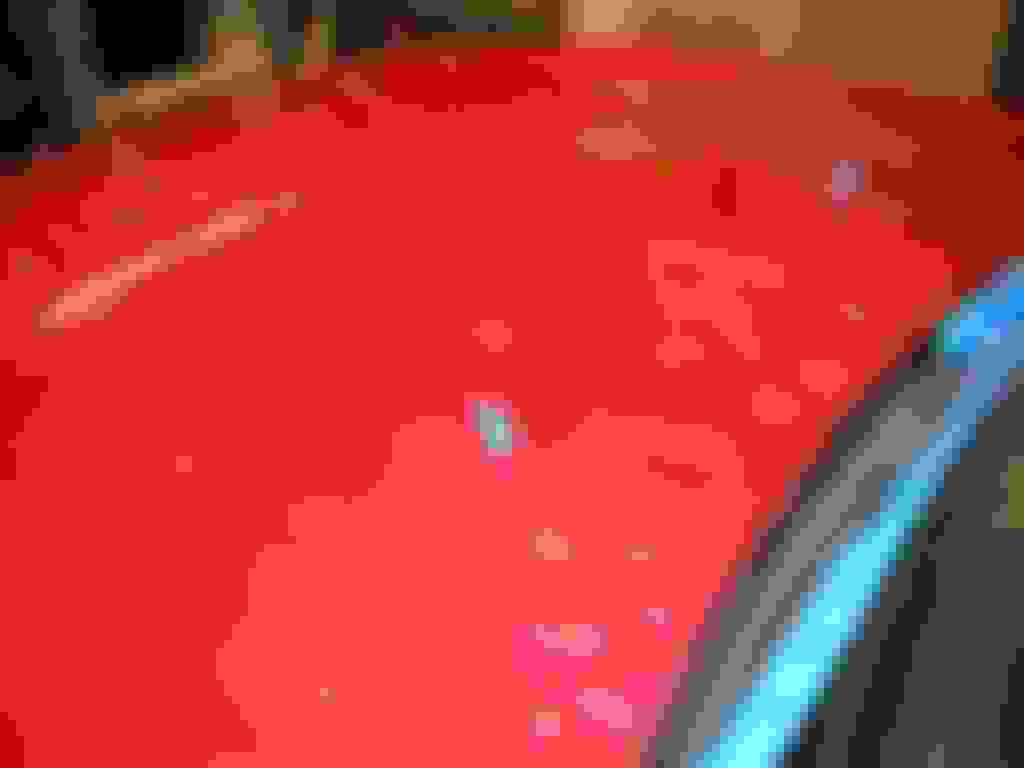
the florescent light reflection on the driver's side has 10 coats of zaino there...see the difference the pc polished side has...clarity and color!!
It took another 4 hours to finish it all... then I used a blue pad with menzerna final polish
2 hours later, after the one coat of zaino 2 dried I let out a COLLECTIVE SIGH and I had my PRETTY BABY all shiny and new
I started this this morning at 9 am and I finished the final touch-up at 10 pm. LONG DAY but I am now swirl free and all shiny new....
I have never ever handled a pc before today. I found out that you need to use a glove so you don't get a blister, and that this is the GREATEST ever TOOL ever created!!!!!
wow LOOKS GREAT one quick question though. to fill in those little paint chips, i can buy a paint stick (honda), fill it in, sand down the little pimple like bump, then PC away?
I took alot of shortcuts, but yes I got a paintstick and just filled them in. I rationalized not prepping more because many of the "chips" seemed to magically appear when the weather got cold and they popped out, leaving bare metal behind.
I waited for two weeks to see if any of my repairs would pop out on their own. Some did and I prepped those better.
Like I said at the end of my post, this was the FIRST TIME I have used a pc and the results speak for themselves. Granted I was apprehensive, but once I saw the test result I knew I would be ok. It still took ALOT of time and energy.
.................................>EDIT<........... .........................
The thread is getting kinda long so I will post up my technique here
I tried to minimize the contact area of the sandpaper to the size of a dime, basically wrapping the sandpaper around my thumb. This worked ok but after watching a real professional at work during a mod meet, I learned that a flat piece of wood the size of a small claybar (sanding block) is easier/gives better results. You wrap the wood with 1500 sandpaper and maintain the back to front motion of sanding while lubricating the surface with the 50/50 dishsoap. Note: I would use detailing claybar instead of sandpaper which results in a faster setup time and less stress See details near the end posts.
The reason you want a larger contact area is because you get a wavy finish if the contact area is too small (low spots in the paint)
.................................................. .....................
This was my PC technique . I found blue taping off half the hood helped me see where I was/how much I had left.
Sonus orange pad (I have upgraded to a Sonus SFX-1 Yellow pad which works faster @highest speed) with menzerna intensive polish. This combo will make the swirls disappear in one application. Use highest speed.
I ALWAYS spritz my pad with detailing spray first (I have zaino z6) to lubricate the pad (no paint burns),
put an X of product on the pad with a dot of product in every quadrant;
Smear the pad/product on my 2' x 2' work square on paint surface;
with machine on surface, switch it on
slight pressure on machine, let the pad move
do figure 8's in one direction, then both diaganols, then 90 degrees to where you started until the product disappears. Rarely should you have any residue.
Check your work, if not happy/see swirls/scuff mark still there , repeat with another product application ... The 1500 scuff marks can take up to 10 applications.
.........>Side notes<...................
I tried taping 1500 sandpaper on a PC by glueing the paper onto a sandpaper that had sticky back, which I used on an orange pad as backing. I worked on my silver accord on a big bumper ding that I blue taped around . I DO NOT recommend doing this. It came out OK but I can see how the machine could get away from you and gouge the paint. Not worth the risk.
I tried Lankga later down in the thread and got REALLY POOR results. It removed the paint from the chips even after a 4 week cure time. Takes just as much time as wet sanding. It might work on other paint manufacturers other than honda thin paint.
............................ .LOOK HERE. LESS SCARY .................................................. ............
I am intrigued by a post I found on another site using clay instead of wet sanding
There are different clay grades here as I think some might be too fine...
Here's what I did...........Masked off right up to the chip to eliminate getting touch up paint on the regular paint level. Applied two light coats to build the level slightly higher than the regular paint. I waited 10 minutes between coats. 10 minutes after the second coat I removed the tape and all that was left was touch up paint in the chip that was slightly higher than the level of the regular paint.
I waited 12 hours then clayed it and its abolutely perfectly smooth!!! Only ***** is the touch up color is darker than the regular paint but only I will ever notice that.
Thank you to both kompressornsc and JMSC for this suggestion. I have experimented in the past with compounding and wet sanding only to be dissapointed. This technique worked like a charm for me. My advice for those who havent had success is perhaps not allowing the touch up to cure completely?? perhaps claying it after a few hours might take it down.
Wow! REALLY great job on the repairs. When I saw the third pic, I was like ! But it looks like you got it looking good as new. I agree that the PC is one of the greatest tools ever made.
You guys on this forum really provided alot of information for me to rely on. I also read somewhere on bettercarcare that it was virtually impossible to burn through the paint with a pc. Once I tested and got a good result I was much more confident.
Then once my ocd kicked in I was committed to finishing it....
As a footnote, the next day I get home from work and find that I have a NEW rock chip!! I can see this is going to be a never ending battle.
Can you pc a invisible bra?
Edit: Yes you can pc a clear bra, just use whatever you use to de-swirl...gives fantastic results. Plastic polishes up just like paint, so get the haze off of your headlight lenses and your clear plastic back window.
The pink is probably an artifact from the florescent lighting but maybe pink is the under "tone" of the New Formula. The car still looks great! In full sun I noticed that the car was a couple of shades deeper red and sparkled like a jewel.
Glad this little photo demo has swayed you into getting a pc. I was convinced I needed one by reading a similar thread that had step by step photos.
 11-14-2004, 09:27 PM


 one quick question though. to fill in those little paint chips, i can buy a paint stick (honda), fill it in, sand down the little pimple like bump, then PC away?
 See details near the end posts.
 I ALWAYS spritz my pad with detailing spray first (I have zaino z6) to lubricate the pad (no paint burns),
  results. It removed the paint from the chips even after a 4 week cure time. Takes just as much time as wet sanding. It might work on other paint manufacturers other than honda thin paint.


