When you click on links to various merchants on this site and make a purchase, this can result in this site earning a commission. Affiliate programs and affiliations include, but are not limited to, the eBay Partner Network.
I'm going to bed and will add a narrative to these pictures tomorrow. I went for a test drive after installing this, but forgot to take my house keys so I locked myself out. I just got in - blah...
oh - thanks Tim at MPtuning!
The CAI arrived well packed, everything looked nice, I like the finish of the CAI. The instructions are good also, with pictures. They recommend removing the passenger front wheel and also some of the plastic undertrays. They don't say to remove the front bumper.
I didn't remove the wheel but I did remove the front bumper. I initially didn't remove any of the undertrays, but as the pictures show I did eventually remove a few of the fasteners towards the left side of the front two undertrays. With these undertrays loose, installing the CAI is much easier!
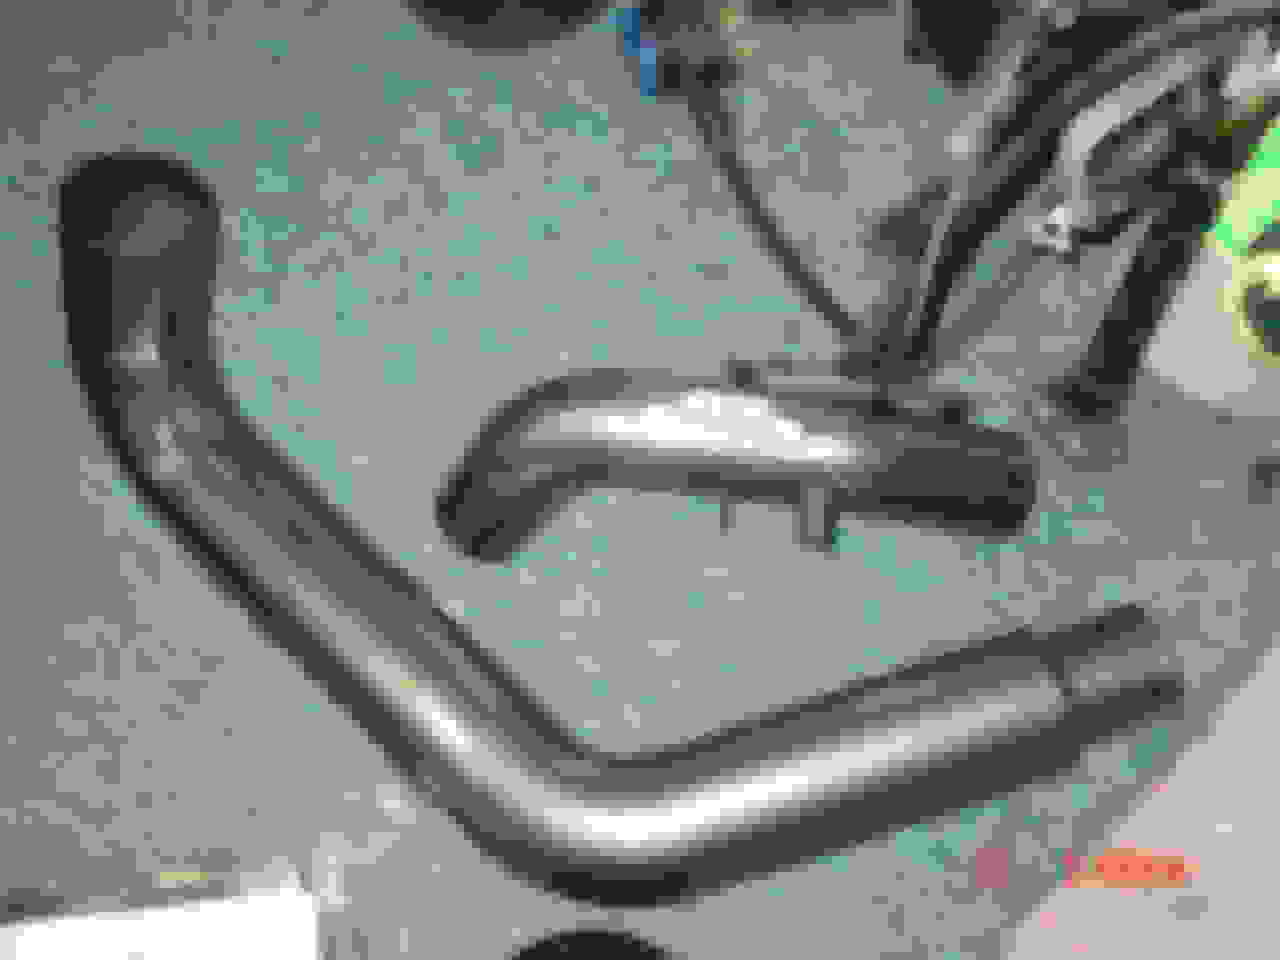
After taking out the stock airbox, I threw on the first (and easiest) pipe.
I also test fit the rubber isolator mount. Then I removed it to make installing the main CAI pipe easier. I also started to make some cuts to the plastics.
Here's one first cut. I ended up extending this cut left (outward) cutting through the vertical stiffener just to the left of this cut.
The next three pictures show how I used a hole saw to get a good start on cutting most of the other plastics.
Another shot of the cutting process. I've installed several of the 4IG CAI's before on other cars, but this CAI required cutting bigger holes because of the diameter of the CAI tubing.
Here's a shot inside the main CAI tubing.
Here's another cut shot, after I removed two undertray bolts - it really helped to have the undertrays loose.
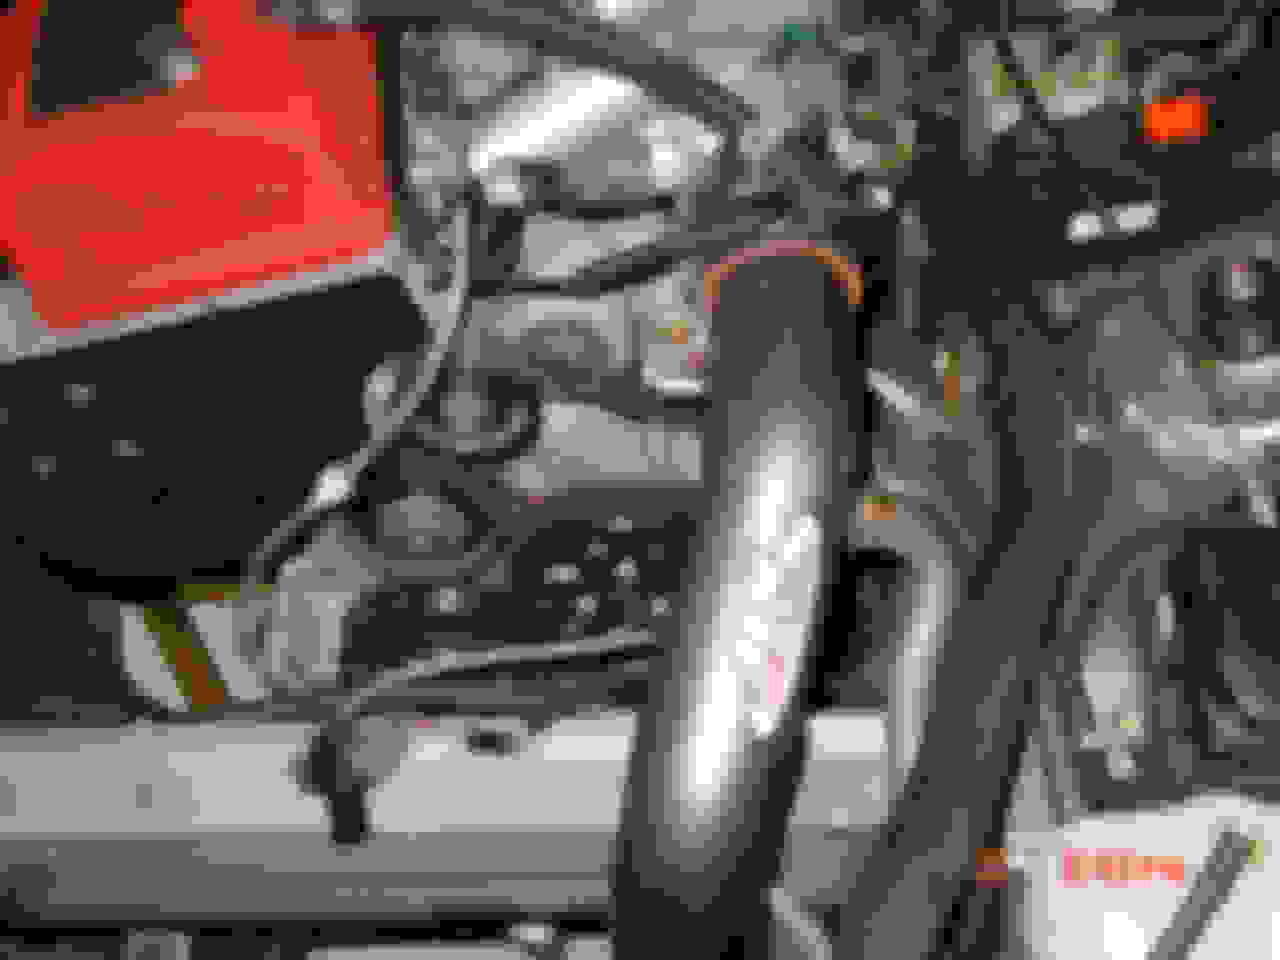
A test fit of the CAI main pipe. At this point I decided to remove two plastic button-type clips holding part of the second undertray.
Here are two shots showing both undertrays partially loosened and hanging loose, with the CAI pipe in position.
Almost done...
Nothing touches or rubs. I was a little concerned about clearance around the 31.8mm swaybar, but everything fit real well.
This shot is before some final trimming of the wheel well plastic. As mentioned above, I had to extend the wheel well cut outward into the first vertical stiffener to allow the undertray to line back up for fastening. Cutting the plastics took the longest, since I did not want to cut too much. I would cut out a small section, test fit, and cut some more. Oh, important, when you attach the filter, make sure the hose clamp is oriented so that you'll be able to get to it from the bottom in the future. This way, for filter maintenance, you can just loosen the undertray and get to the filter.
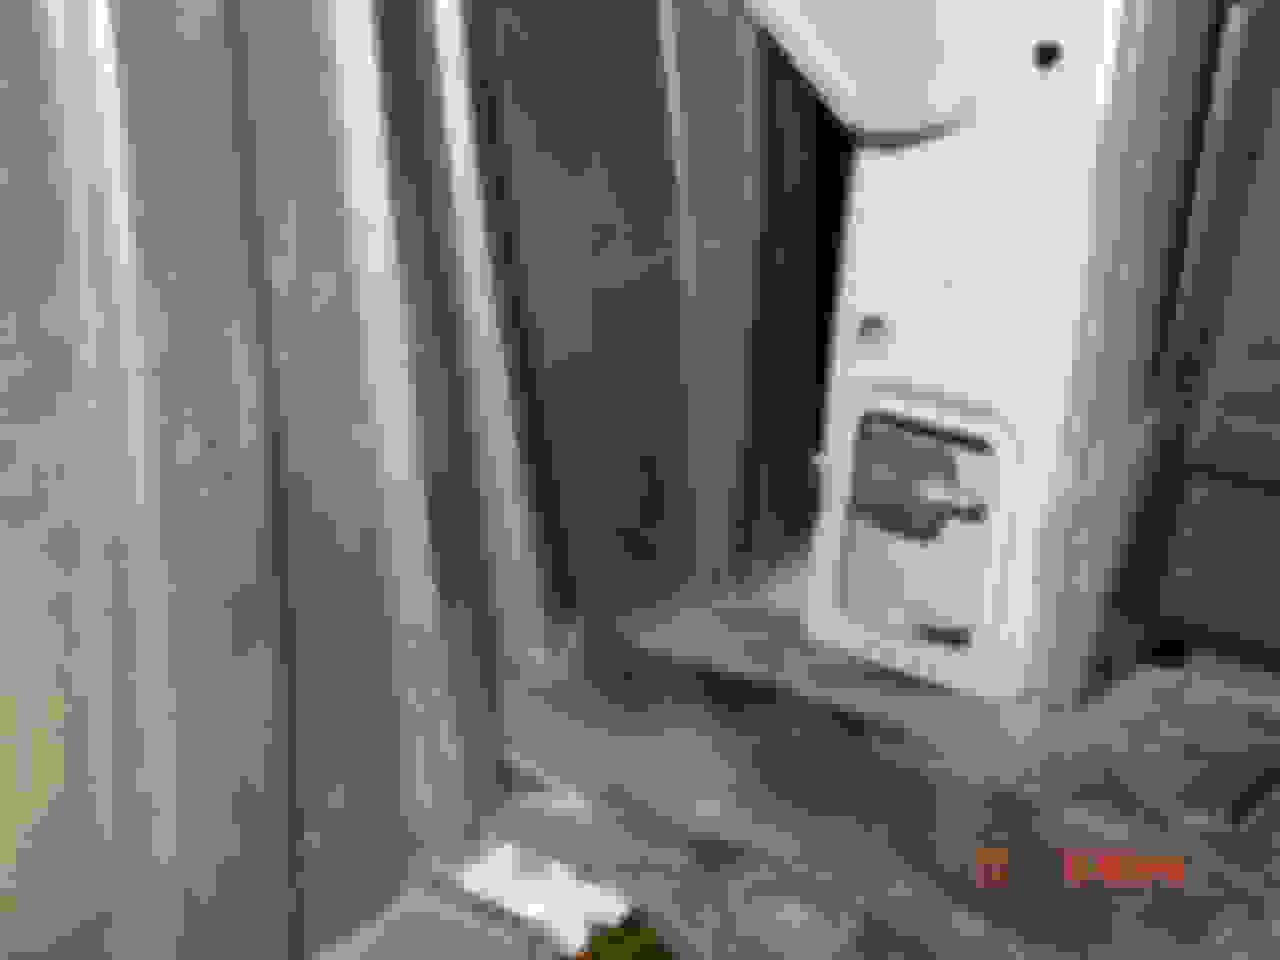
The next two shots show the bumper back on, and the proximity of the filter to the '00-'03 vent. I wonder about the '04.
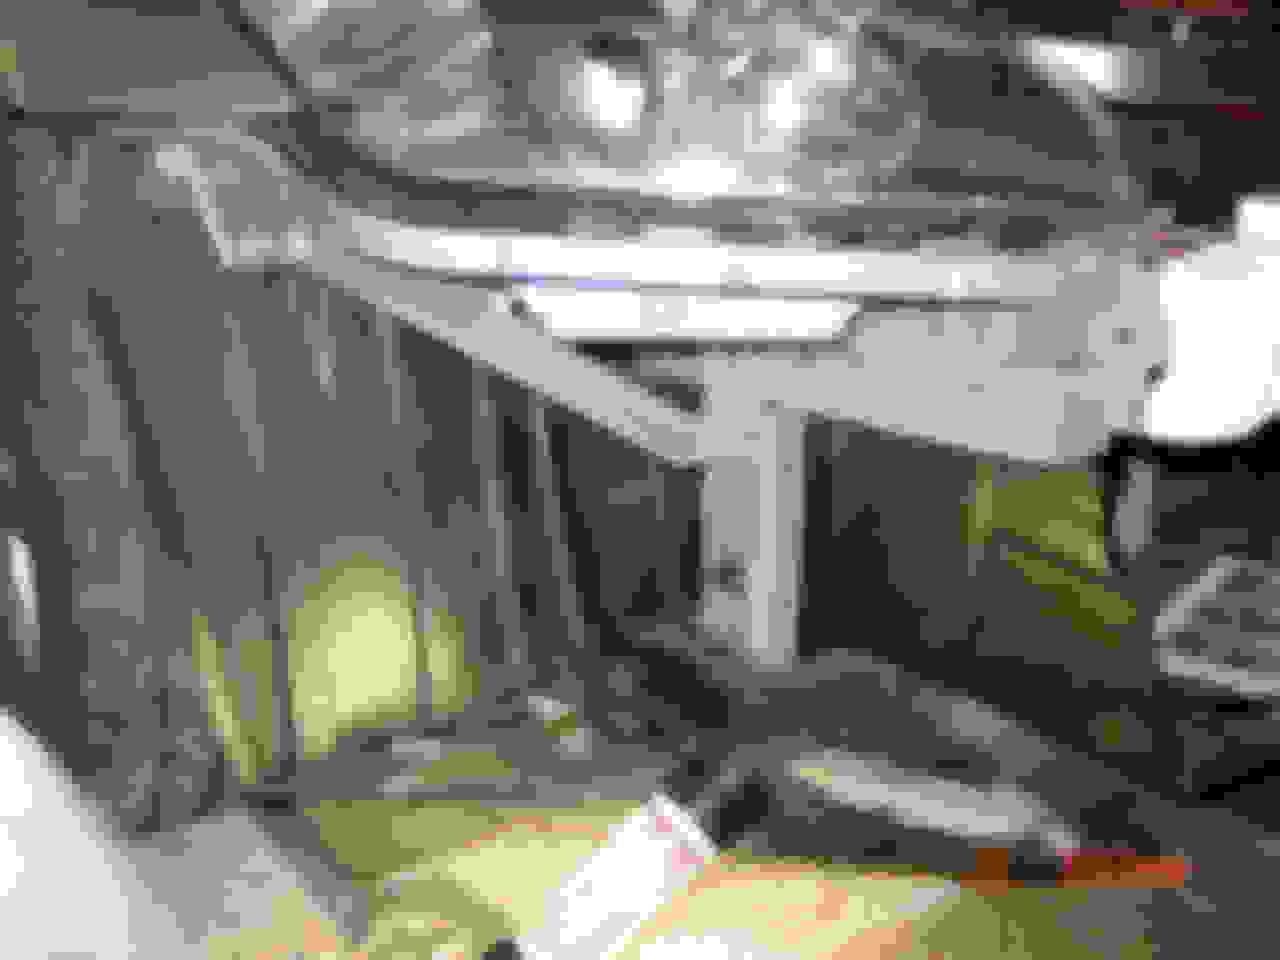
Here's a shot inside the wheel well. I luckily managed to cut just enough, and the plastics fit around the CAI pipe like a glove. Cutting the plastics takes the most patience. Make sure you have a sharp utility knife. I also used a hacksaw blade.
A final shot of the finished install, after a short drive and just before I realized I locked myself out of my house.
Thank you Chiung, looks like the design is slightly different from the AEM CAI, the filter is angled up a bit and the tubing runs differently. I'm looking forward to your narrative... Also do you plan to dyno anytime soon? My decision to stay with my AEM CAI or upgrade to the V2 highly depends on this and your impressions of it. Thanks!
Strange that AEM ran the tubing the same as the AEM CAI. When I got the V2 for my RSX, they said it doesn't need to have cold air to operate at the highest efficiency. On the RSX the air filter is right at the back of the engine compartment.
I only drive the car for about 30 minutes, and I did not reset the ECU.
There is a definite humming sound, noticable at idle. I guess it's the sound of the "tuned" air mass as it travels through the piping. My Comptech did not have any particular sound at idle. It sounds like, well, like a vacuum cleaner Does the V.1 make this sound also?
Driving around, the intake sounds bassier and deeper than the Comptech. VTEC transition is much more pronounced, sound volume-wise. This CAI really let's you know it's there. My initial impression is that it is louder than the Comptech.
As far as power, I really can't differentiate with the Comptech. It does seem smooth, but not having experienced the V.1 I can't say whether it is smoother.
I definitely like the intake. It cleans up the engine compartment a lot. Also, this type of intake probably suffers the least from heat soak, which is a big issue down here. The negative aspect is the cutting of plastics, but if done patiently, the cuts can look neat.
Anyone need help or anything with their install, PM me, I'll be glad to help.
Mav, I hope to dyno in a month, but unfortunately it will be after quite a few mods. One thing about living in a backwater like Daytona is that there are no convenient dyno's. I really would have liked to have some kind of baseline.
There will be a new dyno in town in a month though, and I'll be going there to tune a VAFC II. Derwood03 is shipping me his Mugen header and exhaust shortly, so I will be even further from stock by then.
 12-22-2003, 09:26 PM


 looks good.


 Does the V.1 make this sound also?
 I really would have liked to have some kind of baseline.