When you click on links to various merchants on this site and make a purchase, this can result in this site earning a commission. Affiliate programs and affiliations include, but are not limited to, the eBay Partner Network.
In traditional xviper fashion I will first tell you that if you follow my instructions and f*** up your car, it's not my fault
I spent a lot of time debating about which suspension I would go with for my car. On my last S2000 I went back and fourth between stock struts with Eibach springs and D2 Coilovers. The Eibachs didn't give the performance I wanted or the drop, but I didnt' feel the D2's were quality pieces and I didn't like the way they performed either. With my new S, I wanted to make the right decision.
The only thing I had heard about H&R coilovers was one post I read from a member who had them and loved them. Unfortunately there were no pictures and no detailed description. That is the ONLY info that I was able to find on them.
I decided against going with a full coilover such as Tein FLEX or higher because I simply can't justify spending that much money on coilovers when my car isn't going to be tracked. I wanted something that would ride nice, give me height adjustability, not break the bank, and would be high quality.
I ruled out the lower end one piece coilovers due to the facts like they were basically cheap imitations of the Tein's or likewise, they MIGHT not be high quality, the front shocks didn't have a built in brackets for the brake lines to attach to, and I was worried the cheap aluminum pillow mounts would affect ride quality.
I considered PSS9's and KW v3's but I couldn't justify the price. Again, the car won't be tracked, just street driven. You don't need that much dampening adjustment for a daily driver that won't see any track time.
I decided upon Koni's and Ground Control's, but I had a time frame I wanted to do the suspension and the one week wait from GC and the fact that no one had Koni's in stock led me to the H&R's. I didn't know much about them, but I figured I'd give them a shot. You don't know until you try, right?
So, here are my installation instructions, pictures, and subsequent feedback on H&R coilovers, so that people aren't stuck with the lack of information that I was prior to purchasing them
I started with the back. Chock the front wheels, and jack the rear up from the diff. Put jack stands on the jacking points on the side and remove the rear wheels.
Note: You don't have to jack the car 5ft in the air for this job. I used the lowest point the jack stands would go and keep the wheels off the ground.
Rip out the guts of the trunk and open up the gas door. Remove the cap to expose three 8mm screws to tank filler. Unscrew them and push the filler inside the car.
I started with the passenger side by loosening the top two shock mount bolts inside the trunk ( 14mm )
Now go down on her and loosen up the sway bar end links. This will make things a little easier later. The easy way to do this if the bolts just spin is get a set of needle-nose lock-jaw pliers and get a grip on the round washer type thing on the inside of the bolt and then go at it.
Now go ahead and loosen the 17mm lower shock mount bolt. It helps if you use some WD40 or other penetrating lubricant on the bolts the day before. If all else fails, take a blow torch to the nut and get it red hot. Then try again. I didn't have any problems though, any my car is an MY01.
Now go back up top. This step can be a life saver! Place a piece of tape around the upper shock mount bolts before you take them off. If you drop one of them inside the little square, you're in for a headache!
After you get them off, the shock will drop down. Push down on the hub and manuever the shock around the lower control arm to get it out. It's easier said than done, but I did this all myself, so quit complaining!
H&R Coilovers, like PSS9's and other high-end coilovers, don't come with top-hat's. You need to use your OEM ones. Put the shock on the ground, hold it down and one foot, and crank down on the top 14mm nut. If it spins, put an allen key in the top hole and try again.
Here's a trick for you. Unlike most cars, you don't need a spring compressor to remove the top hats safely. Put the shock on the ground, stand on it with some weight, and use an impact gun on the top nut. Point the shock away from anyone or anything while you do this, but rest assure, it won't go far. I use this technique on most installs, Civic's and Integra's send the shocks flying
Okay, now for the good stuff!
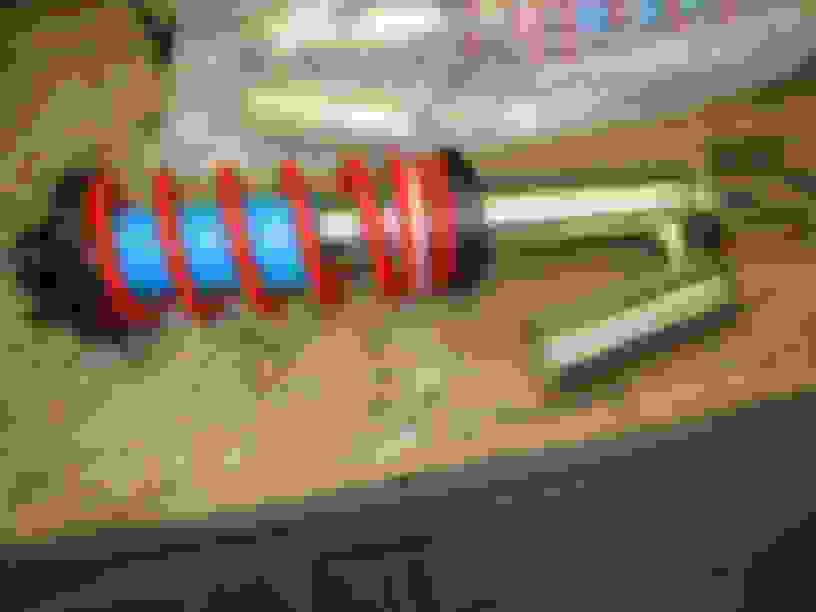
Note the external fluid resevoirs on the rear shocks! Just like stock!
These are a few things that all coilovers under $1400 Tein Flex's don't have. It may not seem that important to you, but it's a nice touch, and it's something I really like about the H&R's enough to make me buy them.
-Welded nuts for the lower shock mount
-Threaded brackets on the front shocks for the brake lines to attach to like stock
-Complete with dust covers out of the box assembled and ready to go.
-Threaded shock body's for height adjustment! None of that lower mount adjustment nonsense that is a pain in the ass to adjust!
Next step is to put the factory top hat onto the rear strut. Pretty self-explanatory.
Now here is a pwrofdrm innovation!!! Now is the time to reinstall the assembled rear shock. You will soon find that this is no easy task with one person! You have to push down on the hub to get the shock up over the LCA. That's a pain in the ass, but still possible with one person. This is where removing the sway bar helps, it makes it easier. If you can manage, get it on the LCA and bolt the top of the shocks in place!
What is still a huge pain in the ass is lining up the bottom bolt to go into the shock! If you're trying it now, you'll realize it's damn near impossible to do by yourself, and difficult even with two people!
What I do may seem crude, but it works well! Take your factory scissor jack and two blocks of wood, I used small pieces of 2x4. Place one block flat on the upper a-arm and put the scissor jack on top of it. Now take the other piece up on it's end and put it on top. Slowly jack it up until the upper block is touching the inner wheel well / frame. You don't need to do it too much, but this will push the A-arm, and the whole hub, down slowly until you can line up the bolt while keeping your hands free to pop in the bolt.
Works like a charm every time. Don't worry about damaging your car either, it doesn't take too much pressure to move the arms to the right spot.
Now it's time for the other side. It's basically the same thing as the other side, except now you have the tank filler in your way of getting the top shock mounts. Move that bish aside and have at it!
So now you're done with the rear. Put the wheels on and lower it back down. Time for the fronts, the easy part!
Chock the back wheels and jack it up from the center jacking point. Place jack stands at the side jacking points and remove the front wheels.
I started with the driver side, but it doesn't matter.
There's a couple things you need to do before removing the shocks. First, follow the ABS wire up from the brakes to the frame. At the frame, you'll see a 10mm nut holding it in place. Take that out.
Also, remove the 12mm nut holding the brake line in place.
Now first you're going to remove the upper A-arm from the frame. They are two 17mm bolts on each side. They should be on there fairly tight, so use a breaker bar.
After it's off, slide the hub forward. You can now remove the upper and lower shock mounts just like we did with the rears. You won't have the problem getting the shocks off the LCA's like you did with the rear's. You can do it yourself easily.
Follow the same instructions with the rears as you did for the fronts in assembling the new shocks. Re-install, only this time you're going to be attaching the brake line to the new shock. There's a place for it to go!
Pop the bolts back in the upper A-arm and re-attach the ABS line to the frame.
You should use lock-tite, and torque the upper A-arm bolts to 75 ft/lbs
Same exact thing for the other side of the front.
Now you're done! Make sure everything is good and tight! For a piece of mind, I use locktite on everything! Put the wheels on and drop the car back down.
Take this time to tighten the top 18mm shock nut on each corner. You have to use an allen key to make sure the shock doesn't just spin in place.
I took the car for a drive and adjusted accordingly. I currently have the height set 3 threads up from the bottom in the front and 4 threads up from the bottom in the rear.
After driving it for a while, I can say with certainty that this is by far the best suspension I've ever driven on. Ive had the D2's, Tein SS-P, APEX'i, and various shock/spring combos on many different cars, and these by far ride the smoothest with the least bit of messing around! Right out of the box they ride much firmer than stock, but not enough to knock out your fillings! It's extremely smooth over bumps, and provides confidence I've never felt before in my S2000.
Quality wise, the H&R's are amazing! They truly are a piece of art. For the price, they cannot be beaten. You can get them from Tire Rack, among other distributors, for a vey good price. The features alone put them in a higher level than all other setups in this price range. The fact that you're getting such a high quality product puts them well over the top.
I would highly reccomend these to anyone who's looking for a nice suspension setupd but doesn't need the extra features of the super high end products like me. I couldn't be happier!
Great review! Thanks for taking the time to write it. Out of curiousity, did you consider buddy club coilovers? Any opinion? That's what I've been looking at but these seem nice too.
Excellent thread! Pics, write-up, and review..you pretty much included everything in a properly-done DIY thread.
Your S looks so much cleaner now with that drop combined with the OEM front lip and ht. Now get some rims!
Regarding the coils/dampers, how much stiffer is the ride now compared to stock? I think the stock suspension is already pretty stiff as it is, but if the ride comfort level isn't that much of a compromise I may consider going with this coilover setup.
Completely unrelated to your coilovers in specific, but since you were in that area.. do you think it would be easy to change the settings on an adjustable coilover in the driver side rear after it's been installed, or would you have to move your fuel junk everytime you want to make a change?
Great review! Thanks for taking the time to write it. Out of curiousity, did you consider buddy club coilovers? Any opinion? That's what I've been looking at but these seem nice too.
Thanks! I did consider the Buddy Club's, both the N+ and the Racing Spec. James at VVS (a sponsor on here) has them in stock at a great price, and there are many good reviews of the products, but in my opinion they fall into the same category as the D2's that I had. They are relatively cheap, don't offer any of the features that these offer, and they are adjusted by the lower shock mount like Tein's, which can be a PITA. Also, they include aluminum upper pillow mounts, which can contribute to a rough ride or noisy/clunky shocks. You can get the Racing Spec dampers without them, but the spring rates are way too high for daily driving IMO.
I chose to stay away from them, but that's not to say they're junk. Many people on here like them.
bilstein pss9 could be found on ebay for 1150~1250 + 50 shipping.
Yes, they can. Bilstein's are a very nice piece as well. Like I said though, I didn't need adjustability, so why wait a week or so for some shady eBay place to ship stuff to me and spend an extra $150-200 bucks for something I'd never use, right?
[QUOTE]Excellent thread! Pics, write-up, and review..you pretty much included everything in a properly-done DIY thread.
Thanks for your response about the buddy clubs. I might need to seriously consider these instead. If you don't mind me asking, how much did you pay and where did you get them from?
Also, don't know if you can answer this, but how do you think the ride/performance of the H&Rs would compare to the buddy clubs? Is the performance much higher on the buddy clubs?
One more question - what are the pros and cons of the H&Rs versus the Bilstein PSS9s?
Originally Posted by superjimbo,Apr 3 2007, 08:44 AM
Thanks for your response about the buddy clubs. I might need to seriously consider these instead. If you don't mind me asking, how much did you pay and where did you get them from?
Also, don't know if you can answer this, but how do you think the ride/performance of the H&Rs would compare to the buddy clubs? Is the performance much higher on the buddy clubs?
One more question - what are the pros and cons of the H&Rs versus the Bilstein PSS9s?
Sorry for all the questions.
Hey it's cool man, that's why I posted this!
I've never experienced the Buddy Club's, so it's hard to say. I'd be willing to bet that they're stiffer though. IRC The spring rates are higher than the H&R's. Another thing I noticed on my D2's was that when I used the adjustment tools on the height adjuster, the adjustment sleeve things got all scratched and gouged up. It seemed like the Aluminum was very soft, and wouldn't take the abuse of common adjustment. The Buddy Clubs are very similar to the D2's. The H&R's on the other hand didn't even scratch when I adjusted them with the wrenches.
I got them from Tire Rack. I have a wholesale account with them so I got them at a great price, but the price on their website is great! Not to mention next day delivery. I'm a very impatient person, so that is important to me.
As far as the Bilstein PSS9's are concerned, the PSS9's are dampening rate adjustable. If you track your car, this might be something to look into.
A major con IMO about the PSS9's were that they only drop the car 1.38" Max. I called Bilstein to confirm this. The H&R's go down to 2" front and rear. 1.38" wasn't cutting it for me.
That info is not included in the paperwork that came with the coilovers, no. I believe it is available on H&R's website though, I'll have to check that. I want to say they're arond ~300 ft/lb front and rear...
 04-02-2007, 08:46 PM