Mugen Replica Intake
 01-03-2011, 05:42 PM
#1
Registered User
Thread Starter
I will start out by saying this I am not a supporter of fake parts. But this looked like a good piece and since I have bought 2 real intakes from King Motorsports I feel as if I have paid my due for Mugen's R&D on this intake. With that said...I got this used for $200 shipped and I was tired of looking at my stock intake box since my ITB's are not on the car at the moment.
Got the package today and it was packaged nice
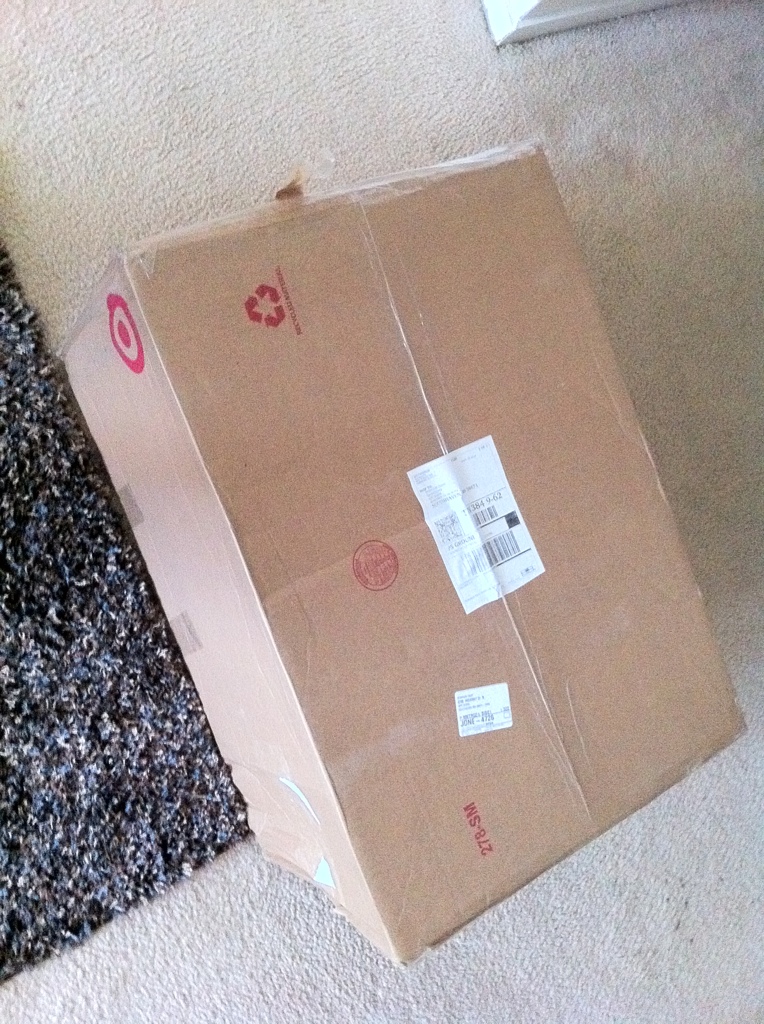

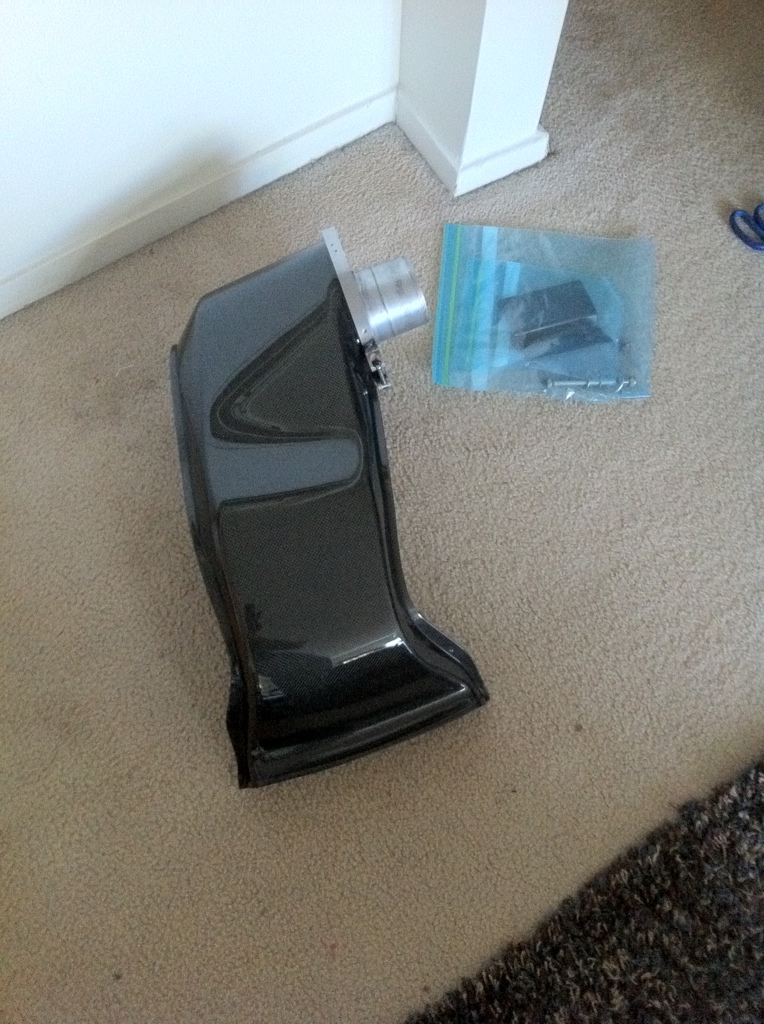
First Impressions out of the box. Wow it looks like a really good copy. I first noticed the that the metal flange and looks identical to the real even has the provisions to mount part of the EGR system.
First flaw being a used part I am going to assume that this piece broke and it has been repaired. The weld is horrible, but I don't think there is much to work with even if you were to tig. Also this seems to be almost identical to the real part. However if I recall I had a nut on the other side of the bolt

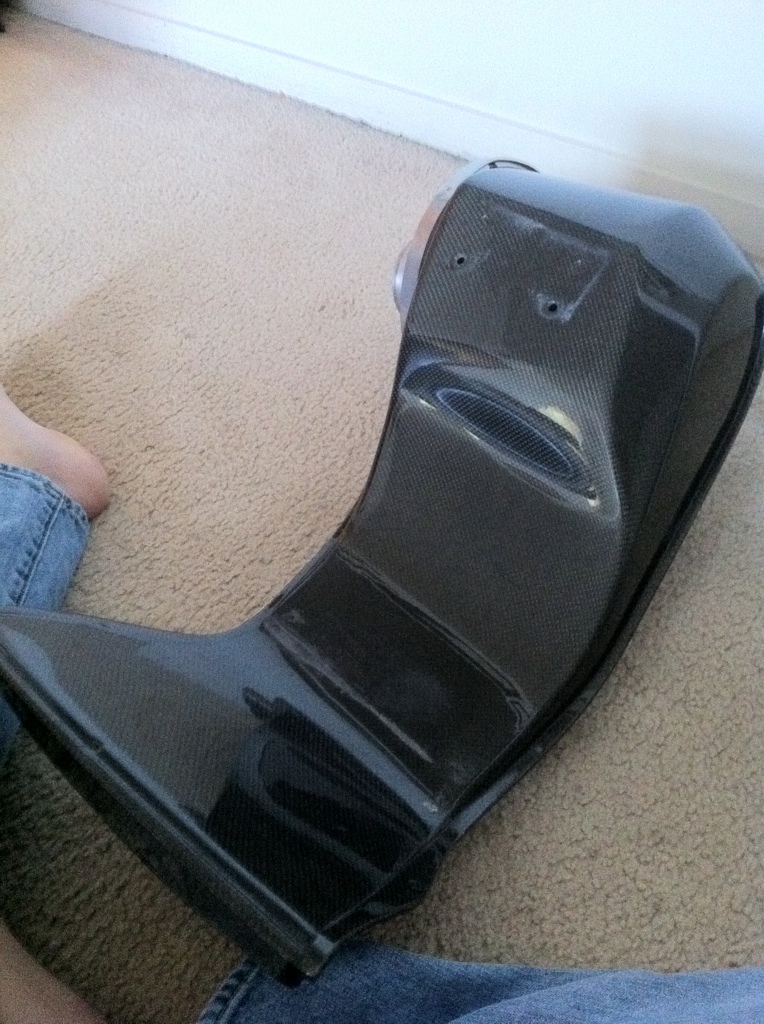
This still looks very similar
Lets go now to install
You will need to remove the OEM air box. I was able to leave my intake arm still attached to the throttle body for this. If you still have all your emissions on the car, I would start by removing the screw that holds some vacuum lines together. Now remove the lid from the air box, and remove the filter. You will find 3 10mm bolts that hold the airbox in. Two are located on the left in the front and aft corner. While the third is located on the front right. After this you can finagle the box out of the car.
I would take a few moments to remove the brackets on the front left and aft left that held the intake box in. It will look cleaner when it is done, they are held in by a 10mm bolt. Hang on to these because the aft bracket is great to mount an Oil Catch can on as I have used this in the past.
Now you're ready.
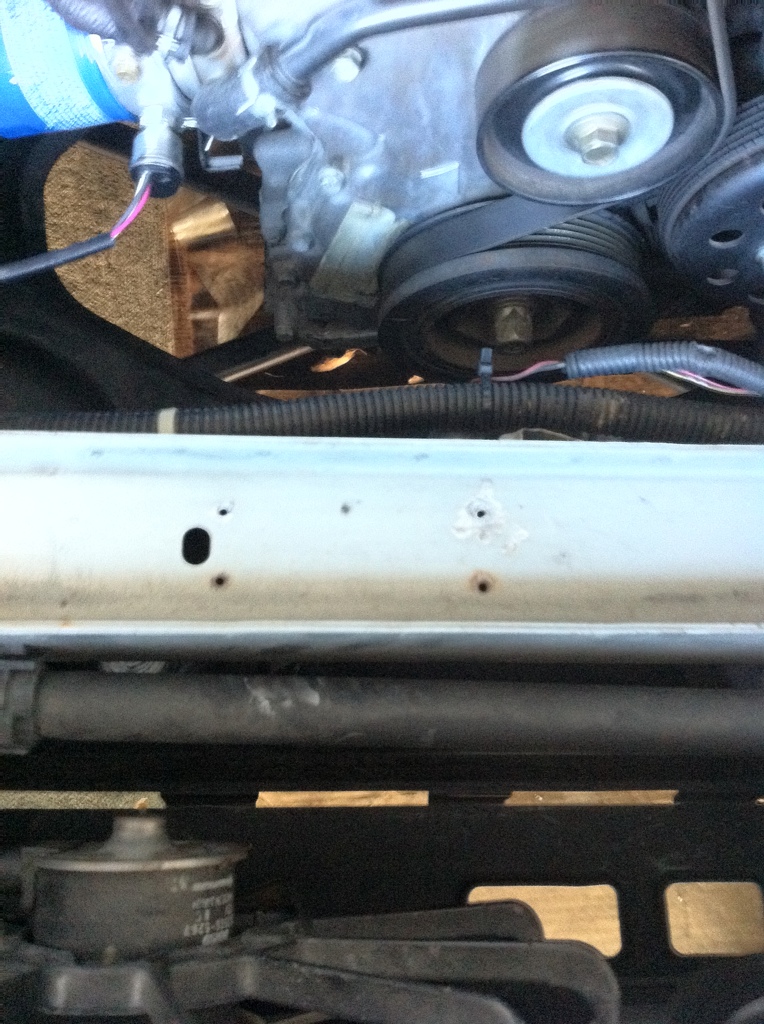
The bracket mounts to the cross member As you can see the 4 holes drilled for my past Mugen Intakes. For once here is where a fake part took me by surprise with a better design. The bracket looks of similar design but I don't remember mine being carbon. But the mounting on this is better..It utilizes the hole already in the cross member so no drilling is required. You just drop the long provided bolt through the cross member, I put a washer between the bracket and cross member, then a washer below the bolt head, and a washer under the nut.
I did notice that the bracket appears that it has indentions to be drilled to utilize the same mounting design as the authentic piece.
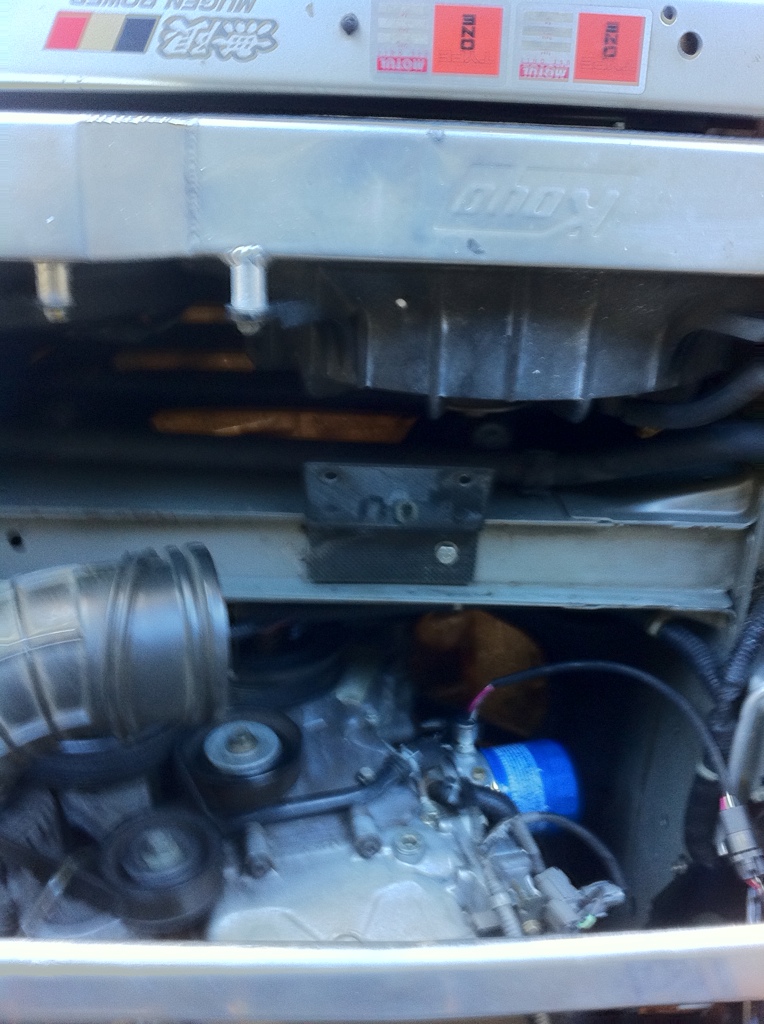
Next on the plate is you just put the intake under the bumper support and use the 2 bolts to bolt it the the flange you just mounted. I believe the real bracket is threaded.
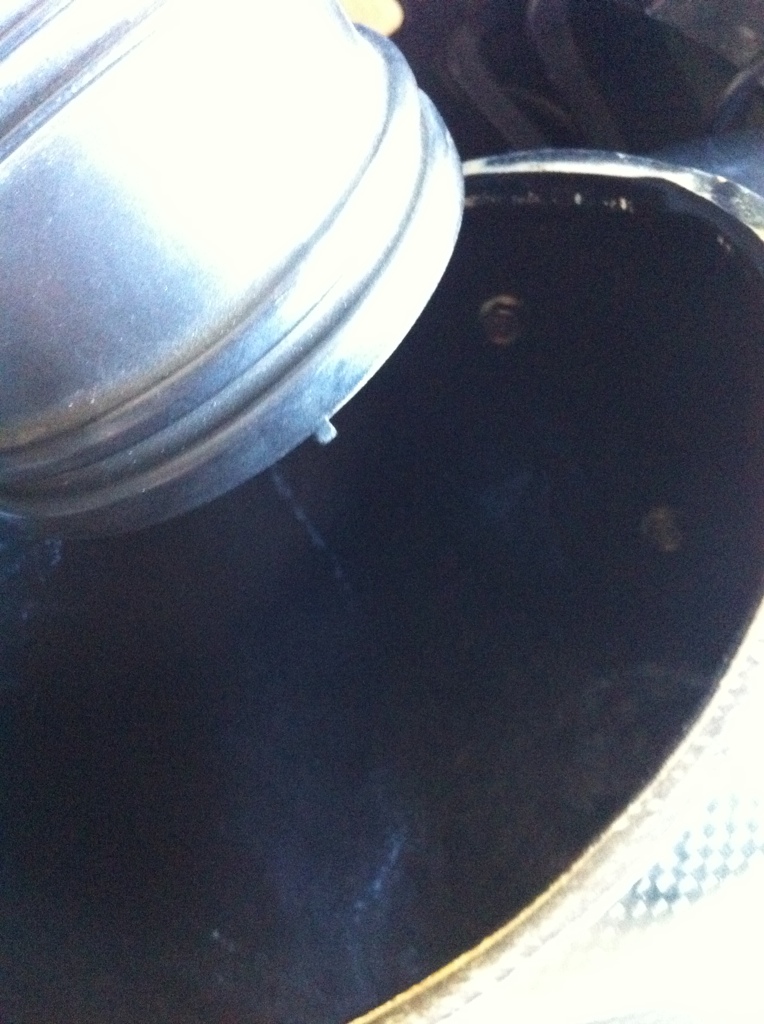
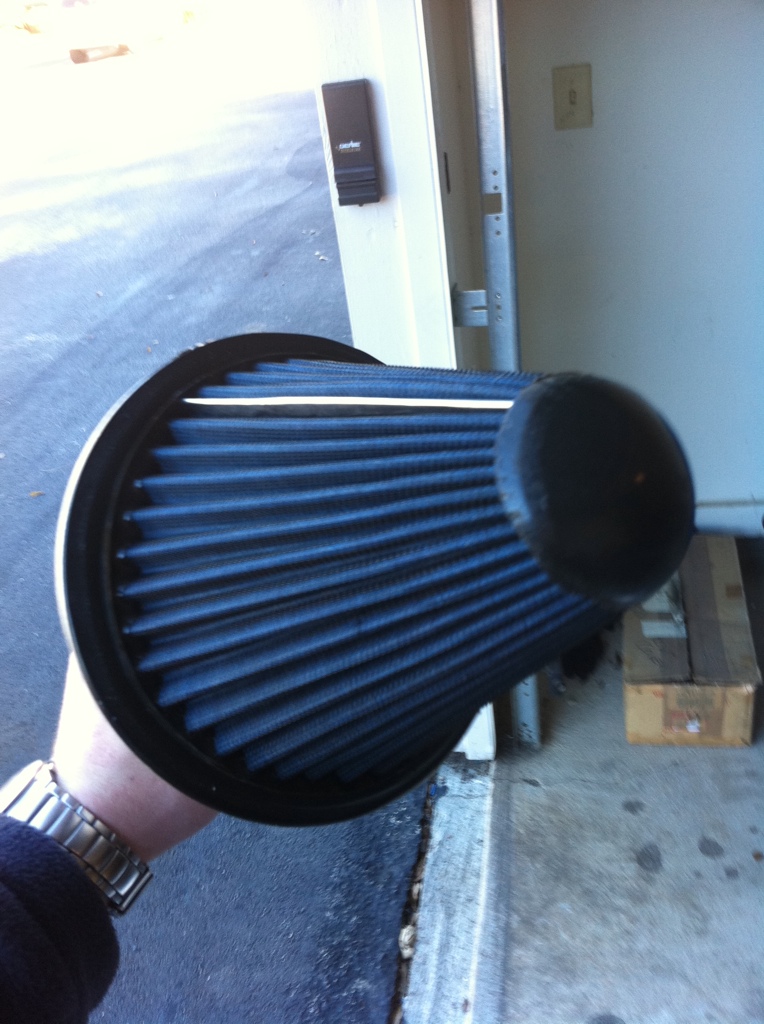
The filter looks quite similar as the AFE filter that was supplied with the mugen.
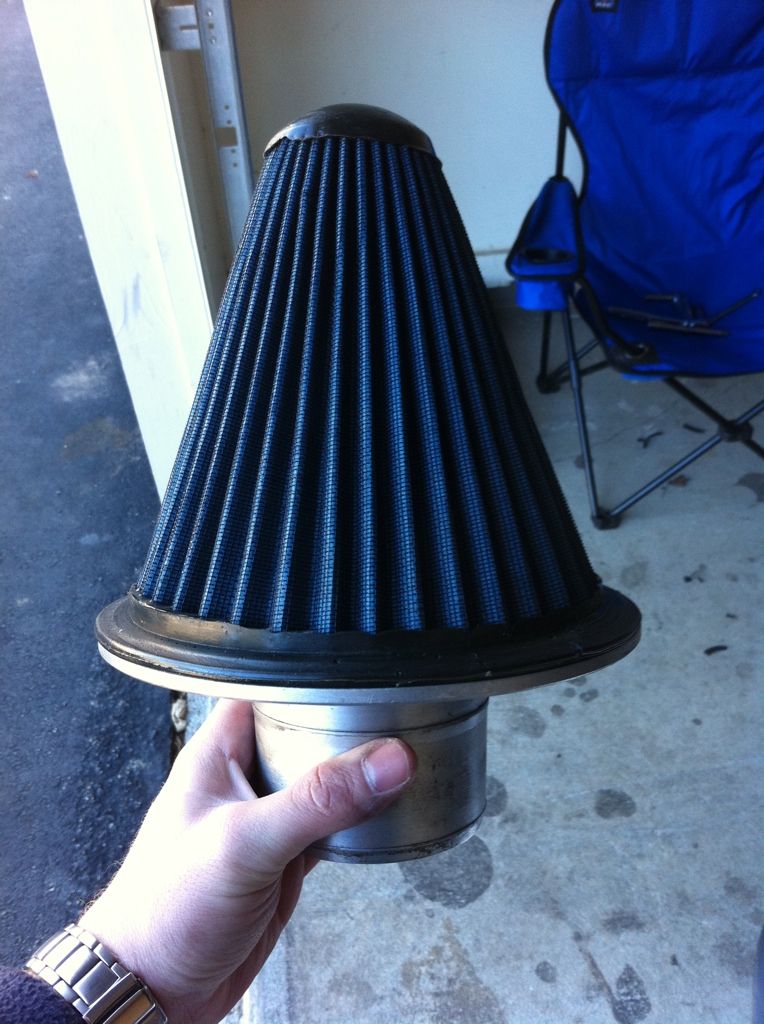
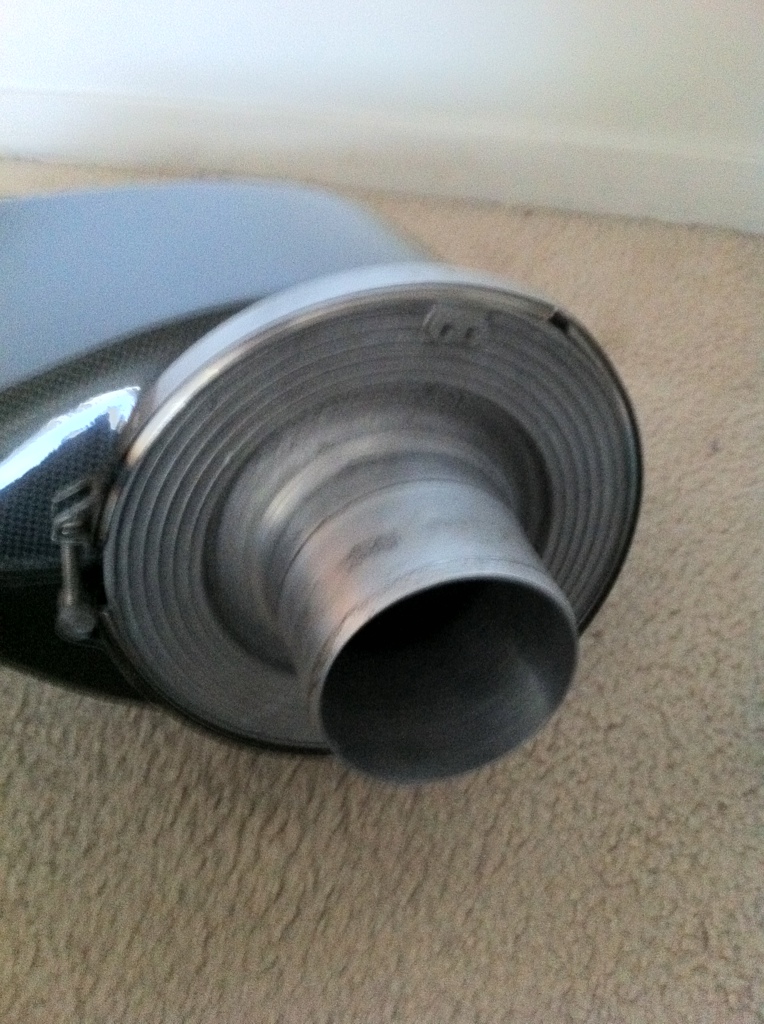
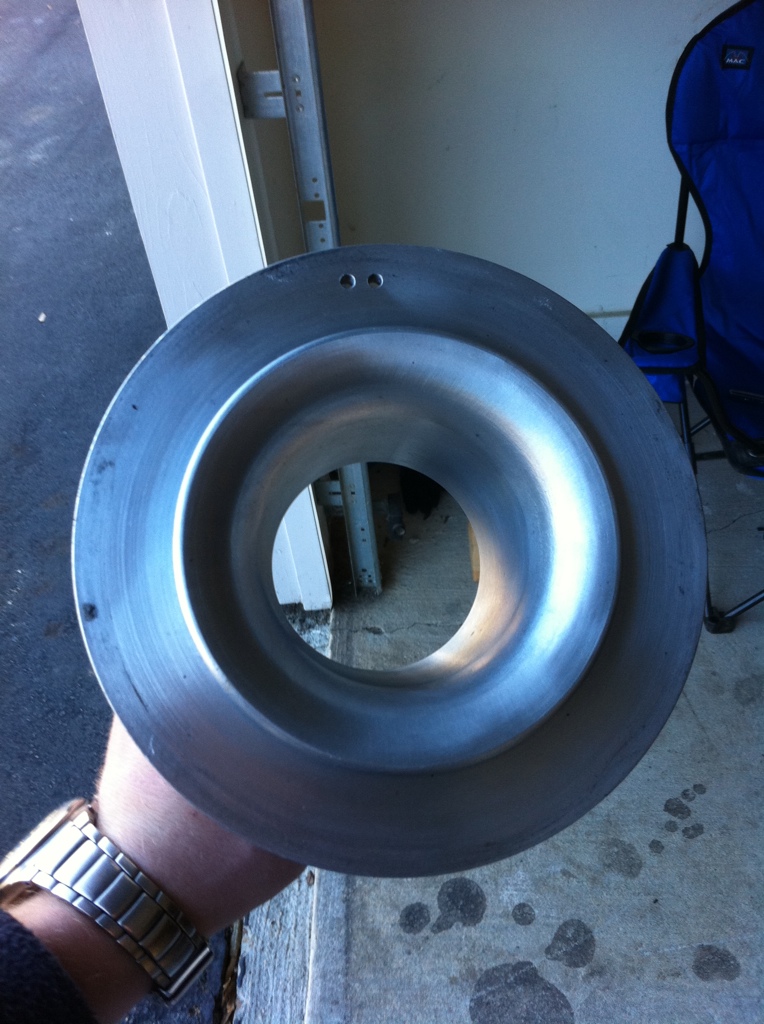
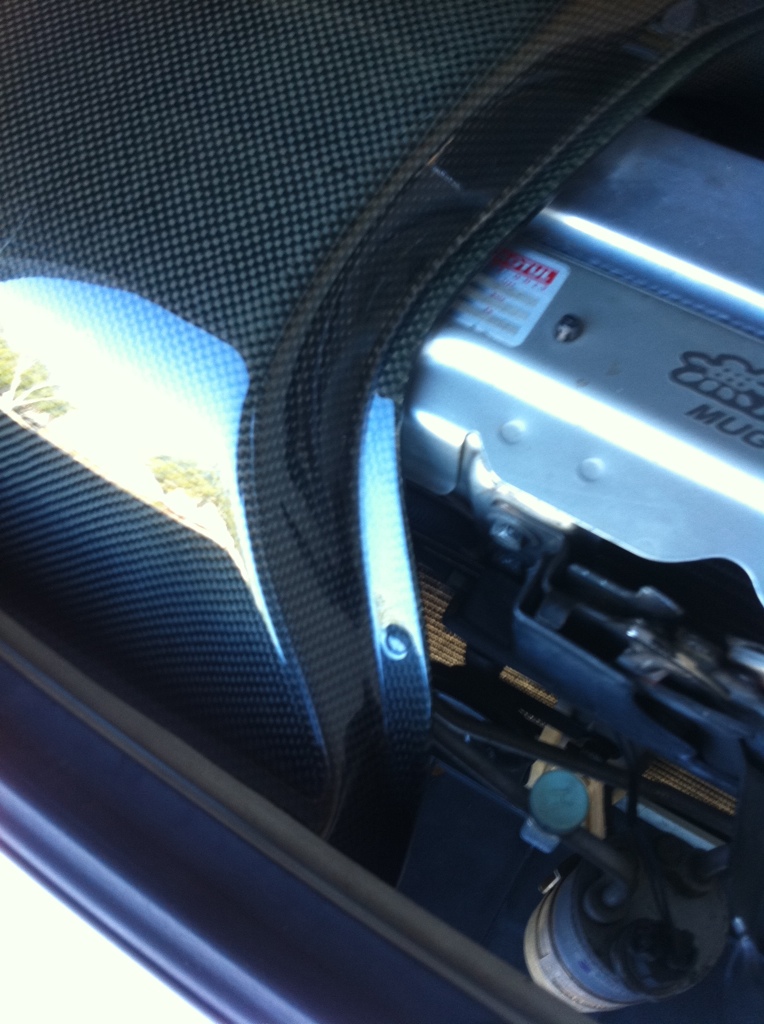
Here is another photo of the flange with the velocity stack
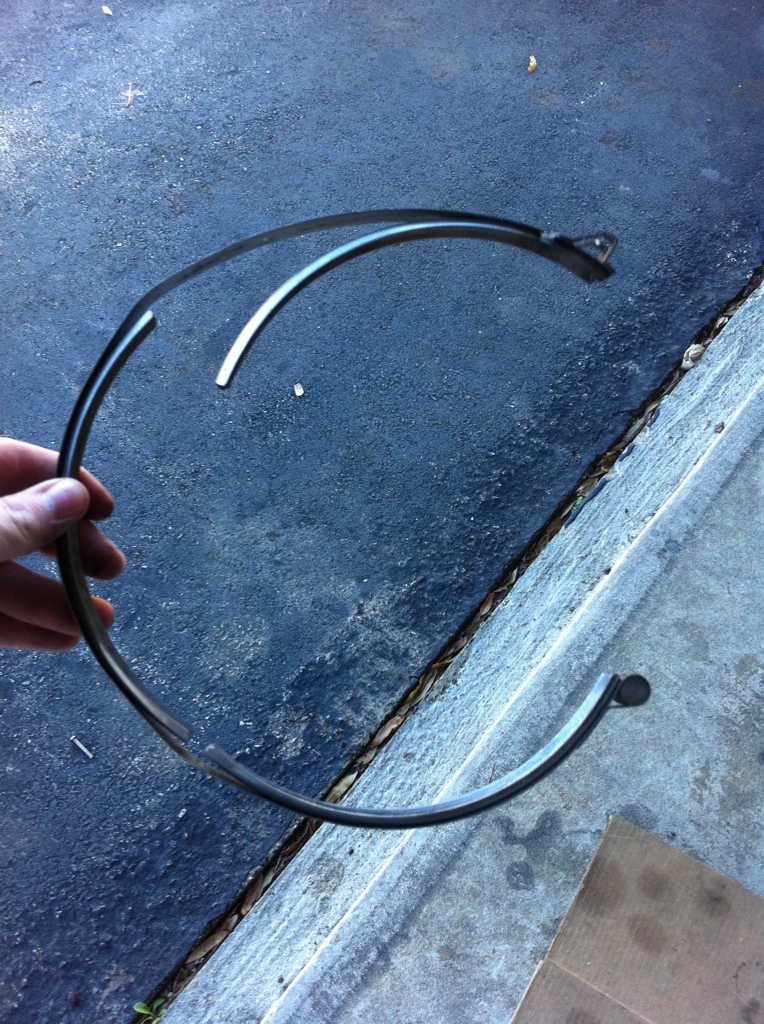
Another shot of the Clamp
Next I just bent the intake arm back slid the filter in the intake and attached the flange into the intake arm. and lined it up with the filter. If I recall the Mugen Intake comes with a spring to put around the stock intake arm to keep it tight on the flange.
Now I know the Original comes with a bracket here. I noted that a provision is notched into the fake. Maybe the fake comes with a bracket I am not sure?
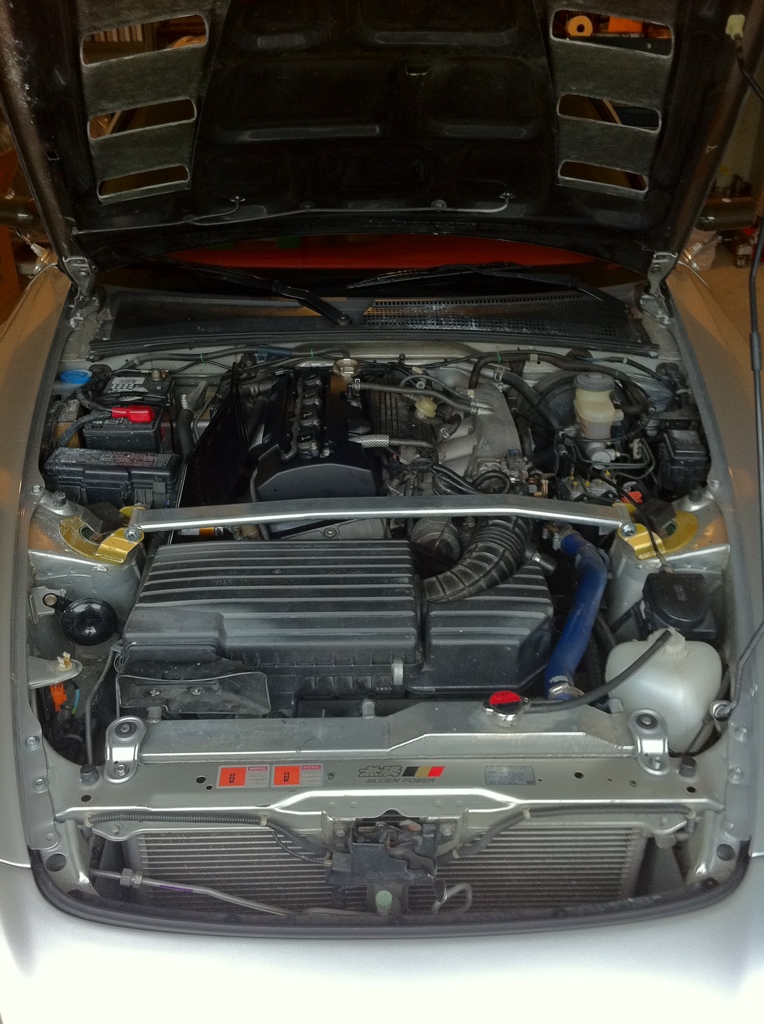
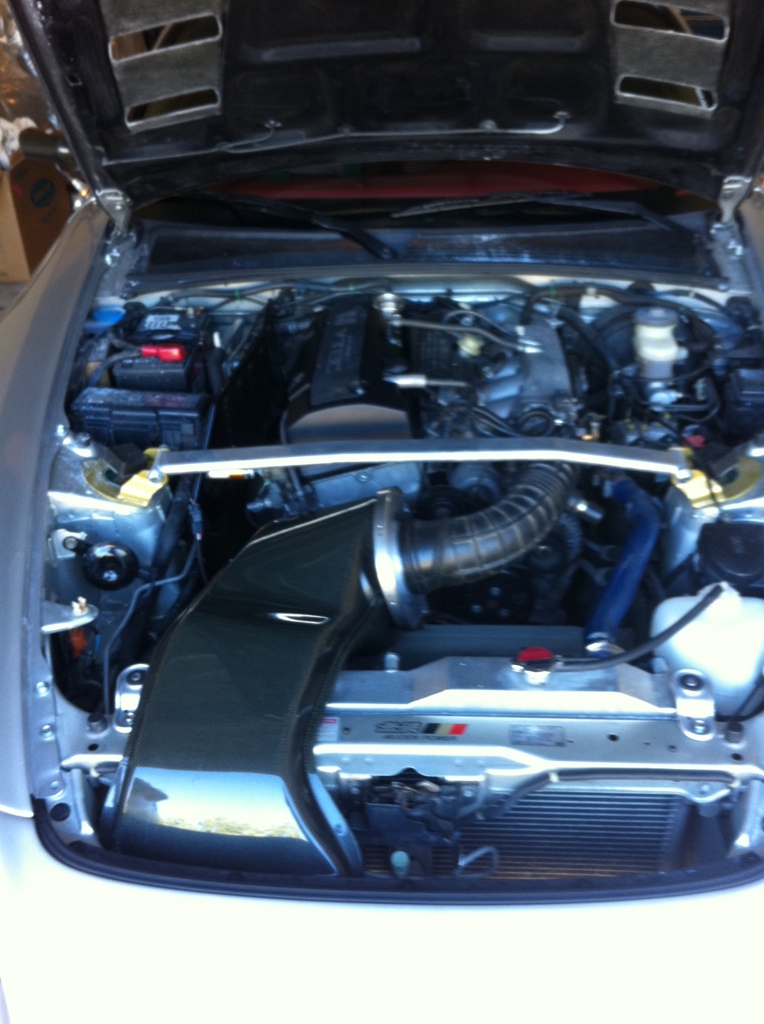
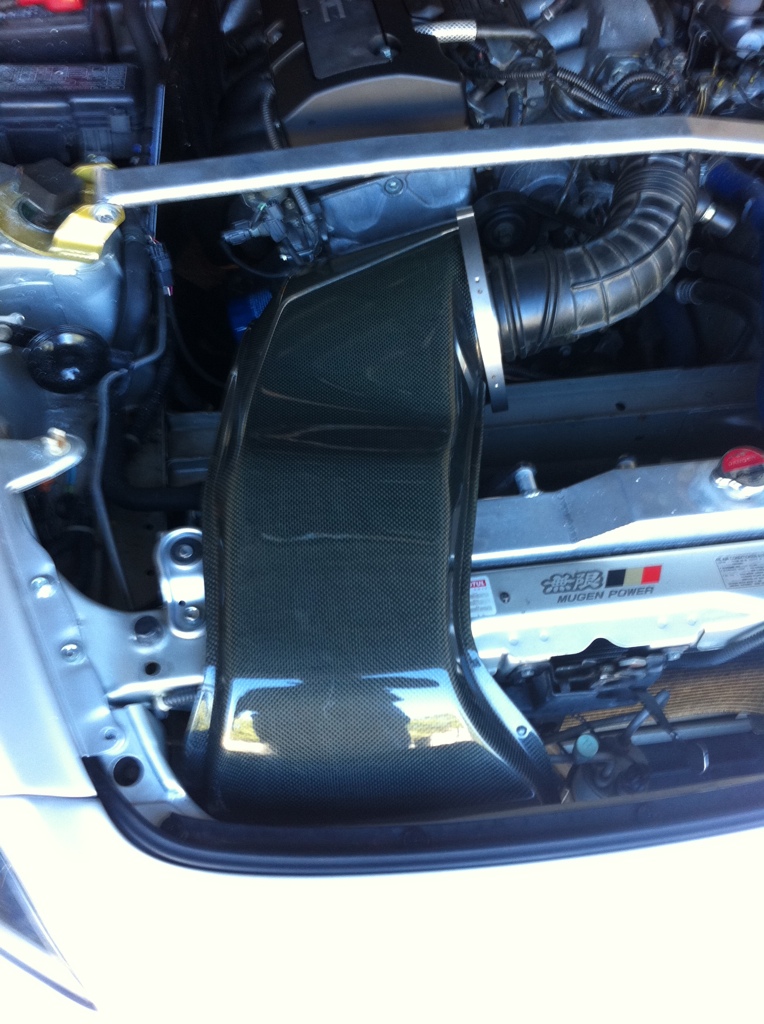
A few installed photos.
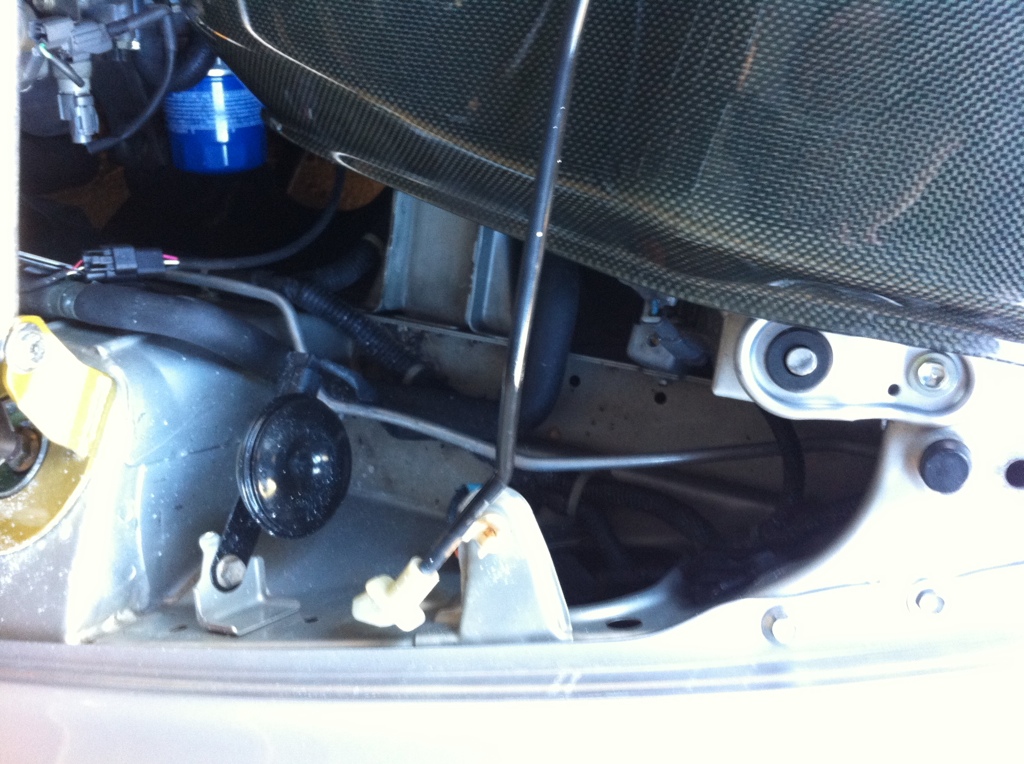
Another flaw came next...I went to close the hood and as I put the hood prop down I noticed that it hit the intake and did not seat correctly. I looked closely and notice that the previous person forced the prop down causing it to rub slightly on the intake but with some pressure it will sit all the way down. I just removed it and sit it in my garage and will utilize the service prop in the future. Probably will make my life easier anyway.

At this point if you were utilizing a OEM hood you would cut it out for the clearance of the intake of the radiator support. I am utilizing a J's Racing Type V hood that has a provision for a intake like this.
Closing thoughts. I am very pleased with this as I think it is a great buy for the money. For the average Untrained eye you would never know this is fake. I would recommend this for sure to anyone else. It has a few flaws but for the price, I believe they are around 400 new this is a good piece. I will be adding a ASM cooling plate soon so I will update with how well that fits since it is made for a Authentic piece. But all and all it fits great!
Install time on this took me about 10 minutes.
Got the package today and it was packaged nice
First Impressions out of the box. Wow it looks like a really good copy. I first noticed the that the metal flange and looks identical to the real even has the provisions to mount part of the EGR system.
First flaw being a used part I am going to assume that this piece broke and it has been repaired. The weld is horrible, but I don't think there is much to work with even if you were to tig. Also this seems to be almost identical to the real part. However if I recall I had a nut on the other side of the bolt
This still looks very similar
Lets go now to install
You will need to remove the OEM air box. I was able to leave my intake arm still attached to the throttle body for this. If you still have all your emissions on the car, I would start by removing the screw that holds some vacuum lines together. Now remove the lid from the air box, and remove the filter. You will find 3 10mm bolts that hold the airbox in. Two are located on the left in the front and aft corner. While the third is located on the front right. After this you can finagle the box out of the car.
I would take a few moments to remove the brackets on the front left and aft left that held the intake box in. It will look cleaner when it is done, they are held in by a 10mm bolt. Hang on to these because the aft bracket is great to mount an Oil Catch can on as I have used this in the past.
Now you're ready.
The bracket mounts to the cross member As you can see the 4 holes drilled for my past Mugen Intakes. For once here is where a fake part took me by surprise with a better design. The bracket looks of similar design but I don't remember mine being carbon. But the mounting on this is better..It utilizes the hole already in the cross member so no drilling is required. You just drop the long provided bolt through the cross member, I put a washer between the bracket and cross member, then a washer below the bolt head, and a washer under the nut.
I did notice that the bracket appears that it has indentions to be drilled to utilize the same mounting design as the authentic piece.
Next on the plate is you just put the intake under the bumper support and use the 2 bolts to bolt it the the flange you just mounted. I believe the real bracket is threaded.
The filter looks quite similar as the AFE filter that was supplied with the mugen.
Here is another photo of the flange with the velocity stack
Another shot of the Clamp
Next I just bent the intake arm back slid the filter in the intake and attached the flange into the intake arm. and lined it up with the filter. If I recall the Mugen Intake comes with a spring to put around the stock intake arm to keep it tight on the flange.
Now I know the Original comes with a bracket here. I noted that a provision is notched into the fake. Maybe the fake comes with a bracket I am not sure?
A few installed photos.
Another flaw came next...I went to close the hood and as I put the hood prop down I noticed that it hit the intake and did not seat correctly. I looked closely and notice that the previous person forced the prop down causing it to rub slightly on the intake but with some pressure it will sit all the way down. I just removed it and sit it in my garage and will utilize the service prop in the future. Probably will make my life easier anyway.
At this point if you were utilizing a OEM hood you would cut it out for the clearance of the intake of the radiator support. I am utilizing a J's Racing Type V hood that has a provision for a intake like this.
Closing thoughts. I am very pleased with this as I think it is a great buy for the money. For the average Untrained eye you would never know this is fake. I would recommend this for sure to anyone else. It has a few flaws but for the price, I believe they are around 400 new this is a good piece. I will be adding a ASM cooling plate soon so I will update with how well that fits since it is made for a Authentic piece. But all and all it fits great!
Install time on this took me about 10 minutes.

 01-04-2011, 03:57 AM
#3
Registered User
Join Date: Mar 2009
Posts: 571
Likes: 0
Received 0 Likes
on
0 Posts
now go cut your front bumper and make a hole for the opening of that intake! lol jk but that would be nice. i haven't read to many ppl doing it this way but i'm sure there's a good messureable notice. even the jdm race cars have some sort of ram effect for the intake.


 01-04-2011, 10:14 AM
#5
Nice write up.
01-04-2011, 02:51 PM
#6
Originally Posted by Hirevs2k,Jan 4 2011, 04:57 AM
now go cut your front bumper and make a hole for the opening of that intake! lol jk but that would be nice. i haven't read to many ppl doing it this way but i'm sure there's a good messureable notice. even the jdm race cars have some sort of ram effect for the intake.
01-04-2011, 04:53 PM
#7
Registered User
Join Date: Mar 2009
Posts: 571
Likes: 0
Received 0 Likes
on
0 Posts
Originally Posted by clarkster009,Jan 4 2011, 03:51 PM
I think he has an ASM bumper...not sure if it's one with the opening though
Trending Topics
01-04-2011, 06:41 PM
#9
Registered User
Thread Starter
On my old mugen I did an alex air duct in the oem bumper. After that I went to a J's front. In between I had bumpers with no duct. I dont feel the "ram air" is any benefit. I think the only thing a duct would do is help cool the engine and therefore you would have less heat soak. A duct is not pressurizing the air so your not going to get any gain.
01-05-2011, 04:20 AM
#10
Registered User
Join Date: Mar 2009
Posts: 571
Likes: 0
Received 0 Likes
on
0 Posts
yeh i hear ya on this one. i got the spoon style snorkel for the whole purpose of gettin rid of heat soak issues during those hot long summer days sittin in stop and go traffic. and man, it made a drastic change to the way the engine respond to the heat. all the heat soak issues i was having quickly went away.
but that's not the only good thing with a snorkel set up, the other is well, more power. cooler air temp = more power. and that's what these snorkels are designed for. not so much to pressurize the filter and stuff like that, it's more too give the filter cooler fresh air.
i used to have an aem v2 and hated the way the engine would respond to that intake when it's hot as hell outside. and between the two setups, i had better engine response from the snorkel and more power at higher speeds. aem v2 felt like it fell flat on its face at higher speeds passed 70+mph . big noticeable difference right there.
but that's not the only good thing with a snorkel set up, the other is well, more power. cooler air temp = more power. and that's what these snorkels are designed for. not so much to pressurize the filter and stuff like that, it's more too give the filter cooler fresh air.
i used to have an aem v2 and hated the way the engine would respond to that intake when it's hot as hell outside. and between the two setups, i had better engine response from the snorkel and more power at higher speeds. aem v2 felt like it fell flat on its face at higher speeds passed 70+mph
. big noticeable difference right there.

