DIY Compliance Bushings
 03-08-2012, 02:25 PM
#1
Registered User
Thread Starter
Couldn't find a post about replacing these with the Mugen bushings ($100 for the pair)... Im sure the Mugen Bushings are the same as factory, however you can not order a compliance bushing from Honda, you must buy the entire lower control arms. These bushings wear out, crack, and break over time making caster not adjustable very far and the car too lose caster in corners. You can feel it in the steering at full lock, the wheels feel like they shift over. What happens is the metal of the cam bolt seizes to the metal of the compliance bushing and the bolt will not come out, which will not allow you to remove the control arm and replace the bushing. You will need an alignment when done. This is not hard to do, granted you have or have access to things such as a press and such but it is somewhat time consuming.
Things needed
Saw Zaw
Blades for cutting heavy metal
Basic Tools
Shop Press
Before you get started here, you need to order Replacement Cam Bolts from Honda, The top cam bolt eccentric nut is not required to change, there's no reason for you to put a wrench on it, if you do you will strip it. You will also need access to a press if you don't have one. It would also be wise to mark all the eccentrics in the location they were prior to disassembly so that the alignment will be closer for you to go to a rack.
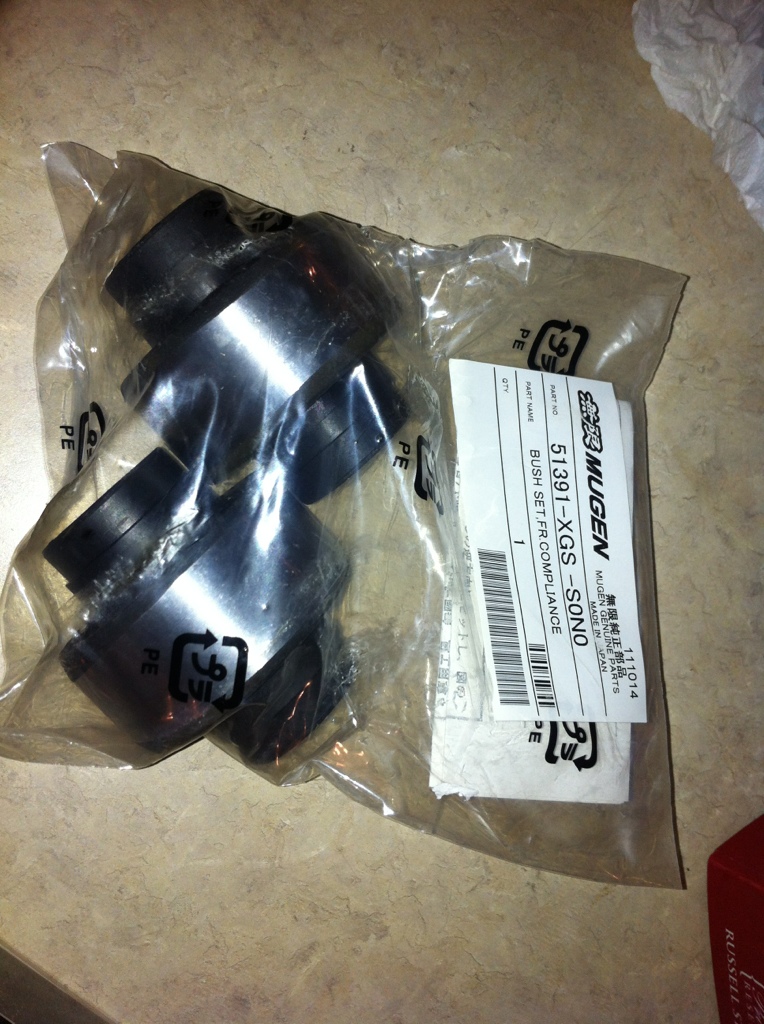
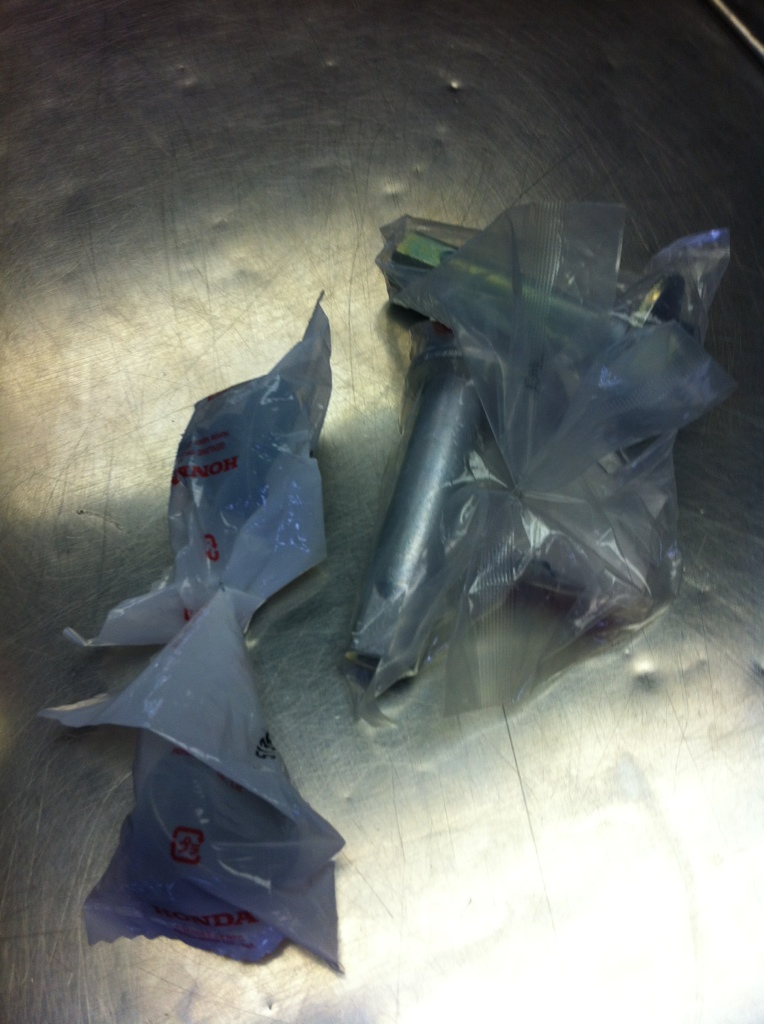
New bushings
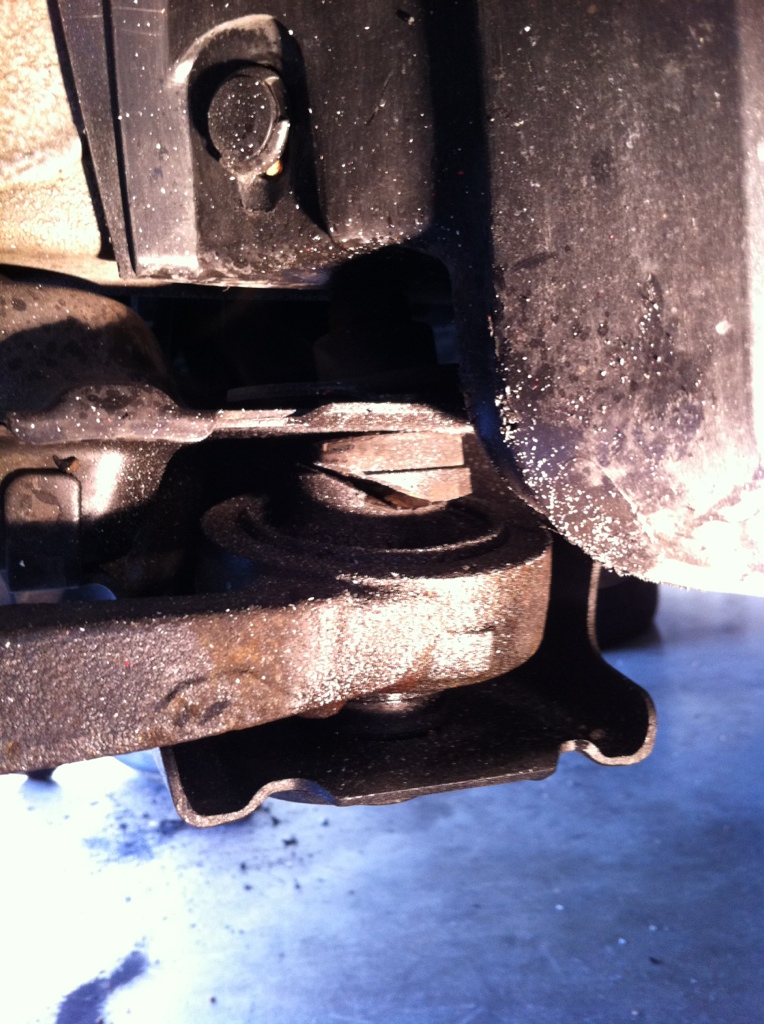
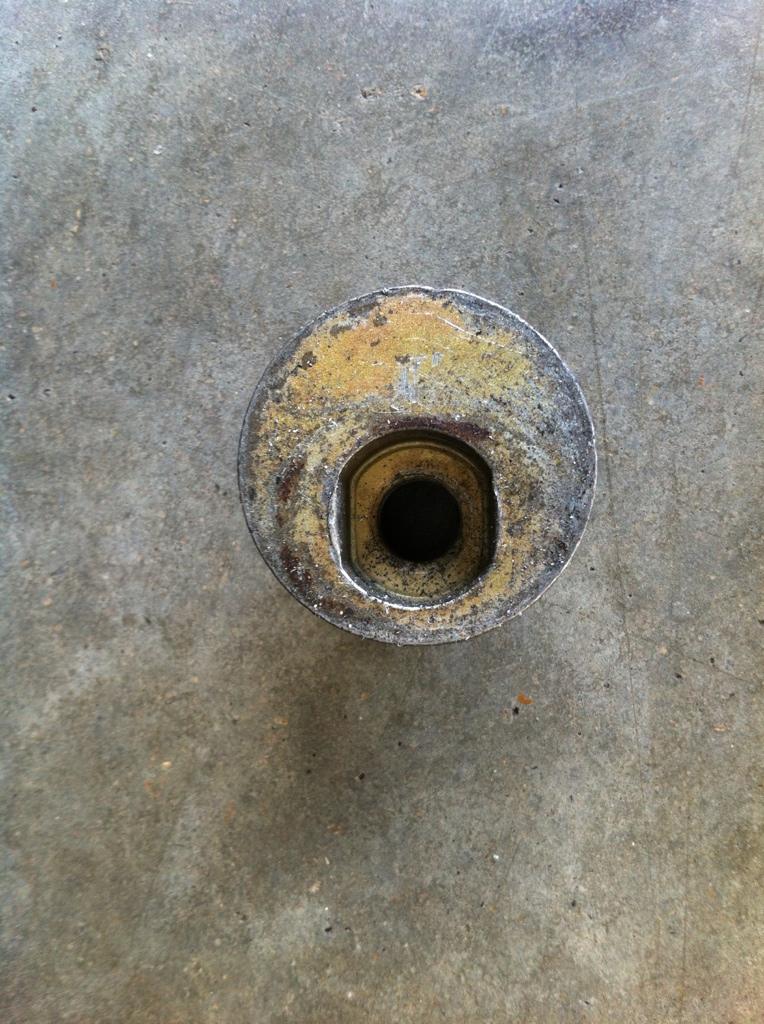
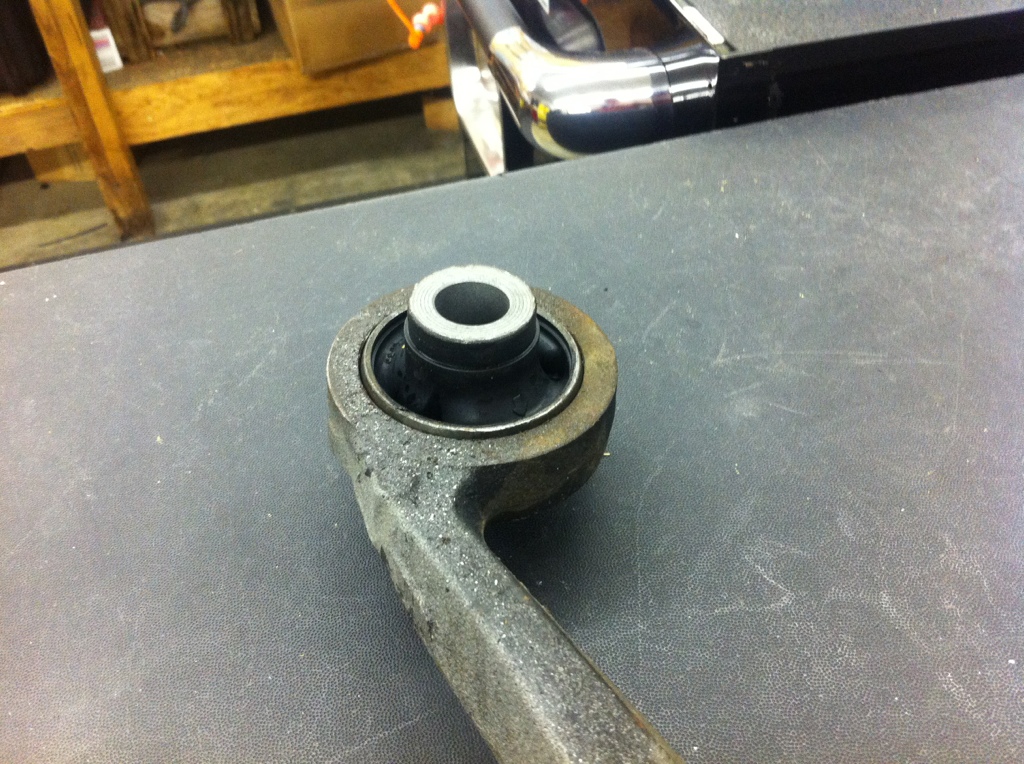
Broken Bushing
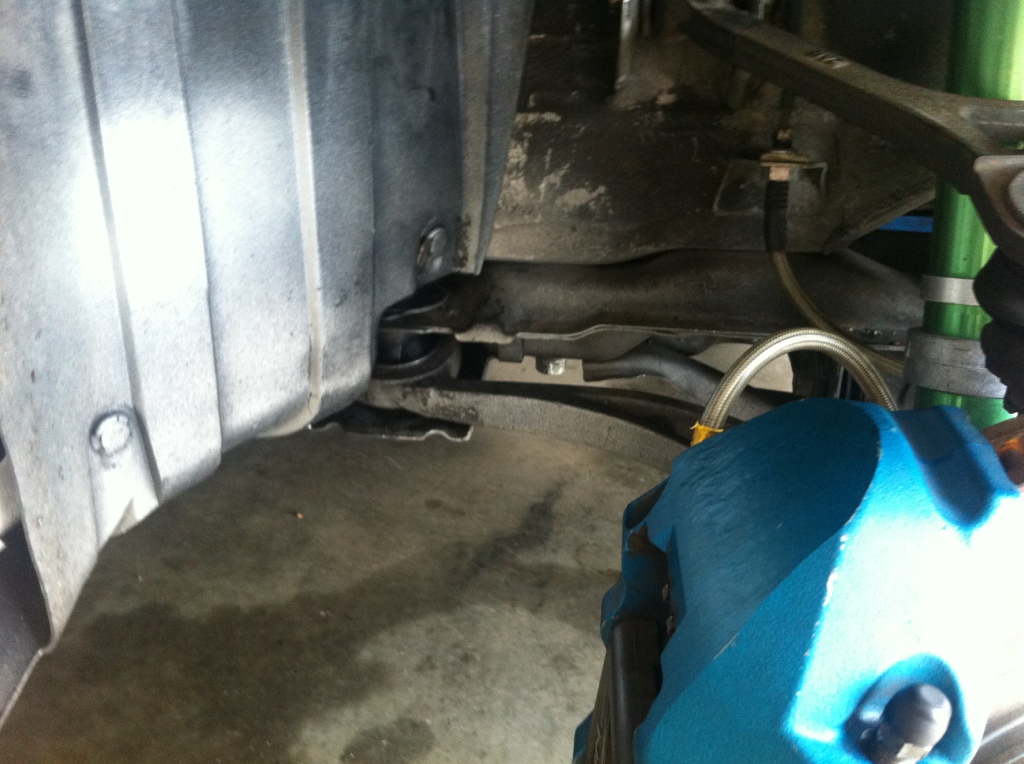
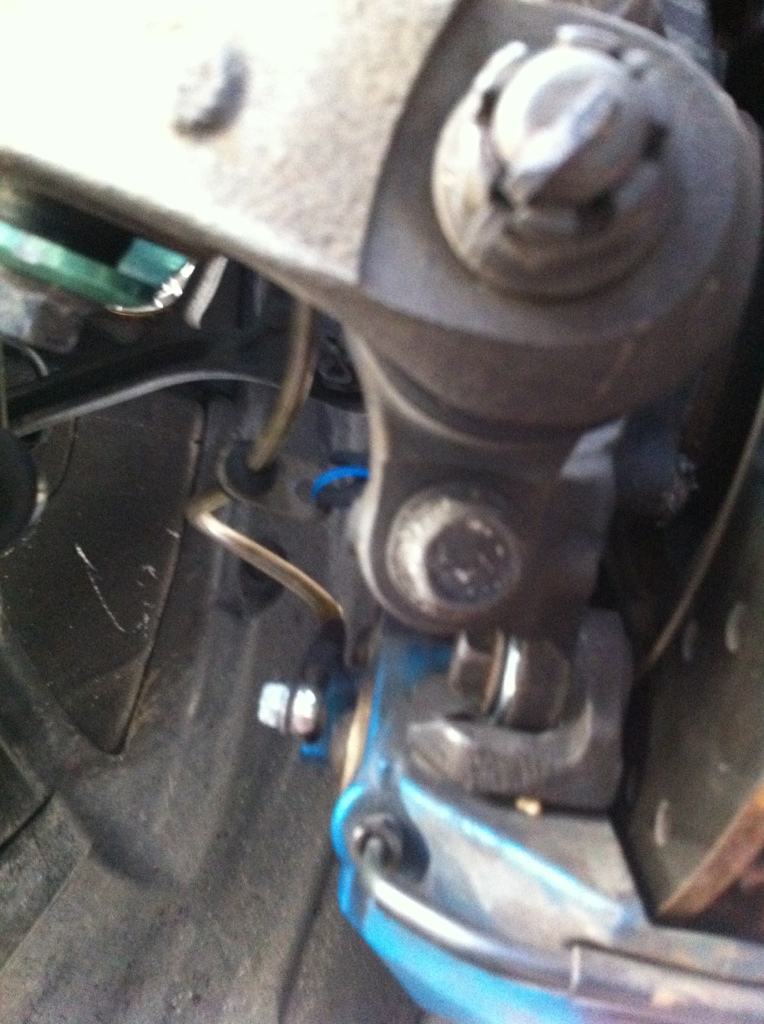
Disassemble the suspension
Front Lower control arm bushing camber bolt remove, sway bar end link remove (make sure the car is level as in both sides are off the ground), Coilover Bolt, and the 2 bolts that hold the ball joint to the hub. Now for the Compliance Bushing, take the small long bolt out. The cam bolt with eccentric will most likely be seized to the bushing, there's no point in even turning it, it's not threaded to the top nut with eccentric.
Now take the saw zaw with a metal cutting blade and cut above the compliance bushing and below it so the control arm will be free.
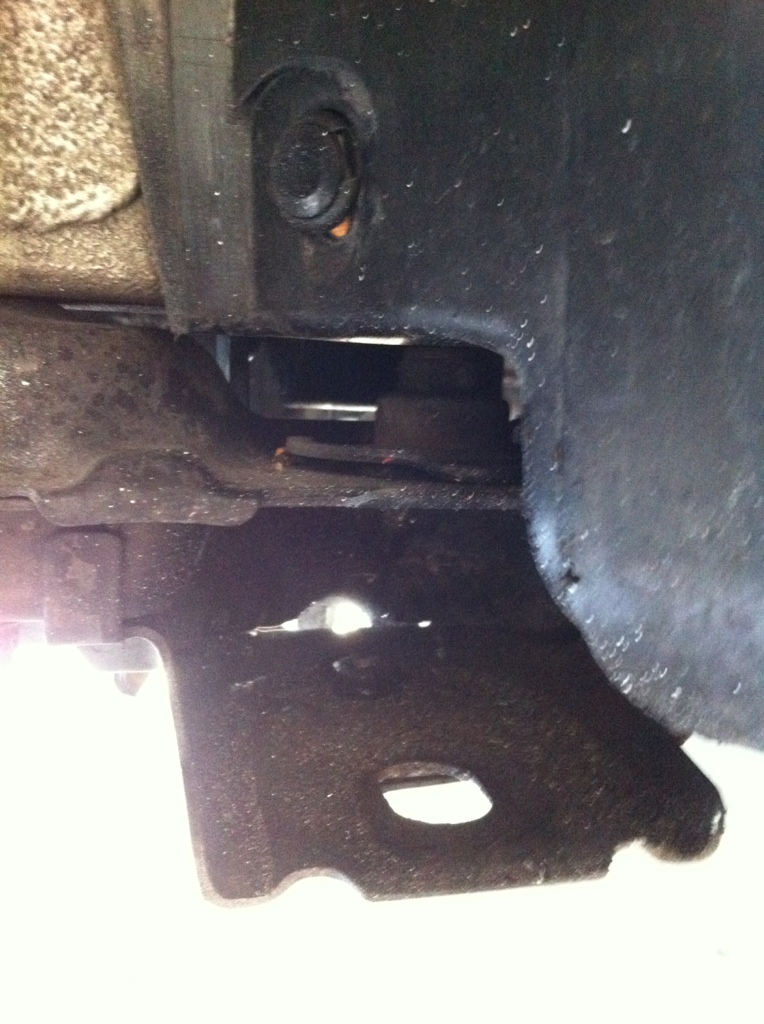
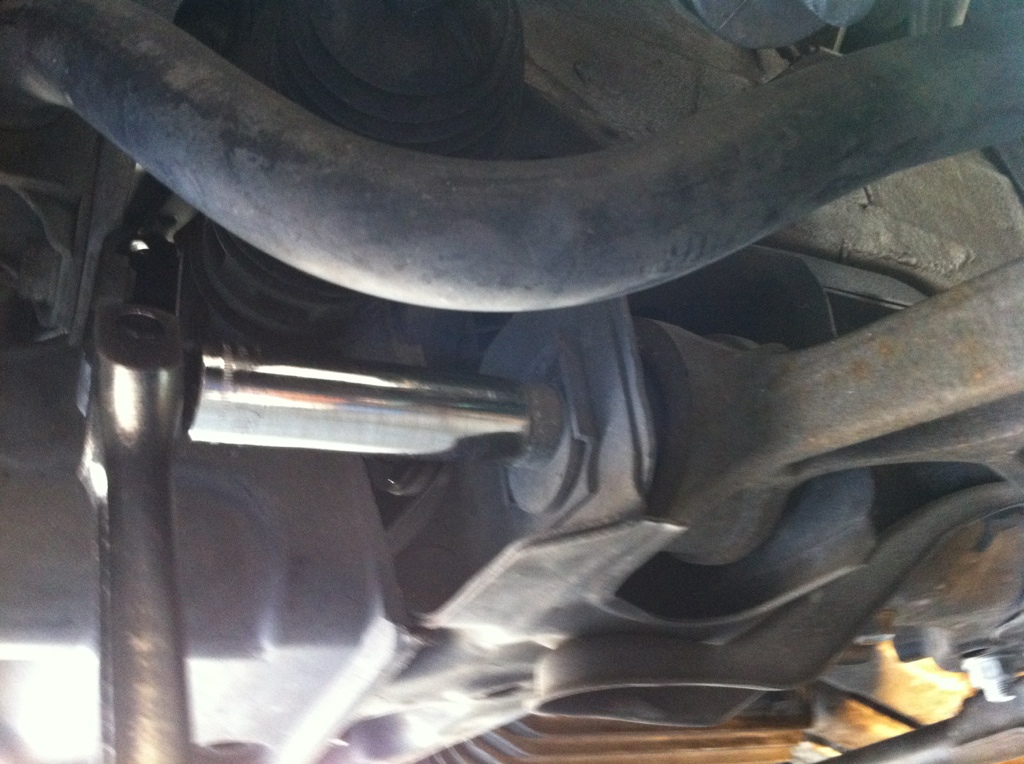
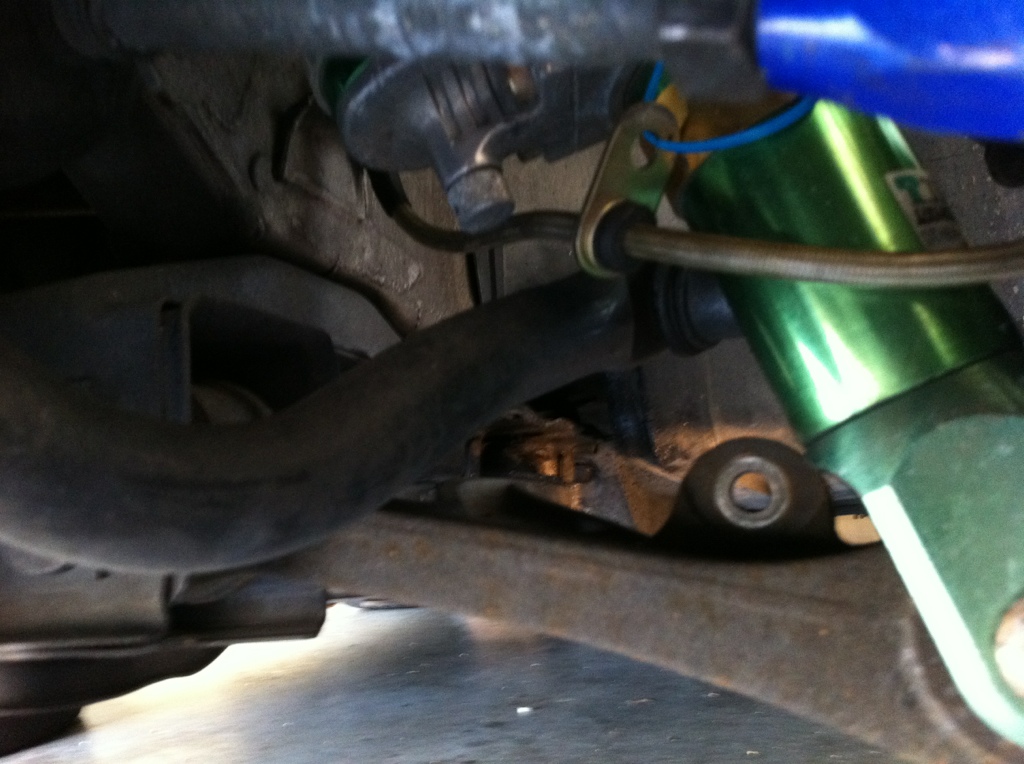
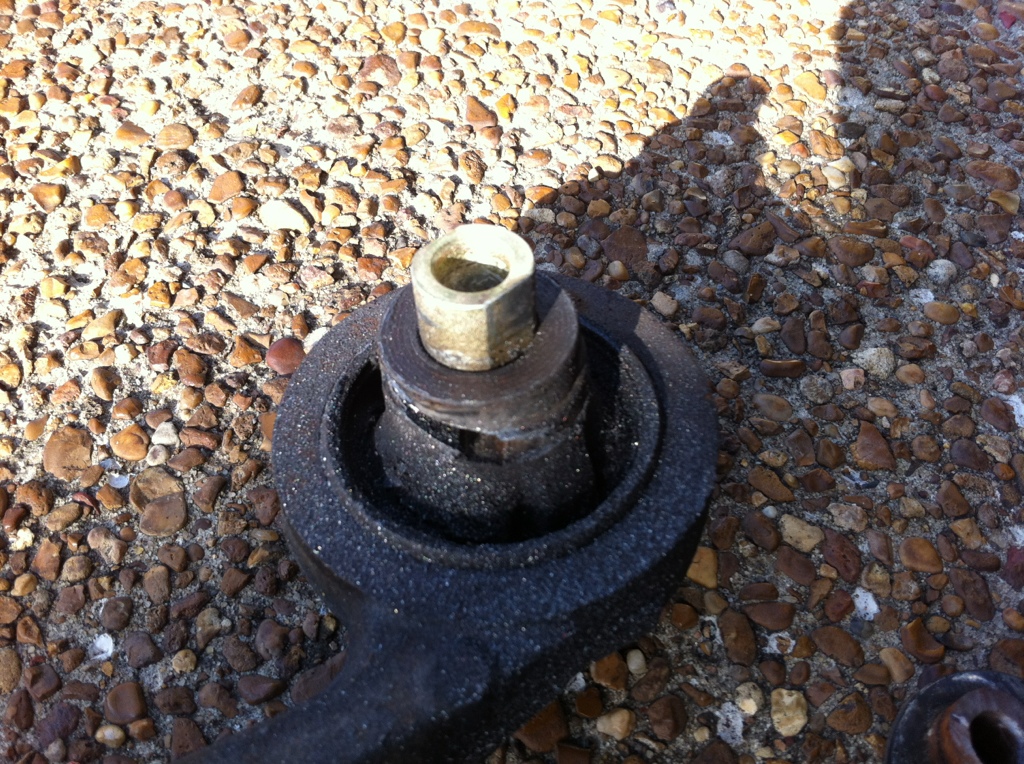
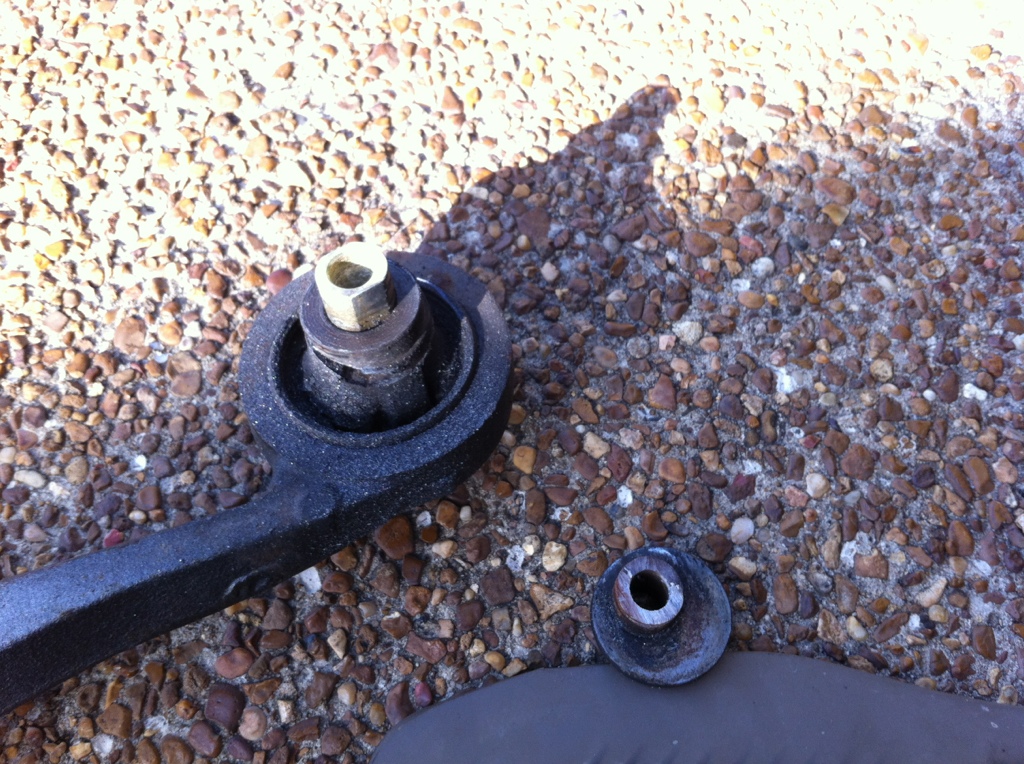
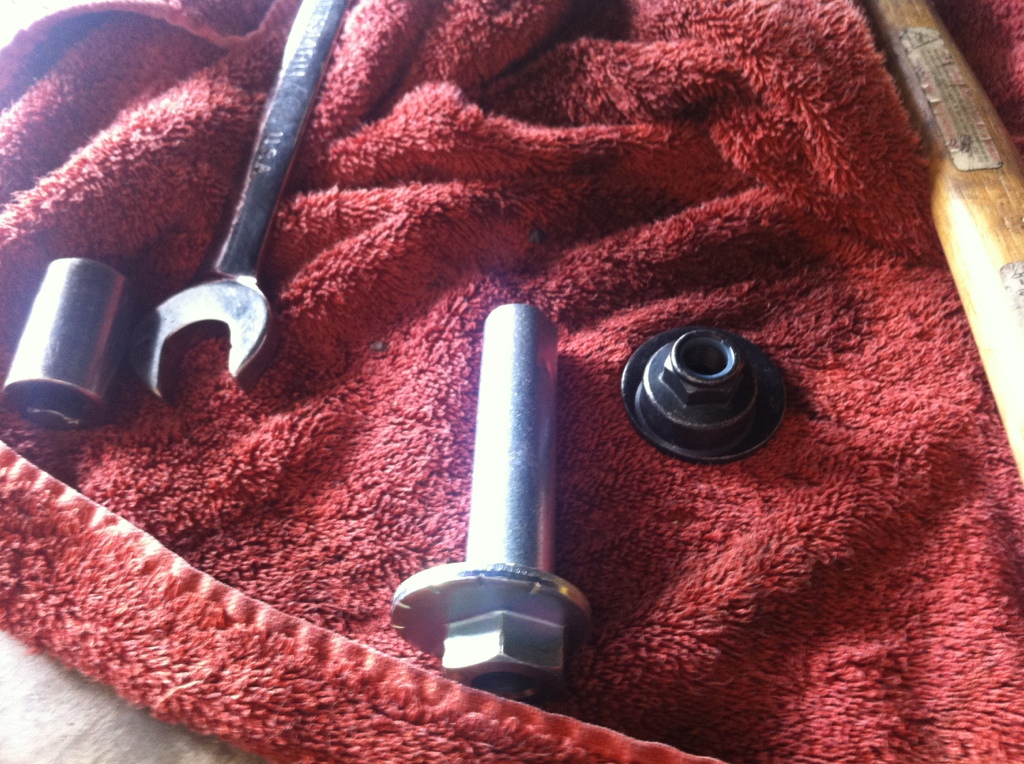
Pictures of the top cam nut
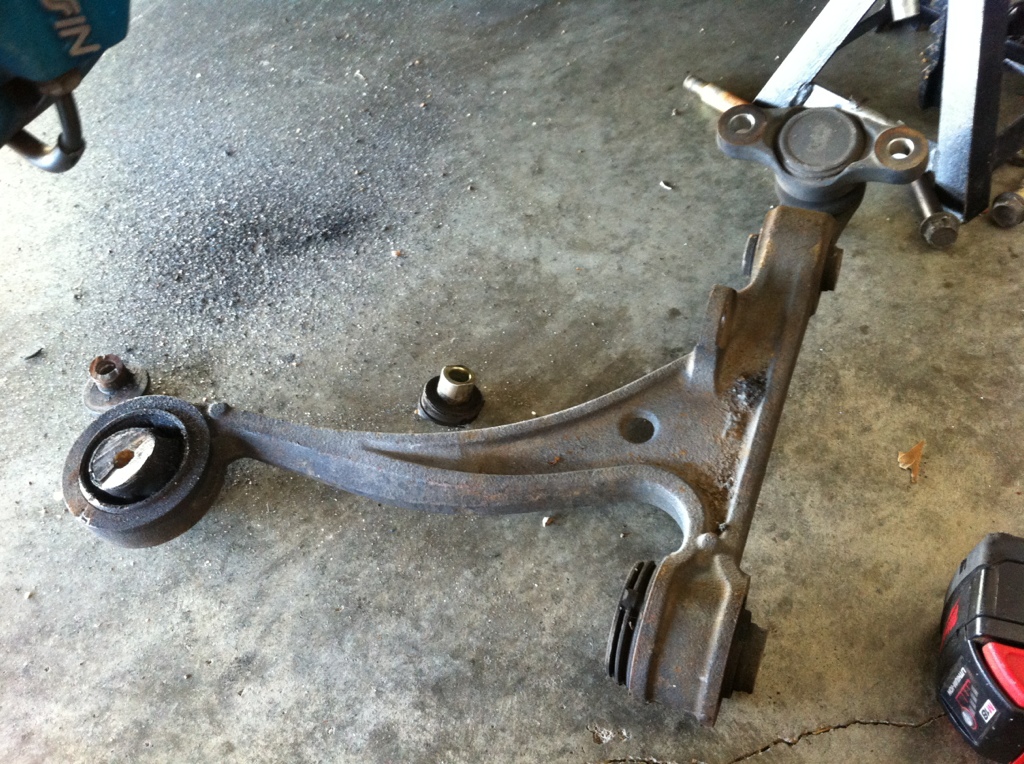
Random pictures of the old parts put together
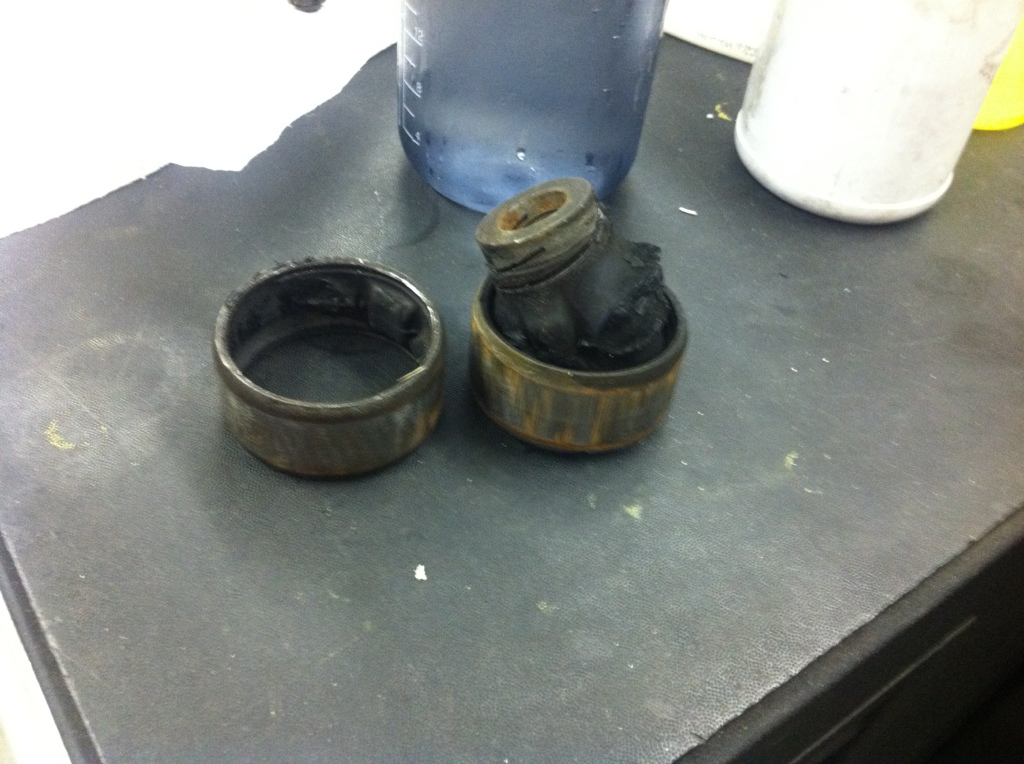
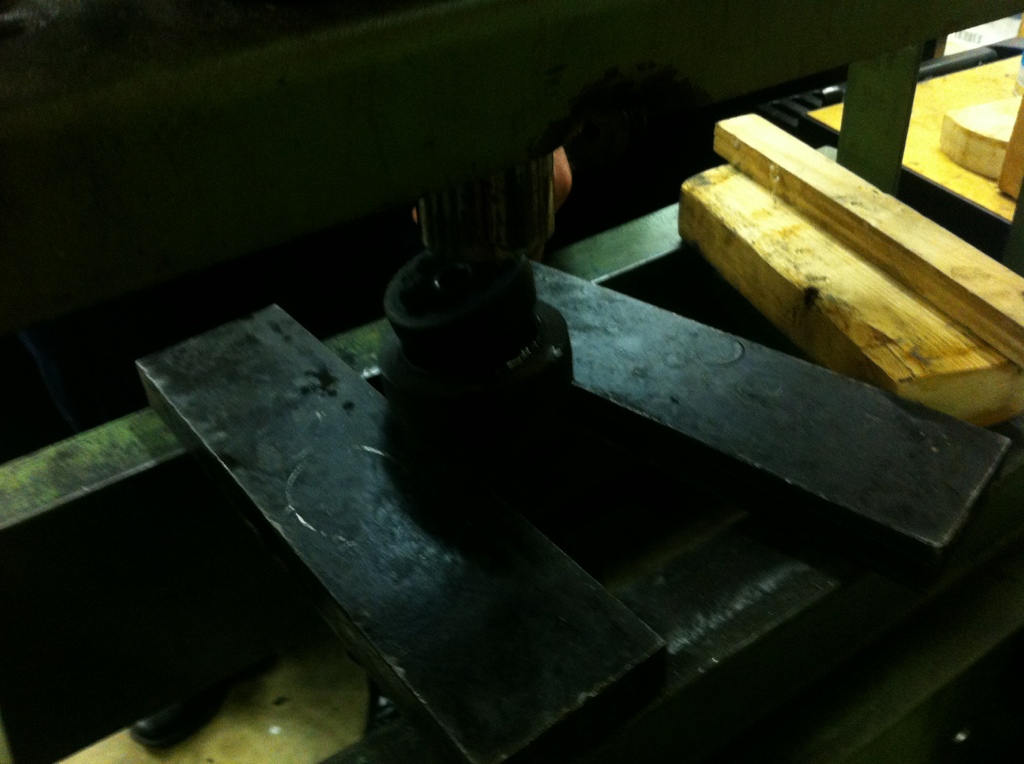
Now take the arm and press the bushing out. I pushed the rubber out first and then the metal ring. This allowed me to re use the metal ring to press the new bushing in. I would not press the new one it but the rubber. I just made the distance the metal ring stuck out even on both sides.
New Bushings In
New Cam Bolt
And then re-asymbyle make sure to put the eccentrics on the sides they cam off of not 180 off. Then Get a alignment and enjoy.
Things needed
Saw Zaw
Blades for cutting heavy metal
Basic Tools
Shop Press
Before you get started here, you need to order Replacement Cam Bolts from Honda, The top cam bolt eccentric nut is not required to change, there's no reason for you to put a wrench on it, if you do you will strip it. You will also need access to a press if you don't have one. It would also be wise to mark all the eccentrics in the location they were prior to disassembly so that the alignment will be closer for you to go to a rack.
New bushings
Broken Bushing
Disassemble the suspension
Front Lower control arm bushing camber bolt remove, sway bar end link remove (make sure the car is level as in both sides are off the ground), Coilover Bolt, and the 2 bolts that hold the ball joint to the hub. Now for the Compliance Bushing, take the small long bolt out. The cam bolt with eccentric will most likely be seized to the bushing, there's no point in even turning it, it's not threaded to the top nut with eccentric.
Now take the saw zaw with a metal cutting blade and cut above the compliance bushing and below it so the control arm will be free.
Pictures of the top cam nut
Random pictures of the old parts put together
Now take the arm and press the bushing out. I pushed the rubber out first and then the metal ring. This allowed me to re use the metal ring to press the new bushing in. I would not press the new one it but the rubber. I just made the distance the metal ring stuck out even on both sides.
New Bushings In
New Cam Bolt
And then re-asymbyle make sure to put the eccentrics on the sides they cam off of not 180 off. Then Get a alignment and enjoy.


 Great job. Added to FAQ
 03-09-2012, 12:49 AM
#5
Registered User

Join Date: Jan 2006
Location: 17 ft below sea level.
Posts: 4,949
Likes: 0
Received 20 Likes
on
15 Posts
BTDT 


And all by hand......
Drive your S2000 year round, through rain, snow and salted roads and you will end up doing this.
According to Honda NL, this is normal, as you're not supposed to drive through rain
About the front lower compliance bushing: I hope you lined it up right.
There are 2 triangles (arrows) molded in the rubber, that are supposed to go north-south (or east-west - no picture to check and I forgot) to have the "compliance" in the right direction.
The rubber in the compliance bushing isn't a uniform shape, it has thinner parts that allow more movement in one direction.


