View Poll Results: Was this helpful?


Moderate Helpful


0
0%


Voters: 28. You may not vote on this poll
DIY: Engine Removal / Rebuild**updated 9/29/2012**
 09-28-2012, 04:33 PM
#1

Well S2KI, Im sure some of you had seen my prior post of looking for DIY on Engine Removal but i didnt have any helpful responses or answers so i have been lurking and searching for past 3 weeks. I have finally found what i needed and im gonna share this process with the board and hope that this helps anyone else that was needing a walkthrough or assistance.
--any feedback would be great, also let me know if you need a picture of a specific part so i can definitely make it a thorough process with pics to better help--
*This will be updated as I go process*
First note to start off on is why am i needing to do this? Well seeing how as my s2000 has produced a rod knock is why.
---Key to all of this walkthrough is the Repair Manual that can be viewed by this link--->> http://downloads.hon...ce%20Manual.zip
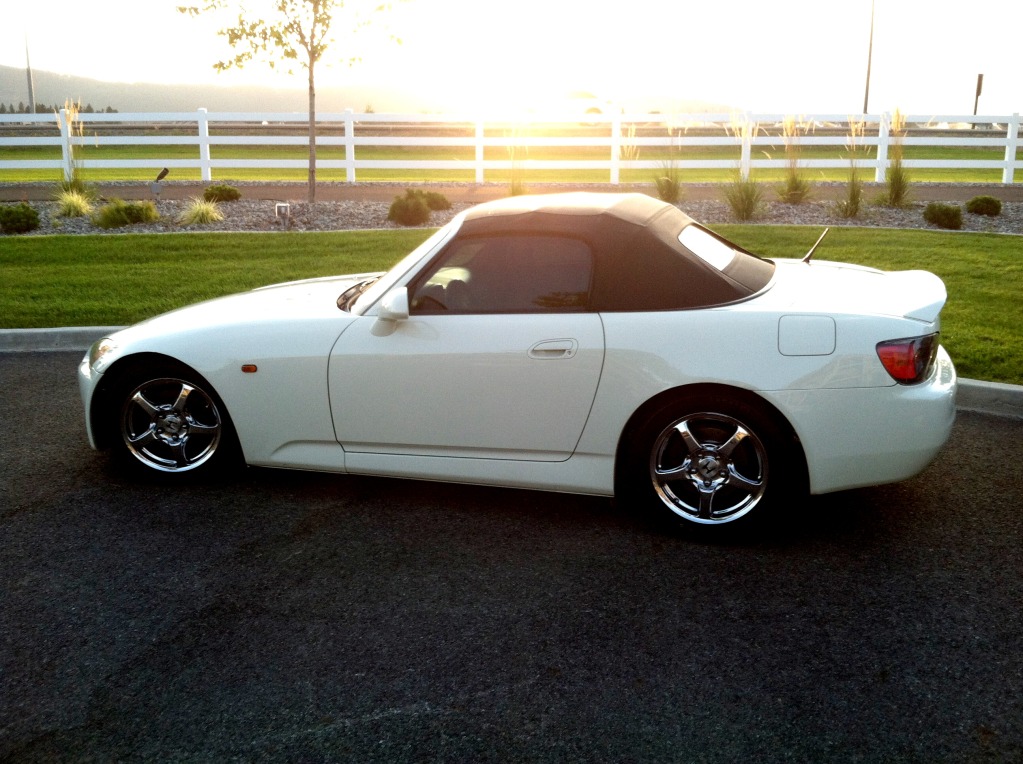
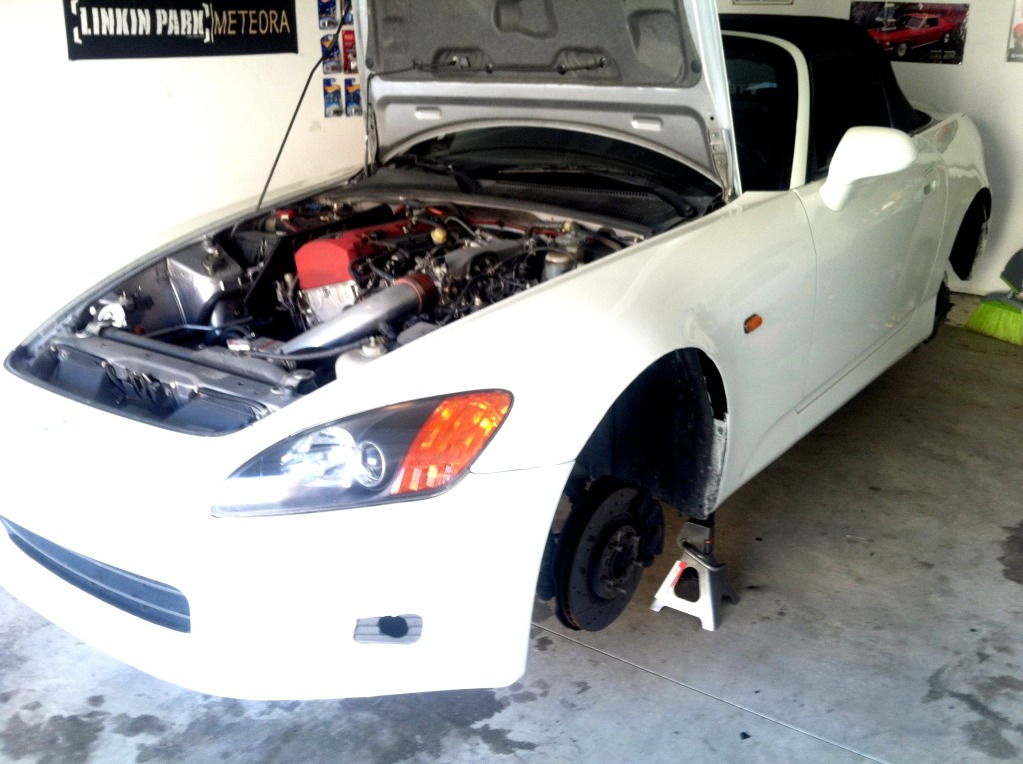
Here is the car :
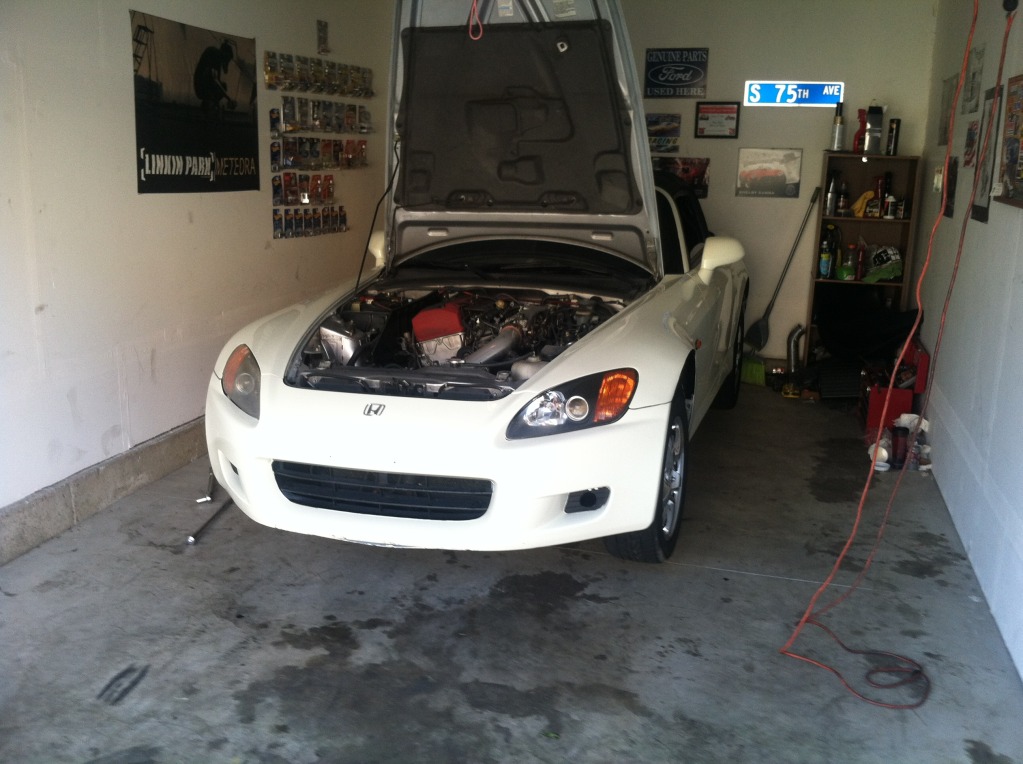
1. First Step was to get car situated in garage, seeing how i dont have a huge shop or anything to do this in. I need to make use of the space I have, thus meant putting car all the way up against back wall to allow for hood clearance of garage opener motor
2. Now you will need a 19mm socket/ and or your lugnut key to loosen lug nuts, then its time to get the car up in the air

3. Remove Lug nuts and Take Wheels off -
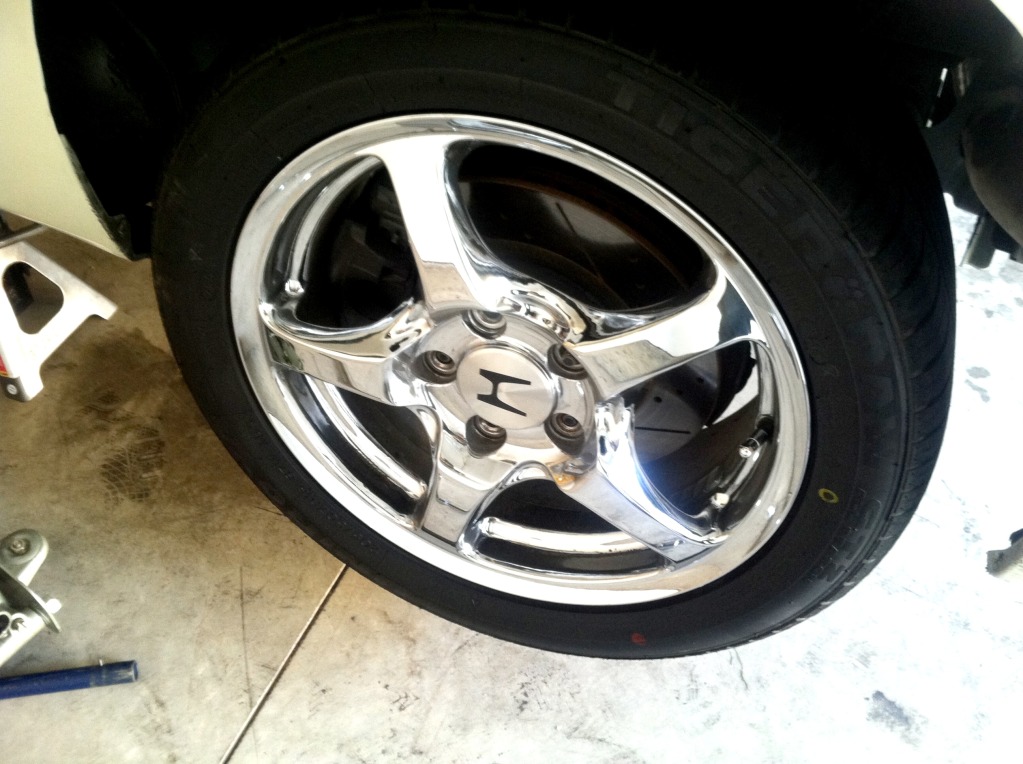
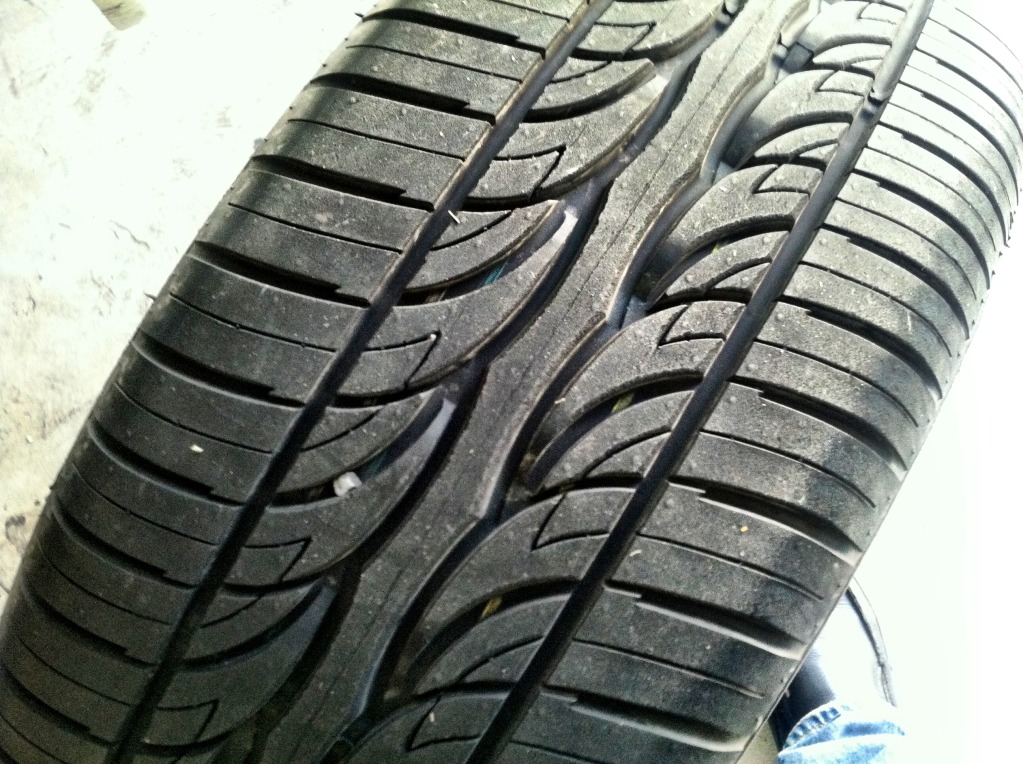
4. Check your tires for any odd wearing or defects (not a must, but i like to do this step)-
5. Once removed you should have something like this -
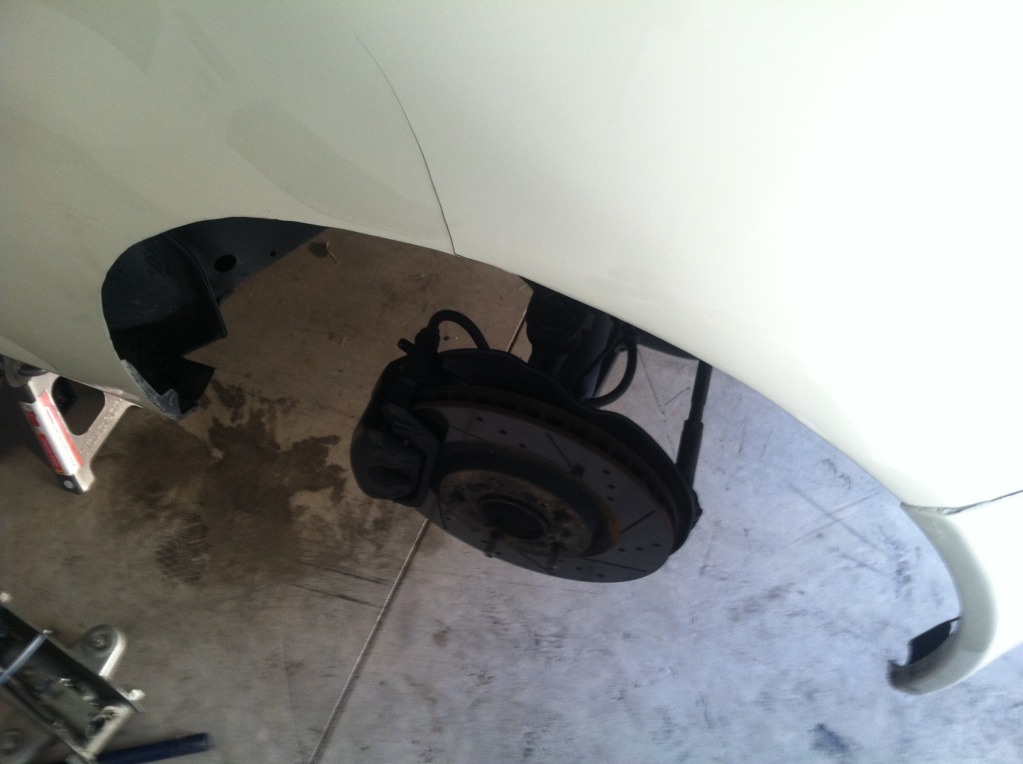
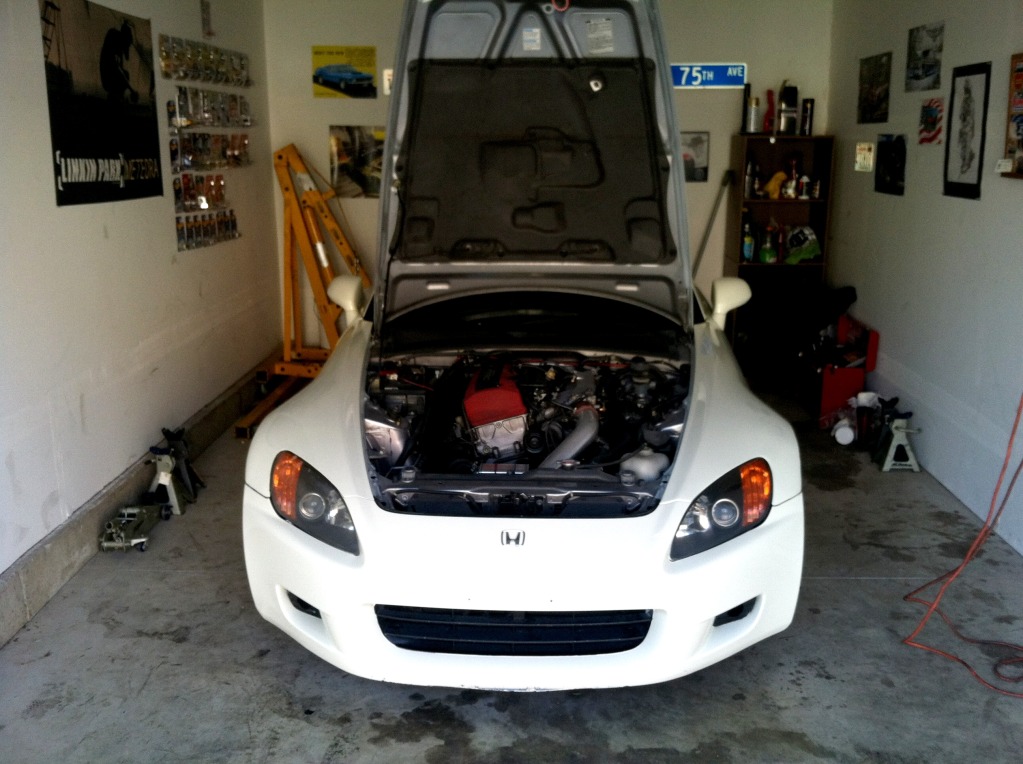
7. Now that your car is wheel/tireless you should be left with this -
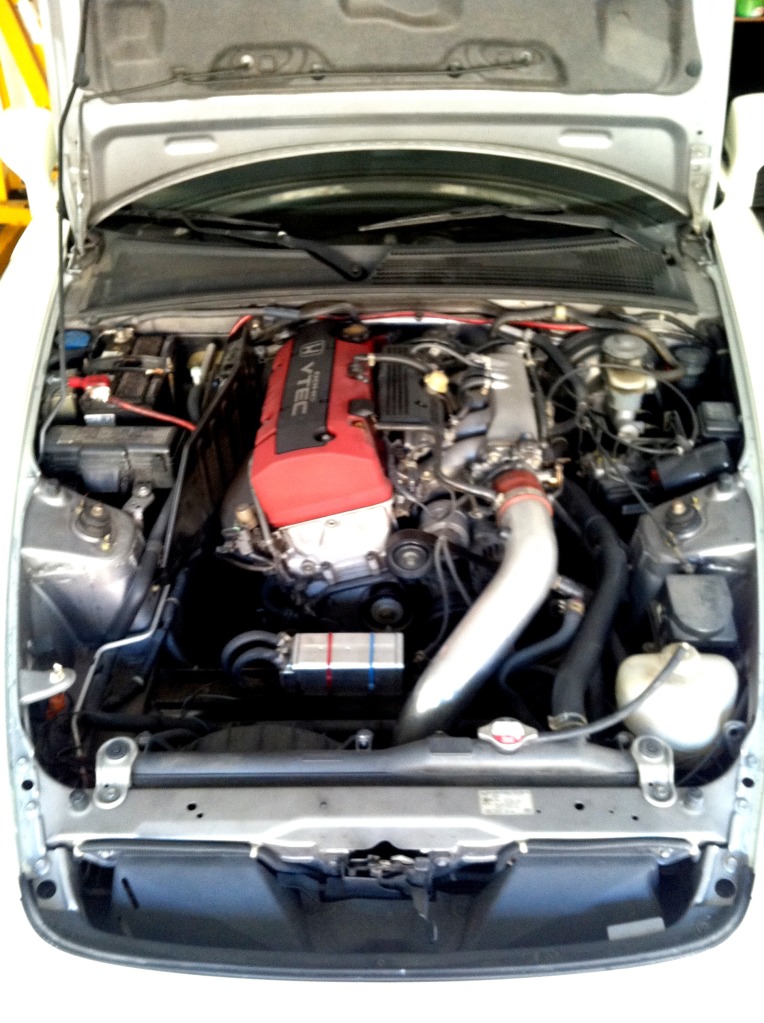
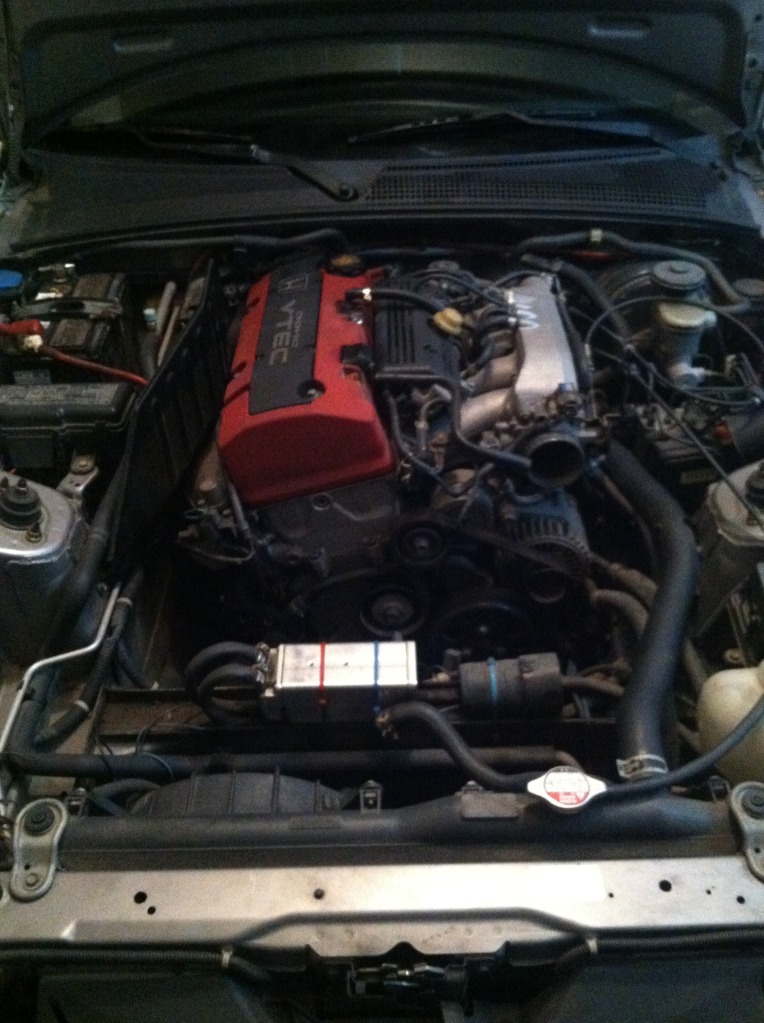
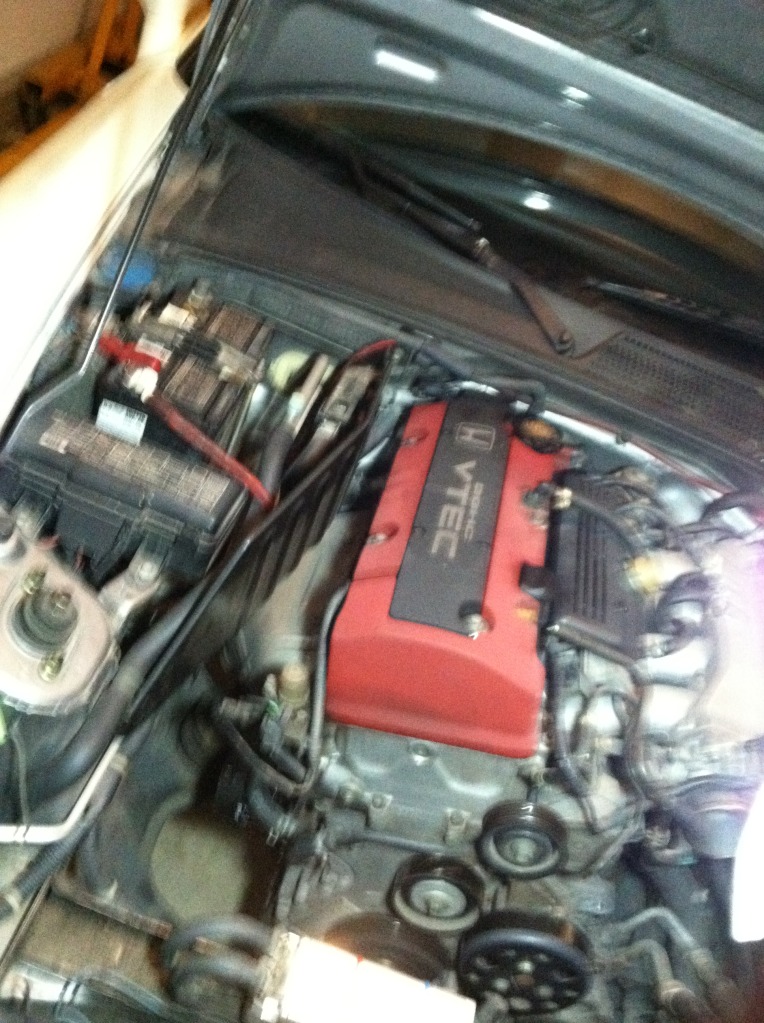
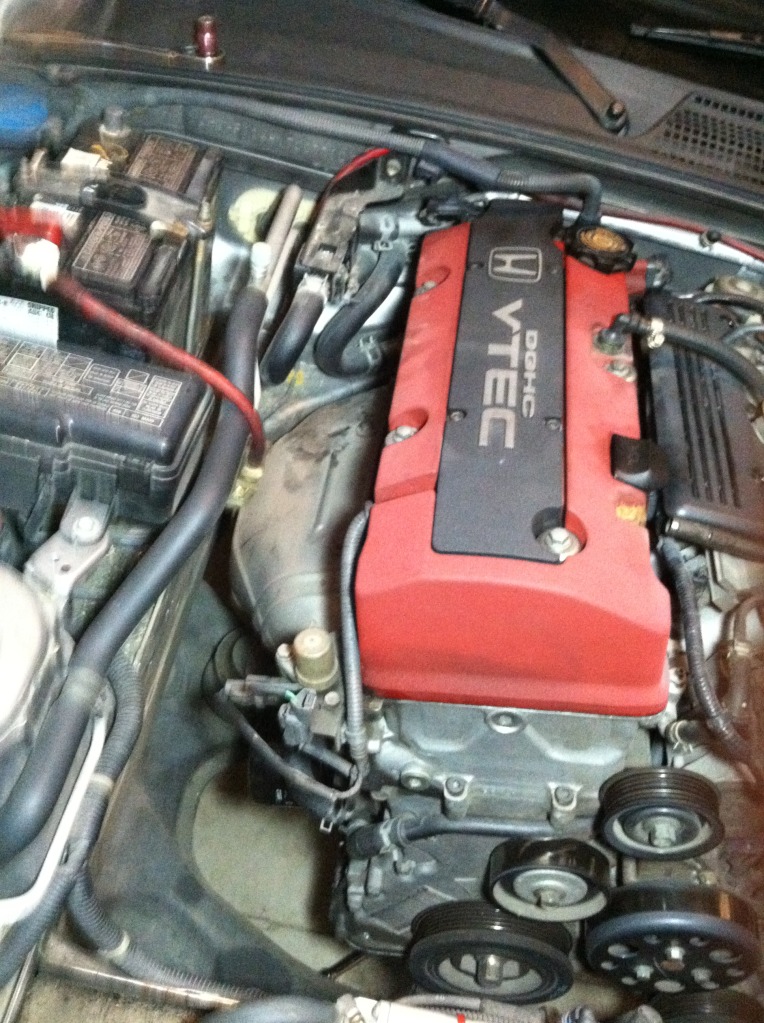
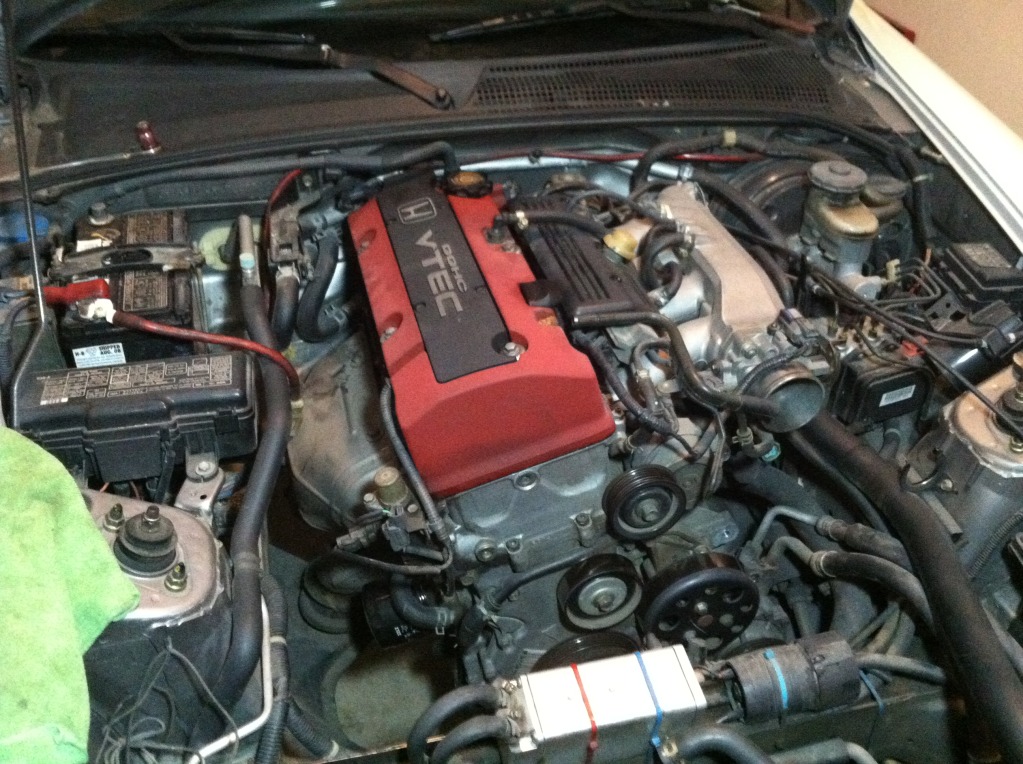
8. Here is the Engine bay before removing anything -

9. Now i know most of us have cold air intakes or aftermarket intake of some sort so we all know how to remove these, I found it the easiest place to start -
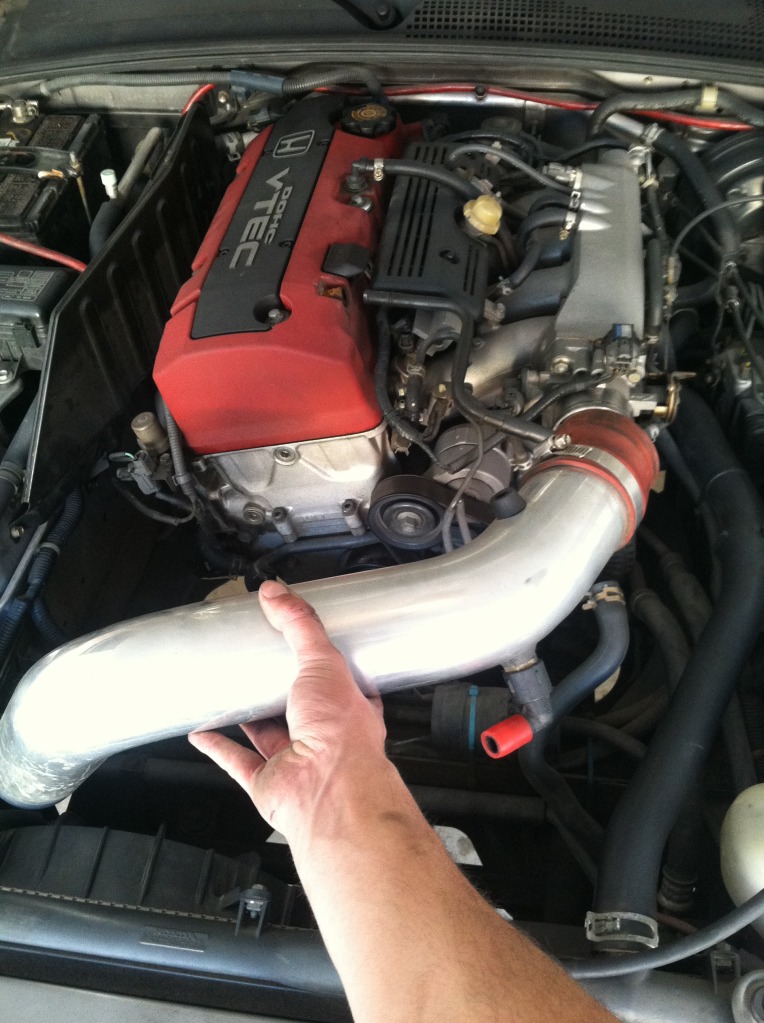
10. The KEY point in any project or job is to stay organized, so try to keep as organized as possible. I find that zip lock baggies to hold bolts and a marker is the best way of going about things so that way you dont loose a bolt or forget.

--any feedback would be great, also let me know if you need a picture of a specific part so i can definitely make it a thorough process with pics to better help--
*This will be updated as I go process*
First note to start off on is why am i needing to do this? Well seeing how as my s2000 has produced a rod knock is why.
---Key to all of this walkthrough is the Repair Manual that can be viewed by this link--->> http://downloads.hon...ce%20Manual.zip
Here is the car :
1. First Step was to get car situated in garage, seeing how i dont have a huge shop or anything to do this in. I need to make use of the space I have, thus meant putting car all the way up against back wall to allow for hood clearance of garage opener motor
2. Now you will need a 19mm socket/ and or your lugnut key to loosen lug nuts, then its time to get the car up in the air
3. Remove Lug nuts and Take Wheels off -
4. Check your tires for any odd wearing or defects (not a must, but i like to do this step)-
5. Once removed you should have something like this -
7. Now that your car is wheel/tireless you should be left with this -
8. Here is the Engine bay before removing anything -
9. Now i know most of us have cold air intakes or aftermarket intake of some sort so we all know how to remove these, I found it the easiest place to start -
10. The KEY point in any project or job is to stay organized, so try to keep as organized as possible. I find that zip lock baggies to hold bolts and a marker is the best way of going about things so that way you dont loose a bolt or forget.
 09-28-2012, 04:36 PM
#2
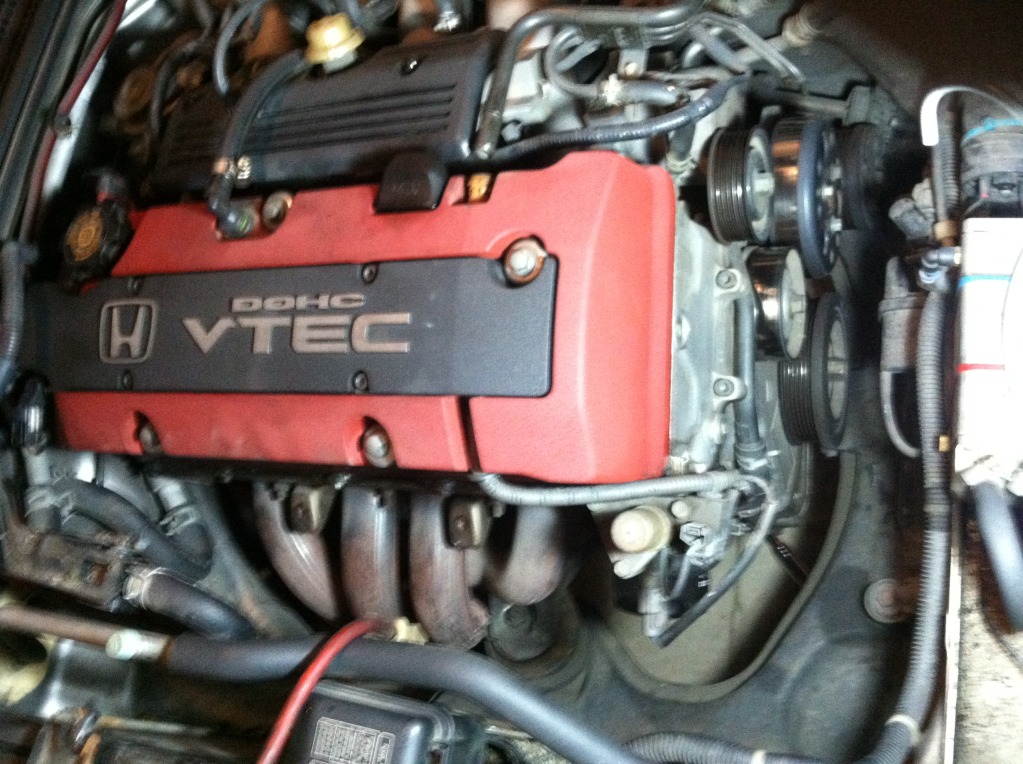
11. So after intake removed engine bay should look something like this-
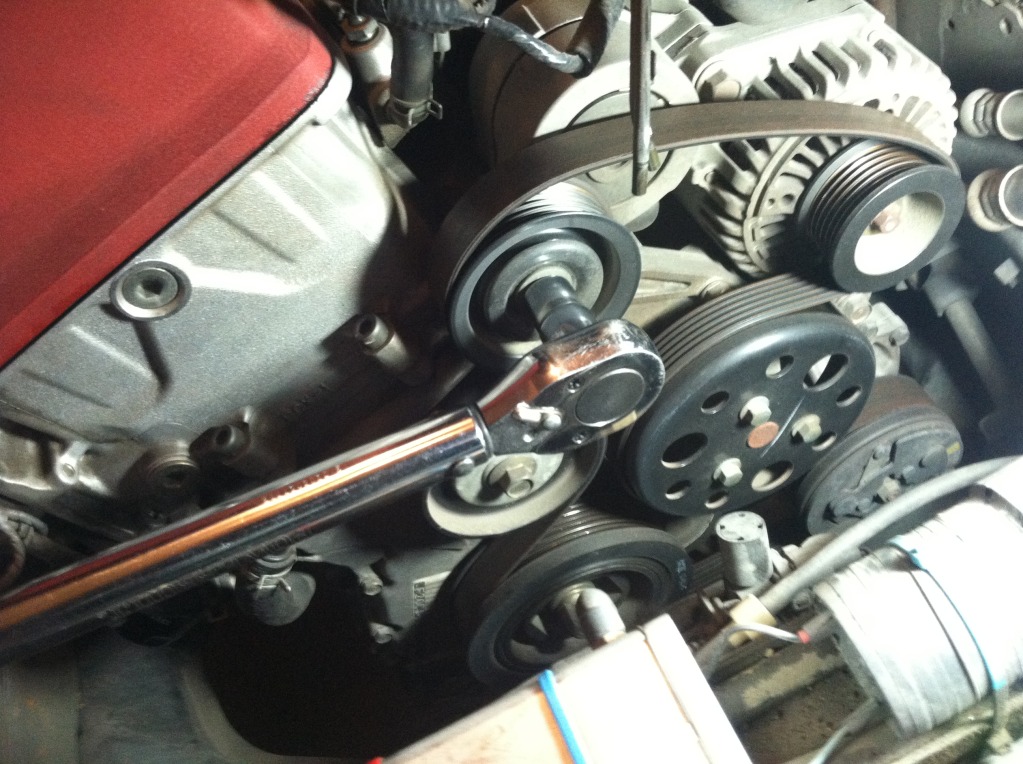
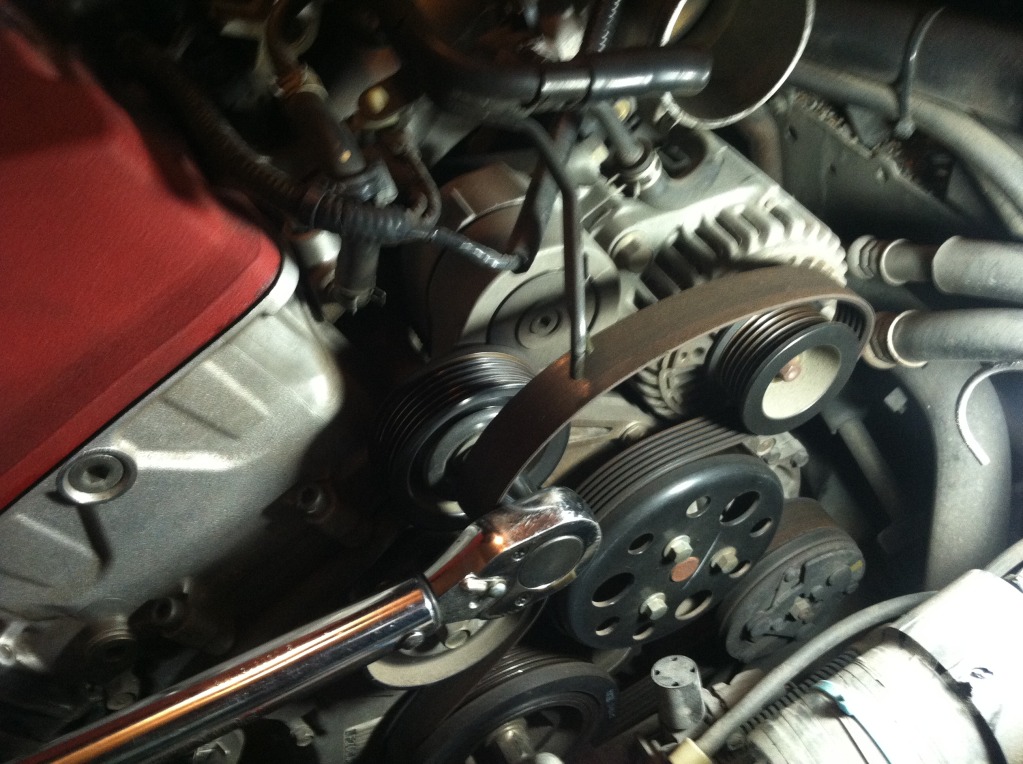
12. Now were gonna get most that we can up top finished first, so next up is to remove serpentine belt. Here is how it looks before removing.-
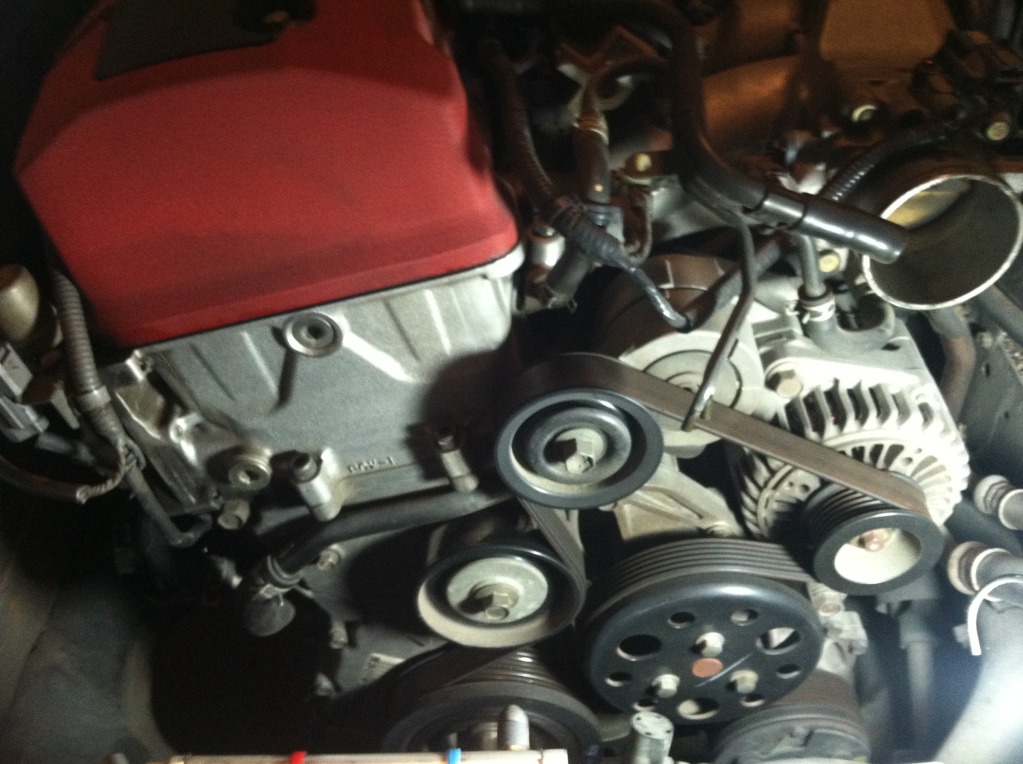
13. Alright now break out your 14mm socket and place it on tensioner as so-
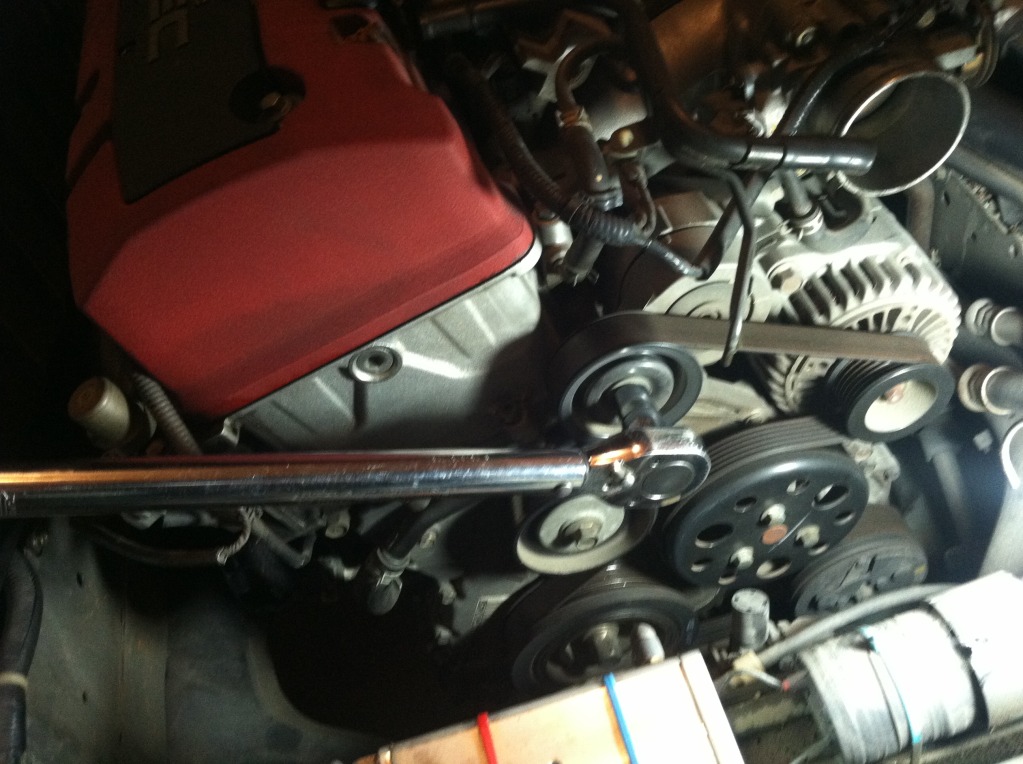
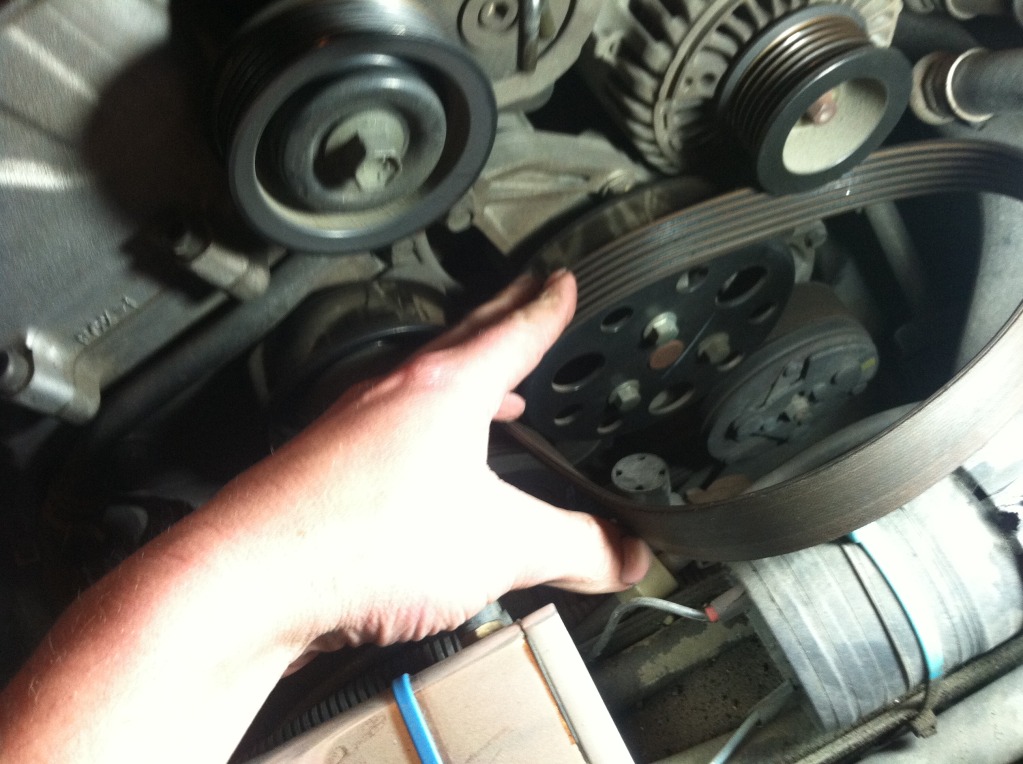
14. Now act as if your loosening the bolt and it will release the tension on belt, then carefully slide off belt..-
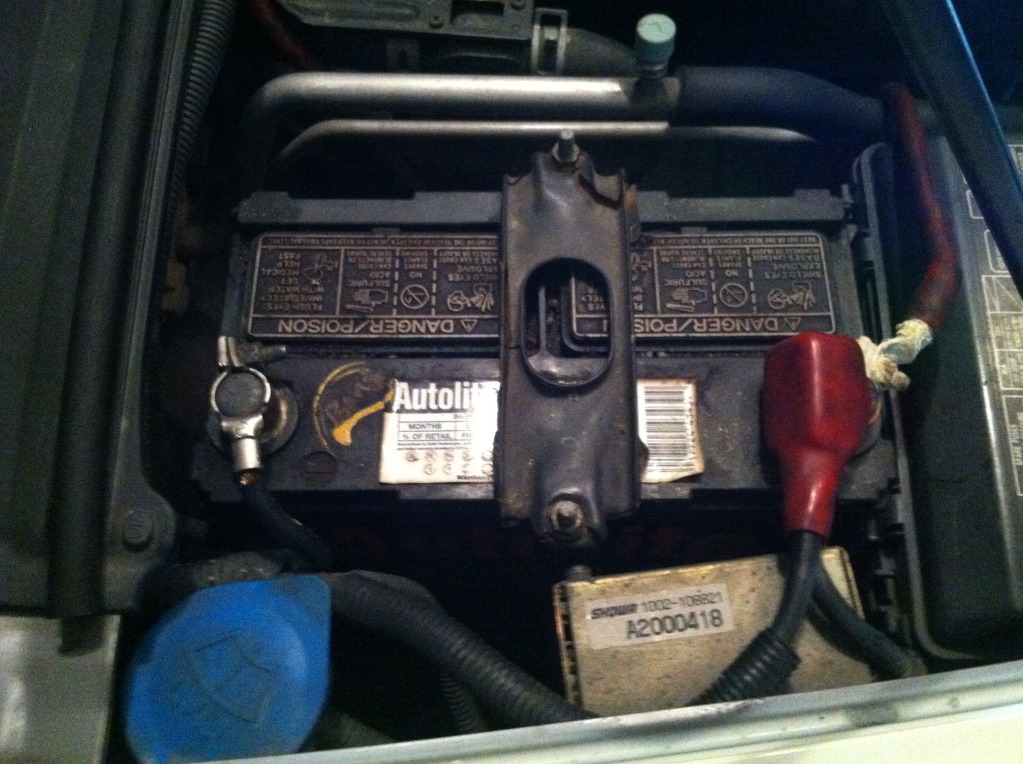
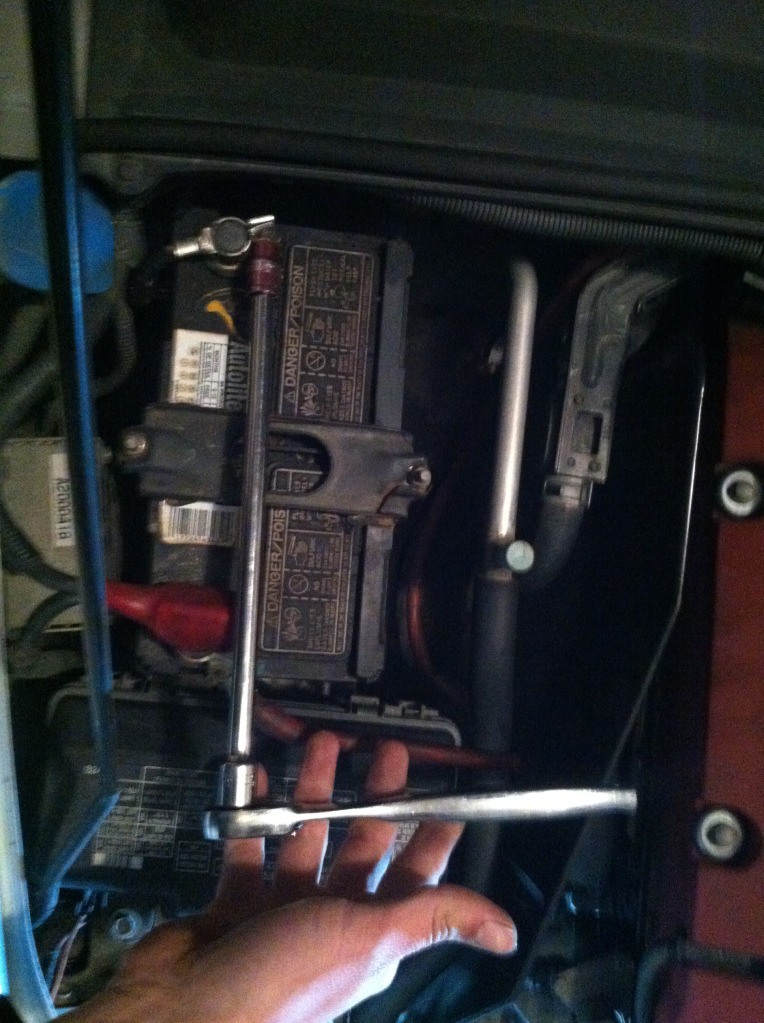
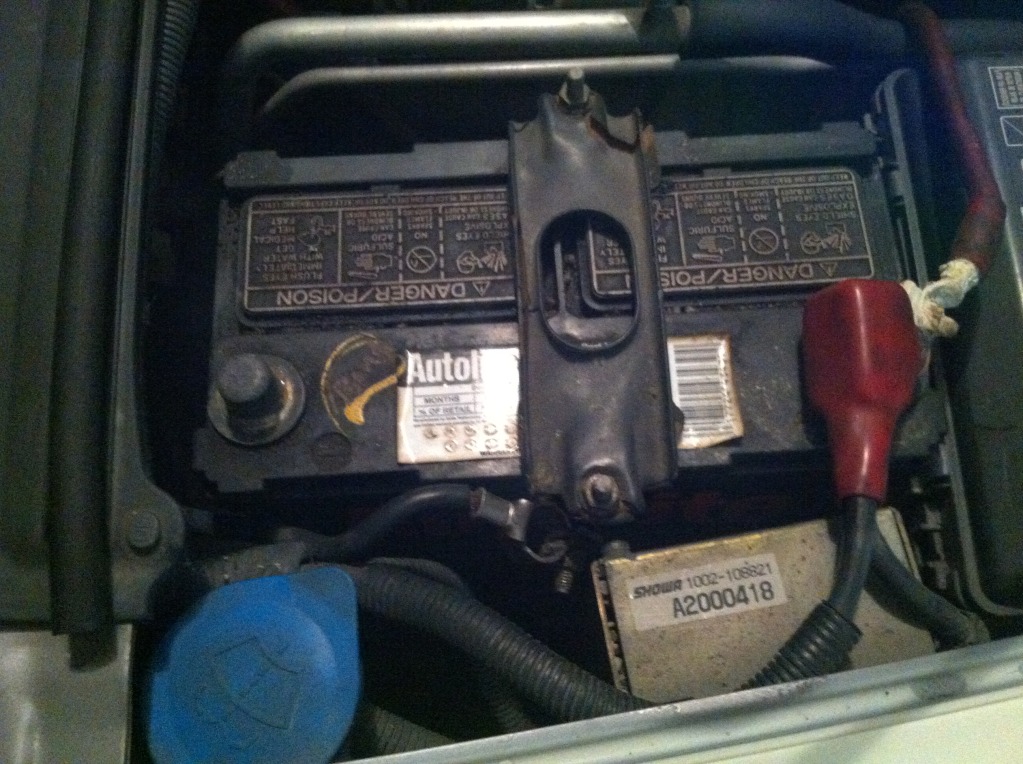
15. Now that its removed were gonna disconnect the battery before going any further (yes extension is a little long but did job) -
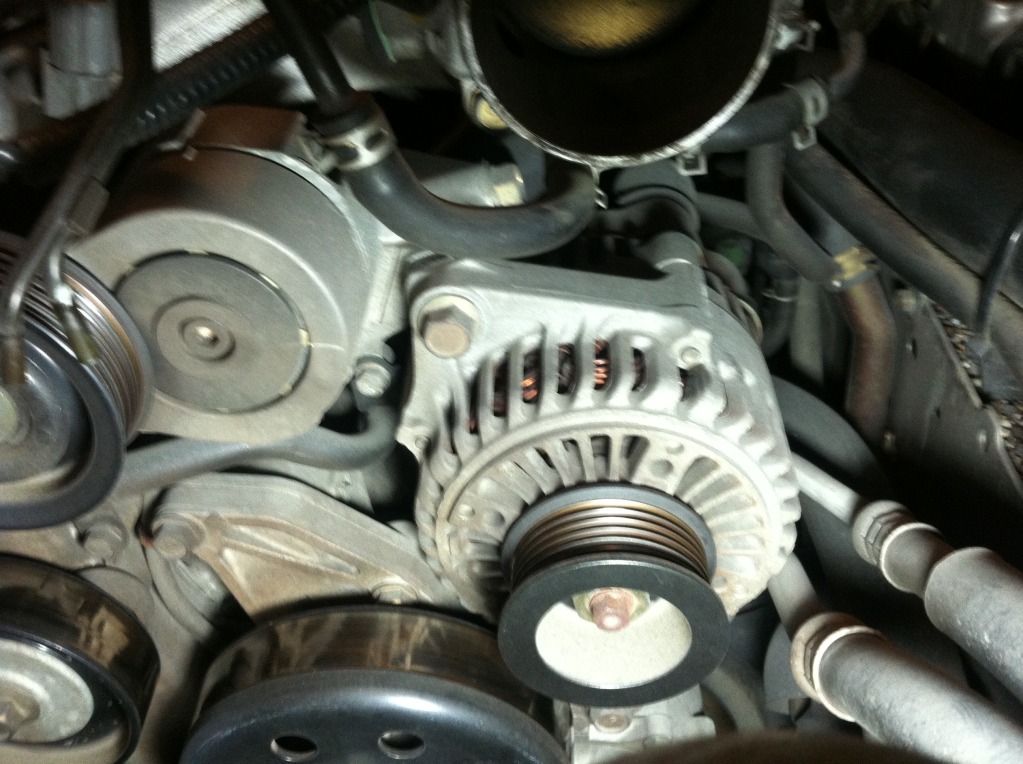
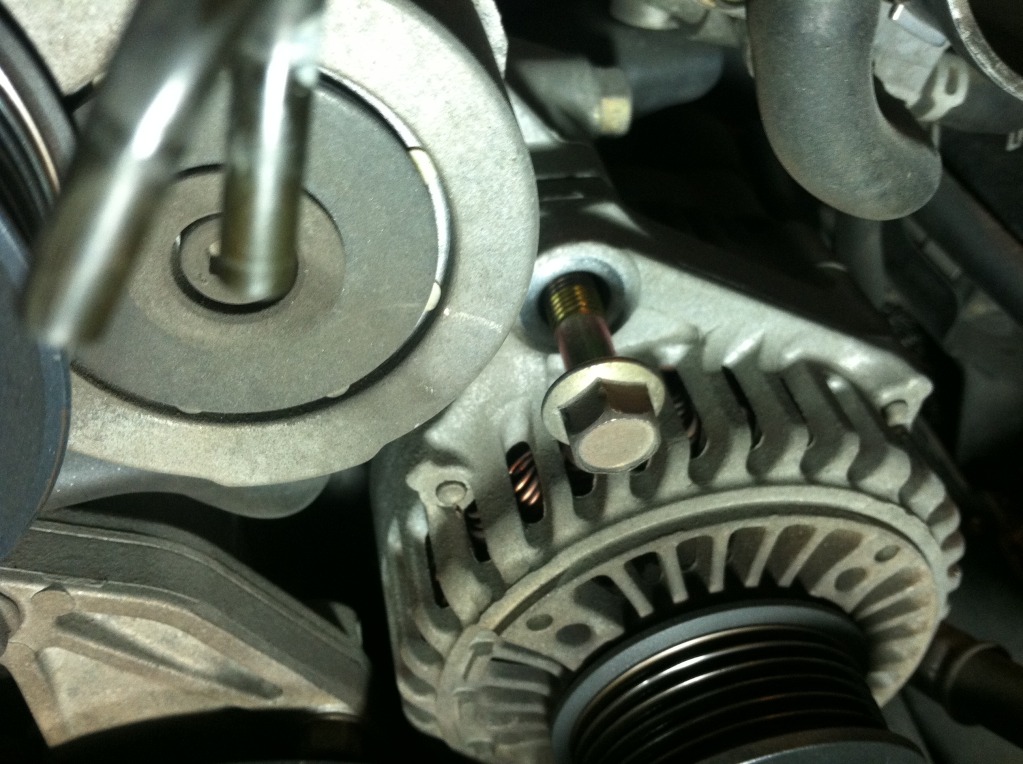
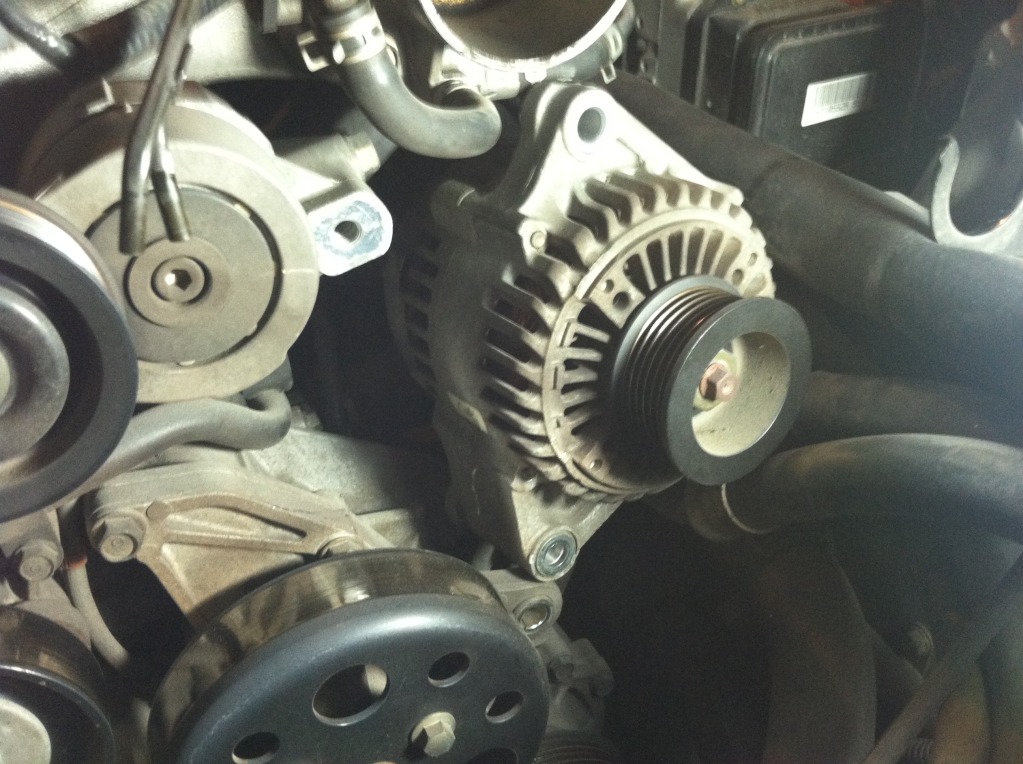
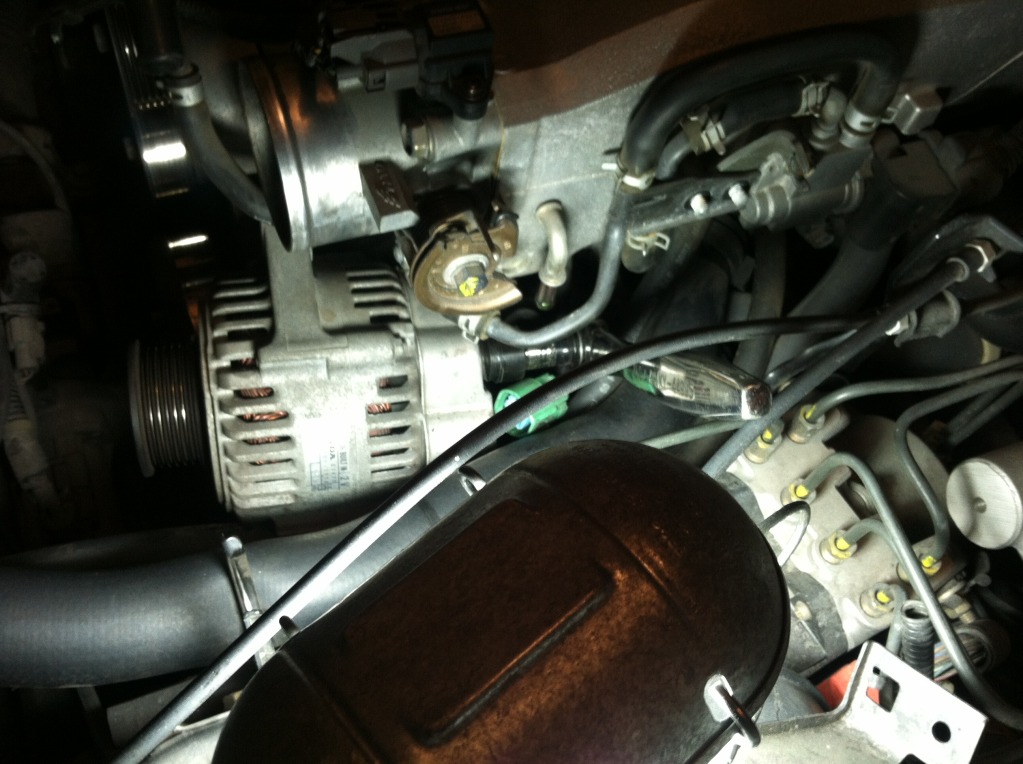
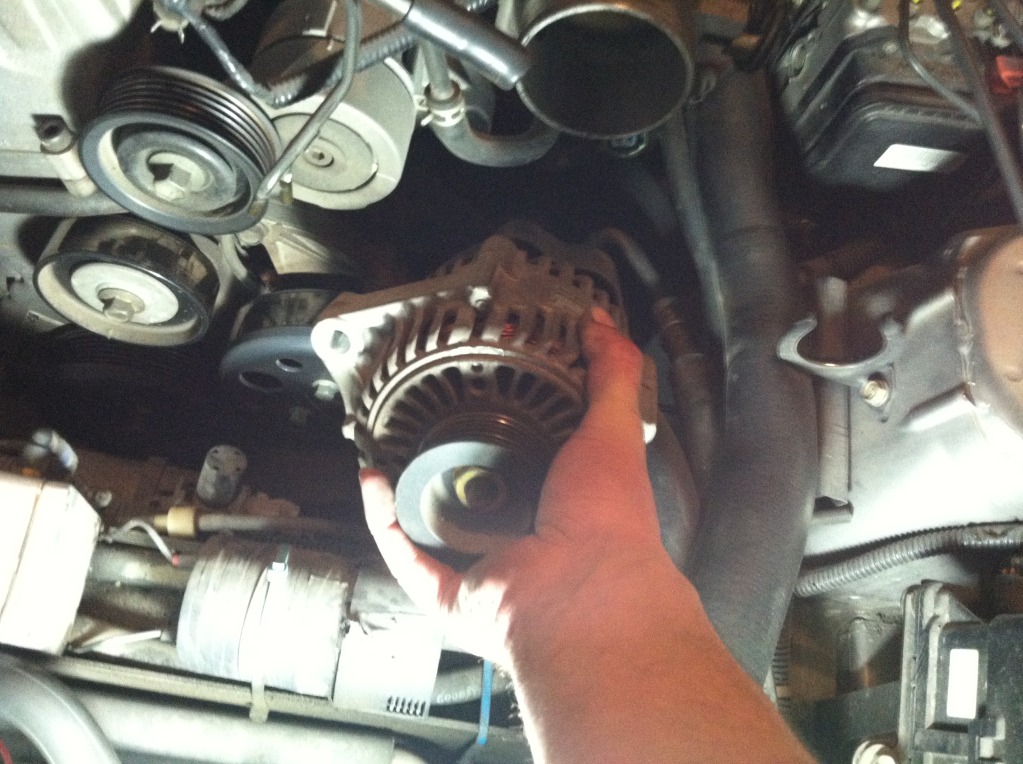
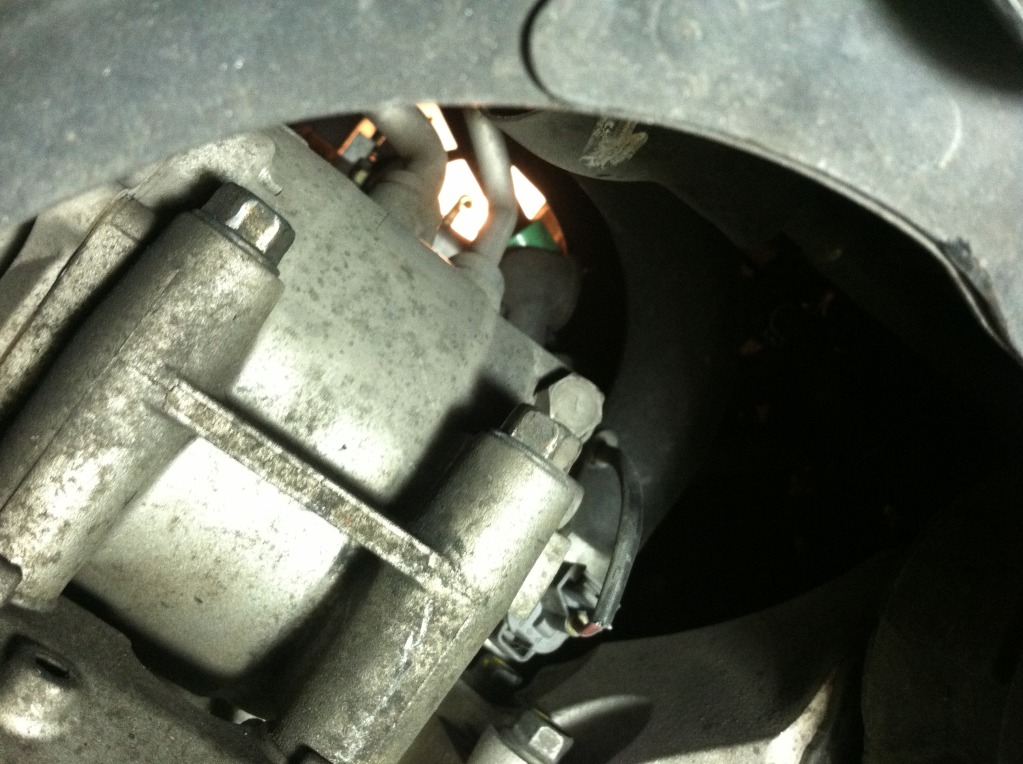
16. Alright so no more power to car, now its time to focus on alternator, but first here is a look at it -
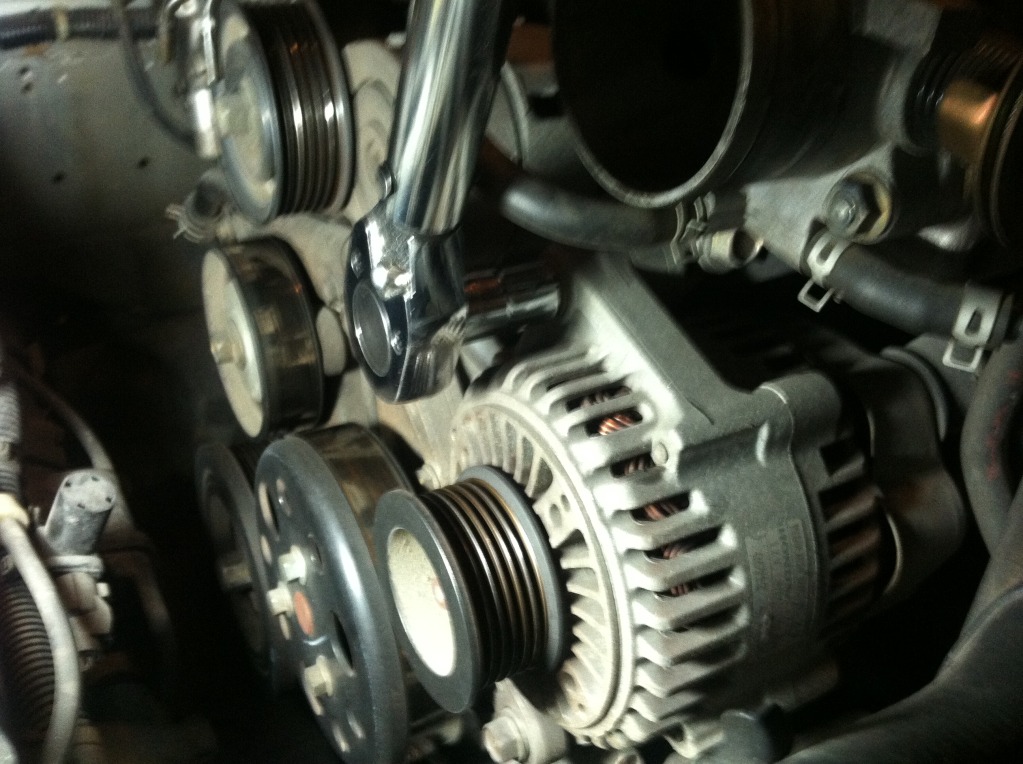
17. We will be using a 14mm socket for the alternator, here is top bolt -
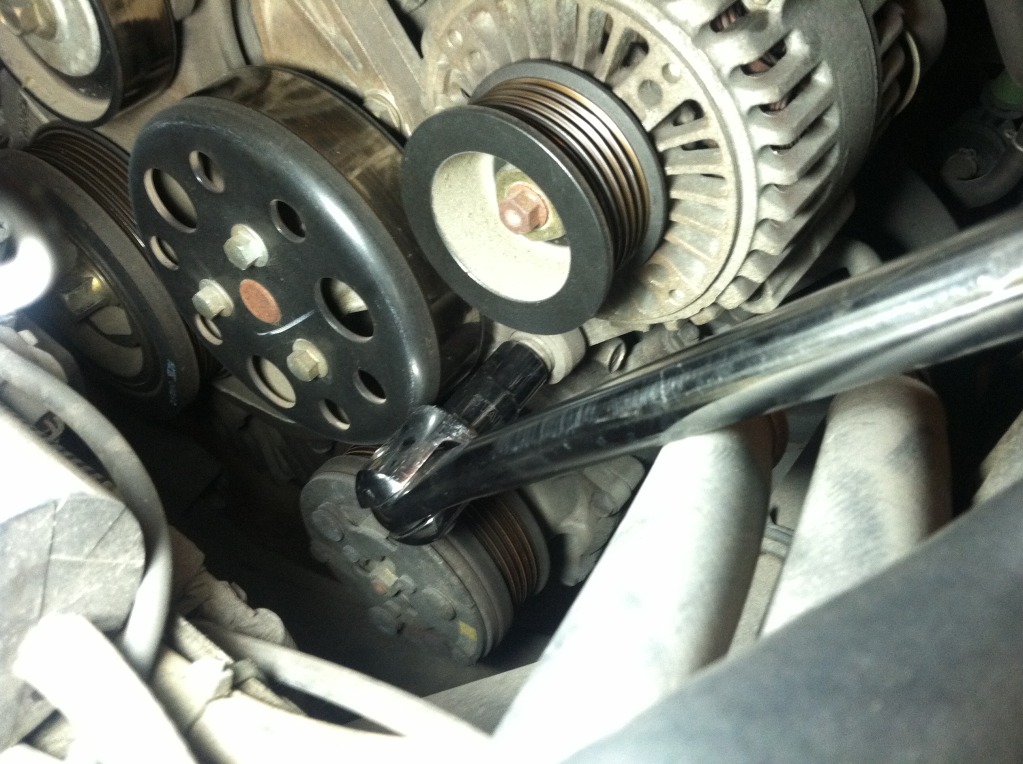
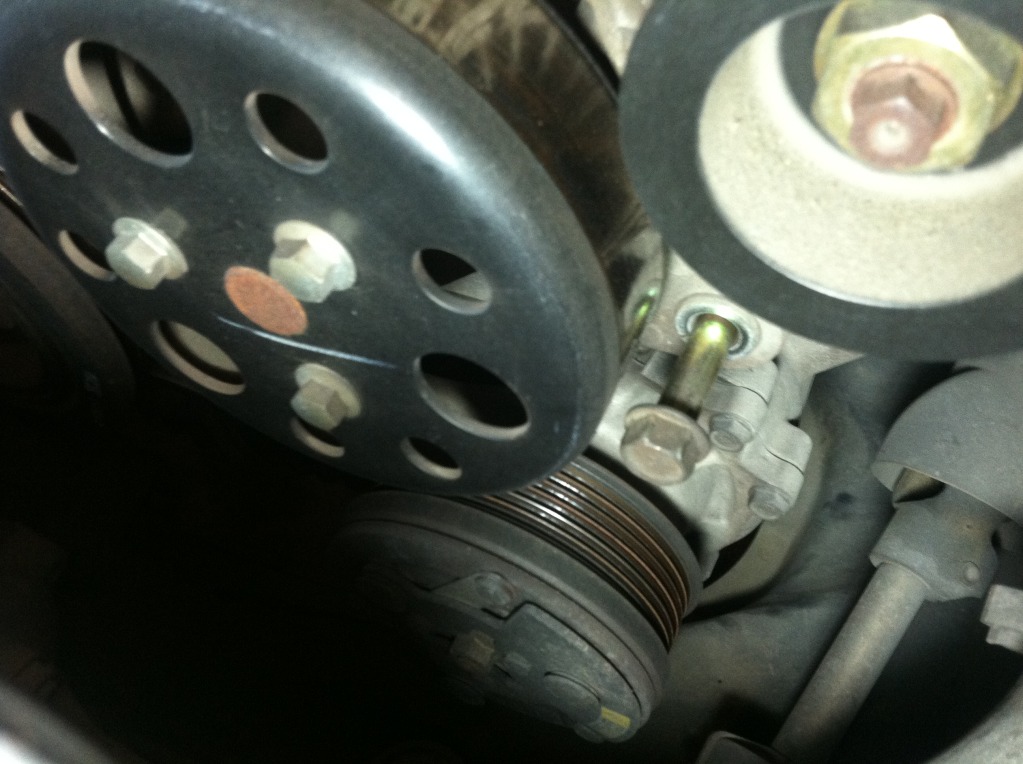
18. Here is bottom bolt-
19. Once alternator is all unbolted, should look like this -
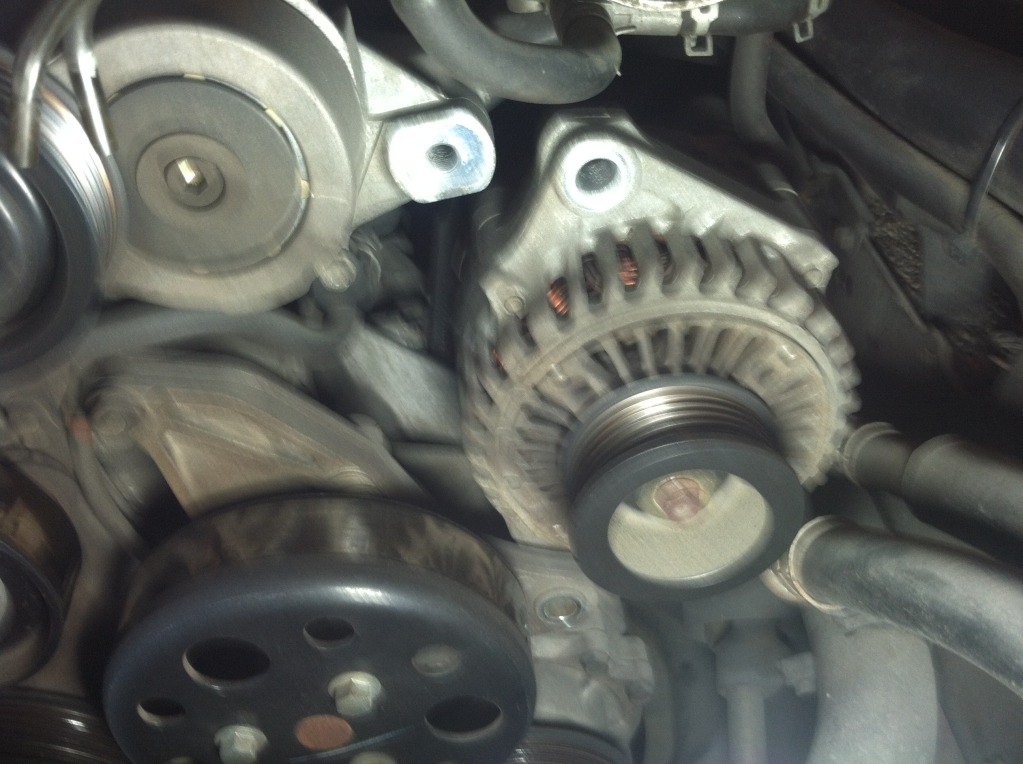
20. Then wiggle it up and out of bottom bracket, this can be a pain in the butt sometimes-
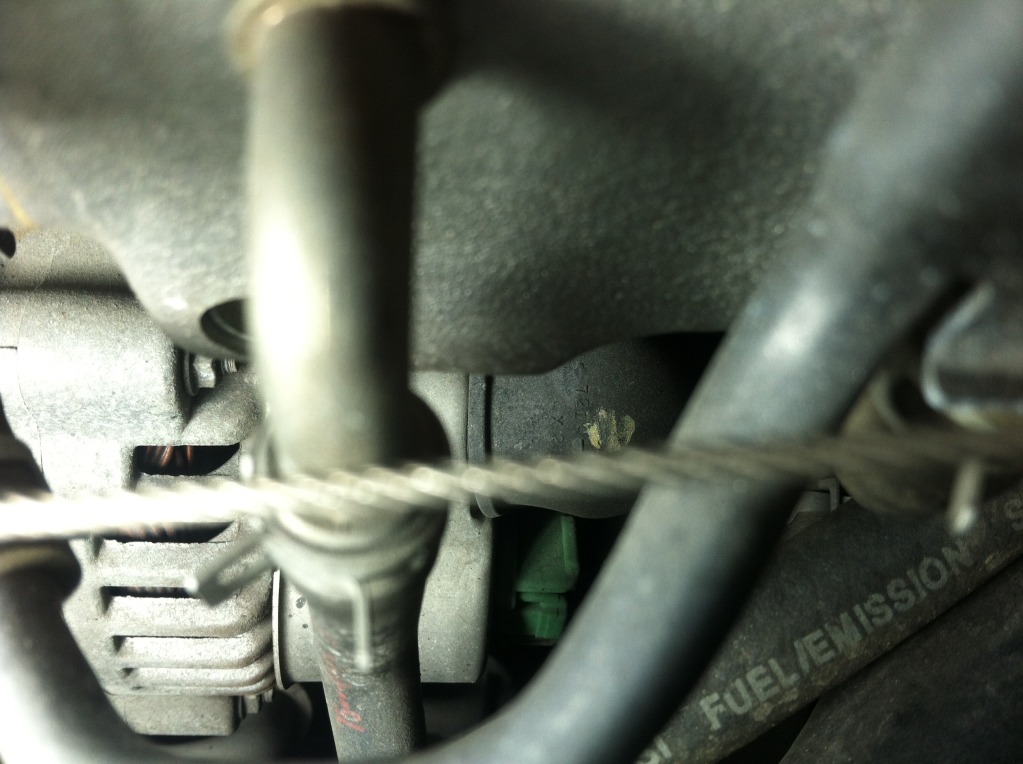
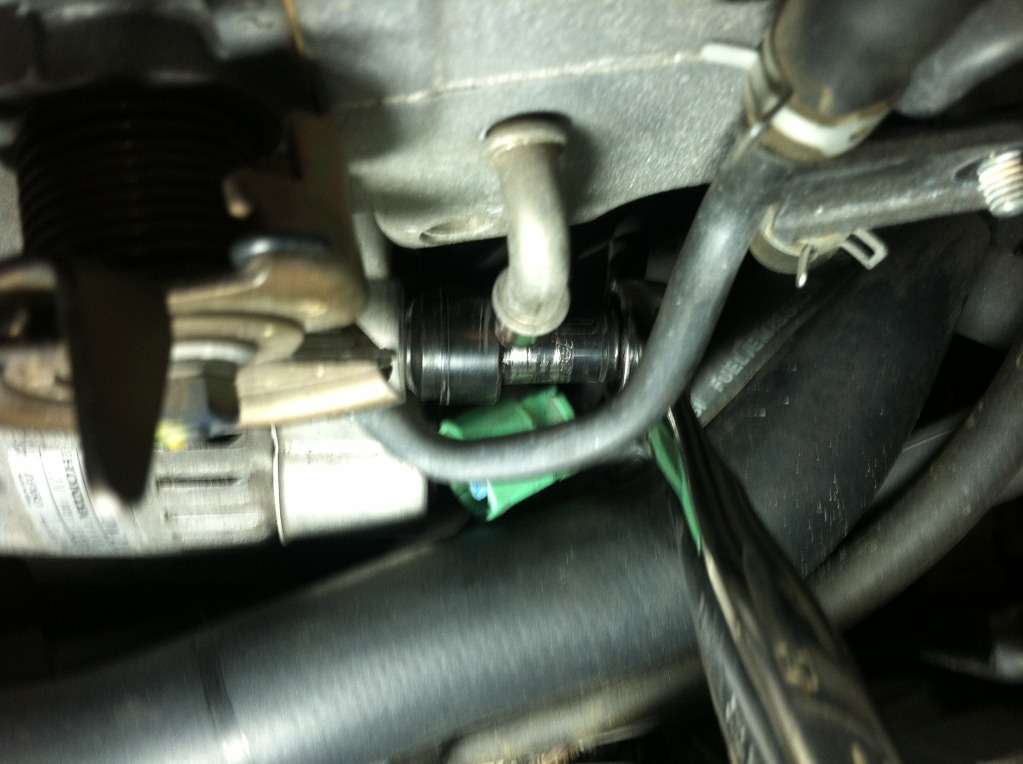
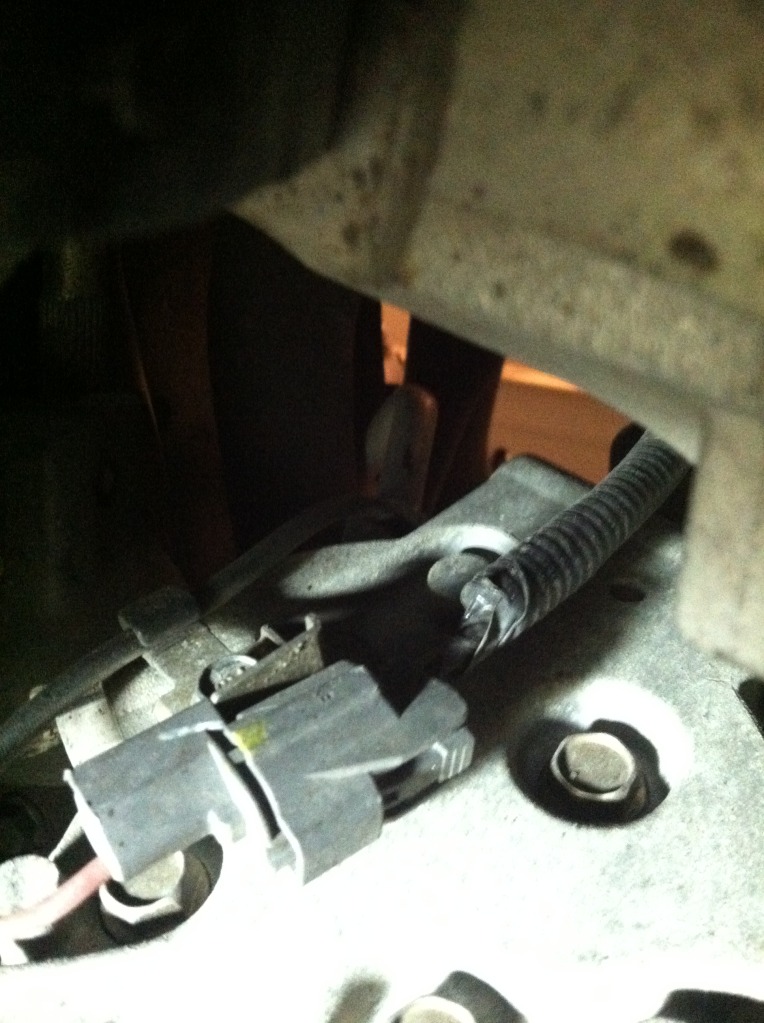
21. On back side of alternator there is going to be a green plug we need to unplug, and a 12mm nut holding power wire on to alternator, here is a picture (little hard to see)
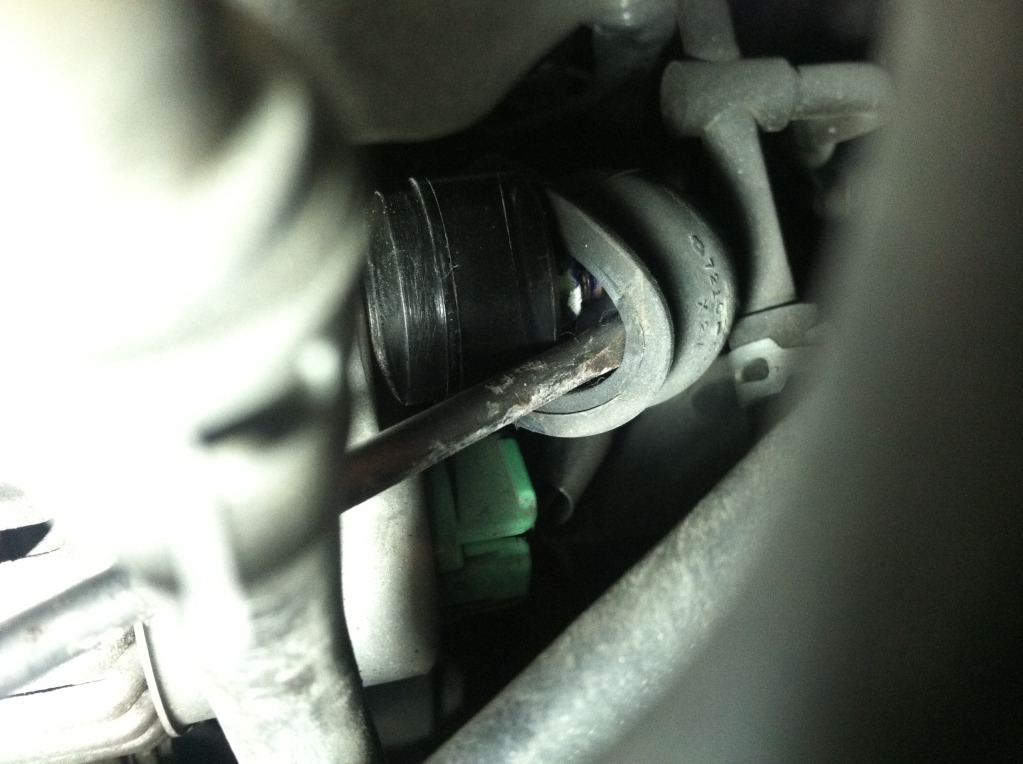
22. Take a long flathead screwdriver and push the rubber boot off the 12mm nut we need to remove-
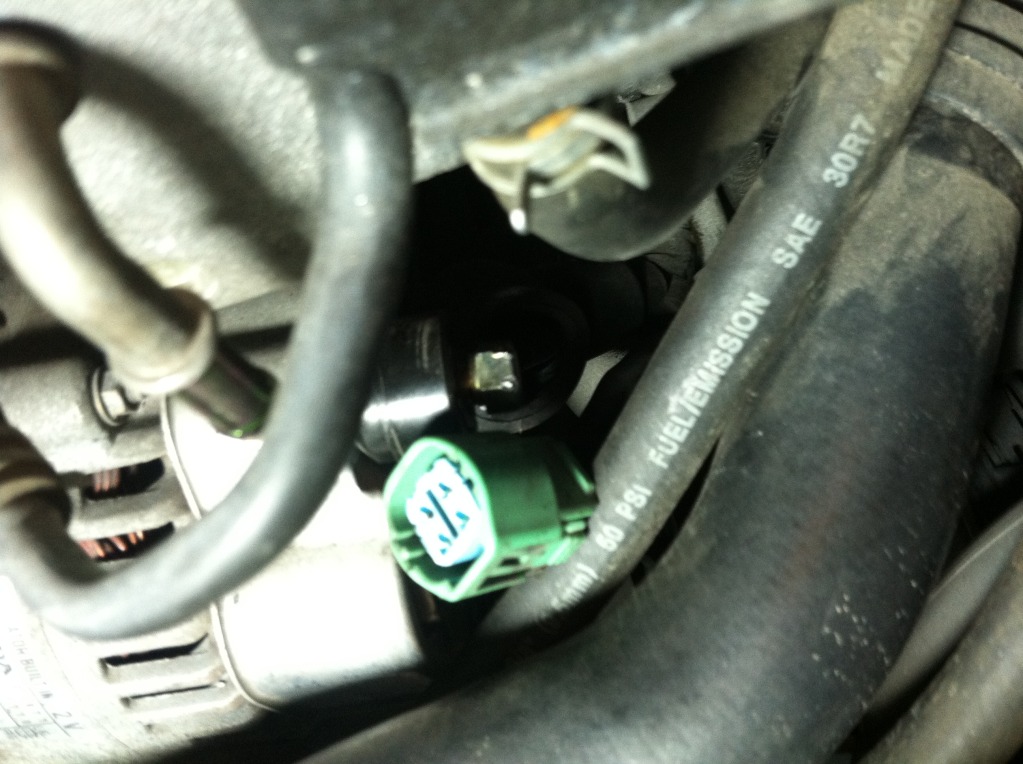
23. Take your 12mm socket and ratchet now and remove 12mm nut holding power wire on to alternator

24. Unplug the green plug from back of alternator -
12. Now were gonna get most that we can up top finished first, so next up is to remove serpentine belt. Here is how it looks before removing.-
13. Alright now break out your 14mm socket and place it on tensioner as so-
14. Now act as if your loosening the bolt and it will release the tension on belt, then carefully slide off belt..-
15. Now that its removed were gonna disconnect the battery before going any further (yes extension is a little long but did job) -
16. Alright so no more power to car, now its time to focus on alternator, but first here is a look at it -
17. We will be using a 14mm socket for the alternator, here is top bolt -
18. Here is bottom bolt-
19. Once alternator is all unbolted, should look like this -
20. Then wiggle it up and out of bottom bracket, this can be a pain in the butt sometimes-
21. On back side of alternator there is going to be a green plug we need to unplug, and a 12mm nut holding power wire on to alternator, here is a picture (little hard to see)
22. Take a long flathead screwdriver and push the rubber boot off the 12mm nut we need to remove-
23. Take your 12mm socket and ratchet now and remove 12mm nut holding power wire on to alternator
24. Unplug the green plug from back of alternator -
09-28-2012, 04:36 PM
#3
25. Now lift alternator out-
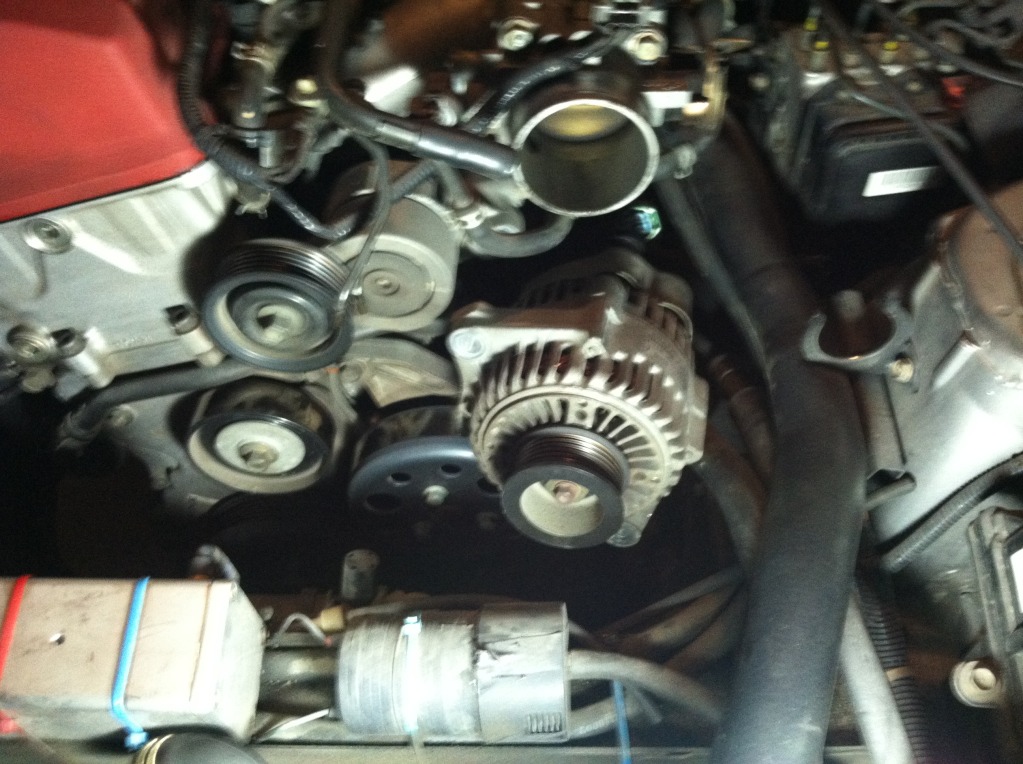
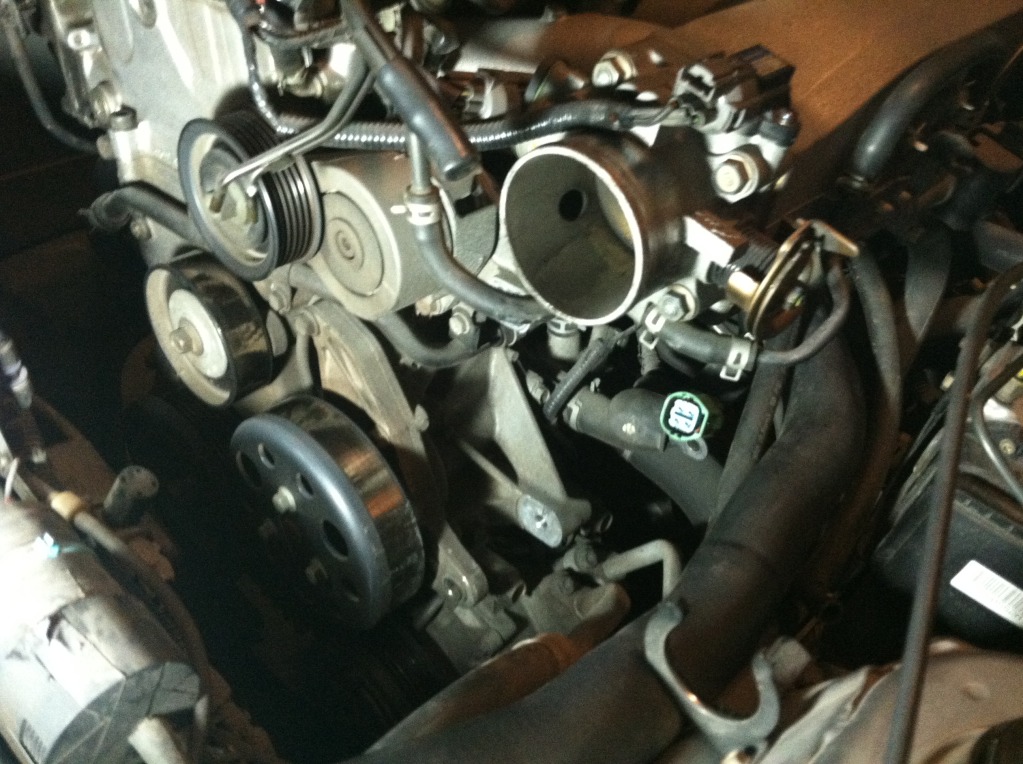
26. Will look like this now without alternator-
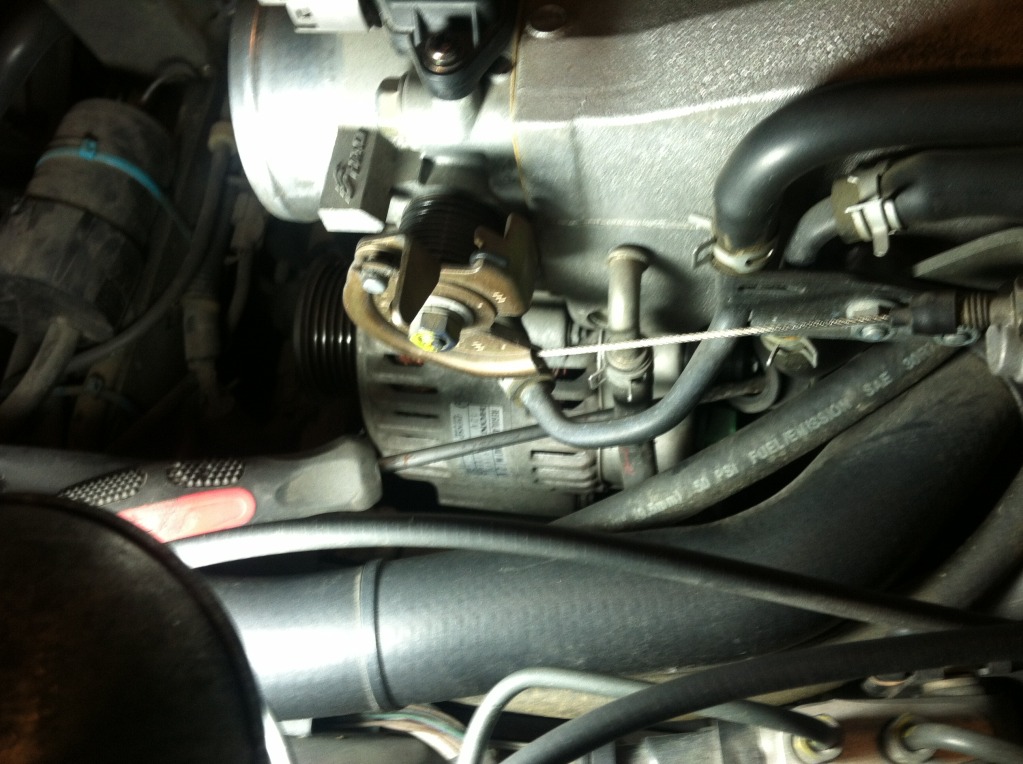
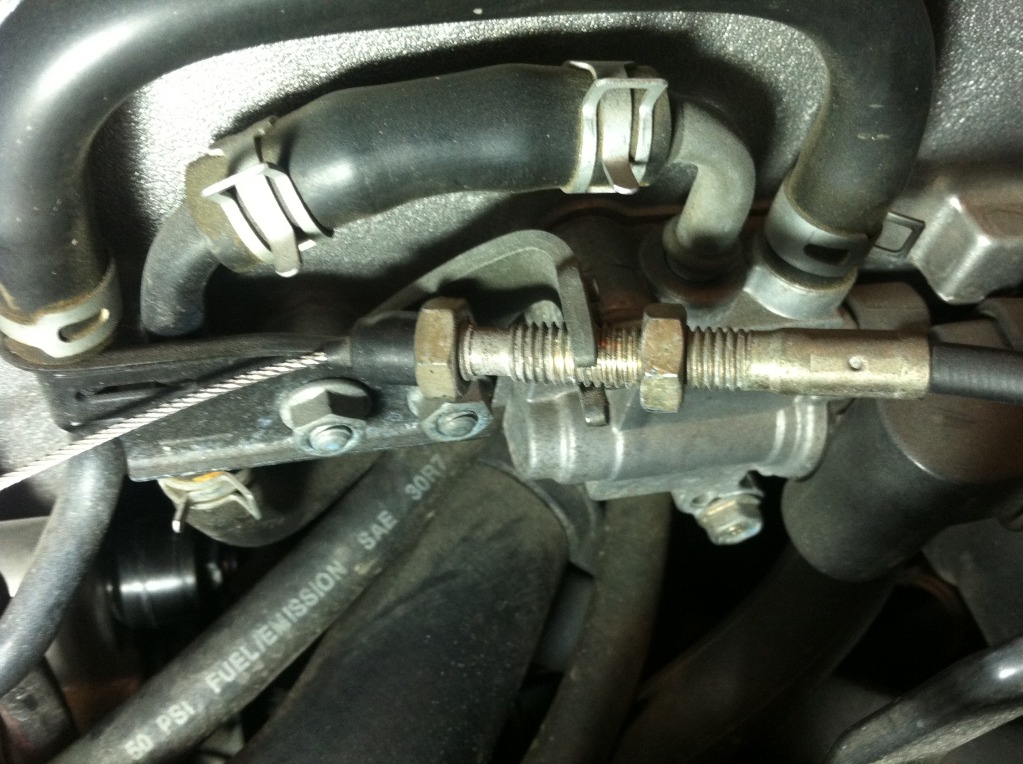
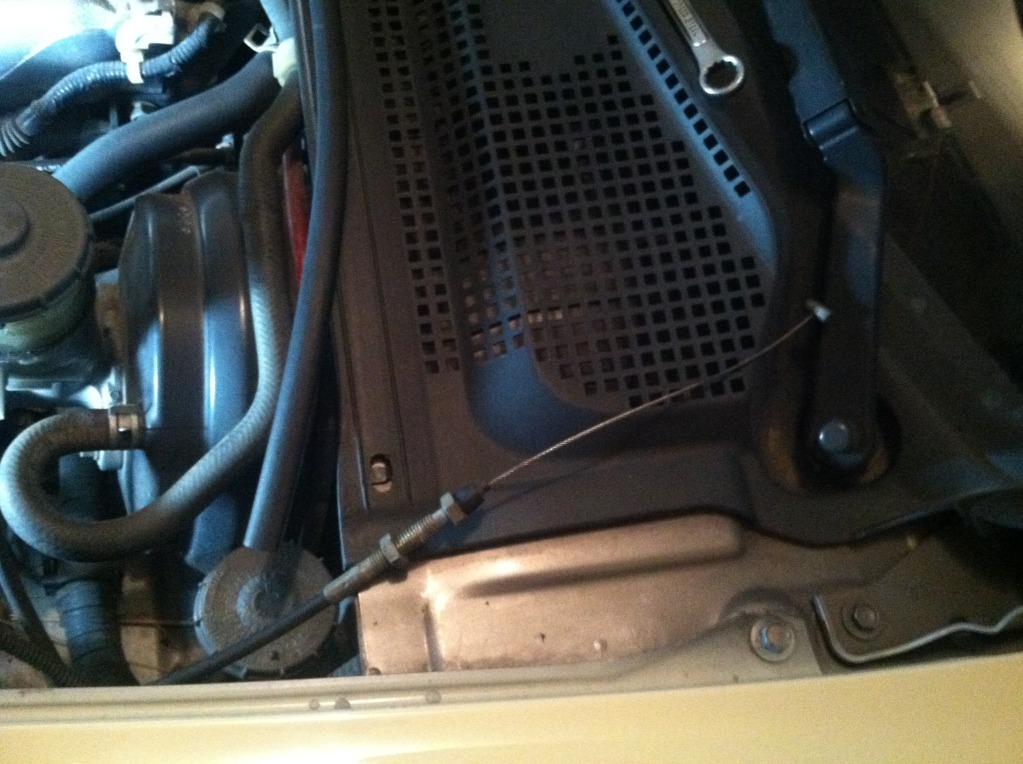
27. Throttle cable removal is next, here is a picture of it before removed-
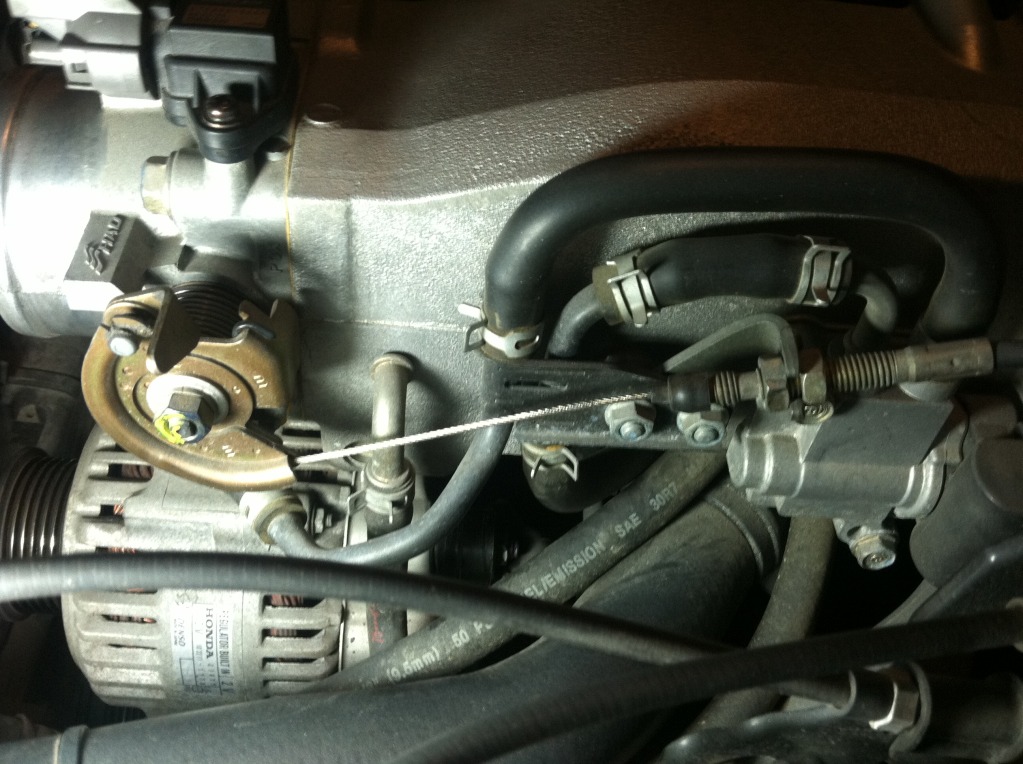
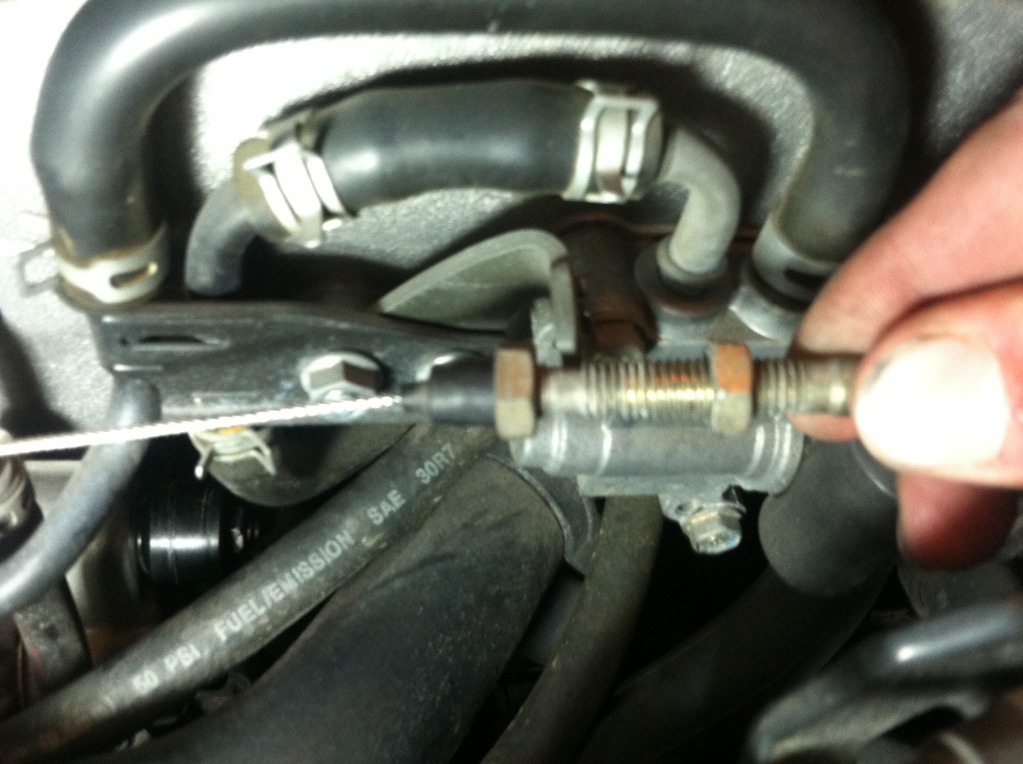
28. Break out your 12mm wrench, and loosen nuts. Be careful because the throttle bracket bends easy-
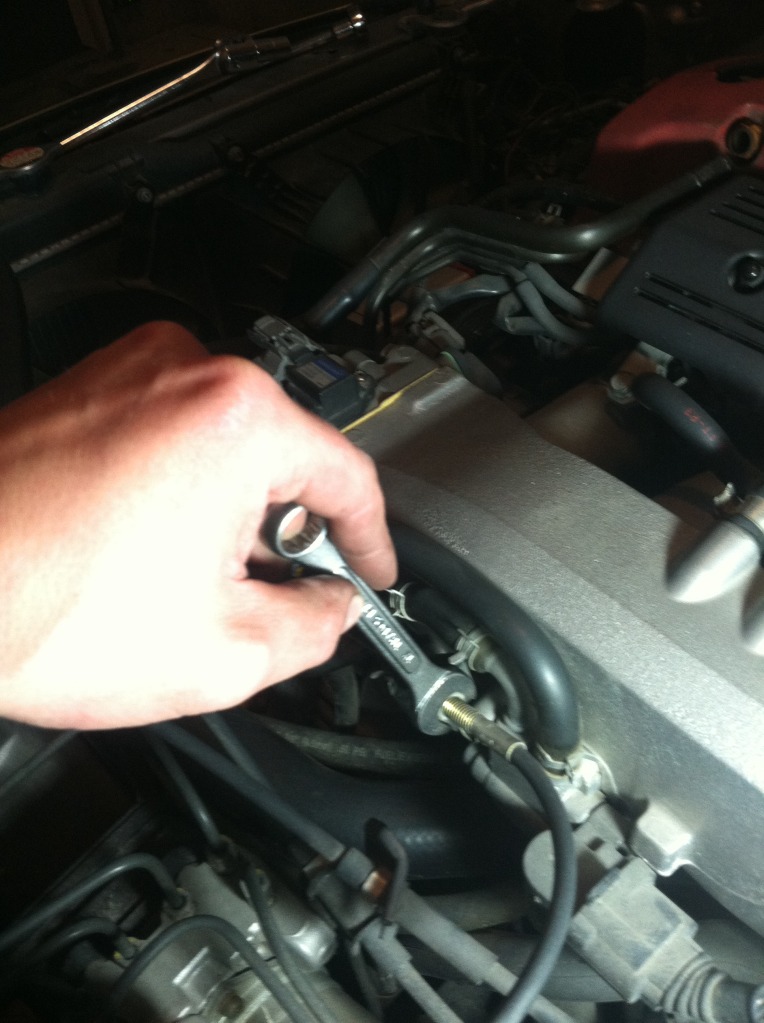
29. Once loosened up, now slide cable out and off -
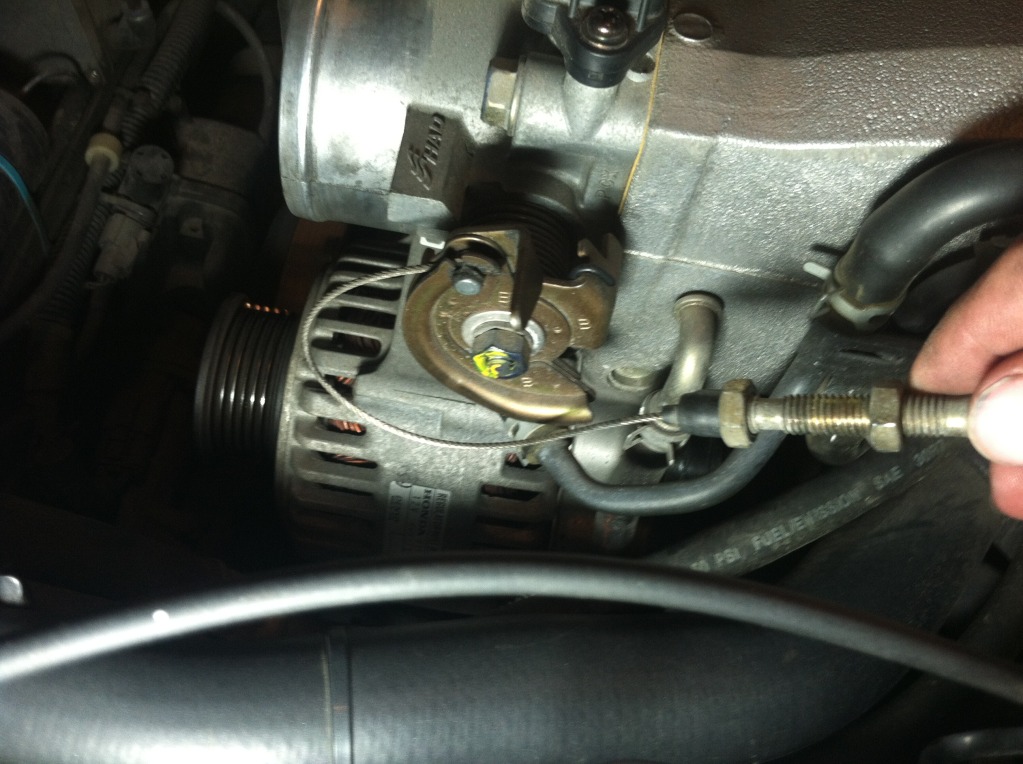

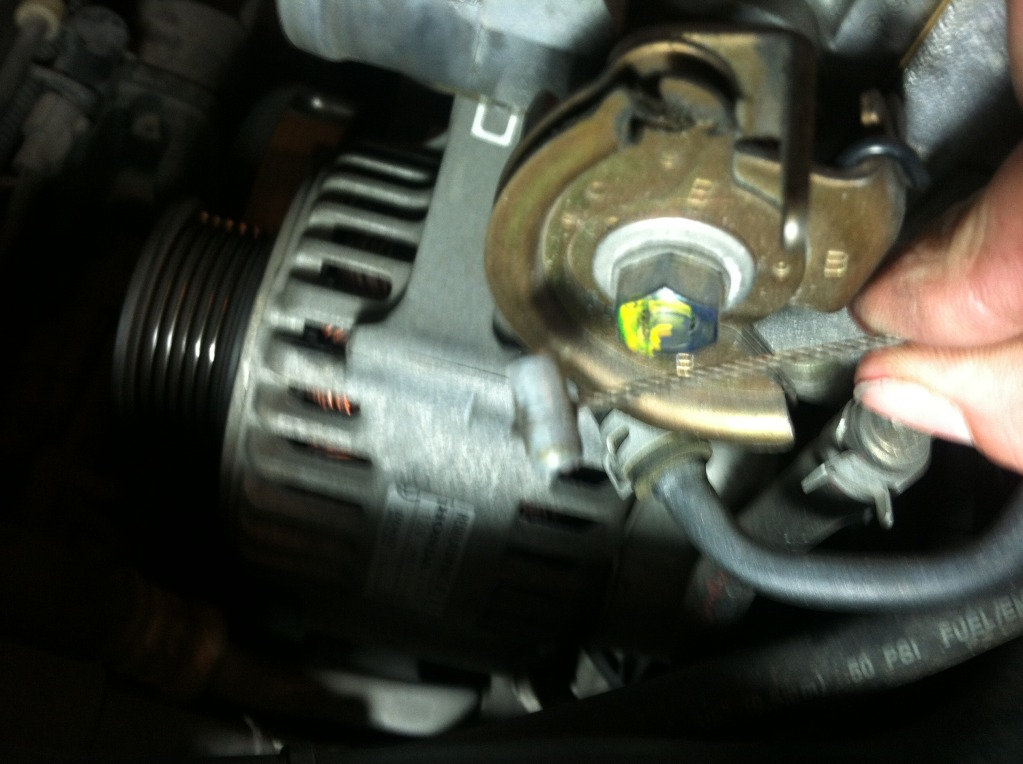
30. Lay cable out of your way-
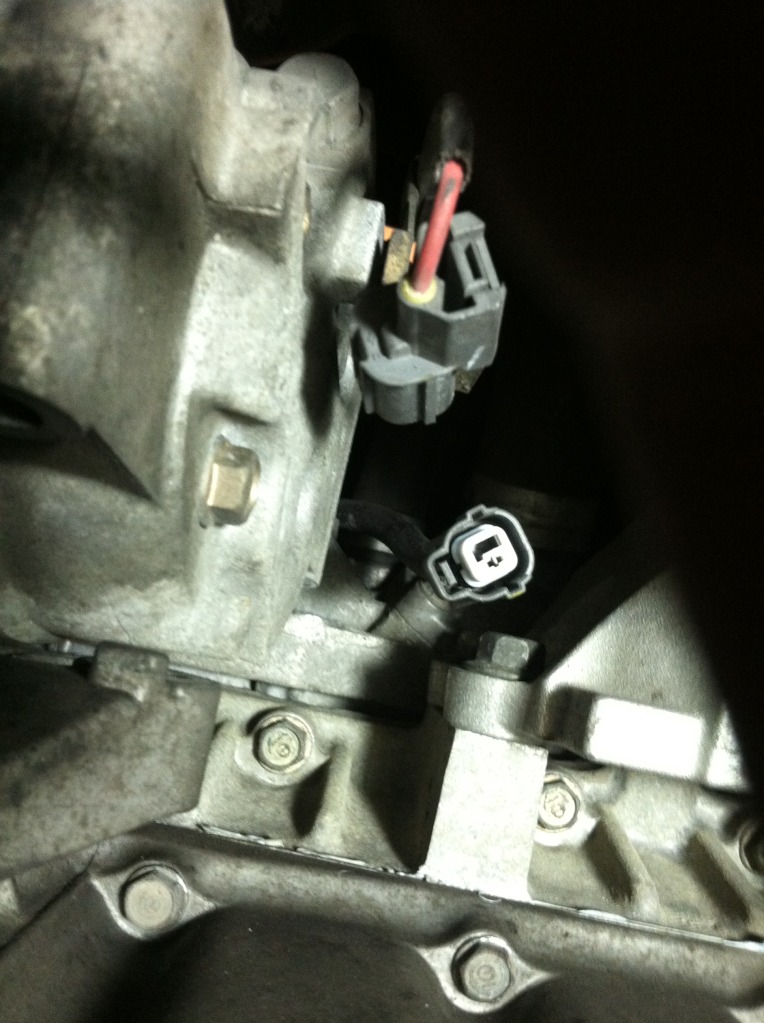
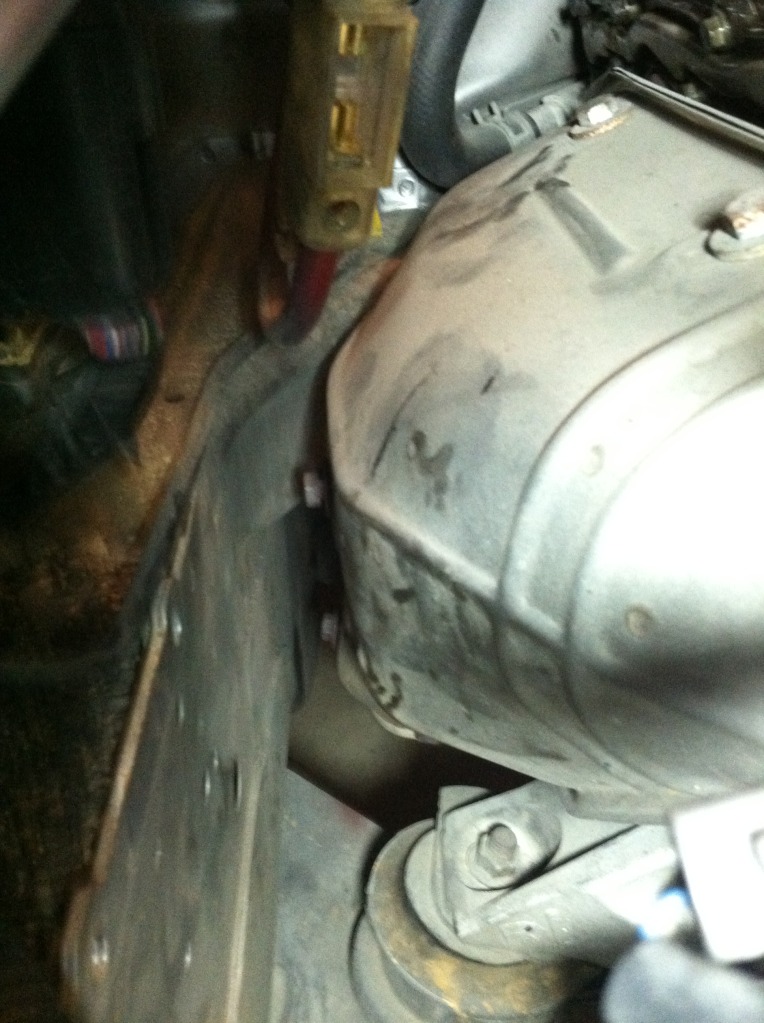
31. Making progress now on our list, next up is the a/c compressor this is shows the bolts and removing them, they are 14mm-
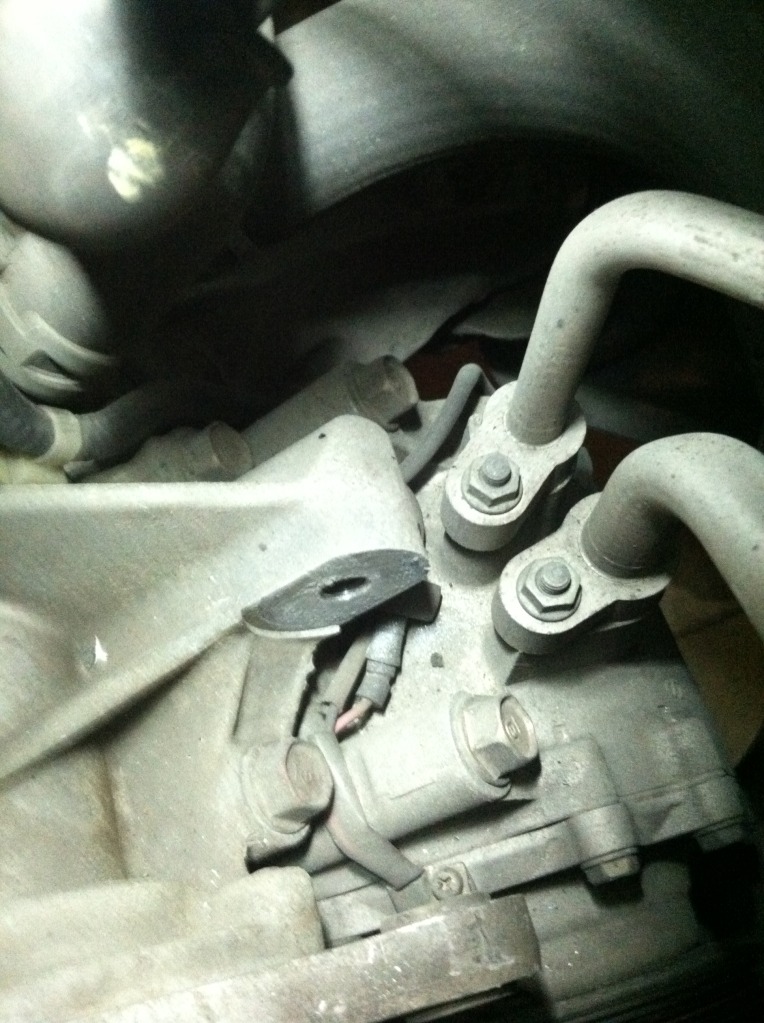
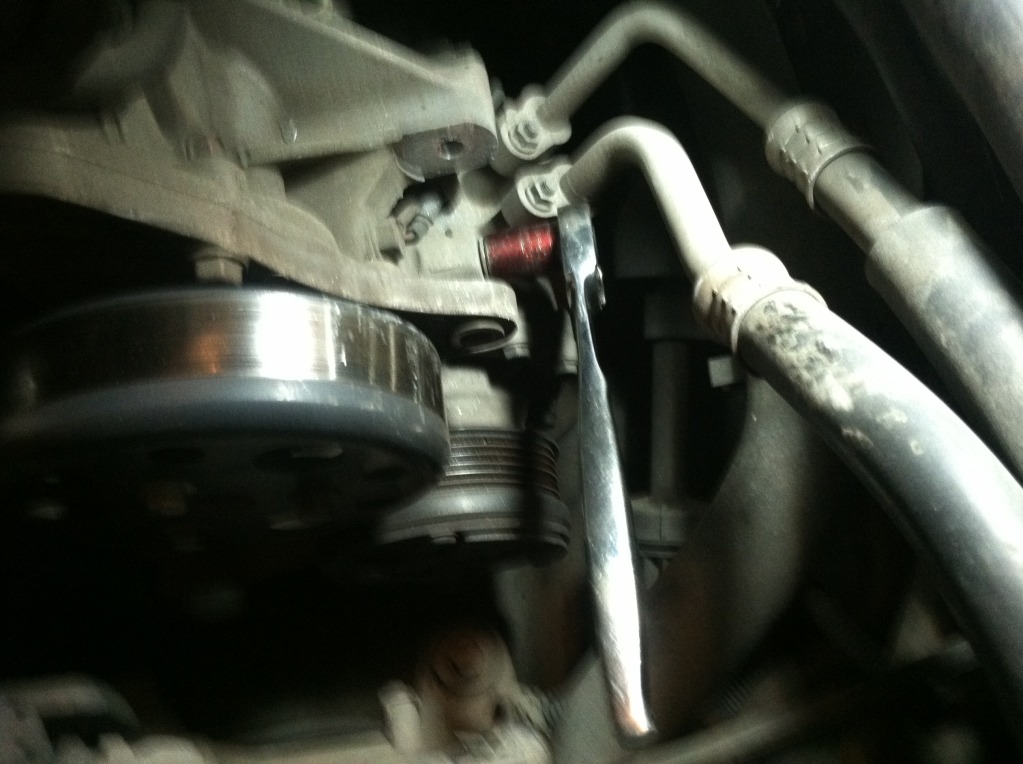
32. Bolts all loosened up on top-
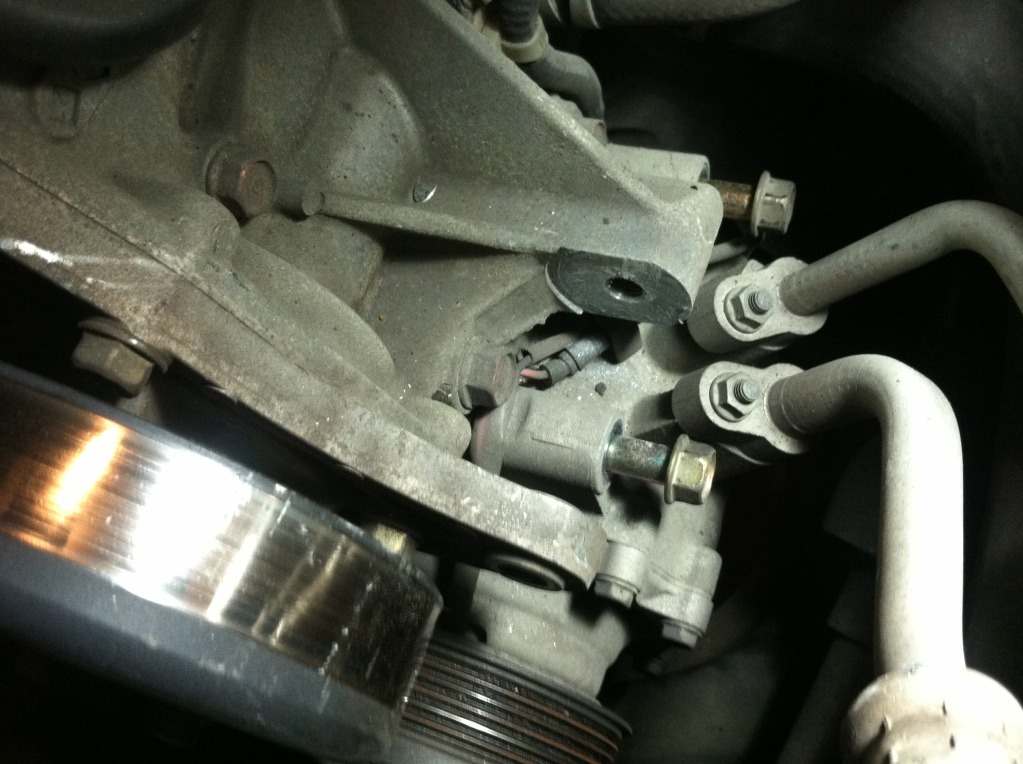
33. Now for bottom bolts-
34. Unplug sensor for a/c compressor -
35. Back up top now, sorry for blurry pic, next we are gonna remove black heat shield on passenger side
26. Will look like this now without alternator-
27. Throttle cable removal is next, here is a picture of it before removed-
28. Break out your 12mm wrench, and loosen nuts. Be careful because the throttle bracket bends easy-
29. Once loosened up, now slide cable out and off -
30. Lay cable out of your way-
31. Making progress now on our list, next up is the a/c compressor this is shows the bolts and removing them, they are 14mm-
32. Bolts all loosened up on top-
33. Now for bottom bolts-
34. Unplug sensor for a/c compressor -
35. Back up top now, sorry for blurry pic, next we are gonna remove black heat shield on passenger side
09-28-2012, 04:37 PM
#4
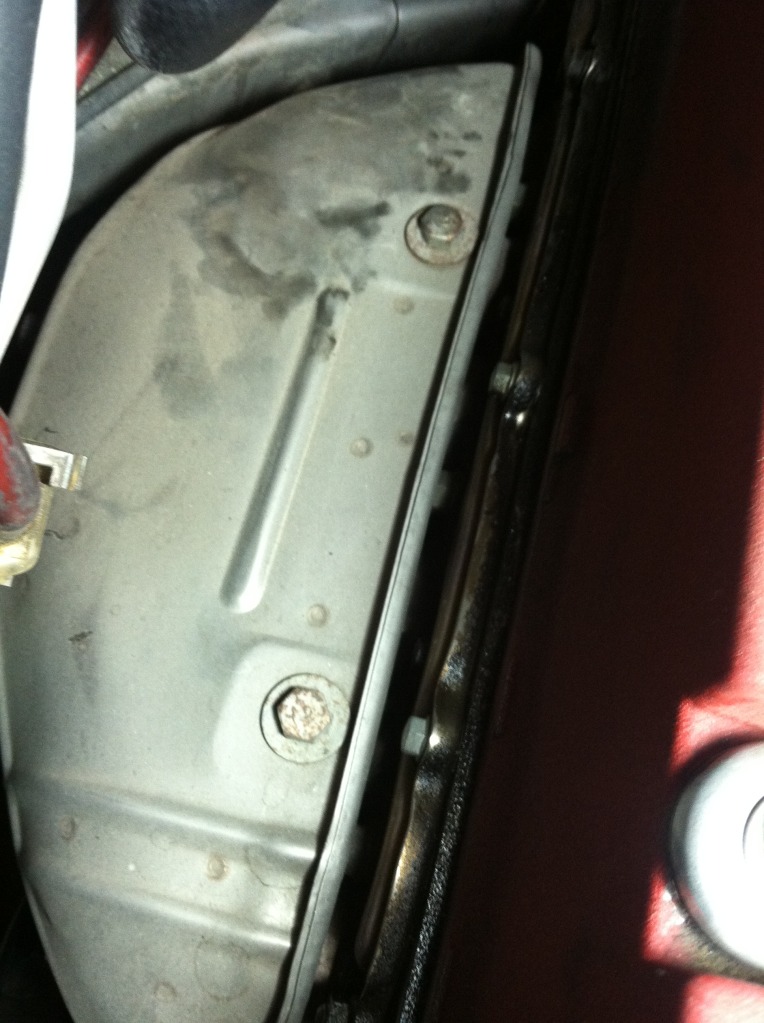
36. This pic showing the 3 bolts (10mm) along bottom of heat shield-
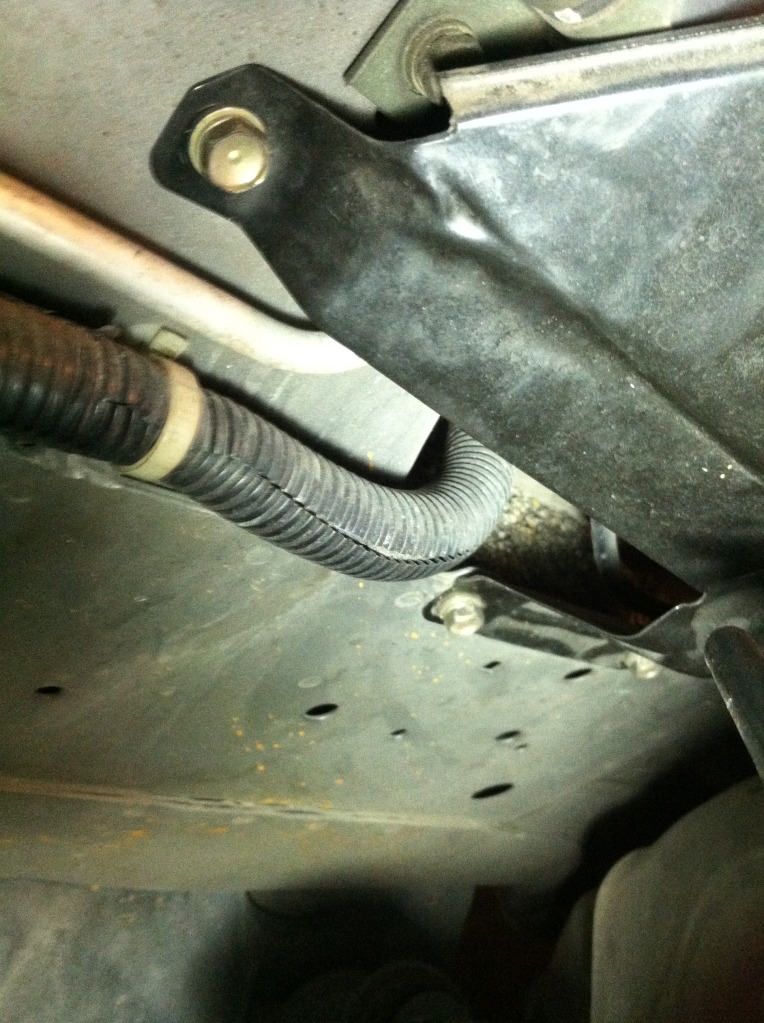
37. Here is the big pain in the butt bolt (10mm) in back behind the motor for heat shield
38. Heat shield removed -
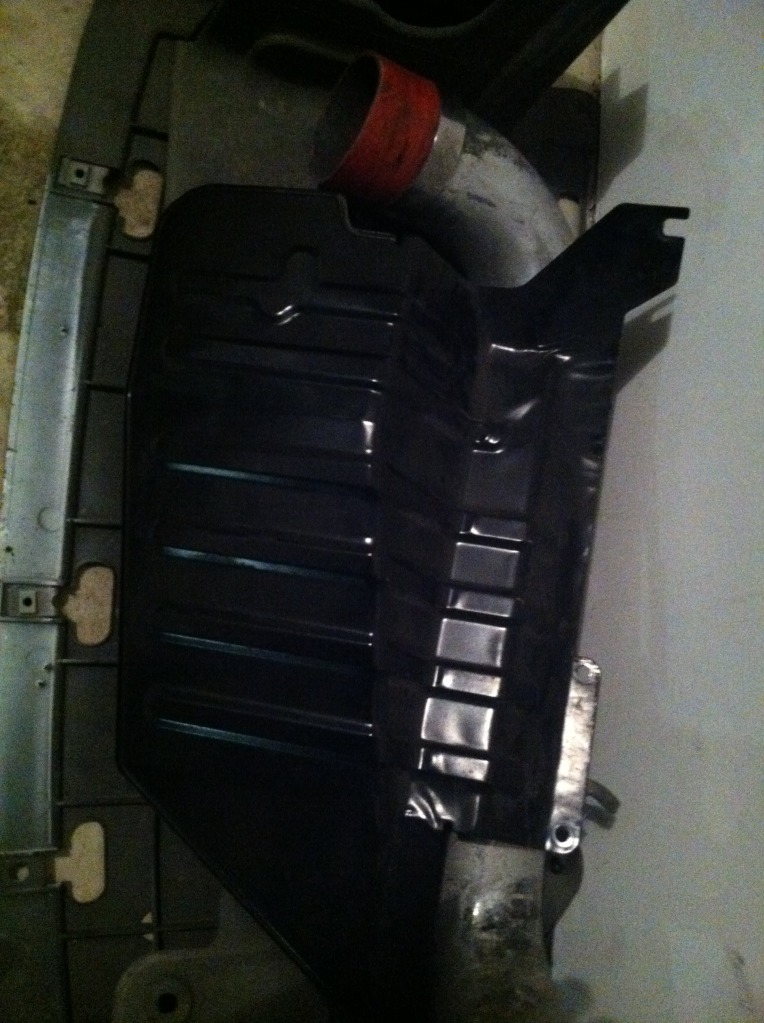
39. Pic of bay with heatshield gone -
40. Time to remove exhaust heat shield, which includes a total of 5 12mm bolts-
41. And removed -
-----------------------------TO BE CONTINUED------------------------------
37. Here is the big pain in the butt bolt (10mm) in back behind the motor for heat shield
38. Heat shield removed -
39. Pic of bay with heatshield gone -
40. Time to remove exhaust heat shield, which includes a total of 5 12mm bolts-
41. And removed -
-----------------------------TO BE CONTINUED------------------------------
The following users liked this post:
s2kcooper (09-06-2017)