When you click on links to various merchants on this site and make a purchase, this can result in this site earning a commission. Affiliate programs and affiliations include, but are not limited to, the eBay Partner Network.
I purchased my 2007 S2000 on September 23rd 2018. It has 130k miles, and is in need of some TLC. My current plan is to stay NA, and restore the car where it has some bumps/dings and general wear. I had little-to-no experience with cars when I purchased this one, but along the way I have been doing a lot of reading and watching. I have the service manual and this forum to thank for my learnings and experience thus far. I'd love to know your thoughts/opinions/suggestions on my build, I plan to keep this car for life and it will be neat to see it come together on this build thread.
Listing picture:
My pic an hour into my 15-hour drive home:
Some pictures to get this build thread caught up (I don't have many)
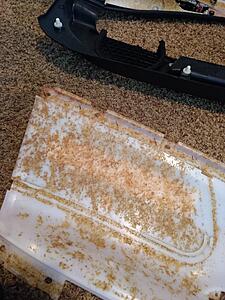
Why I wanted to redo my door cards:
This is what my door card looked like after taking off the OEM leather. It came off pretty easily, and could be reused. I started with removing all of the old adhesive with Goof Off and 99% isopropyl alcohol. I purchased alcantara inserts and used 3M 77 spray adhesive to install them on the plastic piece. I drew lines where the old stitching was in order to easily lineup the new insert when gluing it on. I will upload an after ASAP.
Having 2-3 hours on a good day during the week means doing things in increments. Currently in the process of dropping the motor out by dropping the subframe. I am leaving the AC charged and attached to the car, I have also left the steering rack in place hoisted by bungee cords. After removing the subframe, I will use the crane to hoist the front of the car a bit higher via the cross-member to roll the engine out from under the car. If you do this, remove your bumper first.
You're doing great for someone with little-to-no experience with cars. Looking forward to updates!
Thank you! I have been enjoying the process just as much as driving the car itself. With enough reading and cross-checking, I think I can do almost all of the work myself with the exception of body work, paint, and the need for precision machinery. I have learned a lot and will continue to learn with this car
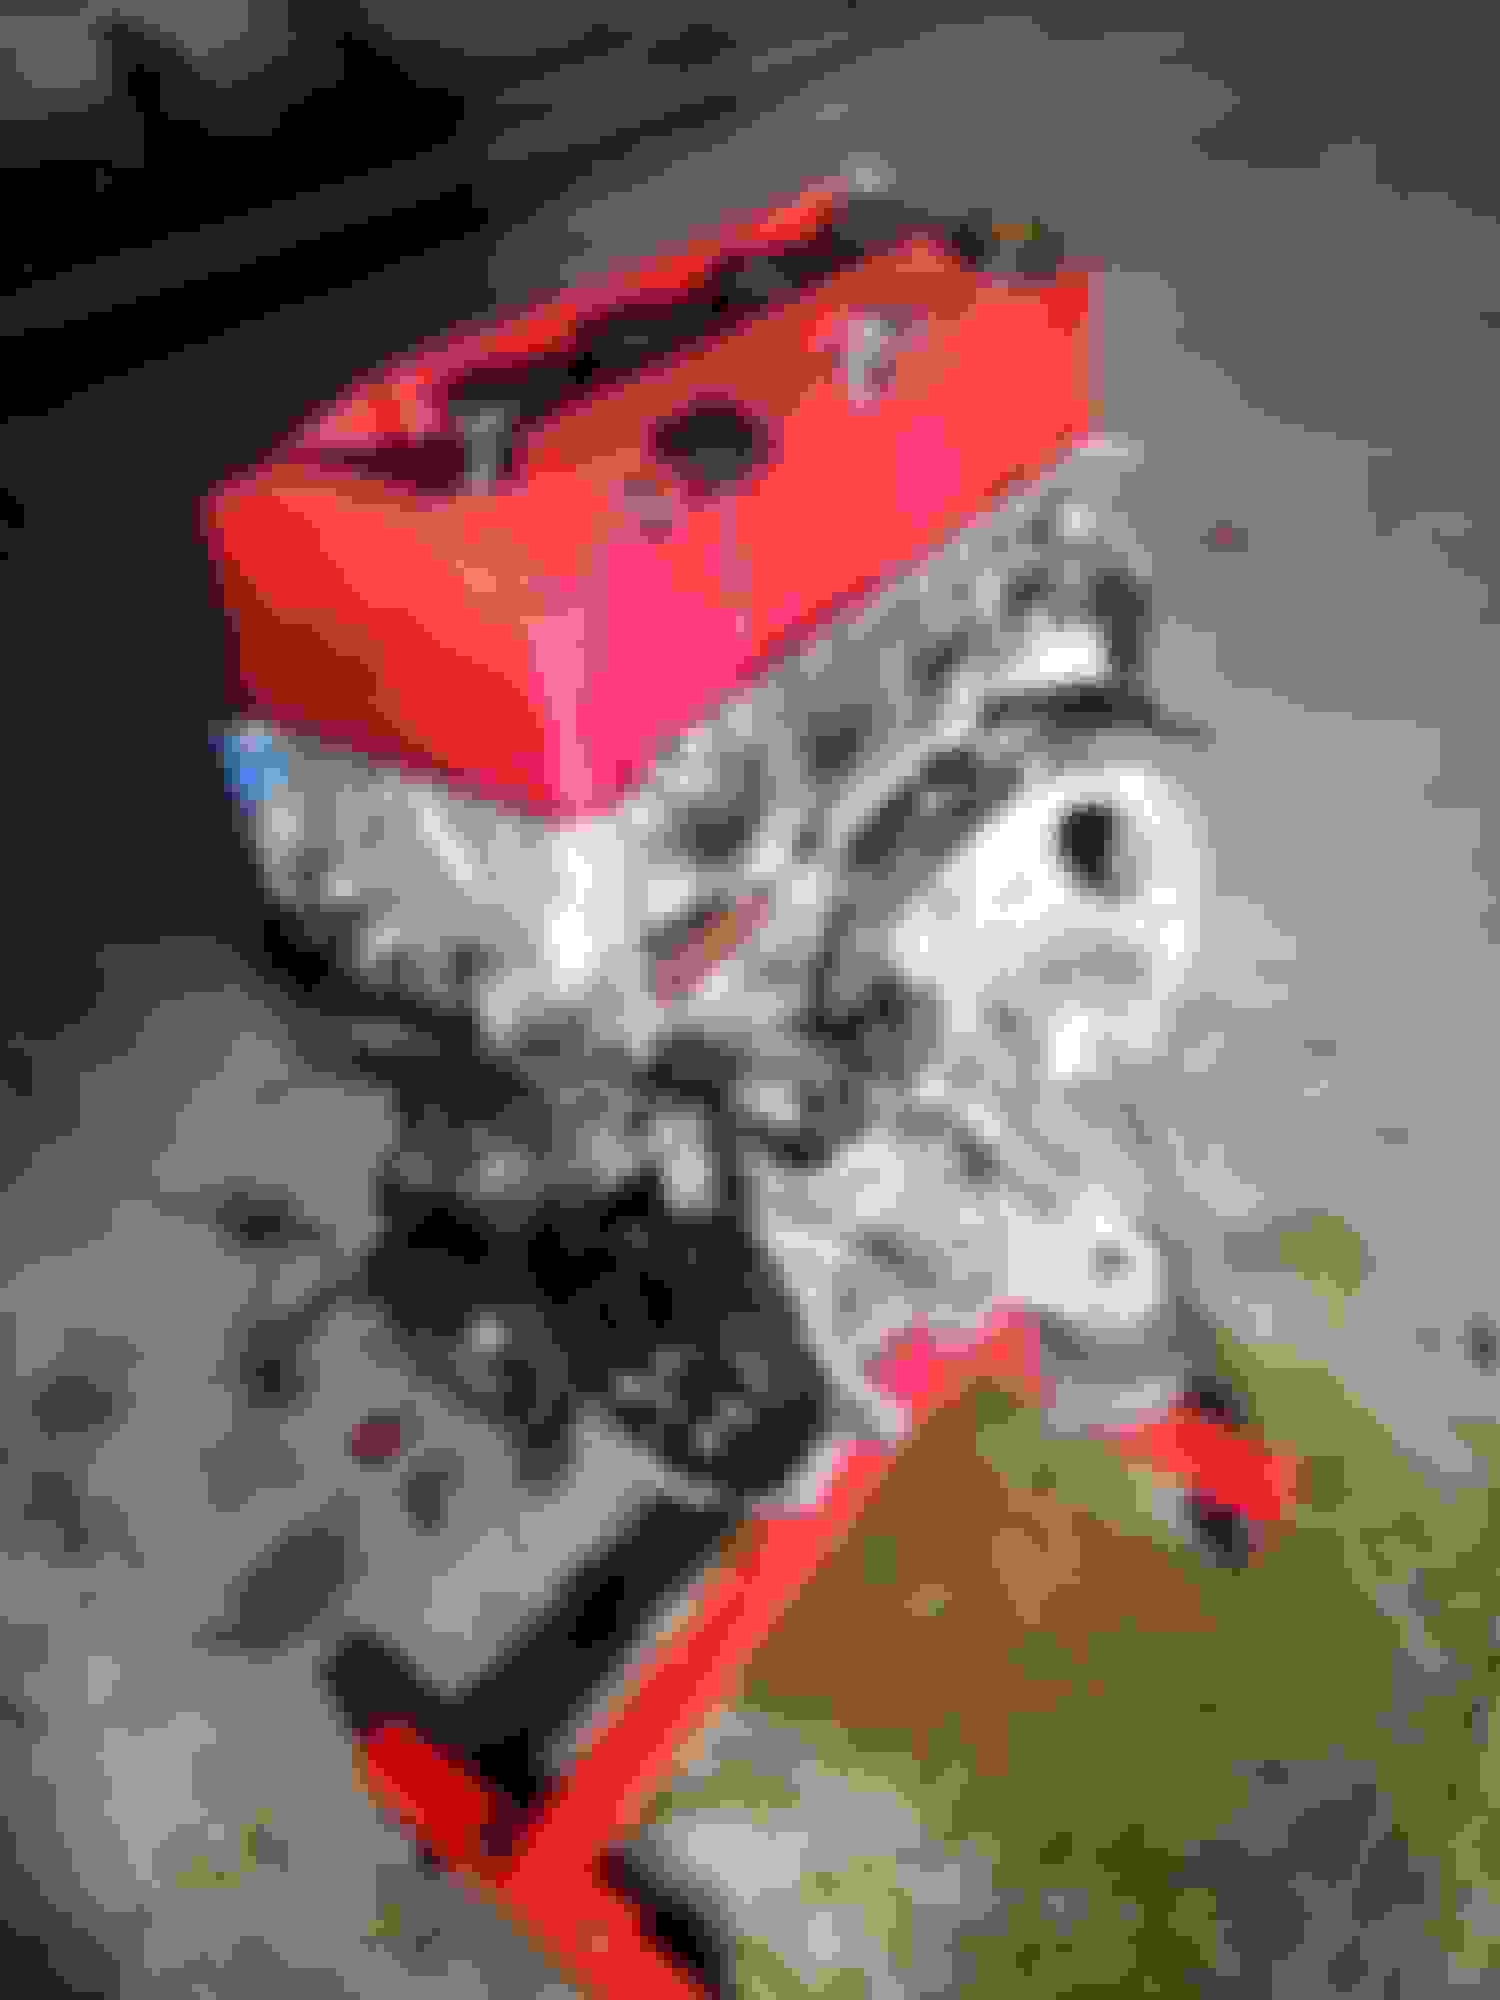
1/12/2019 - Engine is out!
Lowered the subframe, had to use a ball joint separator but it came out with relative ease. Kept the lower control arms attached.
Lowered the crane and the engine onto some wooden dolly carts.
I used two ratchet straps attached to the front cross member to further lift the front of the car. This allowed the engine to be rolled out from under the car.
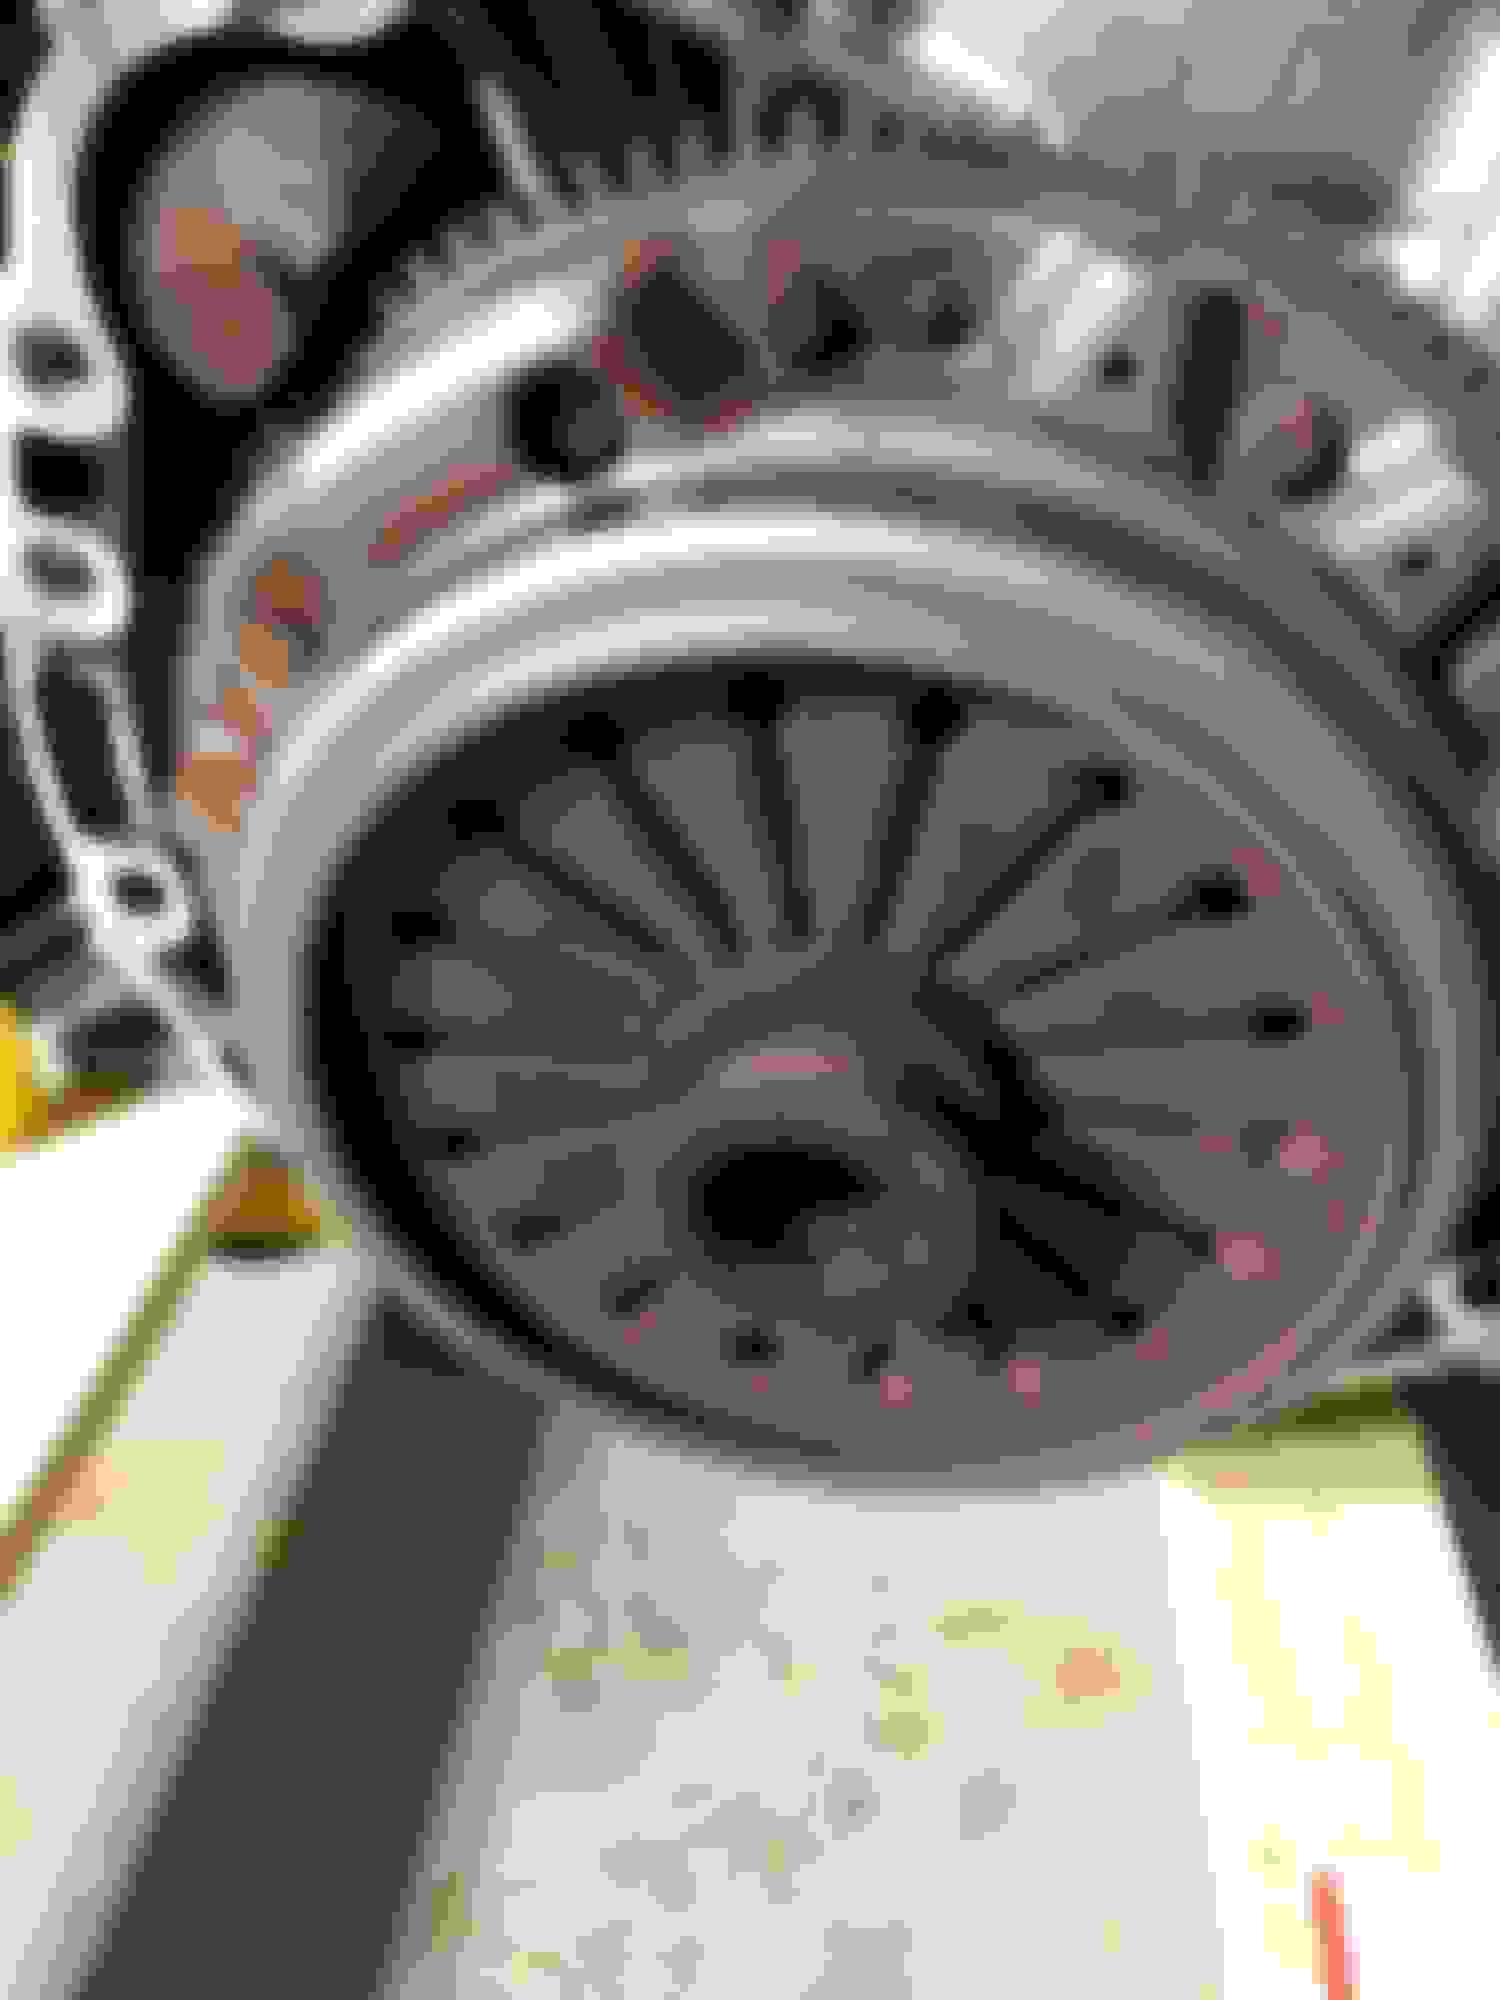
1/19/2019 Disconnected and disassembled transmission
By my own speculation, this was the original clutch. We are going to be upgrading to an aftermarket clutch in case of future FI plans.
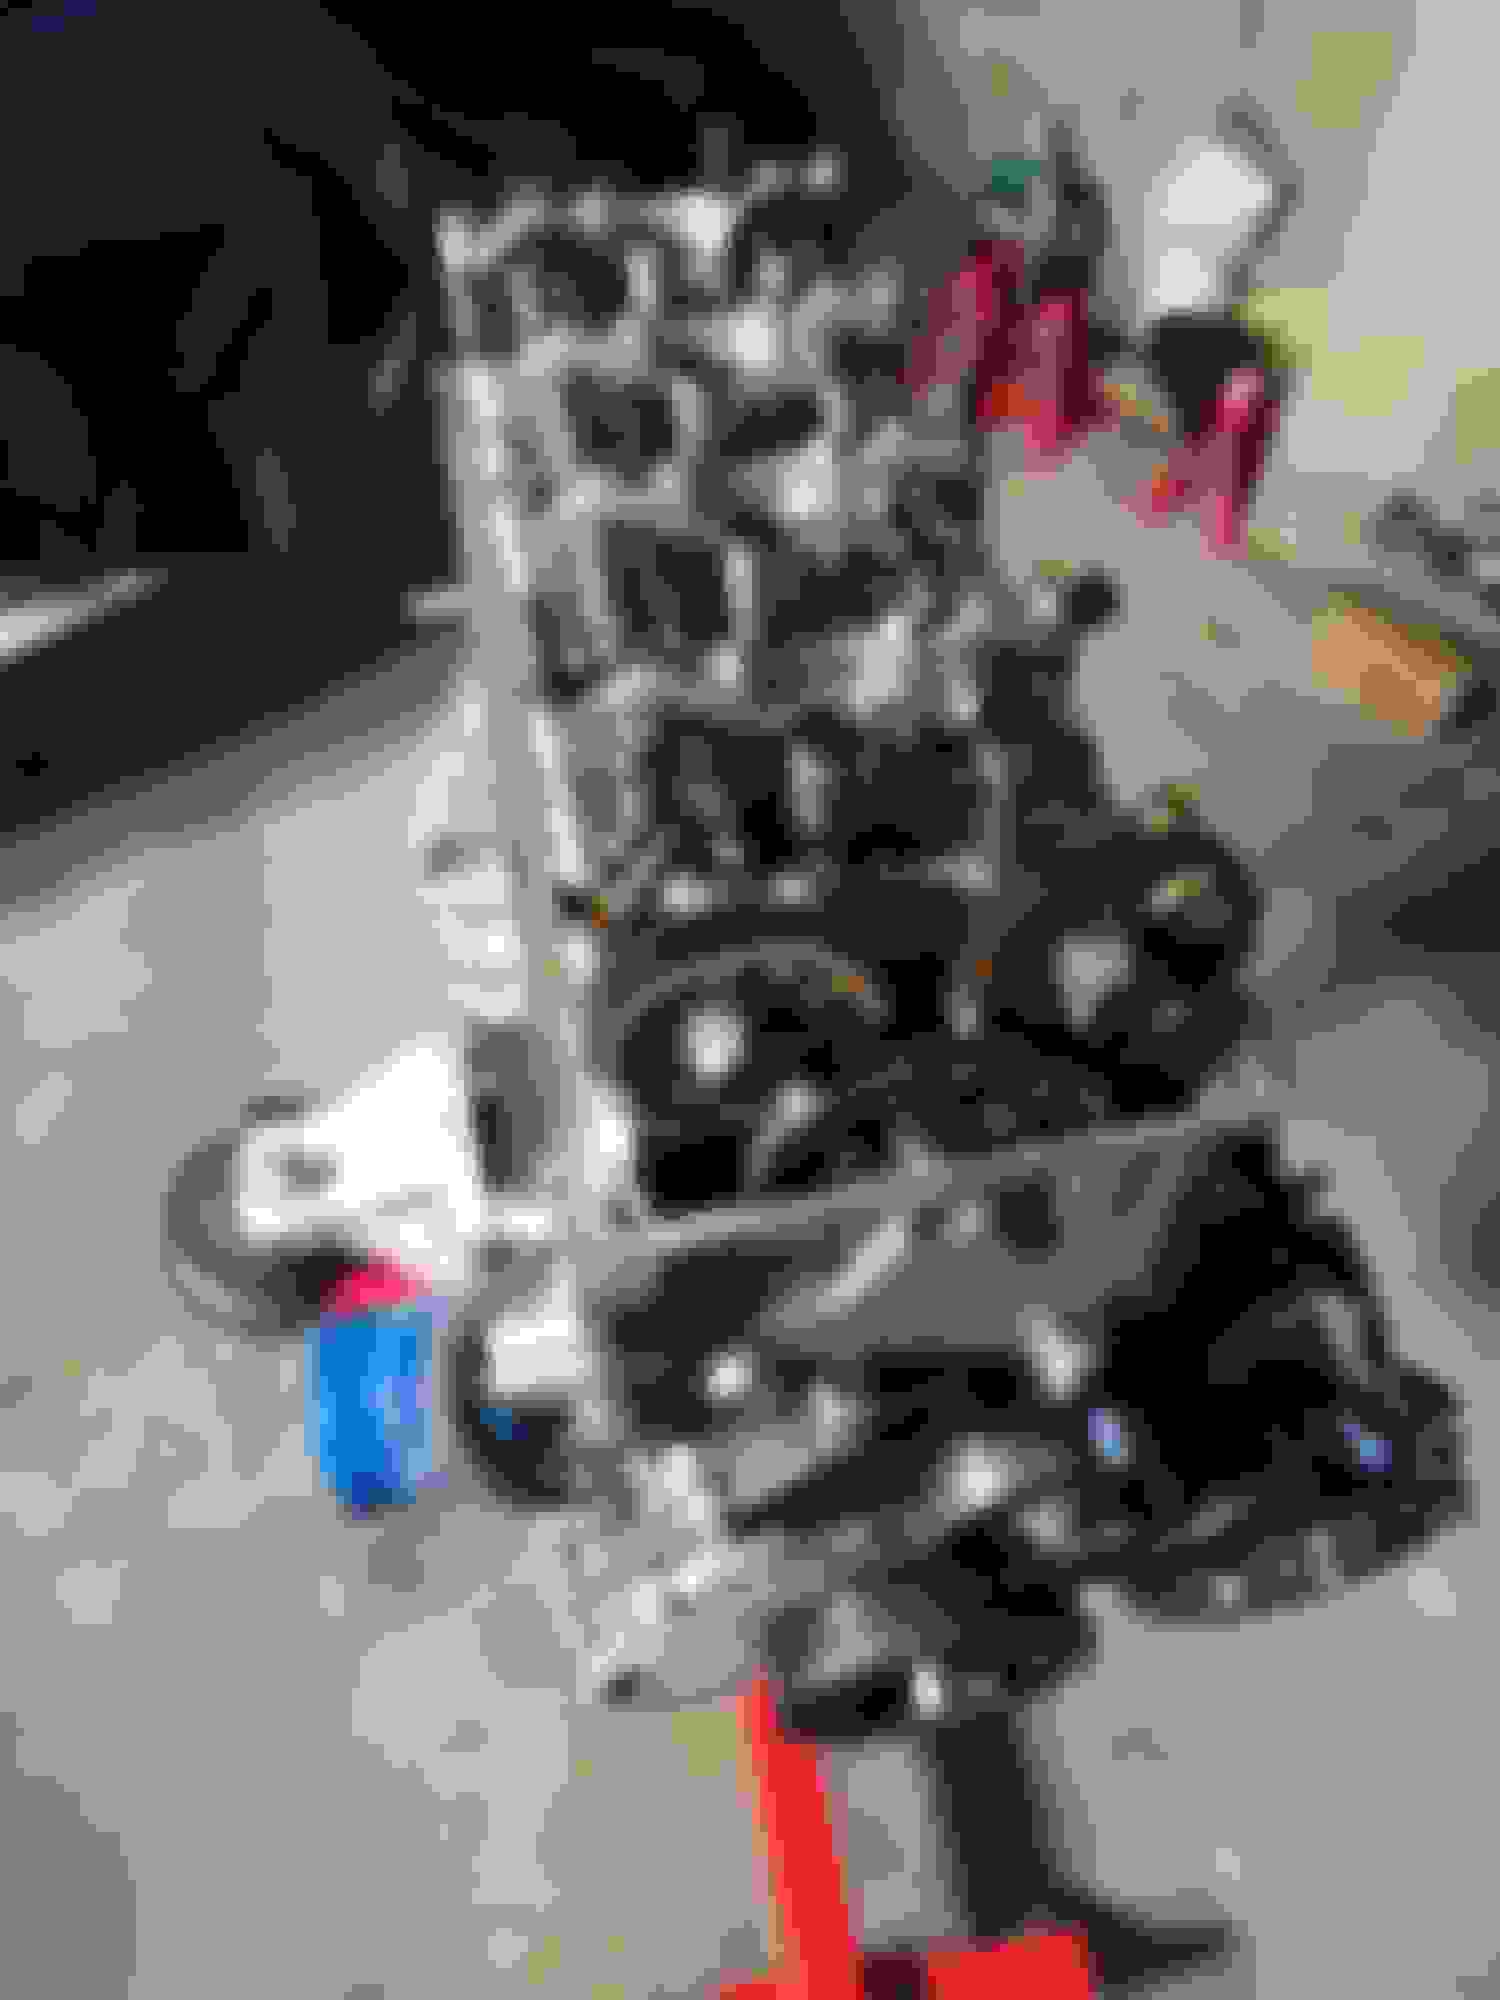
1/21/2019 Stripped the wiring harness and hoses to gain access to the cylinder head
Can we pretend there isn't oil all over the ground? Thanks
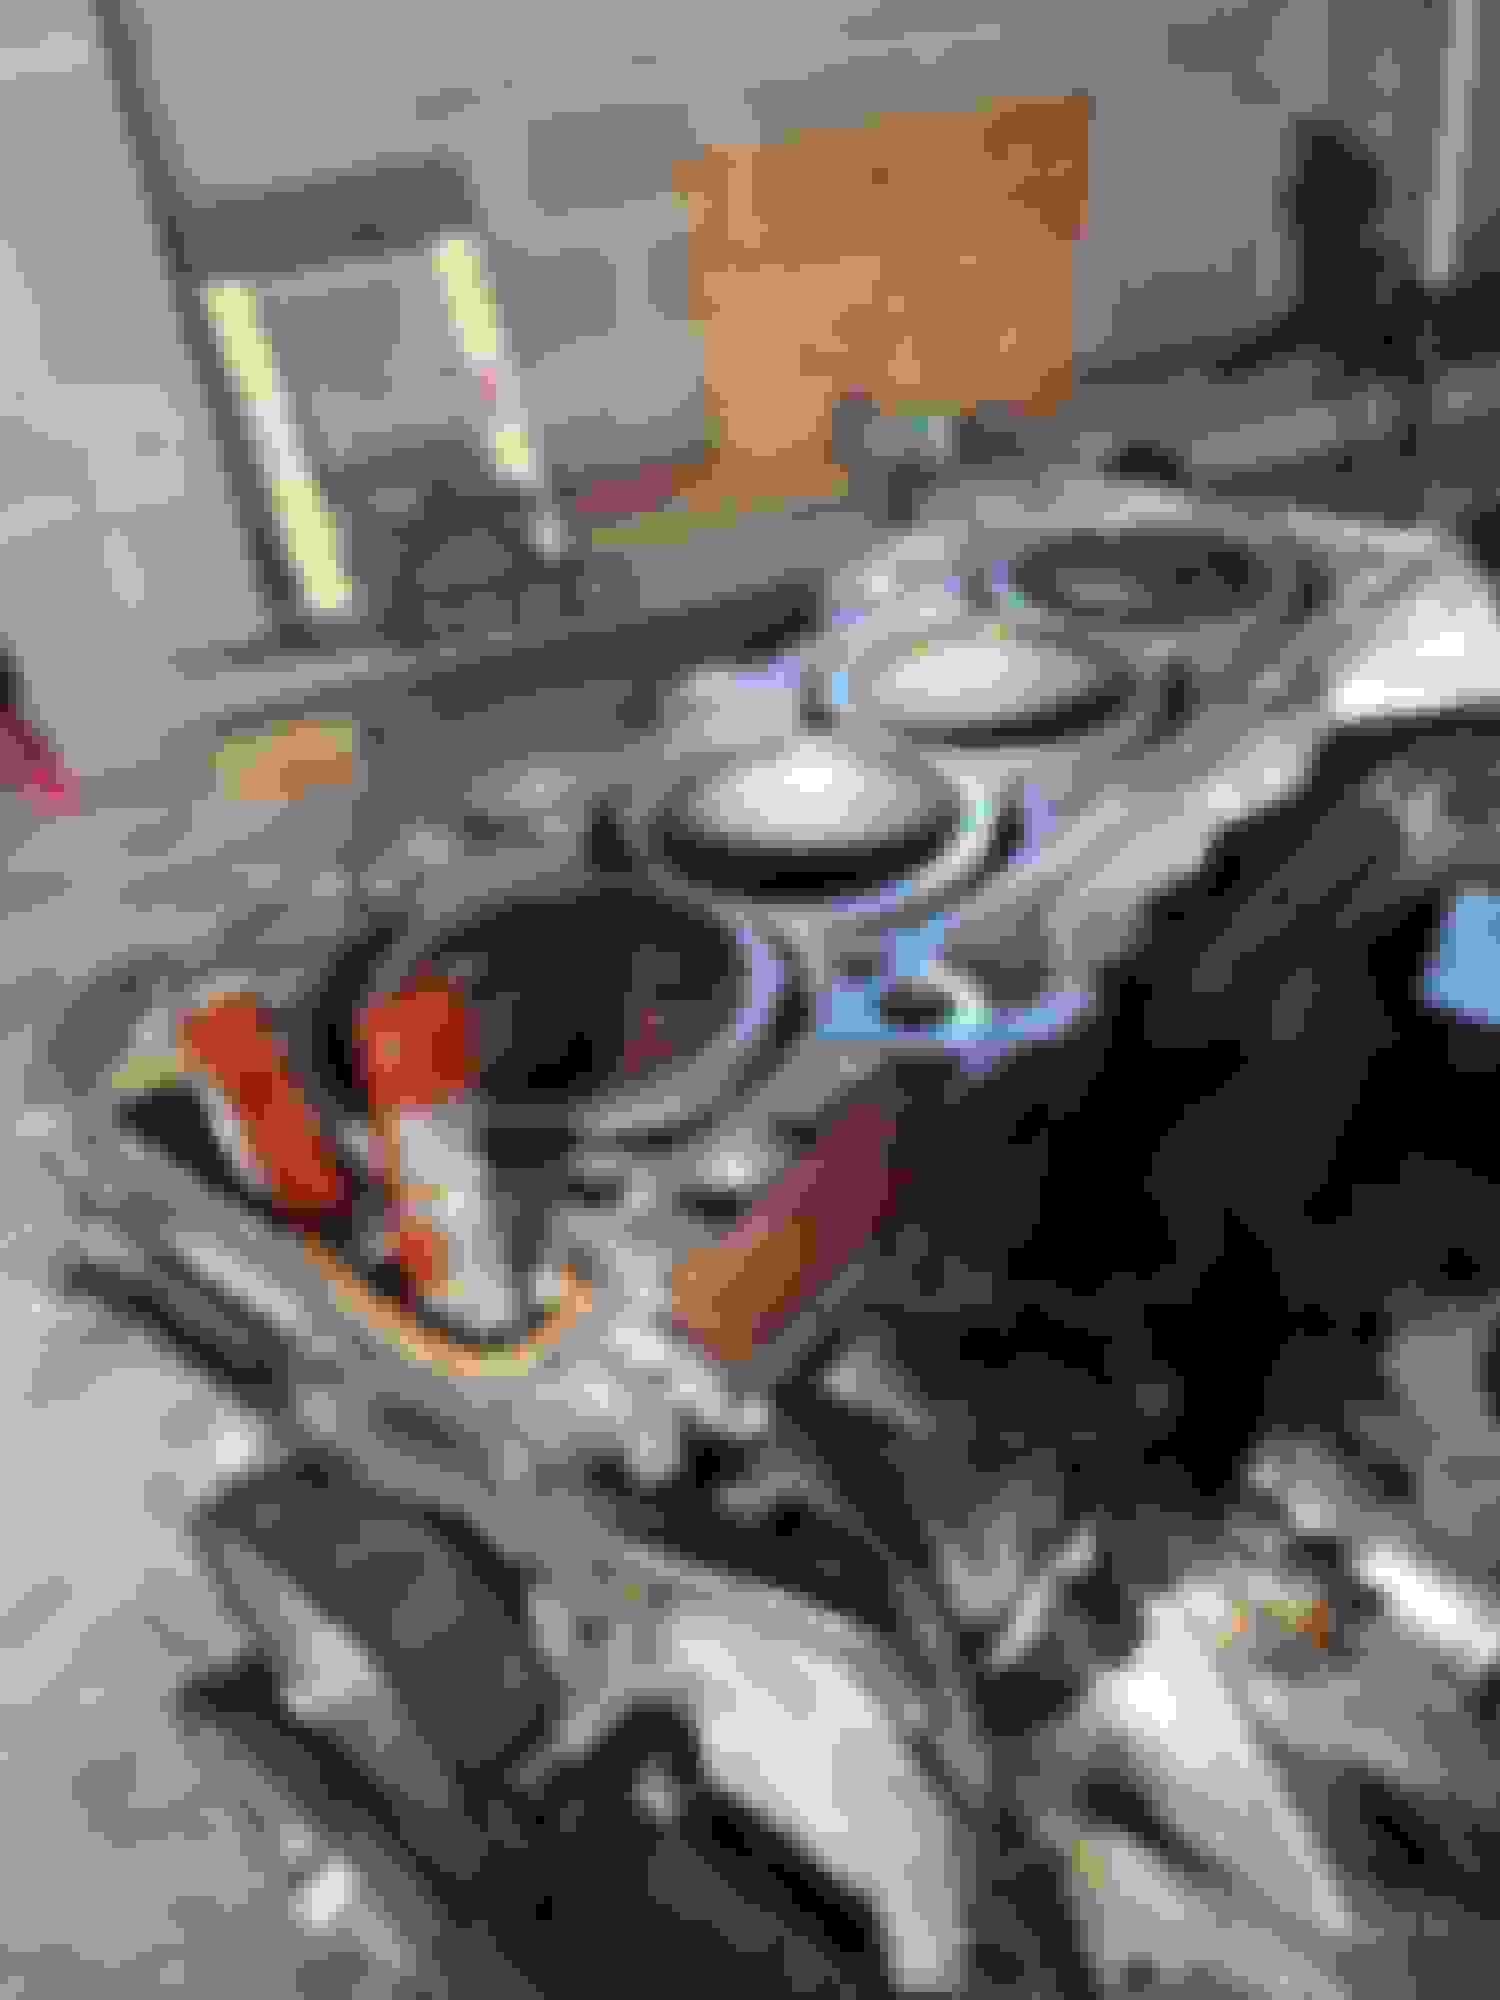
1/26/2019 Pulling the cylinder head
Valve cover removed
Pulled the head, looking good so far! Carbon buildup, but nothing crazy... Let's check the cylinder walls!
Cylinder #1
Cylinder #2
Cylinder #3
Cylinder #4
So let's talk cylinder walls.... I'm ecstatic with the condition of my walls, they are pretty glazed, but that can be fixed with a quick hone... A couple of the walls still show faint crosshatching from factory, pretty SWEET for 130k miles! I will be doing an extremely light honing, following steps from a fellow s2ki member, probably about 10 passes or so to achieve as close to 45-degree crosshatch as I can. Not quite there, but I'll get some pics up once I am finished .
 01-10-2019, 07:33 AM