When you click on links to various merchants on this site and make a purchase, this can result in this site earning a commission. Affiliate programs and affiliations include, but are not limited to, the eBay Partner Network.
So being 6'0" and 205 lbs, I have always found that the seat in the S2000 is not perfect for me. Now I know there are many people that are taller and/or bigger that feel that they fit in the S2000 perfectly. But for me, I just feel like the seat position is not perfect. So I started looking for an aftermarket seat that would get me lower in the car while not sacrificing too much comfort. I read through all the aftermarket seat threads and watched the typical 2nd hand sites. I never really found anything that both fit my budget and my requirements for design. So I decided to give the Backyard Special lowering seat rail a try. Thanks to a fellow member (ADRS2K I think) I was able to find a decent deal on the product shipped right from Japan. Shipping was amazingly quick. Had it in my hand in less than a week.
First impression of the seat rail. Excellent quality. Everything was heavy duty and well built. My only complaint would be that they add the small bracket to hold the position sensor for 06+ S2Ks.
Sorry for the cr*ppy pictures. Just took them with my phone and in poor light.
Taking apart the OEM seat was not bad at all. It's essentially 5 bolts and a couple screws. Just make sure you pull off the handle to the seat lever before you try to remove the plastic shroud. Honestly this part took me the longest. I had to go dig up an old thread about how to take the seat apart.
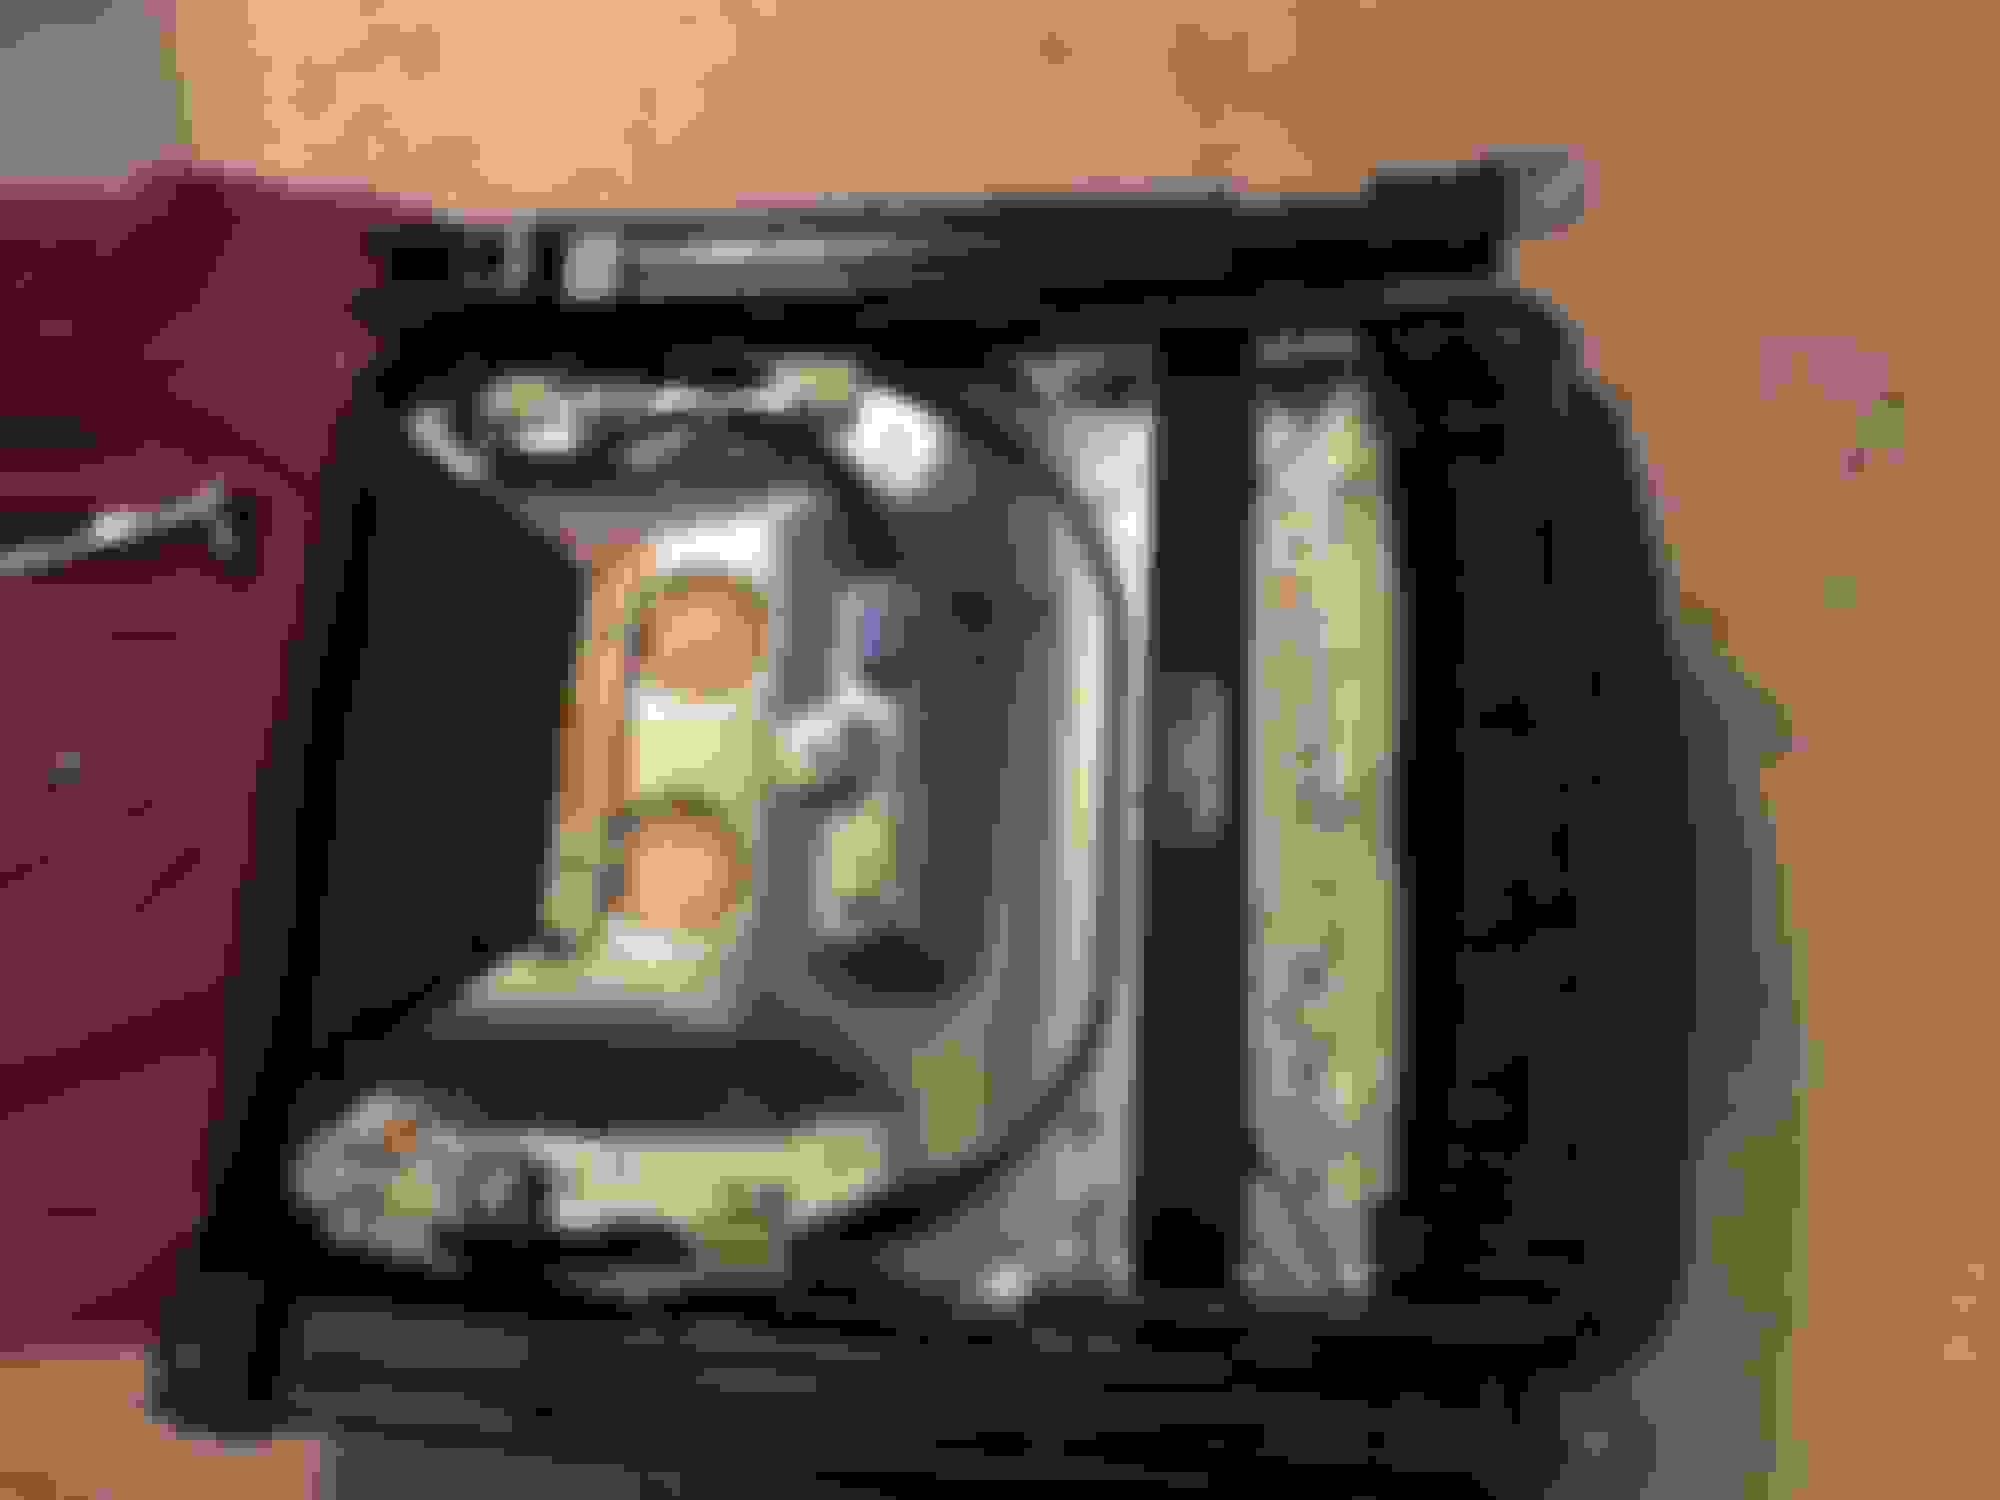
Seat before I took off the rails
Just install the BYS rail in reverse order of how you took the OEM rail off. I was really impressed with how well everything lined up. No issues with quality or fitment from BYS.
Seat bottom after BYS installed
After using zip ties to lock in the position sensor. I wasn't sure how this would work but so far so good.
Seat bottom height with OEM seat rail.
Seat bottom height with BYS seat rail installed. It doesn't seem like much difference but it makes a world of difference with your line of sight out the windshield.
The seat back does not really change significantly. I'm assuming the majority of the lowering comes from just the pan so here is a picture of the gap between pan and seat back after install.
I haven't driven the car much with all the rain but my first impressions are excellent. I really like having my line of sight just slightly lower.
Dude we think alike. Also got ohlins, same mats coming in and just ordered BYS rails as well. And I'm same height as you lol. Glad you like the rails, really looking forward to a slightly lower seating position.
Dude we think alike. Also got ohlins, same mats coming in and just ordered BYS rails as well. And I'm same height as you lol. Glad you like the rails, really looking forward to a slightly lower seating position.
I think you will be happy with the rail. I drive the car to work today. Commute is about 45 minutes so I finally got a decent drive in. I'm really happy with the new seat position and the lower line of sight. Having just a little extra knee room is nice also.
It has been awhile since I updated. Been working on some other hobbies lately. But I did get around to installing this J's Racing Engine Torque Damper. I got a great deal on the ETD and J's heat shield brand new from another forum member so I jumped on it. I probably should have looked into the install process a bit further but oh well. As many have discussed in other threads there are some major down falls to how the major companies designed their ETDs for the S2000.
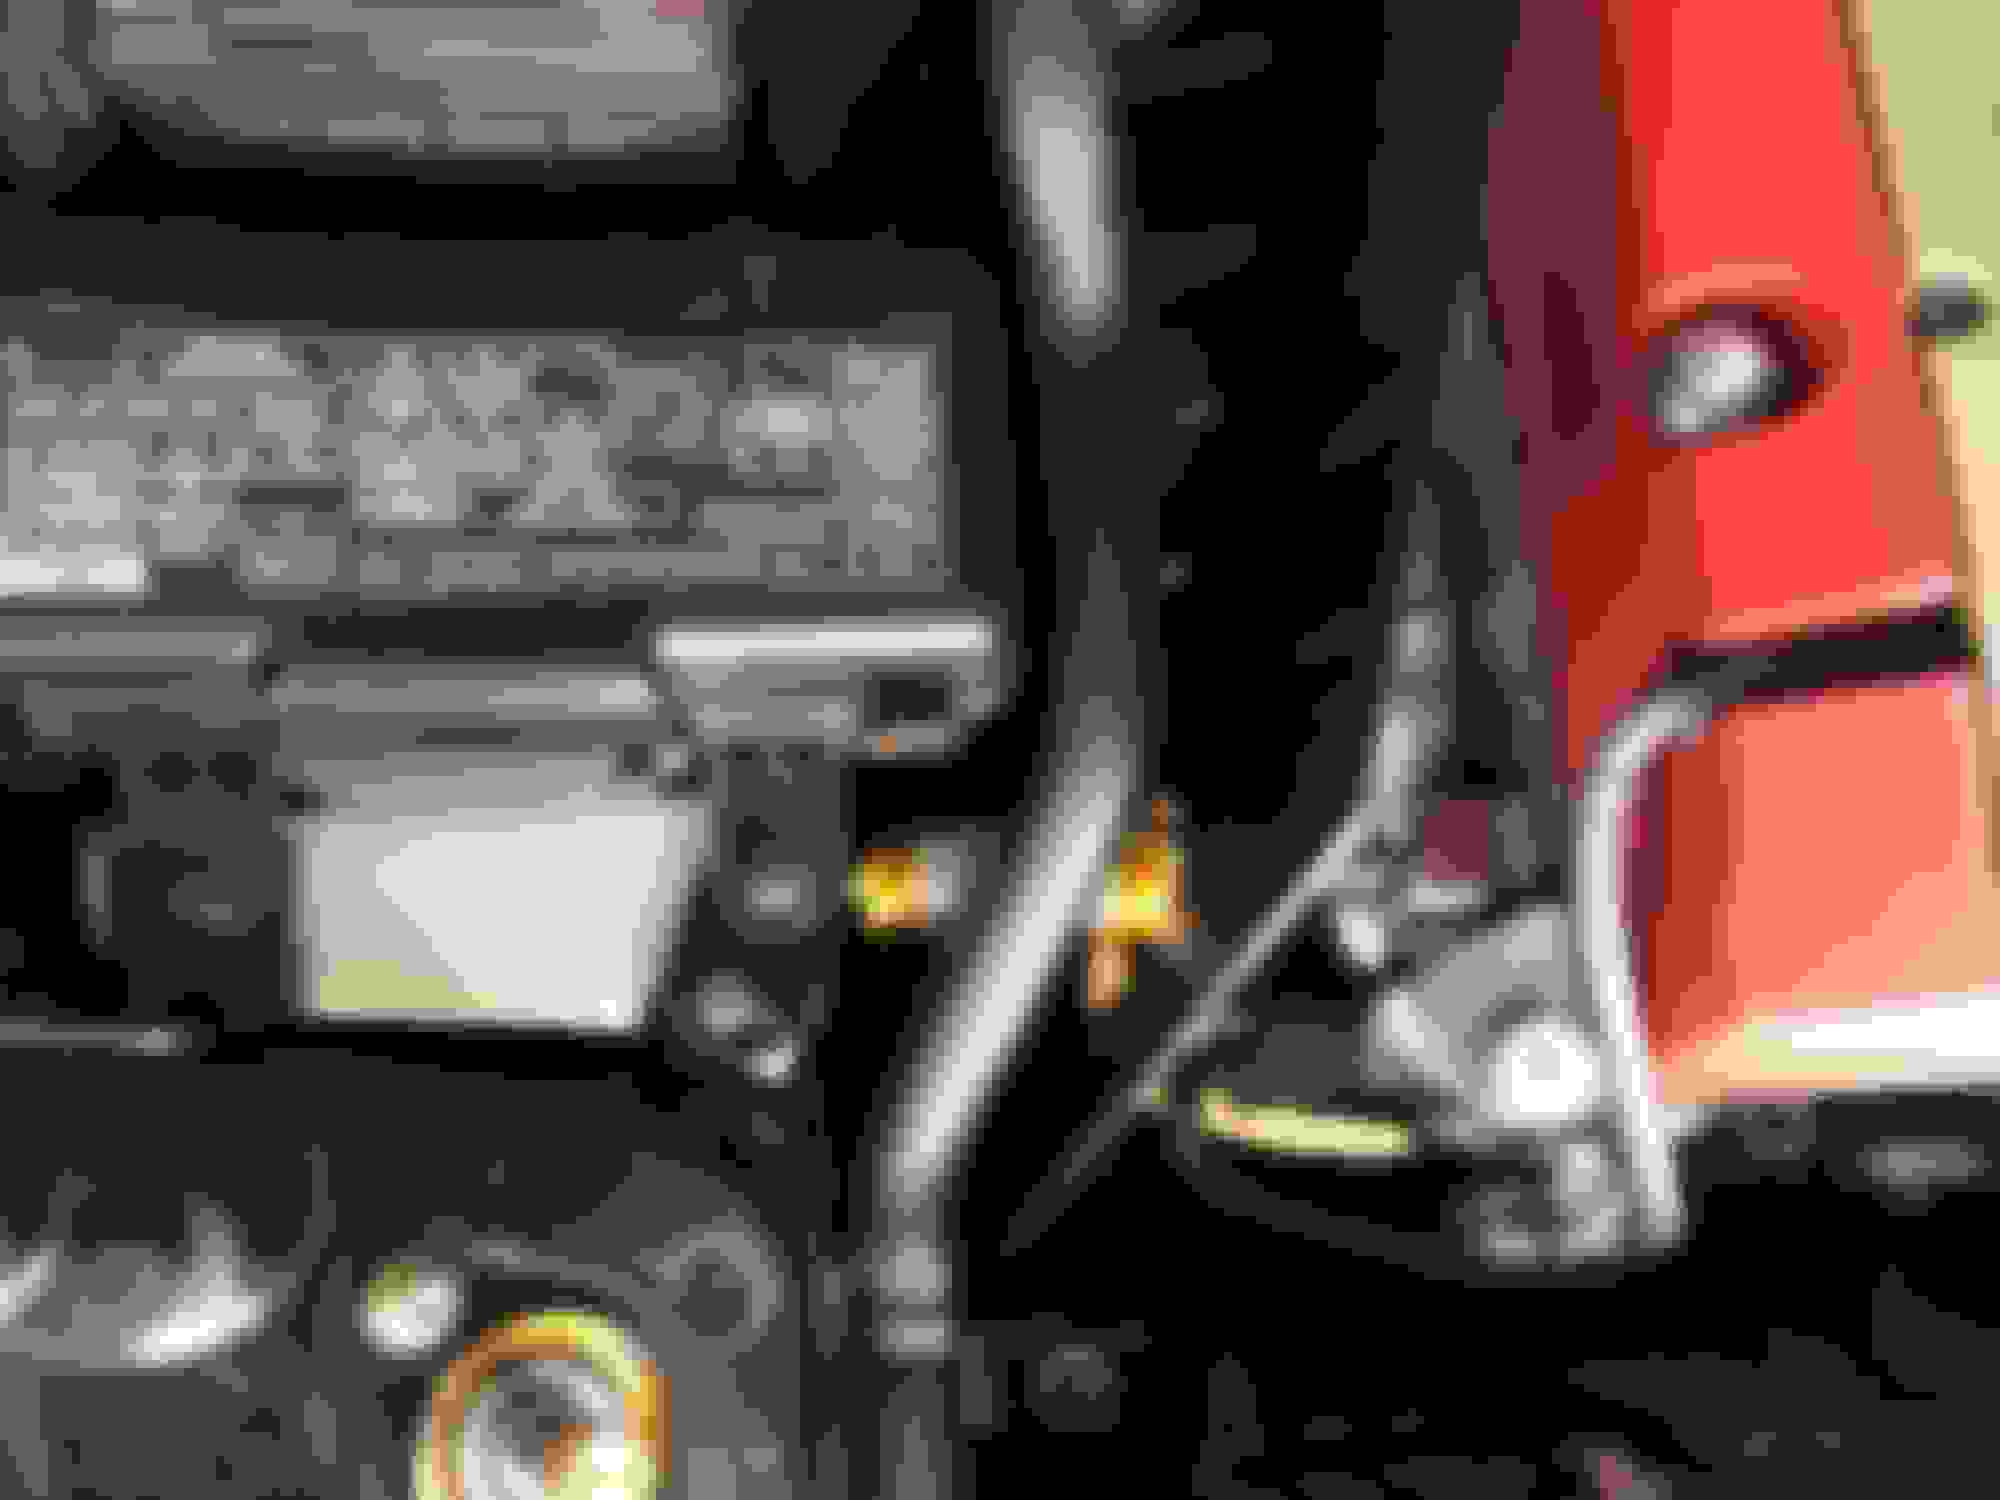
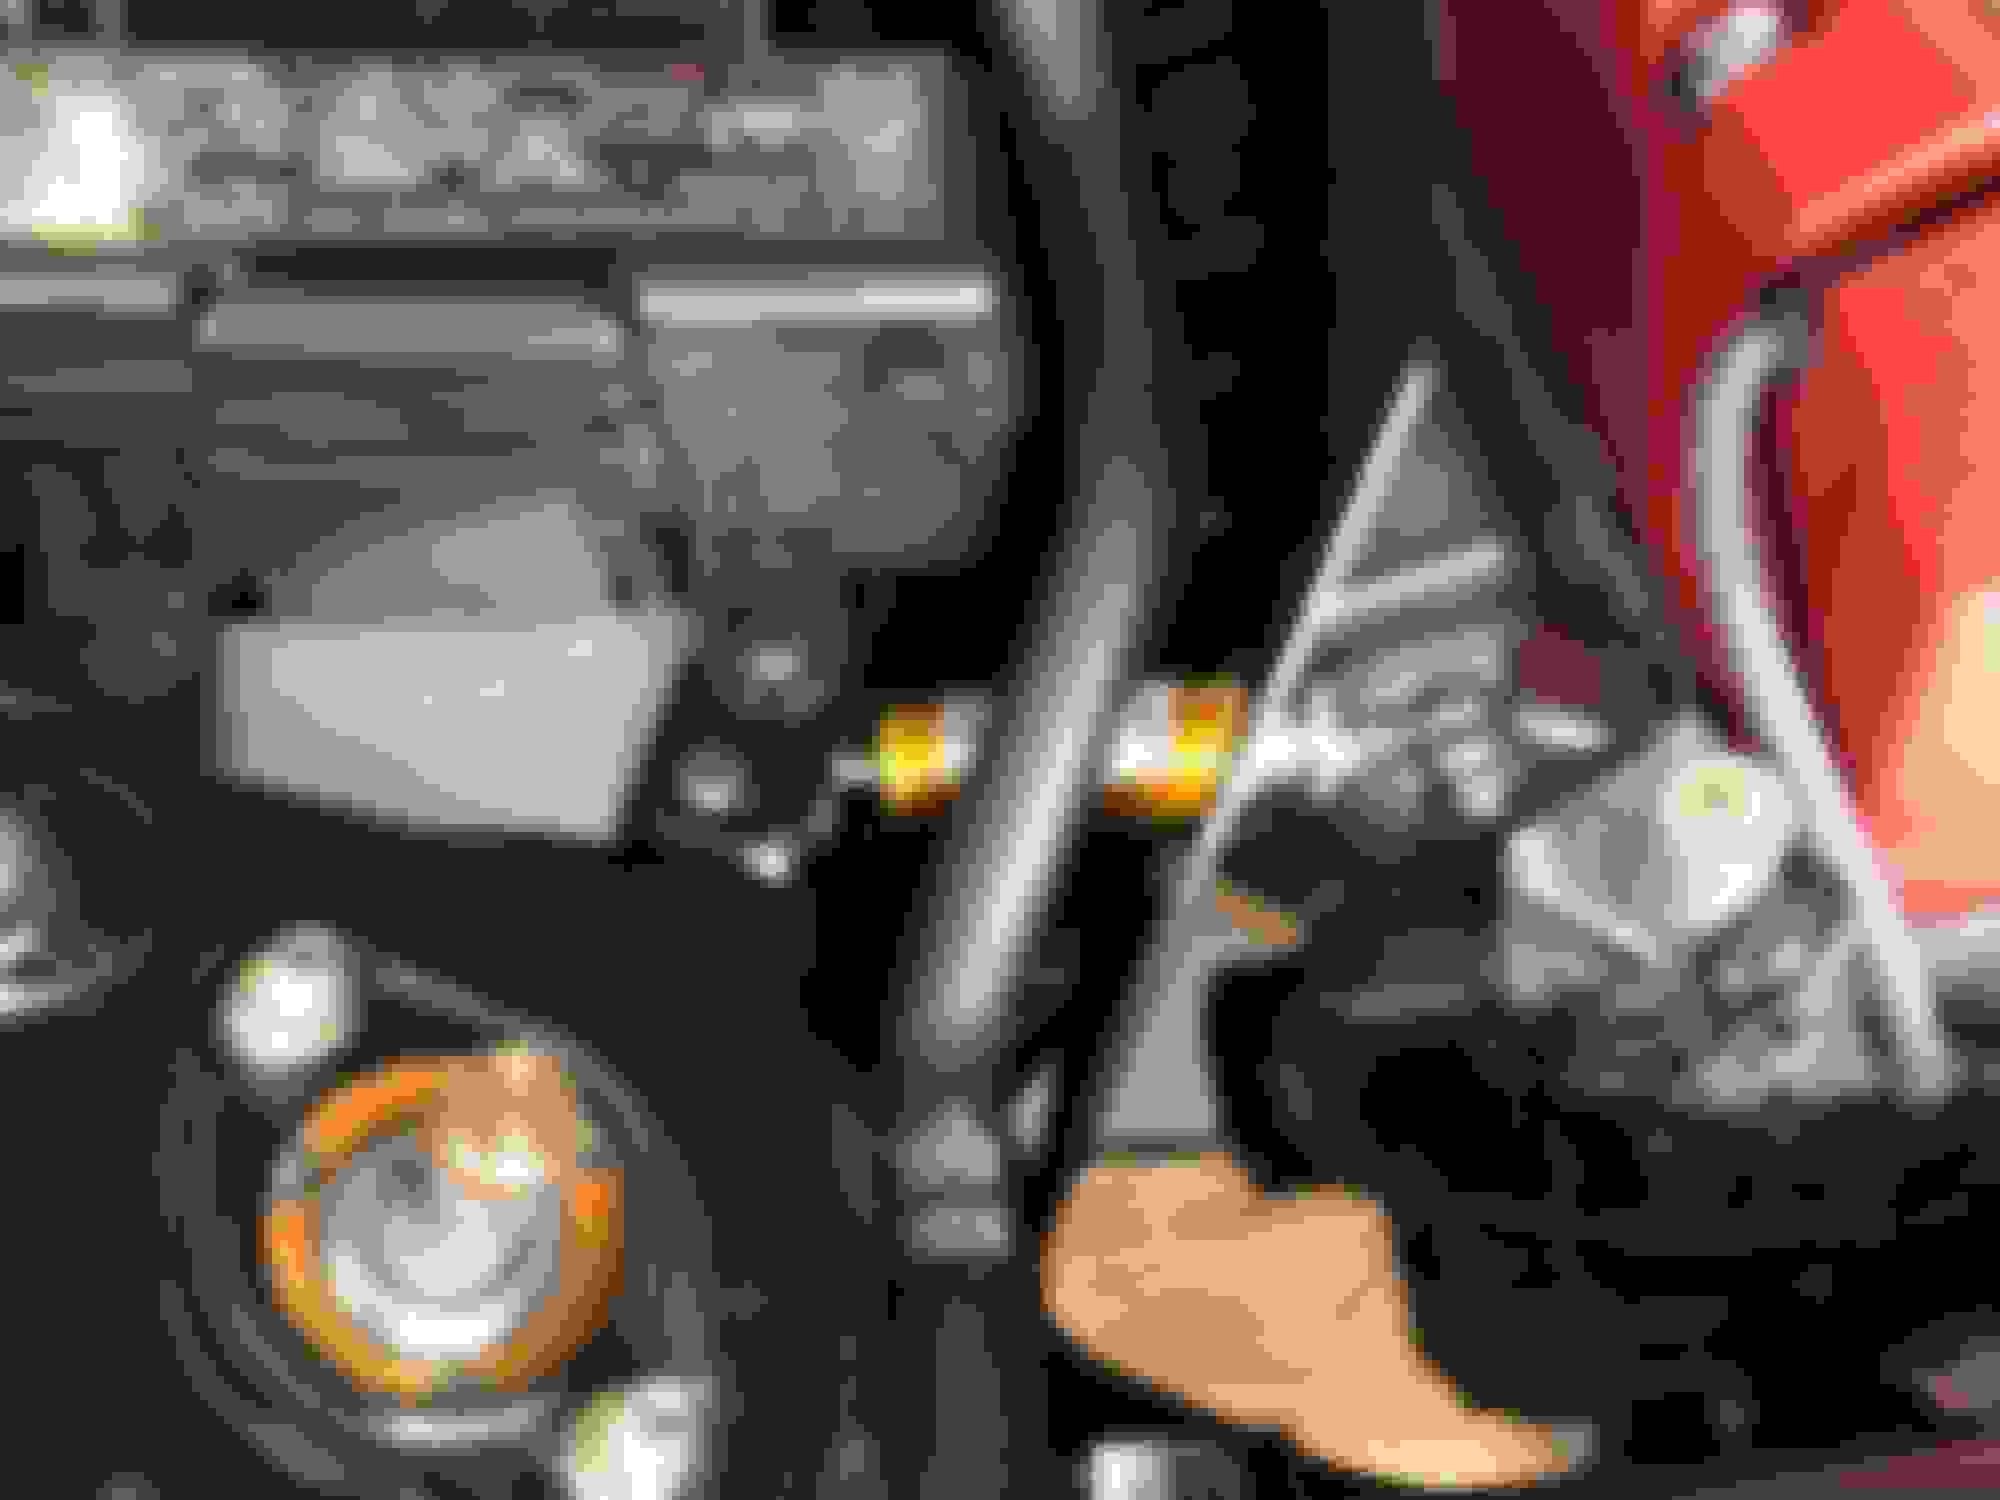
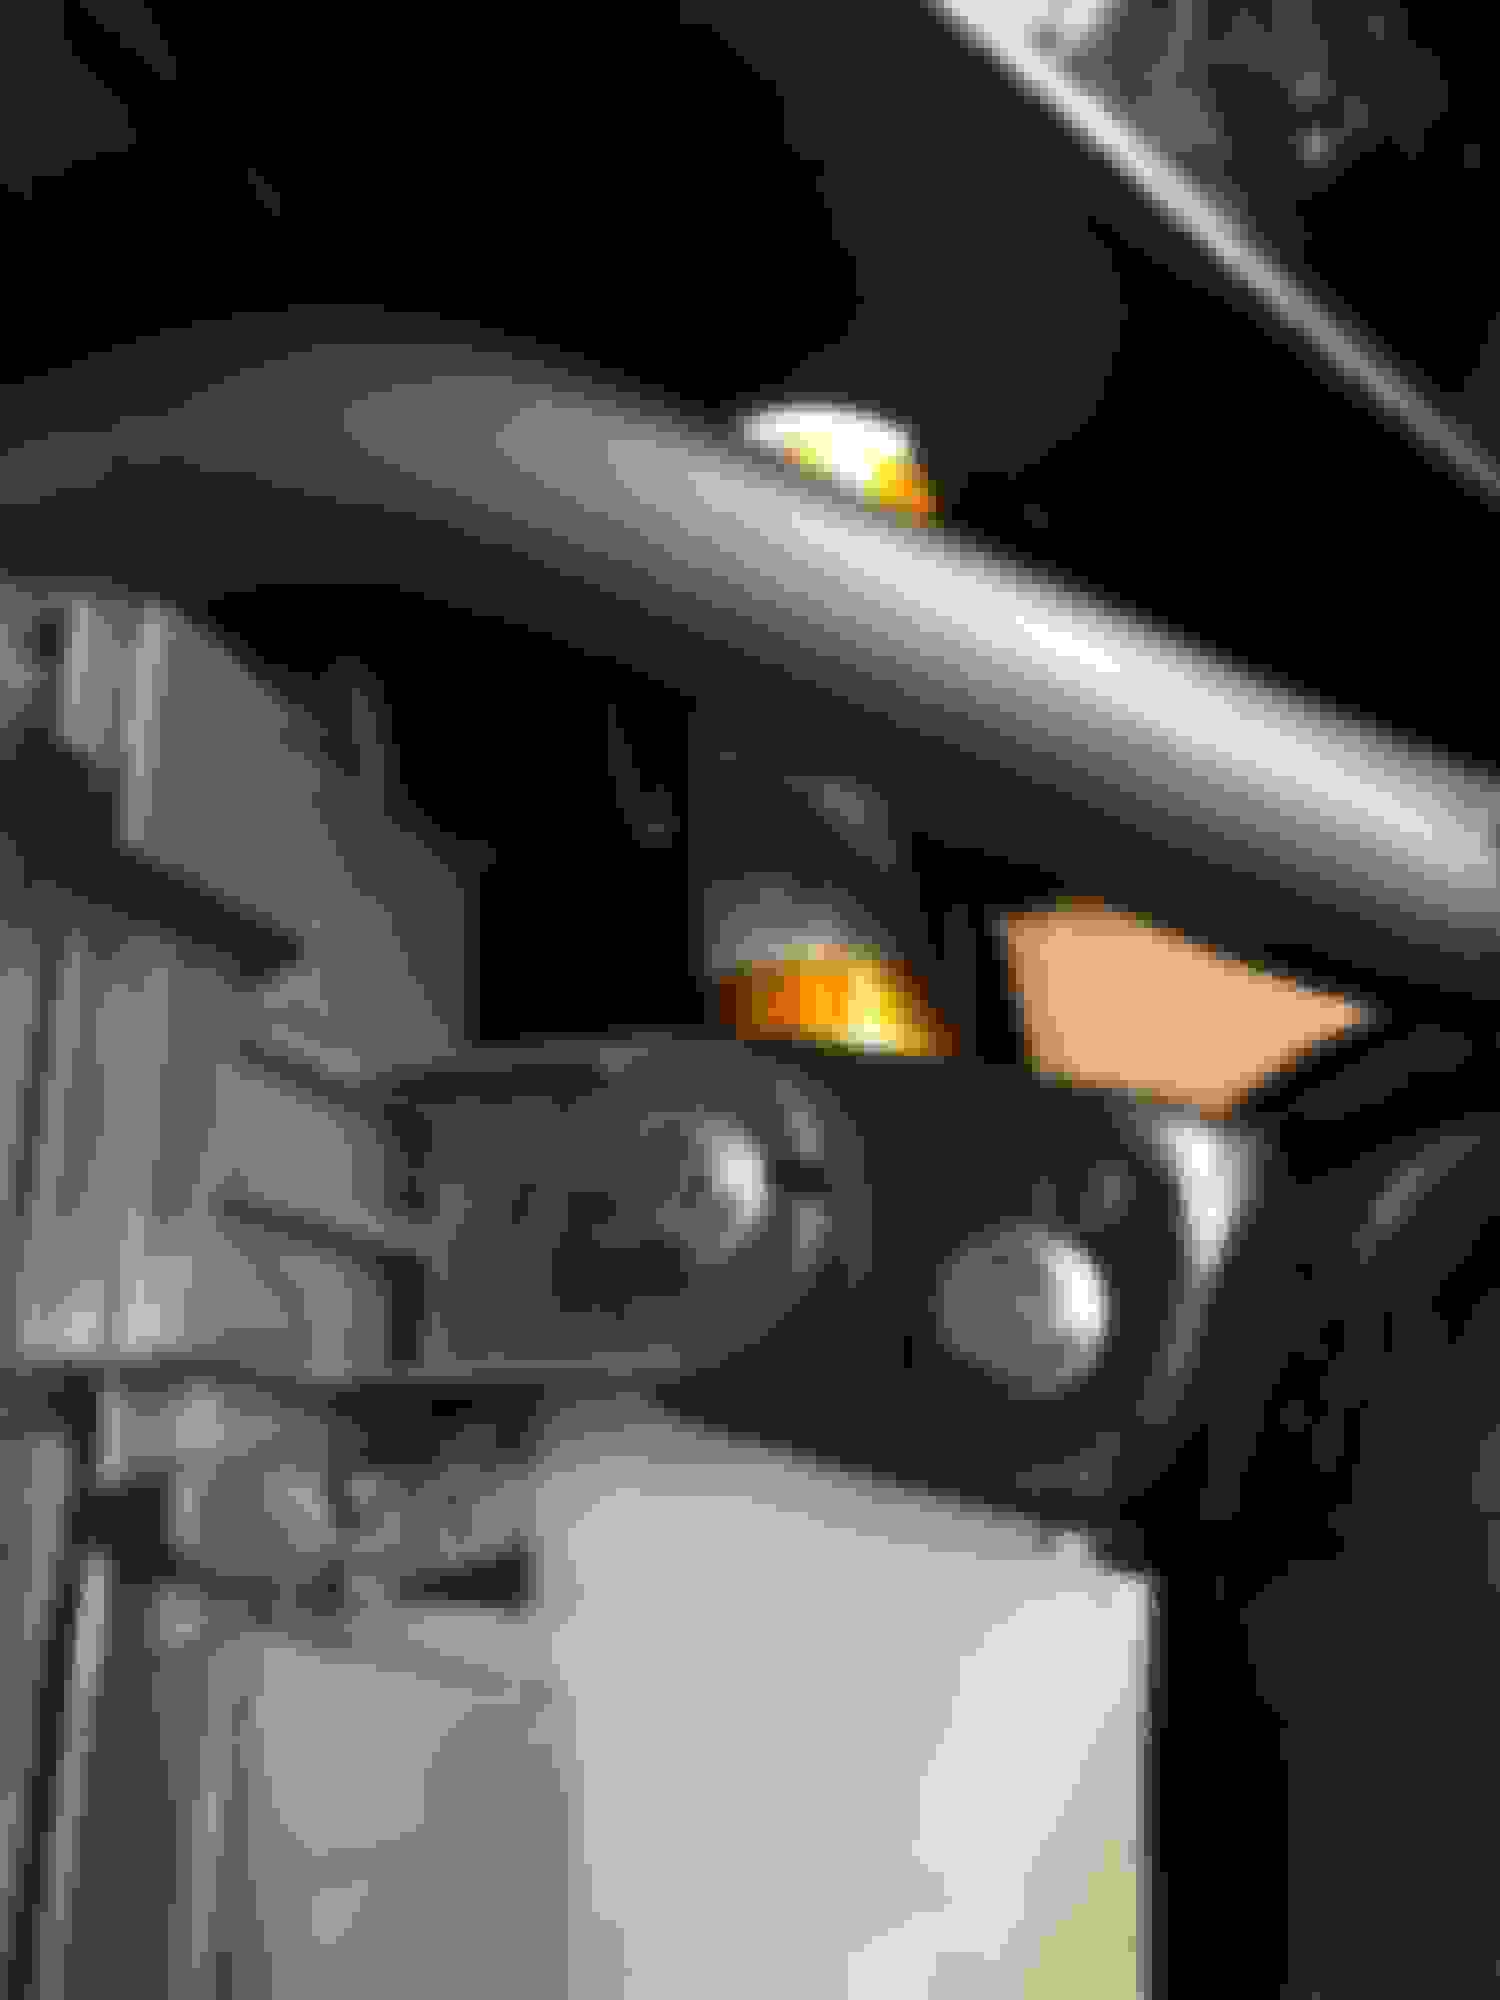
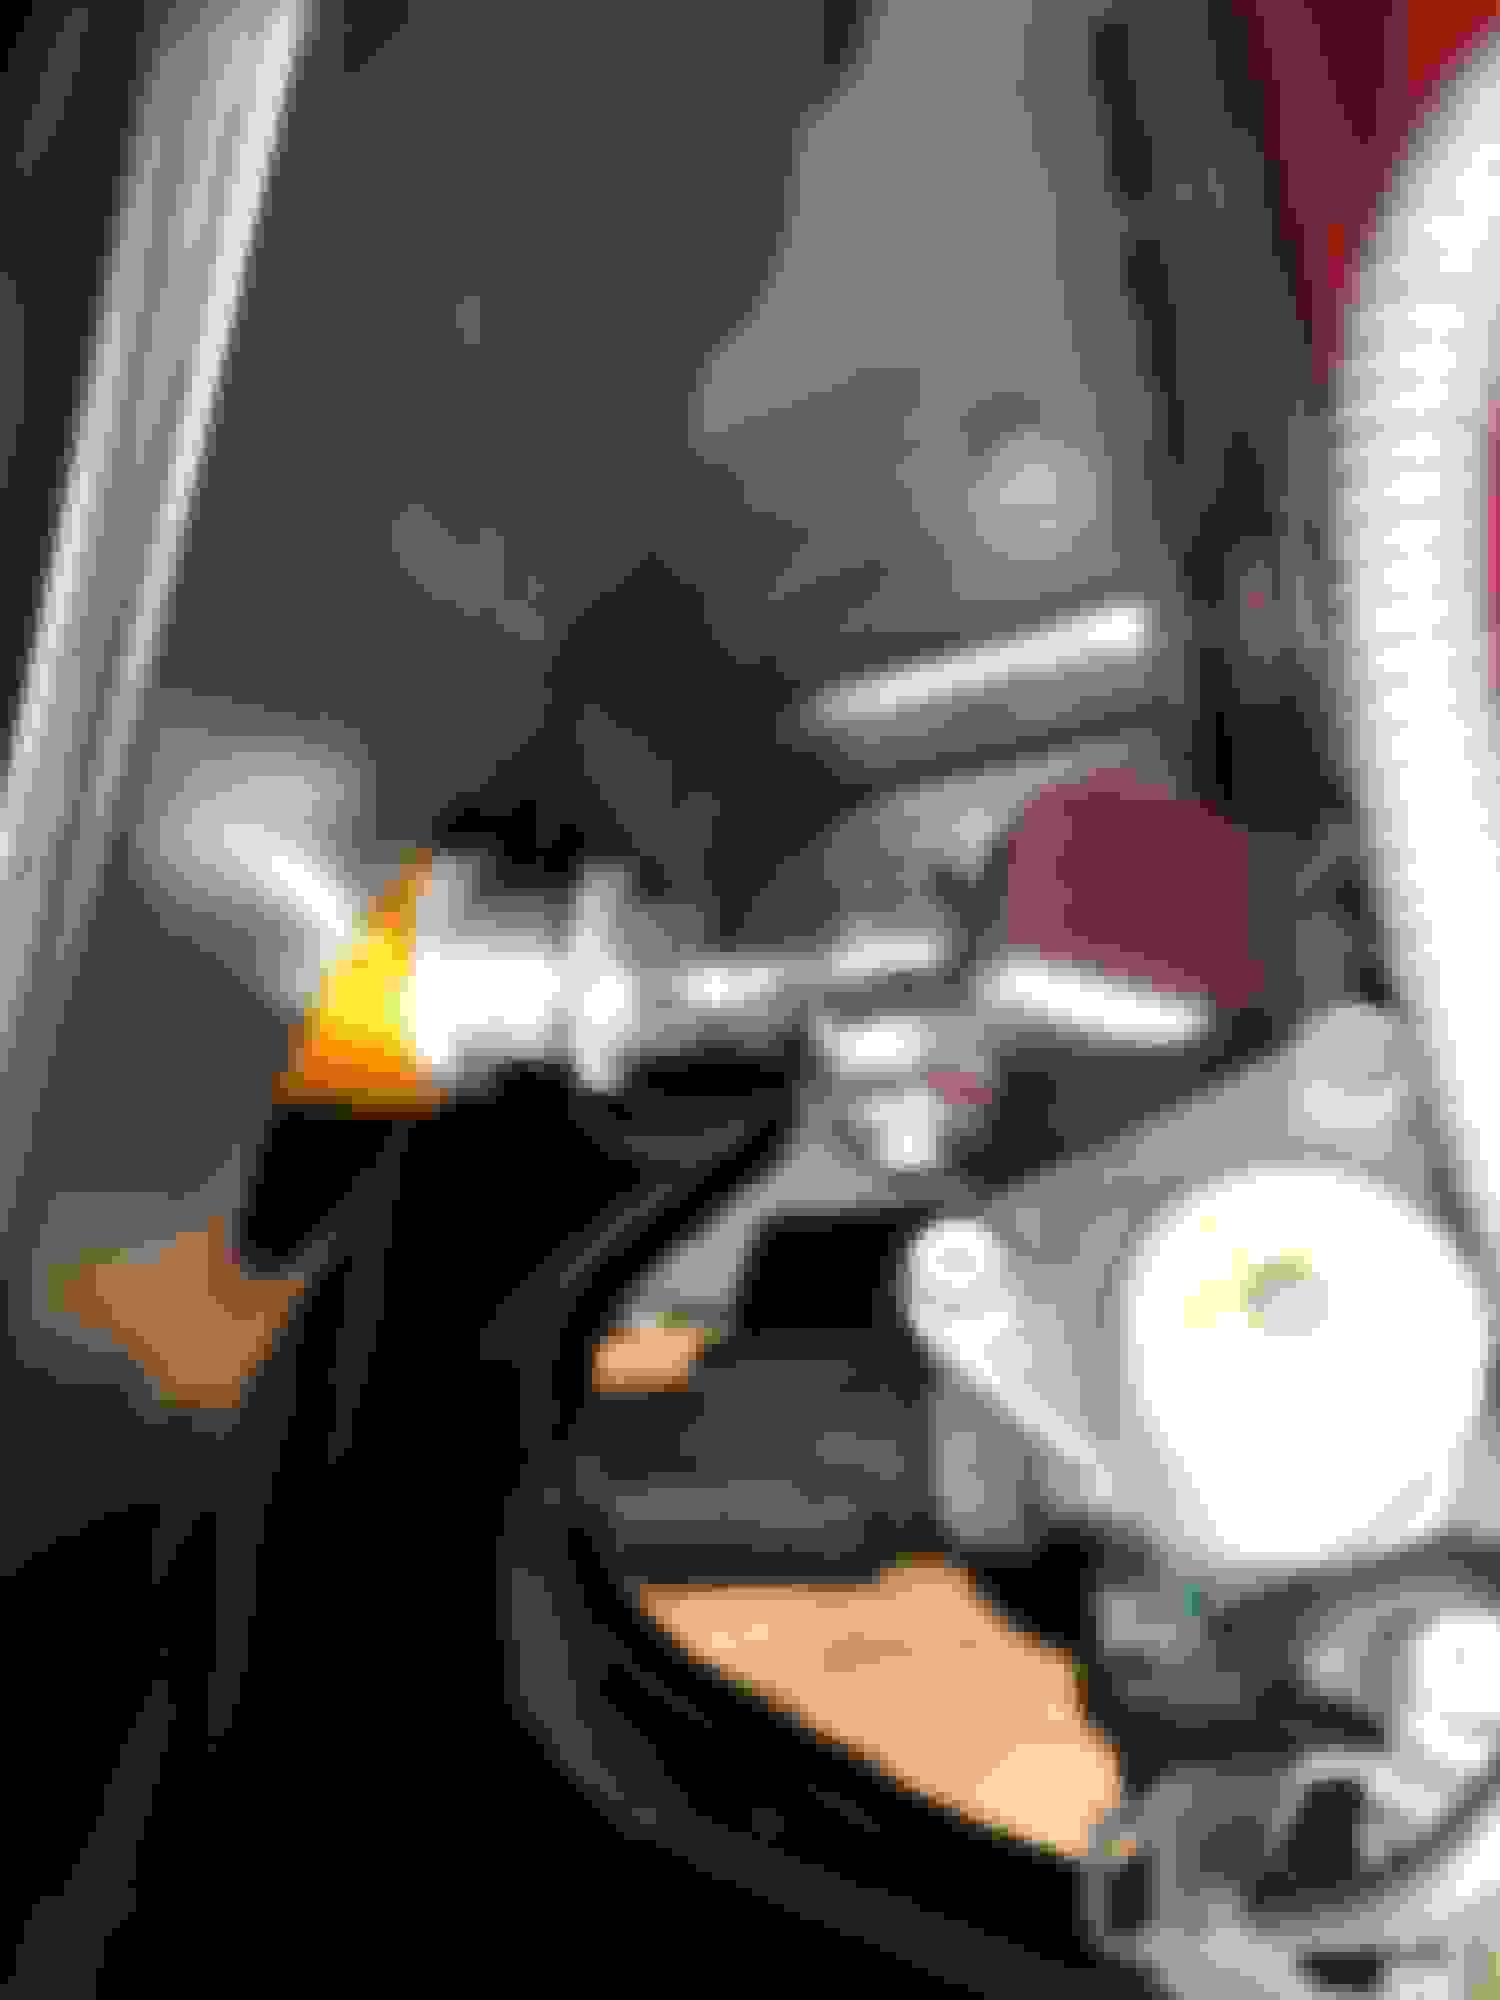
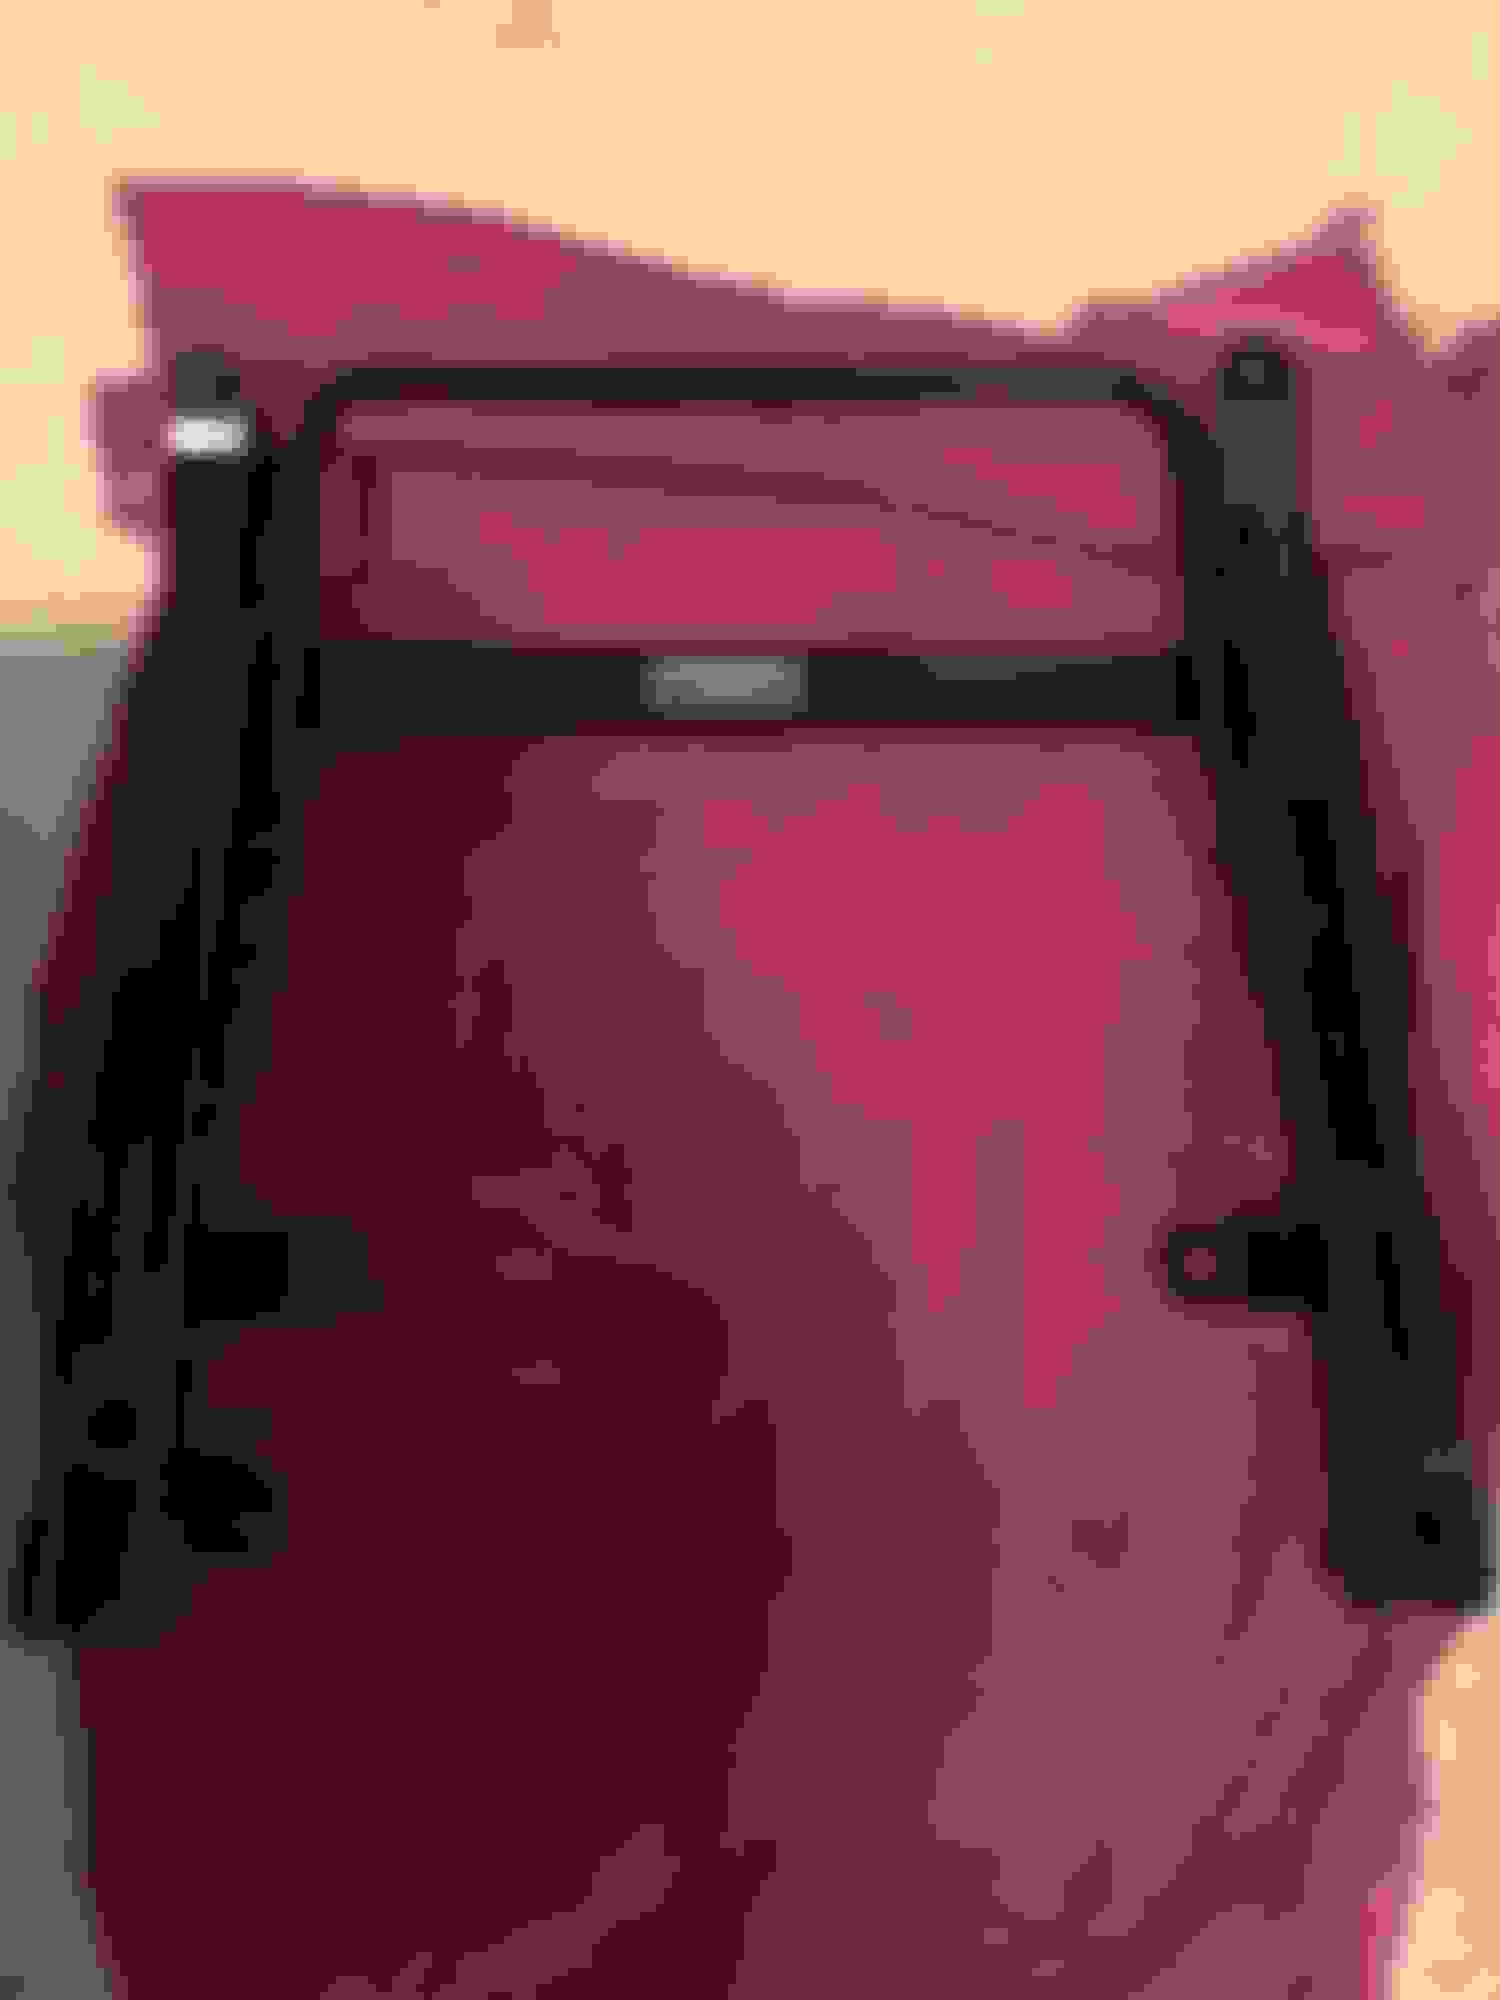
First, you have to cut the fuse box bracket off the body. I did not like this at all so I started researching alternatives. Out of the blue a ran across a low production run of Puddymod brackets that fixed this issue so I ordered one. It's honestly the perfect solution if you don't want to cut up your engine bay. Check the pictures. (I may take mine back out and paint it black)
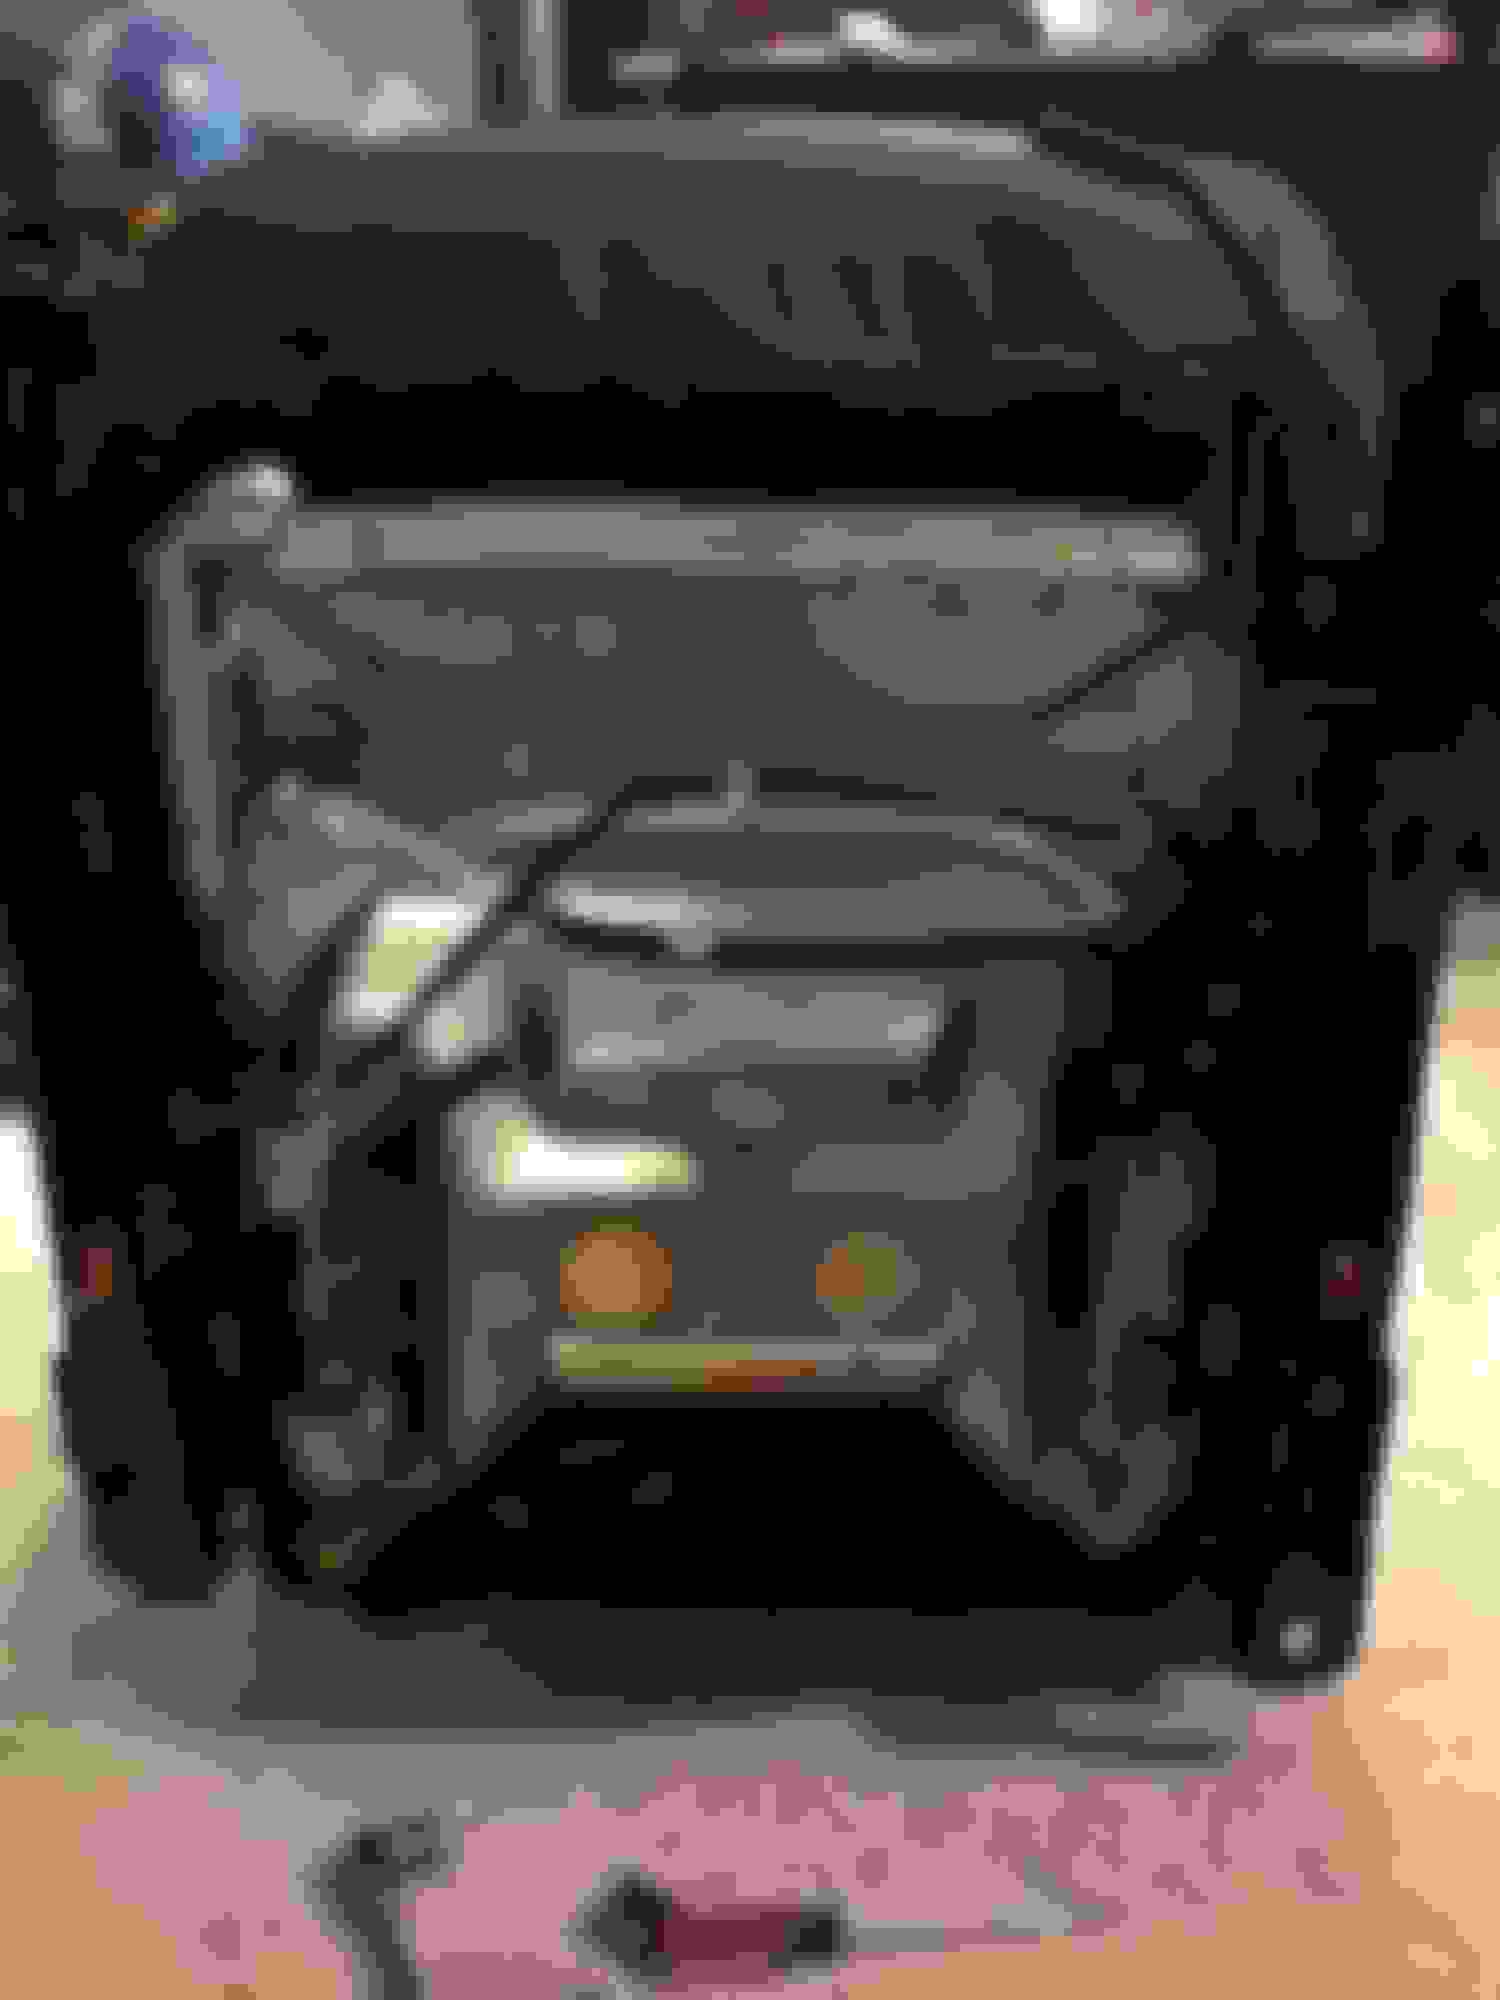
The second issue is the fact that the J's heat shield fits terribly. You have to do some serious modifying of the shield to get it to fit. So I decided just to cut the original heat shield. It's a fairly painless process plus you can find a used factory heat shield pretty easily if you want to return the car back to stock. My biggest issue with heat shield was reaching the rear bolts. The space is hard to reach and tight but doable. Make sure you have a decent ratcheting wrench set and wear some kind of gloves. The header heat shield destroyed my hands.
On to some pictures. Sorry but they are the best I could do.
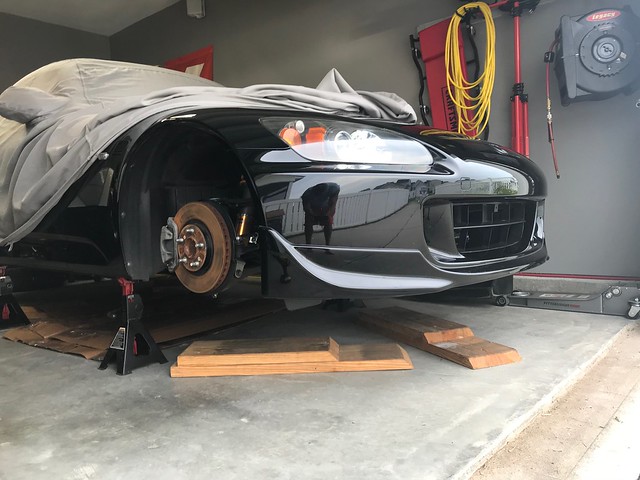
So I was talking to some friends and we decided to spend a weekend enjoying some driving. We setup a weekend in mid April. First stop, Charlotte Motor Speedway for Track Nights of America. .
Being my first track day experience (outside of autox) I wasn't really sure what to expect. As I arrived to CMS I realized that maybe I was a little out of place. There was a long line of Z06s, Challengers, Mustangs, and Camaros waiting to go through the tunnel. The oval definitely attracts the big horsepower cars but this didn't stop us. Eventually some miatas, STis, and porsches showed up. We went through the training in the novice group and started our 20 minute sessions. By the 3rd session of the day I was feeling comfortable enough to really push the car into the turns pretty hard. My lap times were decreasing each time around. Eventually I hit the limit of the stock brake system and started to get some major brake fade. I didn't want to risk any damage to the car so I called it a day. I was really impressed with how well the RE71Rs and Ohlins performed. At no point did I feel like the car was unstable or hard to control. I'm definitely hooked on the track HPDE. I will be signing up for another track day soon. I'm thinking CMP or Roebling road.
Second day: We had planned to drive over to highway 129 (Tail of the Dragon). Unfortunately after spending a day on the track we were not up for the 3 hour drive each way. We ended up heading up to Blowing Rock, NC and catching the Blue Ridge Parkway headed towards Asheville, NC. It was a great drive. The Blue Ridge Parkway is such a nice smooth road. The majority of the landscape was nicely manicured. Plenty of great driving as well.
Well, my image hosting max in S2ki has been met. New image hosting in play. Hopefully this works
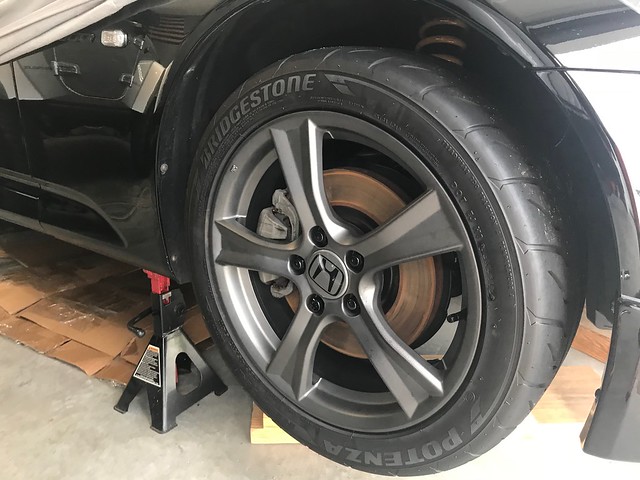
After my track day I realized that the brakes were the weak link considering my current driving skill so I set out to do some upgrading. I didn't want to go crazy just clean up the look and add some increased performance.
Before I started this is what the breaks looked like.
Last edited by ClemsonWill; 07-12-2018 at 03:15 PM.
Reason: Picture posting not working
 05-14-2017, 03:08 AM


 I think you will be happy with the rail. I drive the car to work today. Commute is about 45 minutes so I finally got a decent drive in. I'm really happy with the new seat position and the lower line of sight. Having just a little extra knee room is nice also.