ClemsonWill's 2nd S2000 build
 03-13-2019, 05:51 AM
#61

Thread Starter
Thanks Spoon!
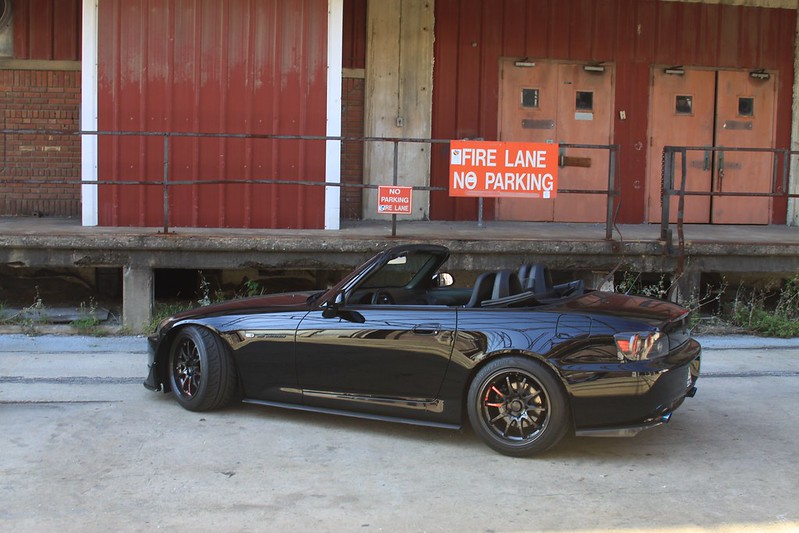
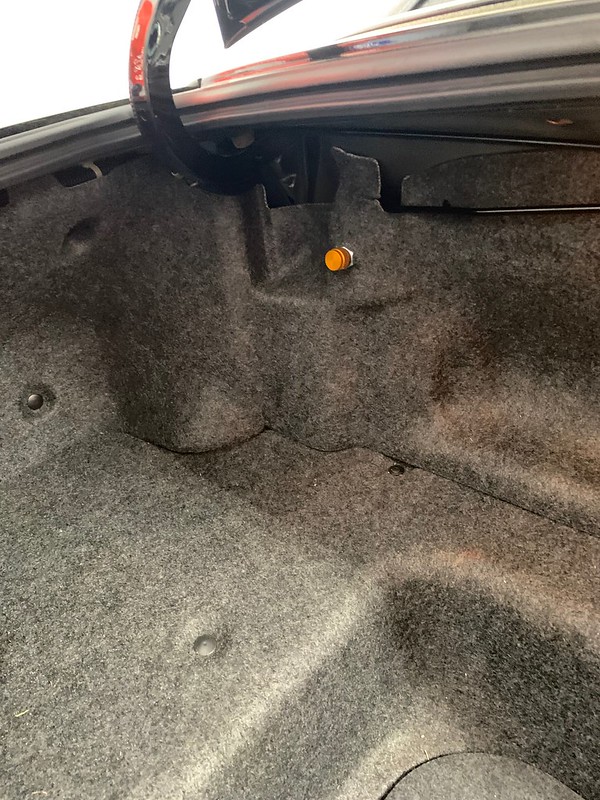
Latest addition: SakeBomb garage remote adjusters for DFVs. Thanks Orjinal!
I decided to just install the driver side. The passenger side interferes with the spare tire. I'm not ready to give up the spare just yet. The passenger side is easy enough to get to for track days.
Latest addition: SakeBomb garage remote adjusters for DFVs. Thanks Orjinal!
I decided to just install the driver side. The passenger side interferes with the spare tire. I'm not ready to give up the spare just yet. The passenger side is easy enough to get to for track days.


 03-14-2019, 06:41 AM
#63
Thread Starter
Toda Header install.
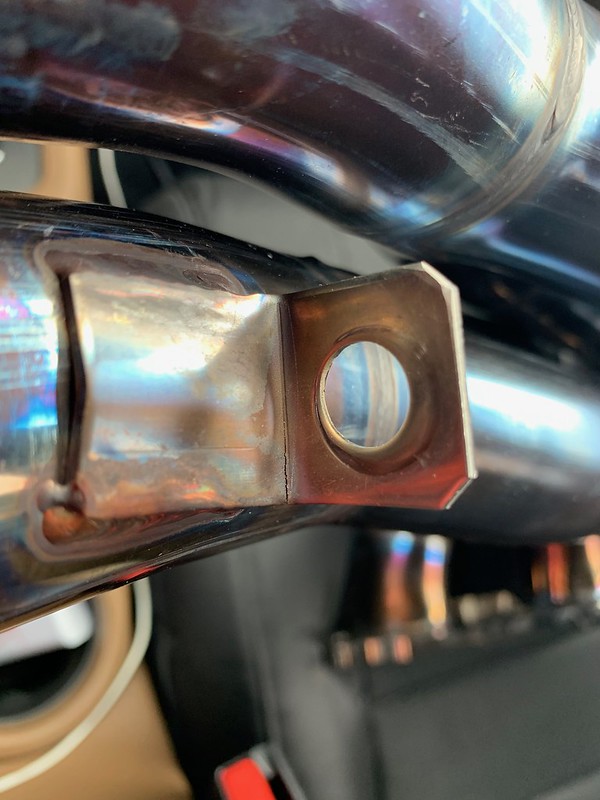
I purchased a used Toda header from the forum. I was told that it was mint condition with less than 100 miles. Upon arrival I inspected the header. Everything appeared to be in great condition with exception of the typical Toda bracket issue. There was a hairline crack in the bracket.
Unwrapping the header:
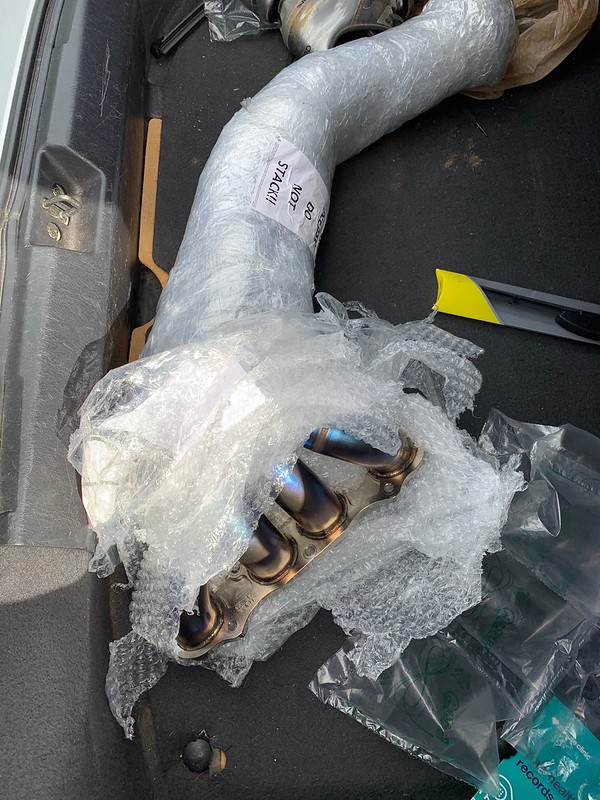
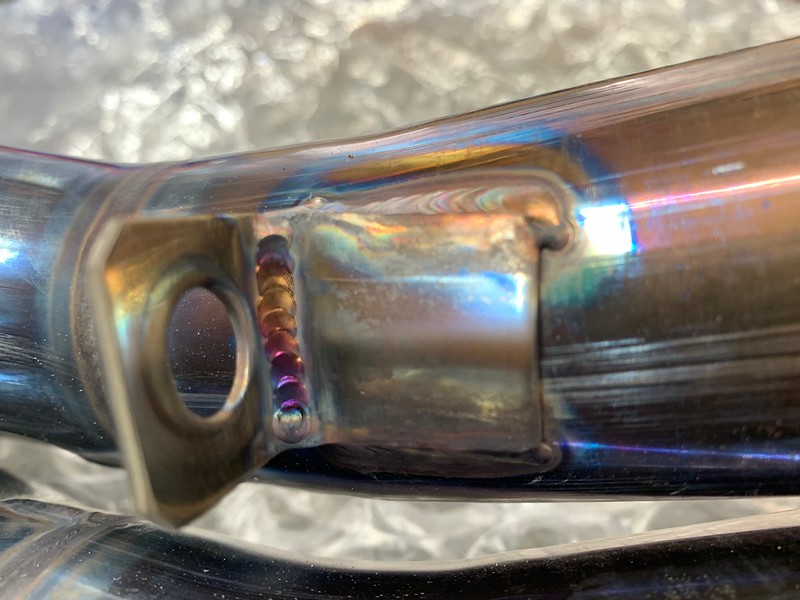
I decided to have the crack in the bracket reinforced (hopefully it will hold). I can't say enough great things about the quality of work that Nth Degree Fabrication. As they were checking over and welding my bracket, I took a look around the shop. Some really impressive work with turbo manifolds and exhausts. If you are in the area and need some fab work done, you should definitely check them out.
Before:
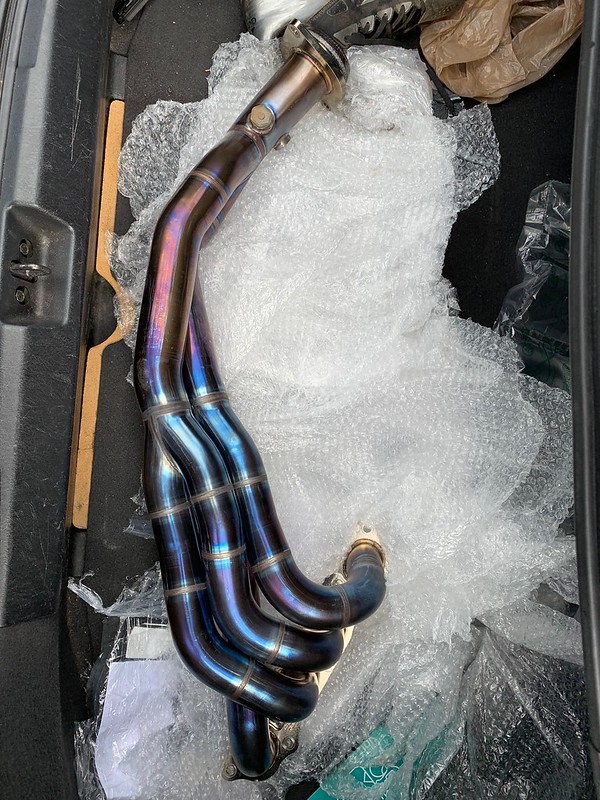
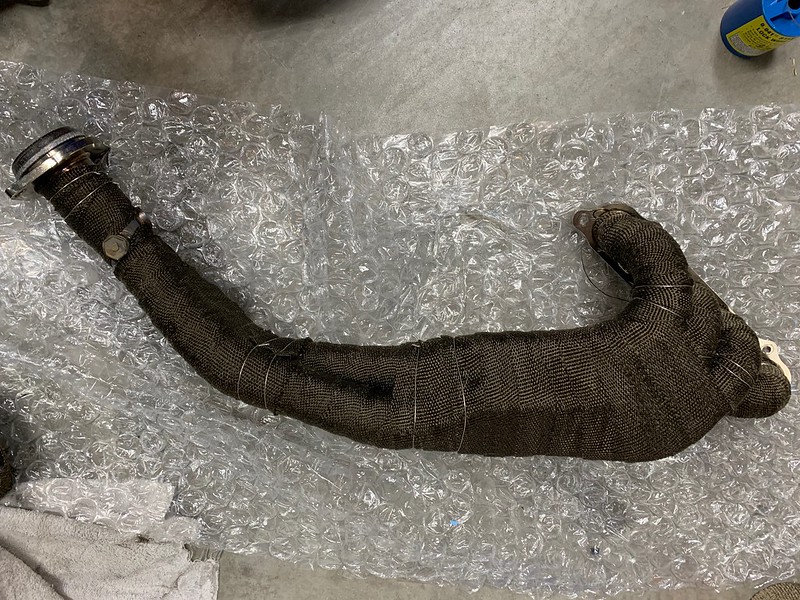
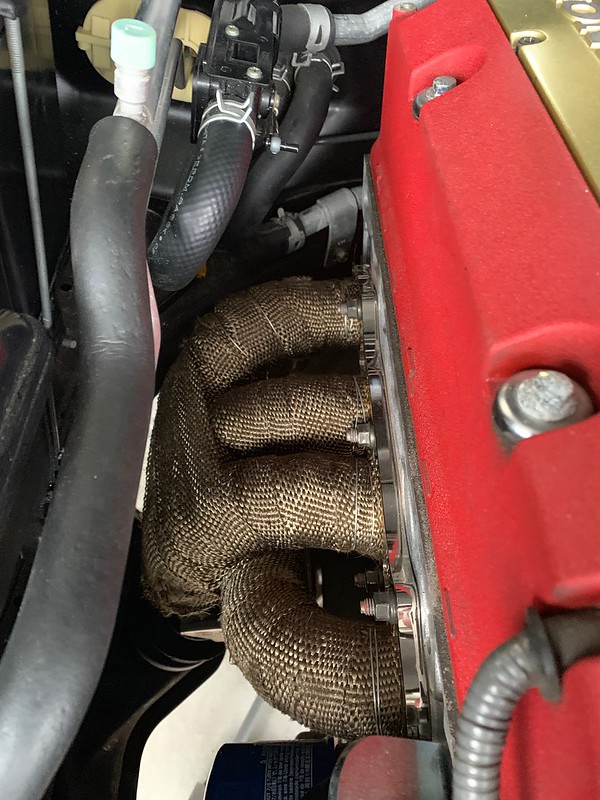
Considering I will be tracking the car and I may go with an SC in the future, I wanted to go ahead and proactively control the heat as much as possible. I decided to go ahead and heat wrap the header. I know there are mixed reviews about wrapping the header and potential for cracking. I am willing to take the risk to help avoid heat issues.
Application of heat wrap: I let the heat wrap soak water for 24 hours. This definitely seemed to help with application process. As you can see, I used stainless steel wire instead of the stainless straps that come with most kits. I have used this process on previous cars and it has worked very well. The wire holds the wrap very tight.
Wrap still wet in this picture:
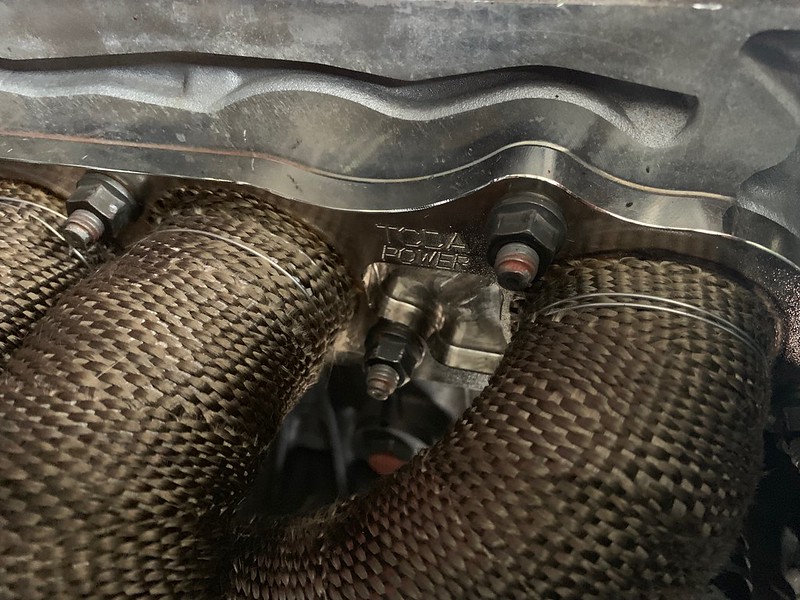
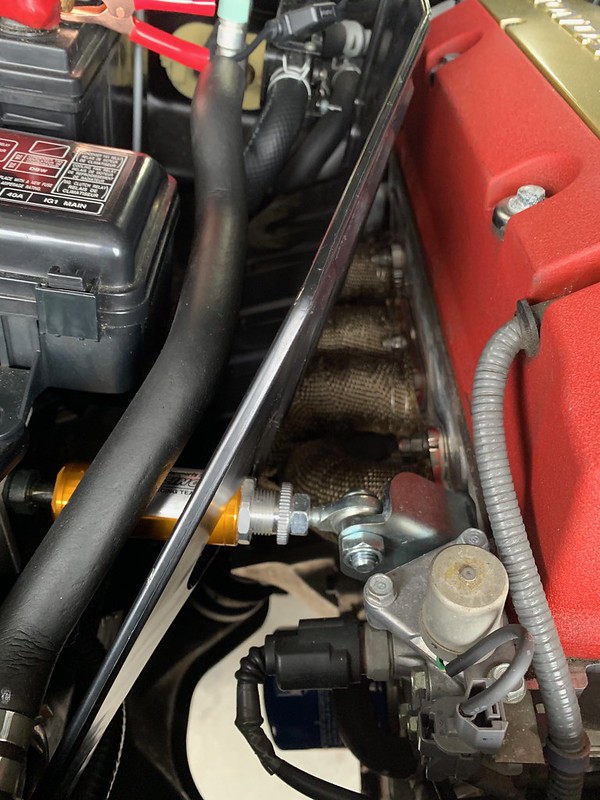
Install process - I didn't remember installing my first S2000 header being this difficult. The factory header came right out but the Toda simply would not fit. I am assuming it is because of the wrap. I did not want to pinch or slice the wrap so I knew I was going to have to be more creative. I had to support the motor, remove the passenger motor mount, and loosen the driver mount. This allowed me to use the OEM jack to push the motor over to the drivers side giving the room needed to install the header with no damage.
The wrap company said it would smoke a bit for the first few minutes of being heated up. I was not expecting this.....
Everything is good now. Took about 15 minutes to burn off.
I purchased a used Toda header from the forum. I was told that it was mint condition with less than 100 miles. Upon arrival I inspected the header. Everything appeared to be in great condition with exception of the typical Toda bracket issue. There was a hairline crack in the bracket.
Unwrapping the header:
I decided to have the crack in the bracket reinforced (hopefully it will hold). I can't say enough great things about the quality of work that Nth Degree Fabrication. As they were checking over and welding my bracket, I took a look around the shop. Some really impressive work with turbo manifolds and exhausts. If you are in the area and need some fab work done, you should definitely check them out.
Before:
Considering I will be tracking the car and I may go with an SC in the future, I wanted to go ahead and proactively control the heat as much as possible. I decided to go ahead and heat wrap the header. I know there are mixed reviews about wrapping the header and potential for cracking. I am willing to take the risk to help avoid heat issues.
Application of heat wrap: I let the heat wrap soak water for 24 hours. This definitely seemed to help with application process. As you can see, I used stainless steel wire instead of the stainless straps that come with most kits. I have used this process on previous cars and it has worked very well. The wire holds the wrap very tight.
Wrap still wet in this picture:
Install process - I didn't remember installing my first S2000 header being this difficult. The factory header came right out but the Toda simply would not fit. I am assuming it is because of the wrap. I did not want to pinch or slice the wrap so I knew I was going to have to be more creative. I had to support the motor, remove the passenger motor mount, and loosen the driver mount. This allowed me to use the OEM jack to push the motor over to the drivers side giving the room needed to install the header with no damage.
The wrap company said it would smoke a bit for the first few minutes of being heated up. I was not expecting this.....
03-14-2019, 08:19 AM
#64

The wrap company said it would smoke a bit for the first few minutes of being heated up. I was not expecting this.....
https://www.youtube.com/watch?v=va8neYmGgL8
Everything is good now. Took about 15 minutes to burn off.
03-20-2019, 04:42 PM
#65
Thread Starter
It definitely made me start to second guess my decision. Took the car to work today and all is well. Header definitely gives the exhaust a more raspy sound in the high RPM range.
Last edited by ClemsonWill; 03-24-2019 at 12:57 PM. Reason: typo


 05-14-2019, 03:10 PM
#68
Thread Starter