When you click on links to various merchants on this site and make a purchase, this can result in this site earning a commission. Affiliate programs and affiliations include, but are not limited to, the eBay Partner Network.
Interior
- ASM Steering Boss
- Personal Fitti Racing (320mm)
- Recaro Pole Position (black velour)
- PCI Seat Rail
- FD2R Shift Knob
- NSX-R Horn Button
- GT Goods "GT Red" leather shift boot
Exterior
- OEM style AP2 front lip
- ASM IS Design Aero Bonnet FRP
---
Coming up on 10 years of being a member of S2KI, its a good time to contribute to the community and make a build thread.
The intentions for this build are changing as I go through the experience of driving, modifying, and learning with each step. While this is S2000 #2, this is my first time modifying a car. As such, changes are being made one-by-one in order to appreciate the individual impacts of each part. In just a few modifications I've learned how much resources it takes to maintain OEM quality while installing some of the iconic aftermarket parts that makes our cars that much more special to drive.
Out of all the cars I had an interest in growing up, the reason I pulled the trigger on S2000 #1 ultimately came down to the fact that so many people on S2KI had come back to the chassis after selling their car (often more than once). There was no way that all of these enthusiasts could go through the same experience and be wrong....
Ironically, I found myself buying S2000 #1, selling it, regretting the decision, and buying S2000 #2 a few years later.
Here is a brief history of my S2000 Journey: -> 2011: Joined S2Ki (its crazy how active the forums were before instagram/social media) -> 2015: Purchased first S2000. A Berlina Black AP1 -> 2015: Sold the S2000 to focus on school -> 2020: Purchased another S2000. This time a Rio Yellow AP2 -> 2021: TBD... I want to meet more enthusiasts and finish installing parts that I've been collecting
Below are some brief comments on S2000 #1 and S2000 #2
-> Berlina Black AP1 was all stock except for an aftermarket head unit and DC Sports Header. The previous owner was an older gentleman who bought it used from the Honda dealership, so it was unclear why only the header was installed. Seems strange, alas it drove well and it was always a pleasure revving the car to 9000 rpm with the top down on a sunny day. Its a hard feeling to beat, and probably the reason why the below happened.
-> Rio Yellow AP2 was all stock except for a Skunk 2 shift knob. This came with the optional OEM headrest speakers, but given they are so small its hard to tell they make a difference when driving. I appreciate the added torque from the 2.2L, because it provides more confidence passing cars on the freeway. I miss the lighter AP1 flywheel, which provides a sportier driving feel than the heavier AP2 piece.
First course of business: Check in on the old S2000
Coincidentally a road trip was made that crossed paths with the current owner of my first AP1. He has kept the car in great condition and added a Mugen-style hardtop, RPF1s and Invidia exhuast.
One thing that is difficult with Berlina Black is that its very hard to keep clean and its hit or miss when shown in pictures. I never anticipated owning a yellow car, but I will say that the pearl colour in the Rio looks amazing in person due to the subtle sparkle and I personally prefer it over Berlina.
At some point in the first few months of ownership, the 12V outlet became loose. After consulting Youtube/S2KI, and with an extra set of hands, we were able to tighten the outlet easily.
Following this video from the start, up to and including the part where the driver-side panel behind the seat is taken off (0:00 - 2:10). Then use second set of hands to hold additional space for your hands to tighten the outlet.
One of the initial pain points in my experience with this particular vehicle was the front suspension felt jittery. I cannot recall this being an issue on the AP1, but this was the perfect excuse to get the highly regarded Ohlins DFV coilovers. The setup is finished with J's Racing Driveshaft spacers to ensure integrity when putting power to the ground.
Whats amazing about these coilovers is the fact that the car becomes much more planted to the ground, without being a harsh or uncomfortable experience. With the jittery feeling now gone in the front, and having a firmer ride all around, it was very easy to appreciate the beauty of the S2000's handling ability, particularly in my favourite mountain roads. More potential could be unlocked with a proper alignment, but I'm waiting for some other pieces of the puzzle to go in before doing that.
Below is a side profile view to give you an idea of how low it sits with the coilovers. So far there are no issues with scraping on the frame. Sometimes the plastic piece that pokes out from just in front of the fender touches the ground, but generally its not an issue.
I wasn't a fan of how the Skunk2 Shift knob felt so I sold it and put the OEM knob back on until the new shift knob came in. Overall I think the OEM piece doesn't feel bad at all.
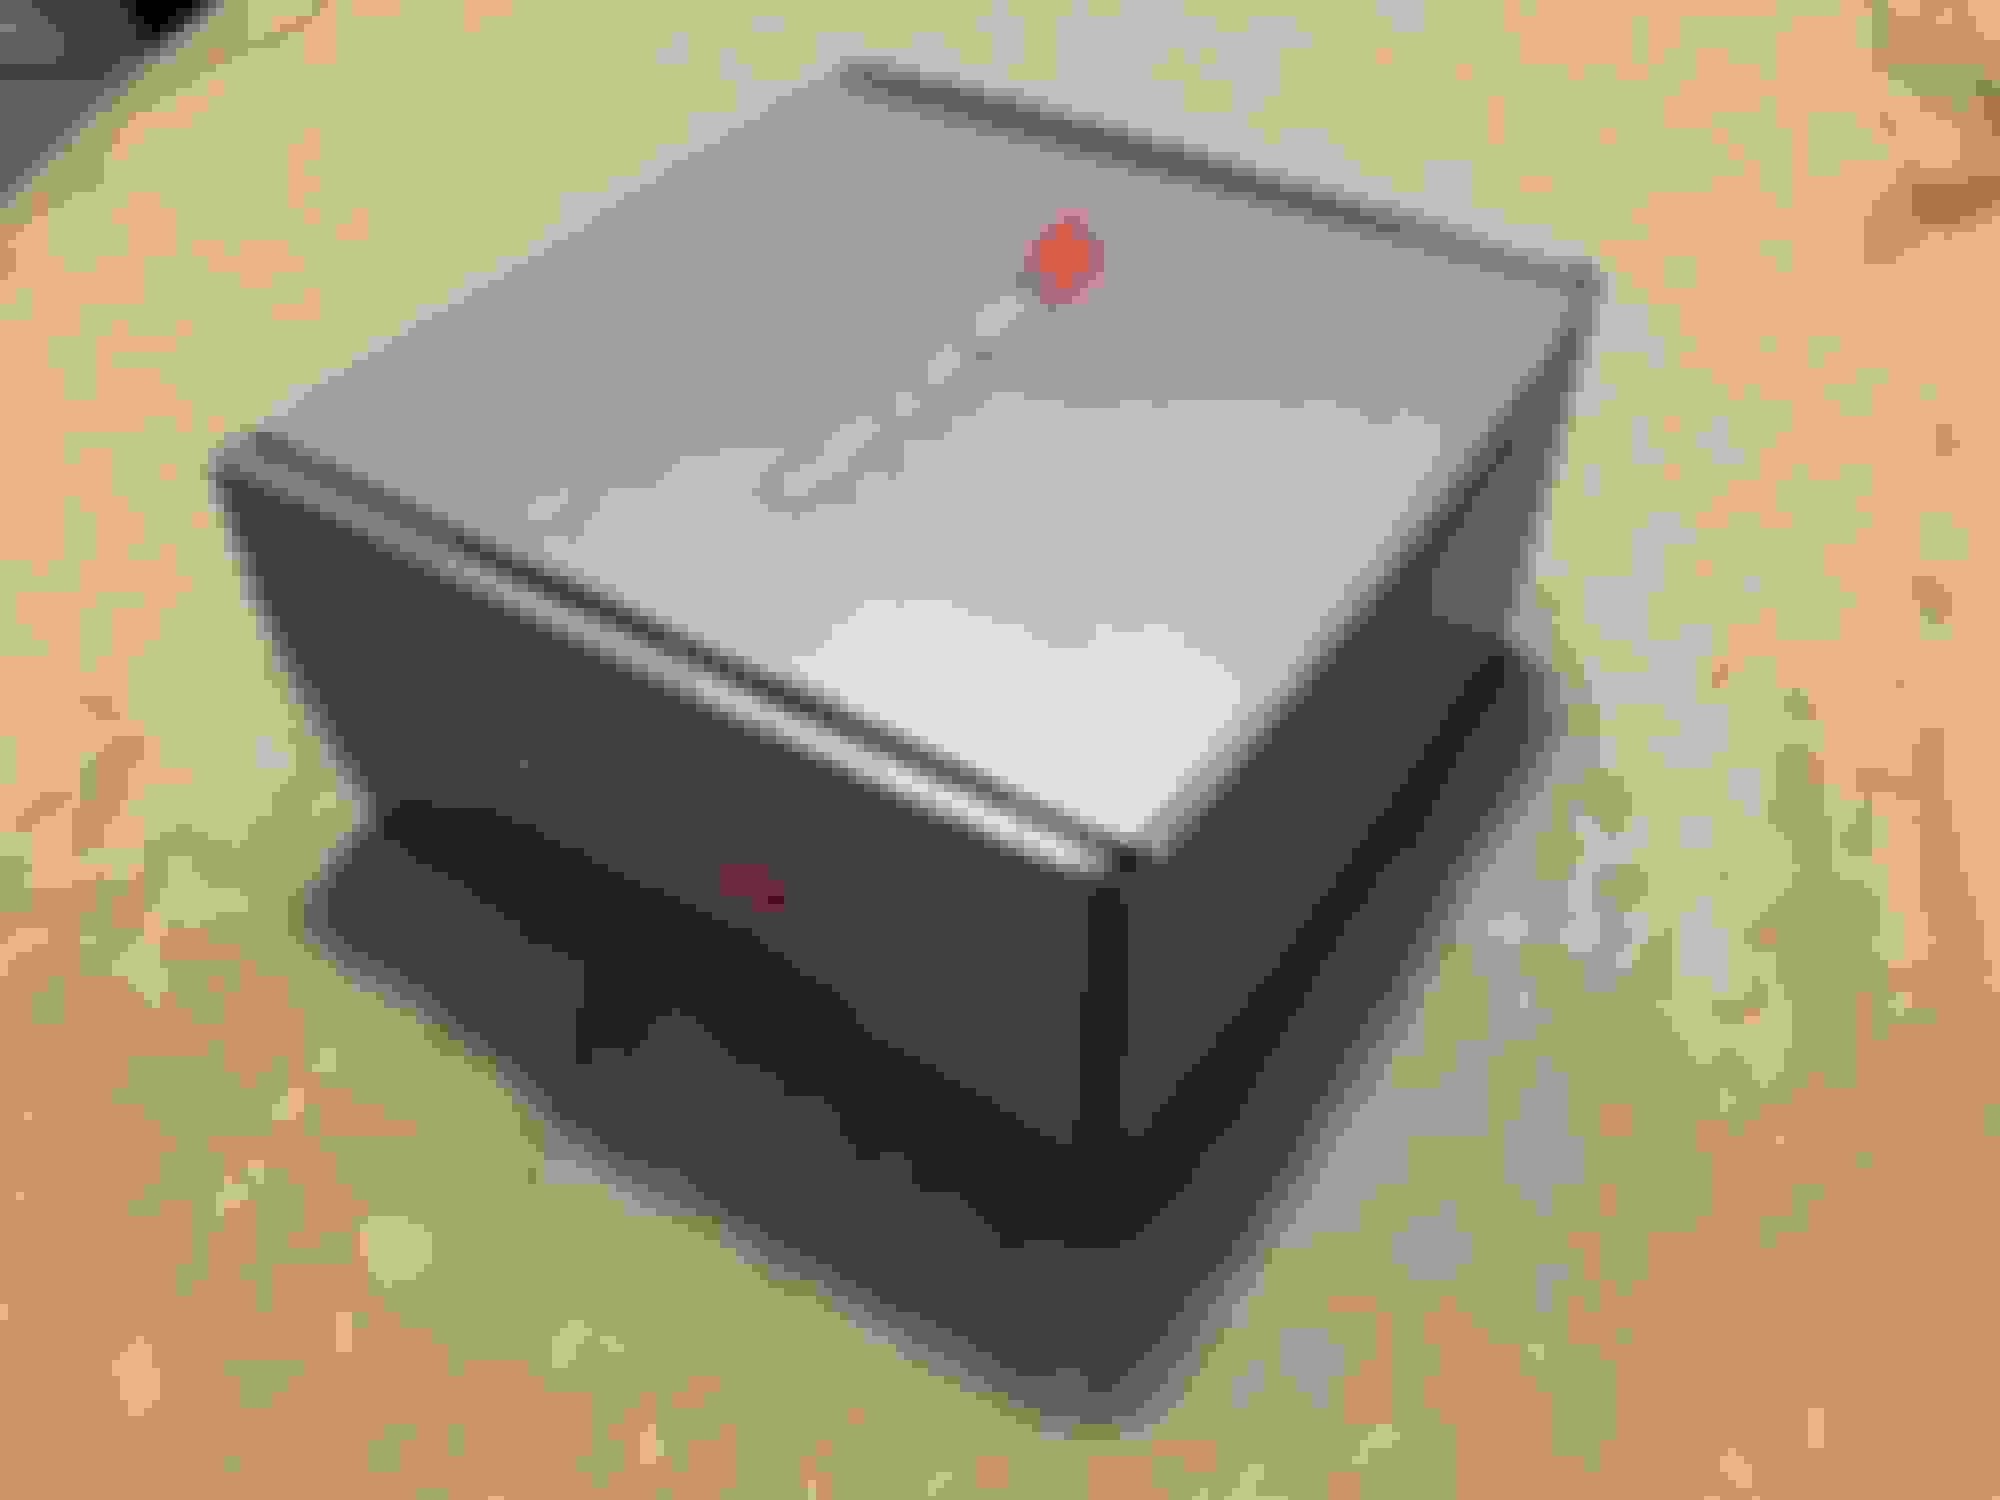
The previous owner luckily kept everything so I sold the shift knob in the original box.
Fast forward a month or so later and the JDM CTR knob finally arrived.
This piece feels sporty and looks great. It wasn't my intention to get fancy with all the various weighted and counter-sunk aftermarket options so I'm glad this OEM piece fits the bill.
Something about the OEM bumper leaves you feeling like something is missing, and what better excuse than to get a front lip?
Unfortunately sourcing an OEM front lip is extremely expensive / difficult for what the part is, so I decided to go with a Bayson R replica piece. Based on reading across the forums it seemed to make the most sense, as long as there was a capable body shop to get it into shape. So that was the route I chose.
Since you heat the lip, you can mold it to fit the front bumper reasonably well. Its not a perfect fit, but you really have to get close to tell. I also opted not to get the weather stripping because in sample photos, the black colour almost made it look like there was a gap in between the lip and bumper. Now that I know there is grey weather stripping, that could be a more subtle option, however I'm not too fussed with it at the moment. Plan is to leave it the way it is for now.
While I have been interested in S2000s for nearly a decade, my taste in exhausts have changed over time. I always thought it would be cool to experience something like a J's Racing 70RR, or even a 3" straight pipe, however reality overcame the wanna-be racer within!
1) The raspiness of the exhaust when off throttle is too obnoxious (for me)
2) Too loud to hear music or talk at cruising speeds
3) Without hearing exhausts in person, it was difficult to estimate just how loud / good any exhaust would sound
The real catalyst came when I sat in an AP1 with the 70mm Cleib exhaust. It was so loud that it was nearly impossible to hear anything else, even at cruising speeds. Therefore, what I really wanted was something to merely enhance the F22C symphony, but not drastically alter the car. After much over-thinking, the R1 Titan Euro W (60mm piping) would be the best fit. Not too mention it would look *somewhat* stock to the untrained eye.
Without being overly obnoxious, you can tell that the exhaust adds a crispiness when on the throttle and makes cool titanium whistling sounds at the upper end. Here are the three videos that helped me decide:
After placing the order it took about 6-7 weeks for the exhaust to be manufactured and it shipped across the world in one day! This was quite literally an overnight part from Japan!
On the day of the install, the car hadn't been with the mechanic for long before I got a call from him... And when I picked up the phone it went something like this:
"Are you sitting down?"
"uh... yeah. Whats up?"
"The exhaust is f$#%ked..."
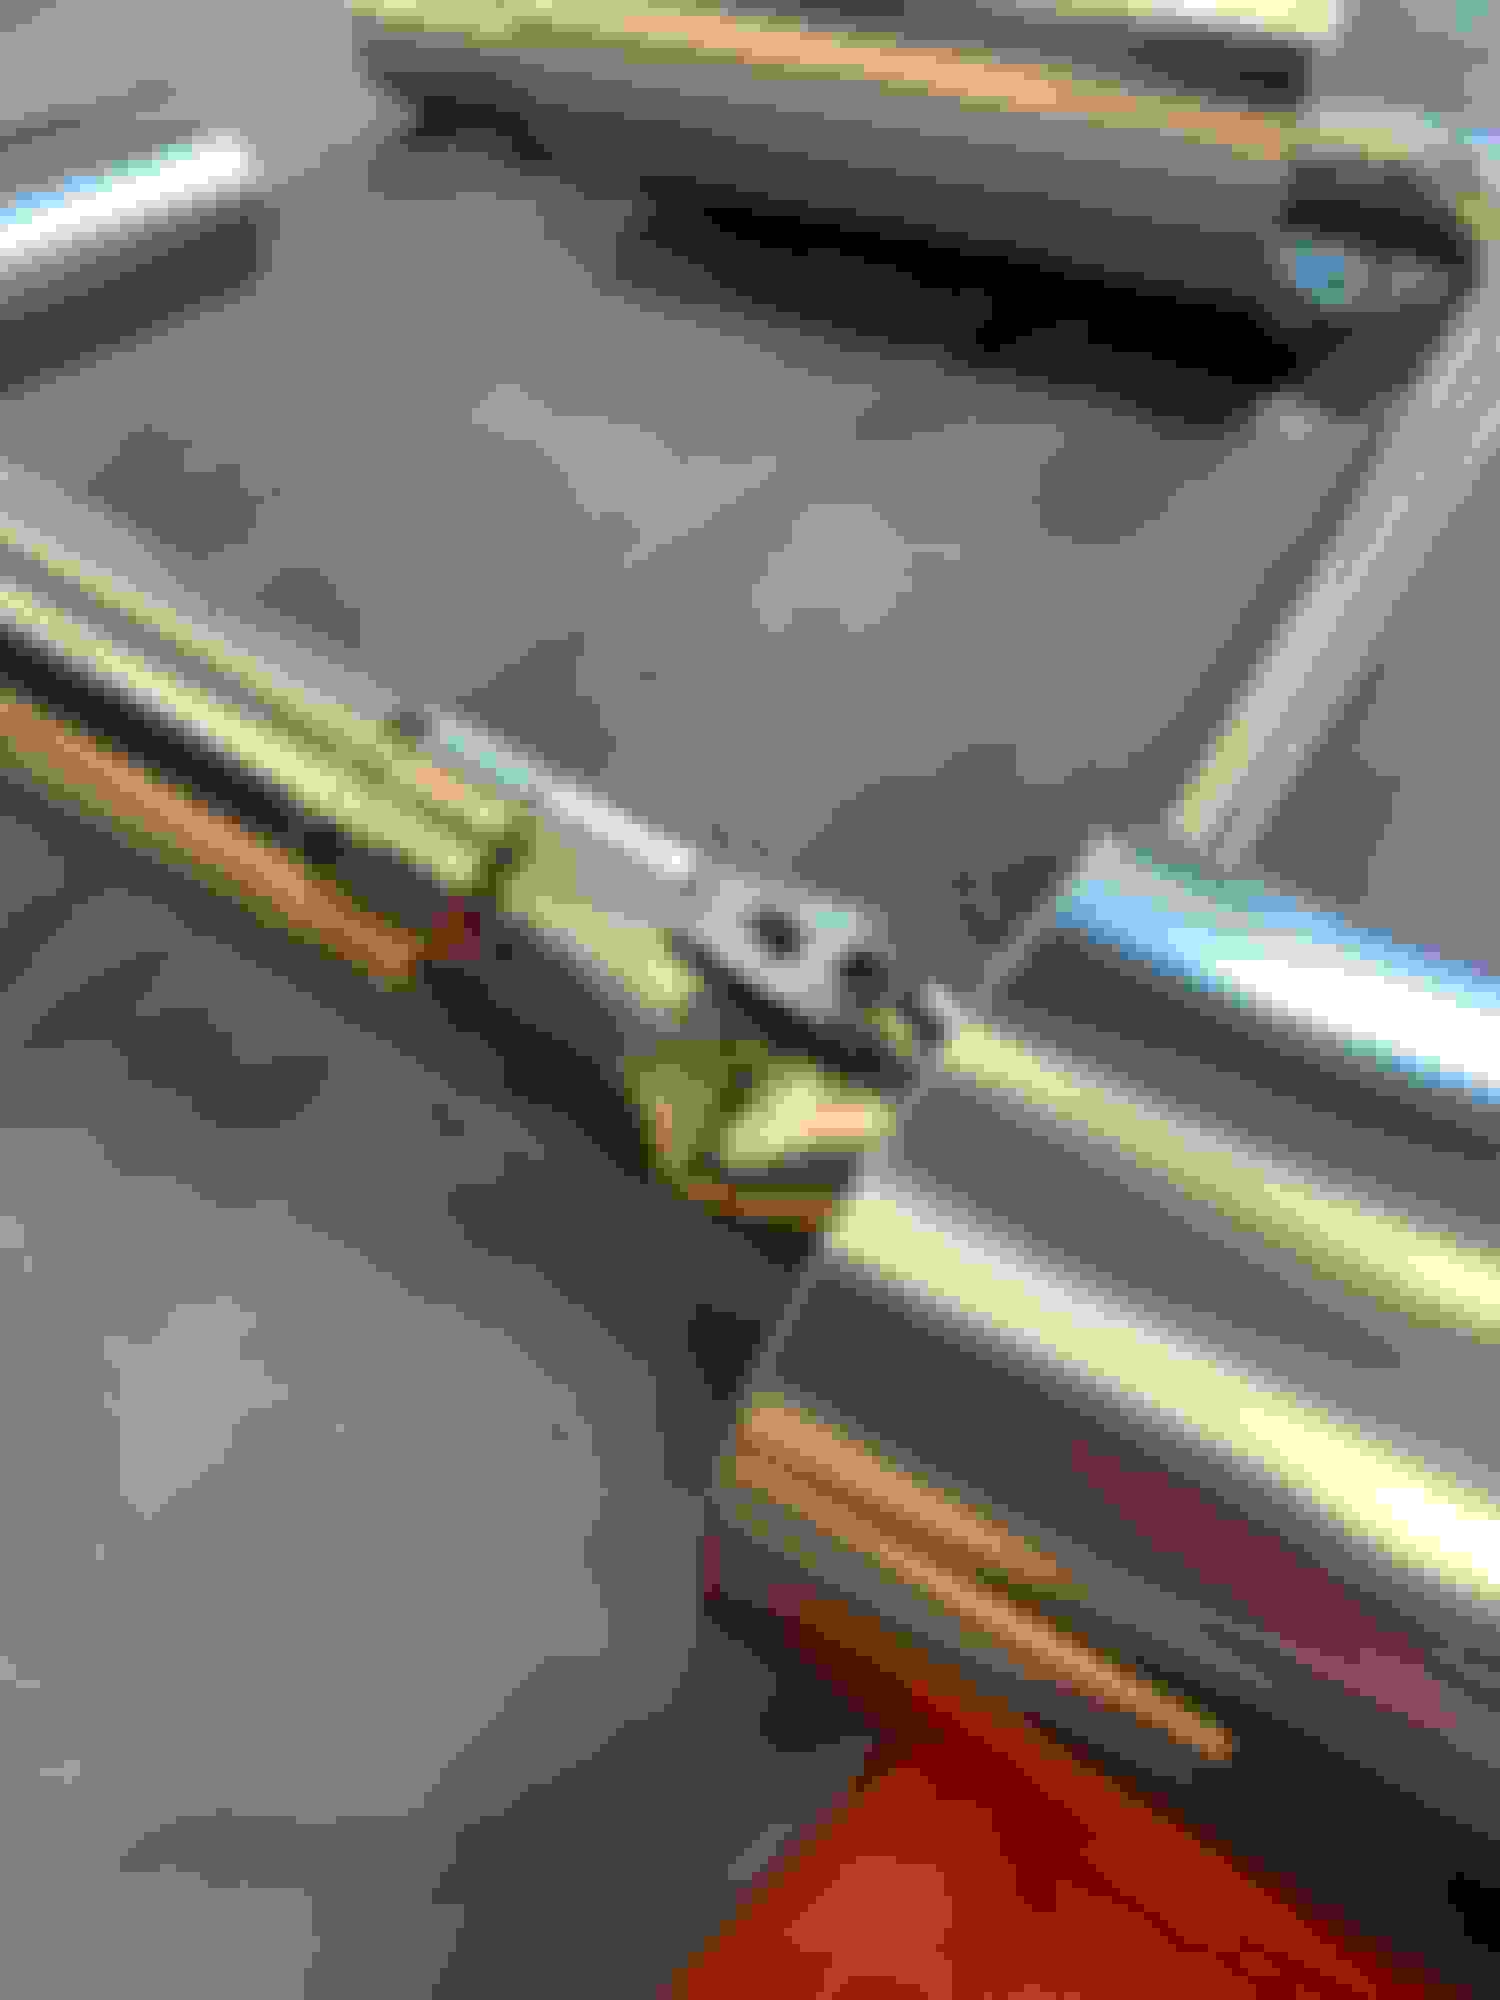
As it turns out, the exhaust was damaged during shipping and there was a massive dent in the piping just before the first resonator. Since we only looked at the exhaust from one side during the initial unboxing, it wasn't immediately obvious something was wrong.
As you can imagine there was a lot of anticipation that came with the thought of having this part installed, and being able to cruise before winter with such an exciting upgrade. On a positive note, I opted for full insurance and had pictures from the day the exhaust was delivered, which showed damage to the outside of the box, as well as pictures of the piping being bent. The main lessons I learned here were to always get full insurance during shipping and always take pictures of how the package is received.
 12-31-2020, 08:20 PM