When you click on links to various merchants on this site and make a purchase, this can result in this site earning a commission. Affiliate programs and affiliations include, but are not limited to, the eBay Partner Network.
Great stuff Flanders! Just finished the 13 pages of your project and wanted more. Thanks for going into so much detail on everything with great pictures and info. Will be waiting for more mods!!
Thanks all for the kind words, I will try to keep it up
I've been working on some upgrades for a while and the first one was more grip.
949 Racing 6UL 17x9 +55 in beryllium. Originally ordered them in +48 but later found out they were all out.
Got a pretty nice deal on a set of Michelin Pilot Sport Cup 2 in 255/40, made in 2015 though but from the research I've done it shouldn't matter that much.
I guess I will find out if it was worth it.
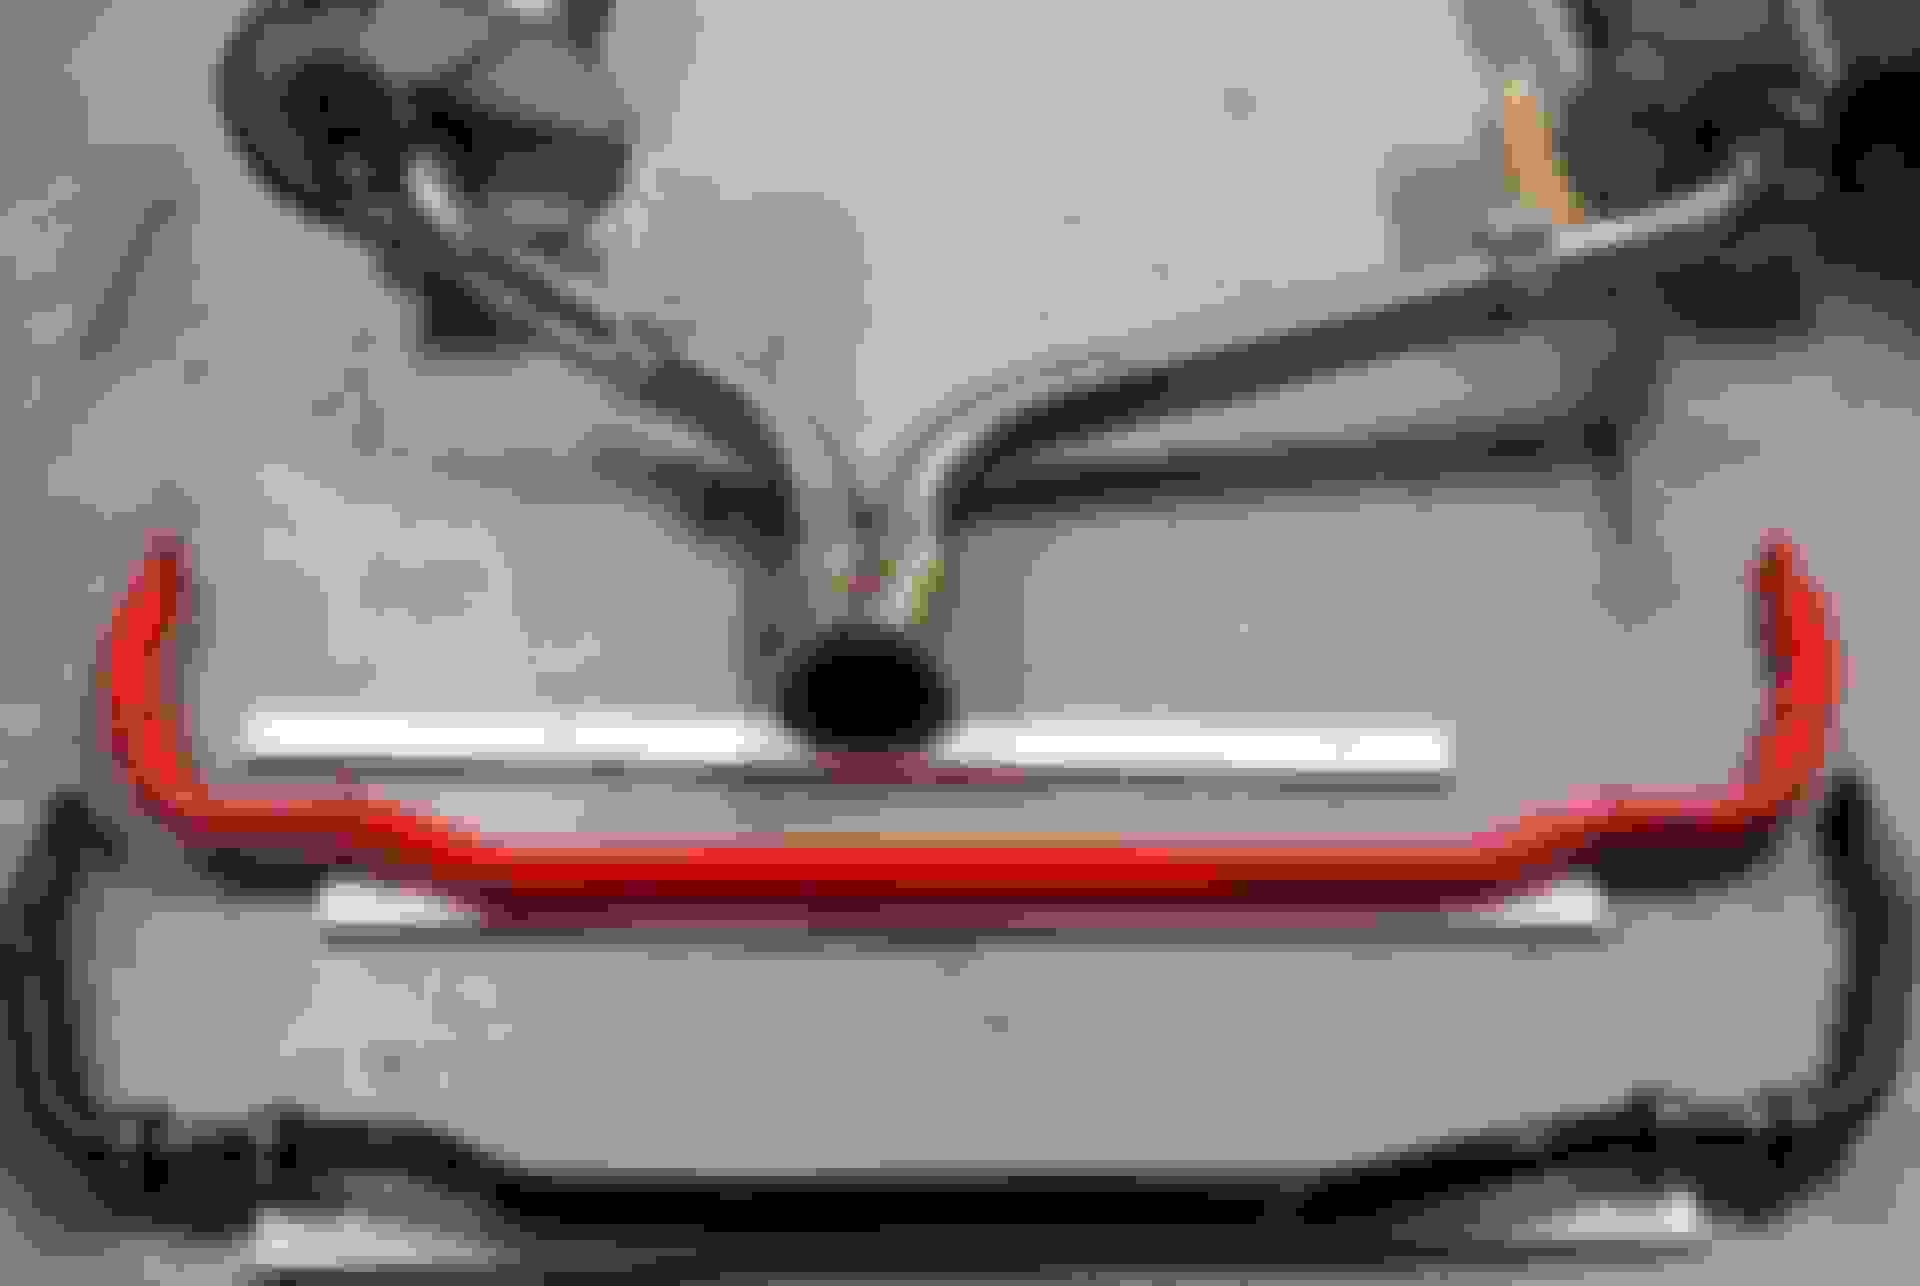
With square wheels I thought it would be a good idea to go back to stock 27.2mm rear sway bar.
Previously used a Tanabe 30.4mm chromoly steel bar in the rear, got the same type in front as well but that one will stay.
Installed it with new Hardrace bushings (#6952), they claim it's are made of a "state of the art thermoplastic".
Felt like really stiff rubber, looks nice at least.
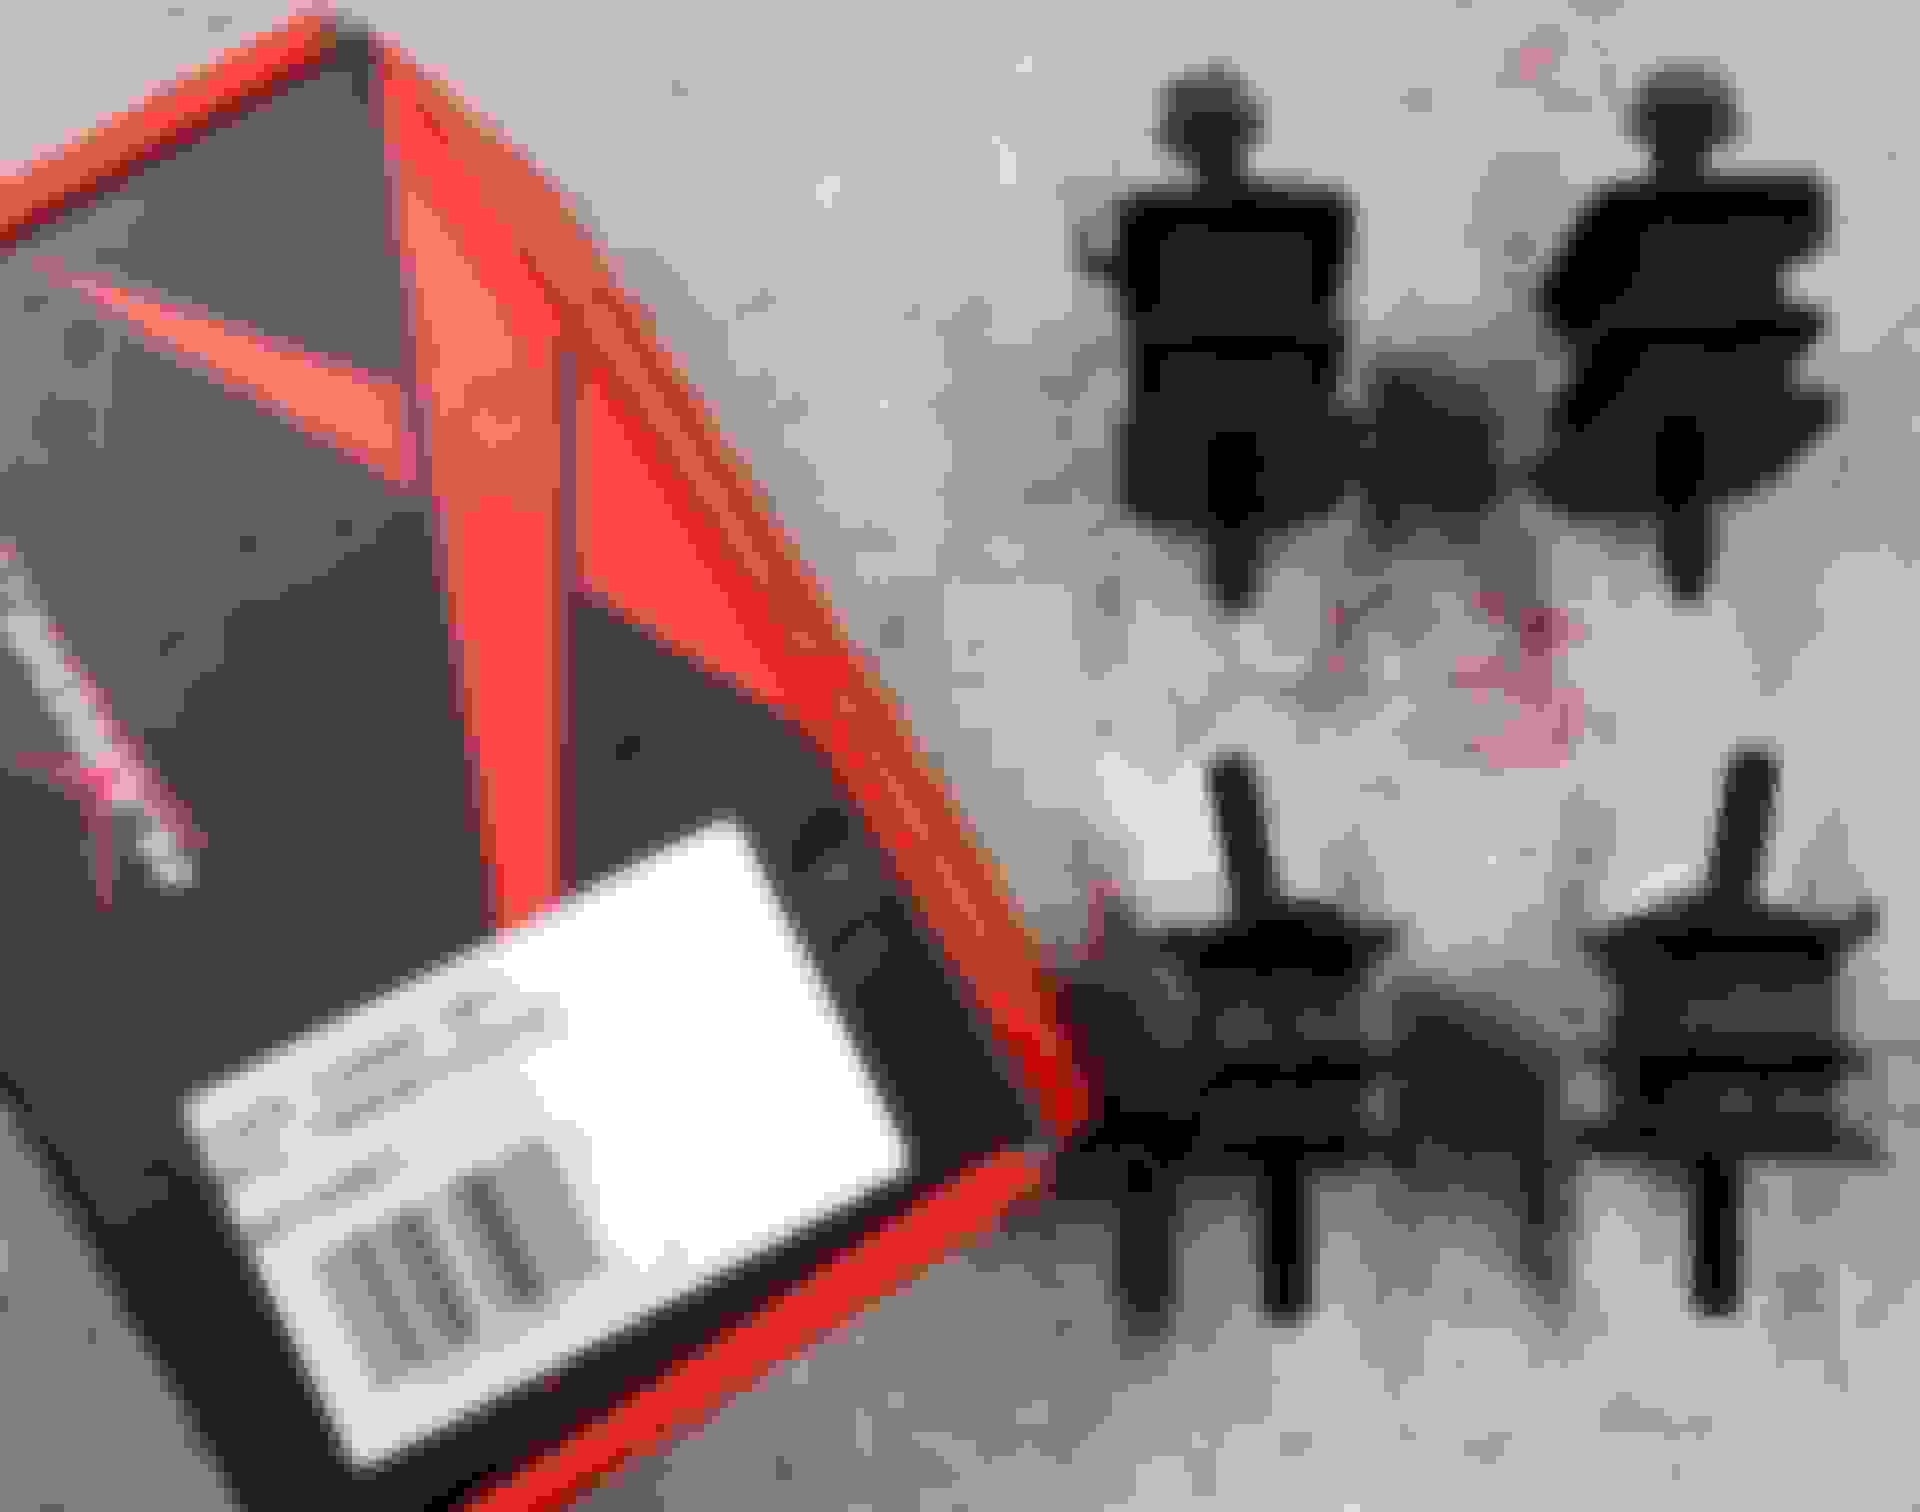
Got a set of new transmission bushings as well.
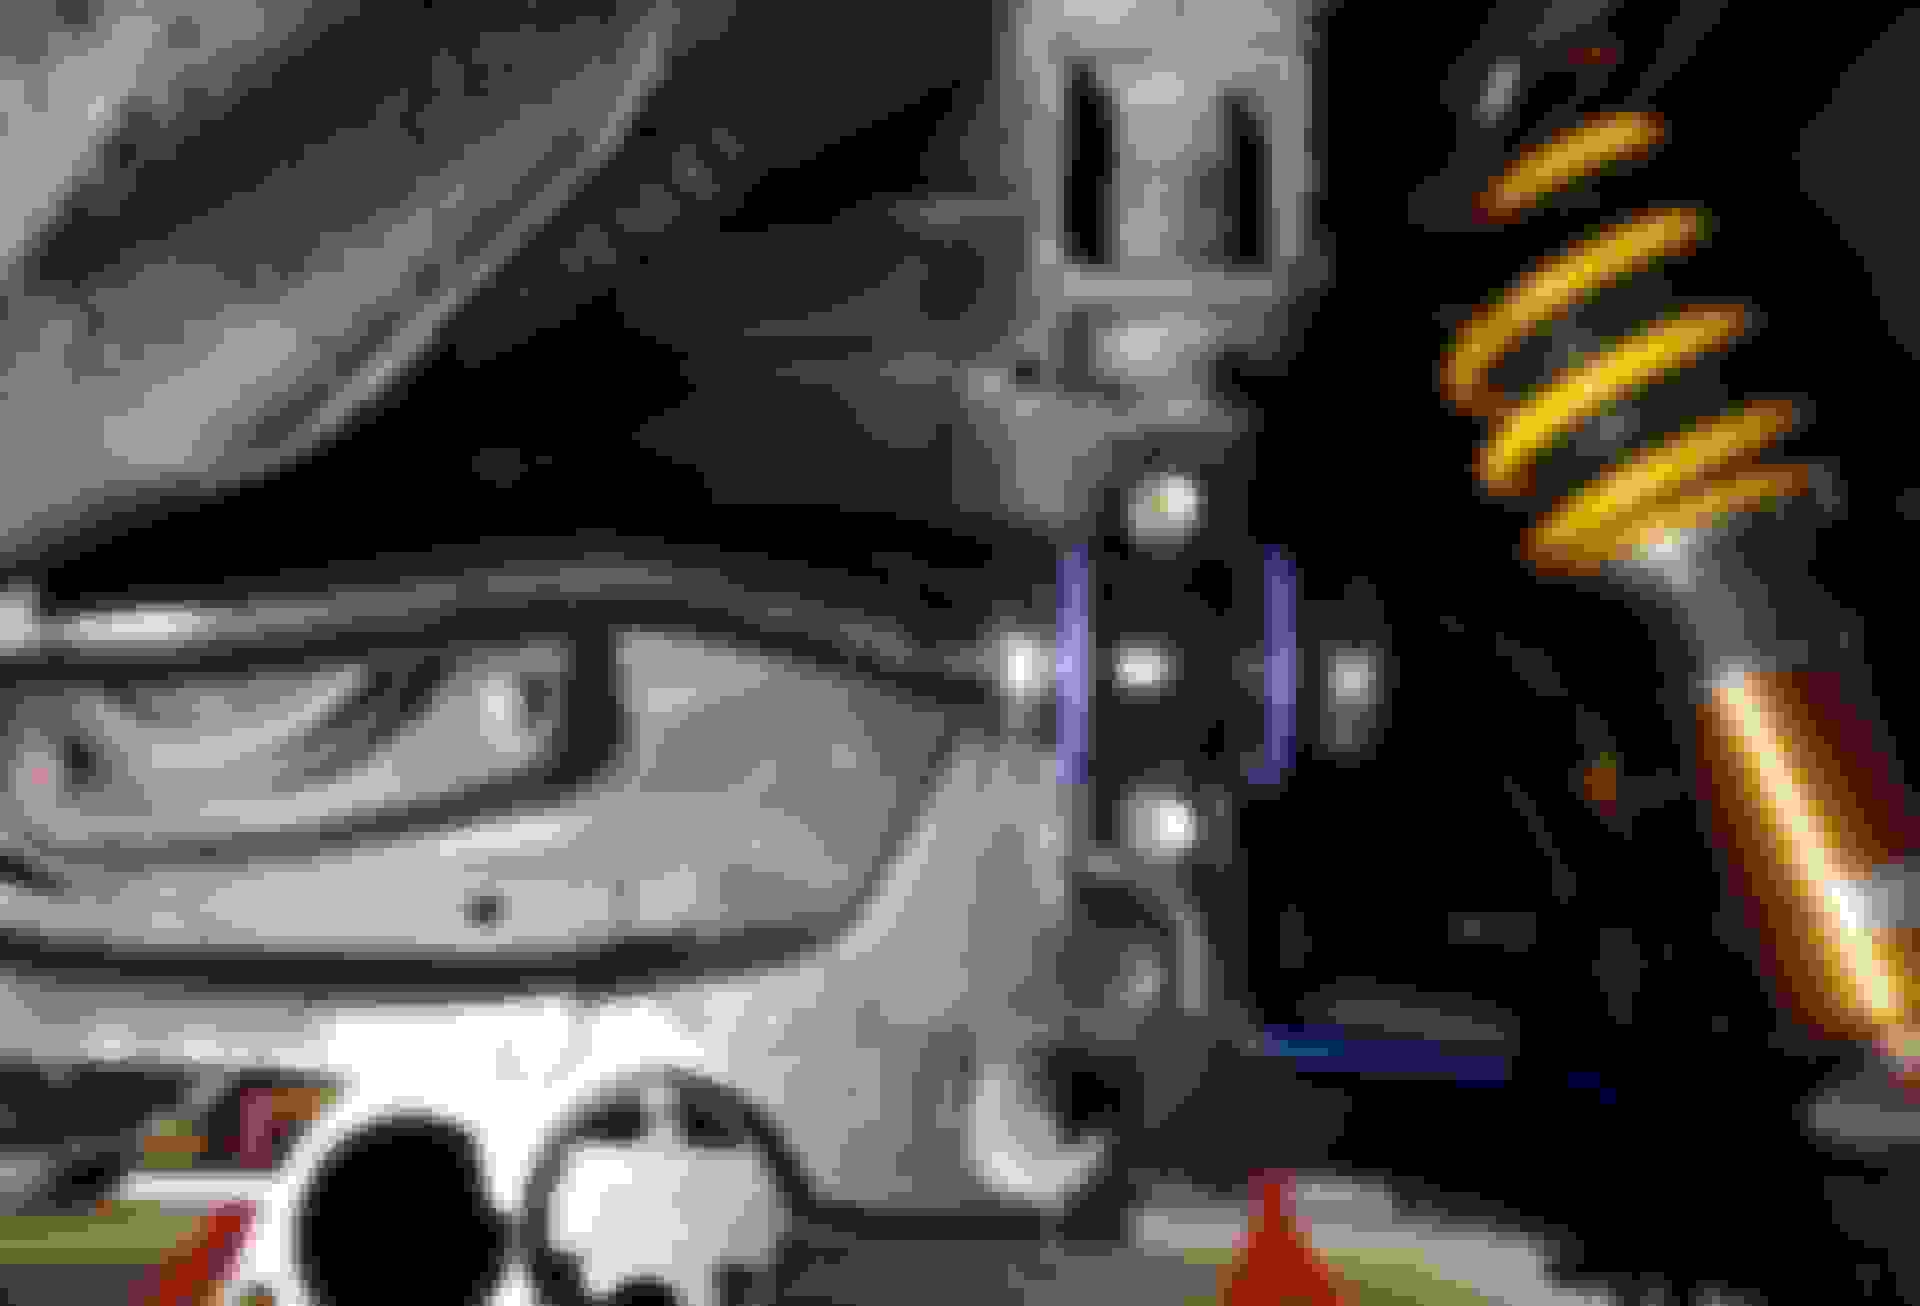
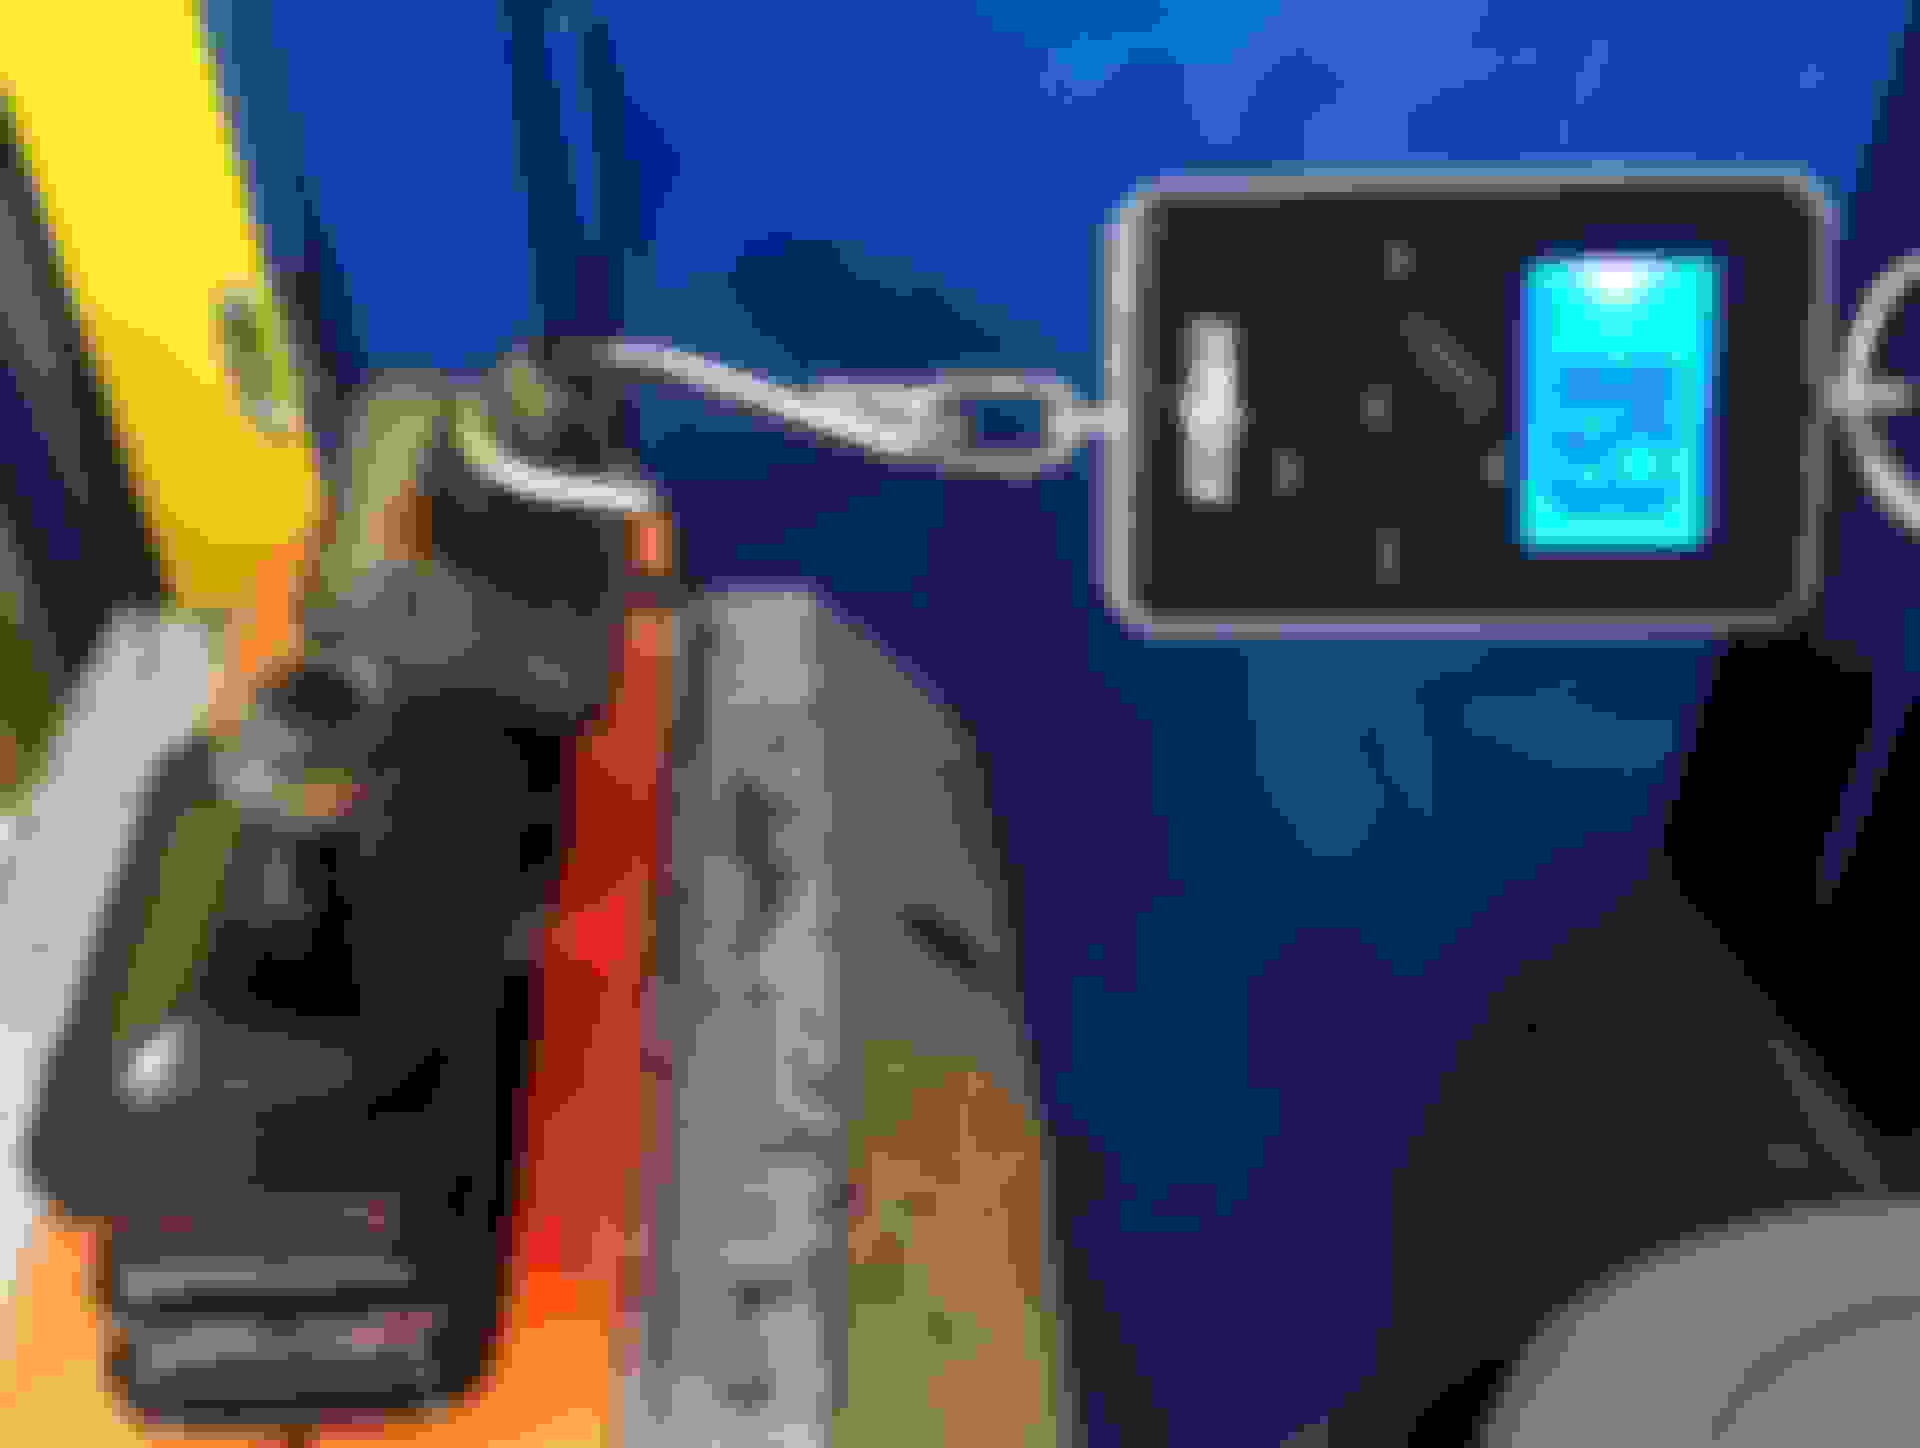
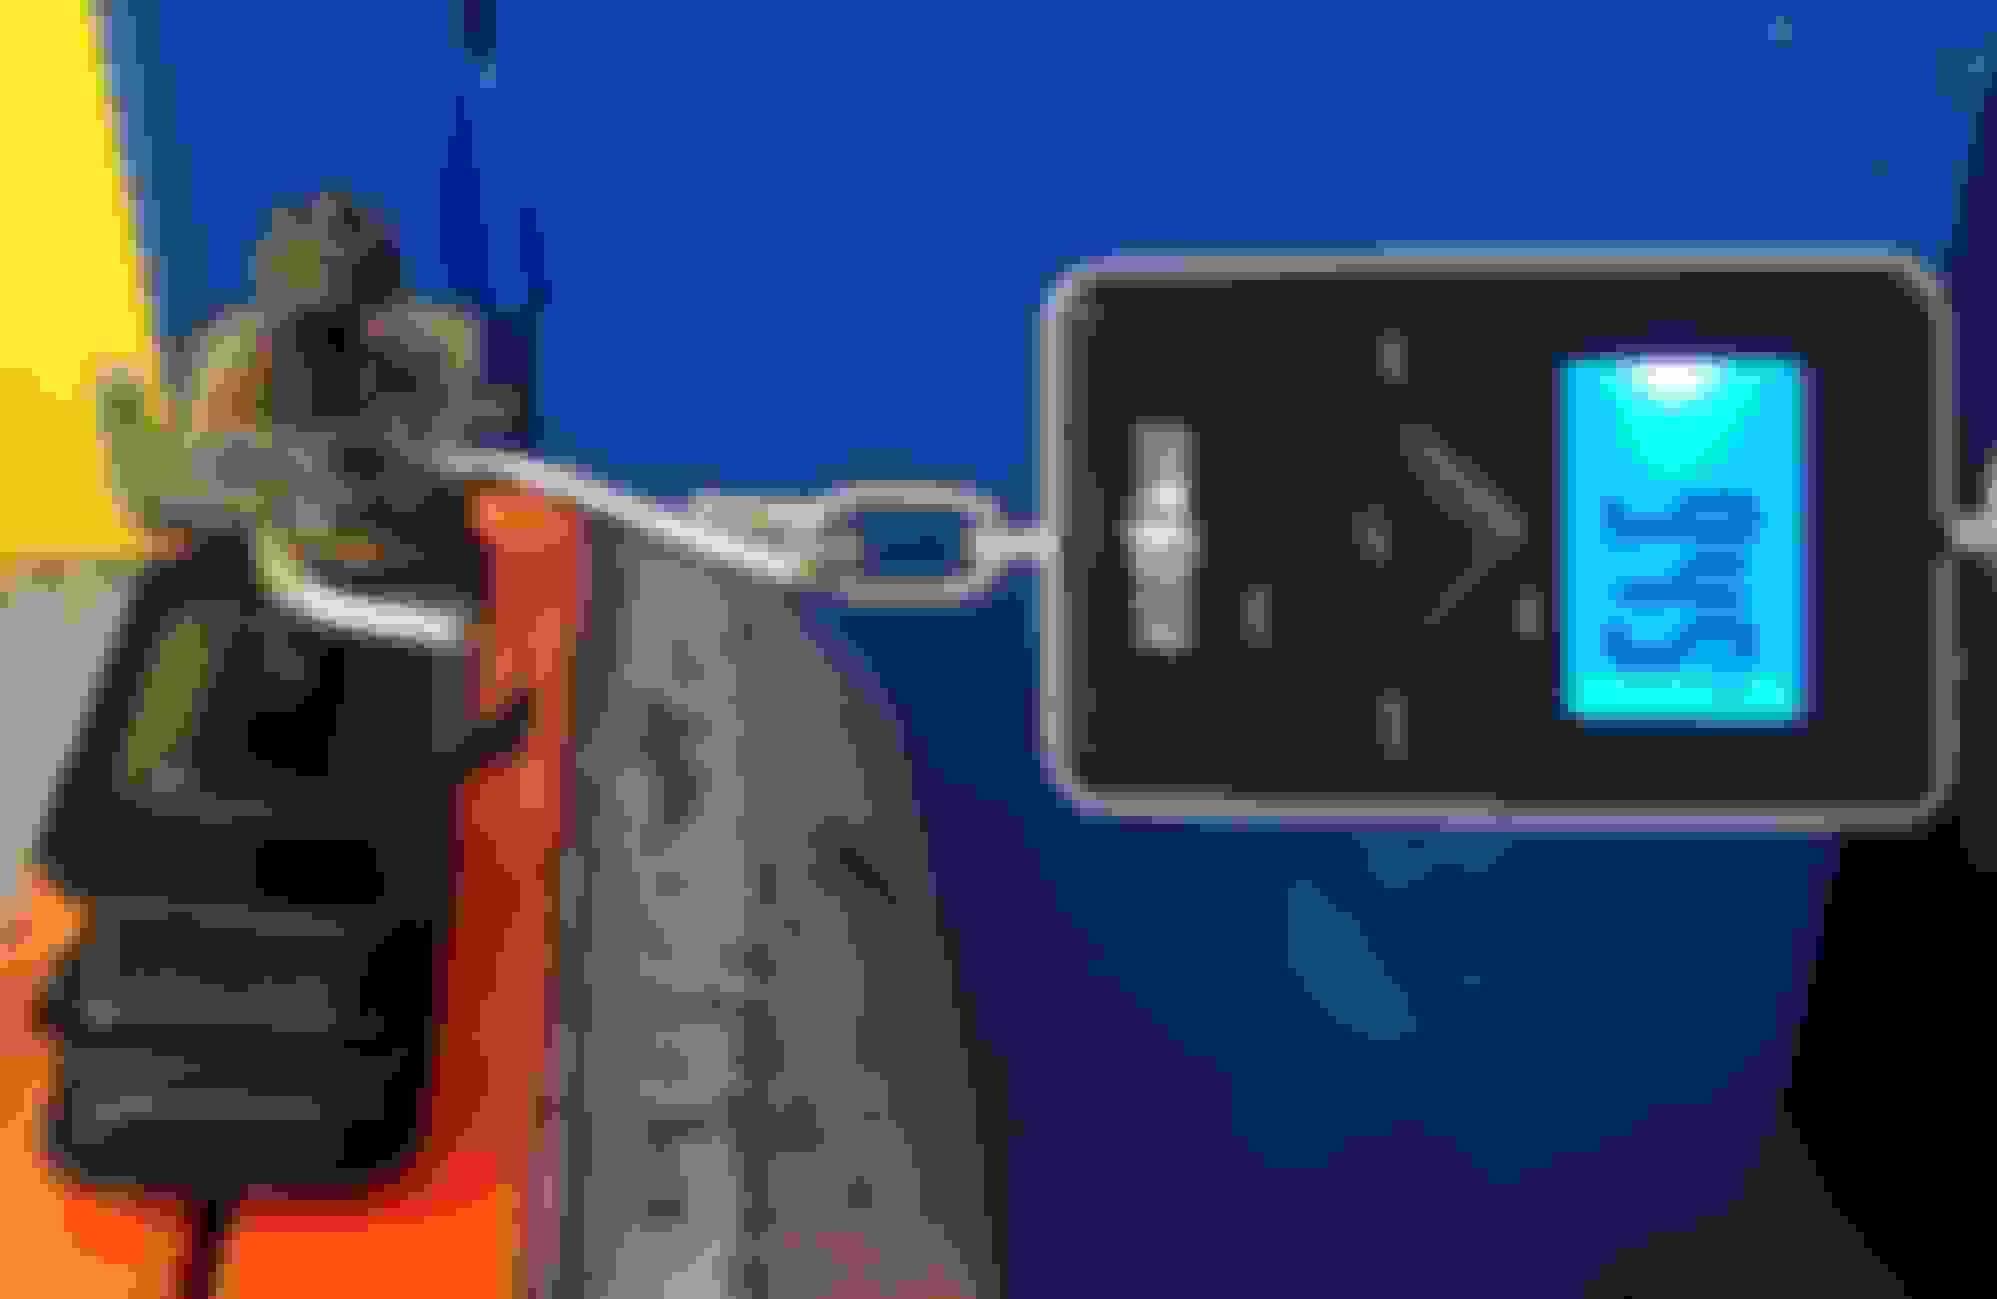
Did a stiffness test before installing them, here is stock ones with a 8.5kg pull.
Lots of flex.
Hardrace with 9.5kg pull, not much movement.
Had to bend the tabs slightly for them to fit correctly, other than that they went in very easy.
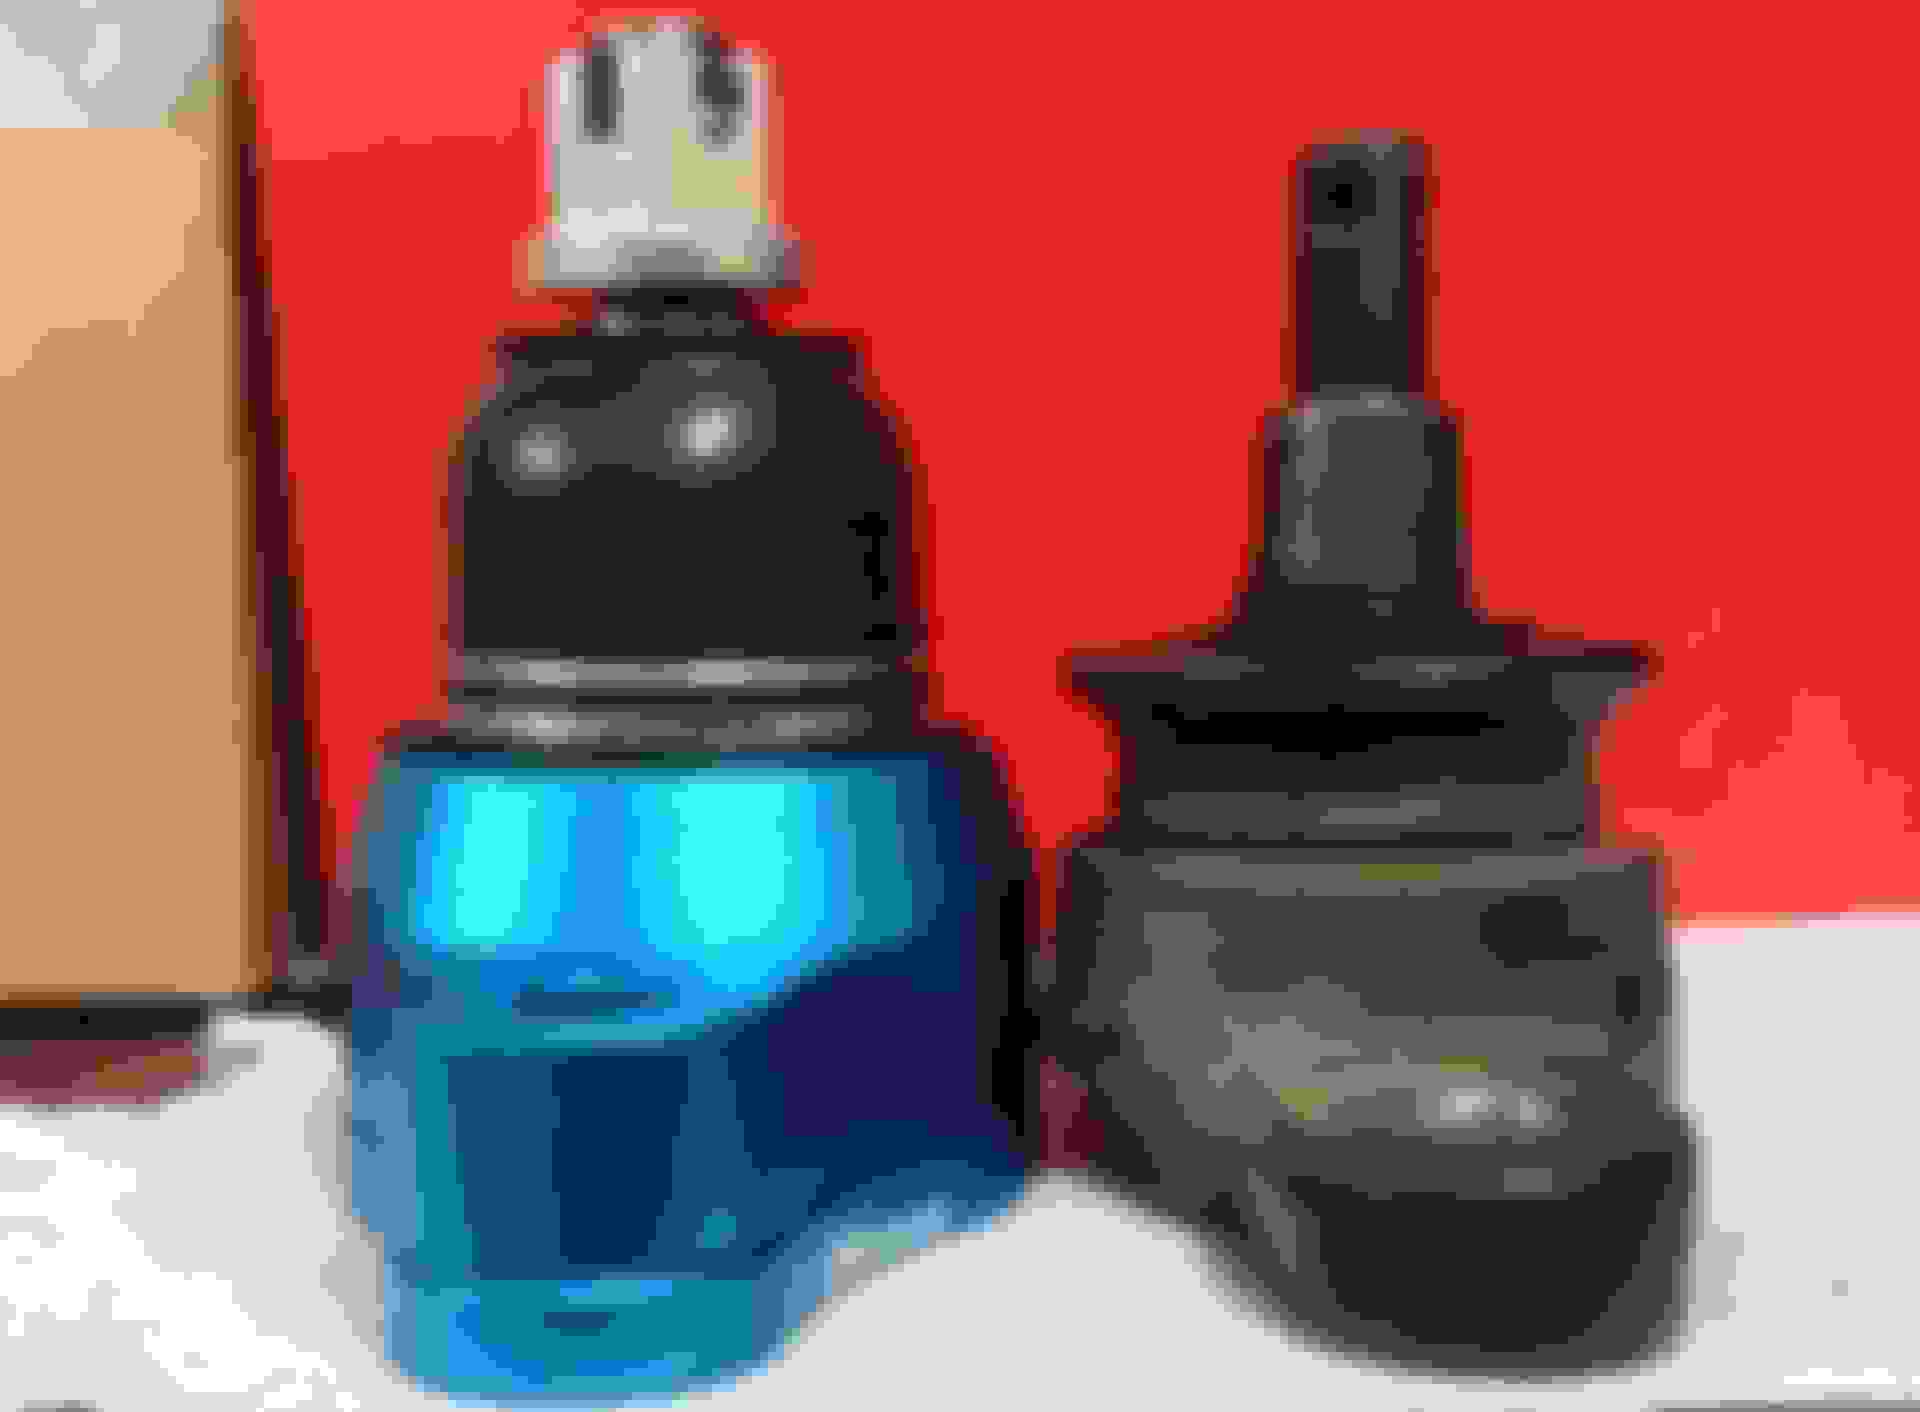
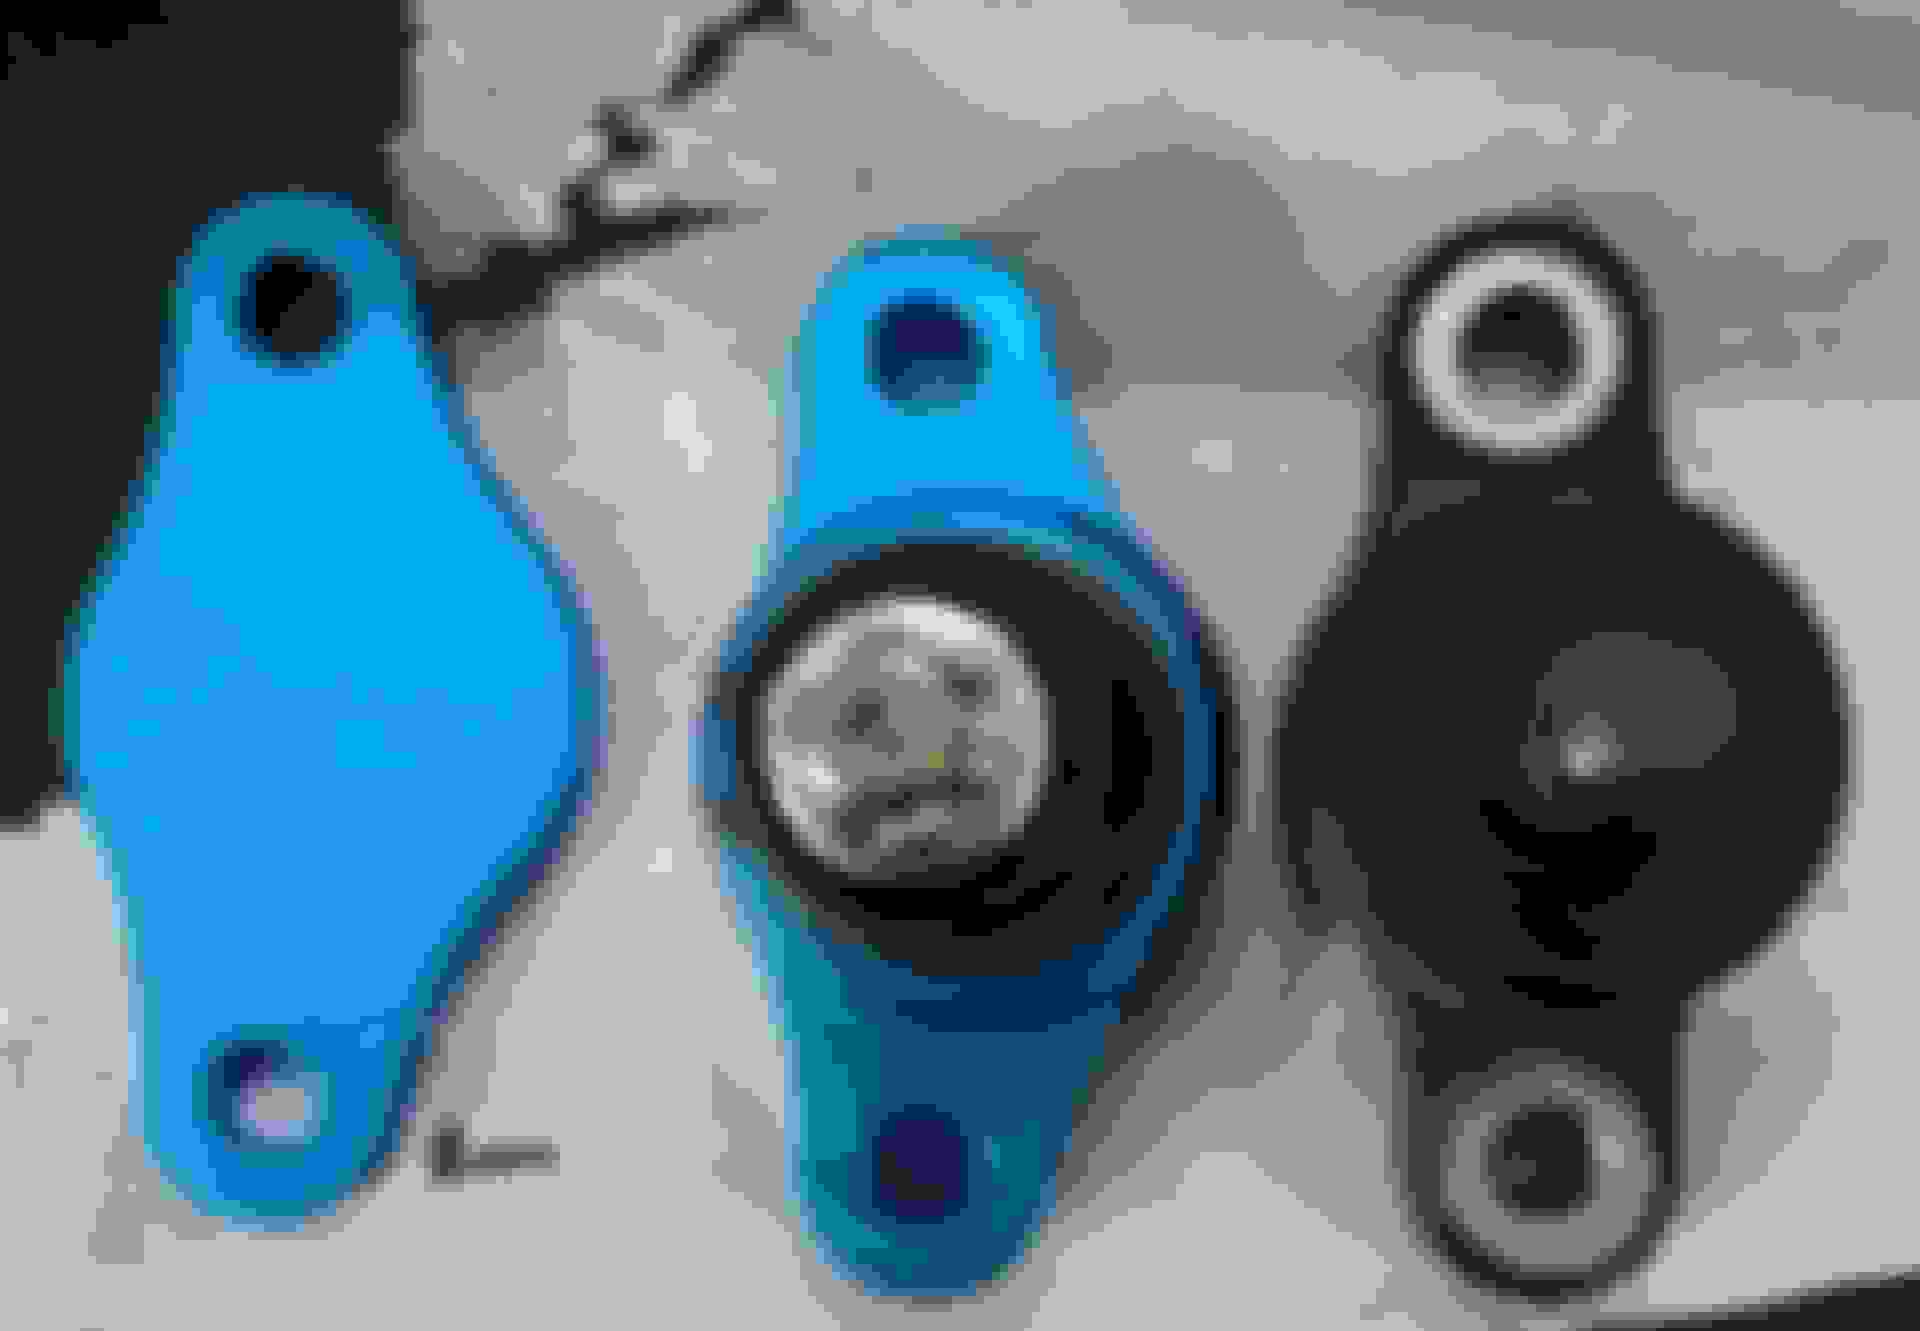
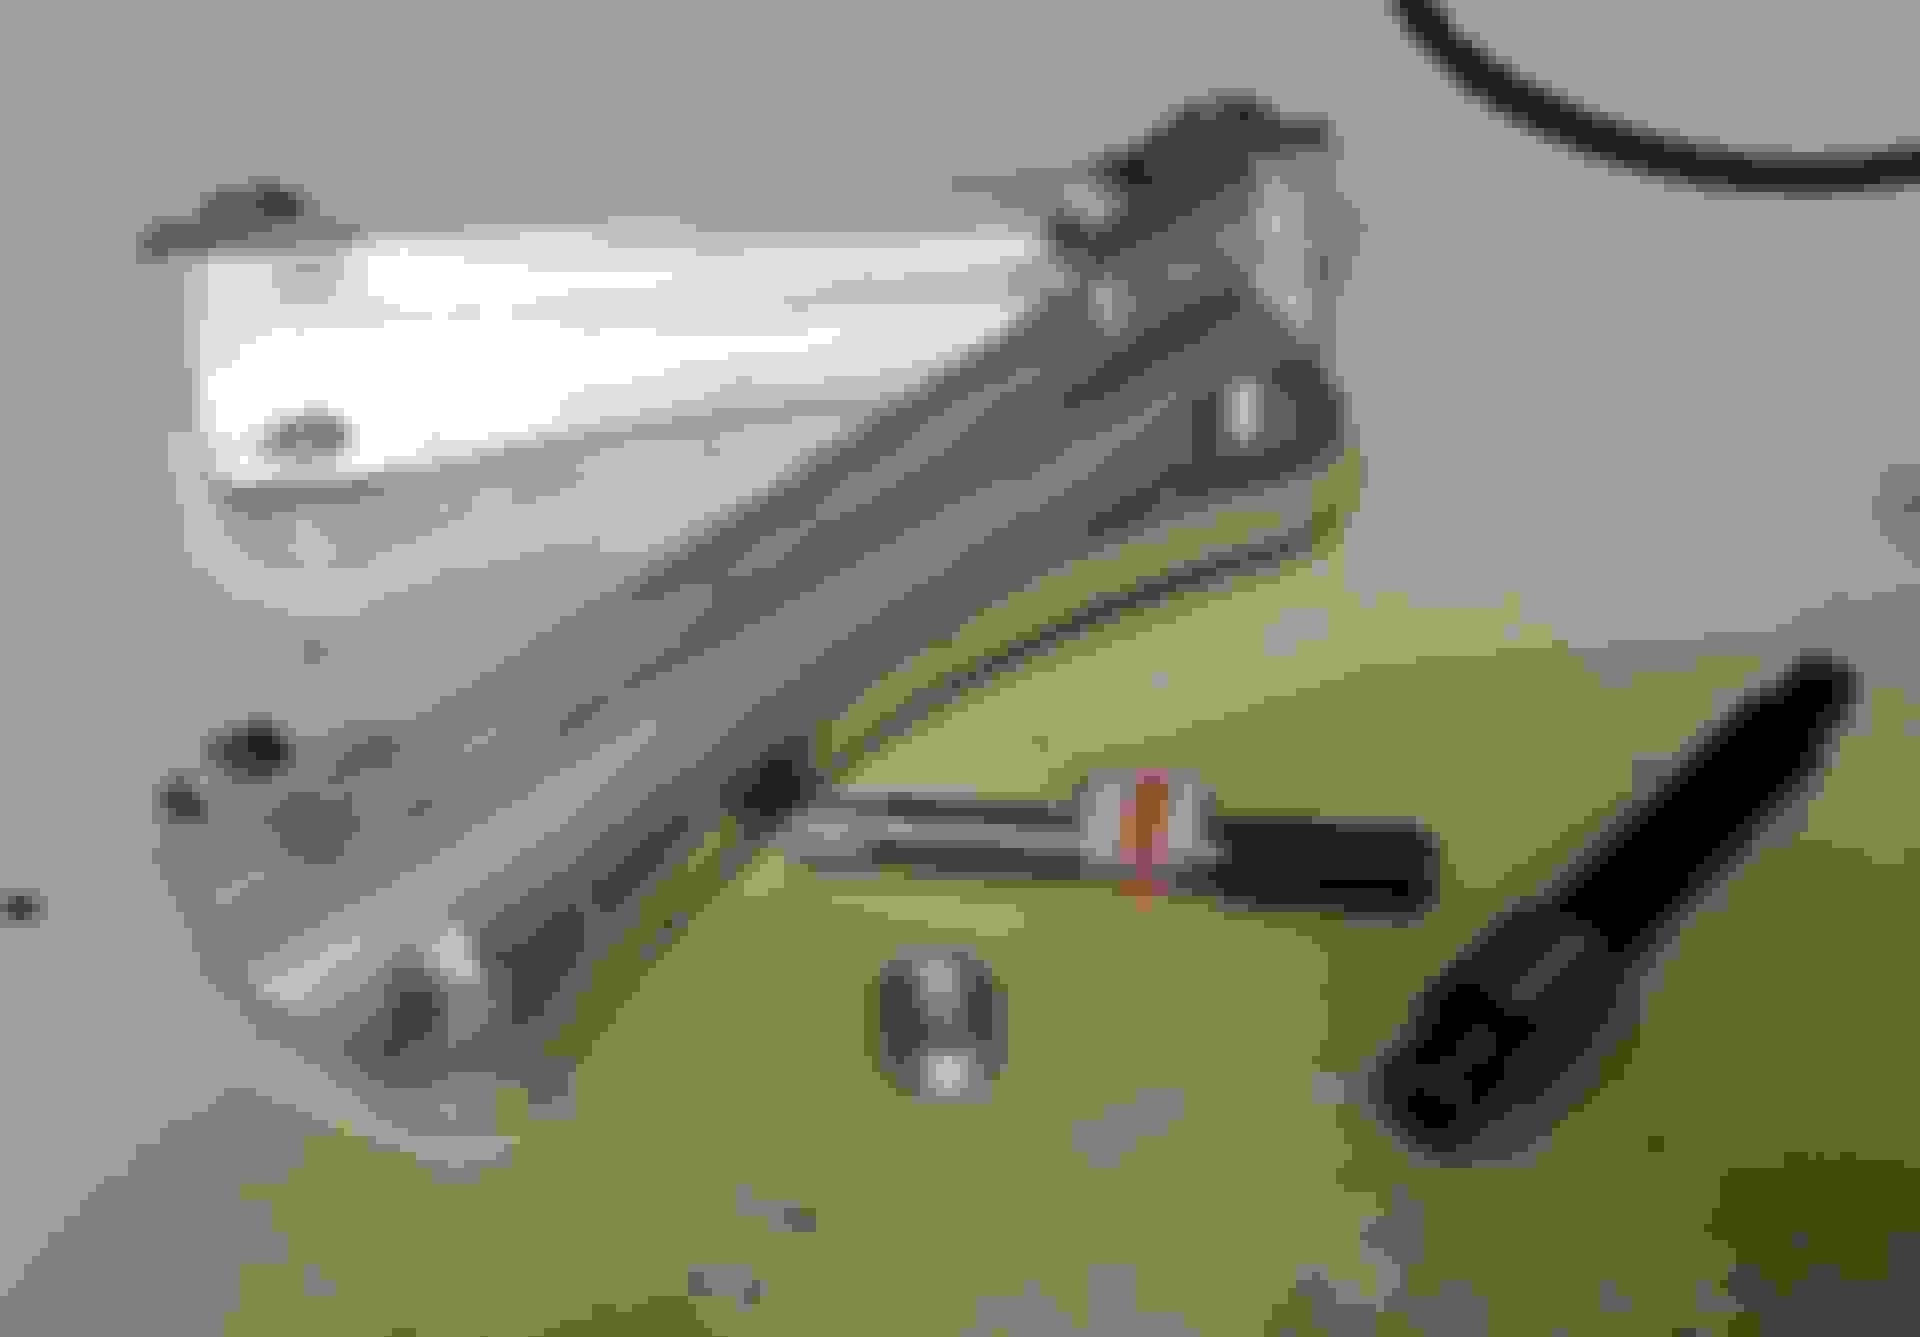
To help with wheel fitment in the front and also gain some more negative camber I went with these new lower ball joints from Hardrace.
Here it is next to the stock one, there are 8mm roll center plates included as well which I'm going to use.
No problems with the install, to compensate for the RCA and keep the same ride height I added 3 turns (4.7mm) on the Öhlins damper body.
8mm x 0.589 (front motion ratio) = 4.712mm.
Also added 2 turns on the tie rods to get the toe back at zero, I will measure this later to confirm.
Two more small upgrades.
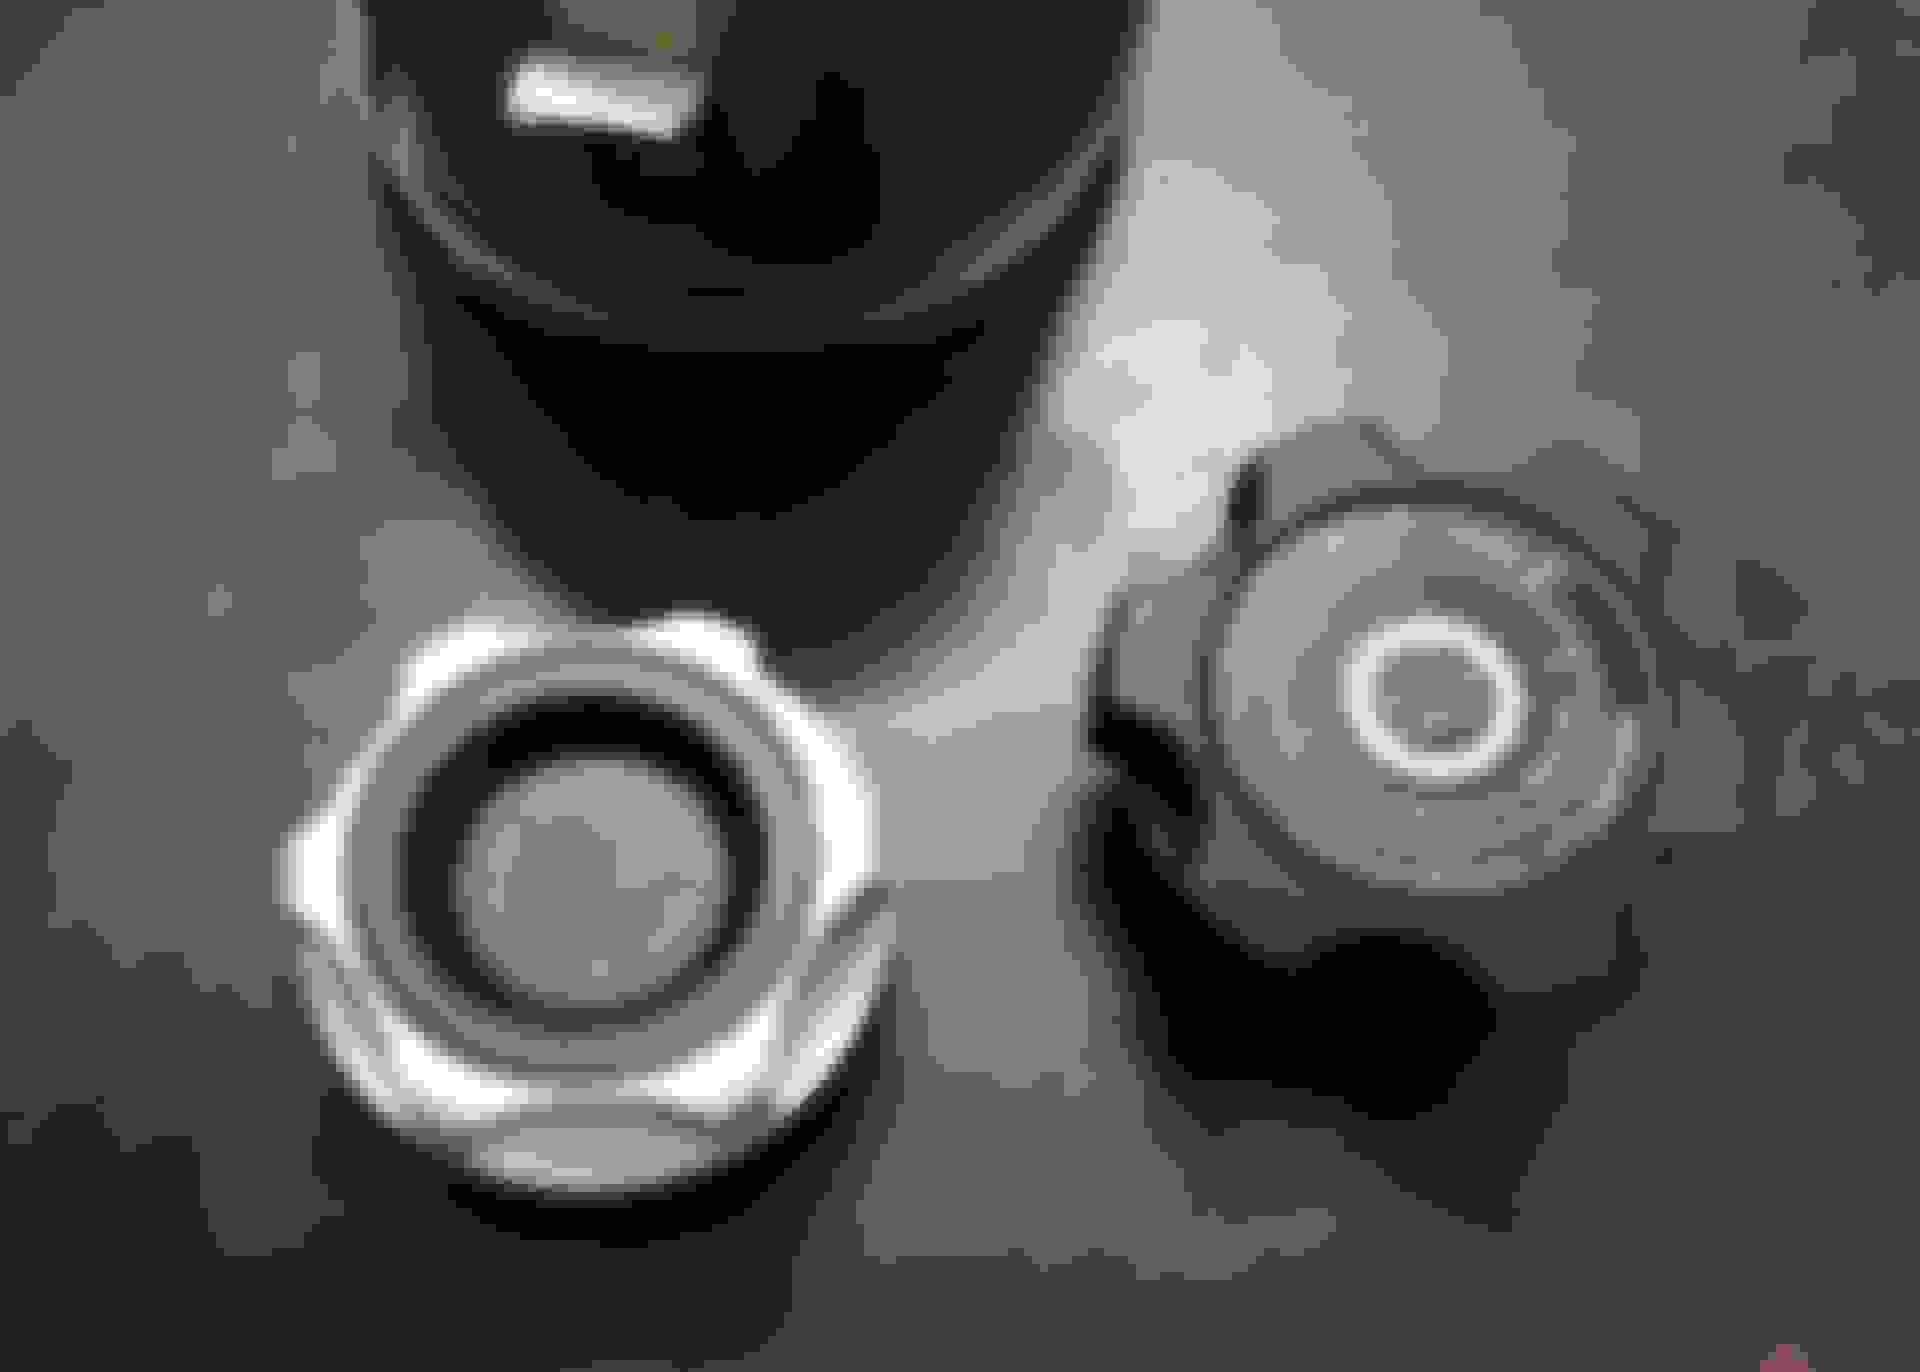
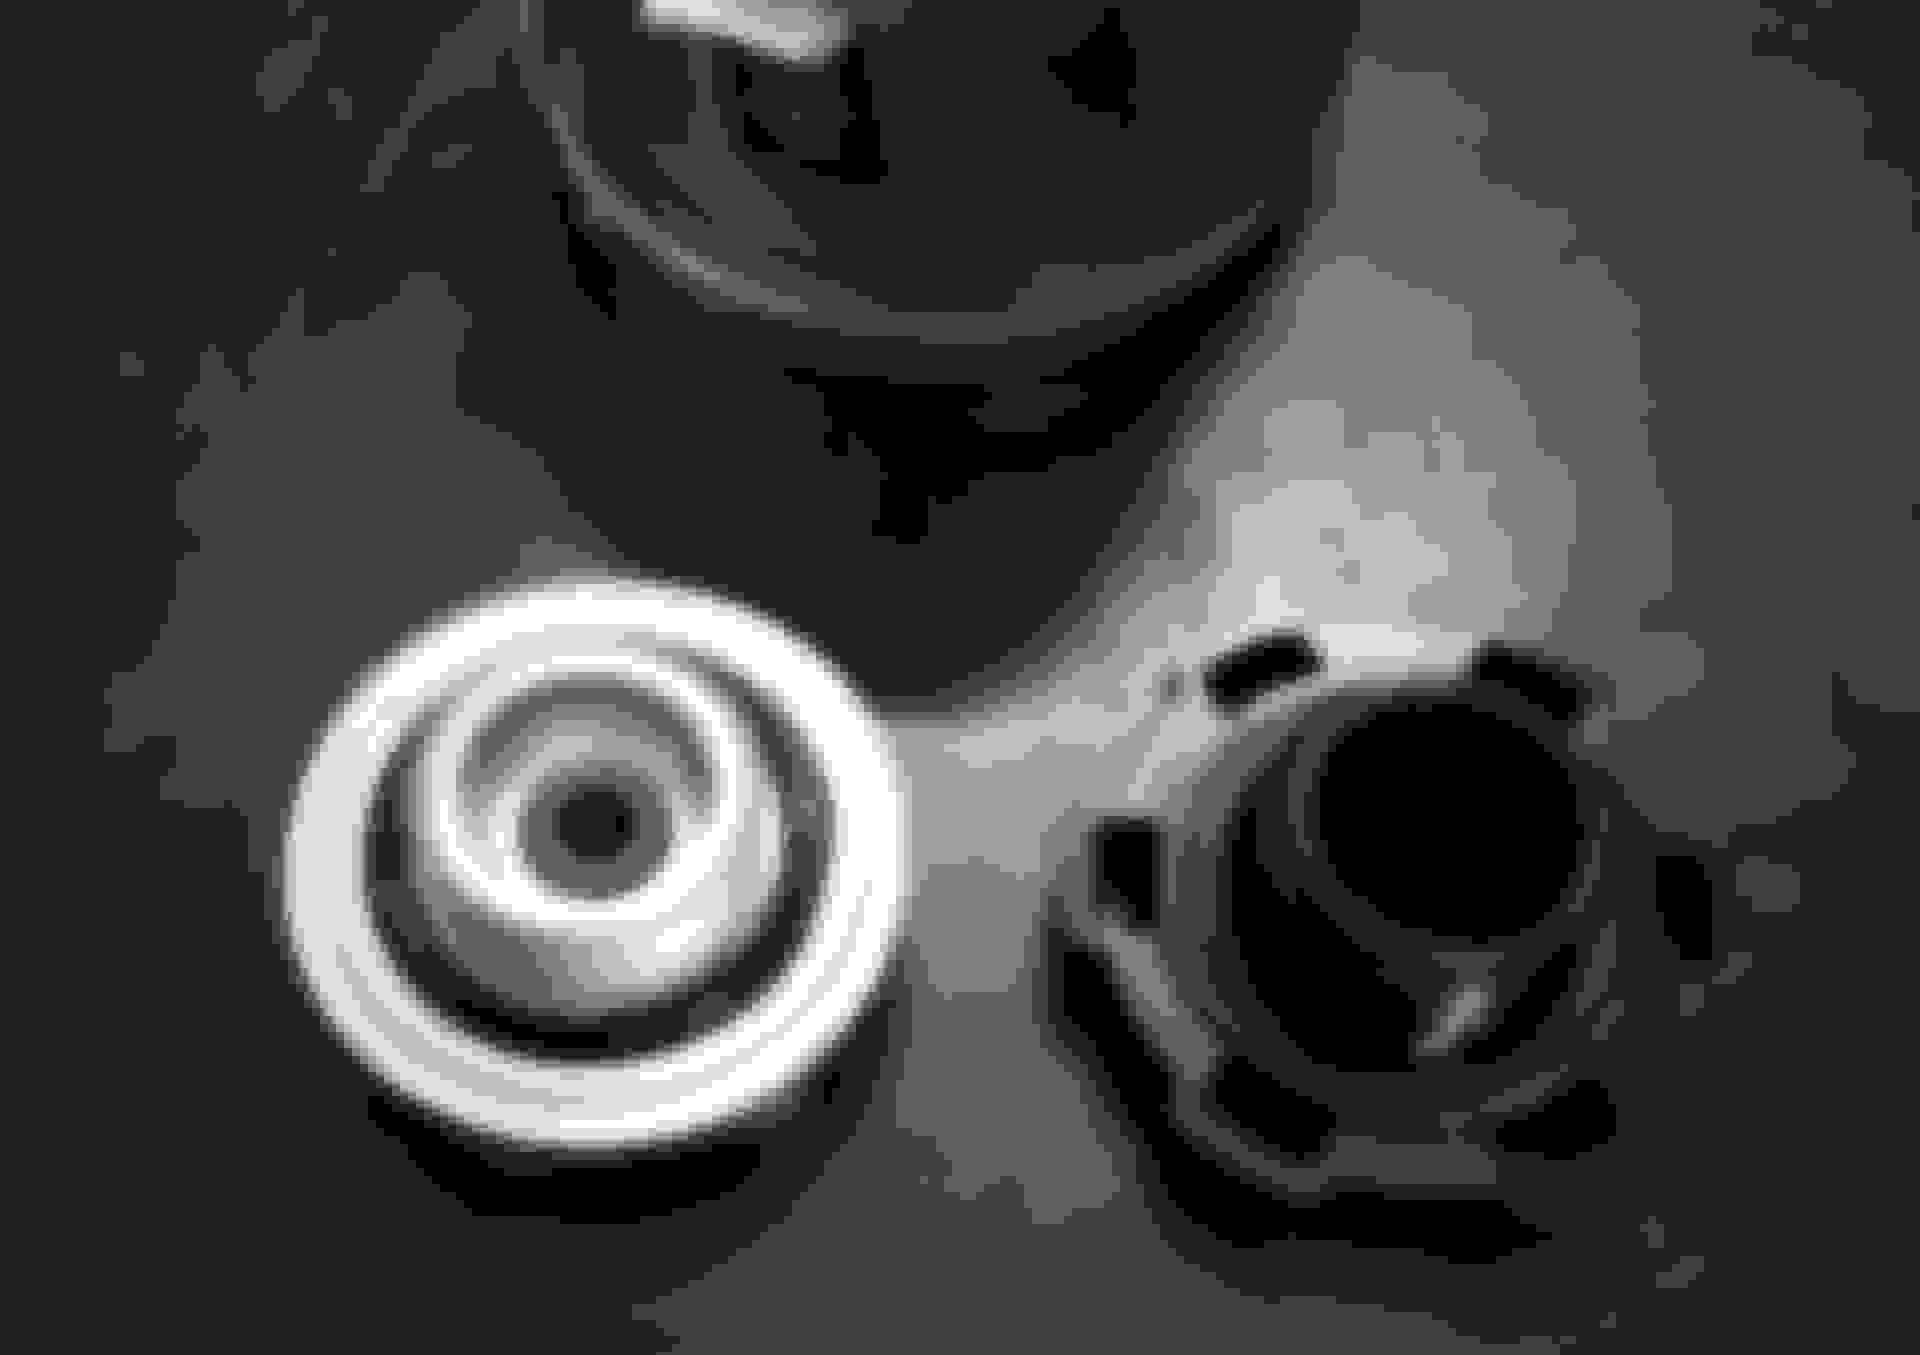
Stock oil cap had really stiff gasket and super hard to get off so got this Mishi one that looked a bit better.
Guess I will be burning my hands on that the future.
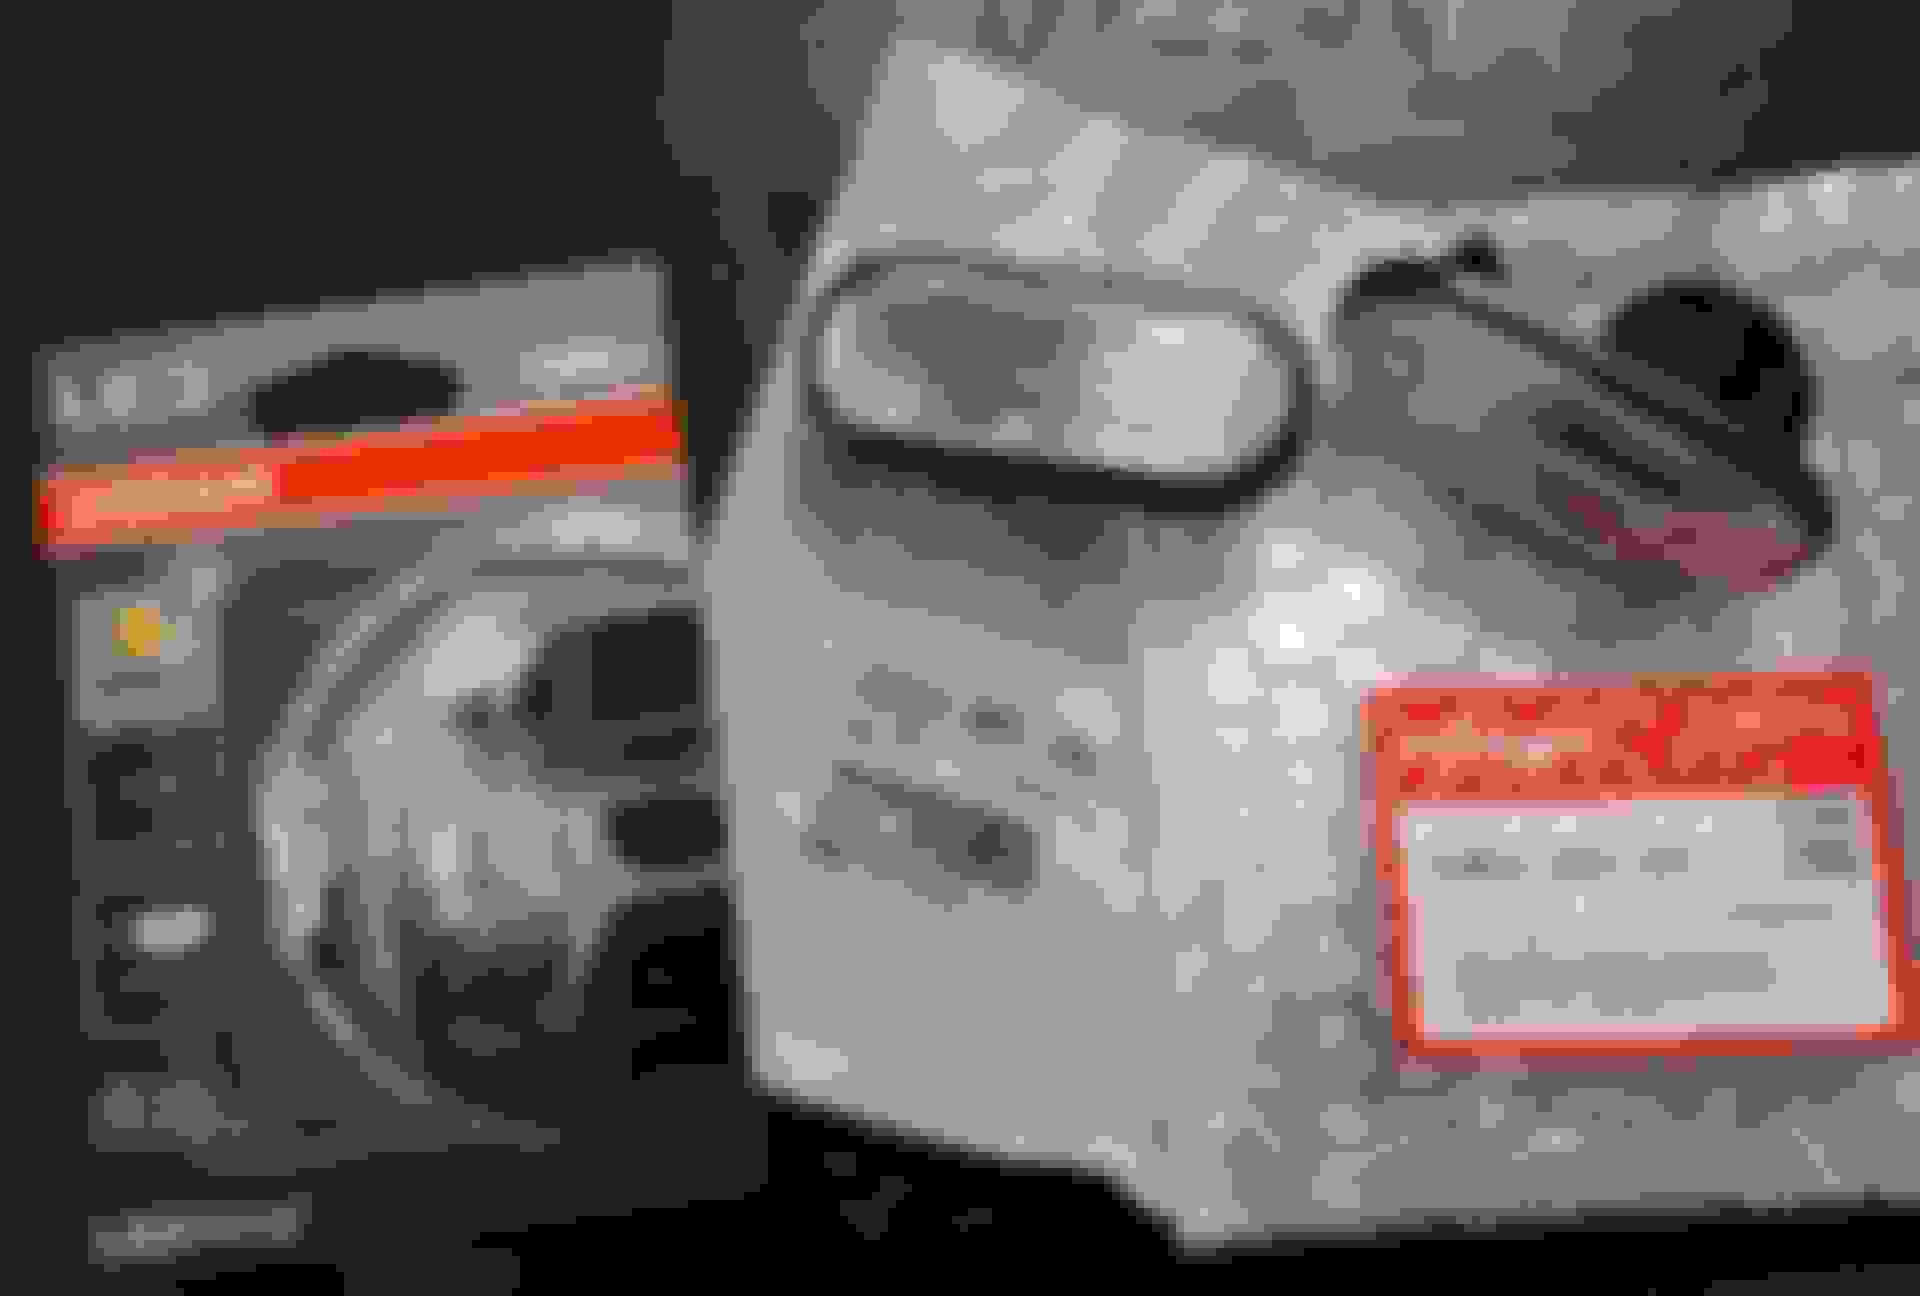
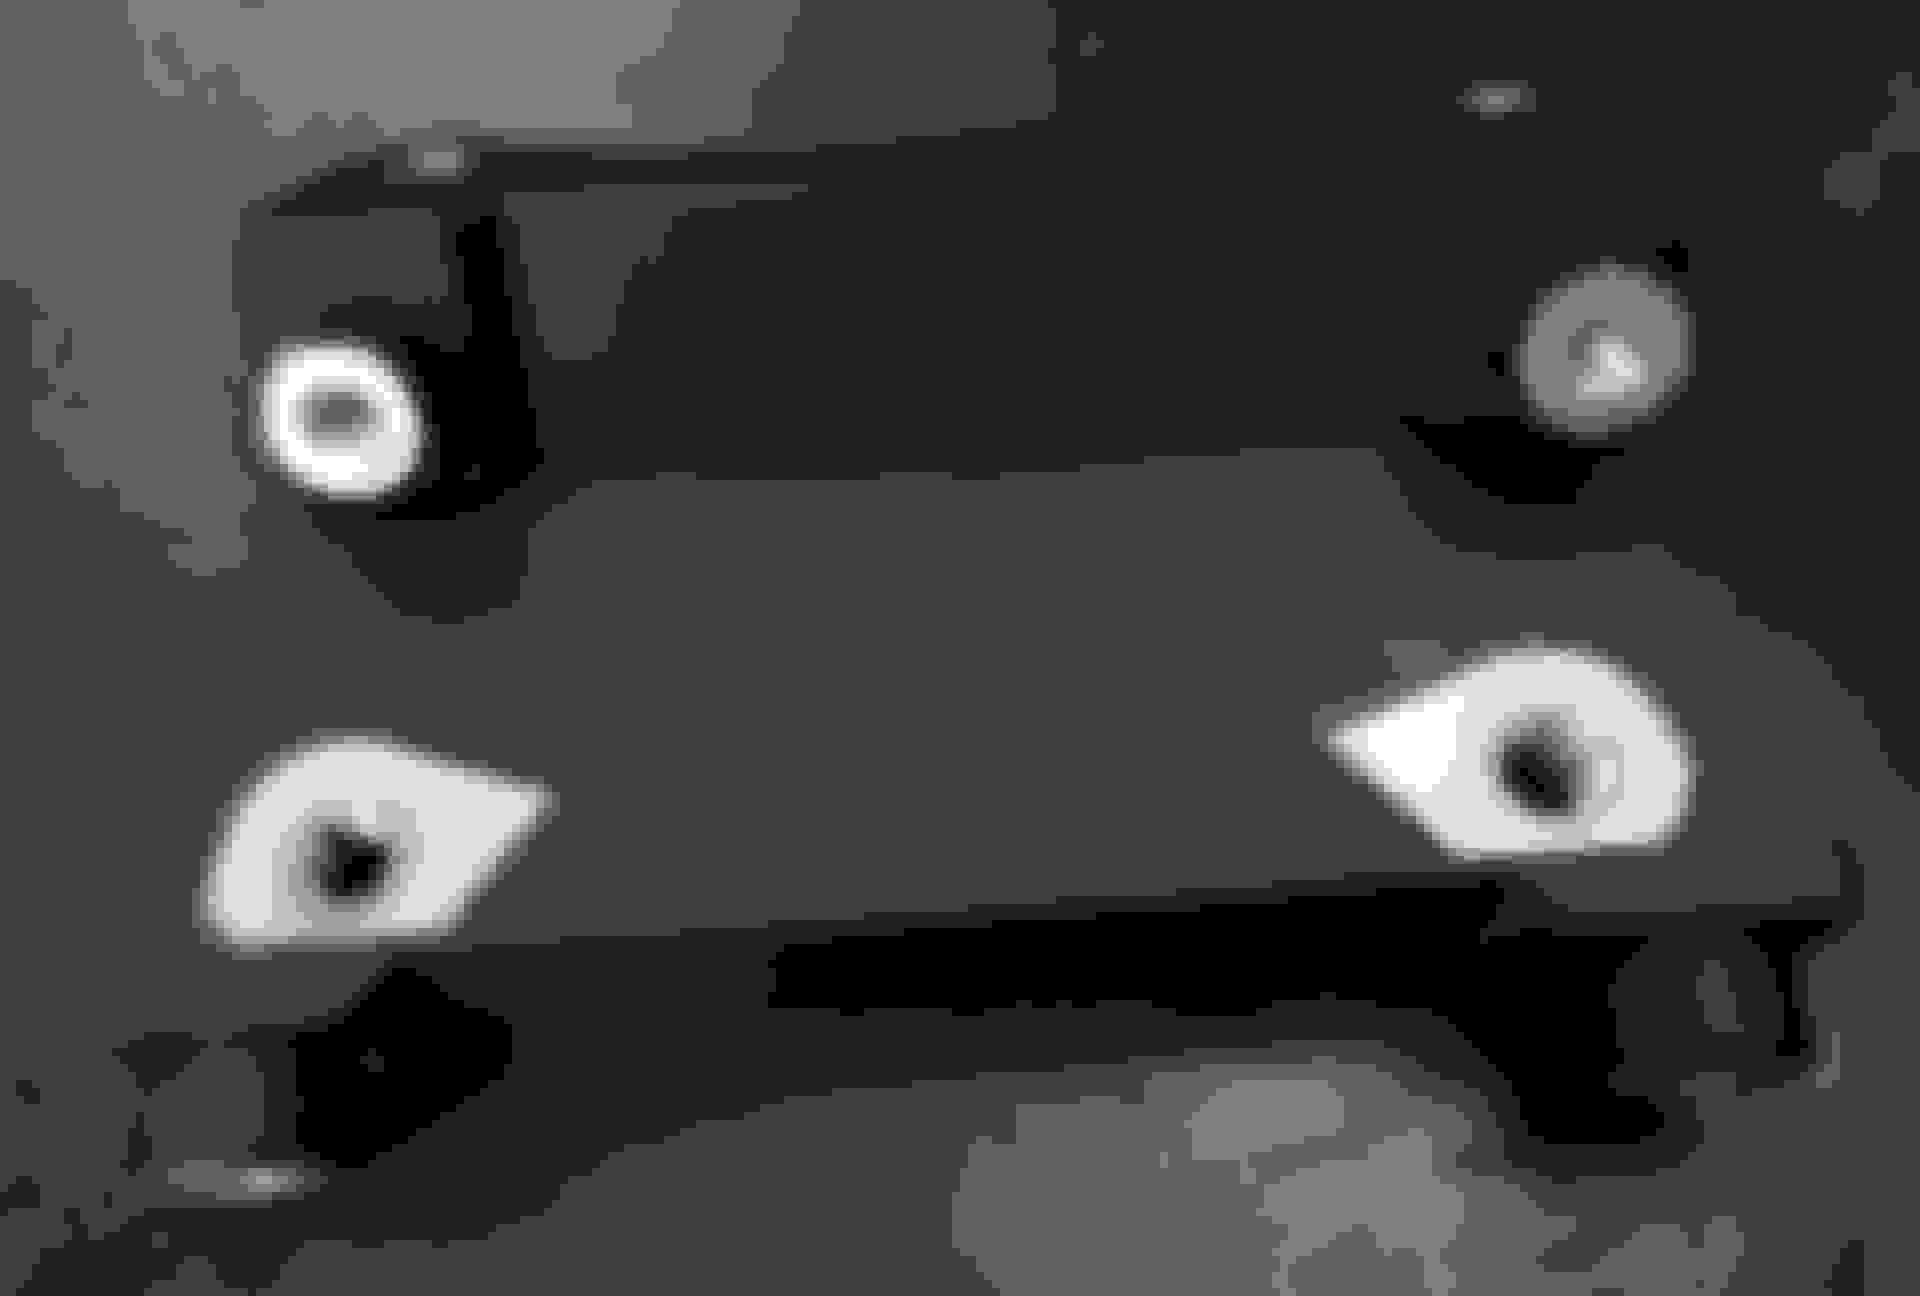
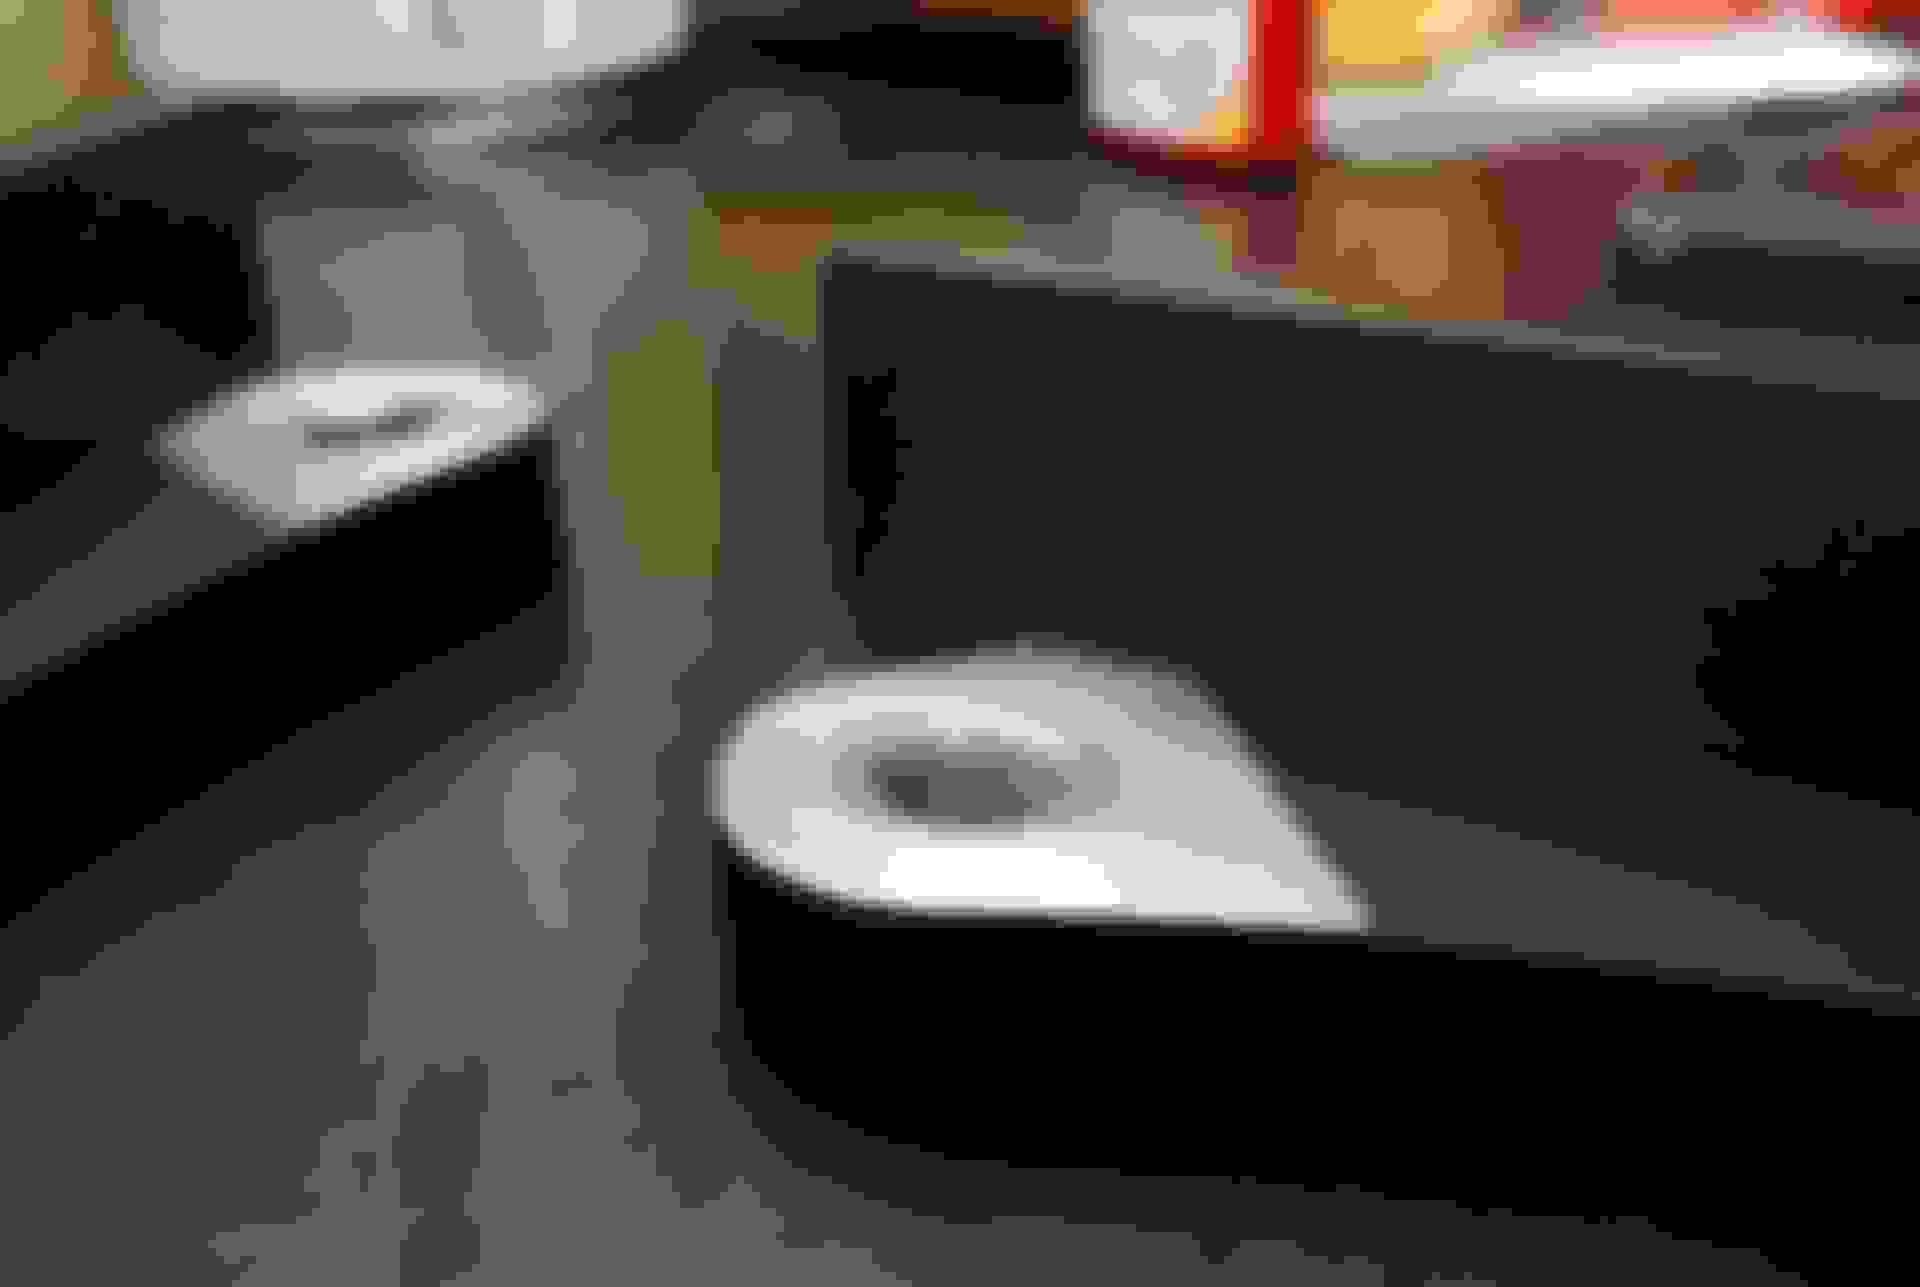
Both my side indicators had got broken tabs for a while now and I think one of them made an annoying rattle sometimes.
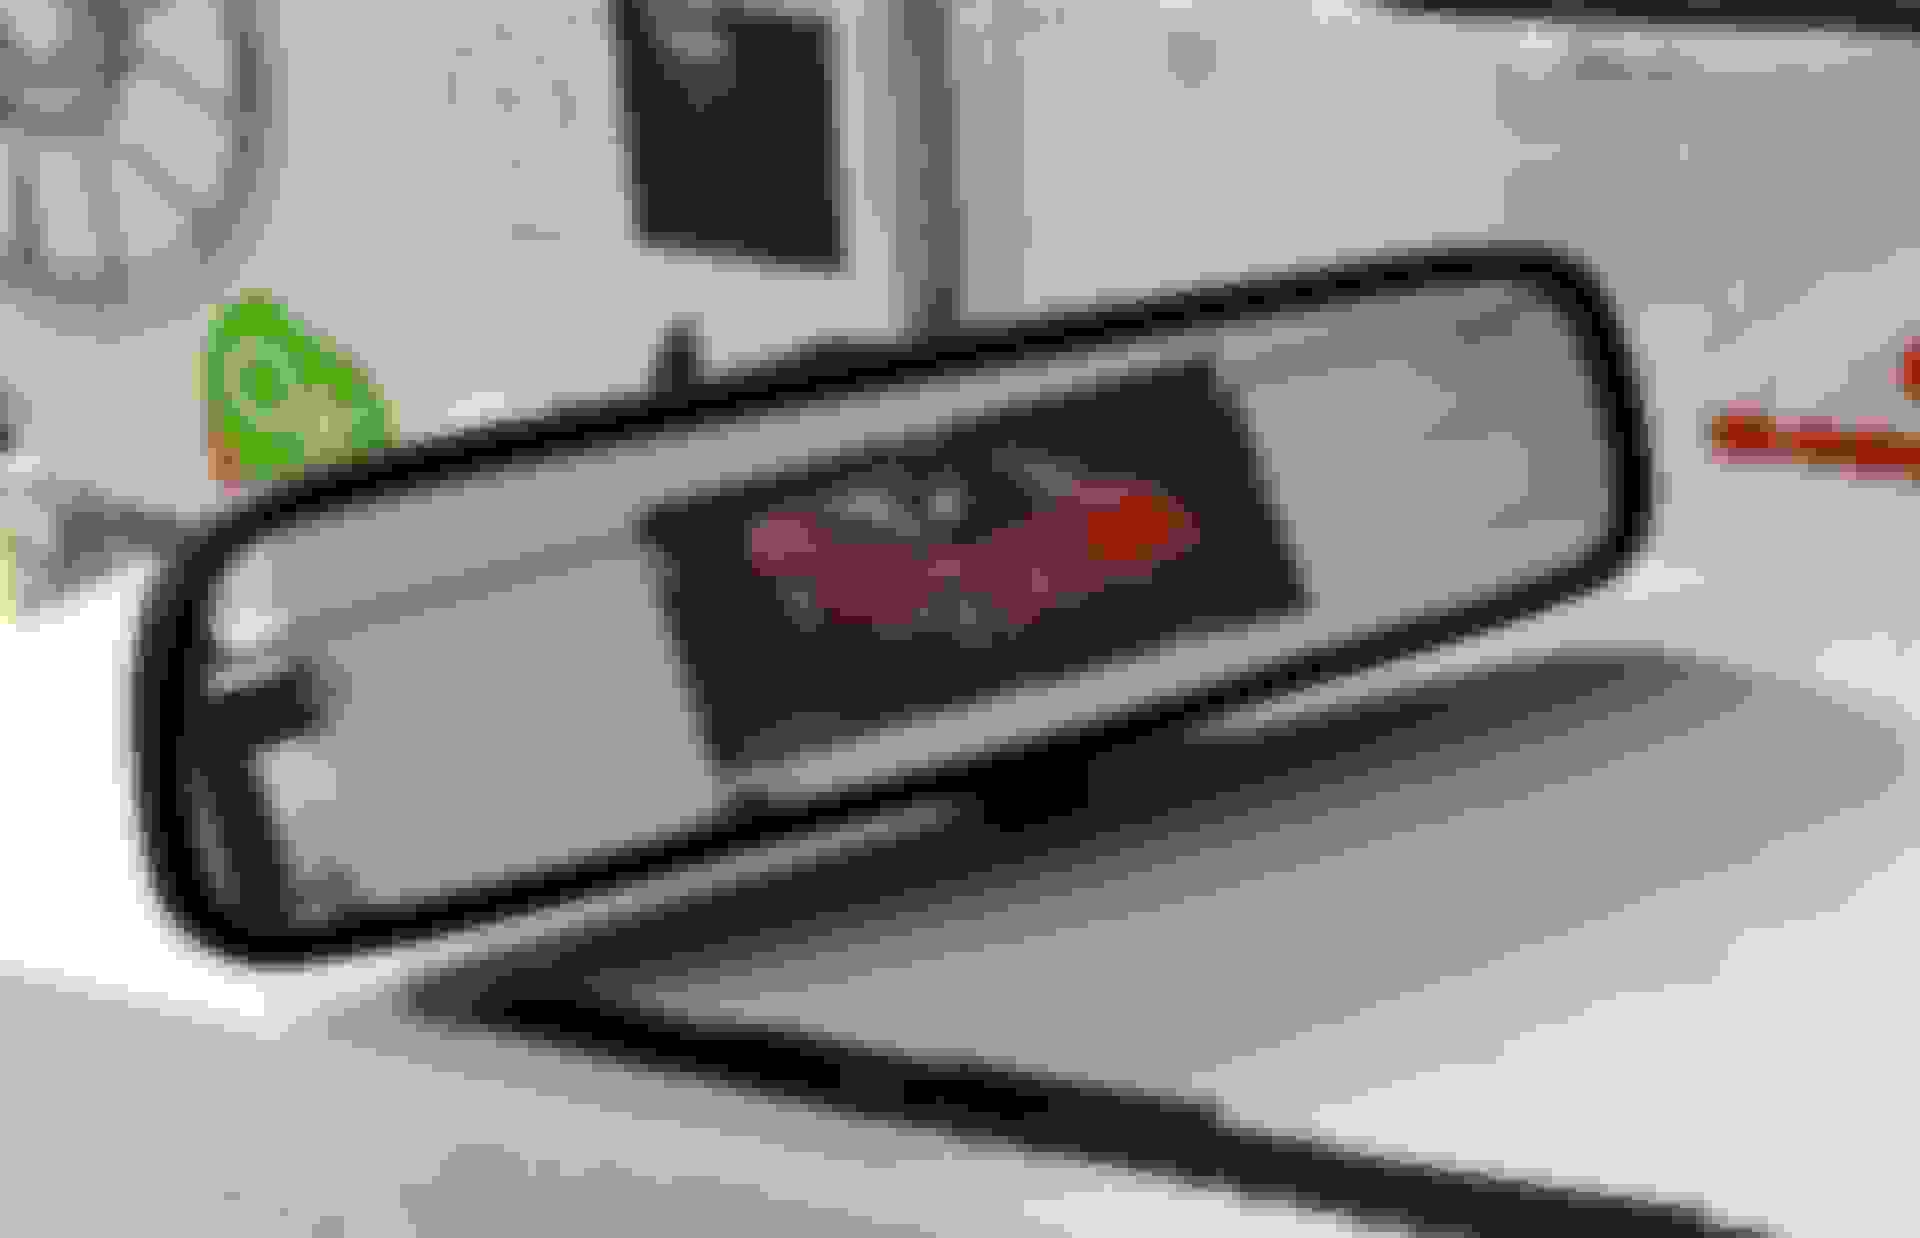
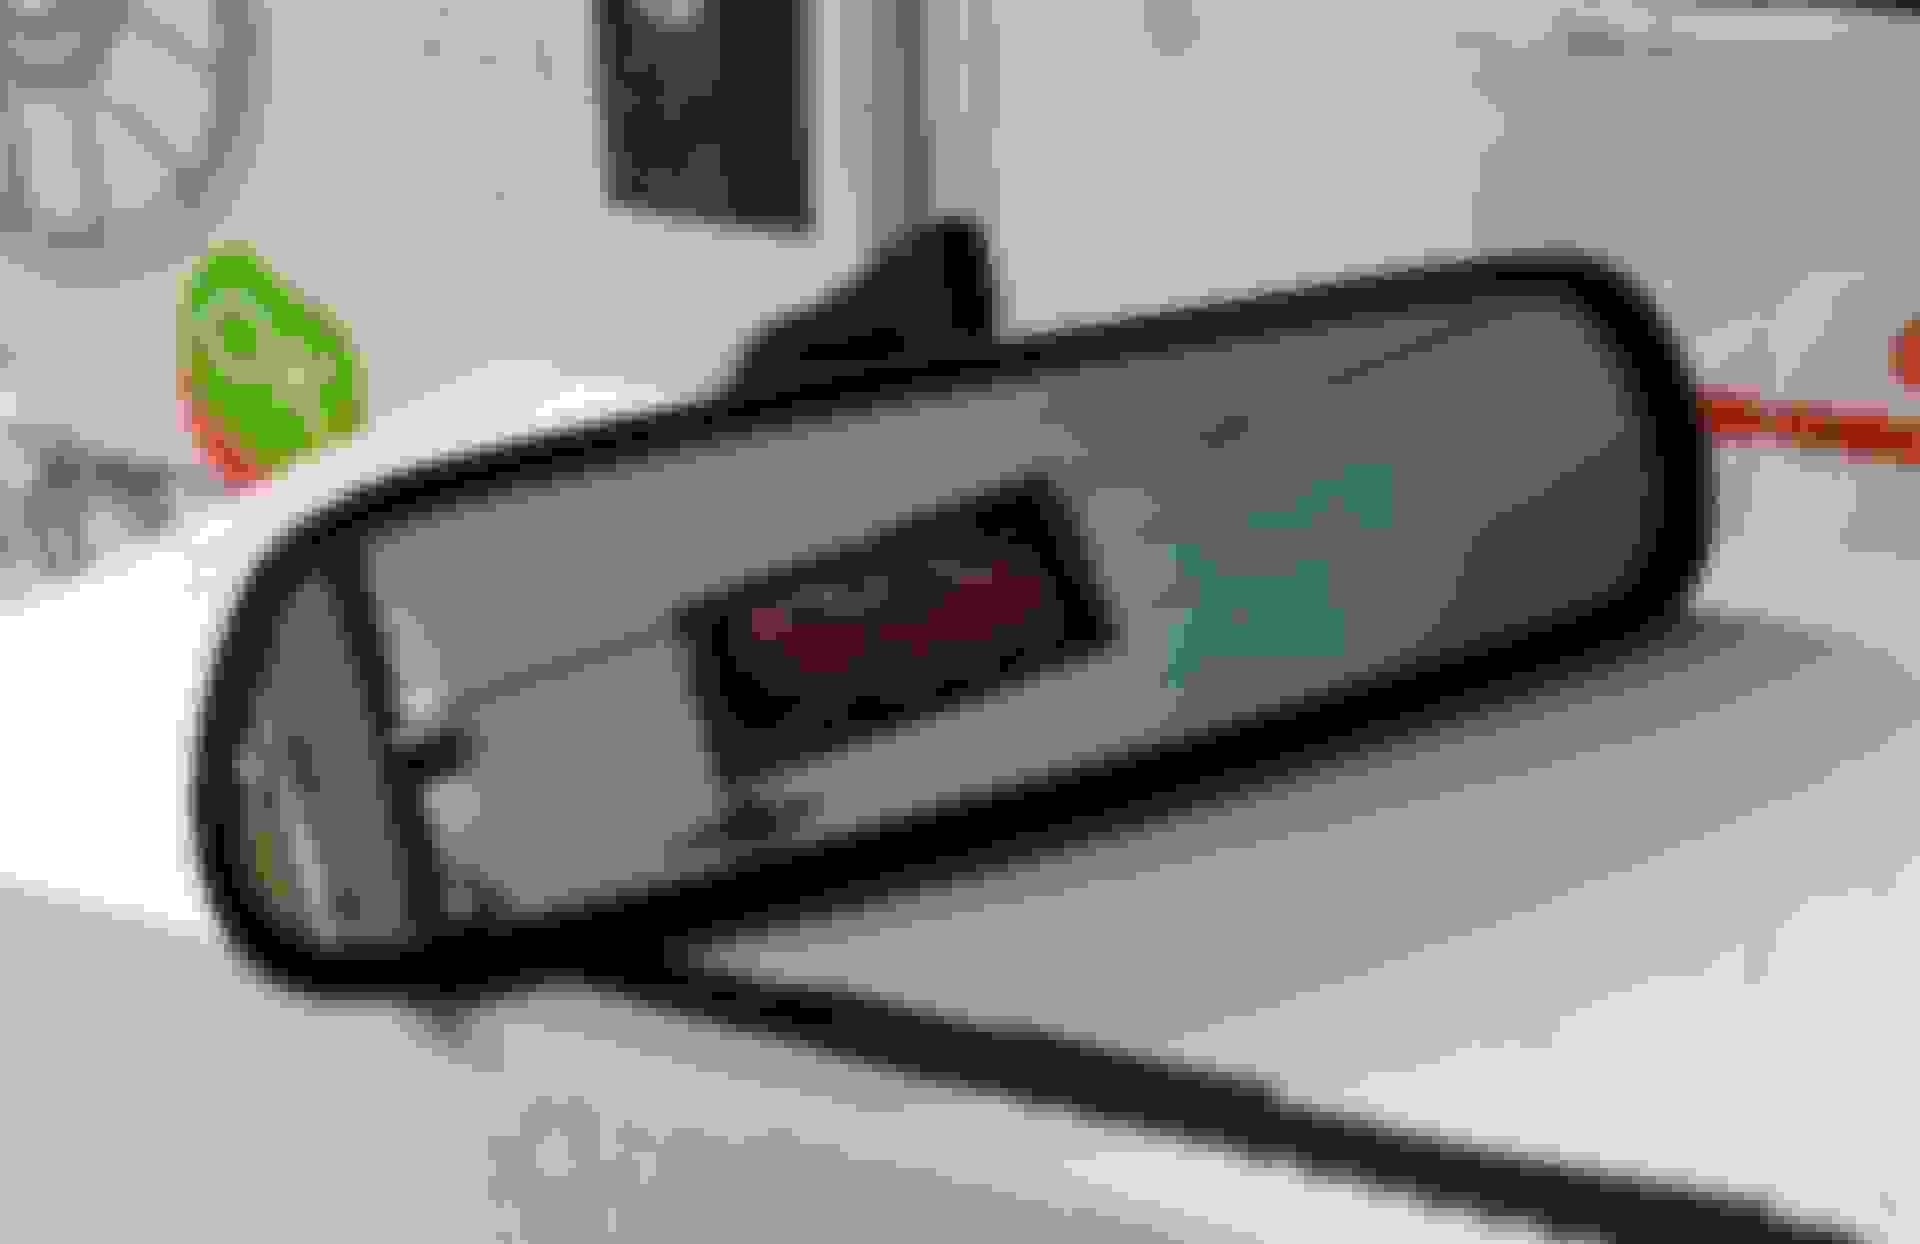
Bought two new housings and also a set of Osram LED bulbs.
Did some brightness comparisons, the LED looks very nice and a lot brighter.
Ever since I went with ITB's and E85 my ~500cc EV14 injectors have been running right at the limit.
So far it has been fine but I'm pretty sure the injectors wasn't very happy when running close to 100% duty.
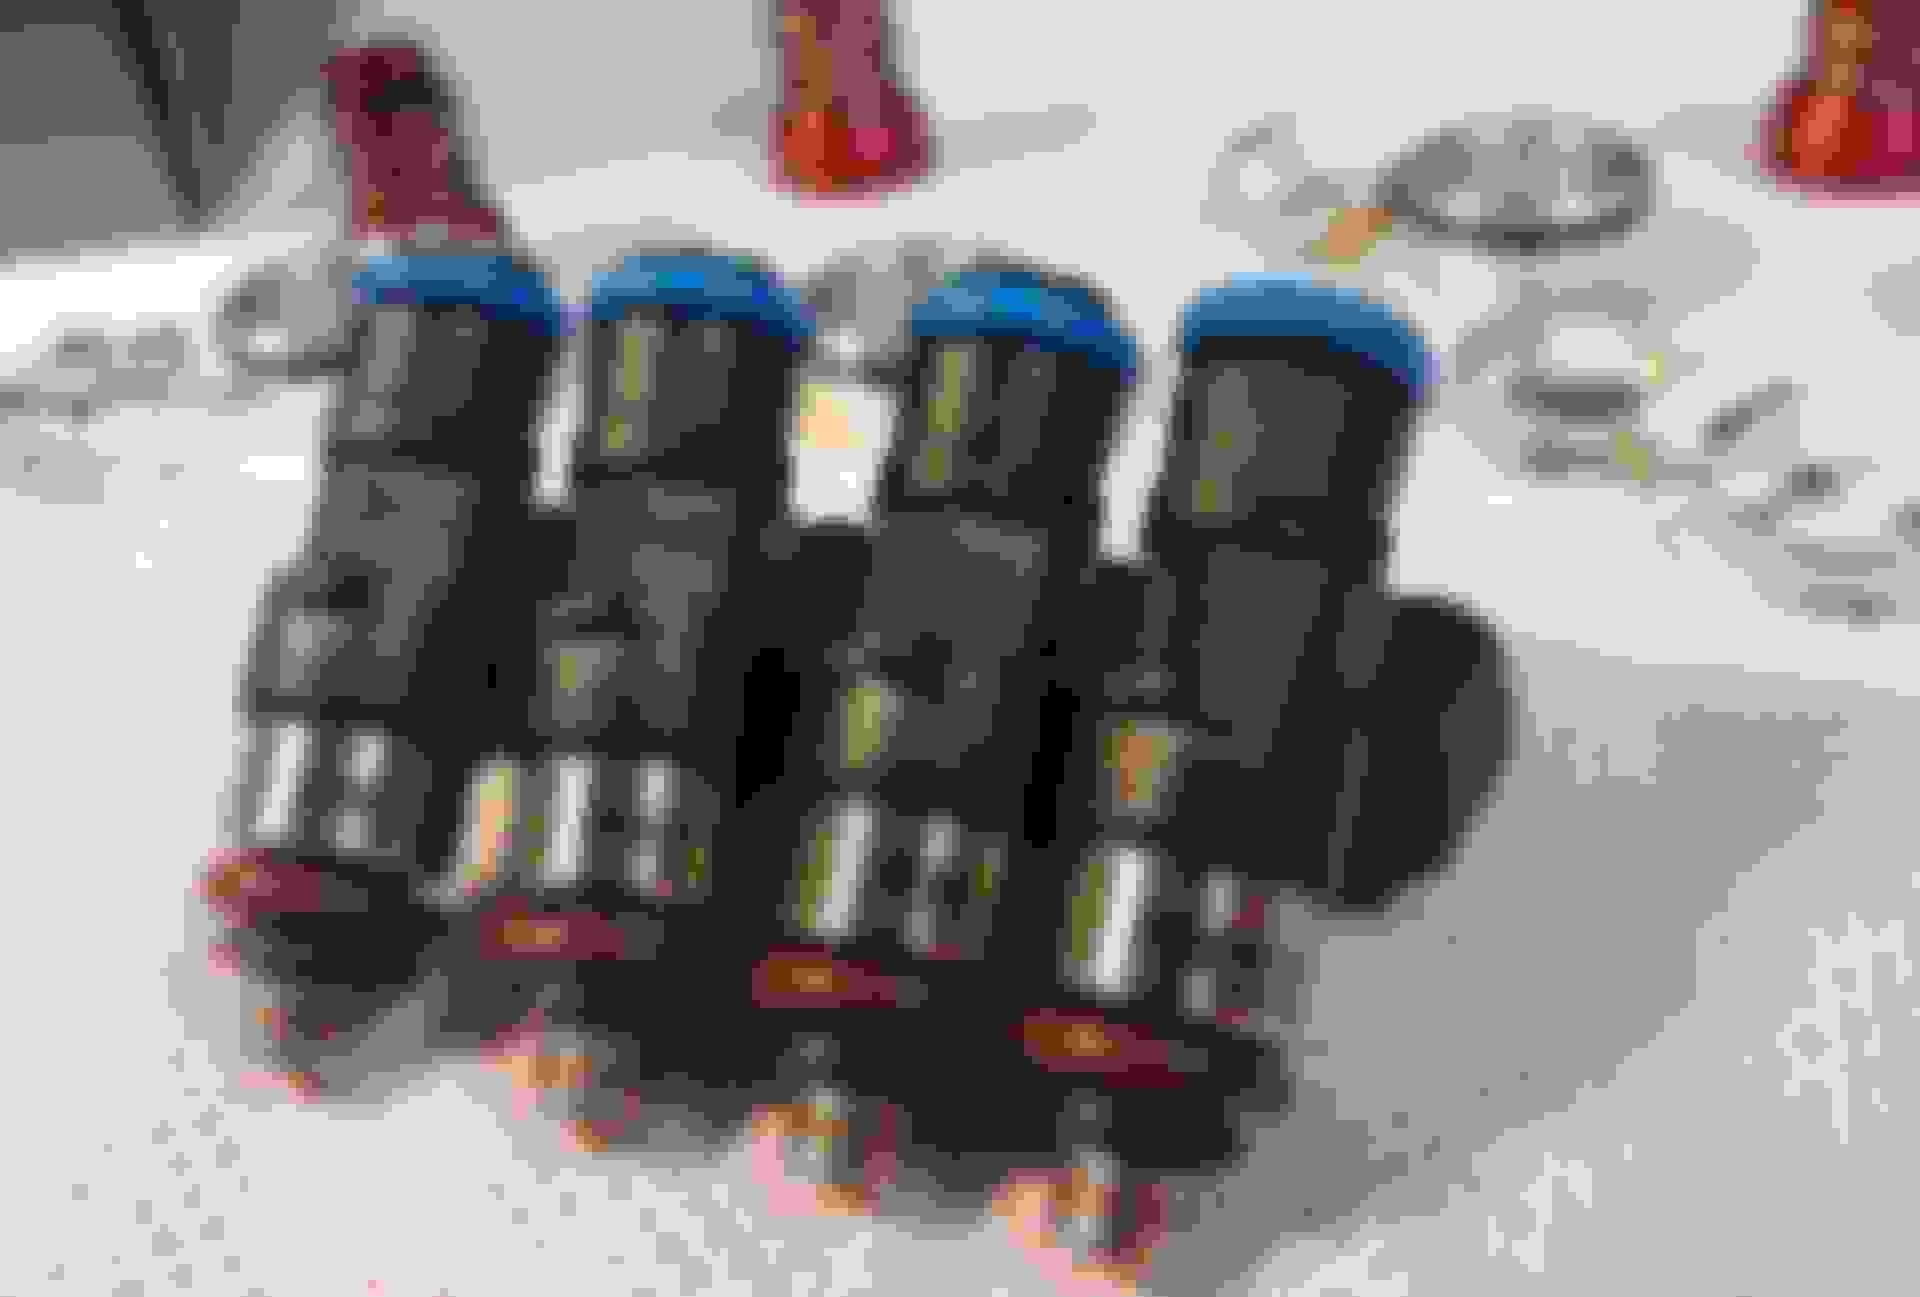
Before a real fail it was time for an upgrade and since ID1050x seemed to be the new gold standard I went with those.
I bought the 00-05 S2000 set, so if I ever go back to stock manifold they will drop right in.
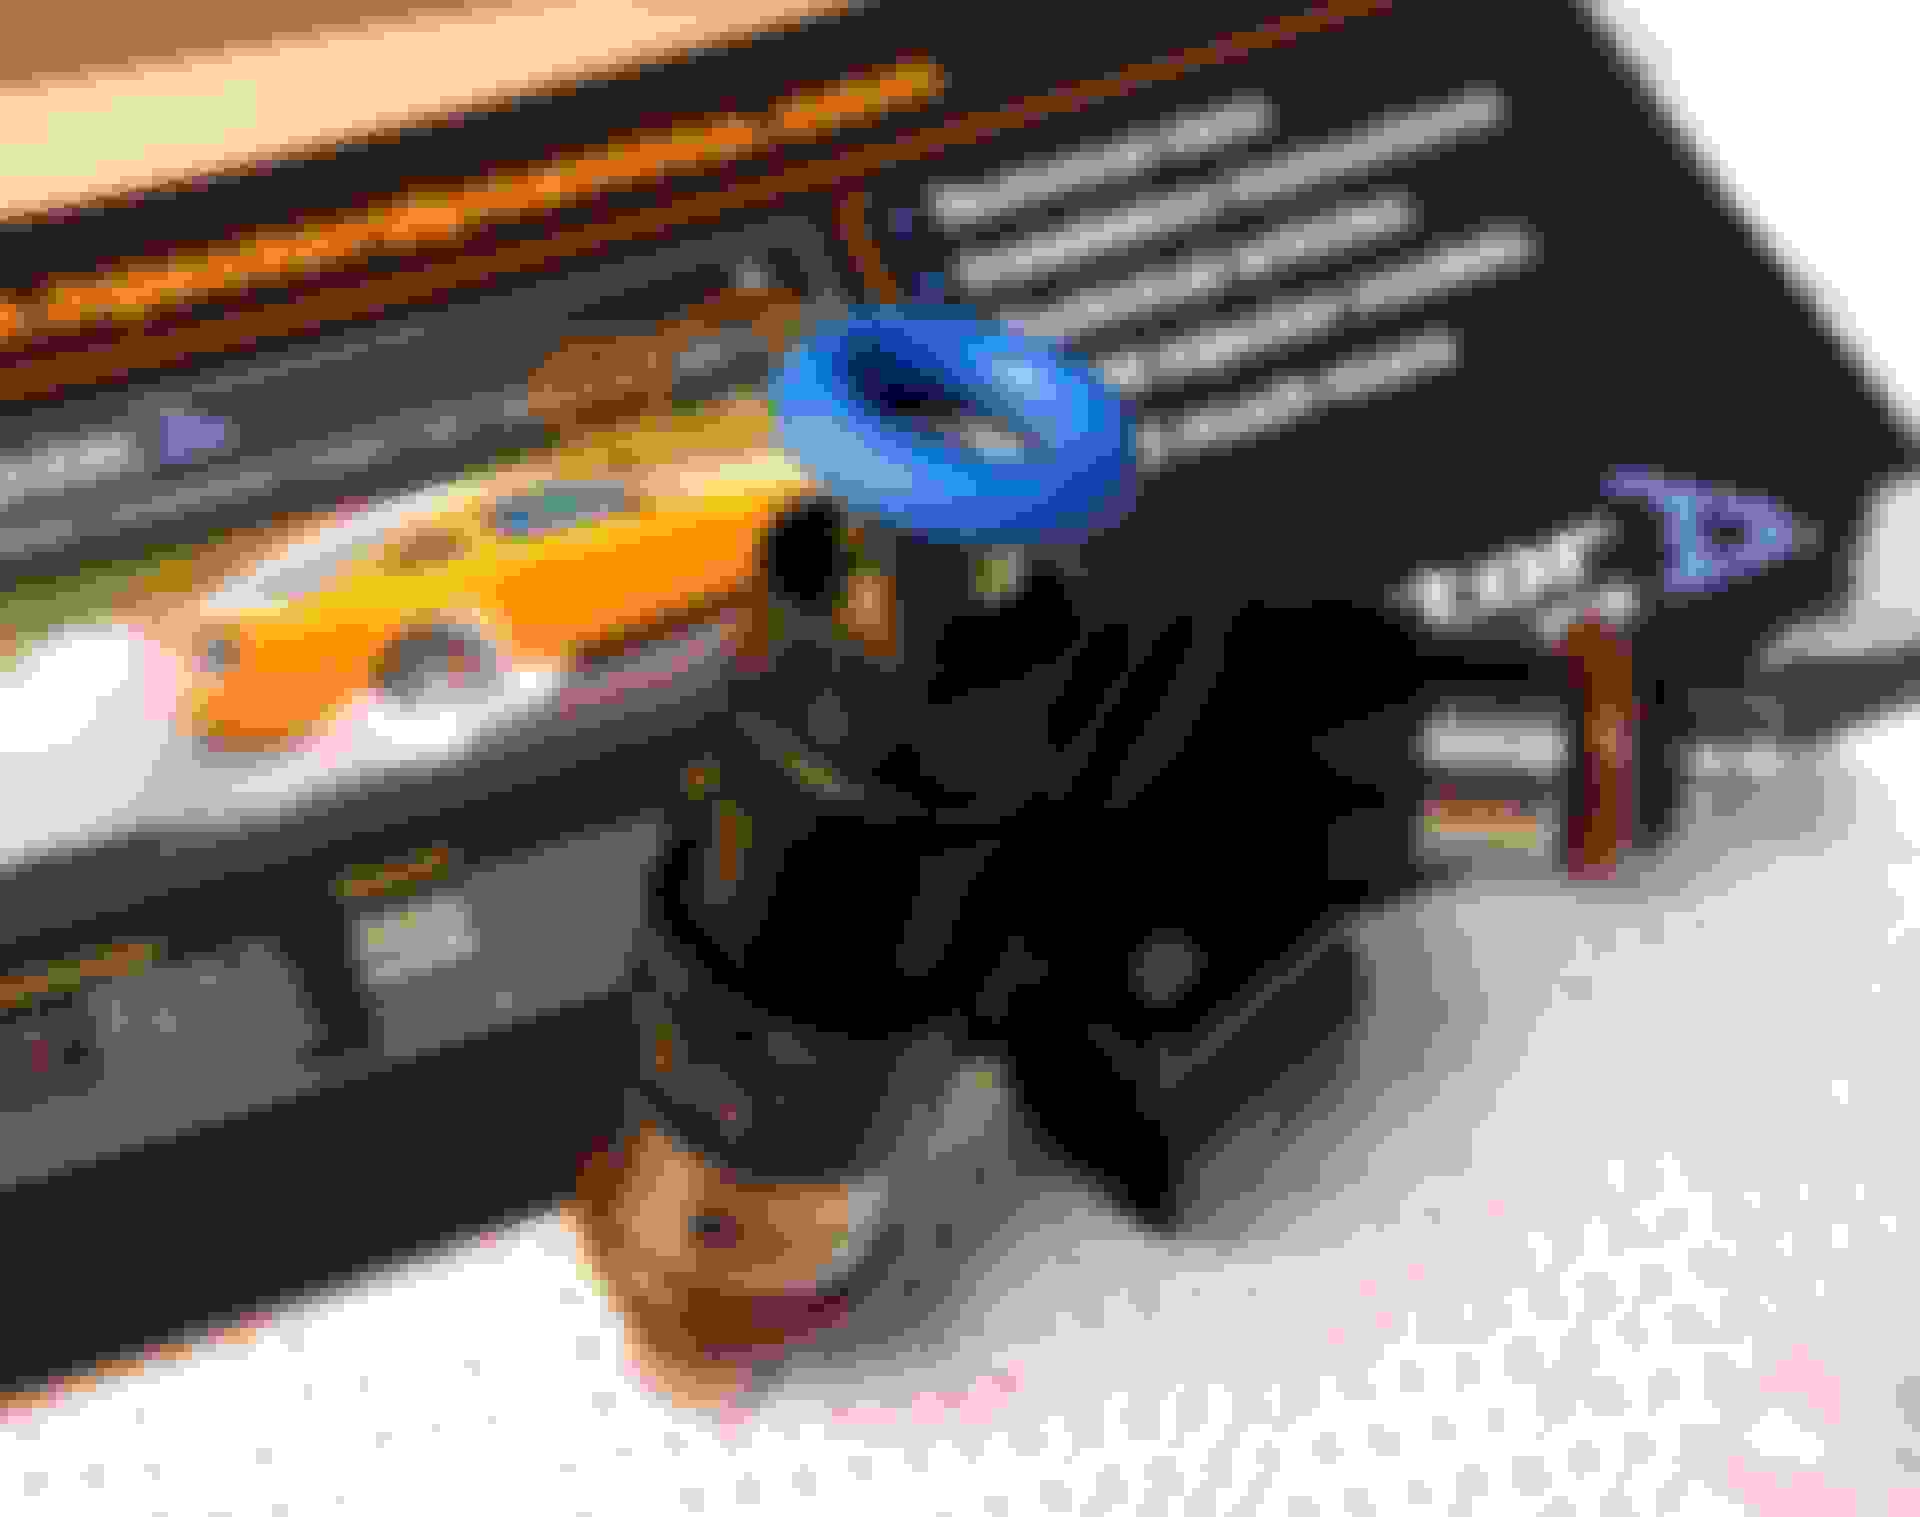
But to fit them on my Jenvey setup I had to strip them from all the adapters.
Good thing I did because on one of them I found a strange looking damage, seemed to have been touched by a grinding wheel or something similar.
Mostly cosmetically but the o-ring seal would probably have been compromised.
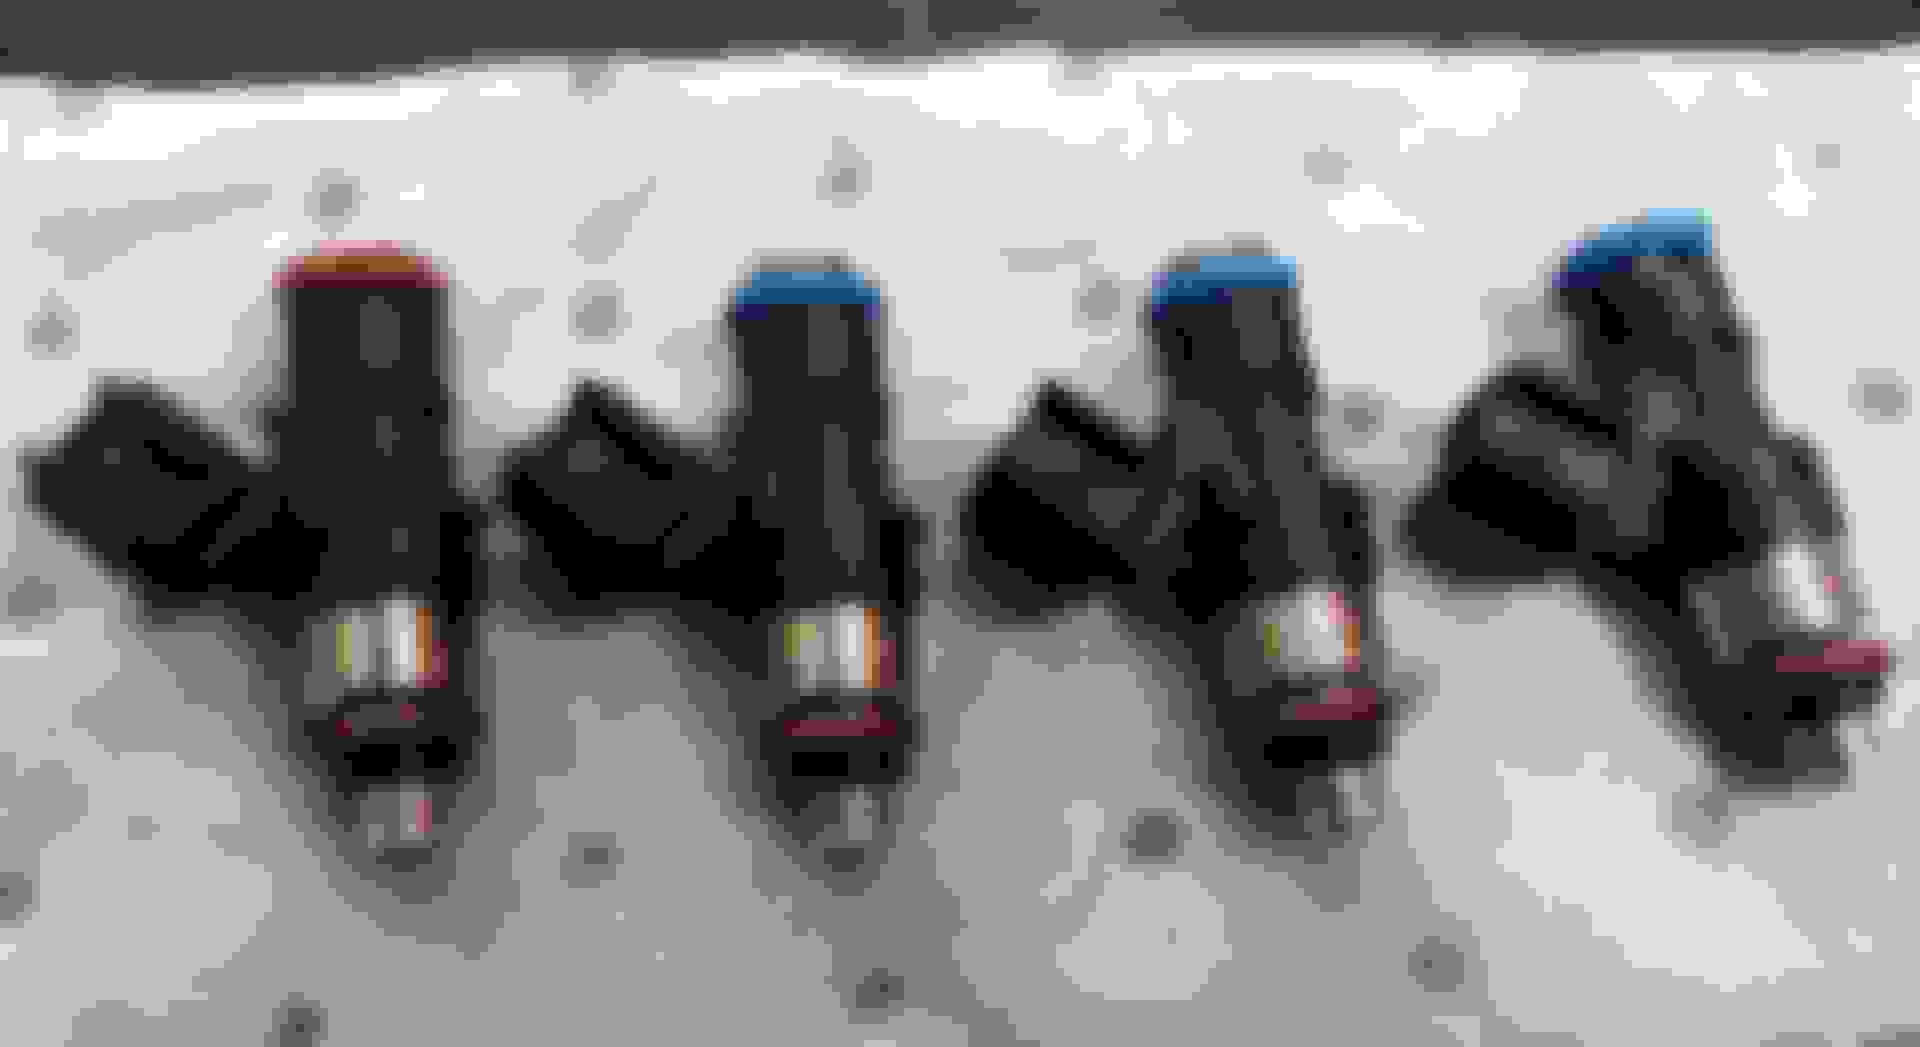
Funny thing is that injectors also showed a noticeable lower flow.
My flow bench is not the most accurate thing in the world though and some tubes reads a bit lower than others.
To compensate for that I ran all injectors three times in all different tubes, still came out with a bit more difference (3.5%) than what I would have hoped for.
Had a lengthy conversation with the Injector Dynamics support, if you could call it that.
I'll try to sum it up.
Flow was perfect (0.32% diff) when they were tested before leaving the factory.
All I needed was a new o-ring, which they did not show any interest in providing.
The damage on the one injector was nothing that could have happened before leaving the factory.
This means someone had taken out all four injectors from the sealed plastic bag, taken off the top adapter and then doing the damage, then sealed everything back up and then sent them out to me.
Sounds very likely.
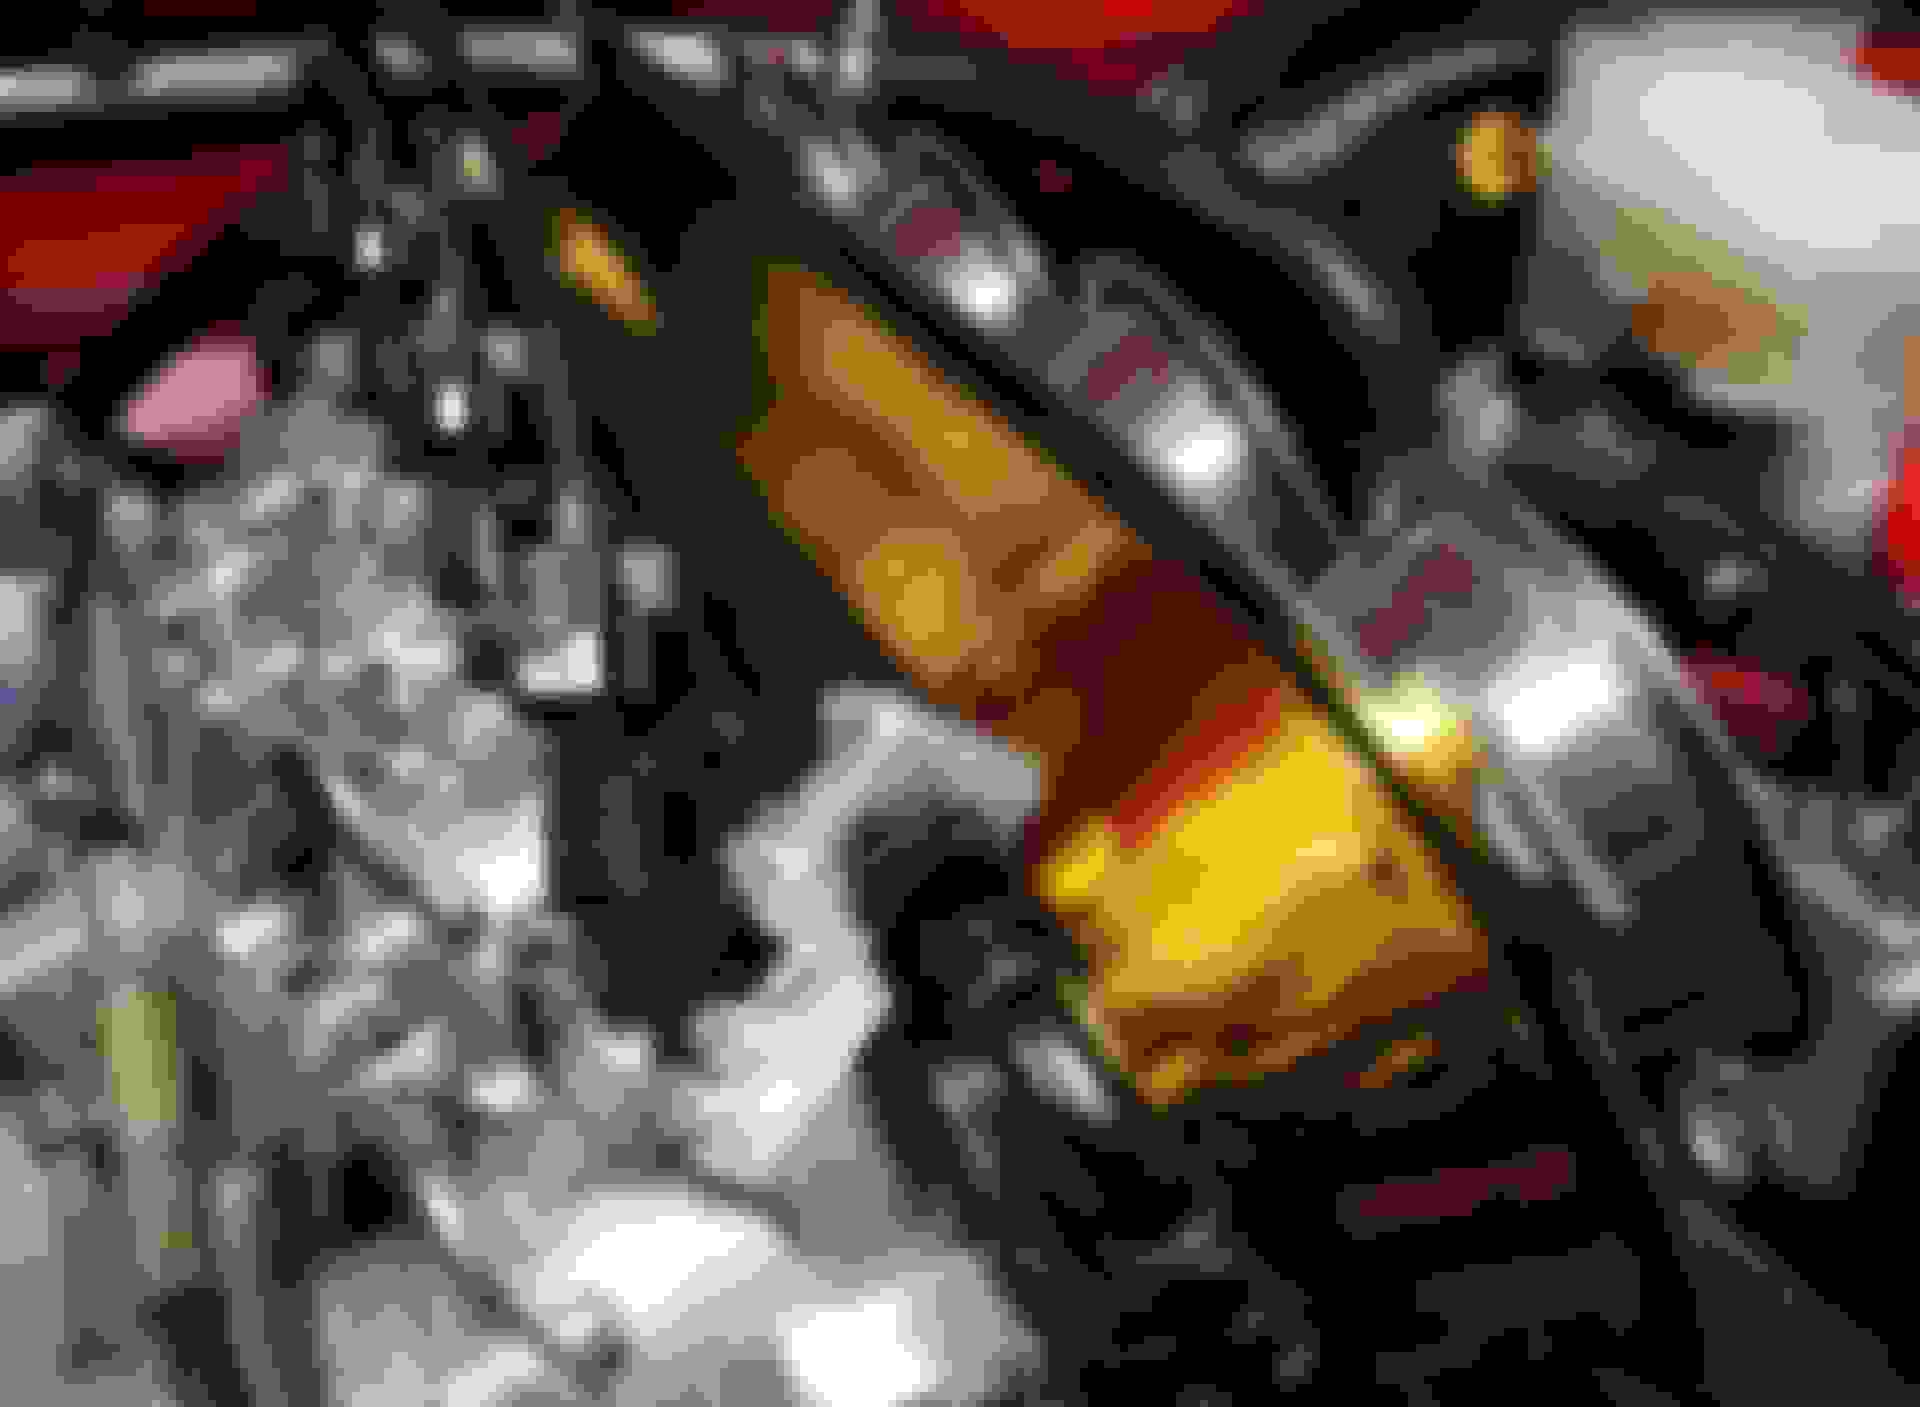
Didn't see much reason to spend more energy on that matter so put on a new o-ring (which I bought myself) and got them ready to be installed.
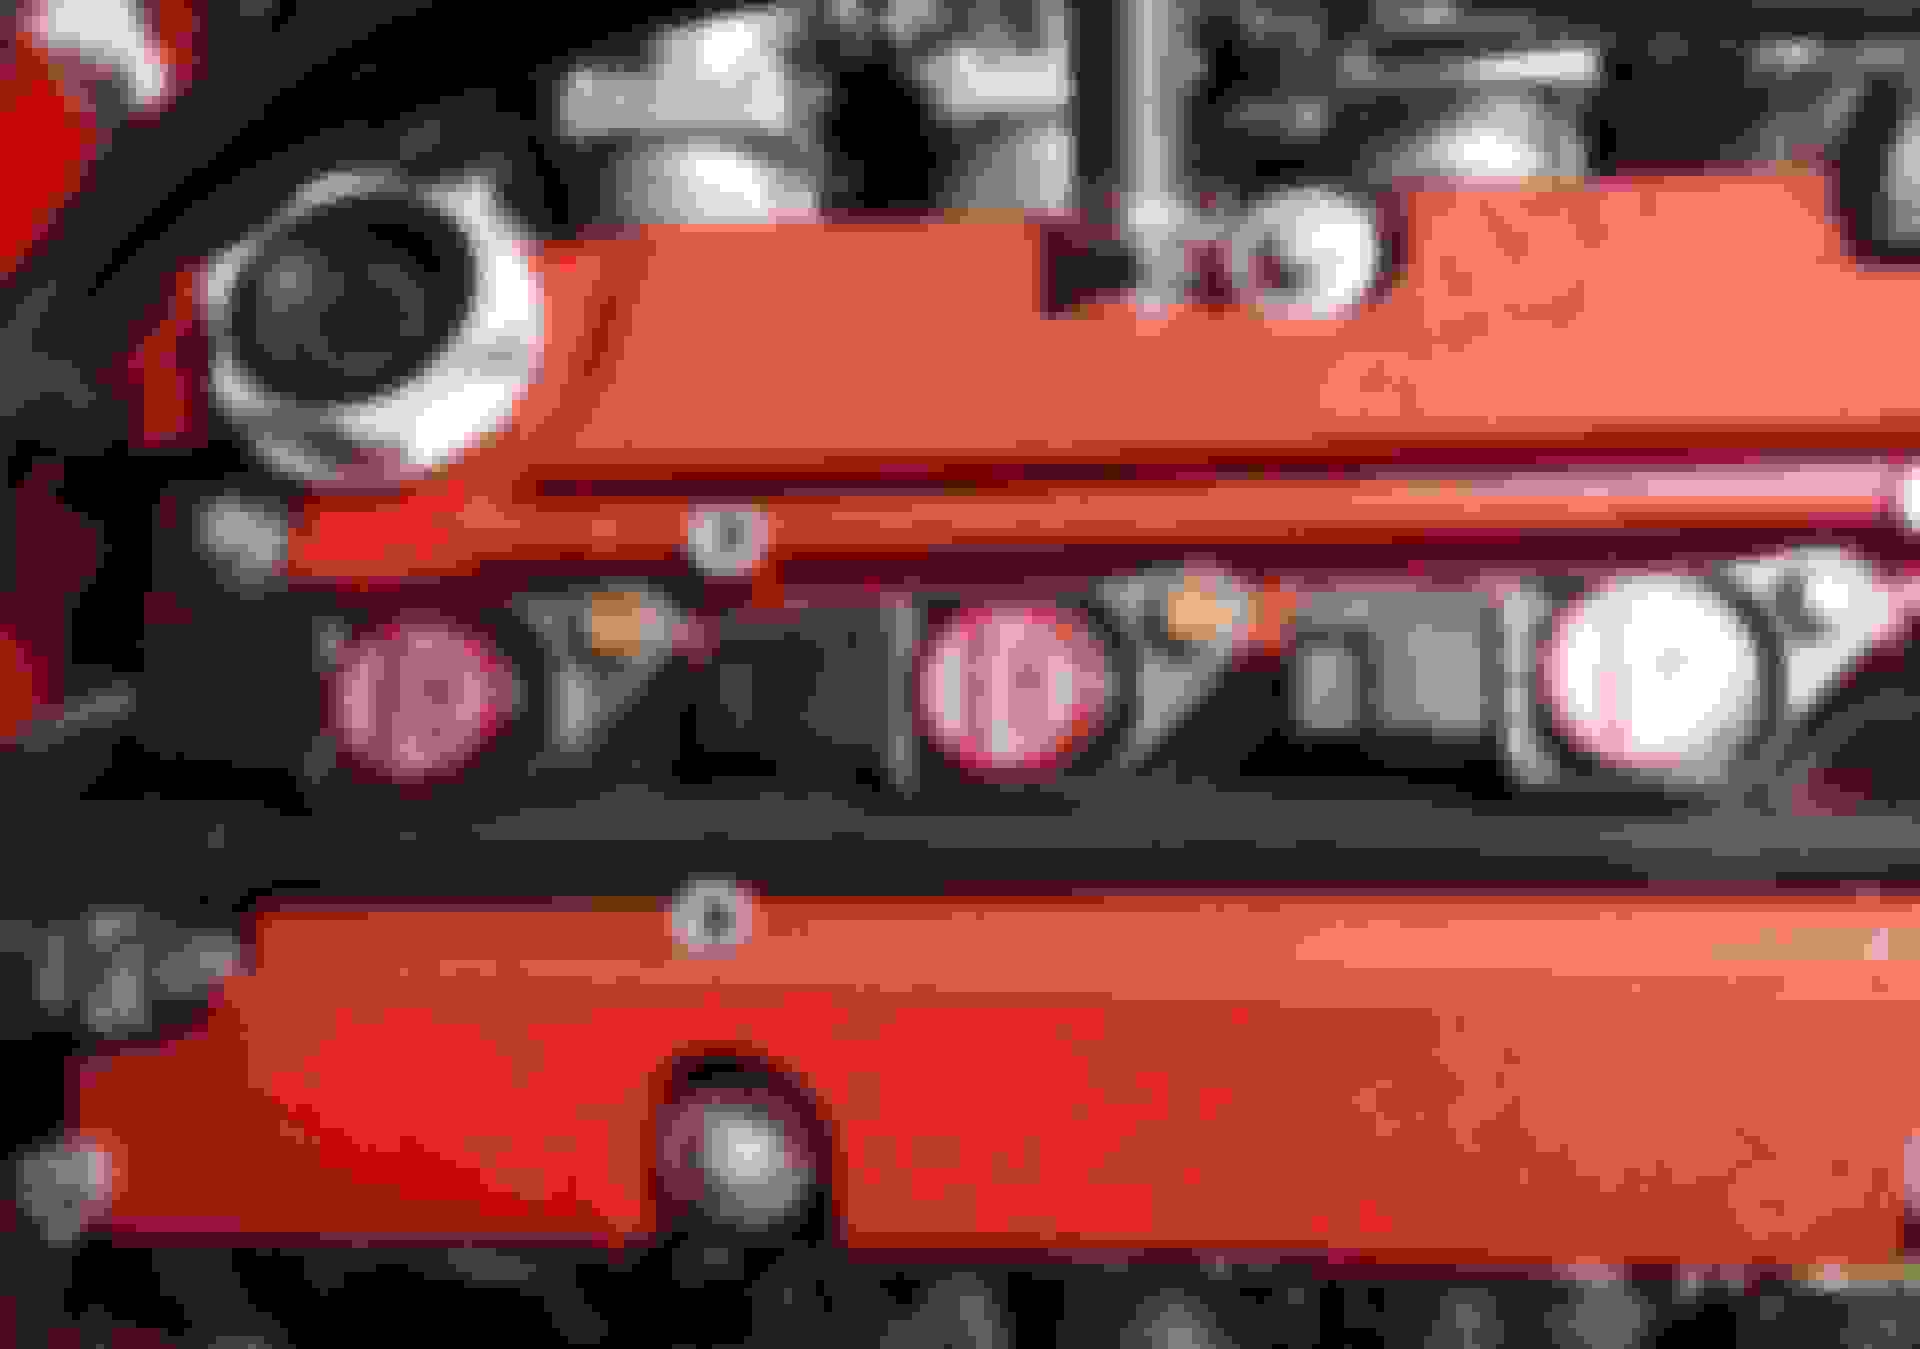
Used new shorter rail mounts I had laying around and bolted everything down.
I'm hoping it wont take to much work on the tune to get everything back in order.
Maybe the lower pulse width capability might help on idle and low load properties as well.
More grip also means more stress on the brakes.
I've been thinking about an upgrade there for some time and on black friday a found a deal on a "budget" kit from Freakyparts in the UK.
After three months of waiting it finally arrived.
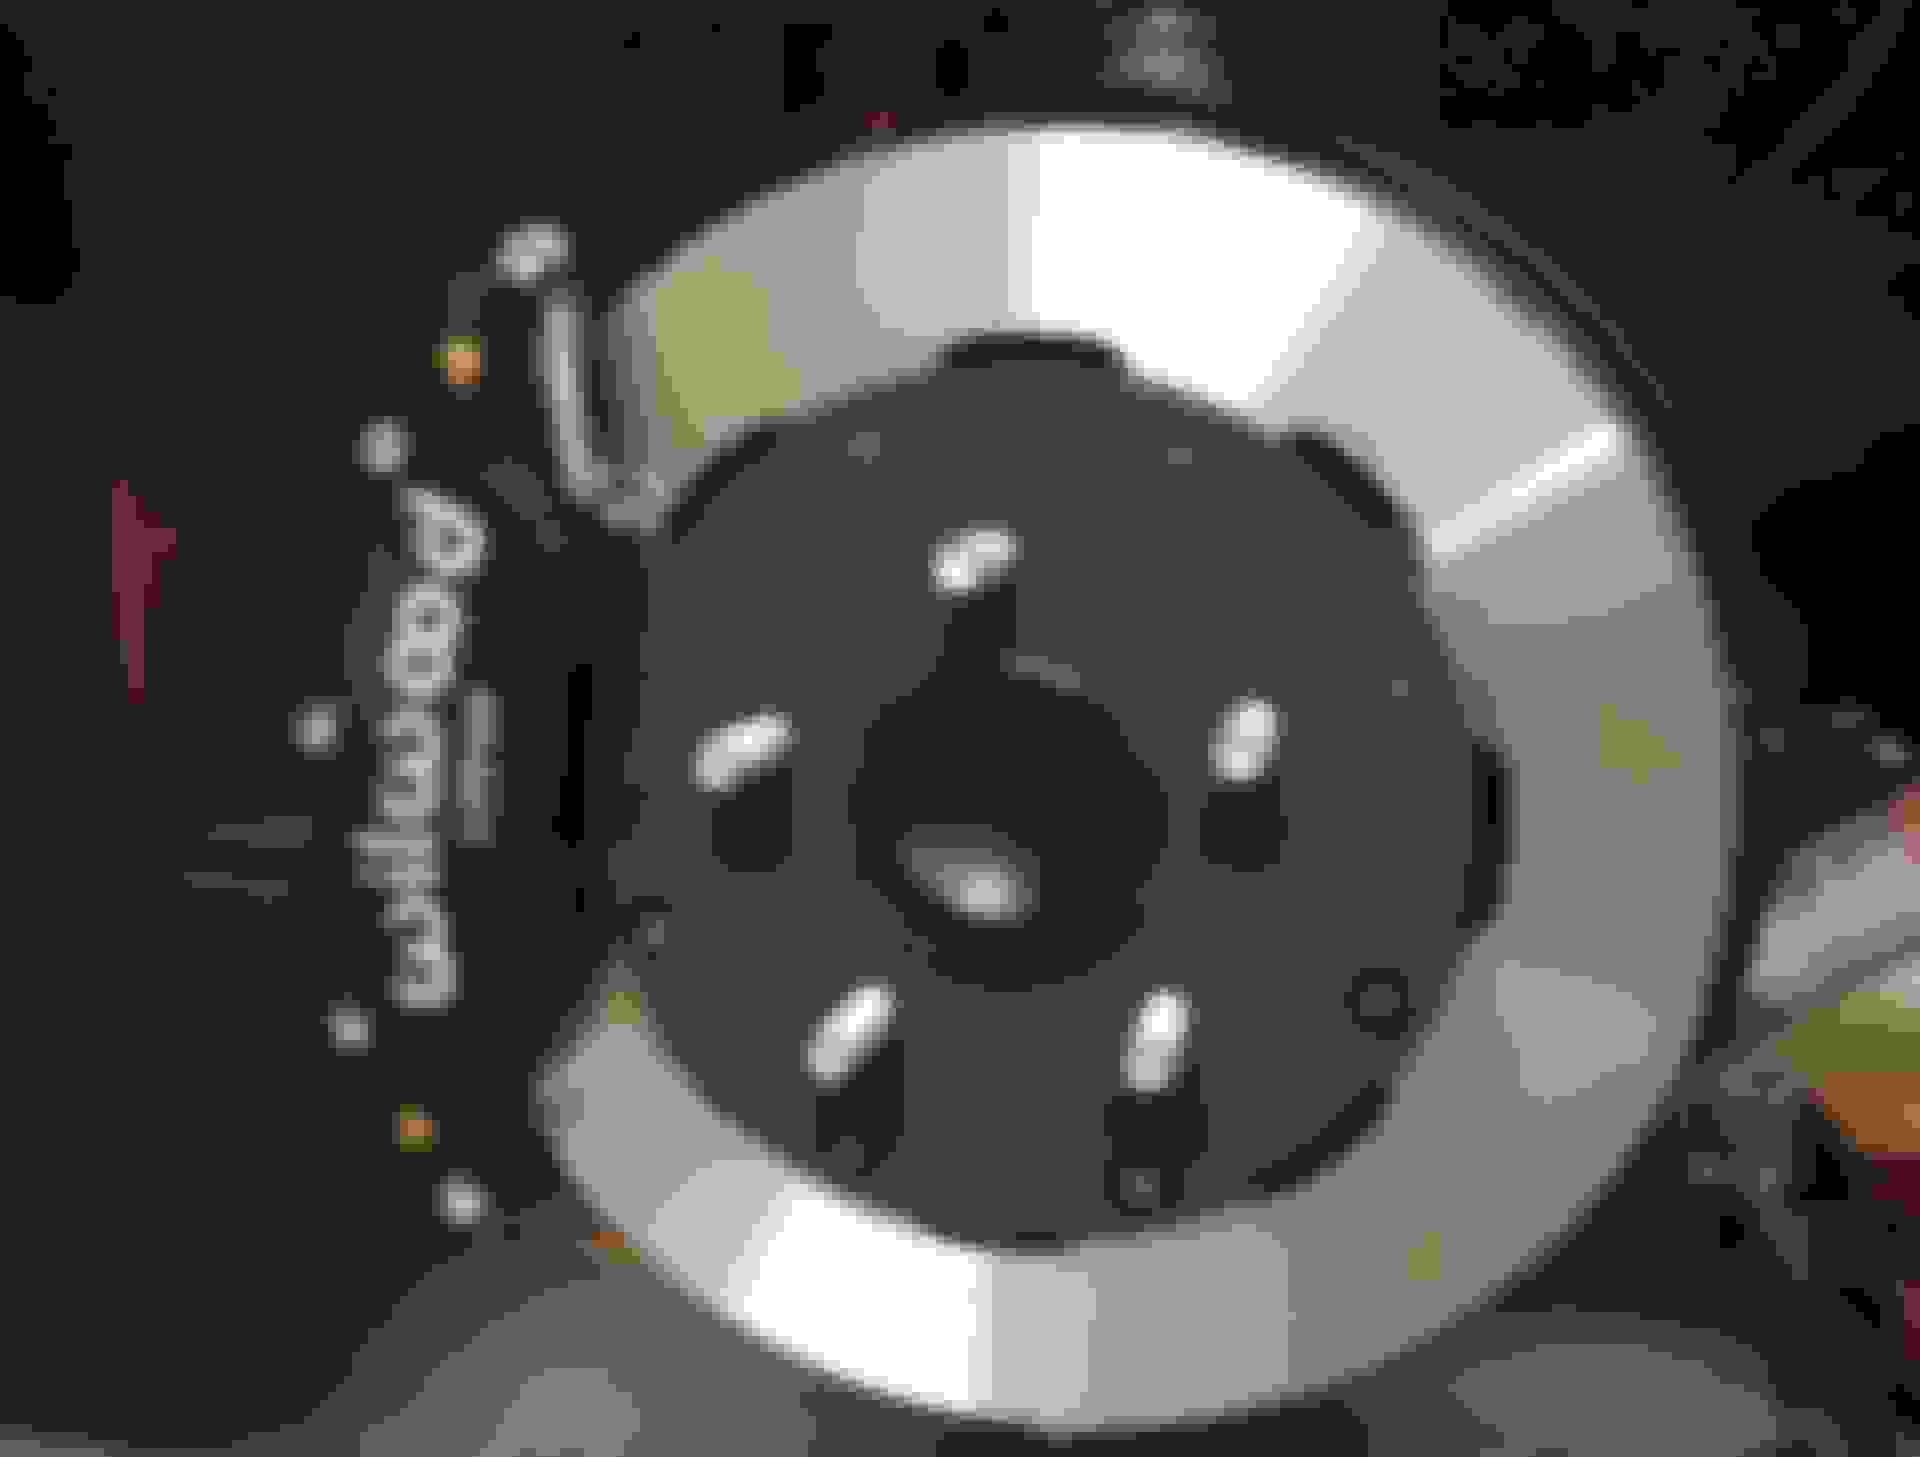
Most of the stuff is of the shelf parts from Wilwood.
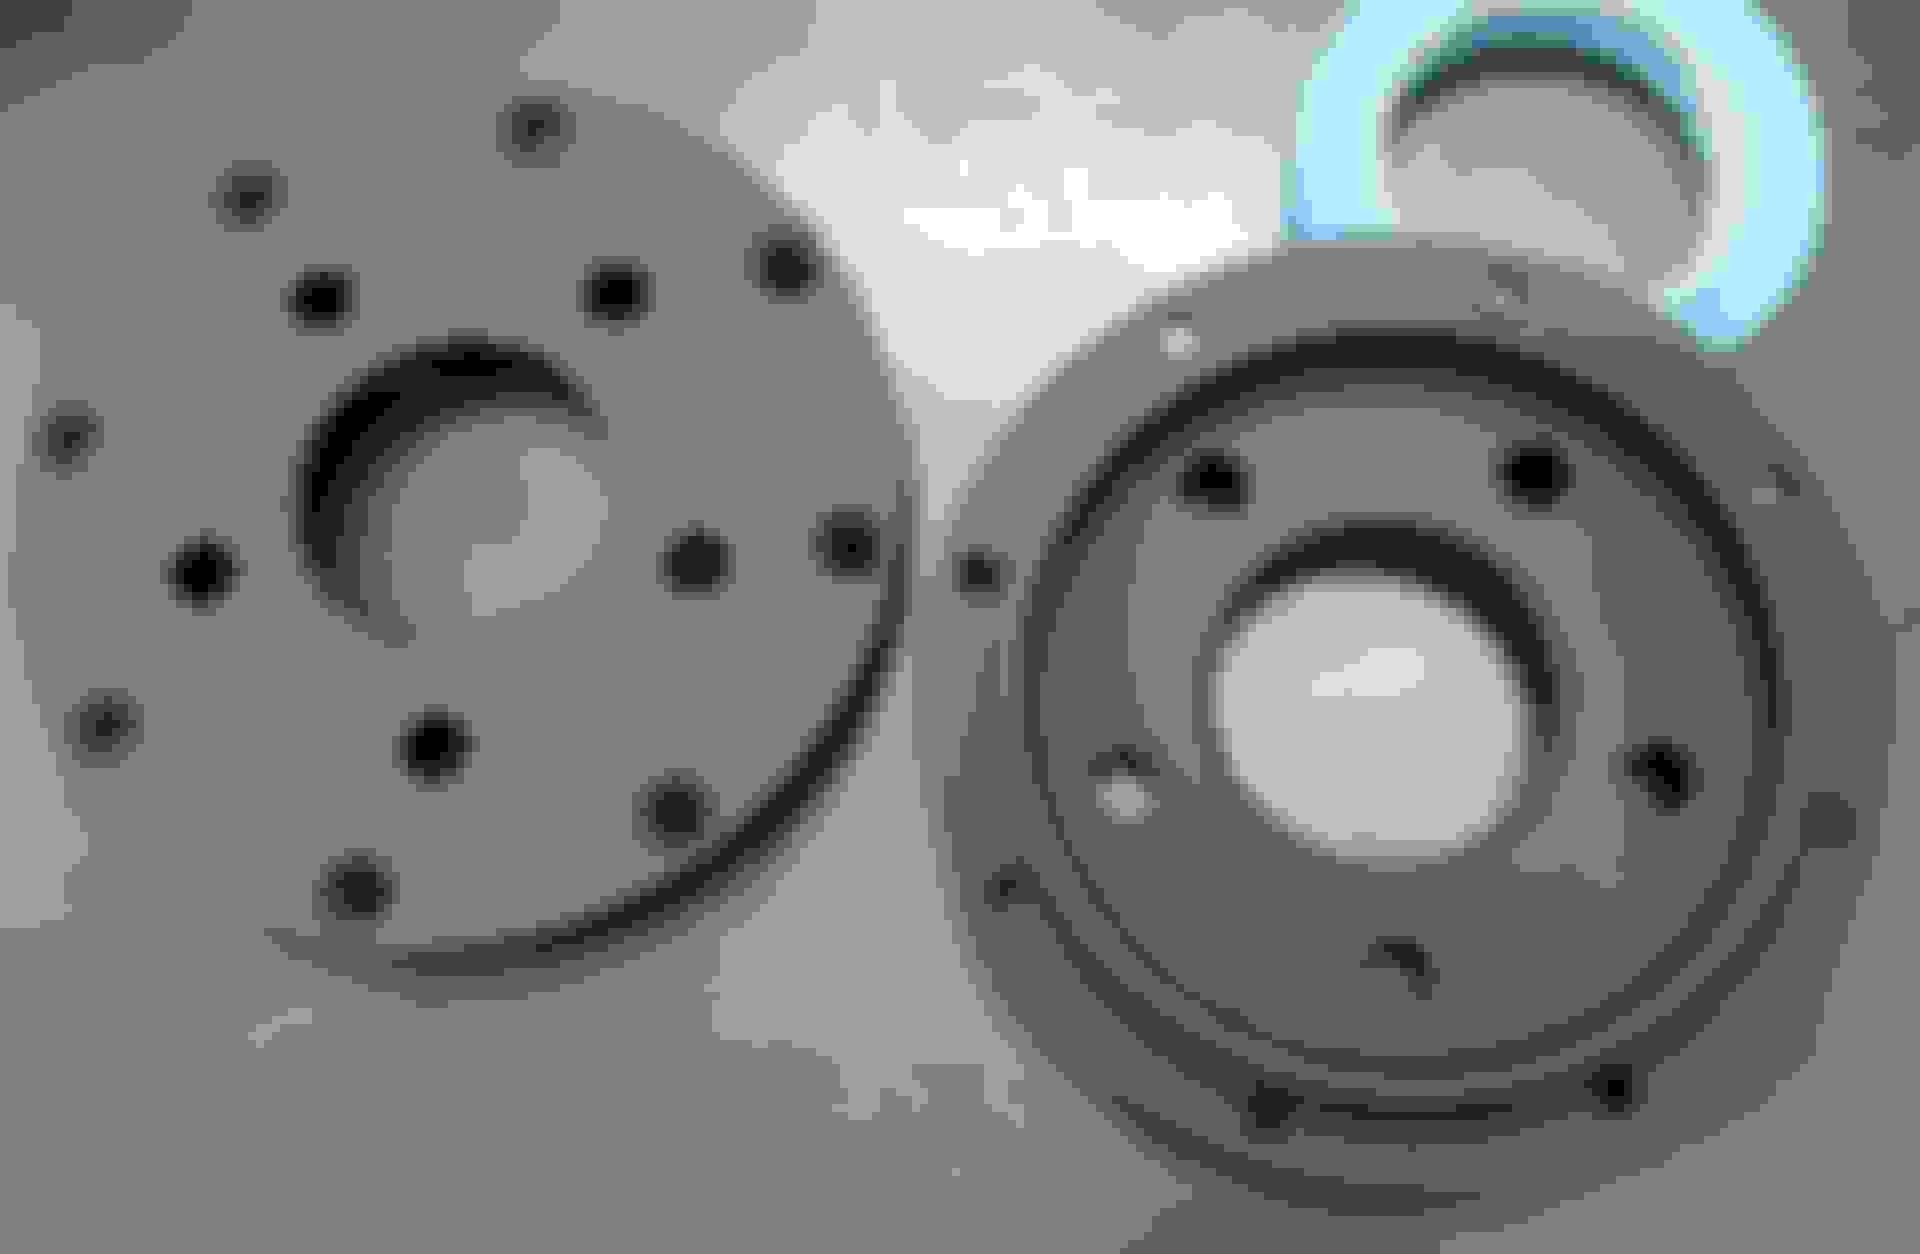
Except the caliper adapters and the rotor hats.
The rotors I went with are actually smaller in diameter than the stock ones, albeit only one millimeter.
They are considerably thicker at 31mm (I was hoping to get 32mm ones but for some reason Wilwood no longer makes them).
But before mounting there was some work to be done.
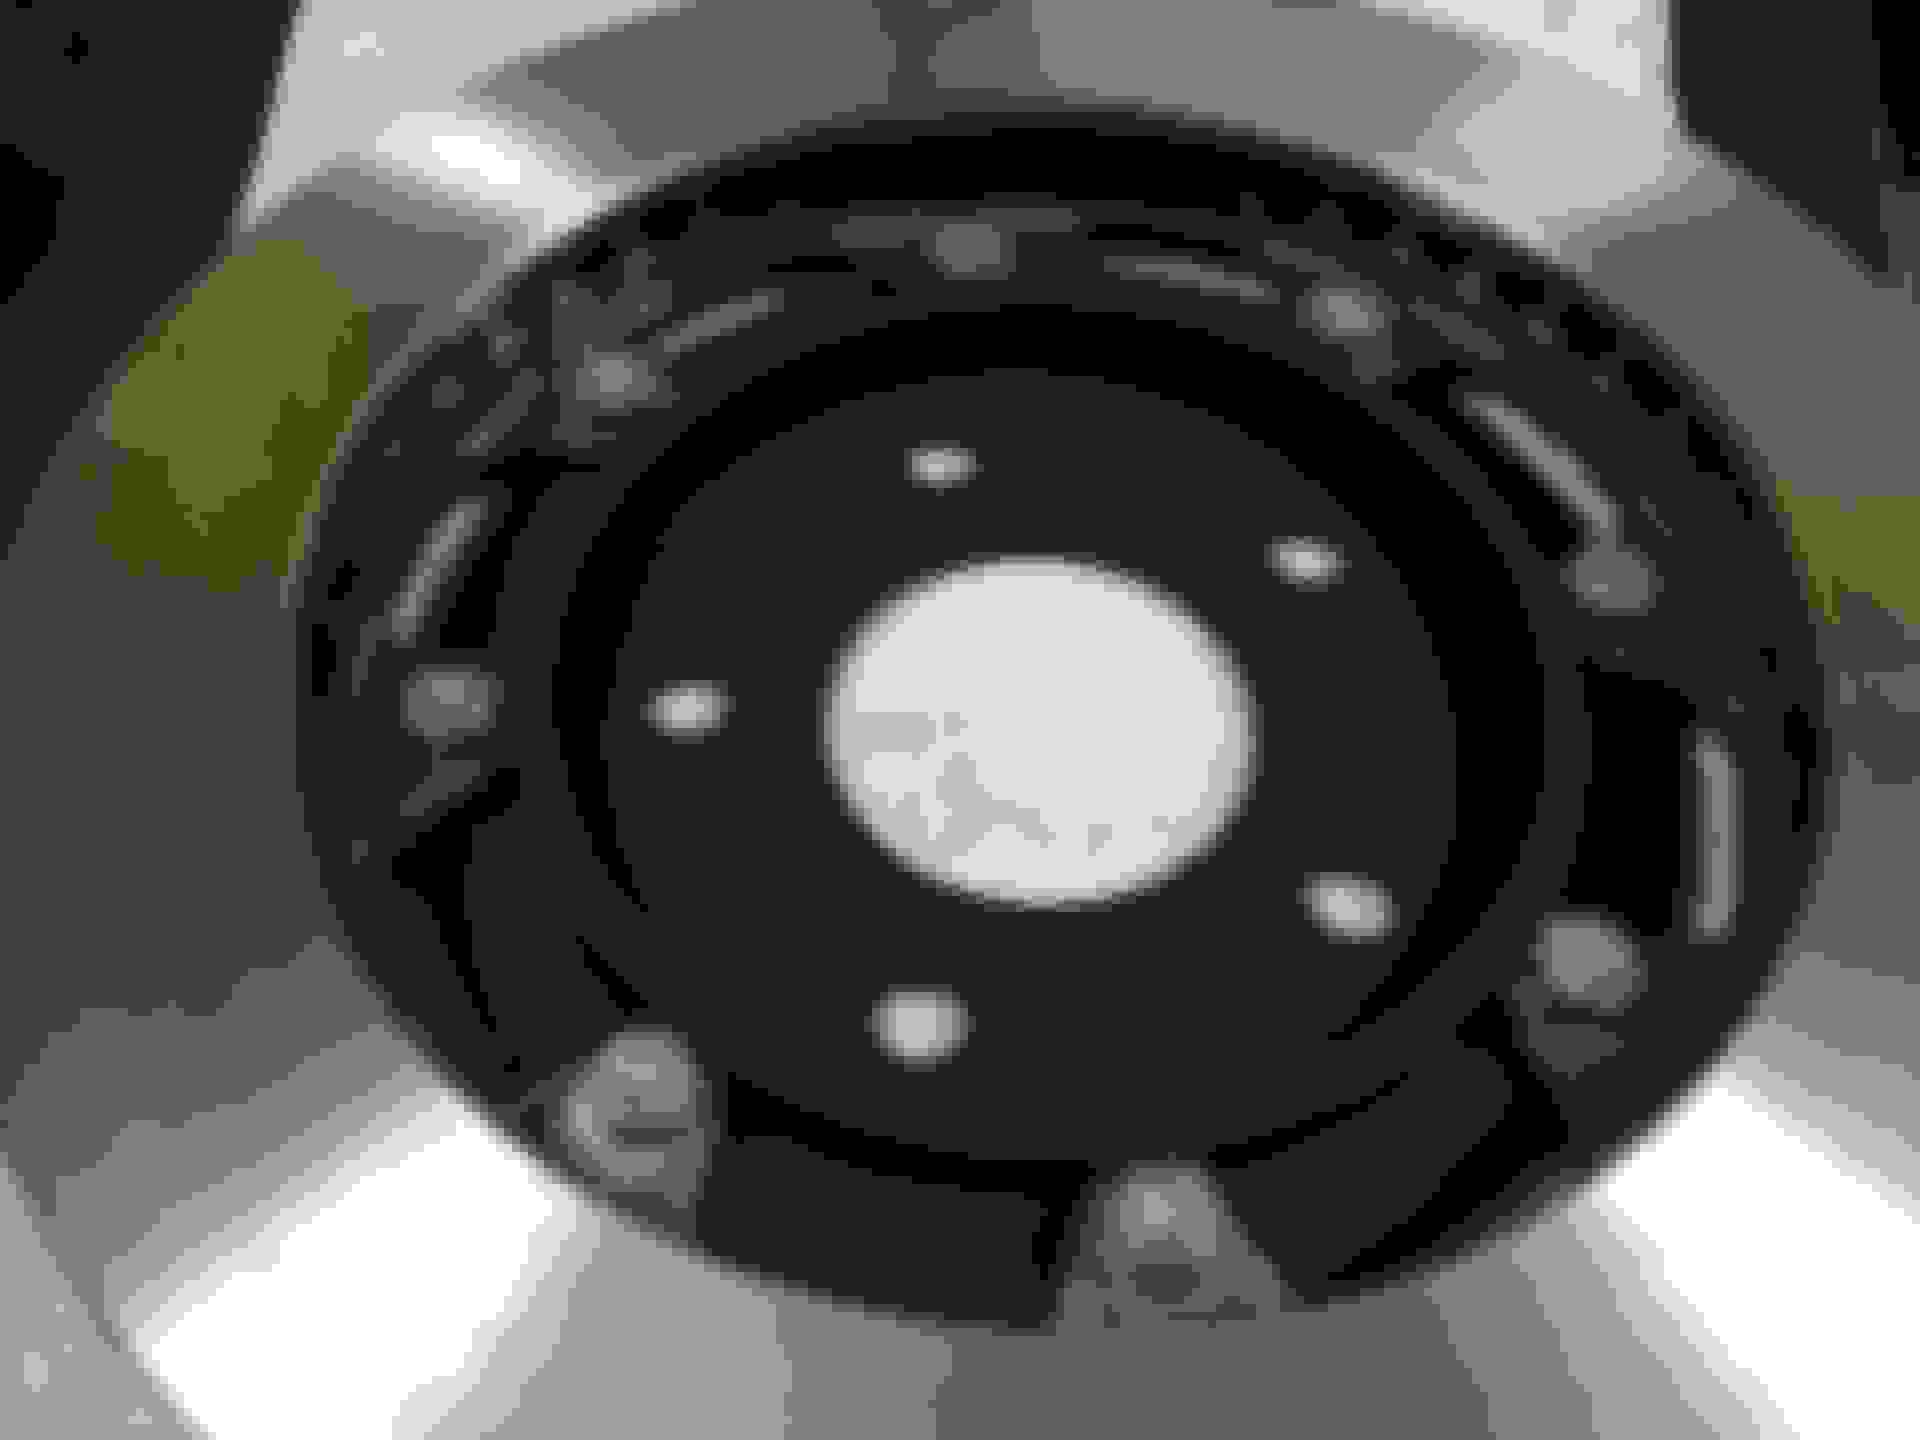
First I added some steel threads to the adapters.
Then blasted them clean.
Then some heat paint and a while in the oven to let it harden.
I did the bolt heads as well, came out pretty nice.
As did the adapters.
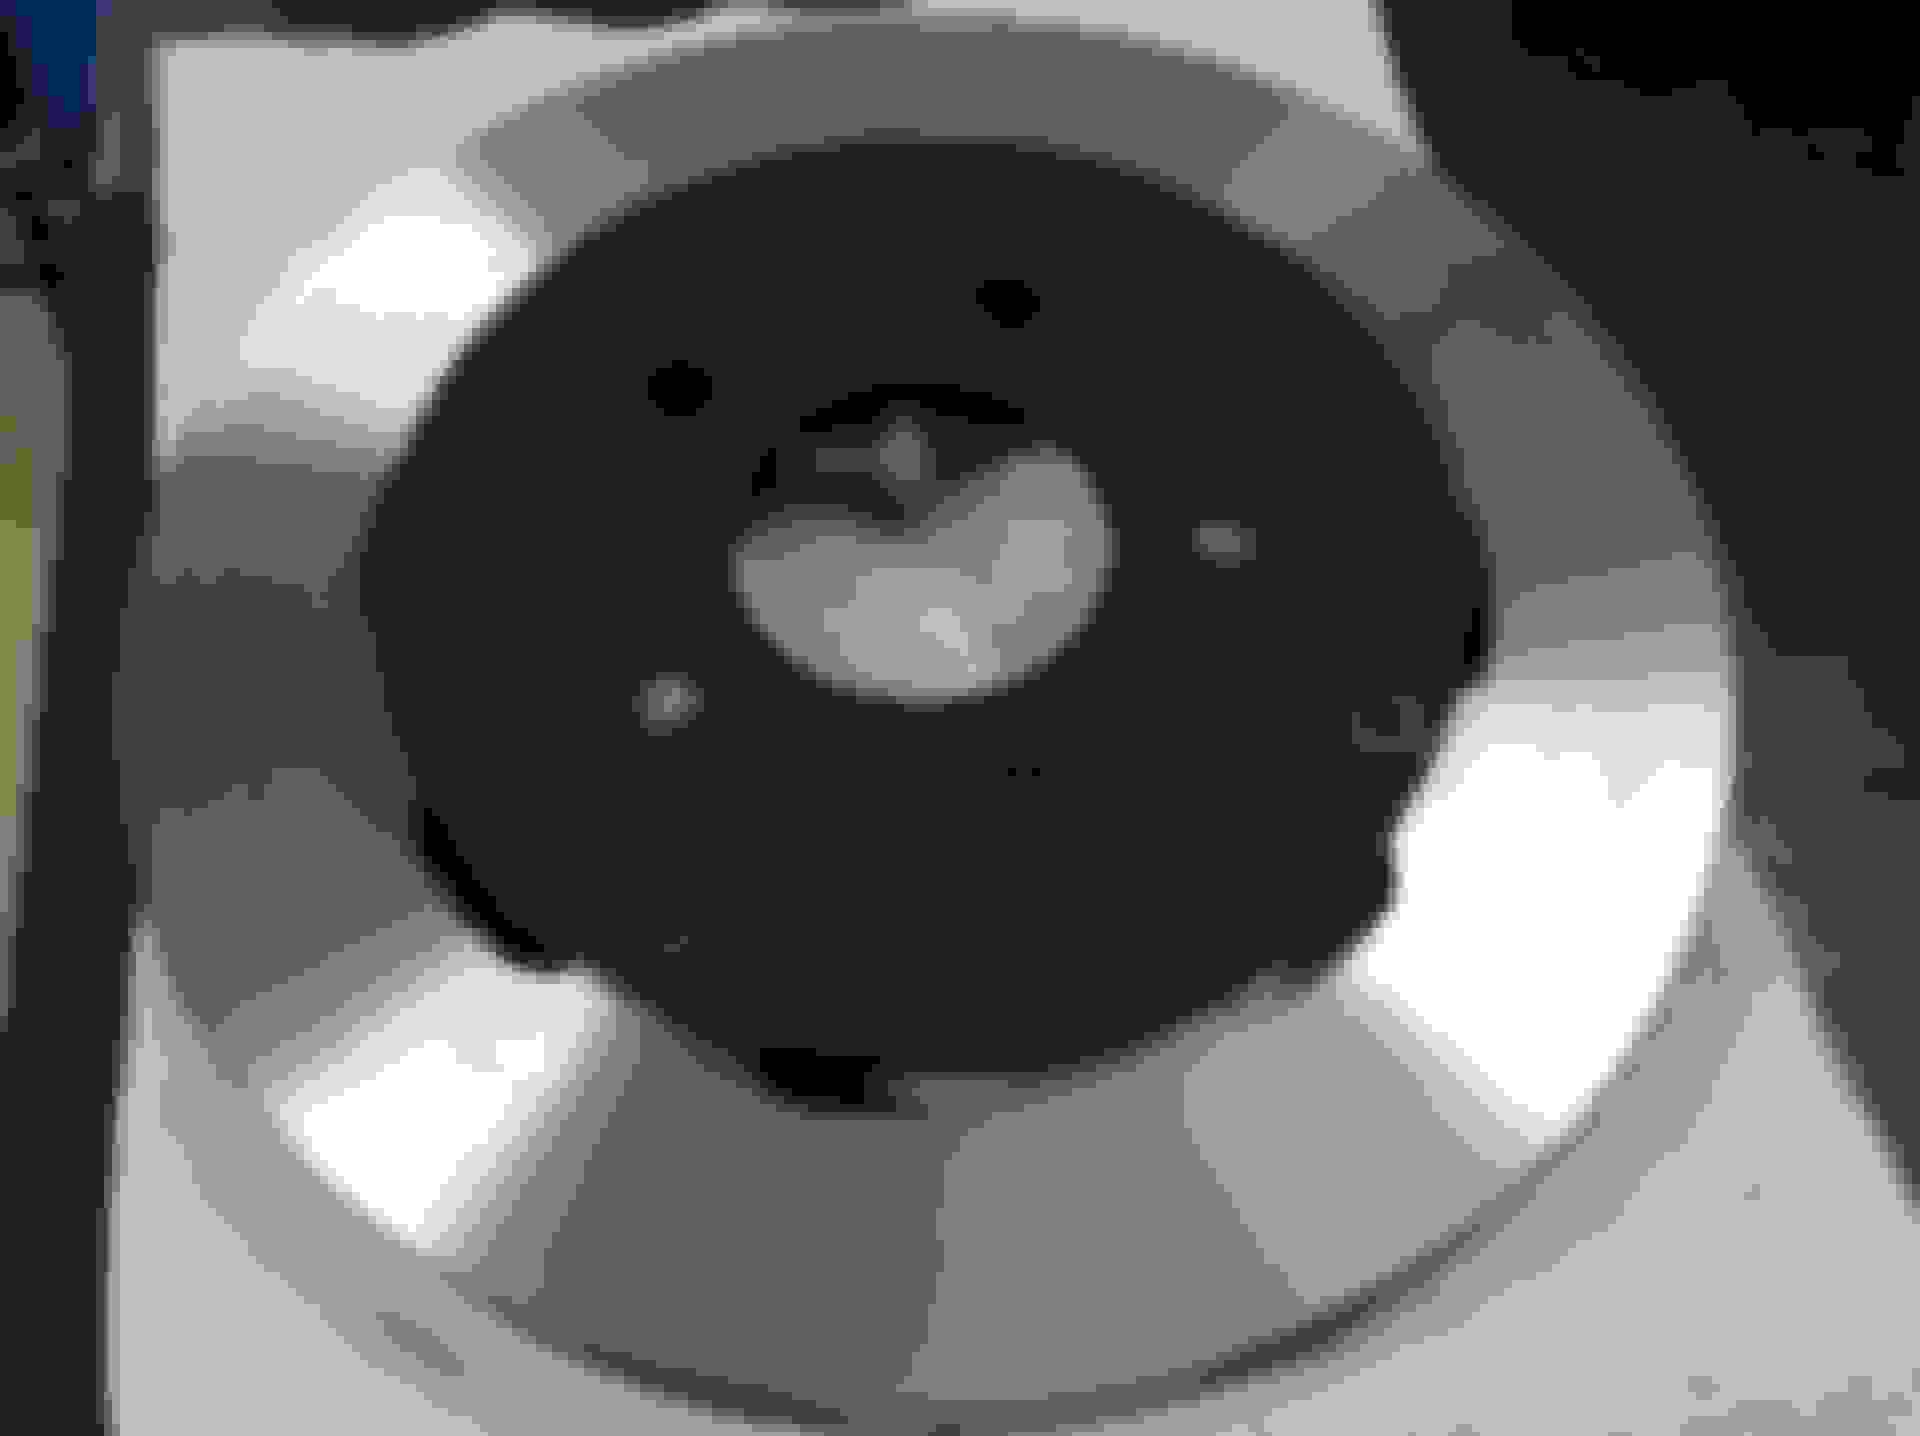
I did actually paint the rotor hats as well, but then realized it wasn't the smartest idea to have paint in between a bolted joint area like that.
They did look pretty nice for a while though.
I had them glass blasted as well after some cleaning.
Painted.
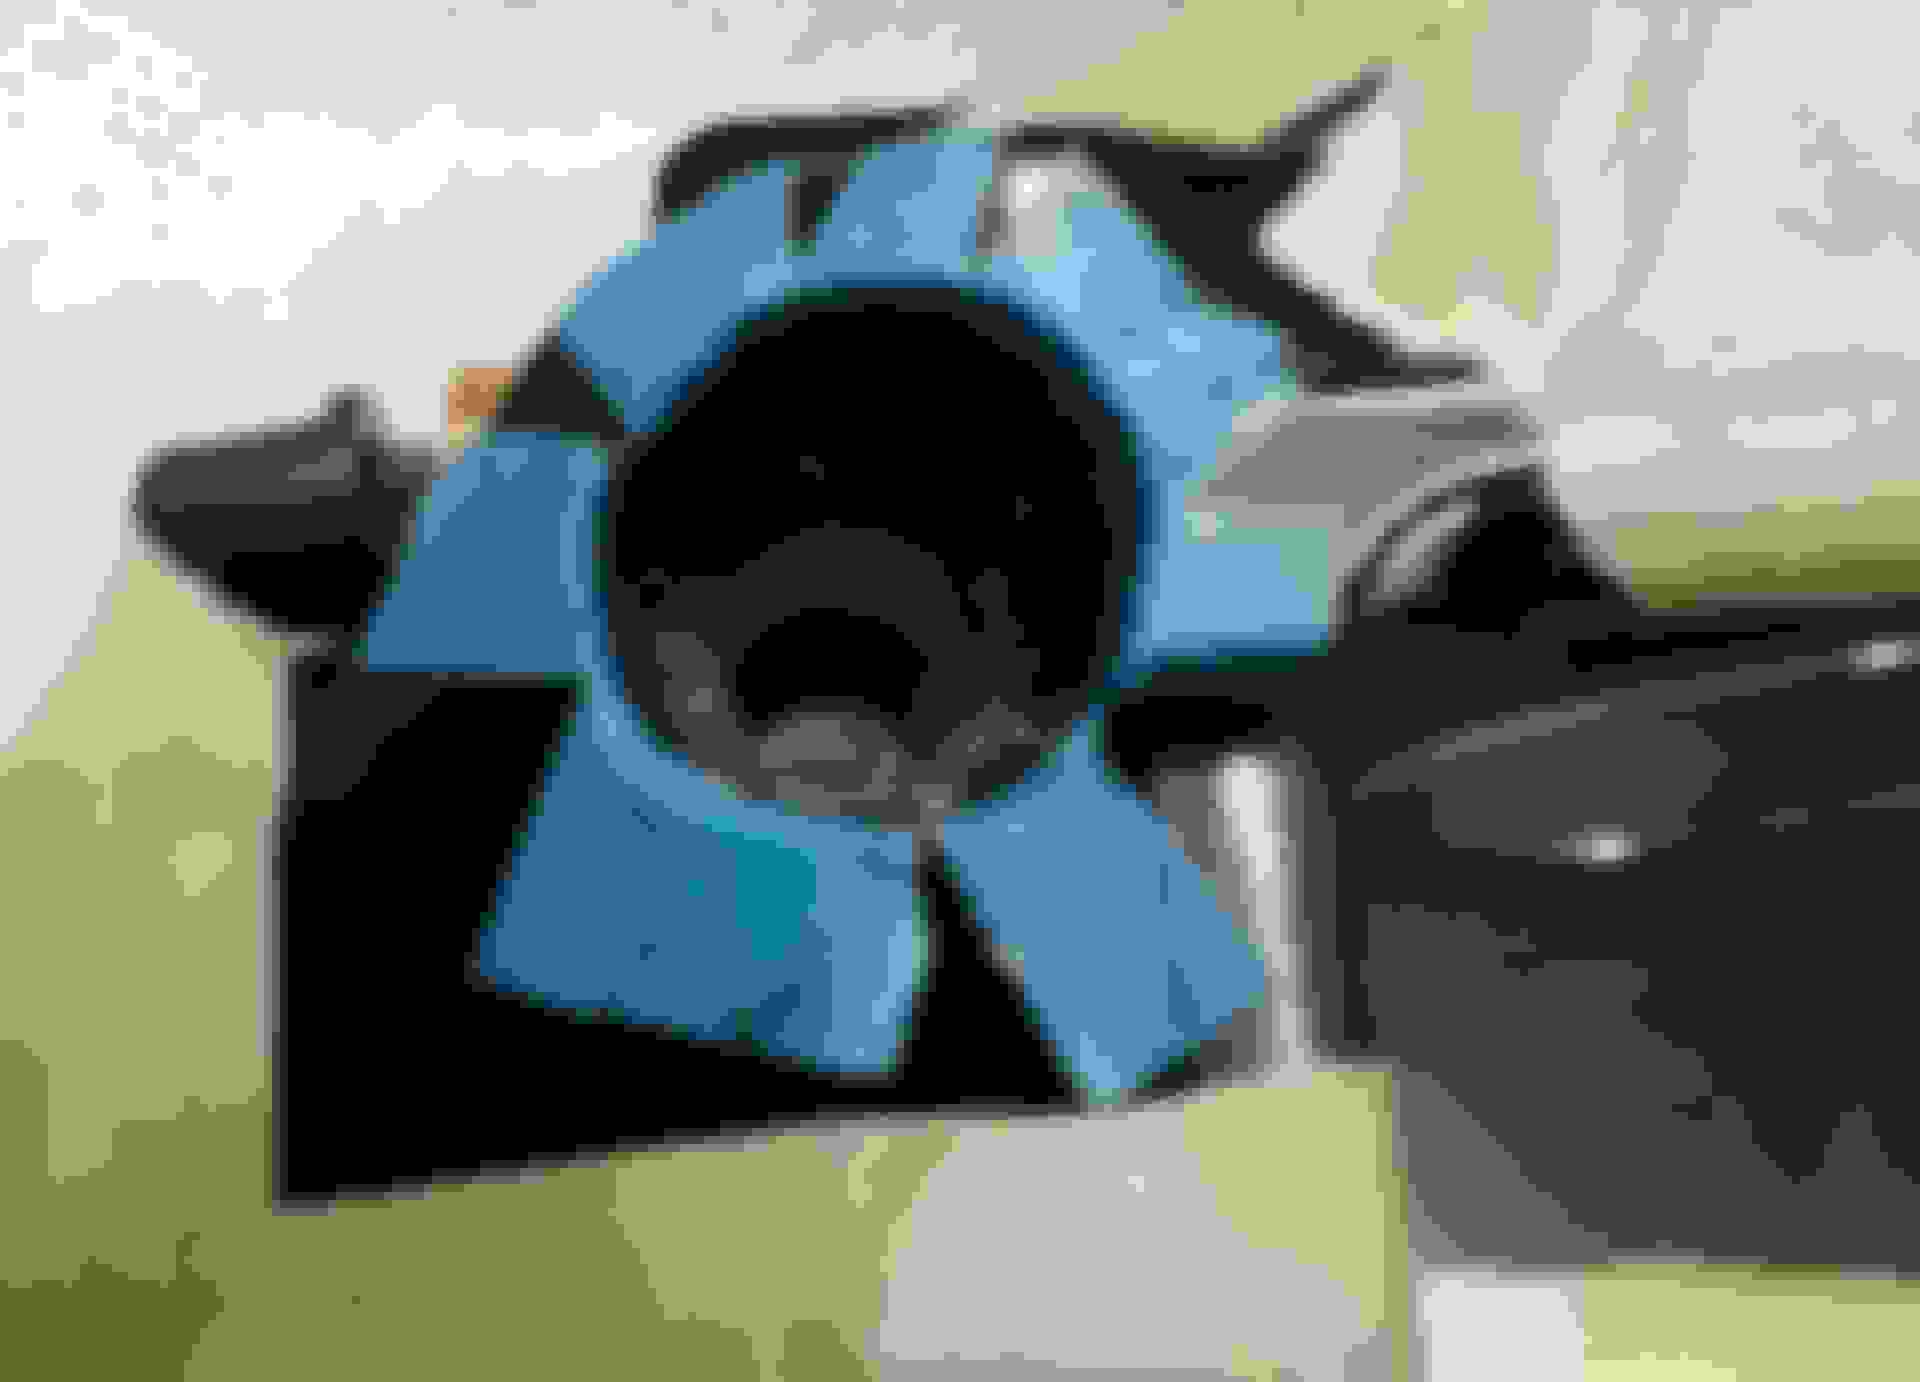
Never tried this trick before.
Only took a few minutes before it had dissolved pretty much completely.
Found a somewhat close company that could anodize them for me instead, thought it would be pretty expensive but turned out very cheap.
And they looked pretty much perfect.
For bolting the rotors and hats together the kit came with countersunk M8 10.9 bolts pictures earlier.
Along that some regular stainless A2 nuts.
I didn't like that at all so got some (trilock) locking nuts and some wave washers instead.
I also used "hard" thread lock when mounting them, it should not be able to take the heat but I thought it would be interesting to see.
To be able to use the included M10 bolts for the caliper to adapter bracket the hole on the calipers had to be opened up a half millimeter.
These calipers are actually made to use 3/8-24" bolts which are only 9.5mm outside diameter.
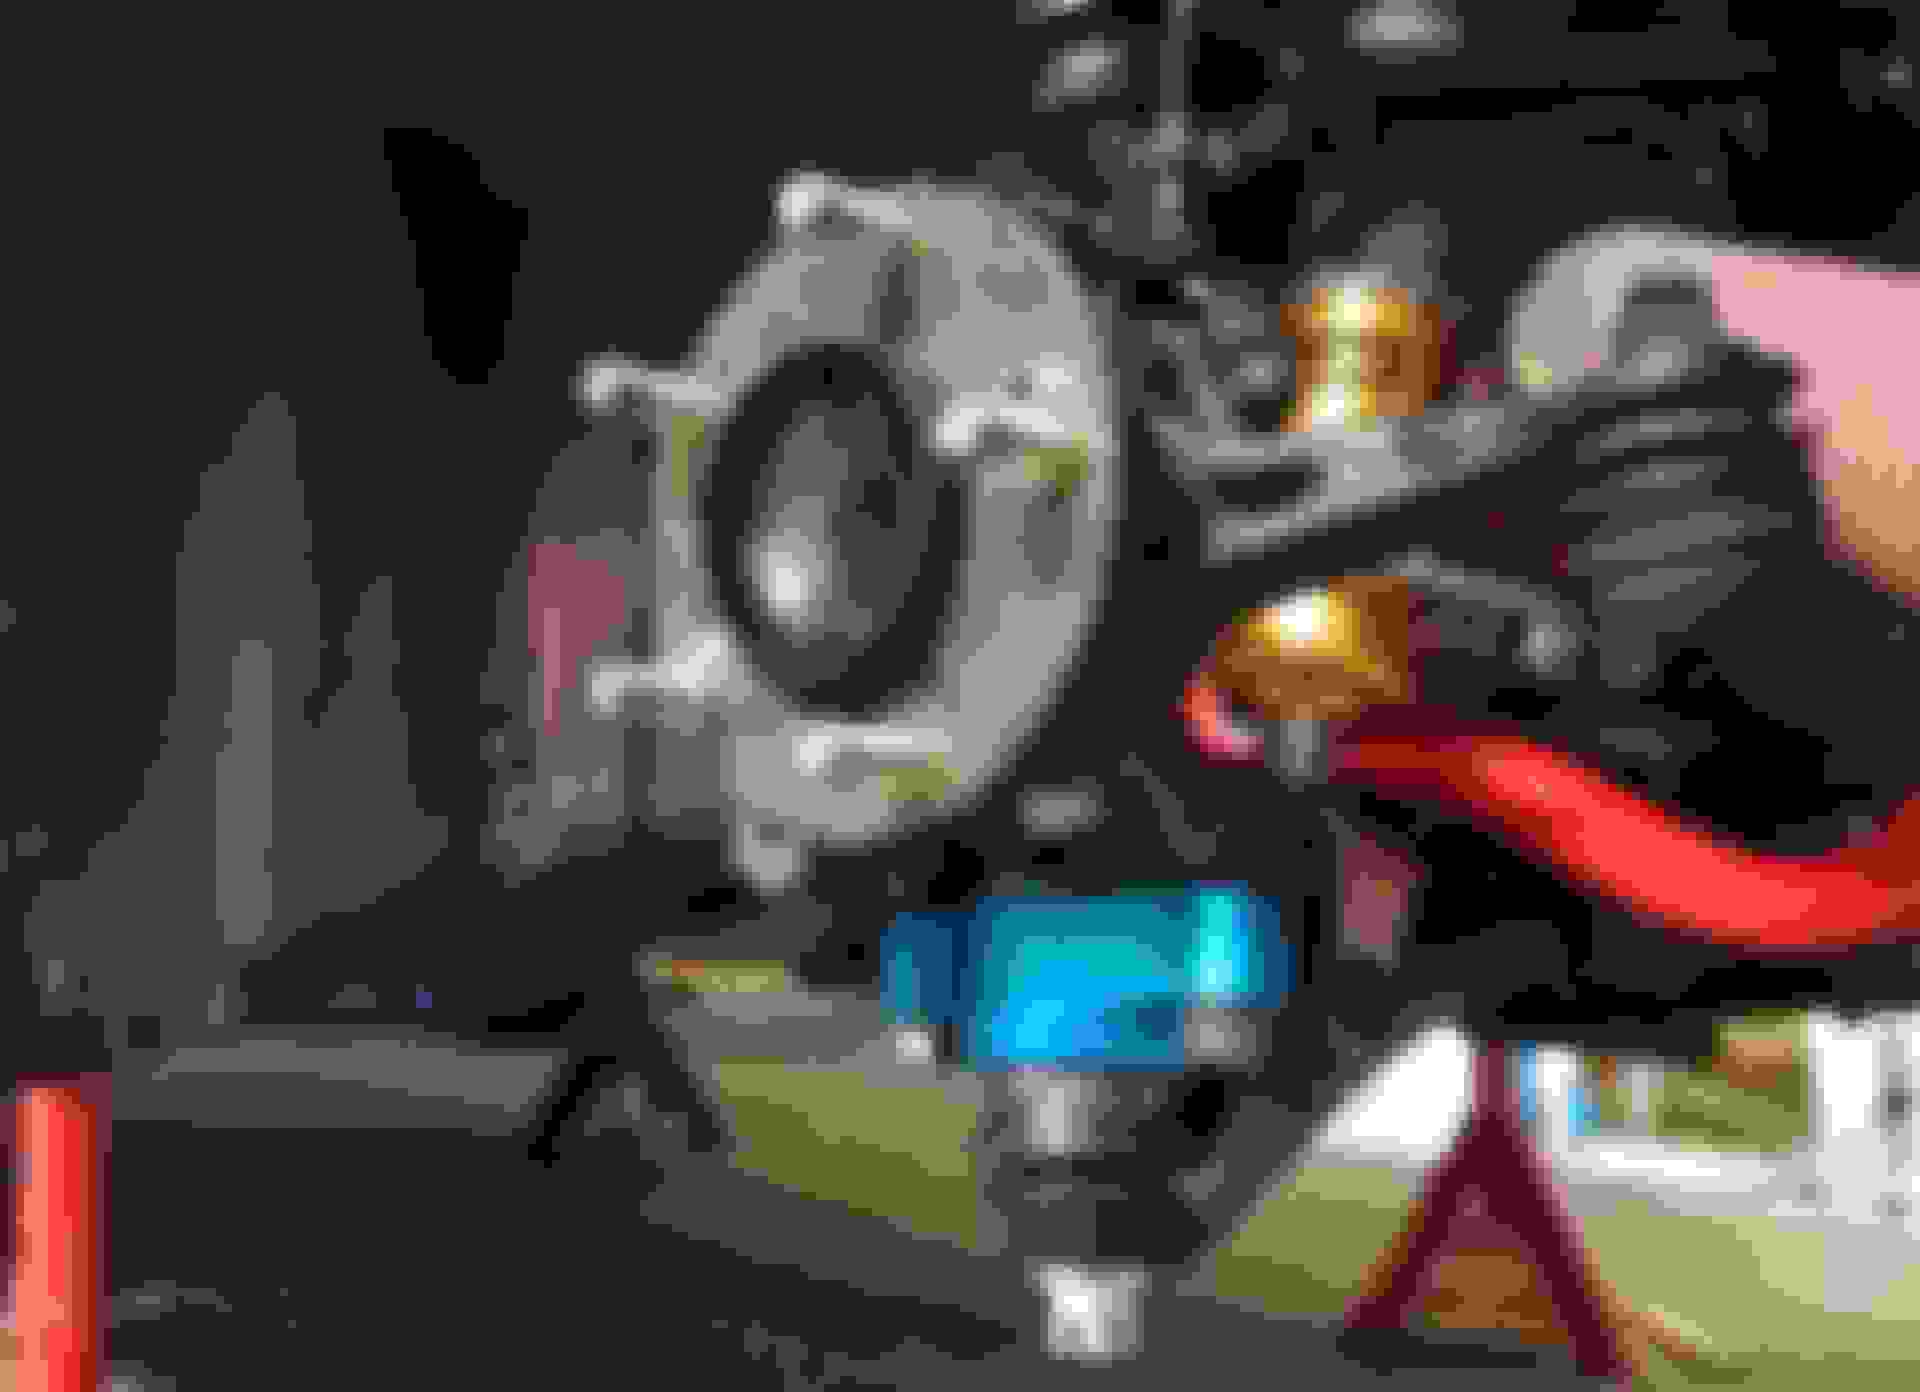
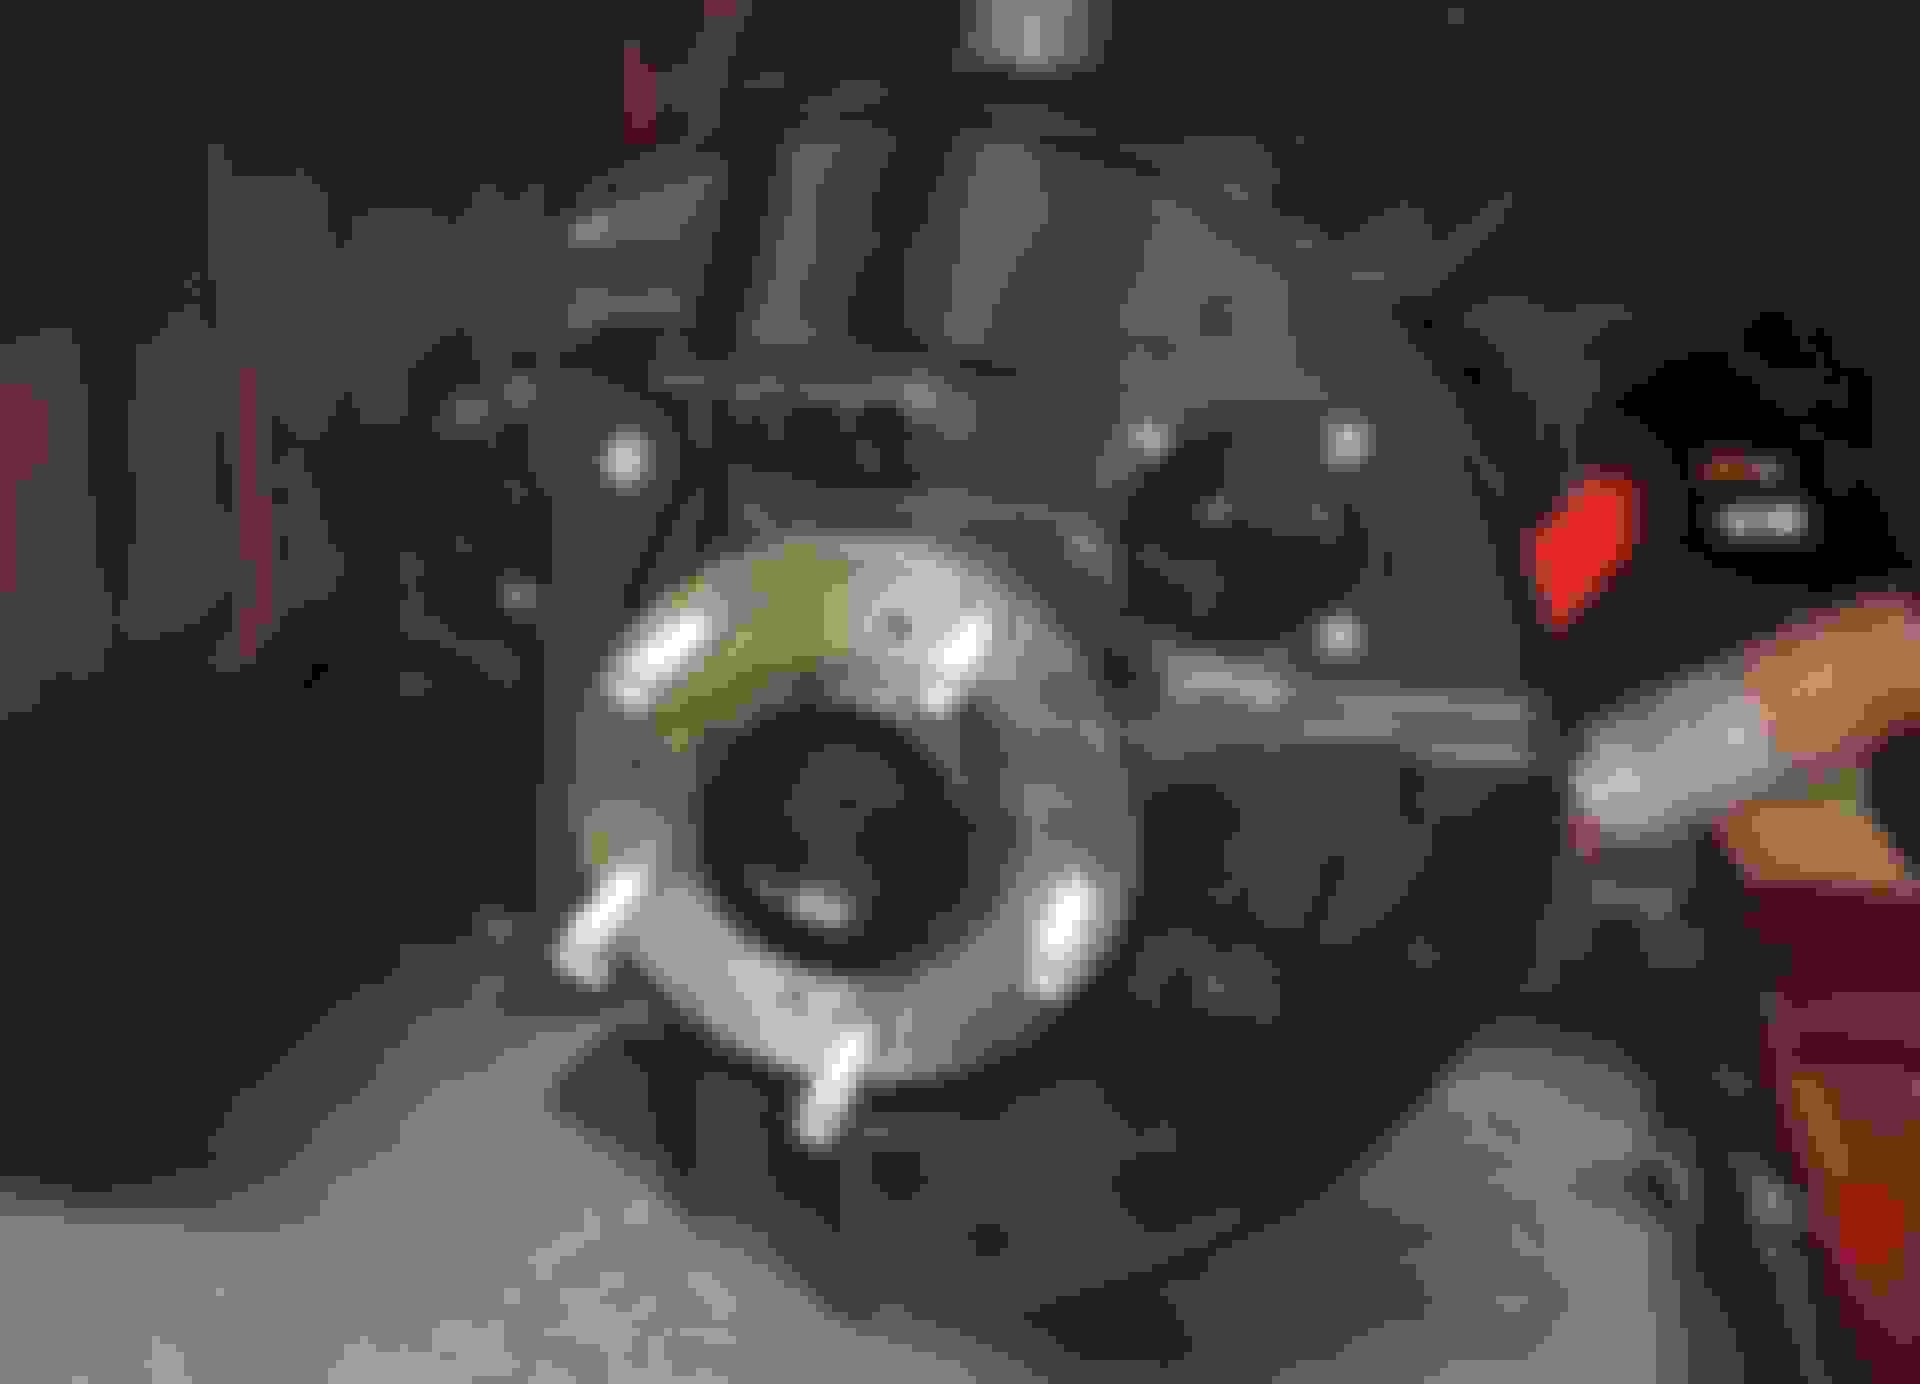
Skipping ahead a bit here now but I'll get back on some more details soon (you might notice another upgrade in the picture).
Anyways here it's finally fitted.
 12-14-2018, 01:43 PM