When you click on links to various merchants on this site and make a purchase, this can result in this site earning a commission. Affiliate programs and affiliations include, but are not limited to, the eBay Partner Network.
A second hand set of Spoon aero mirrors appeared on the UK forum and I couldn't let them pass
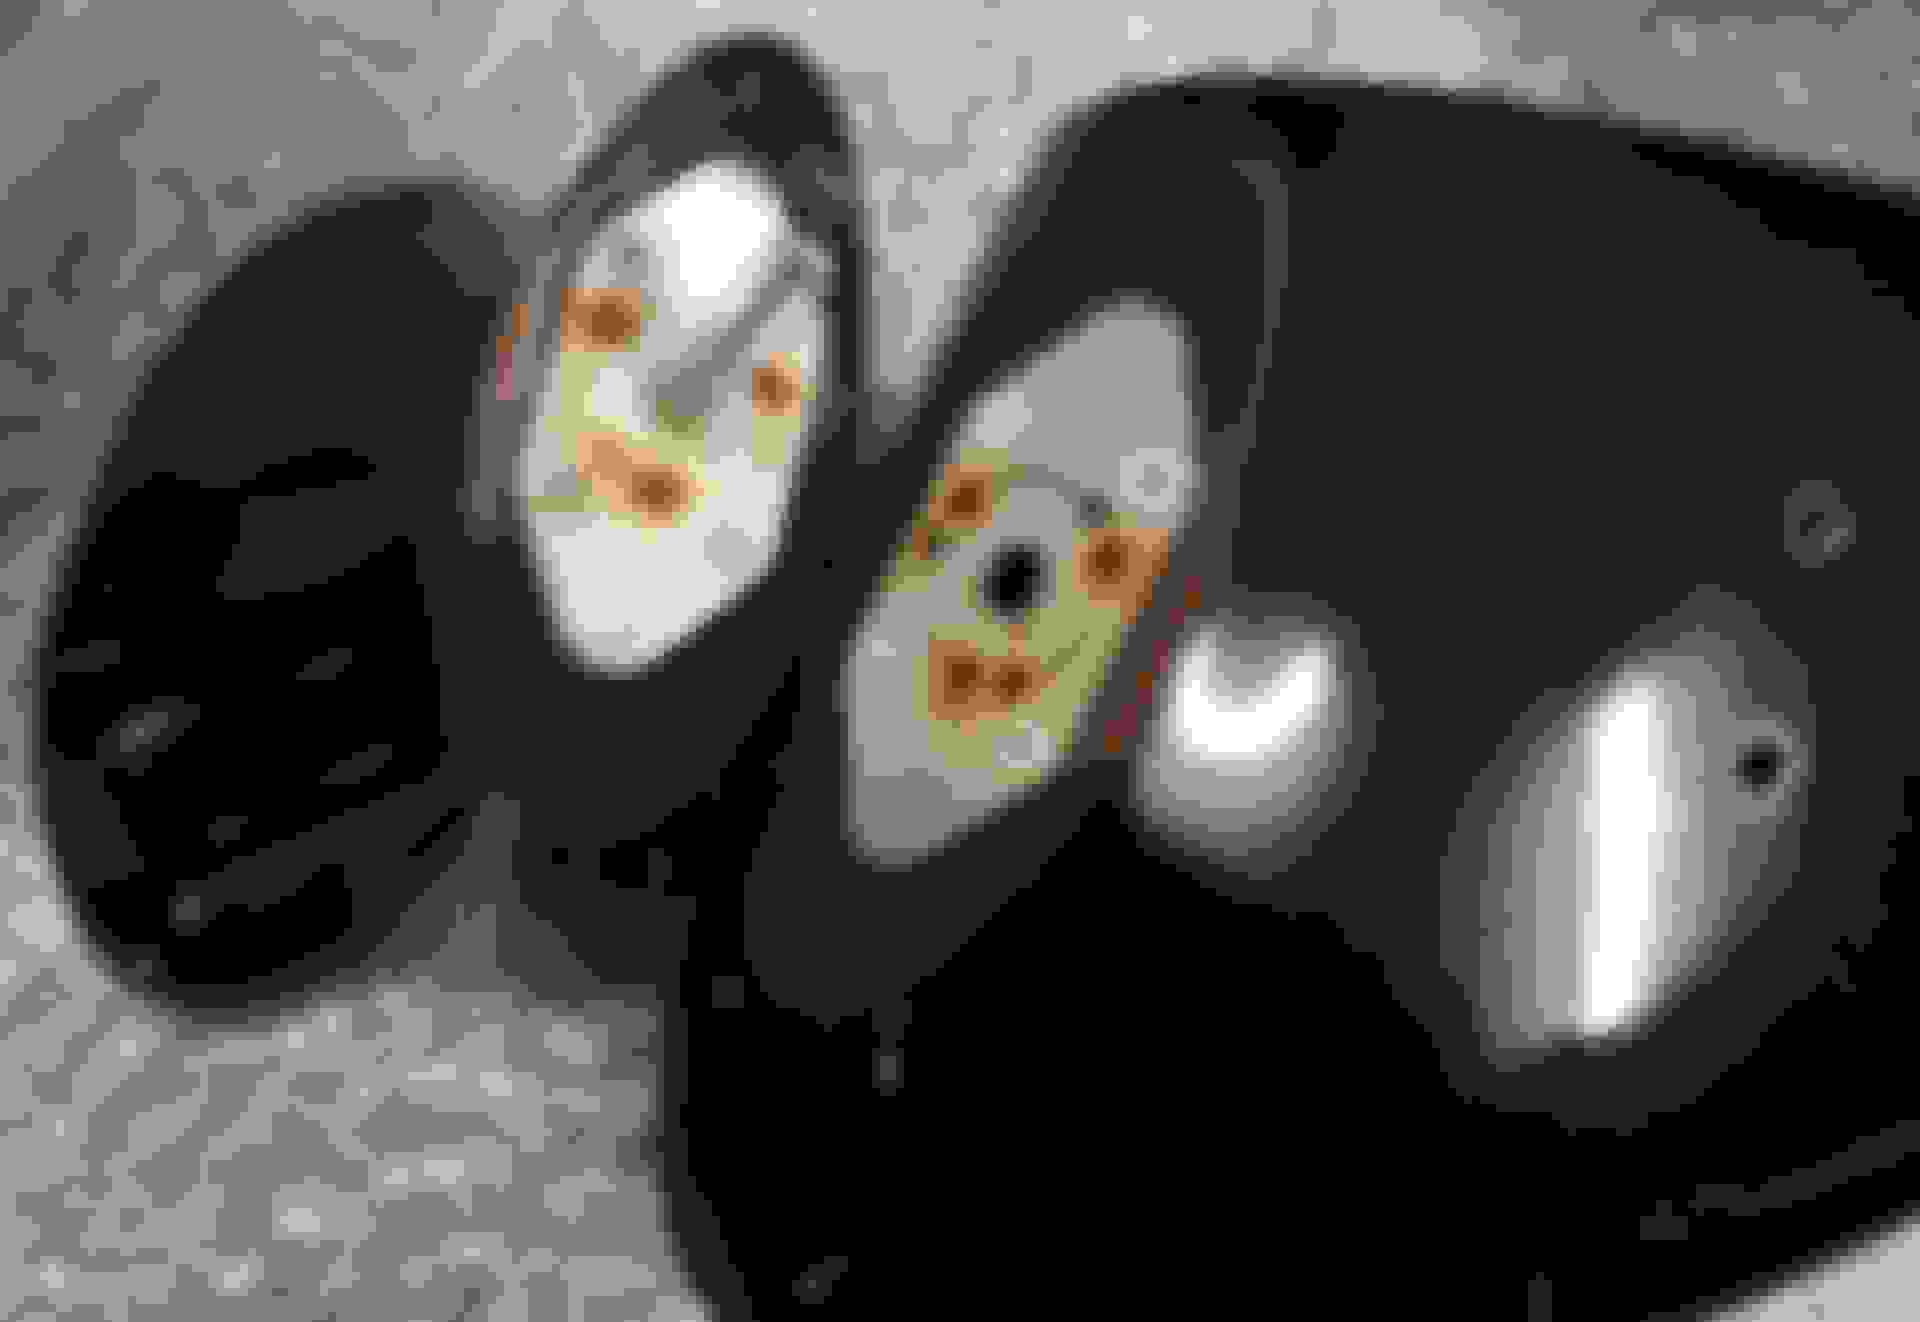
Had to take them apart for some cleaning and service, they are going to need some new paint as well to get back in perfect condition.
Test fit
Planing to paint them new formula red, let me know if you think otherwise
Photoshoped preview
I have NFR S2000 with carbon spoiler, carbon hardtop, and carbon hood, and black splitter. I painted my spoon mirror black. I think if you have black accent it will looks good painted black, but i see that your hardtop is red as well, maybe paint match will be good.
I thought these mirrors could be folded, but when I tried they wouldn't budge.
Took them apart some more and found the nasty British weather had taken it's toll.
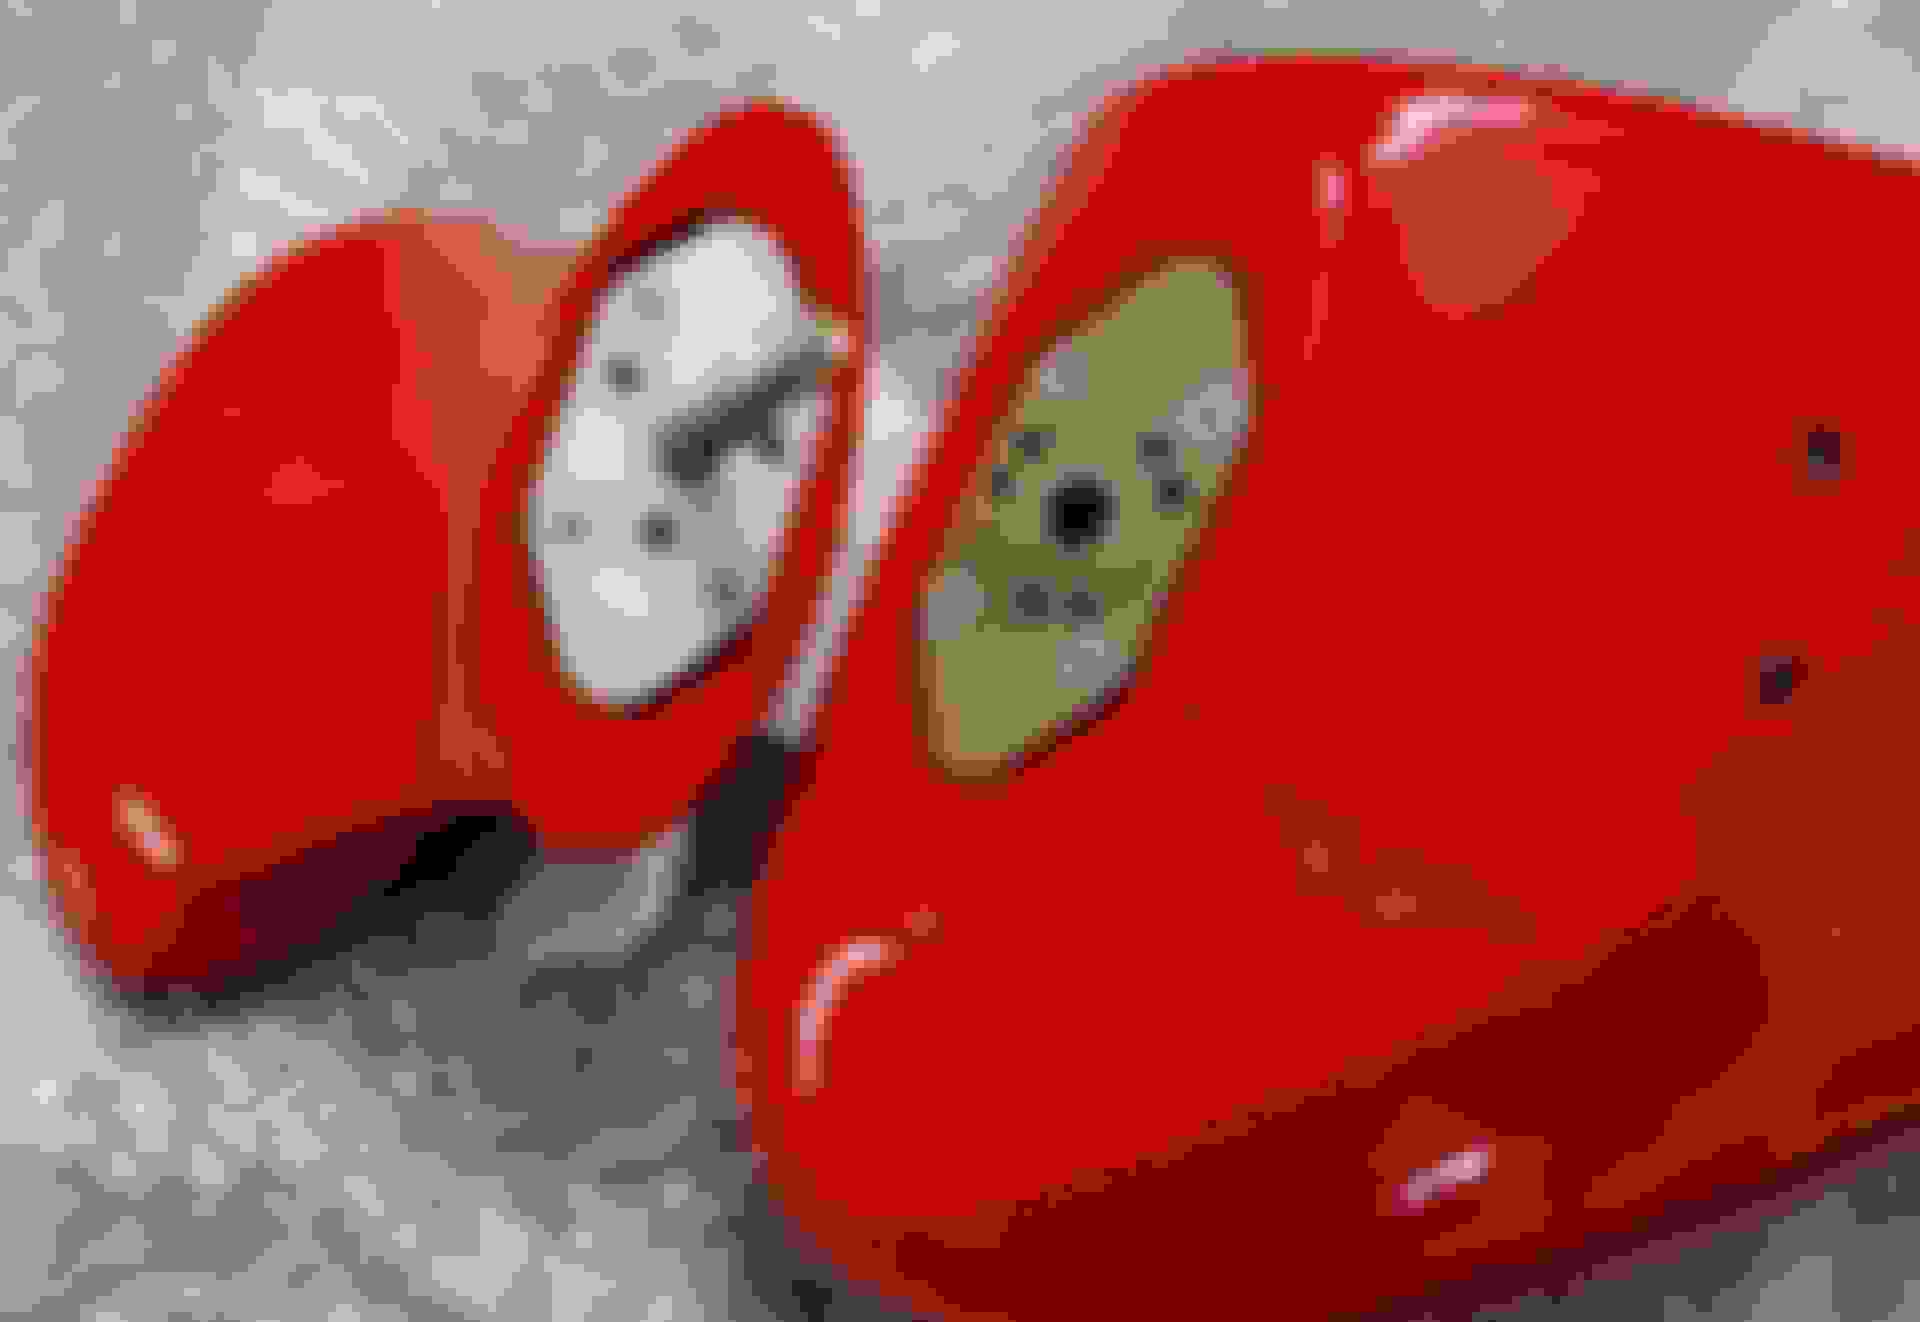
After some sanding, a red rattle can, new ball bearings and a fine coat of synthetic grease
Not really happy with the painting result (think you can spot some orange peel in the photo) but it will have to do for now, looks great from a few feet away at least
Pretty good rear view
Before mounting I also checked the weights, OEM mirrors was 1210g each and Spoon 470g.
So besides looking great almost 1.5kg or 3.3lbs was saved
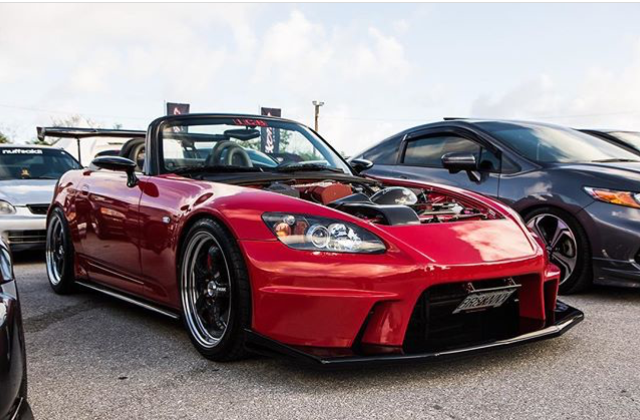
Car has been on jack stands for a while now and I've been working on it quite a bit.
Mainly because I bought these on sale last spring.
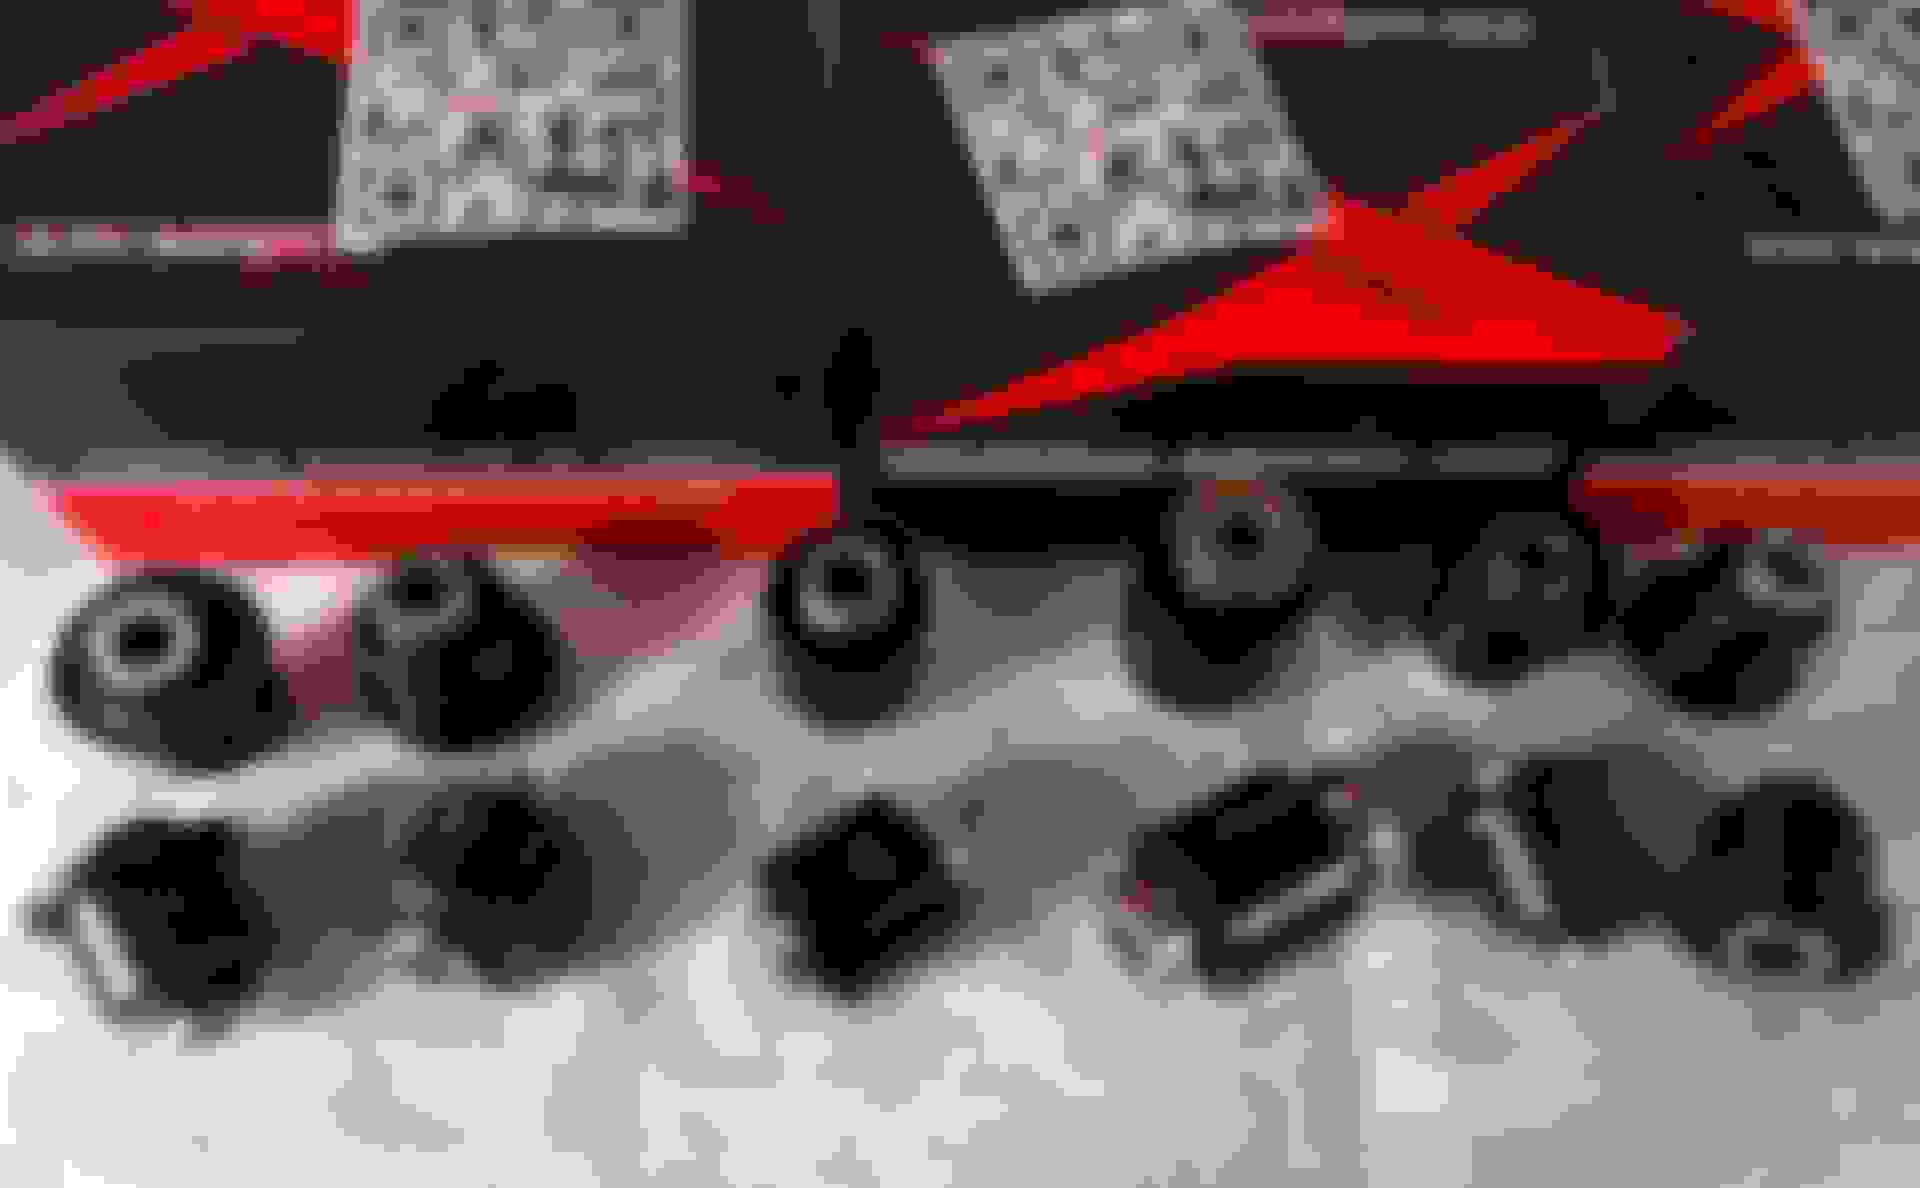
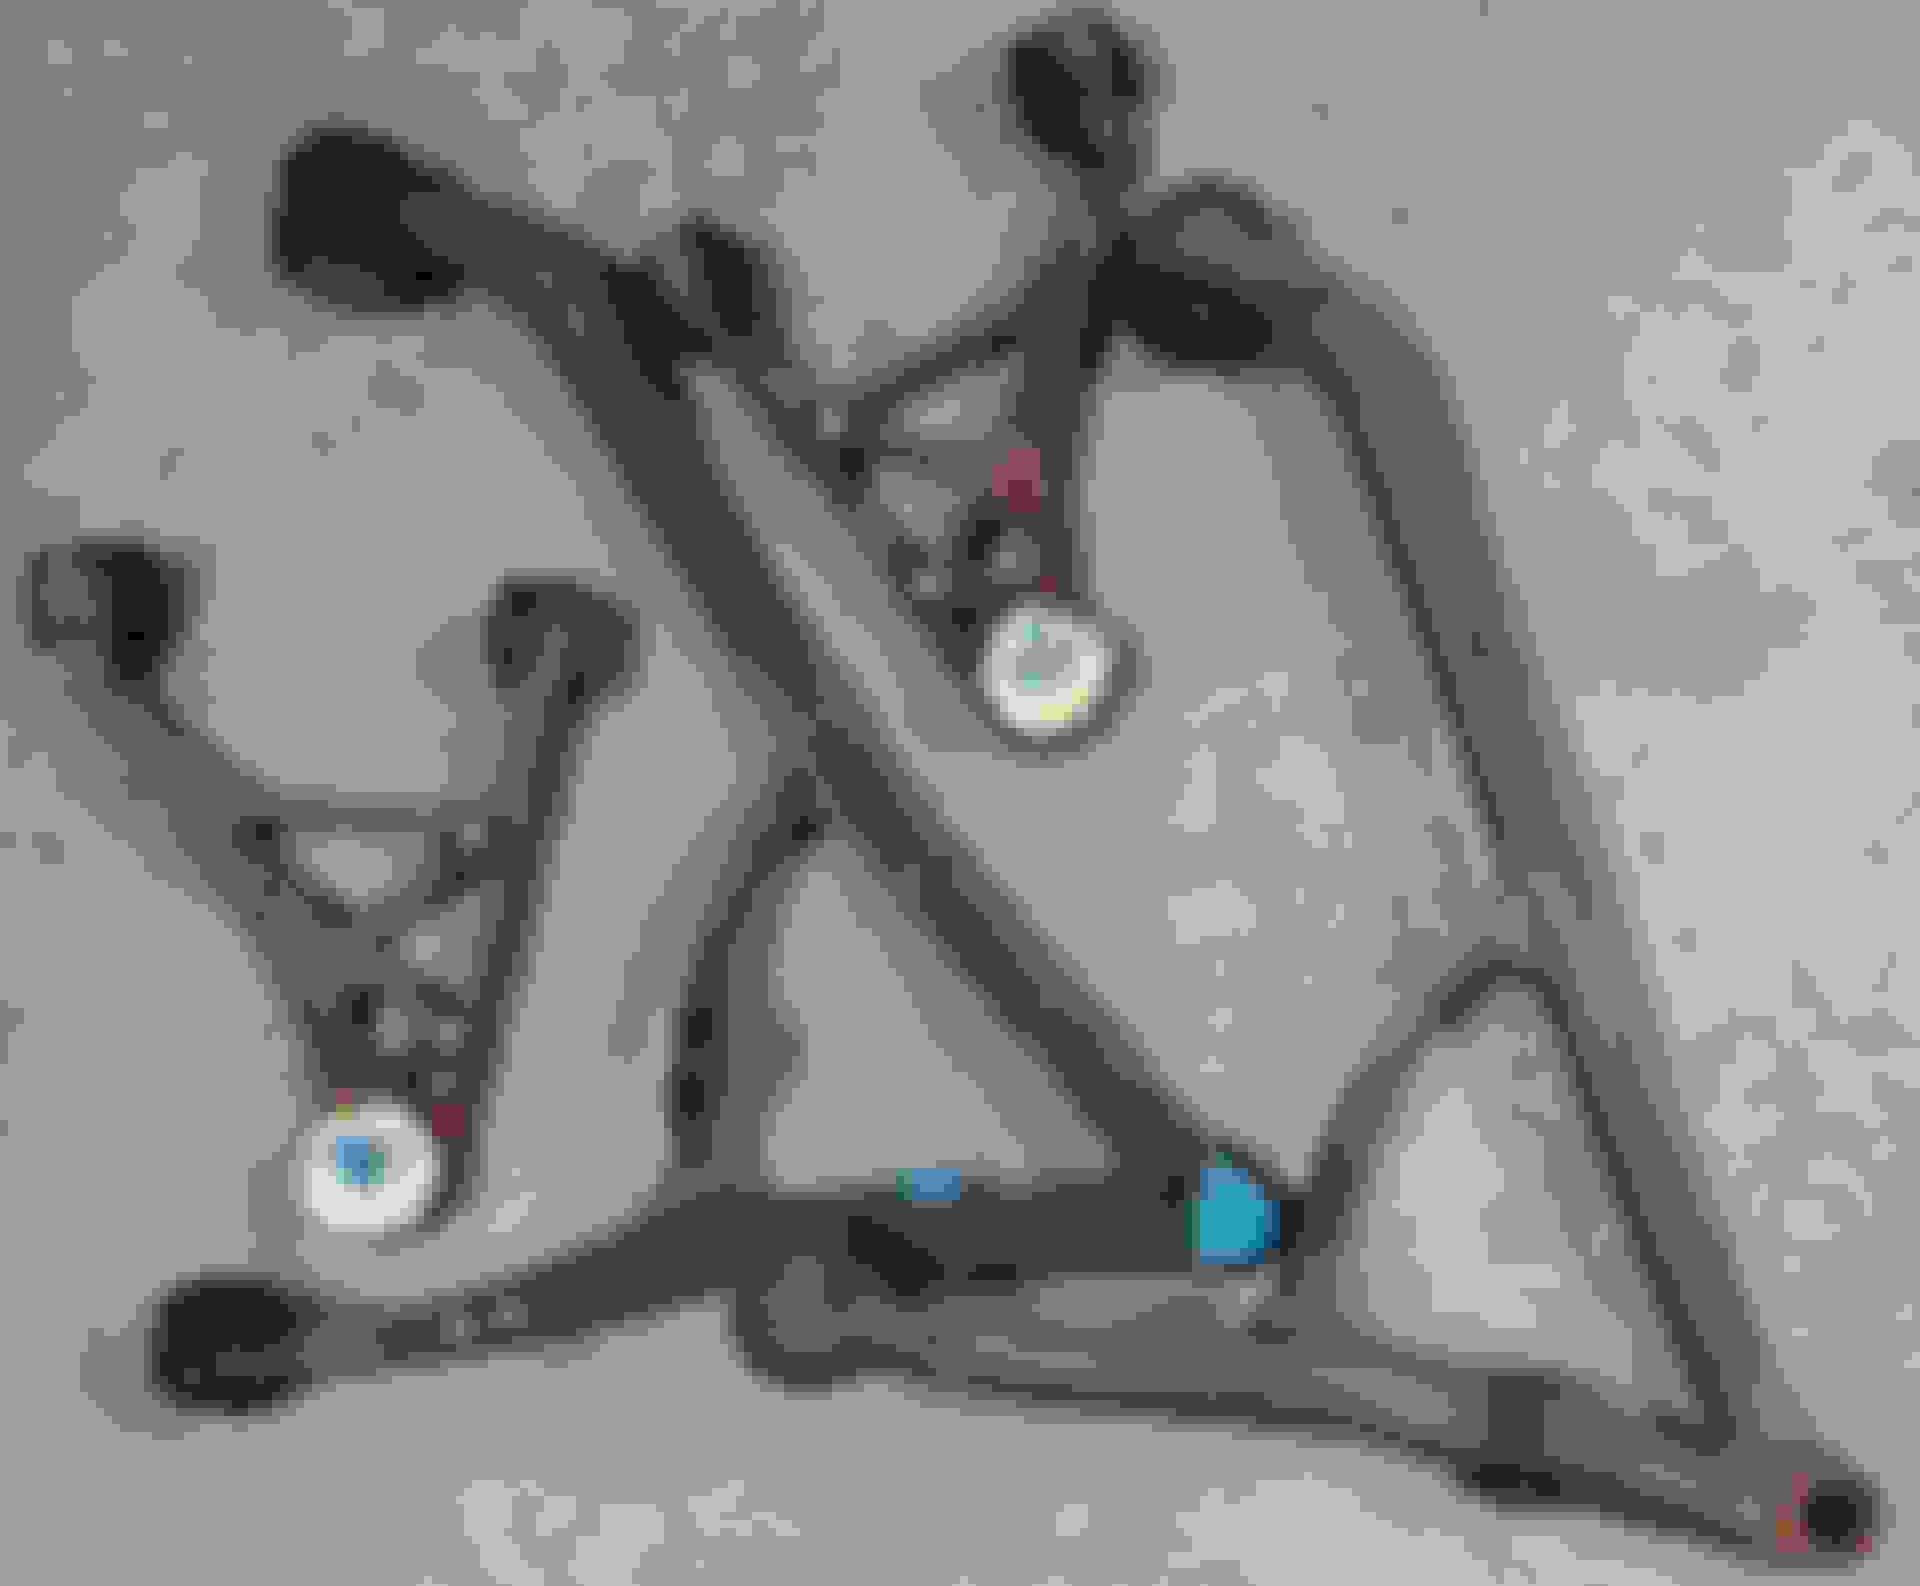
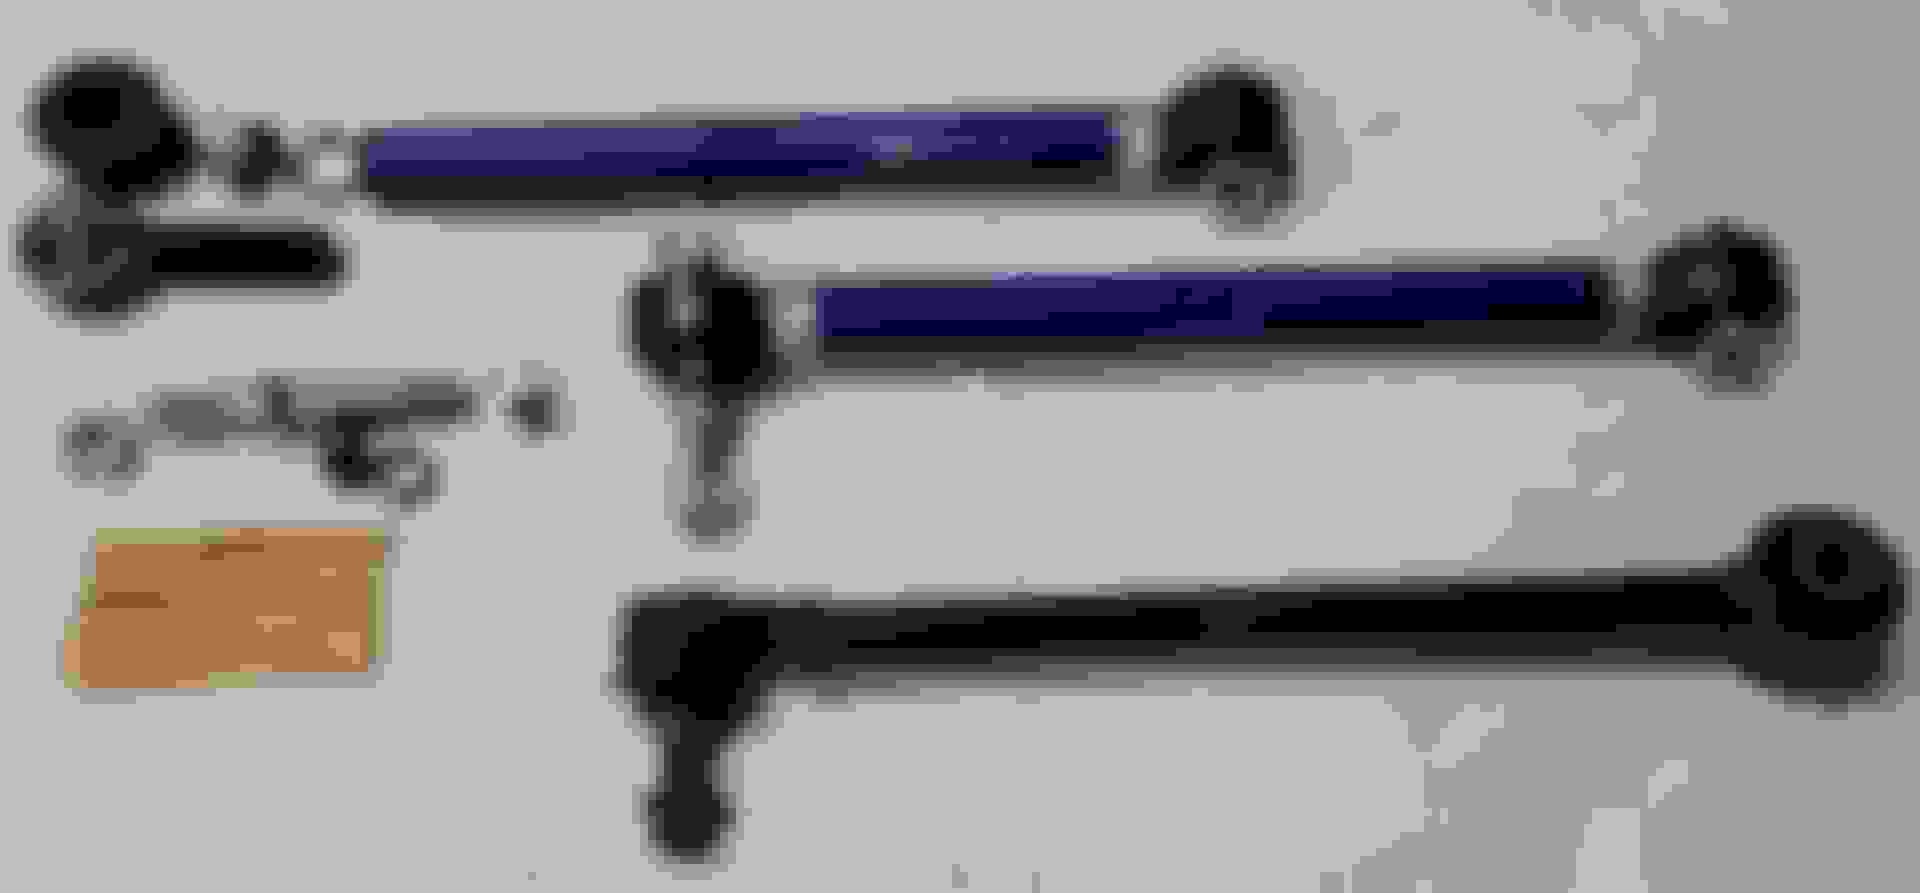
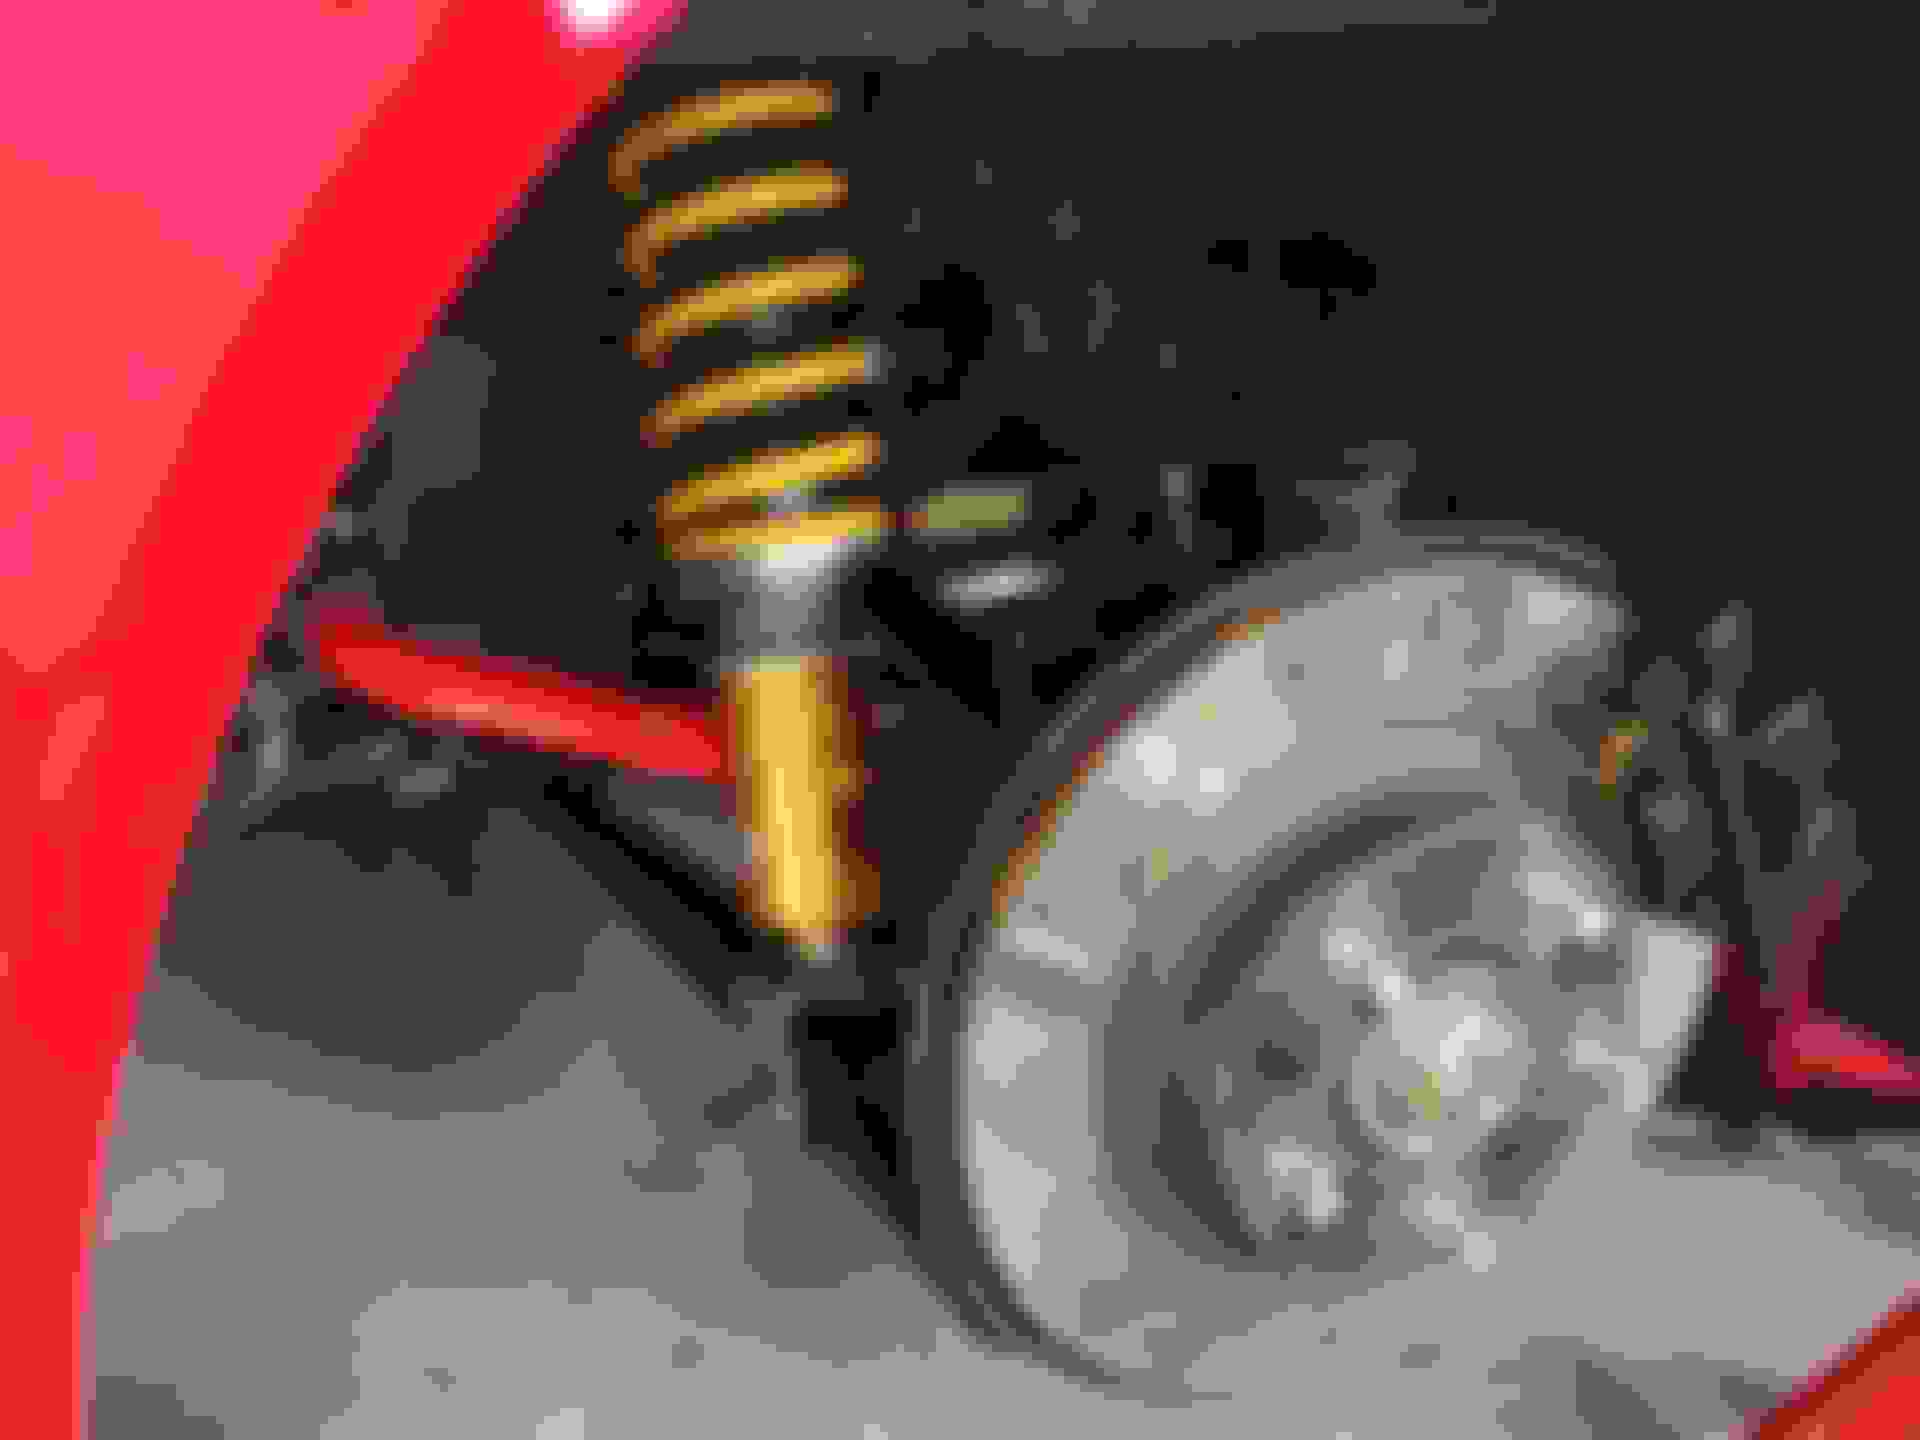
Since I already replaced the front lower bushing to Powerflex I will leave those for now.
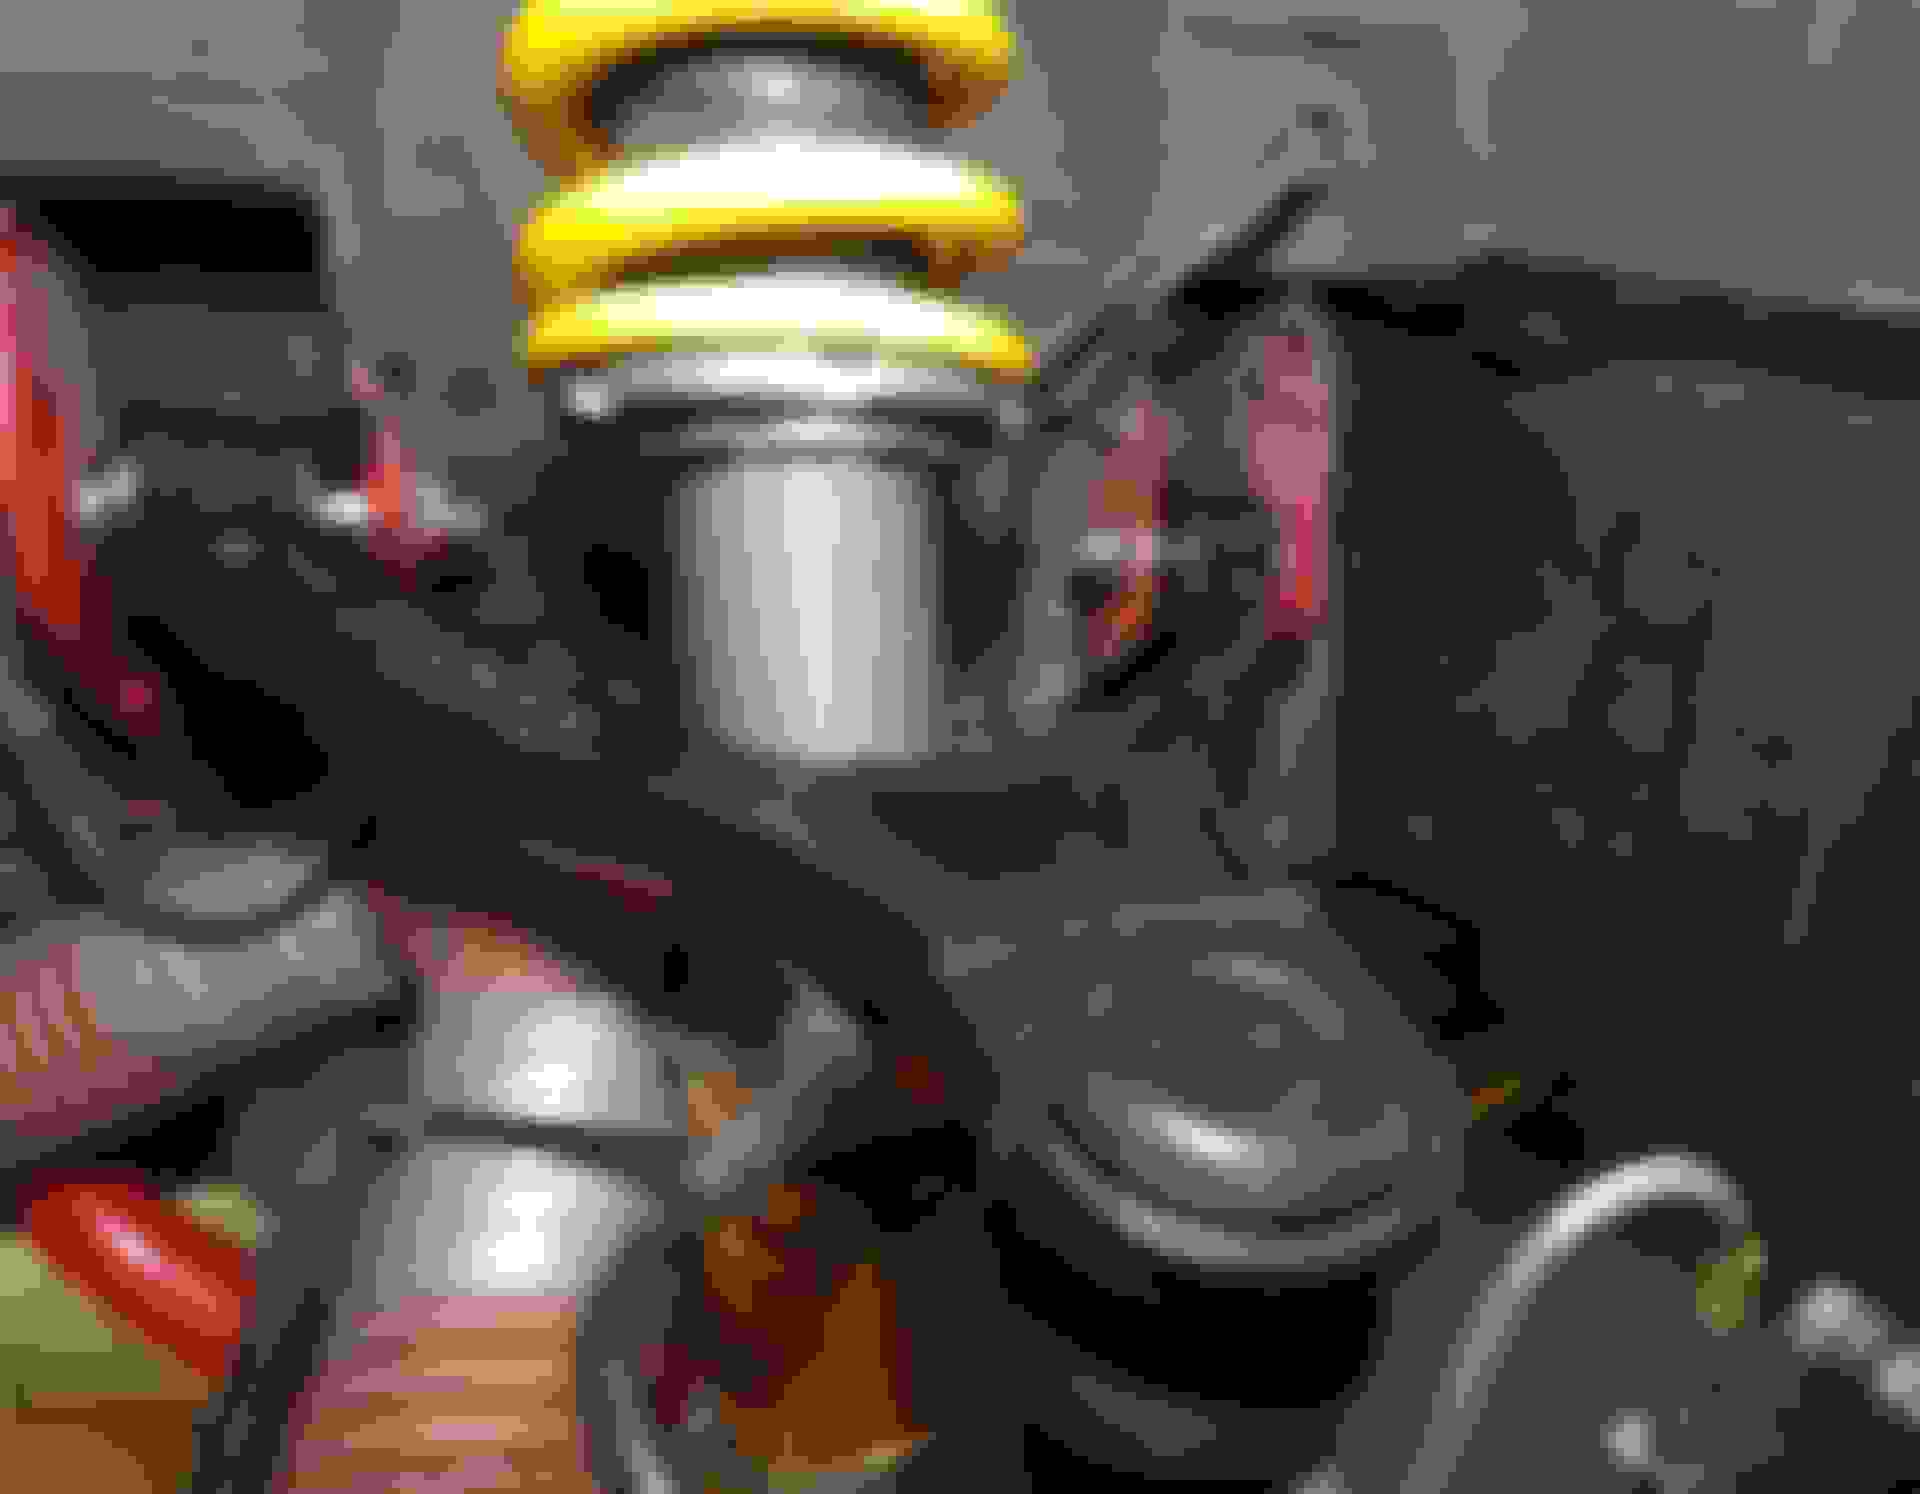
I previously touched up the upper arms with some new paint so I went ahead and started the bushing replacement with arms still installed.
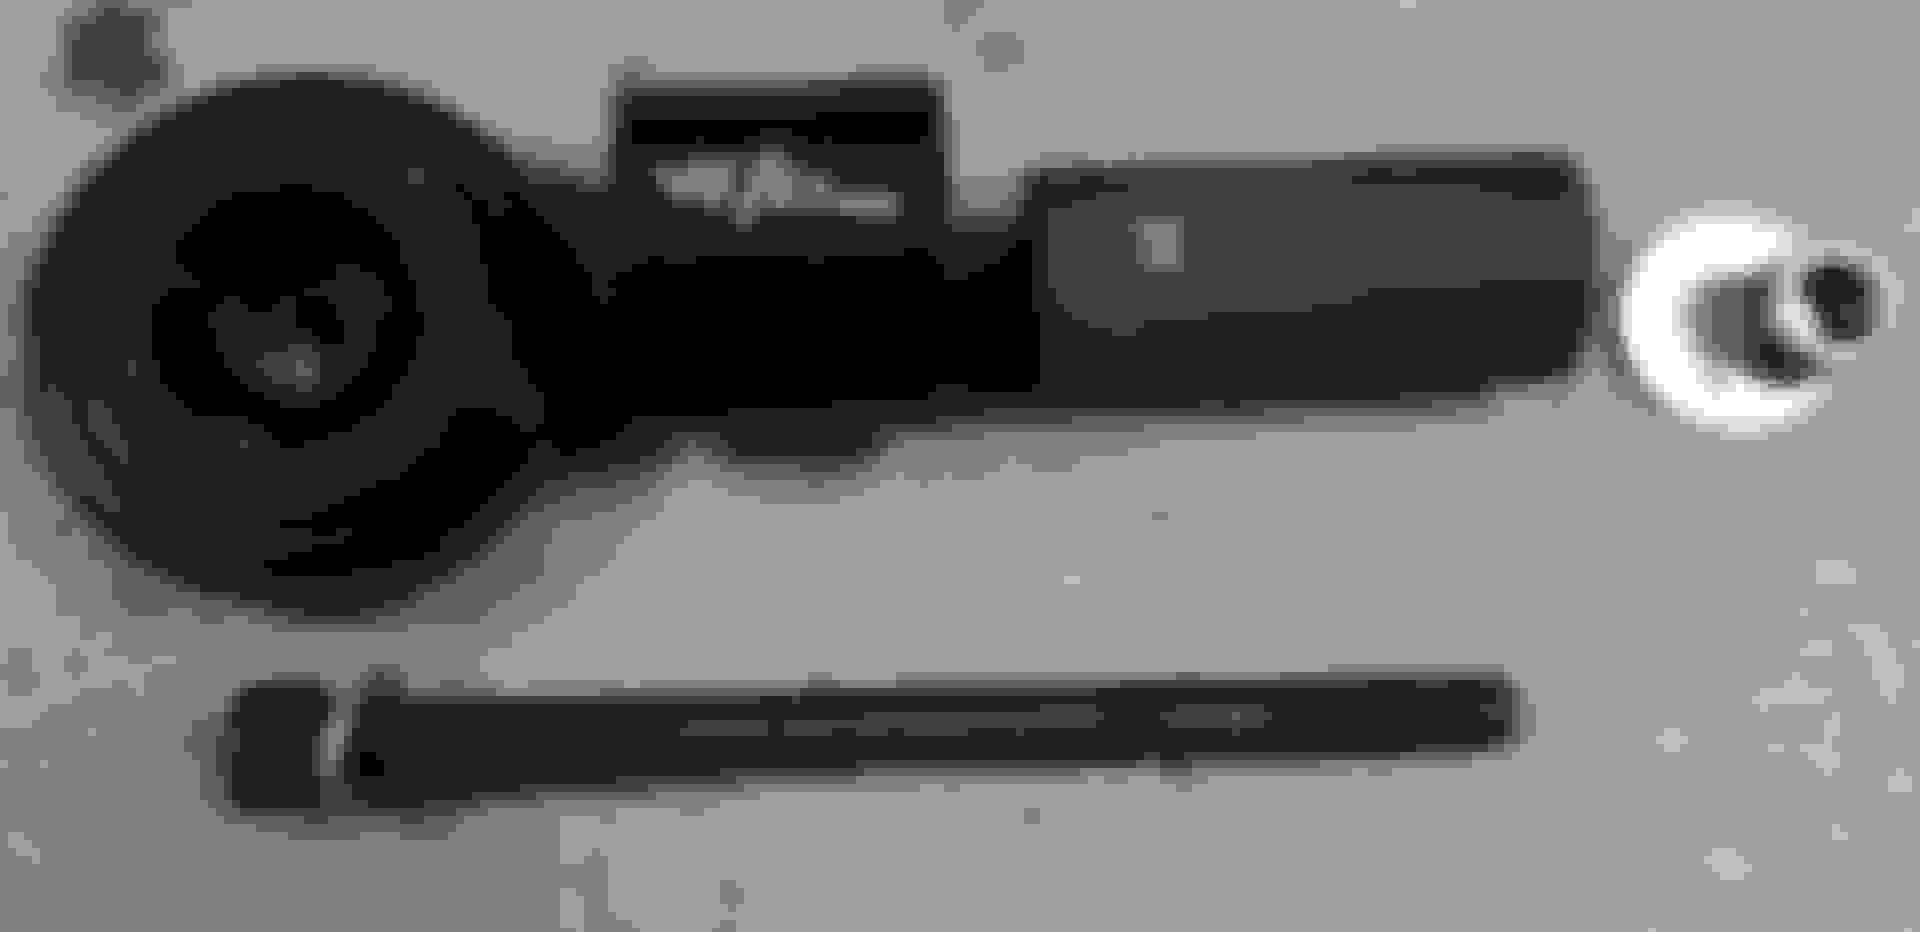
Press setup, this fits rear uppers as well. 24mm impact socket was 35mm outside diameter if I remember correctly.
Bolt is grade 10.9 which is probably needed if you want to use it more than once.
All popped out really nice and easy.
Pressing in new bushings, used a 36mm socket and a piece of random hydraulic pipe in the other end.
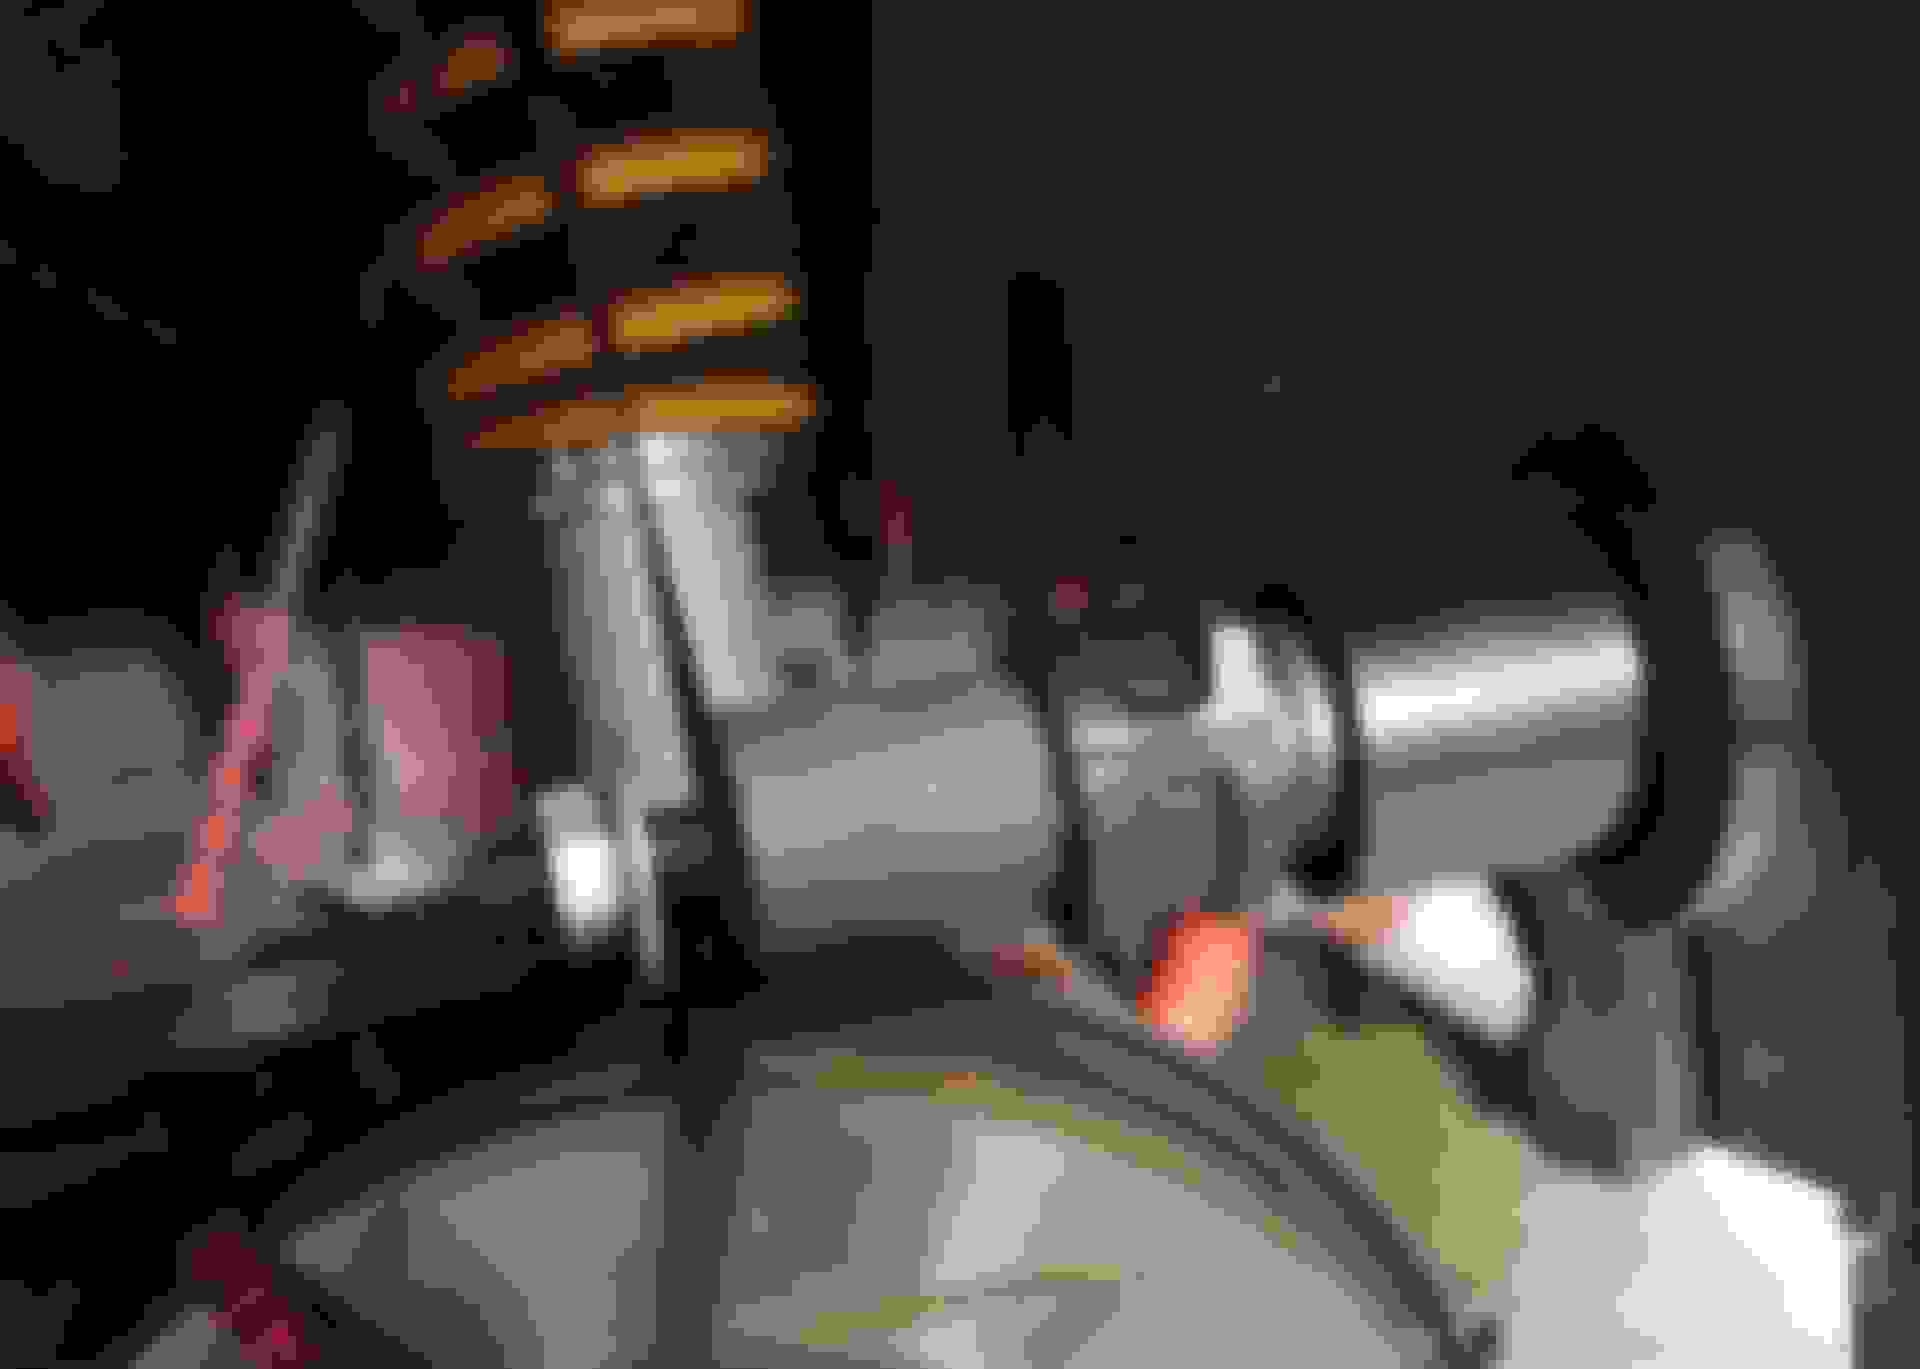
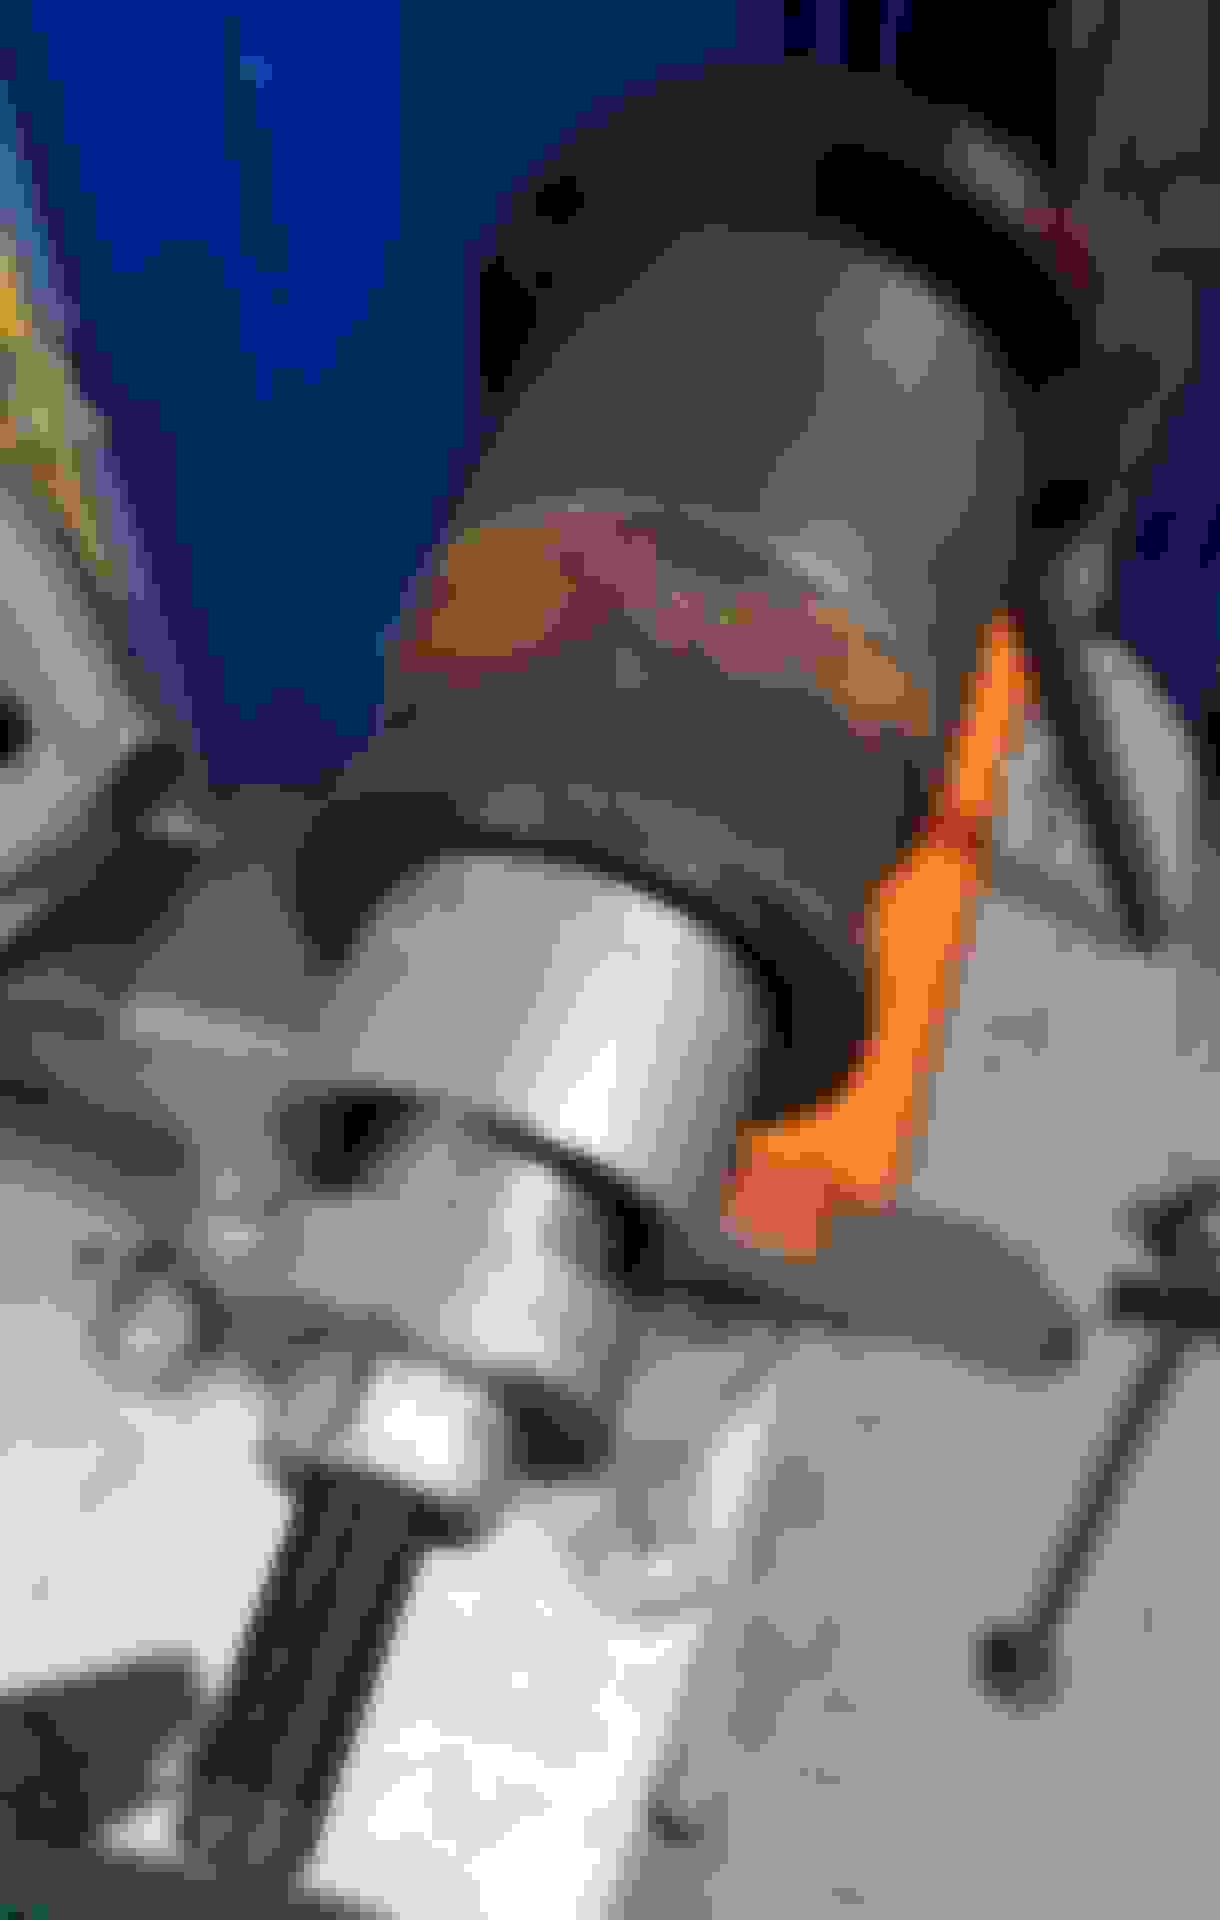
All almost done, but then when I tried to torque down the last bolt on drivers side this was the result.
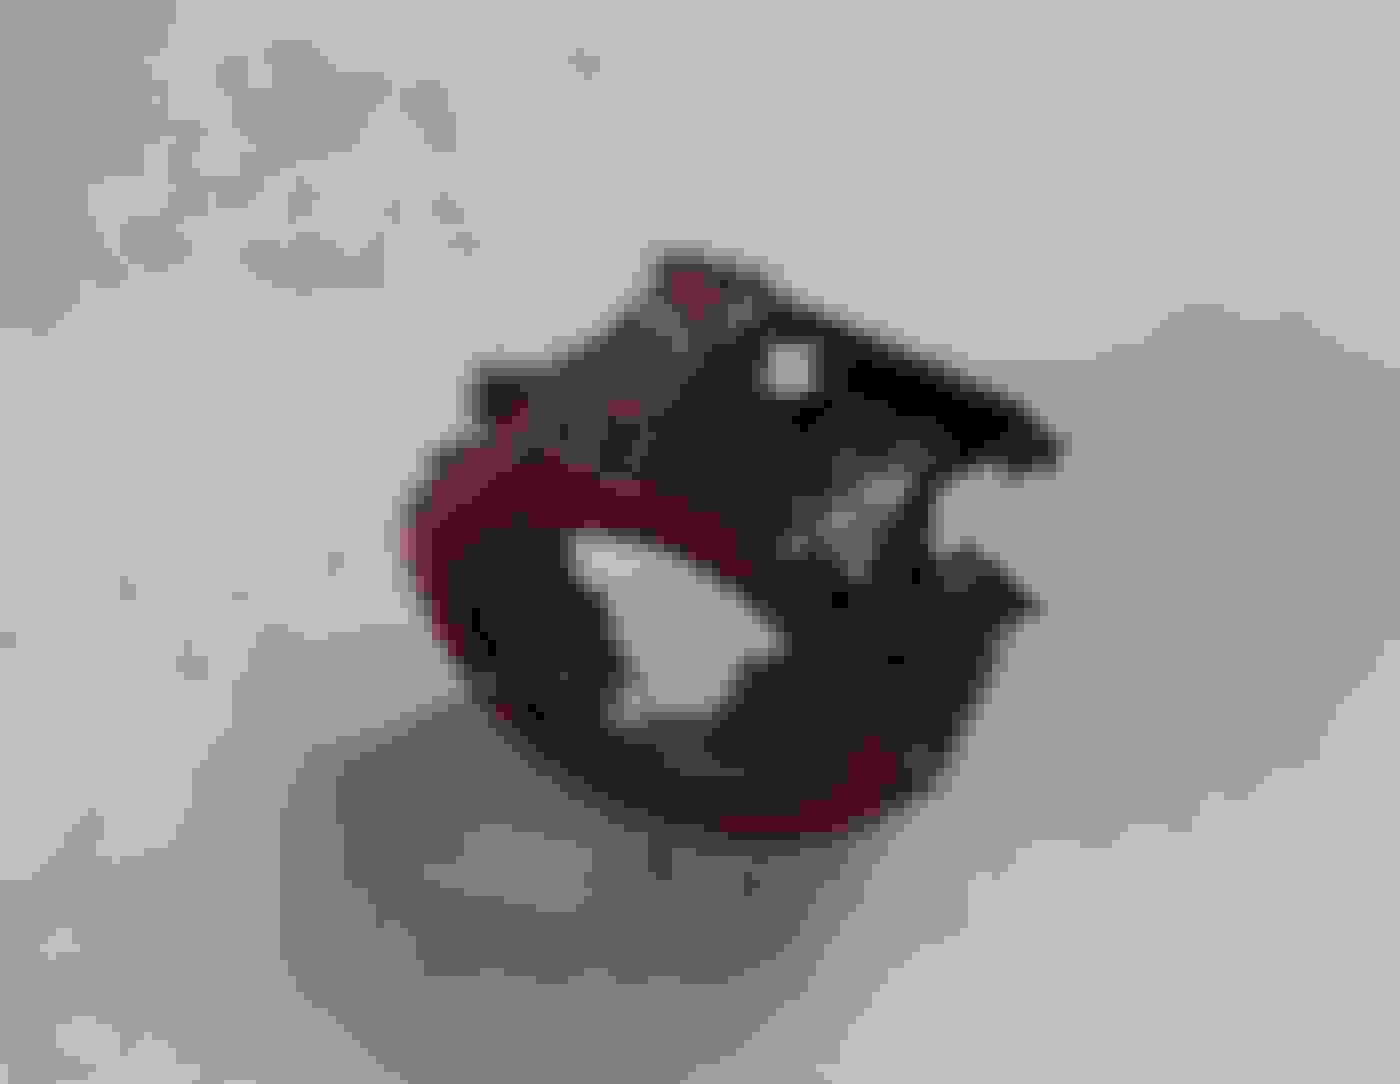
After some drilling and dremeling I managed to get the frame nut out almost intact.
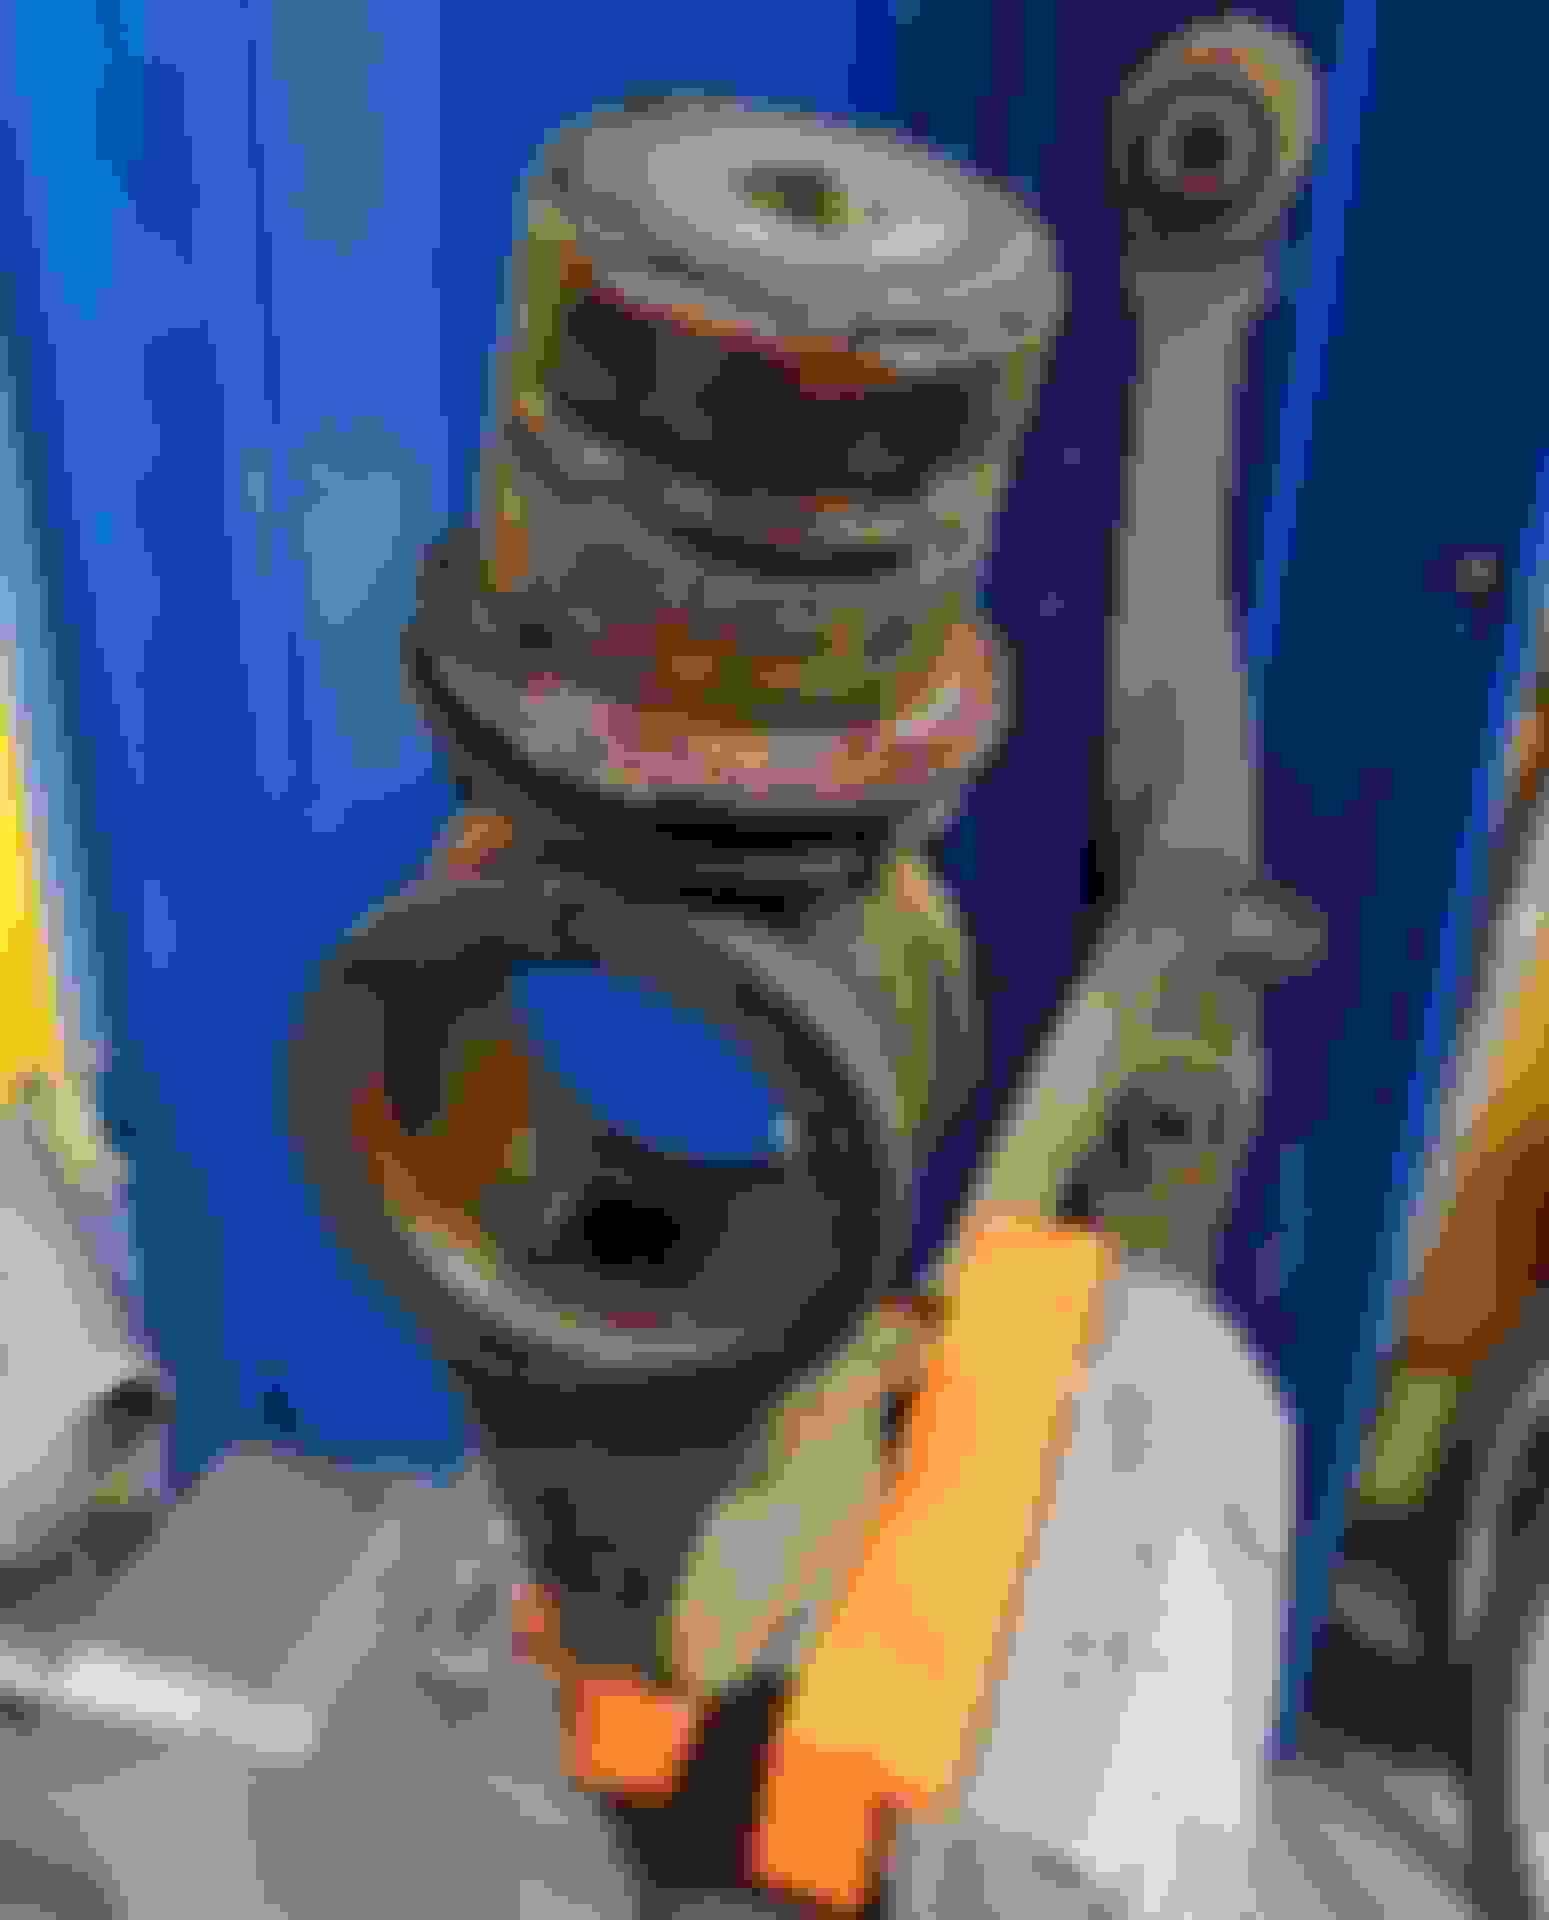
Cleaned up the area and added some rust protecting paint.
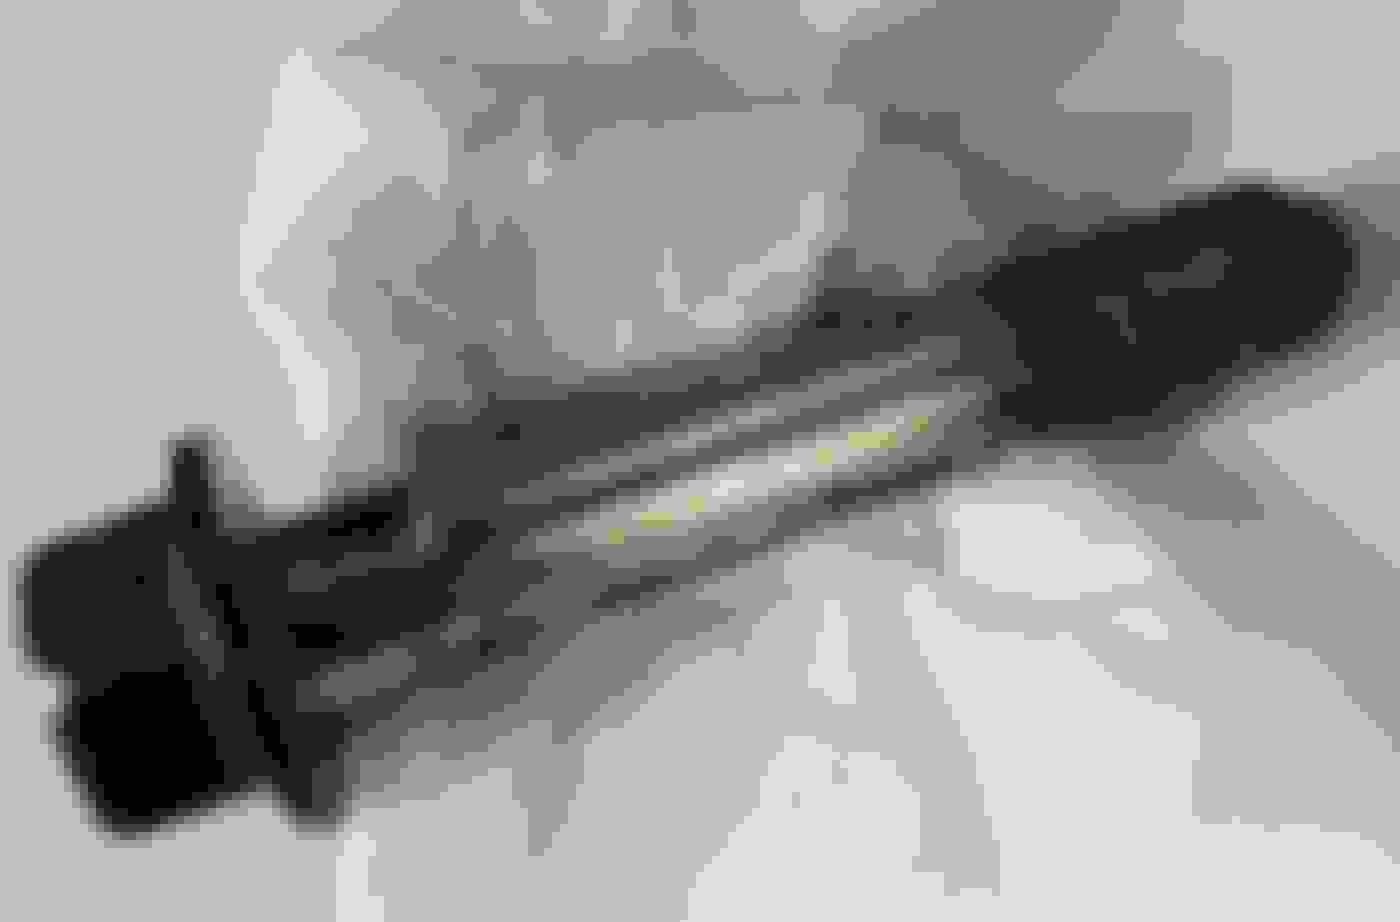
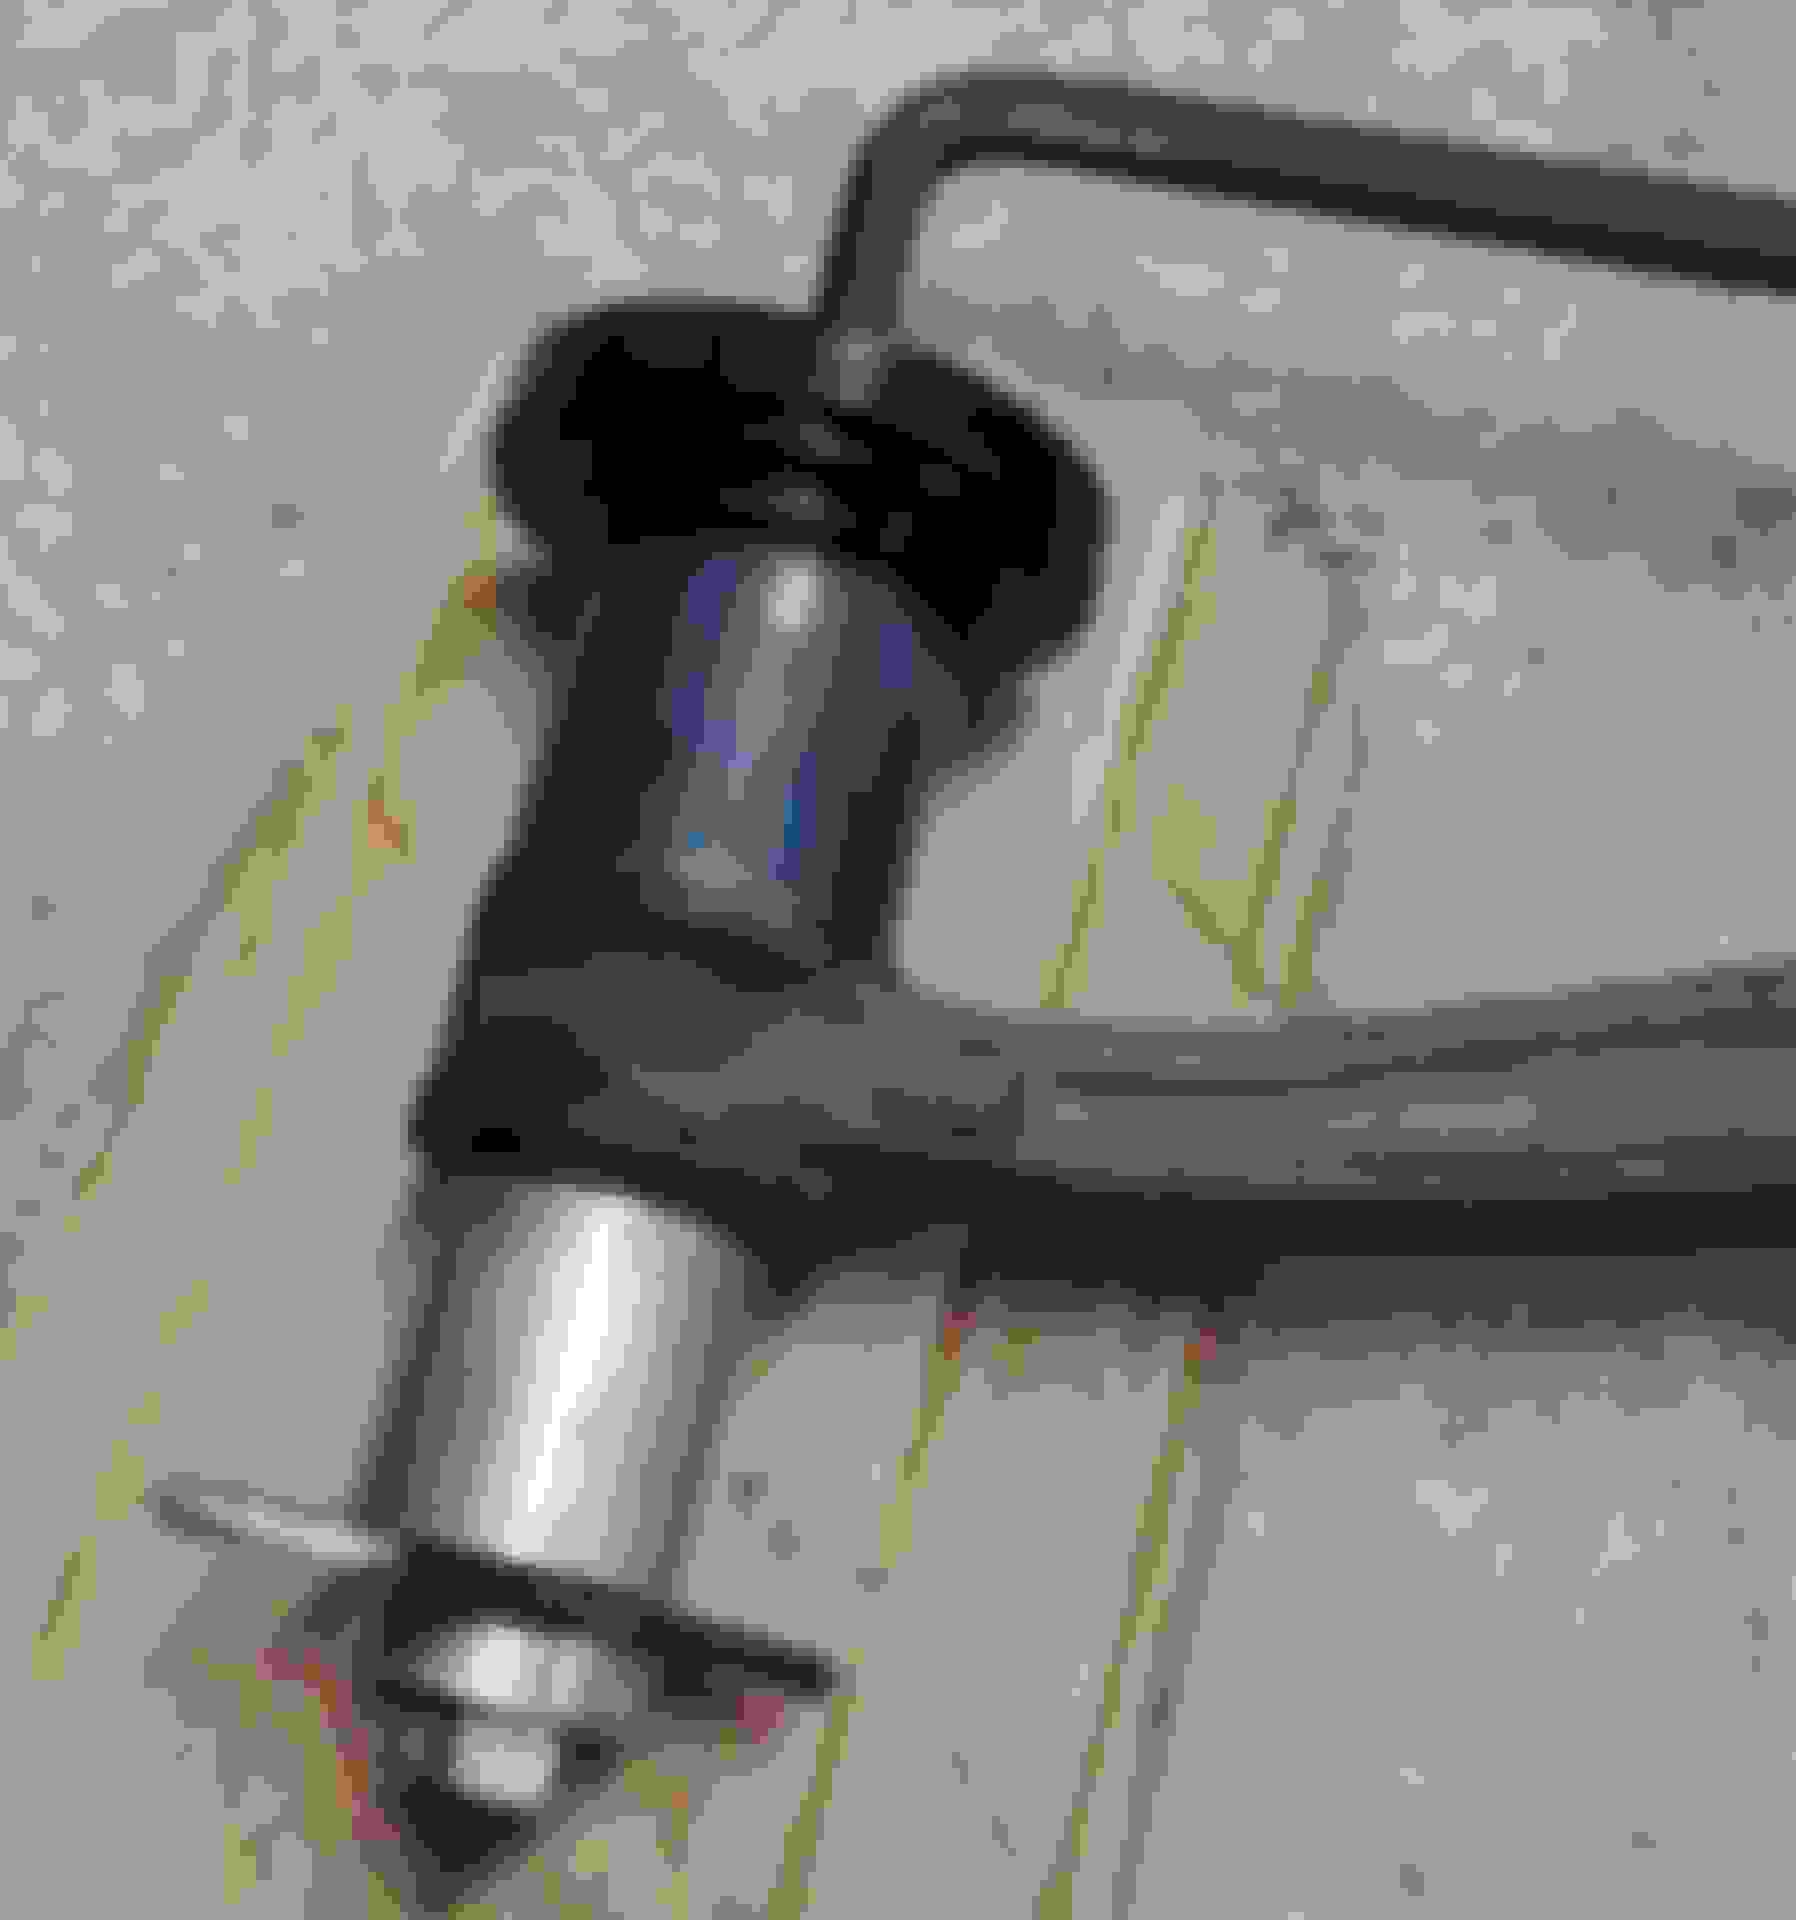
Cleaned up the threads on the stock bolt (it walked away pretty much unharmed) and put a new nyloc nut (yes it's a 10.9) and torqued it down.
Just the rears left now, I'm still working on those though but I'll be back
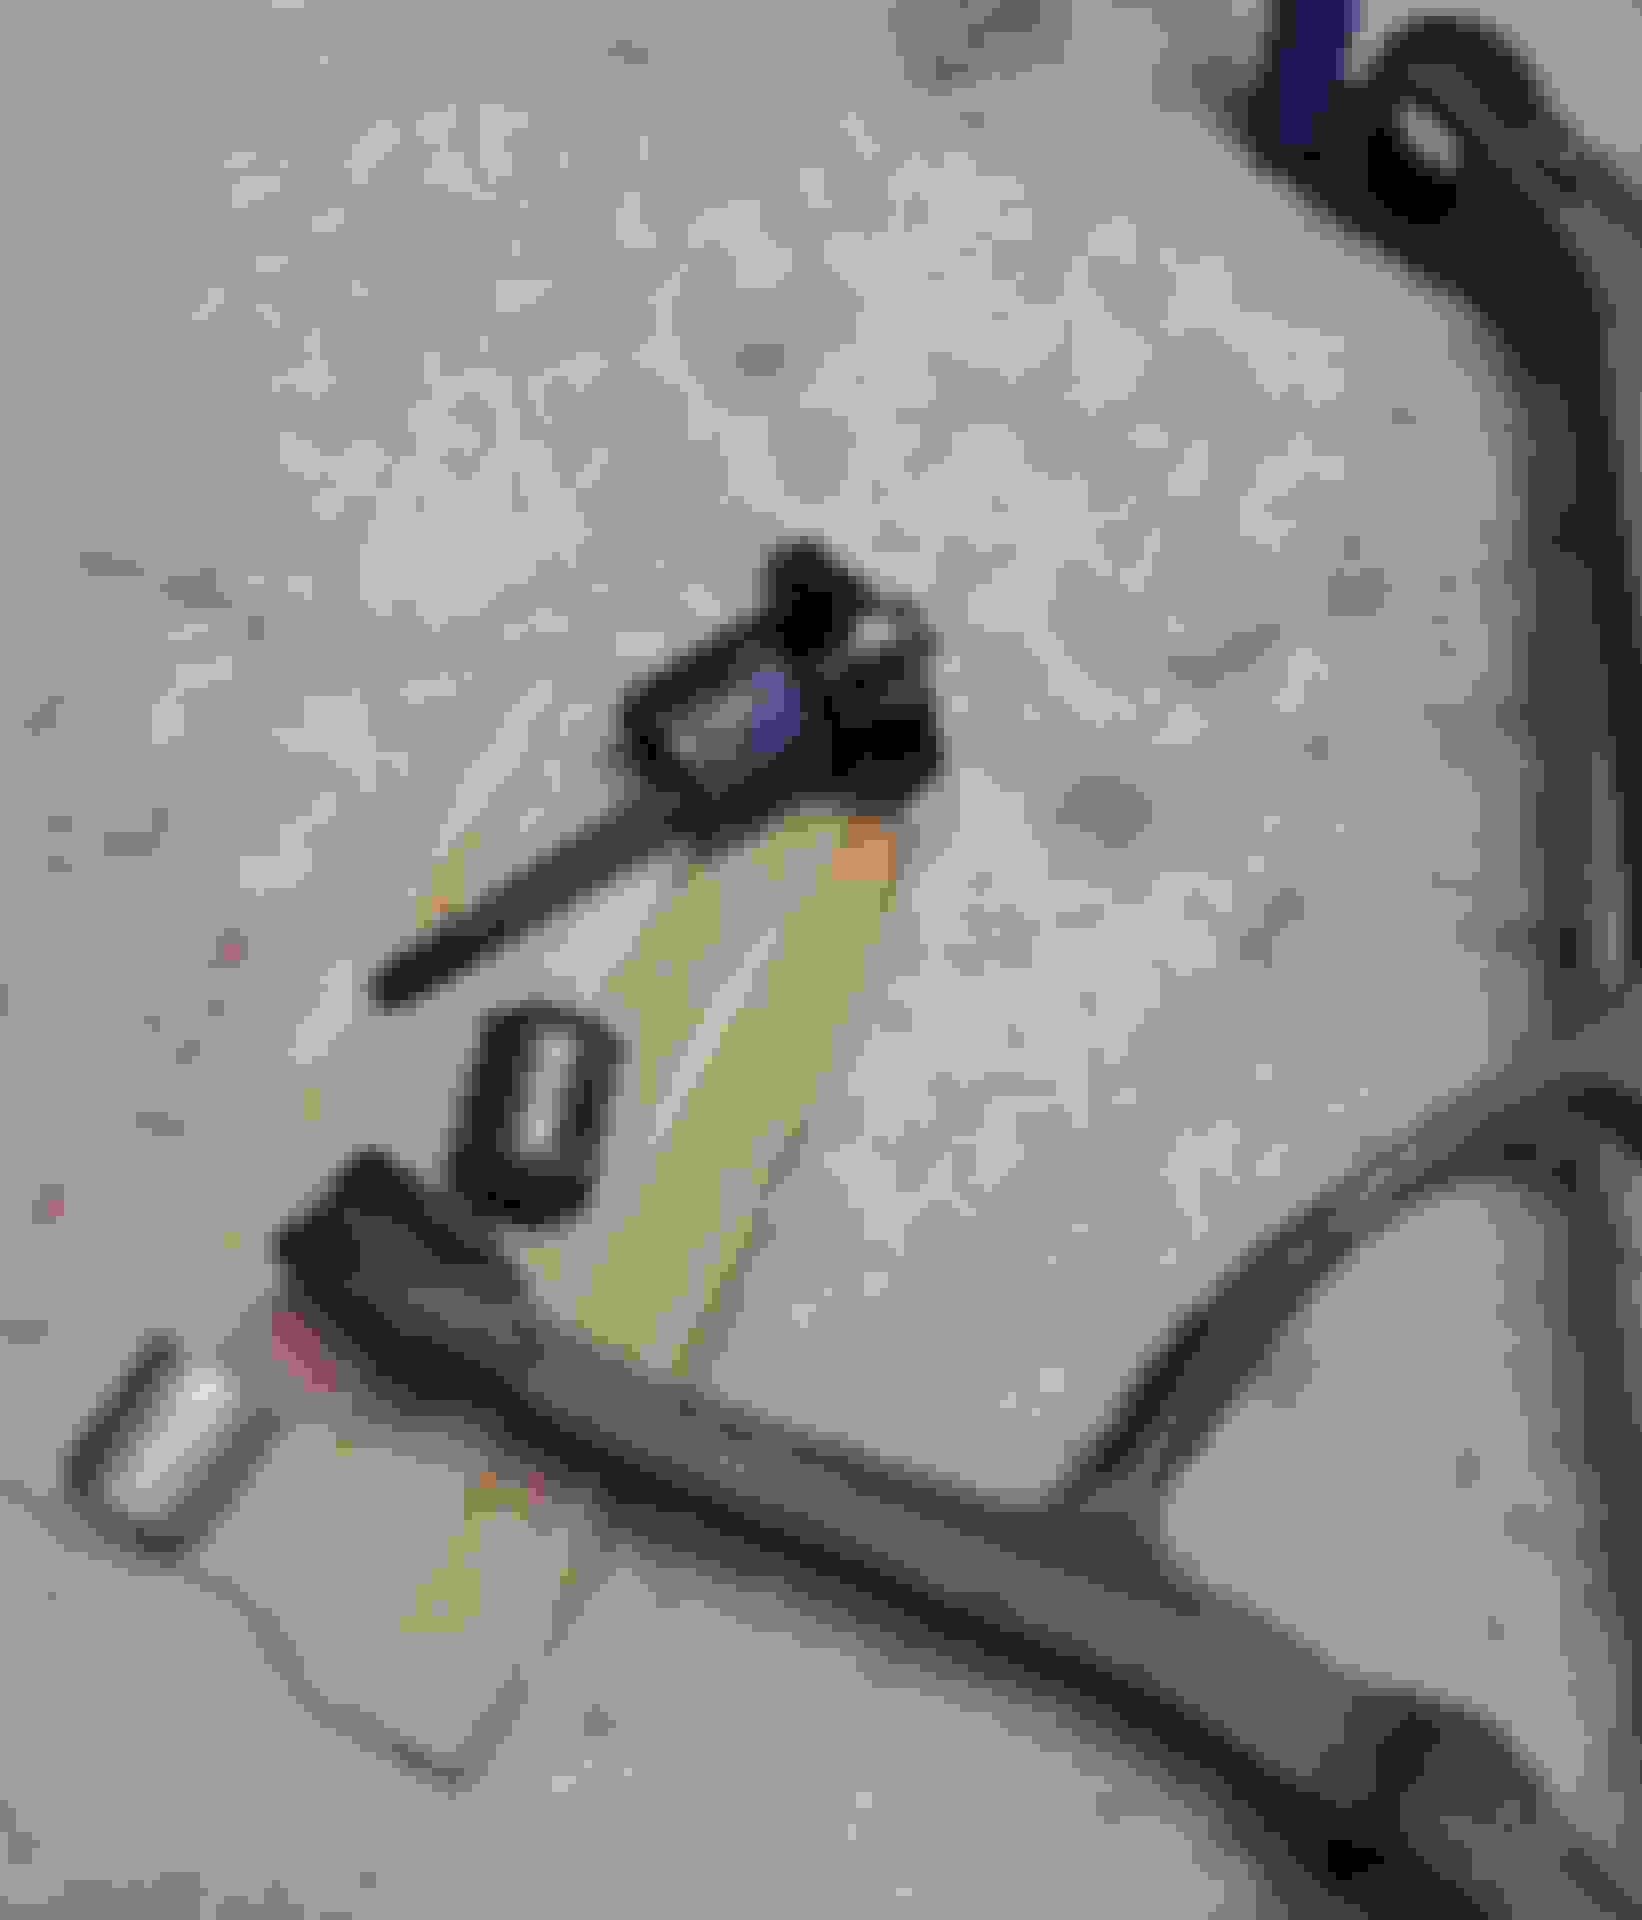
Before blasting them clean I decided to remove the lower bushings.
The rear one was easy and just popped out with the right sleeves and my trusty M12 bolt&nut.
The big front one which is pressed in from both sides is another story though.
I found the best way was to cut off like this first.
Then carefully cut small pieces around it, I would stop just before it went all the way through then use a hammer and chisel (flat head screwdriver) to bust it off.
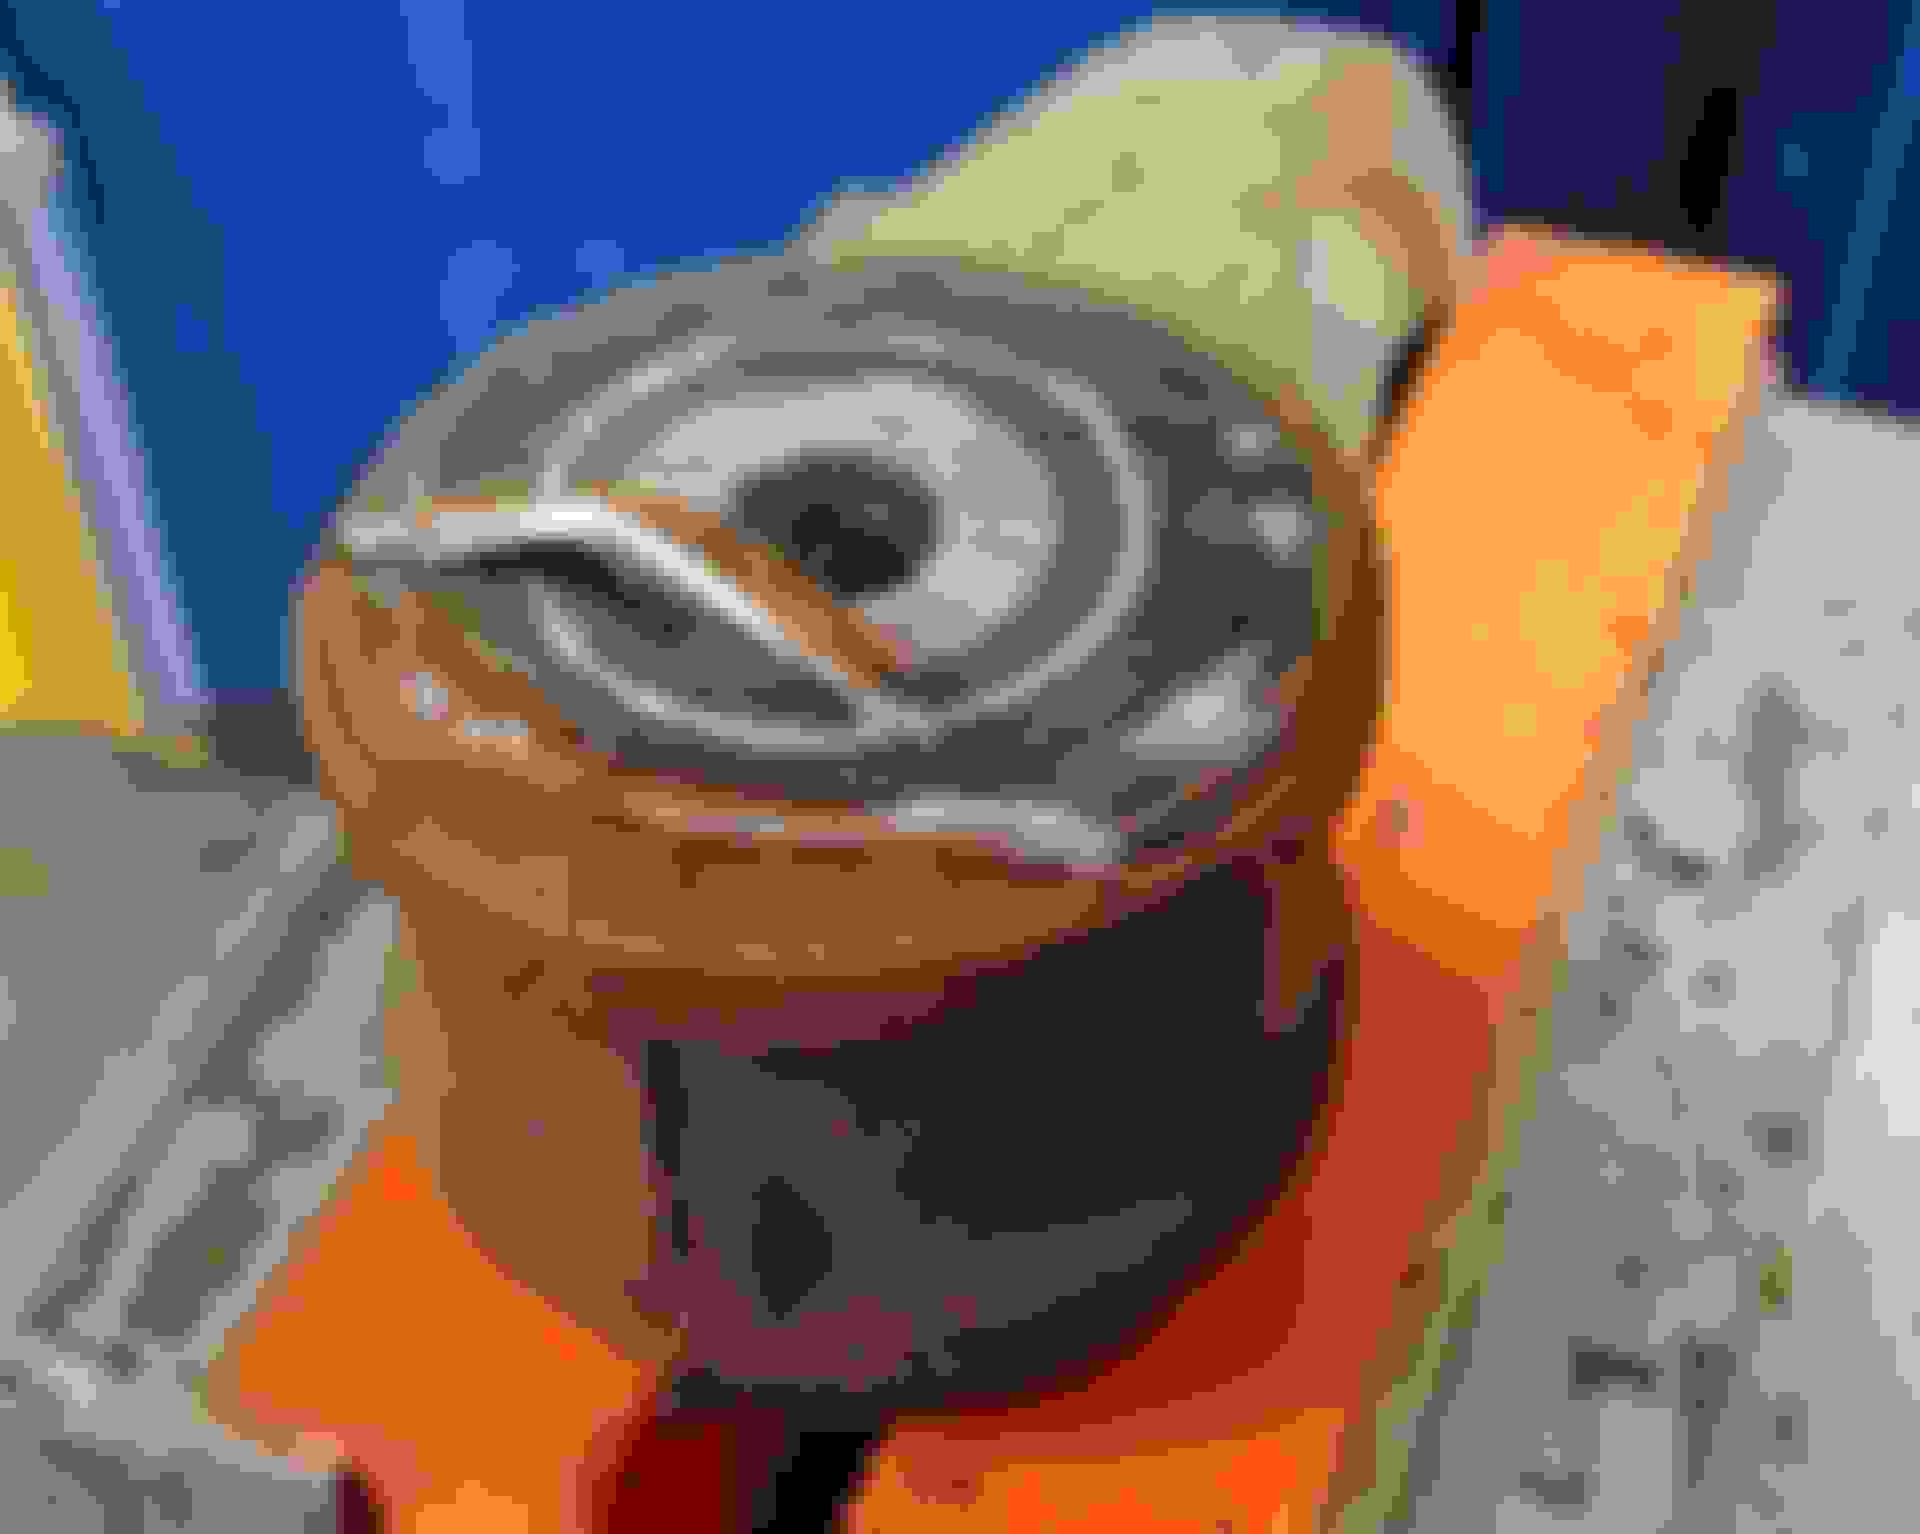
Ready for some pressure.
Got creative with the pressing tools.
After some heavy wrenching it finally came out.
Then it was blasting time, just a comparison picture before and after.
Didn't want any nasty rust again so I quickly gave them a nice zinc coat.
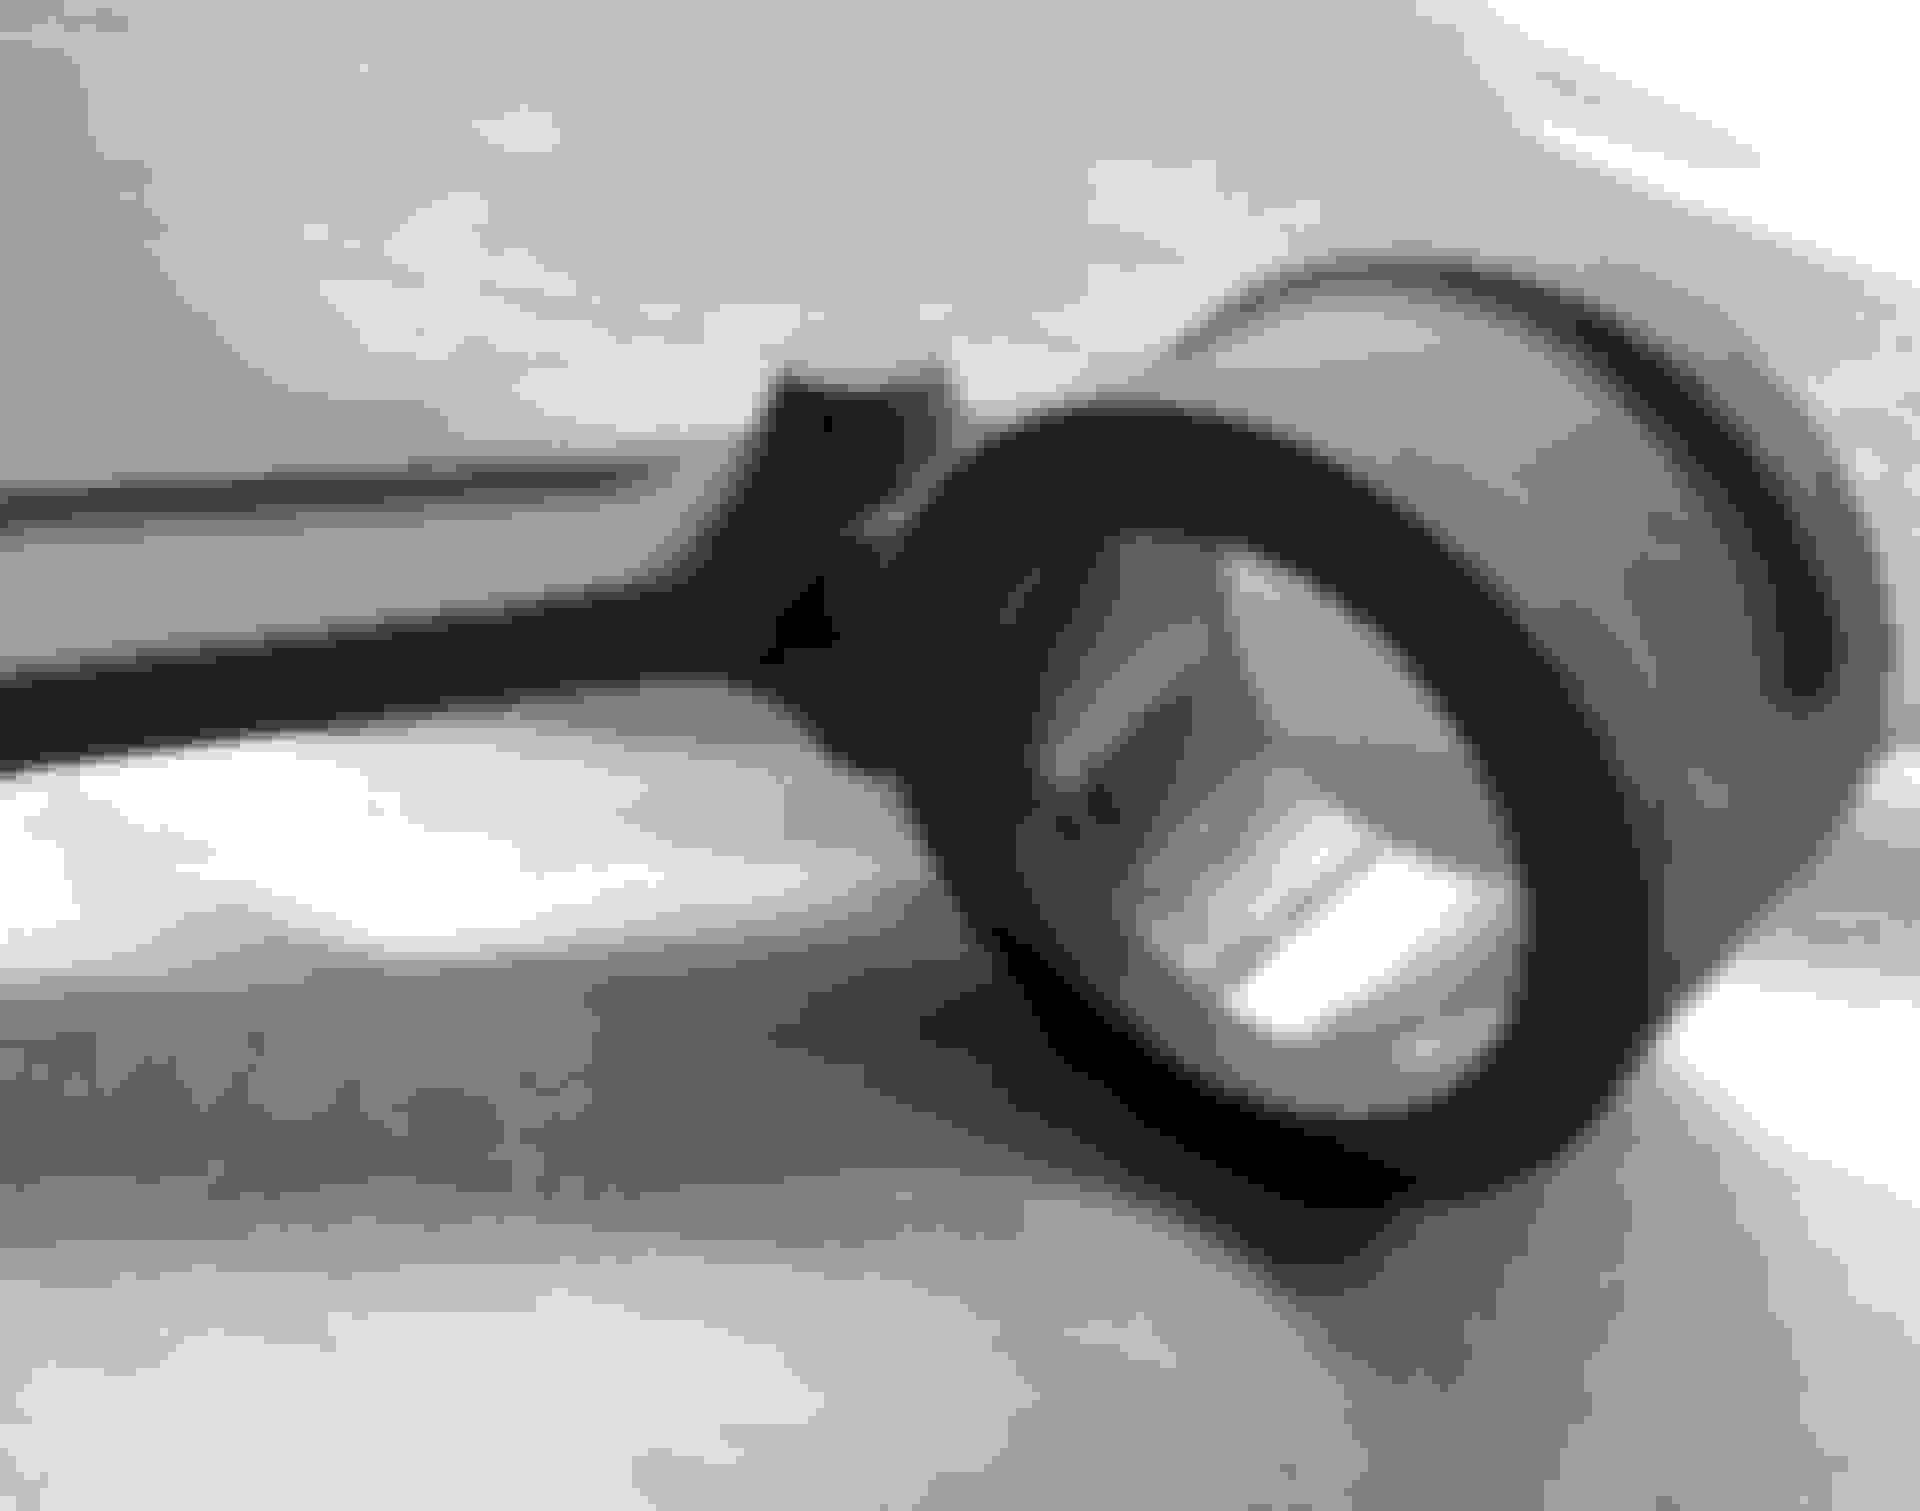
Since the Hardrace upper bushing didn't go all the way through I made a little protective layer inside here as well.
Then some black paint and all the nice new bushings installed
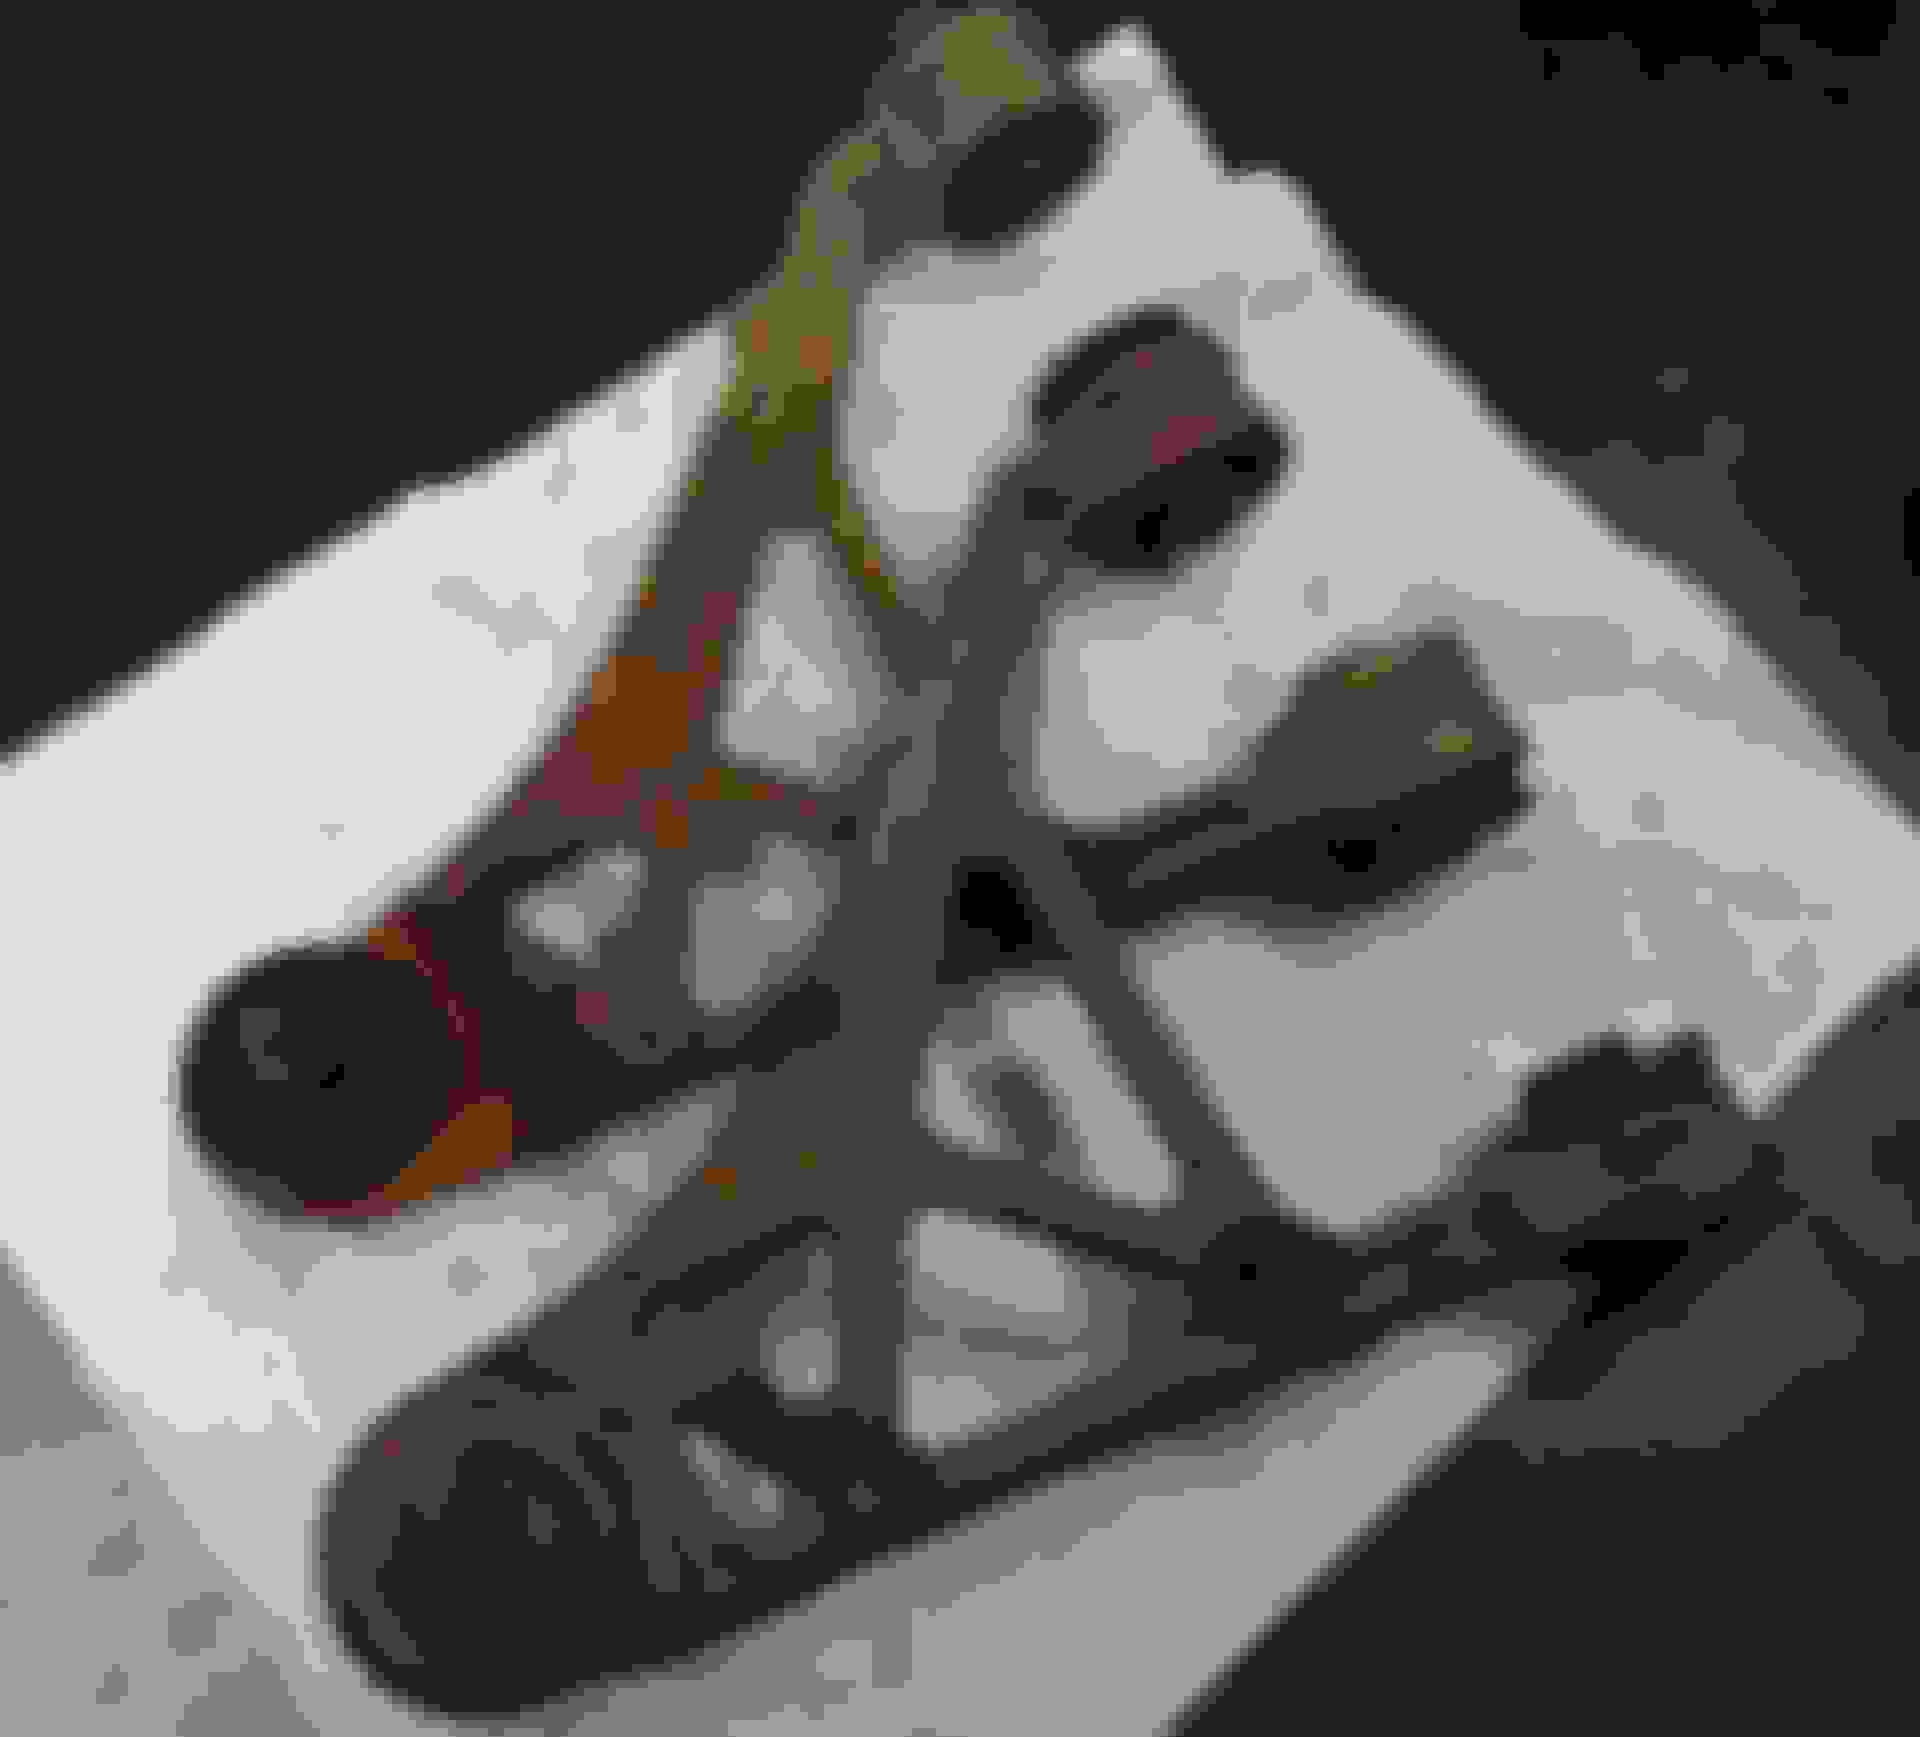
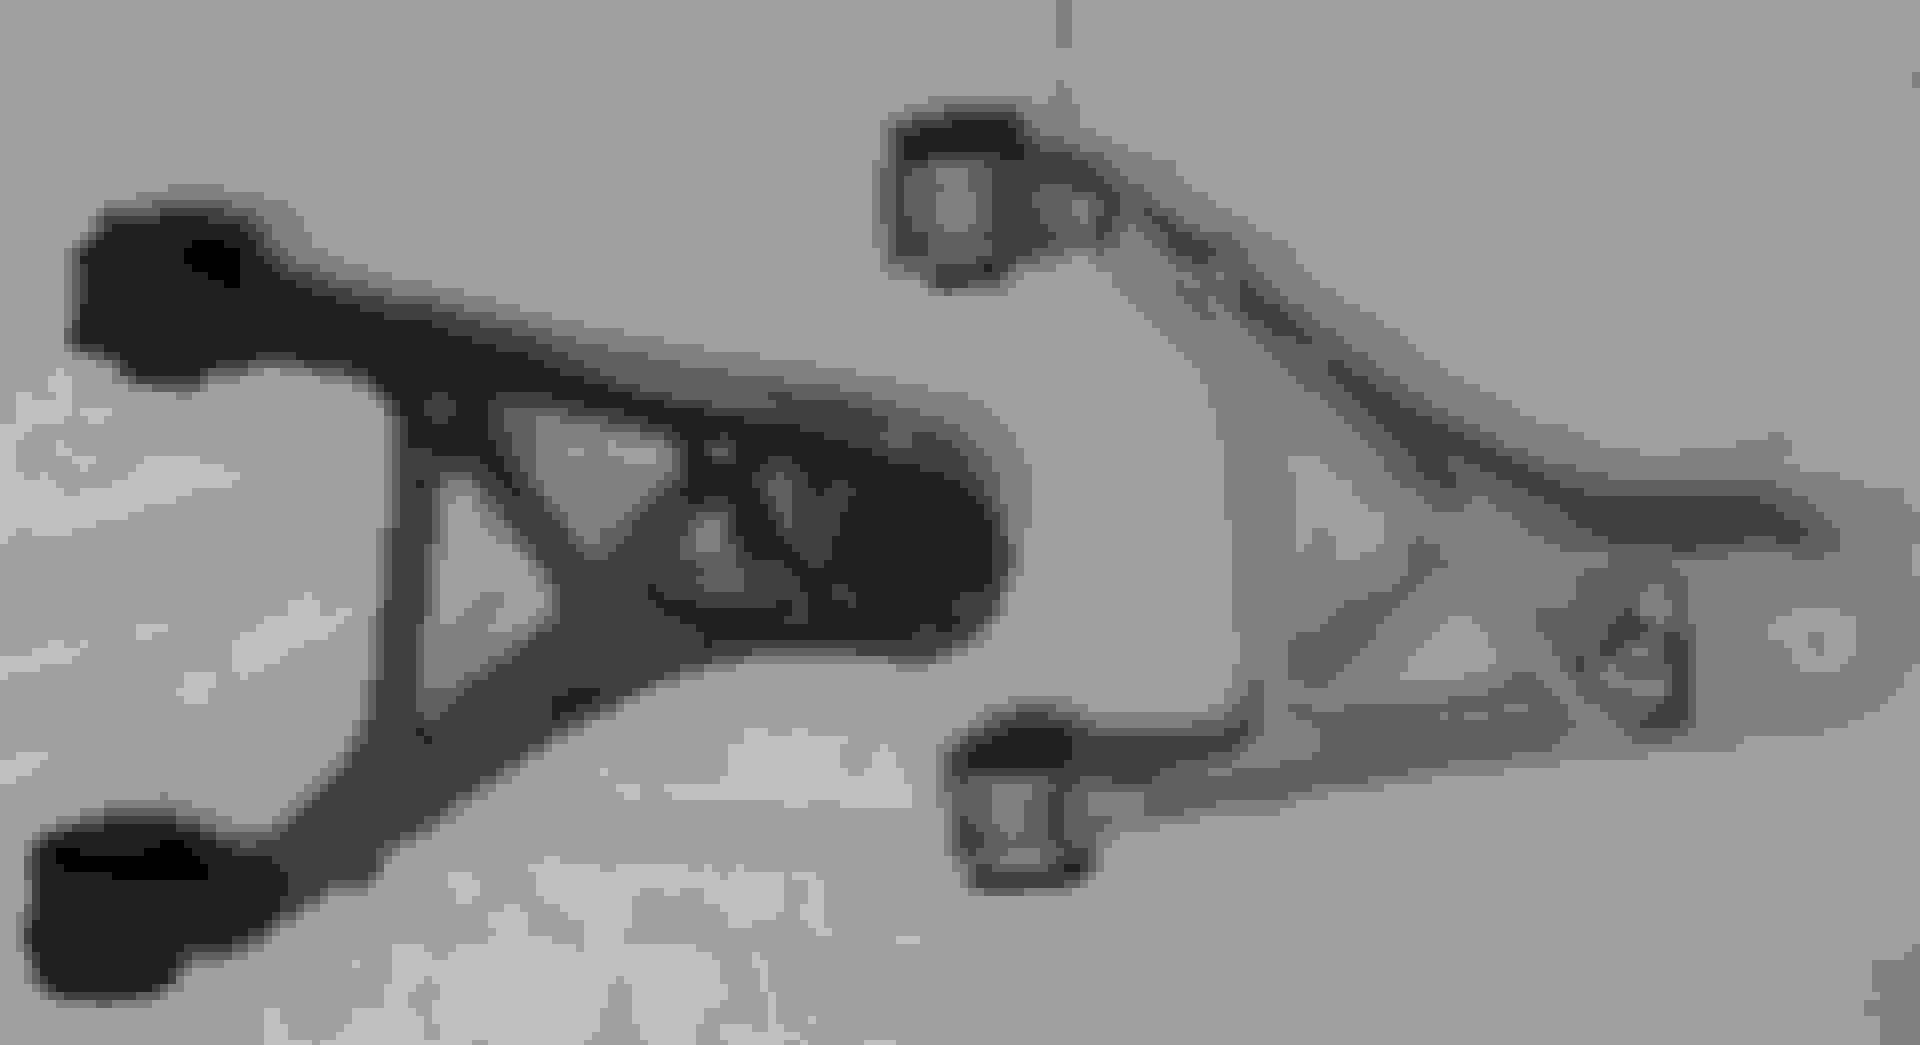
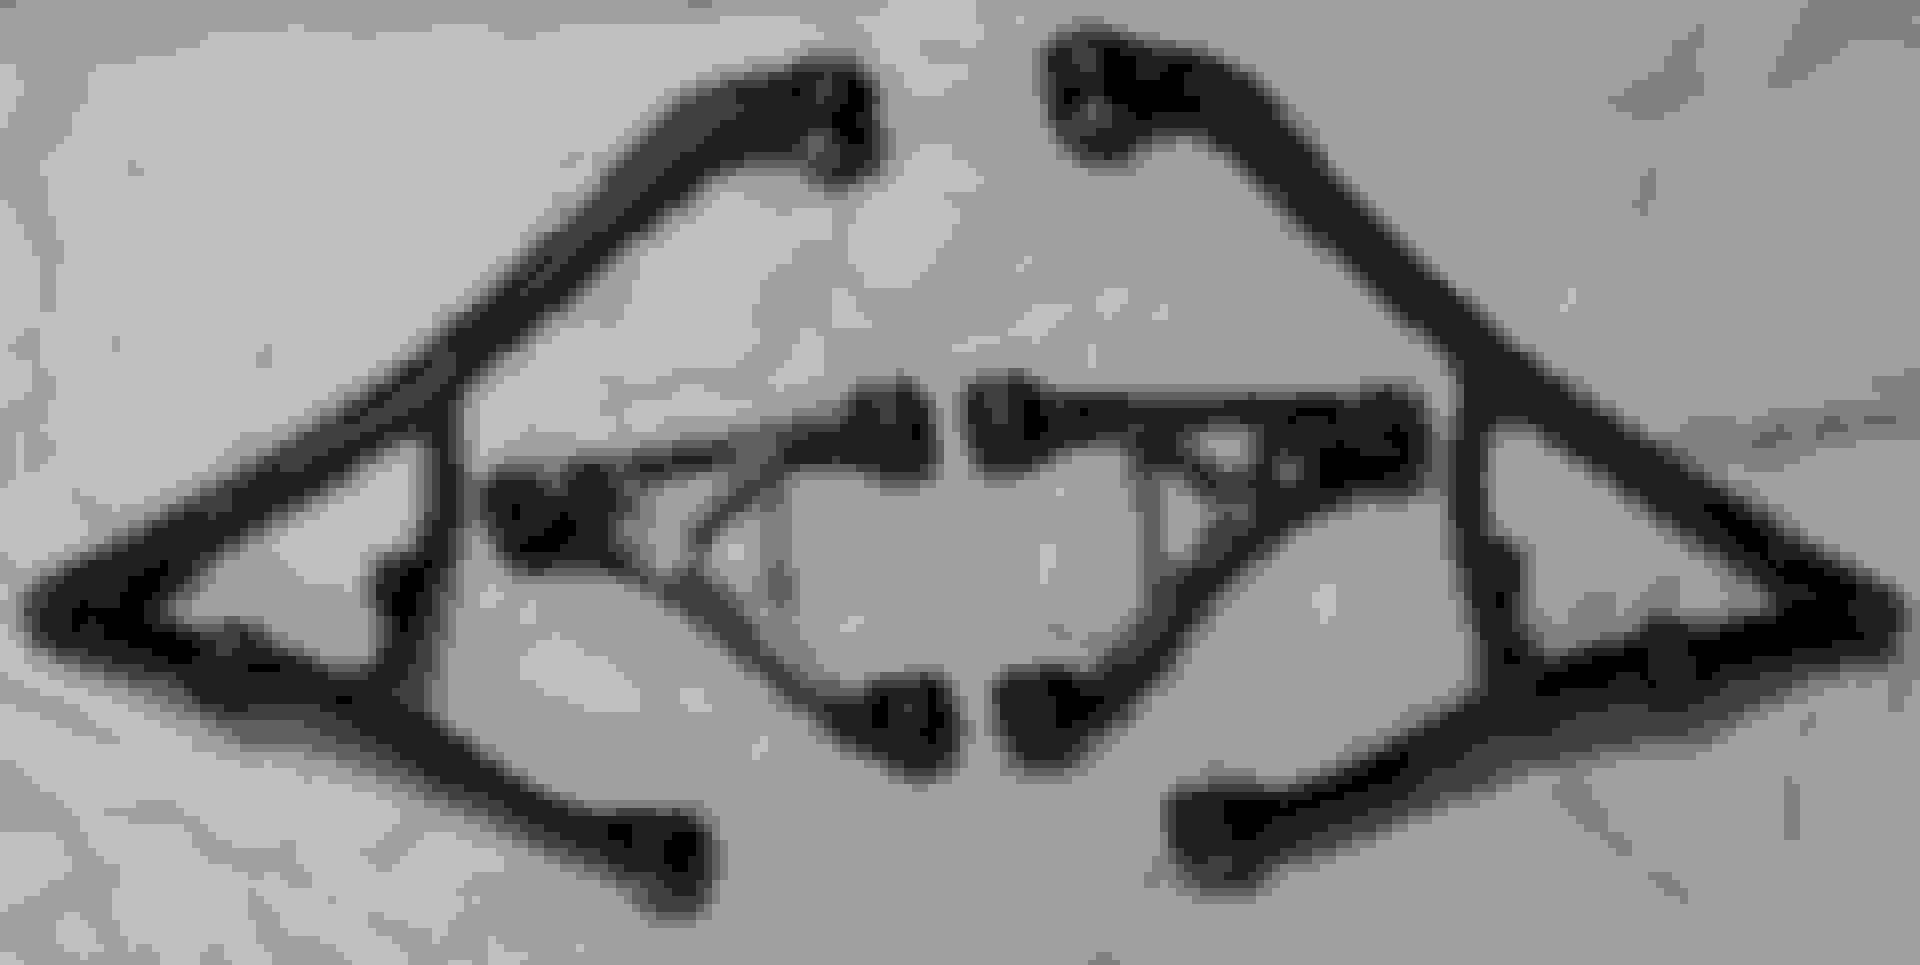
Got a set of these Hardrace rear toe arms as well, stock one bellow for comparison.


 10-25-2017, 11:58 AM