When you click on links to various merchants on this site and make a purchase, this can result in this site earning a commission. Affiliate programs and affiliations include, but are not limited to, the eBay Partner Network.
Some weight comparison numbers.
Complete stock brake caliper with brake hose included 4.63 kg. "Stock" Stoptech rotor, slightly worn 6.44 kg.
Total for stock brakes 11.07 kg (24.4 lbs).
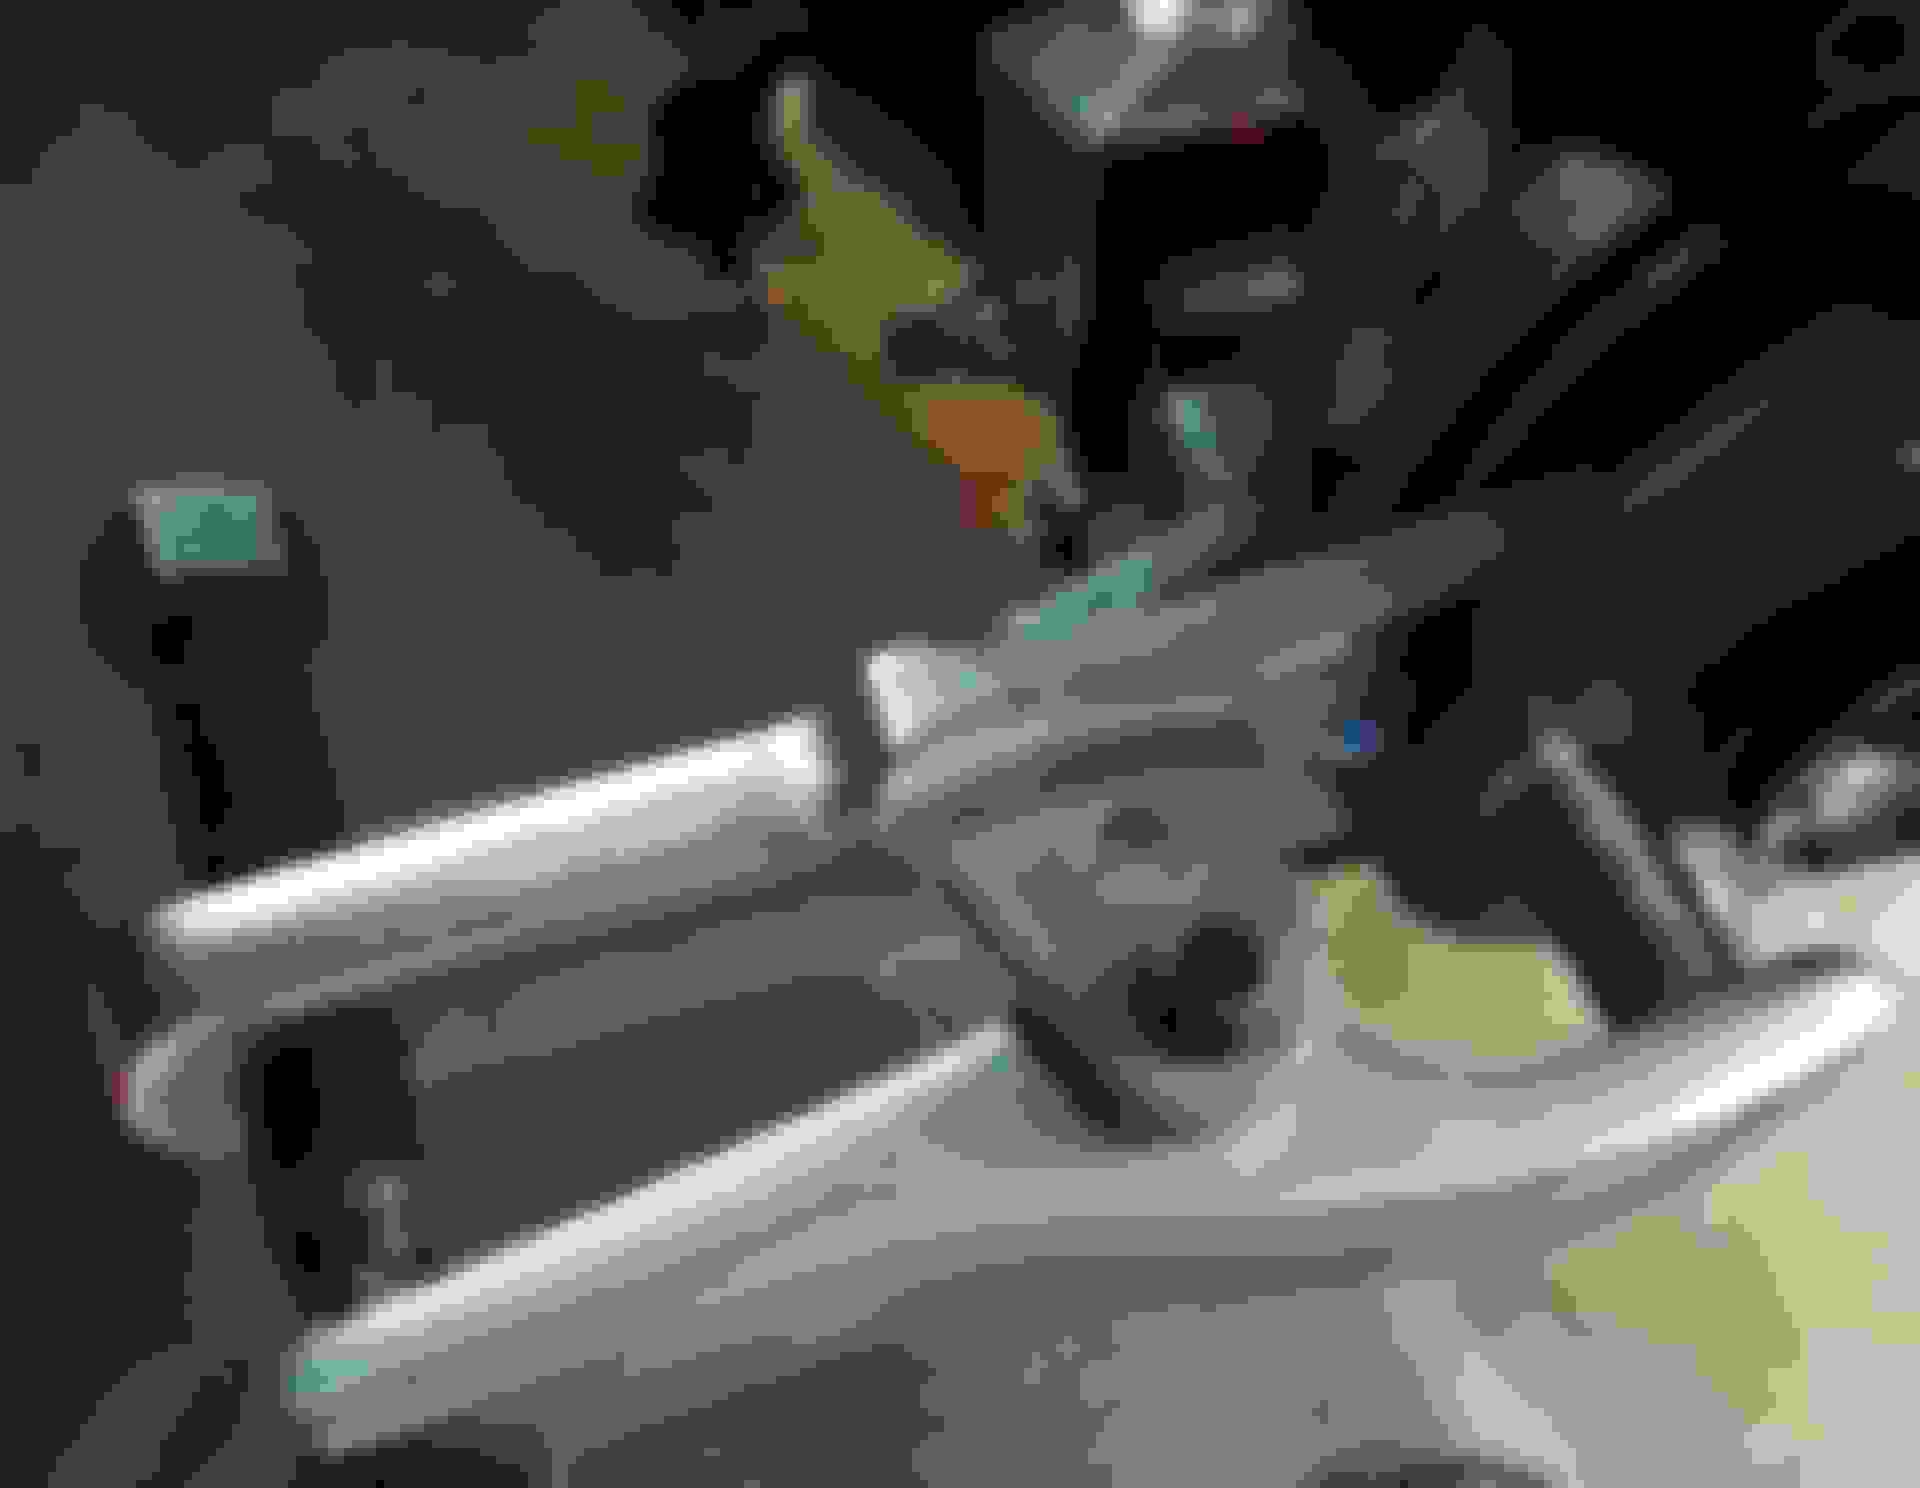
Wilwood caliper including adapter 2.43 kg. Complete assembled Wilwood rotor 5.21 kg.
Total 7.64 kg (16.8 lbs).
So in total almost 3.5 kg (7.7 lbs) weight saved per side and hopefully with a much better heat dissipation and thermal capacity.
Didn't check the pad weights but they should be pretty close I think.
The pistons on these Wilwood calipers are 41.1 28.4 and 28.4 mm, this is a bit larger area than the stock one and should give 16% more front torque.
Hopefully it wont be to much.
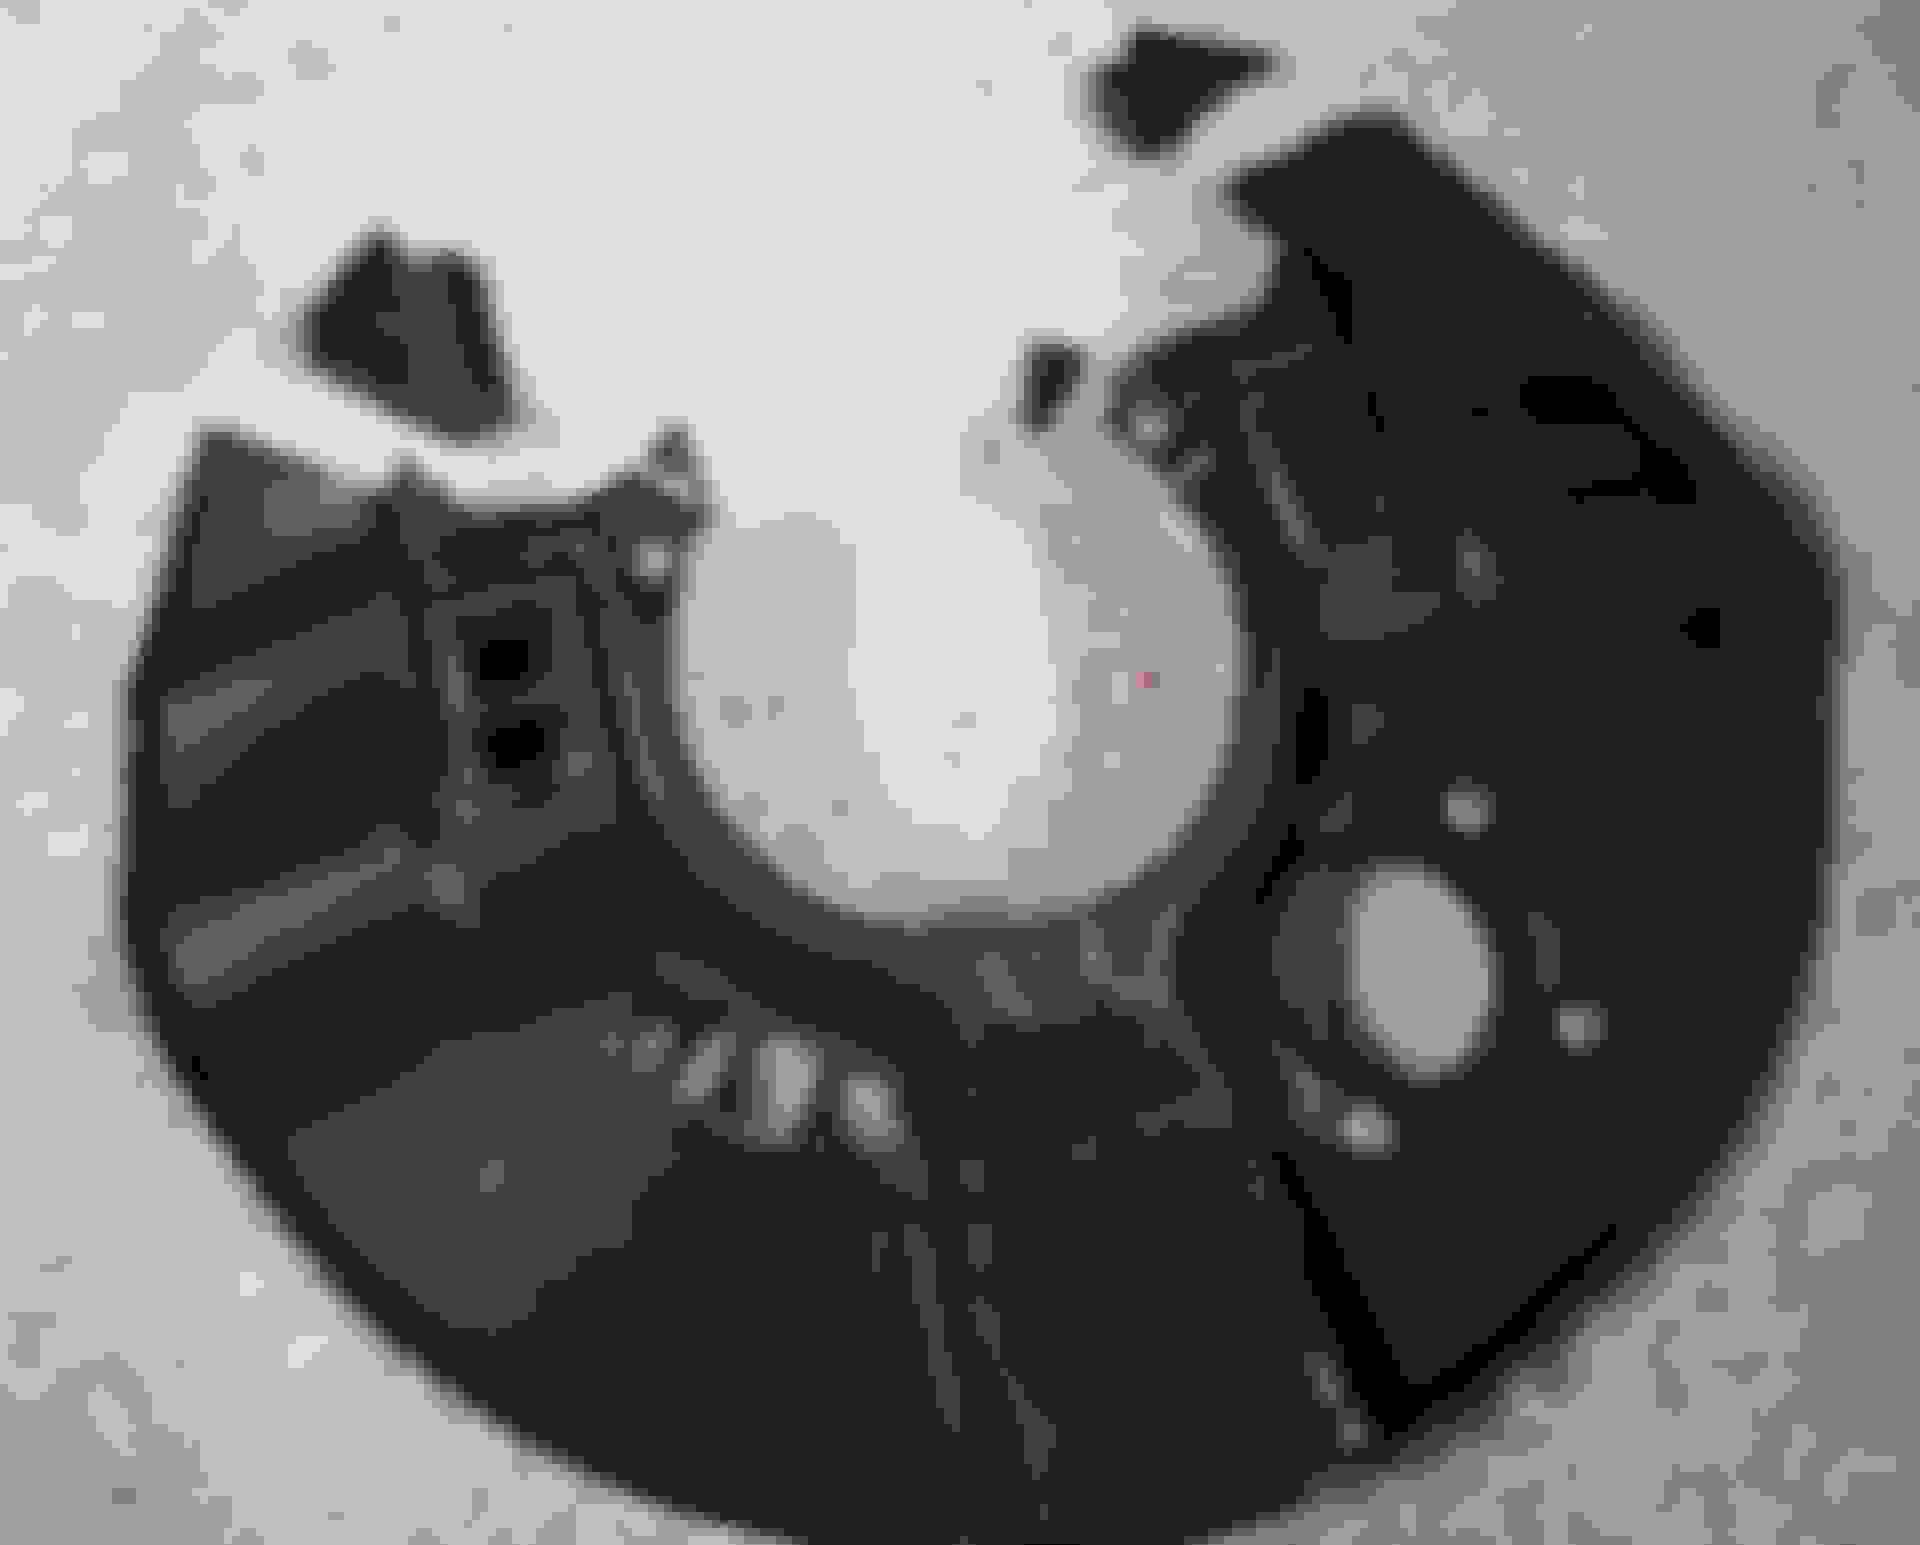
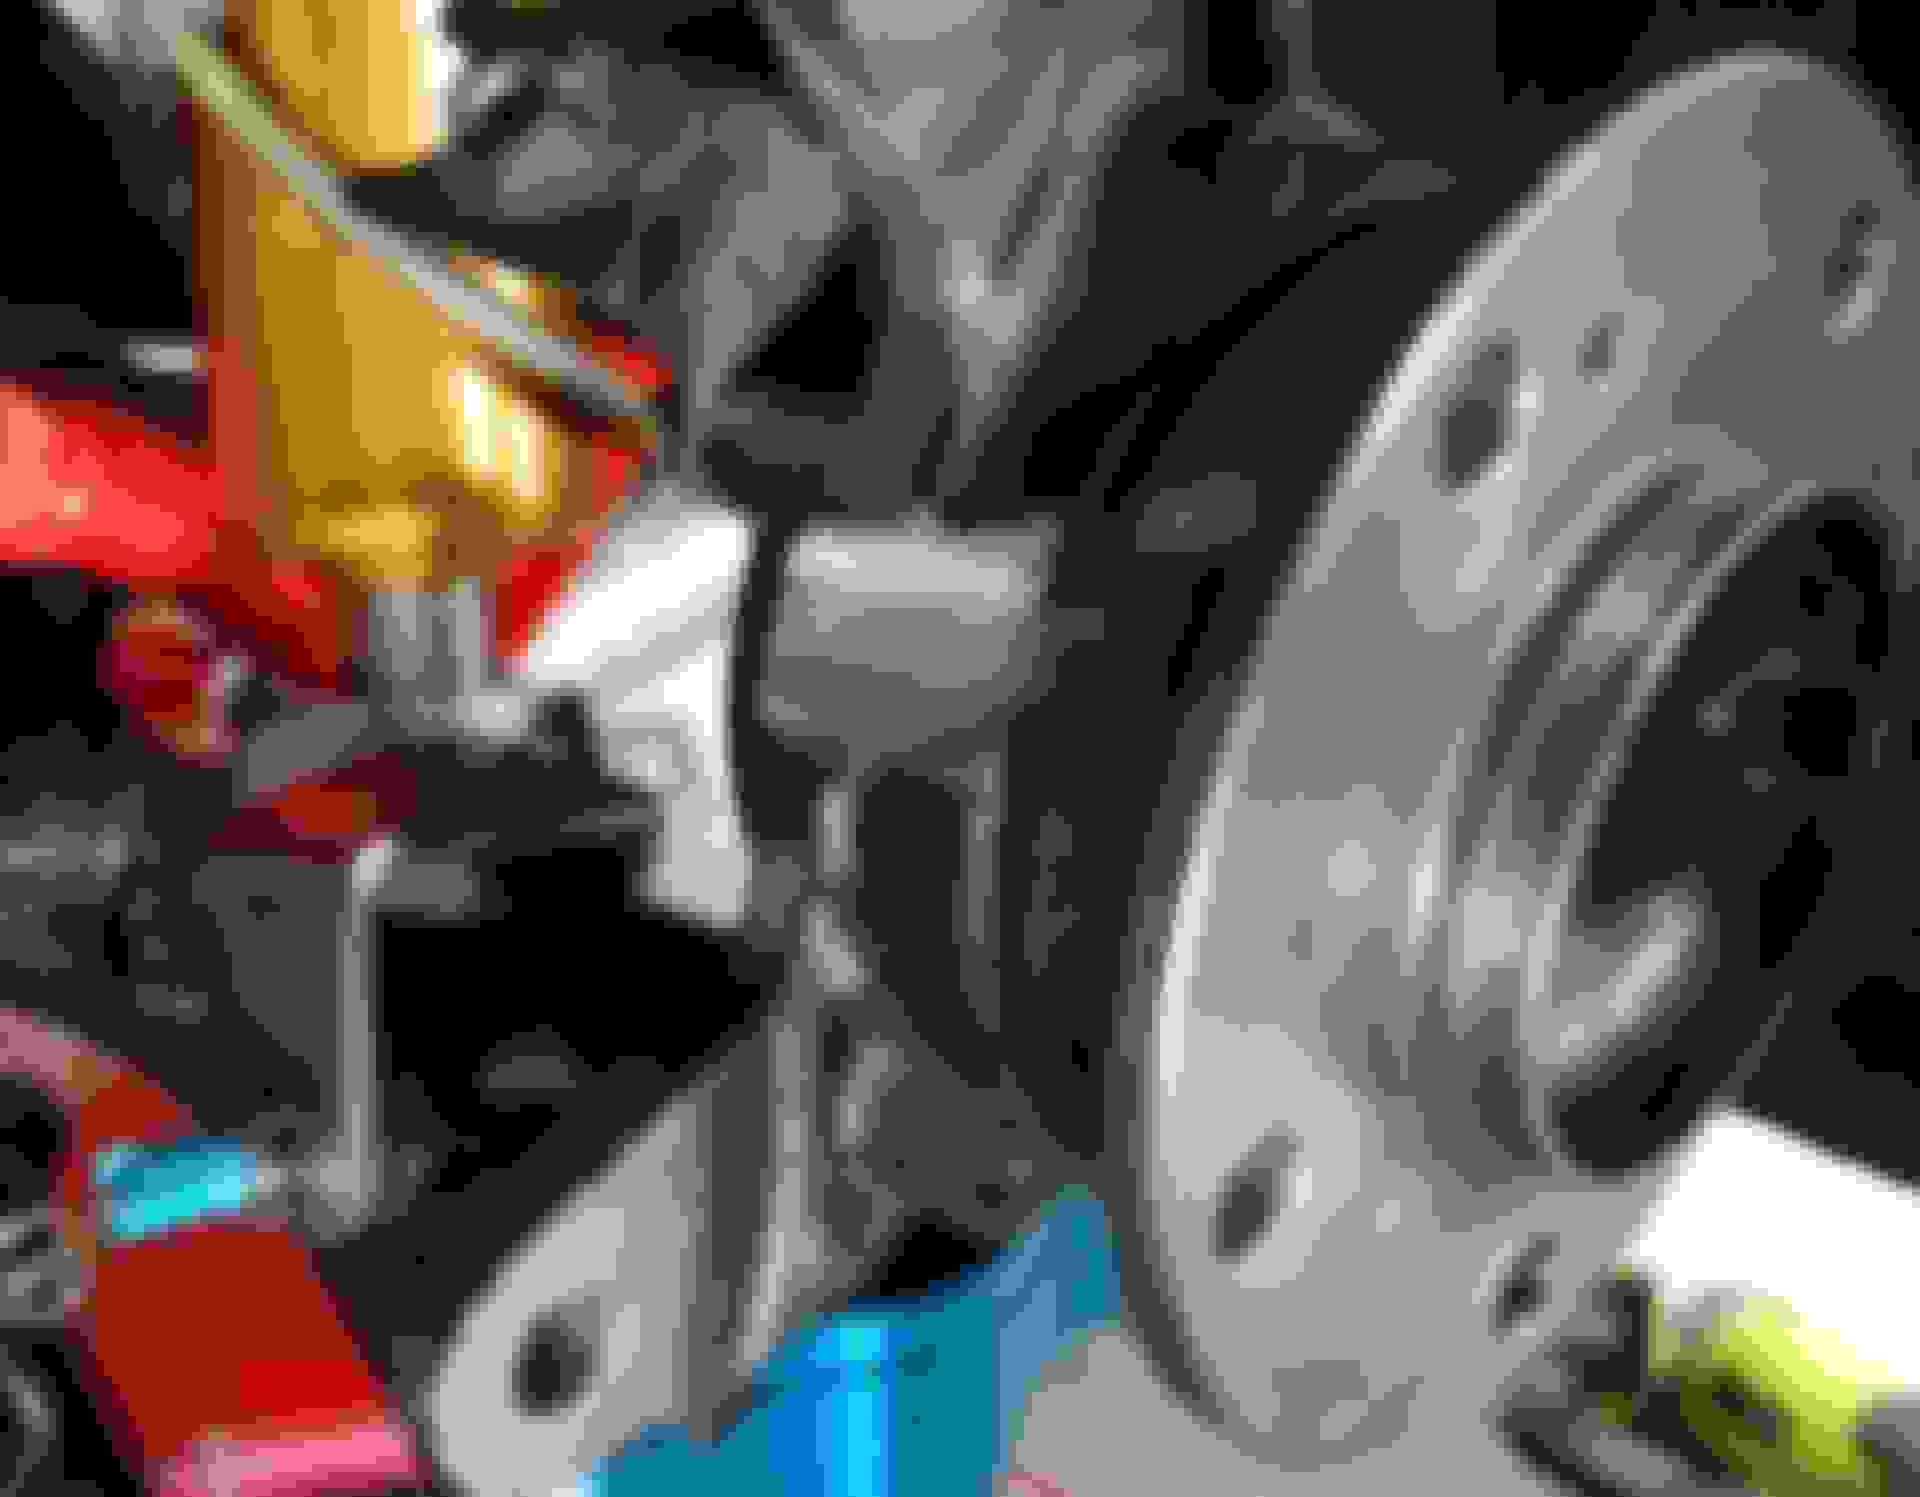
Forgot this picture on how the I had to cut off some material on the splash guard.
I'm going to start running with the Wilwood BP10 pads in the front, hopefully they might work alright at the track as well.
For street use they seem perfect.
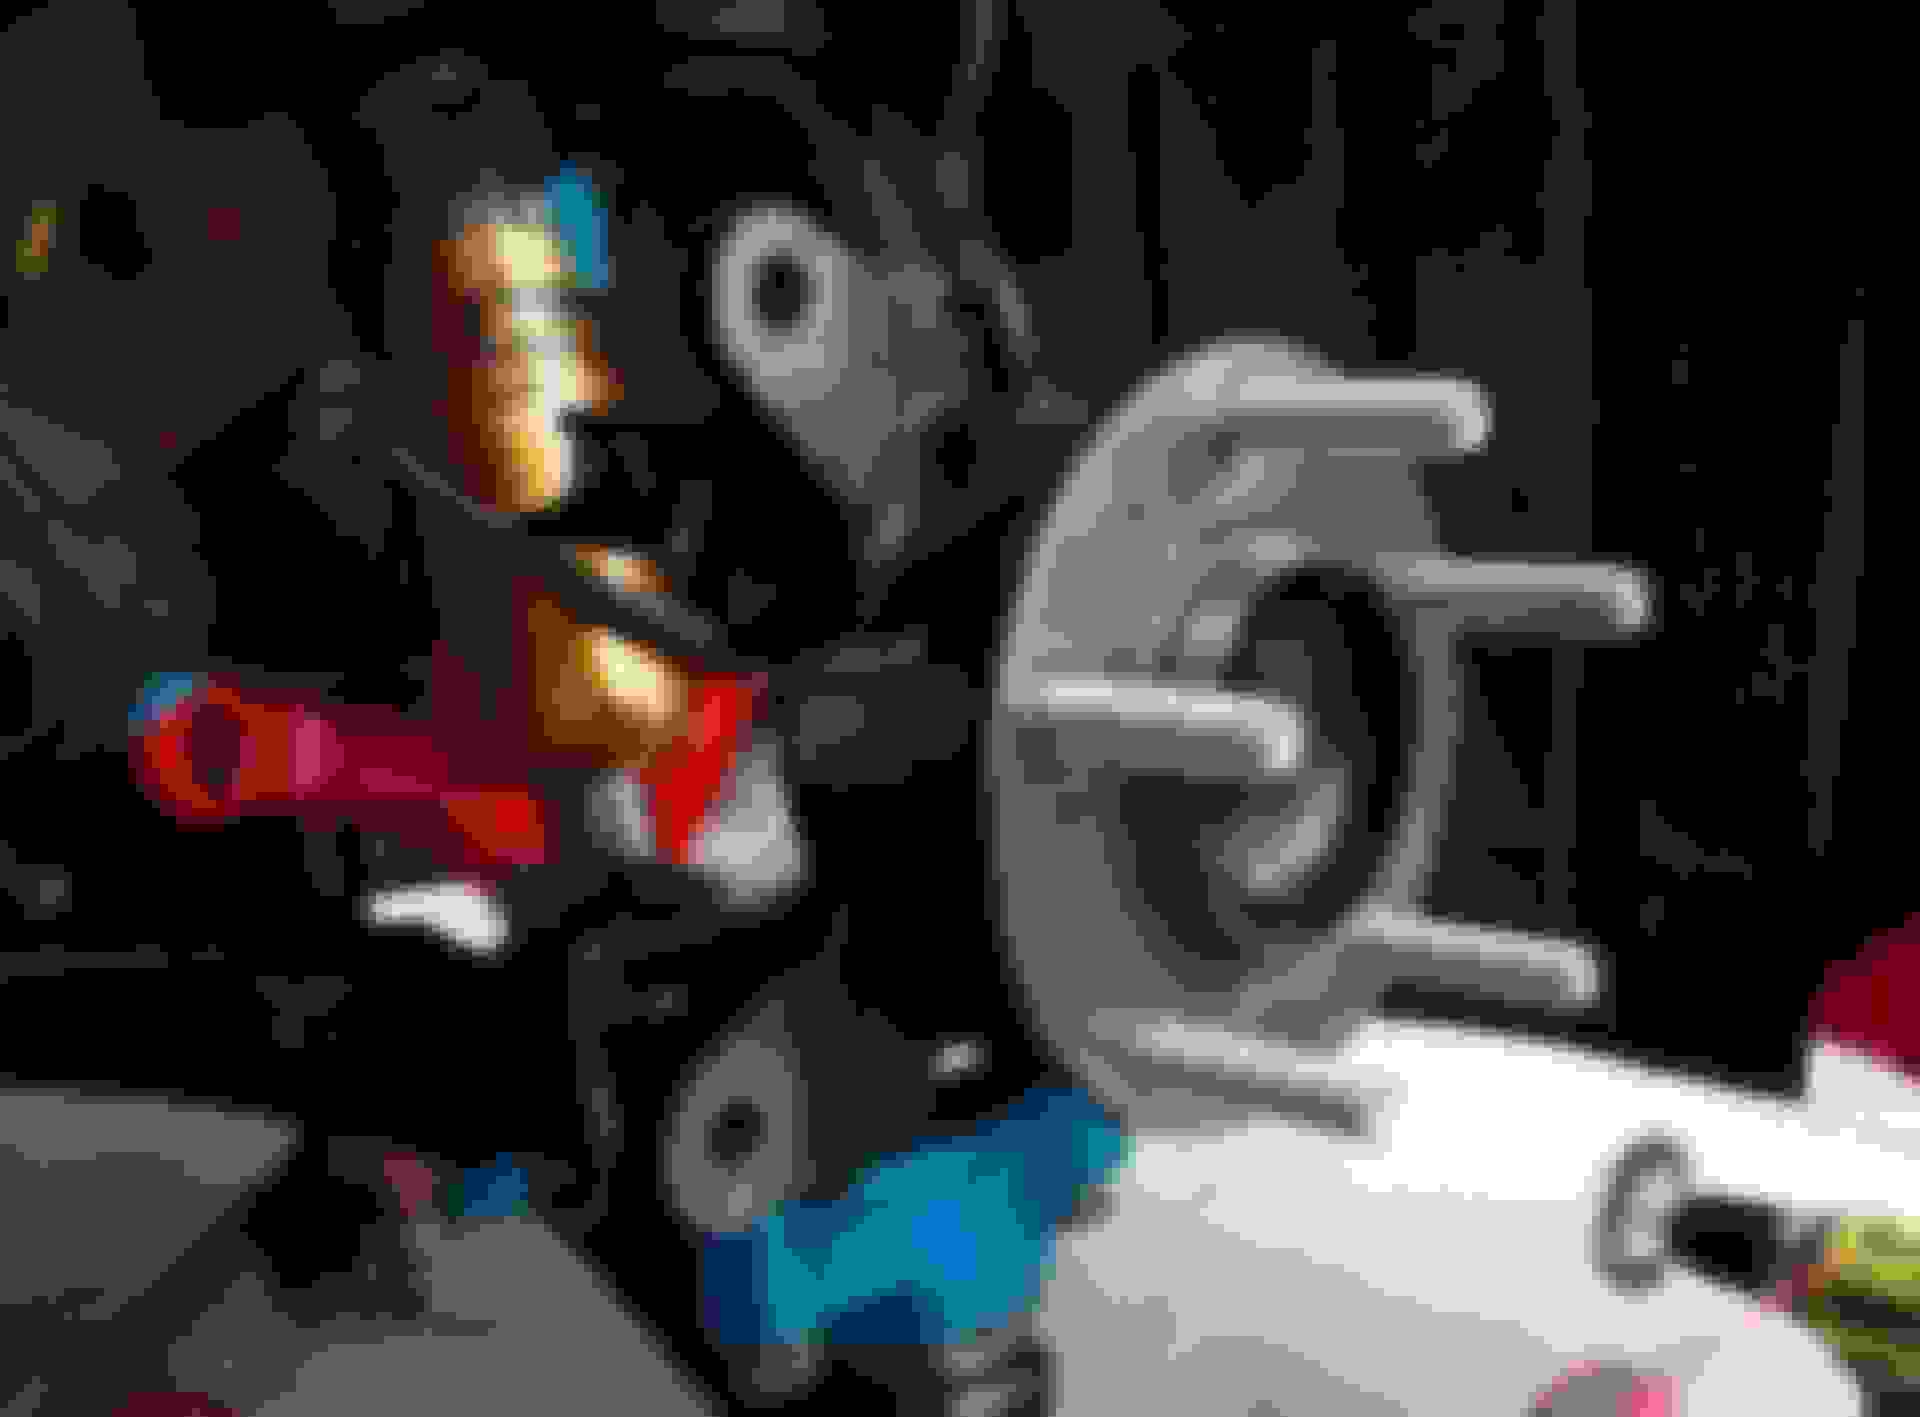
As hinted before there was some more work done.
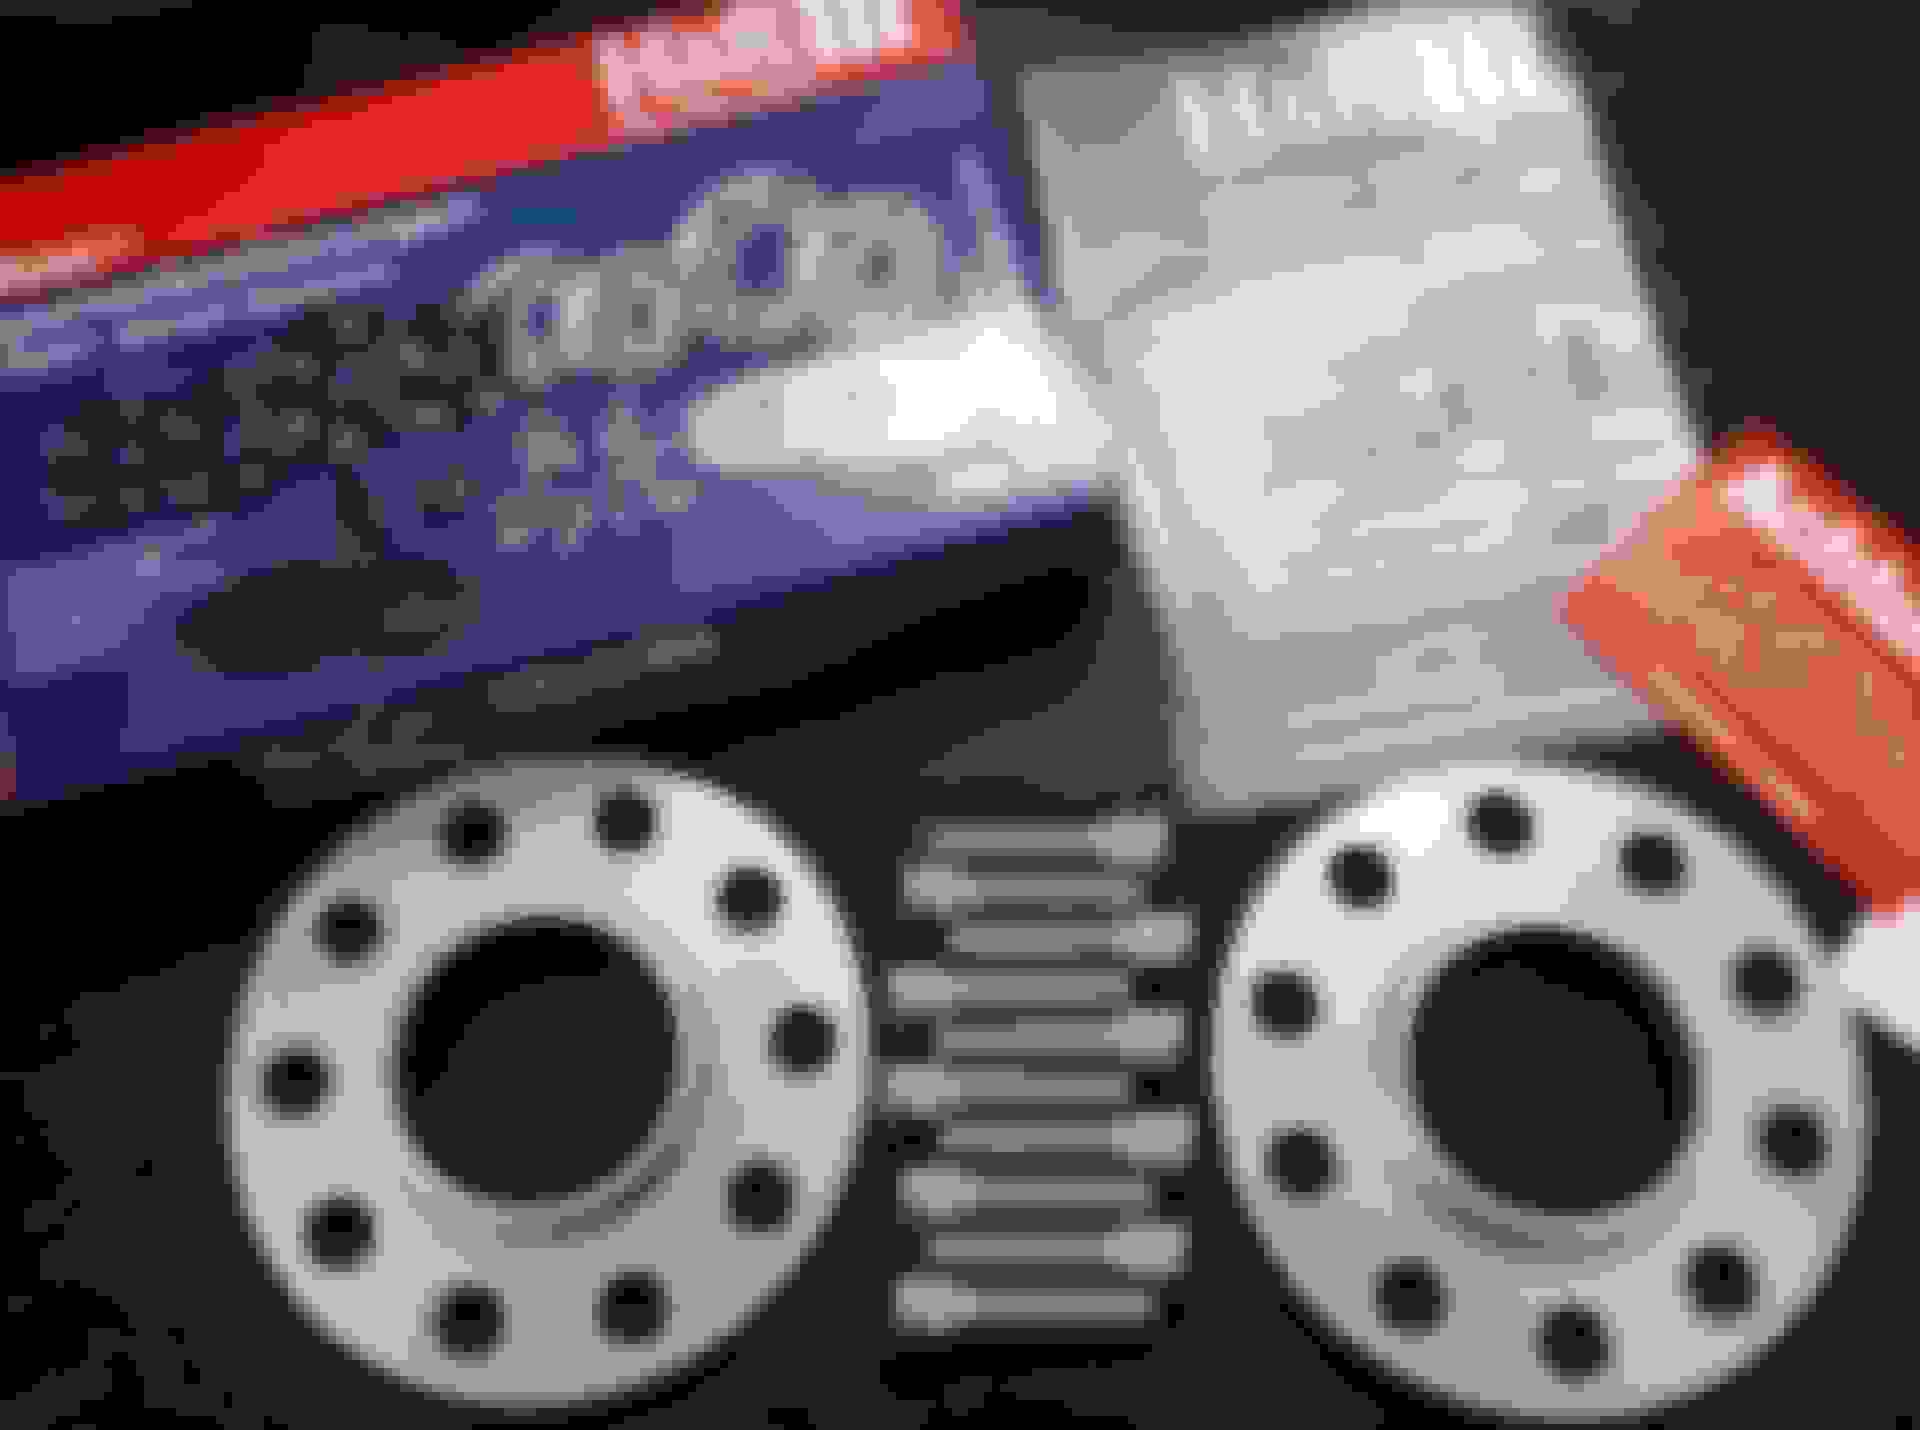
The problem was my new 17x9 +55 wheels wouldn't clear the brakes and it wasn't even close.
I really hate the idea of running spacers but didn't see much else to do so I got these anyways.
Natural anodized and super nice quality.
With a 10mm spacer in place I would need to use the included longer studs.
Pressing out the old ones was really easy with a ball joint separator.
Unfortunately the spindle blocks them from popping out completely.
Hated myself for doing this but I went the easy way and just grinded out a channel for the studs.
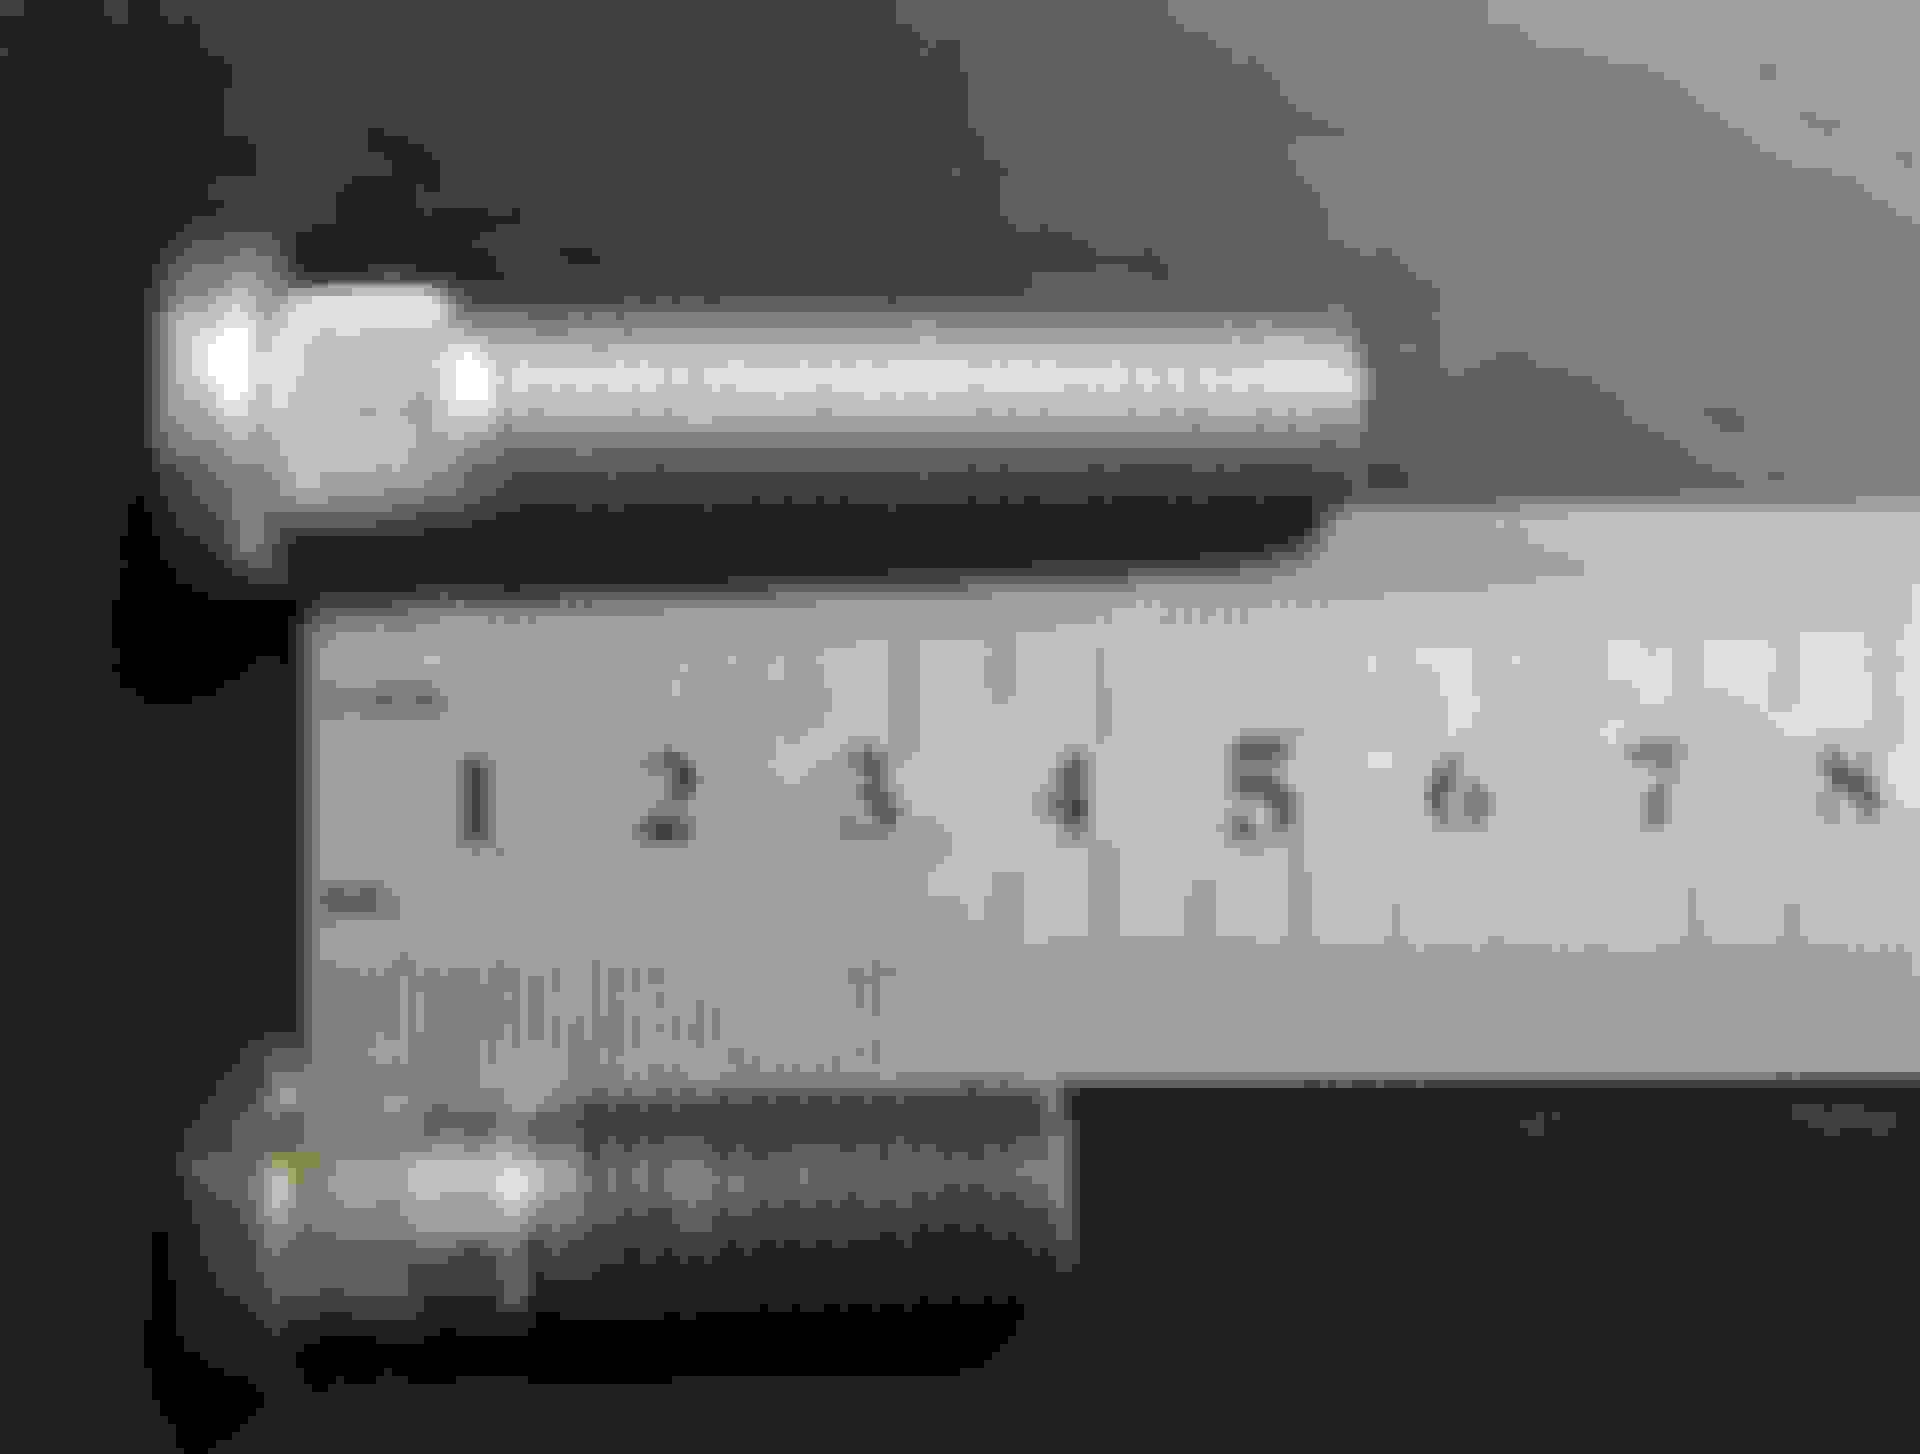
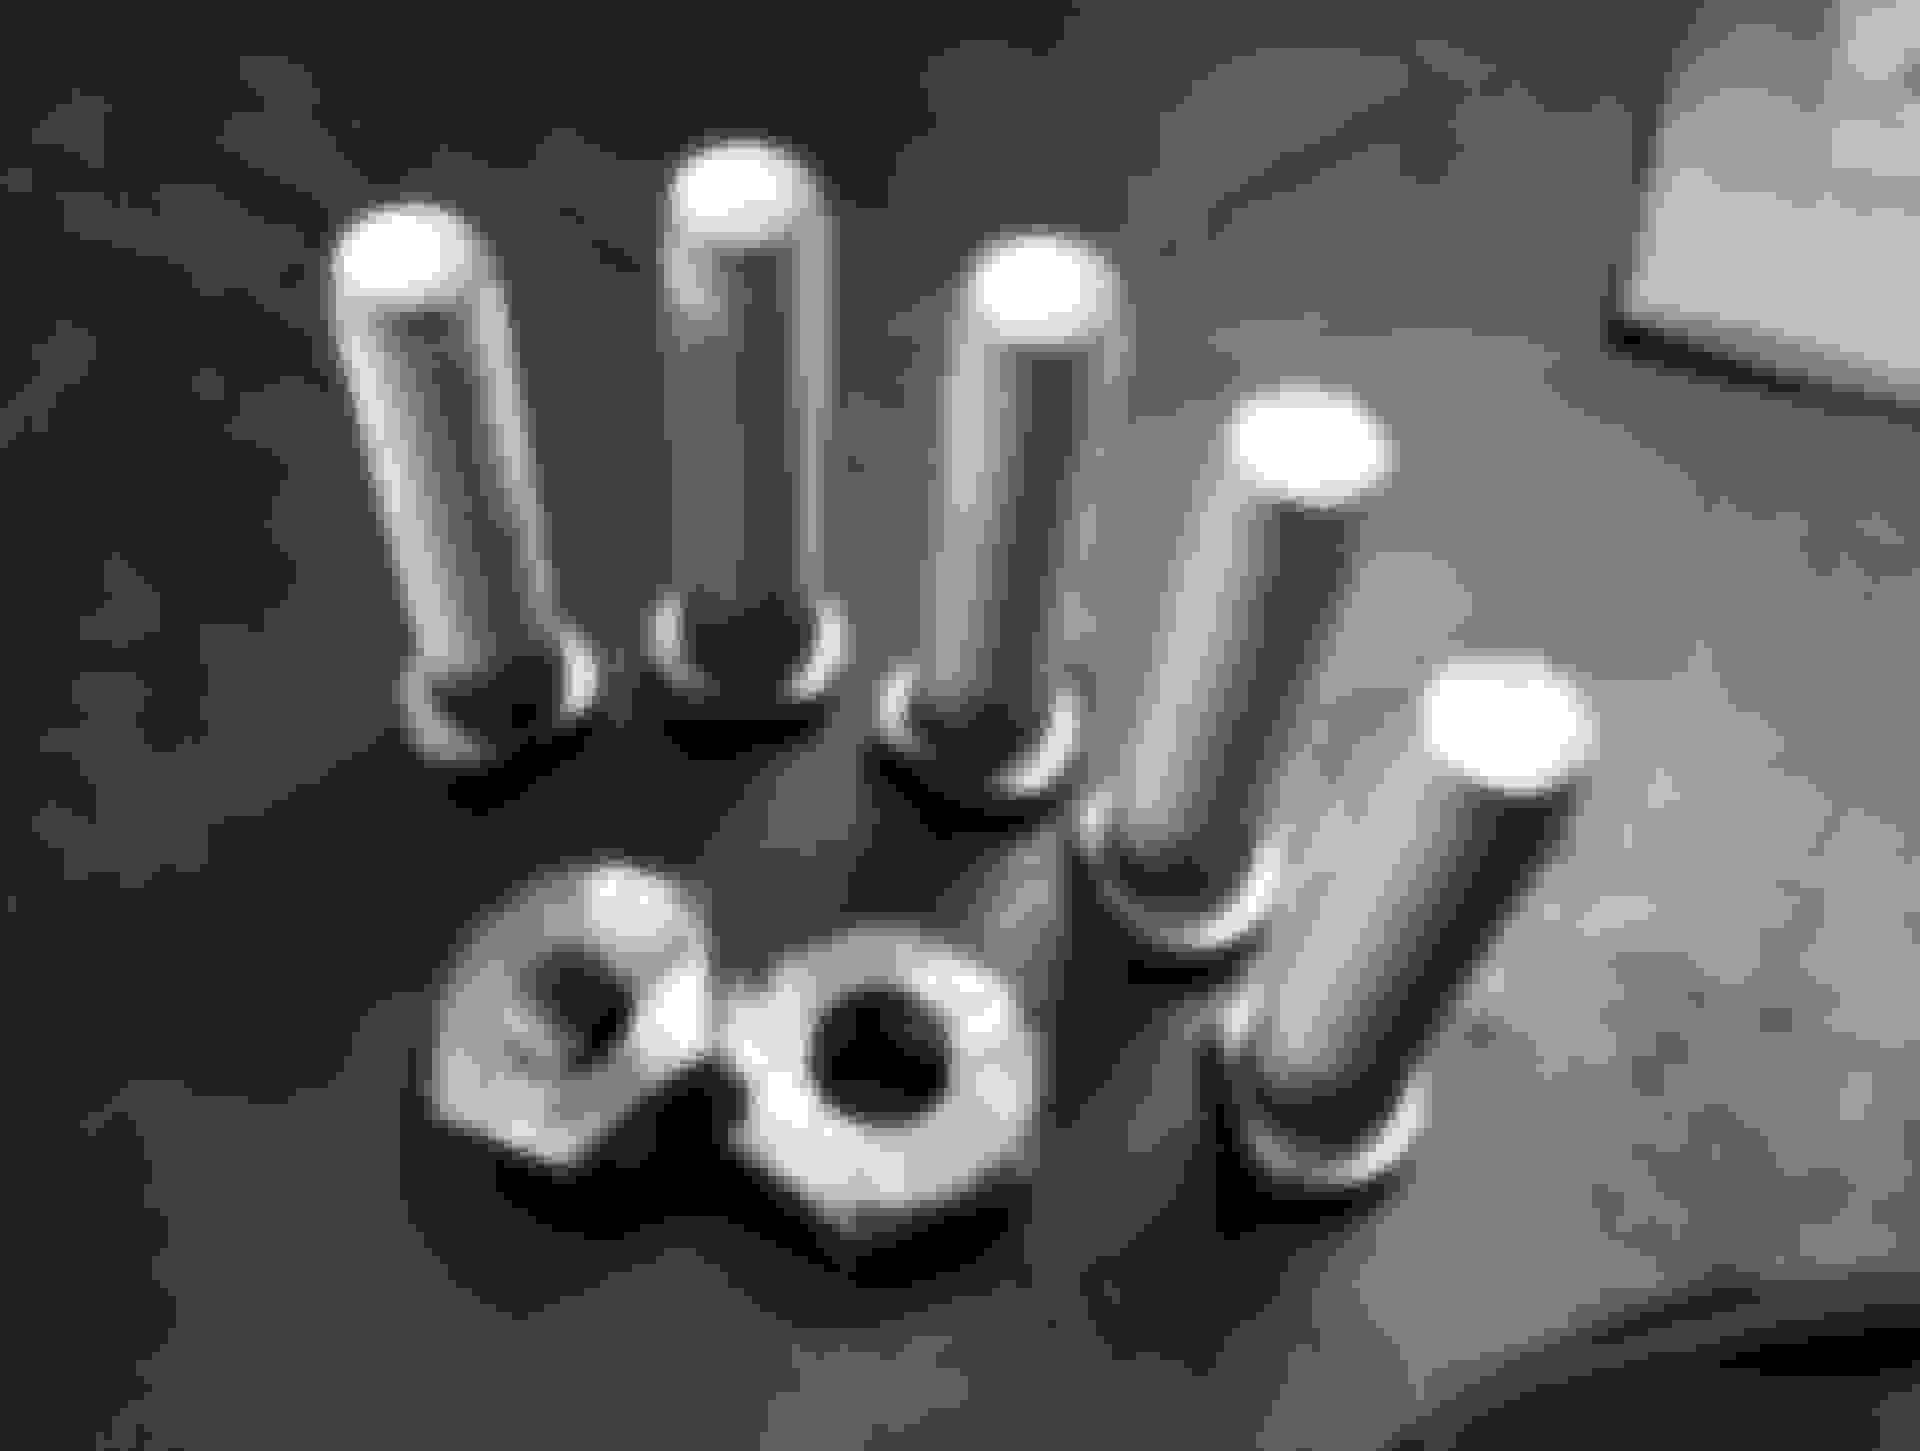
Still needed to shave down the new longer studs, also made a couple of flat nuts to use when pressing them in.
Made them from a cut down M16 bolt head.
Went in nice and easy.
All done, obviously I painted all the bare metal afterwards but didn't catch that on picture.
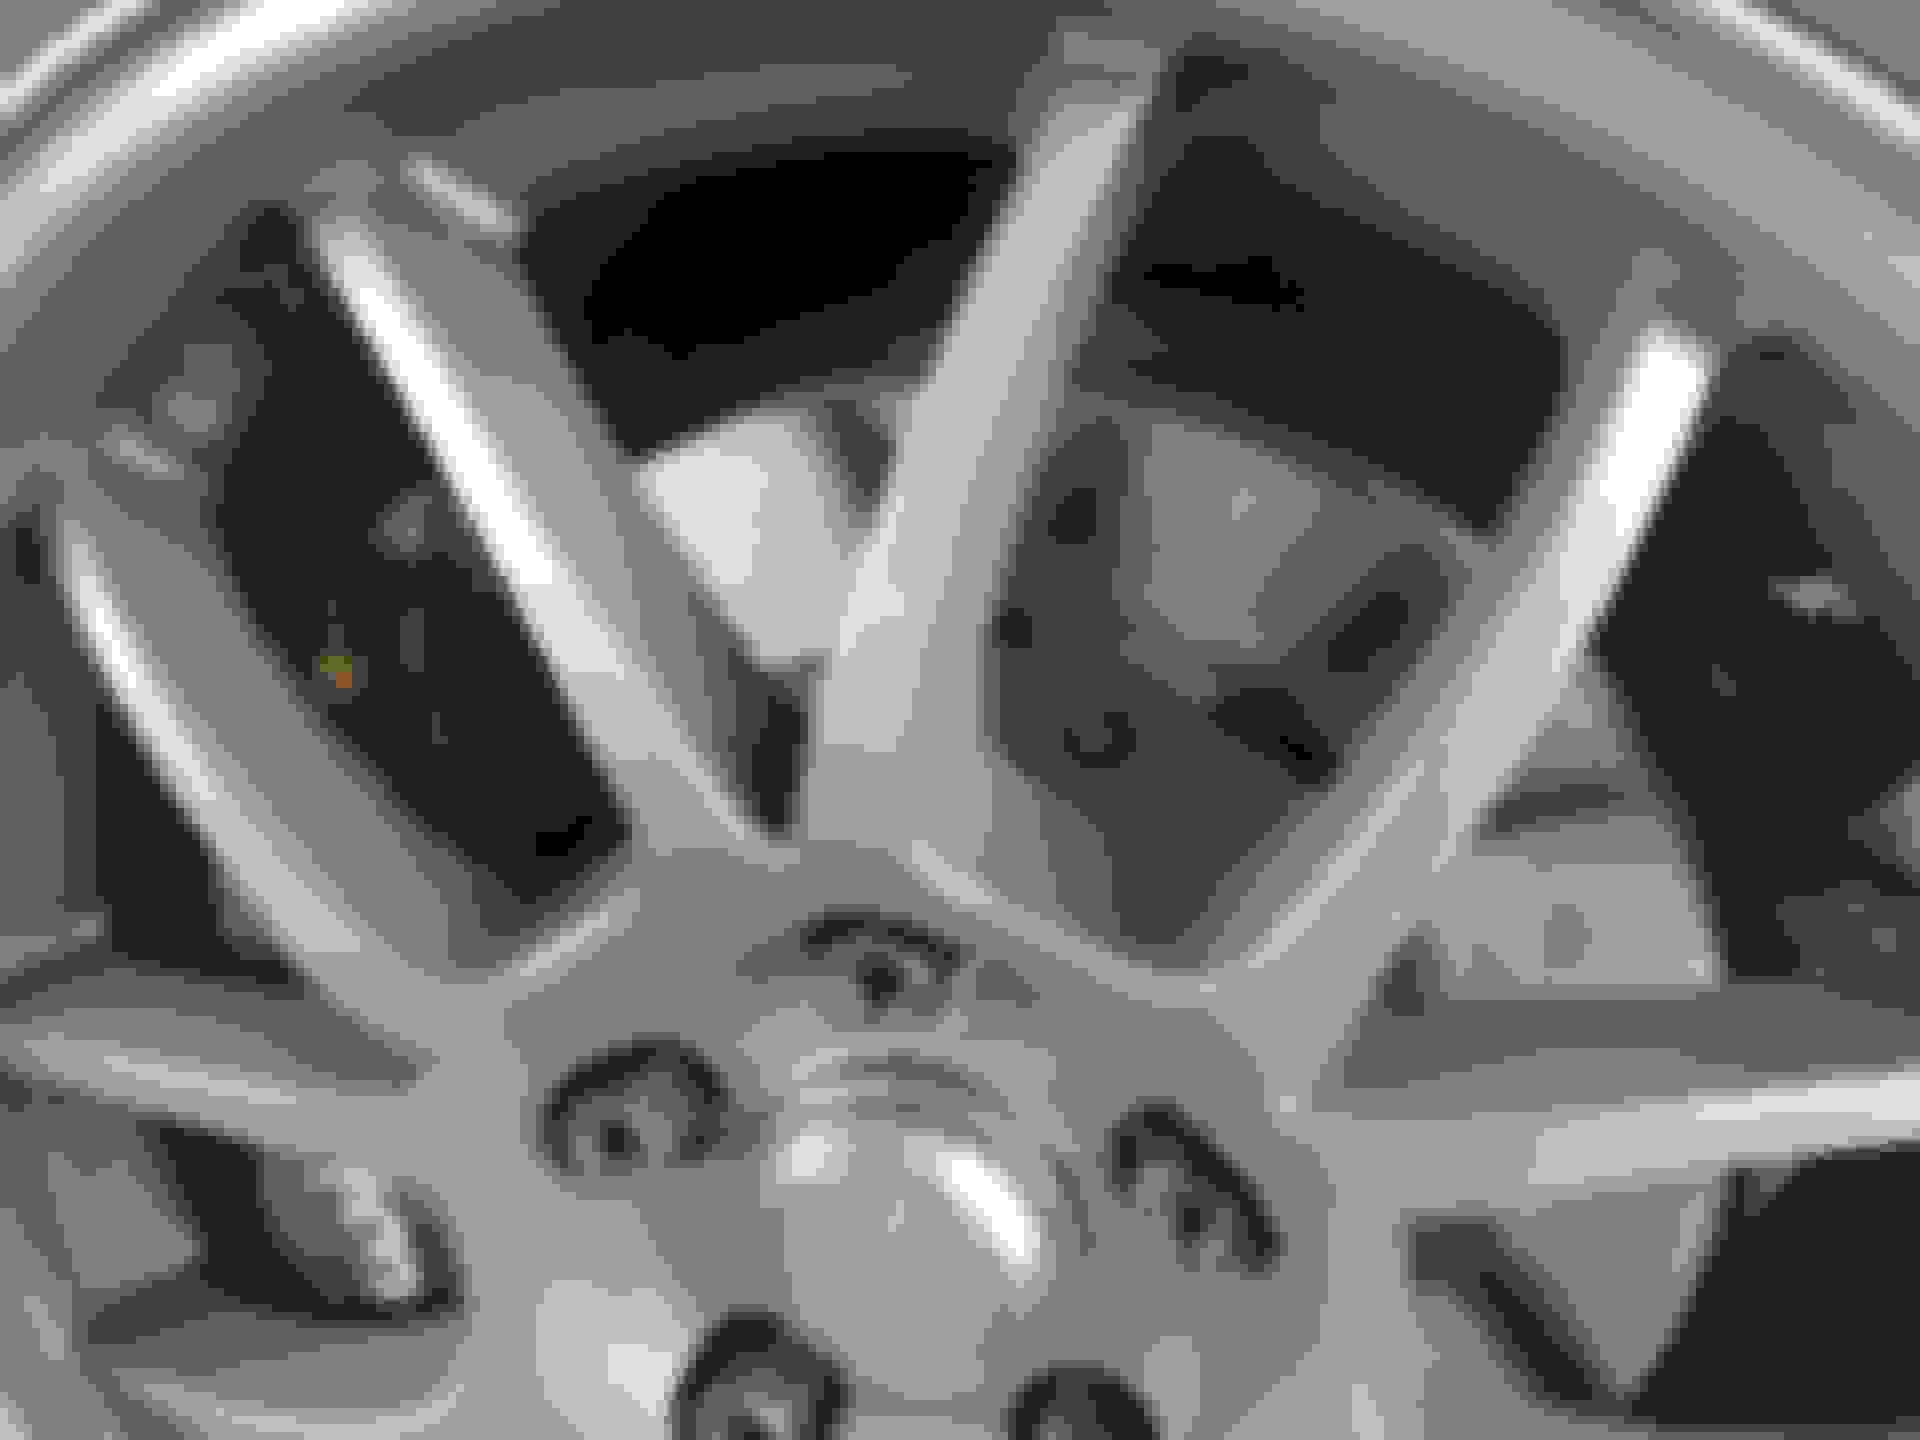
Before mounting the tires the wheels got some love.
Never tried ceramic coating but I hope it works as good as it sounds.
The surface felt super slippery afterwards and also a bit more shine.
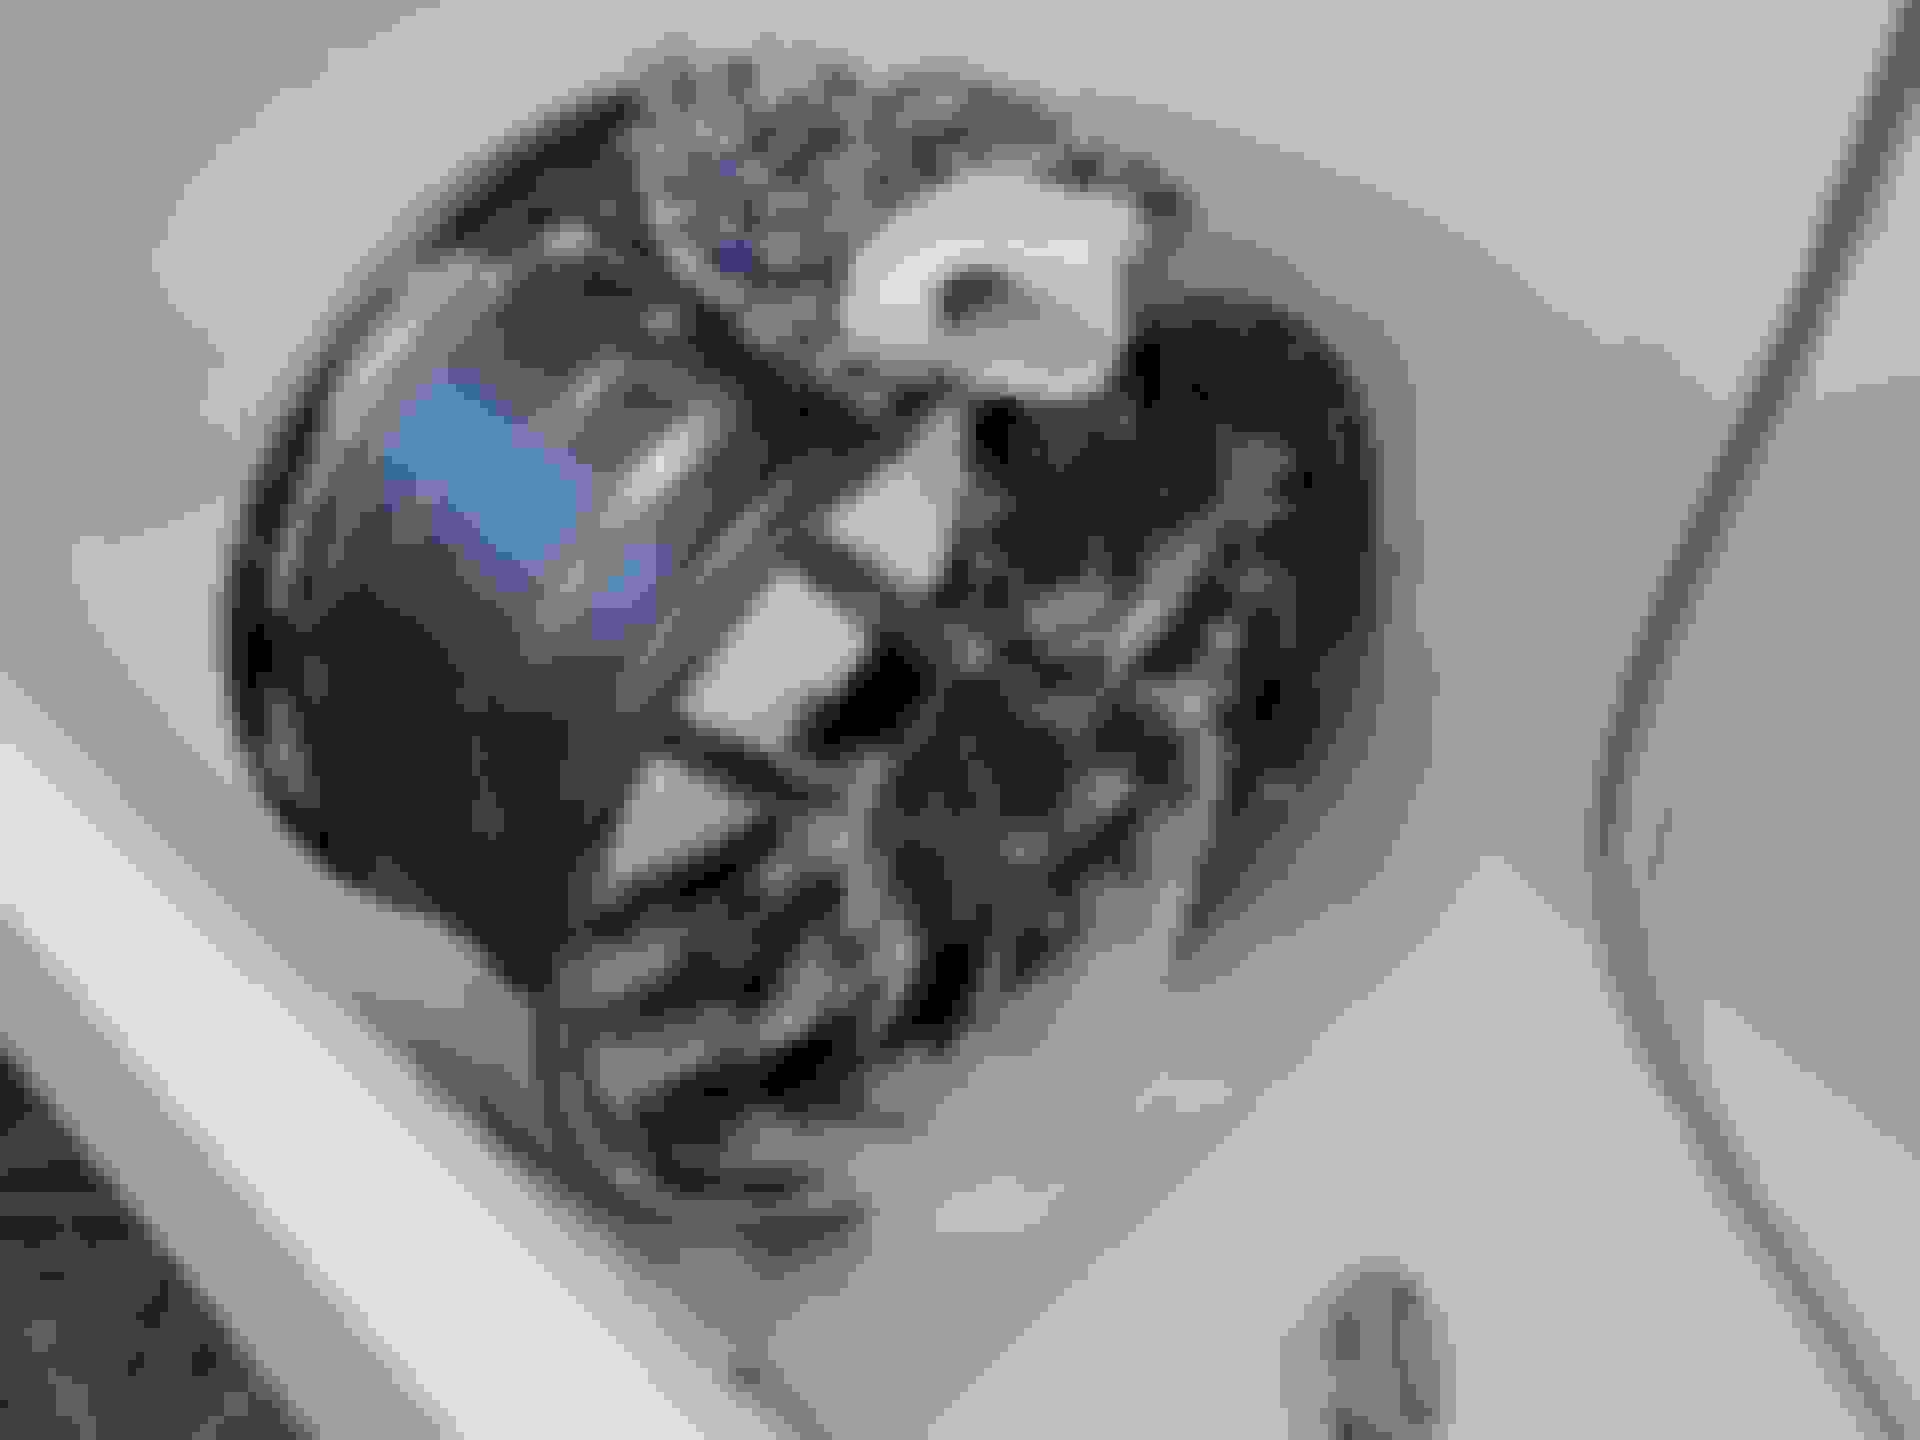
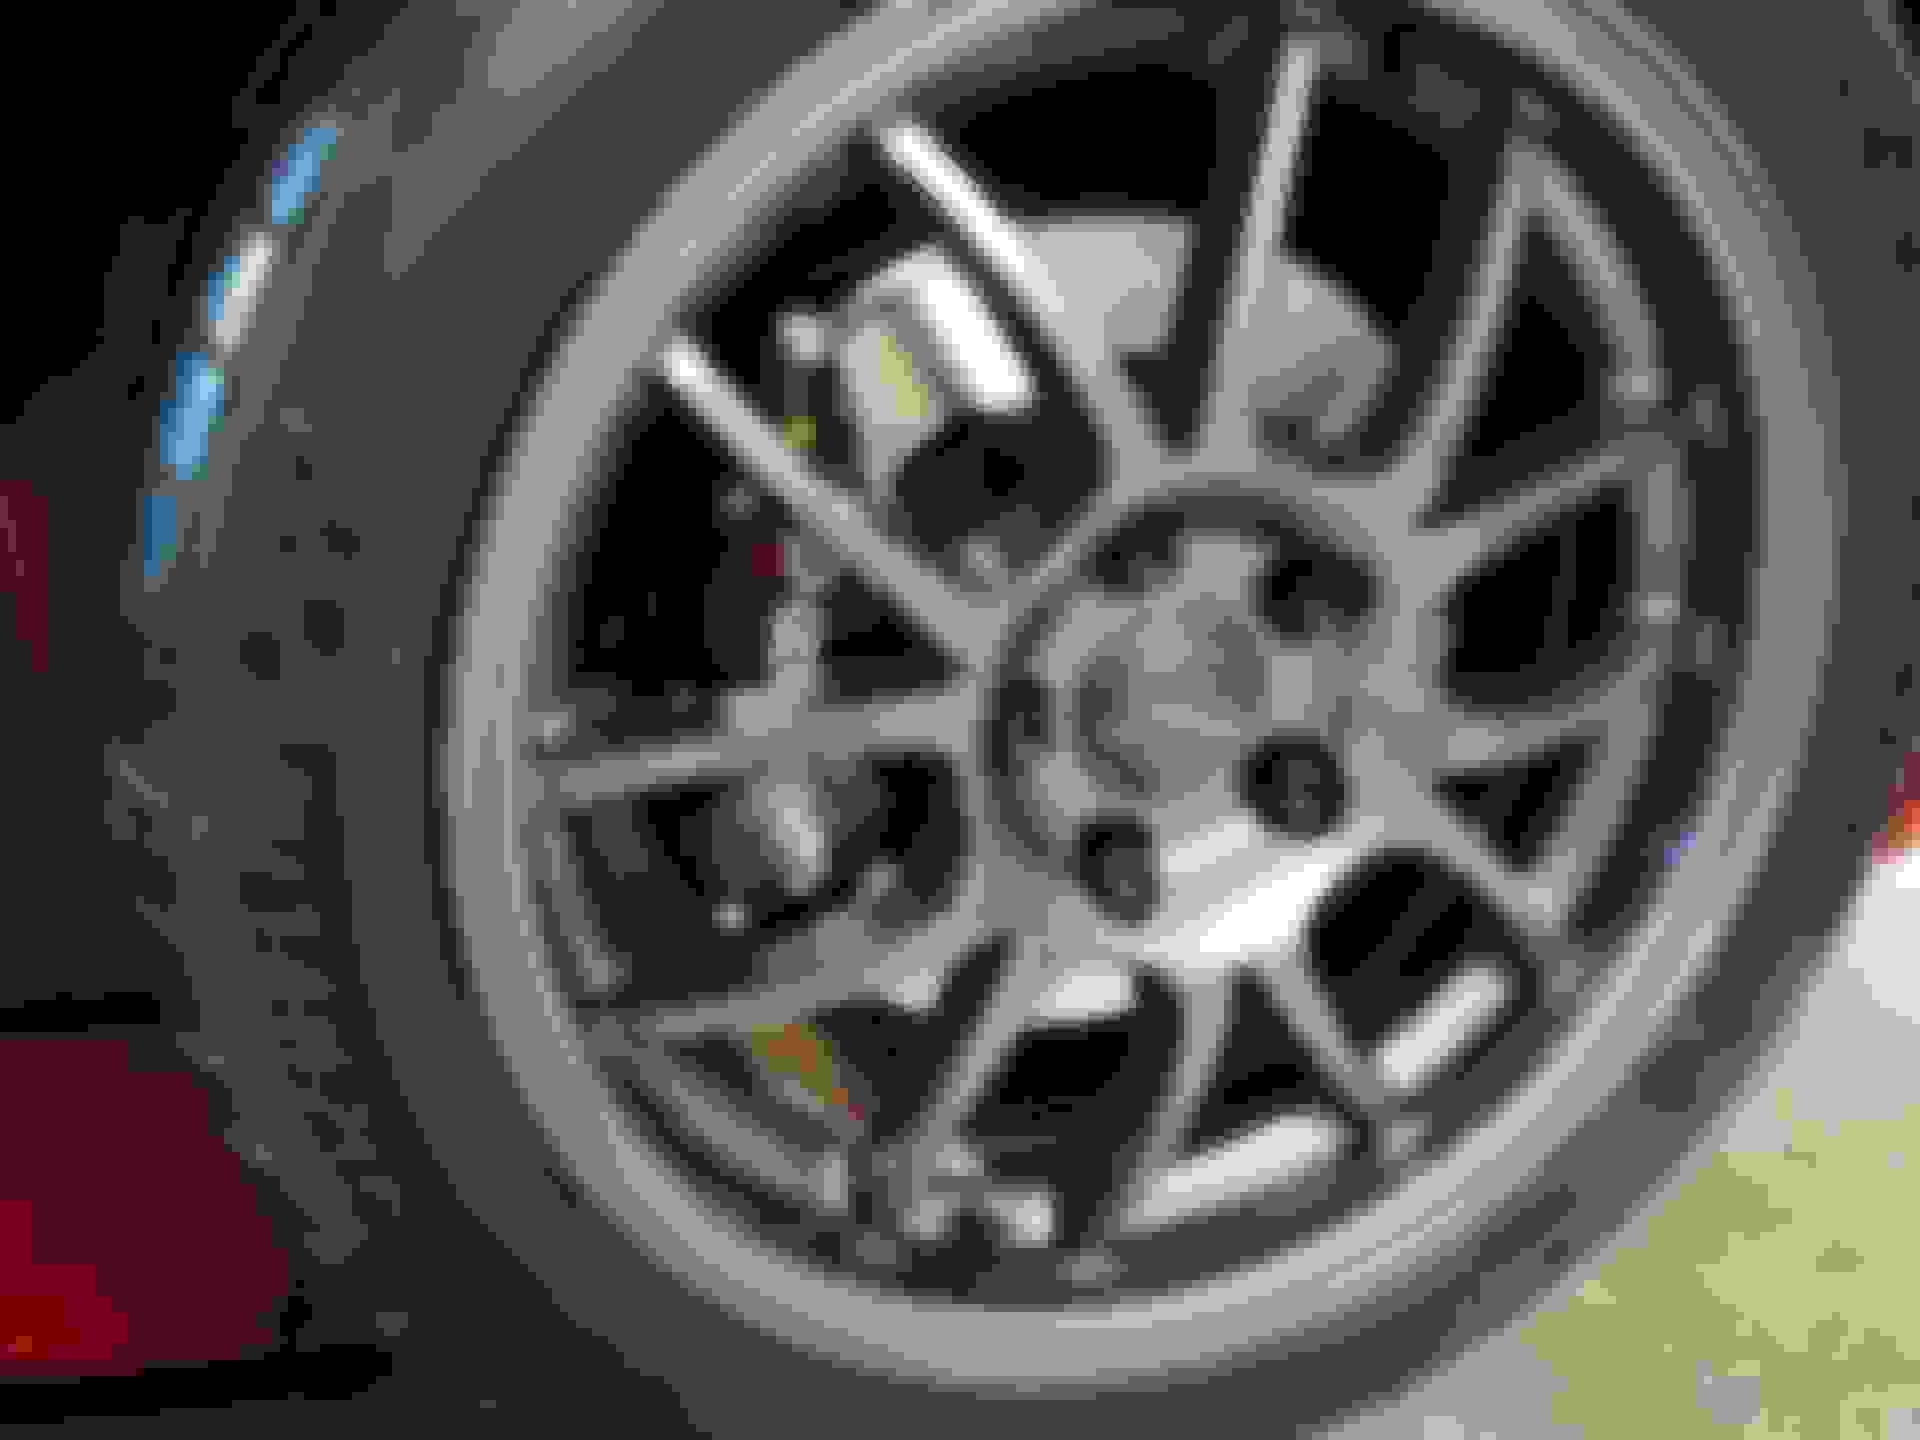
Finally wheel is on, with the 10mm spacer there is around 5-6mm of clearance.
I even tried it with stock 16" wheel which did fit when using both spacers (20mm total) clearing by about 4-5mm.
Got really worried about the wheel clearance so spend a lot of time rolling the fenders even more, hopefully it will be enough.
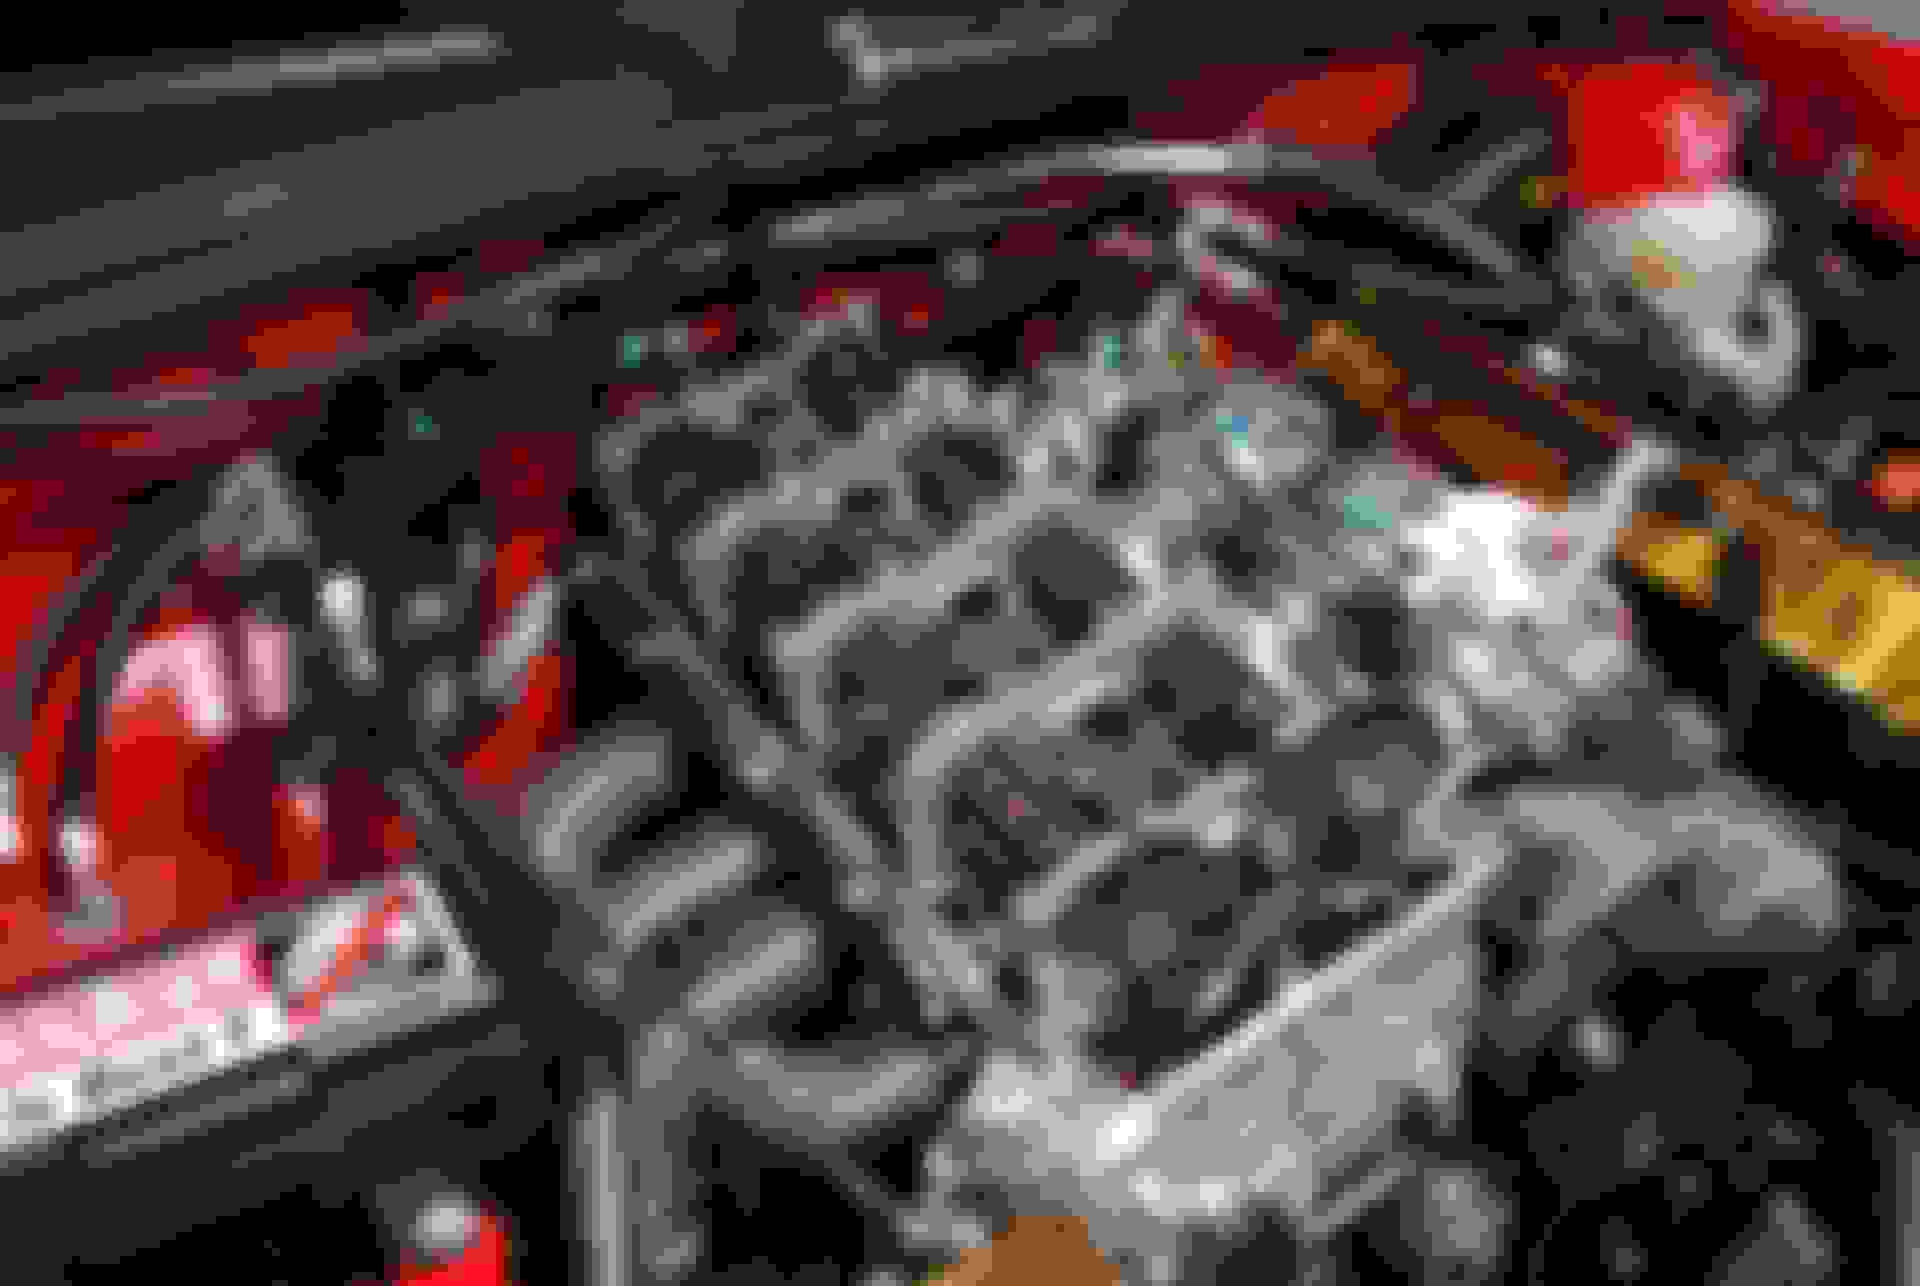
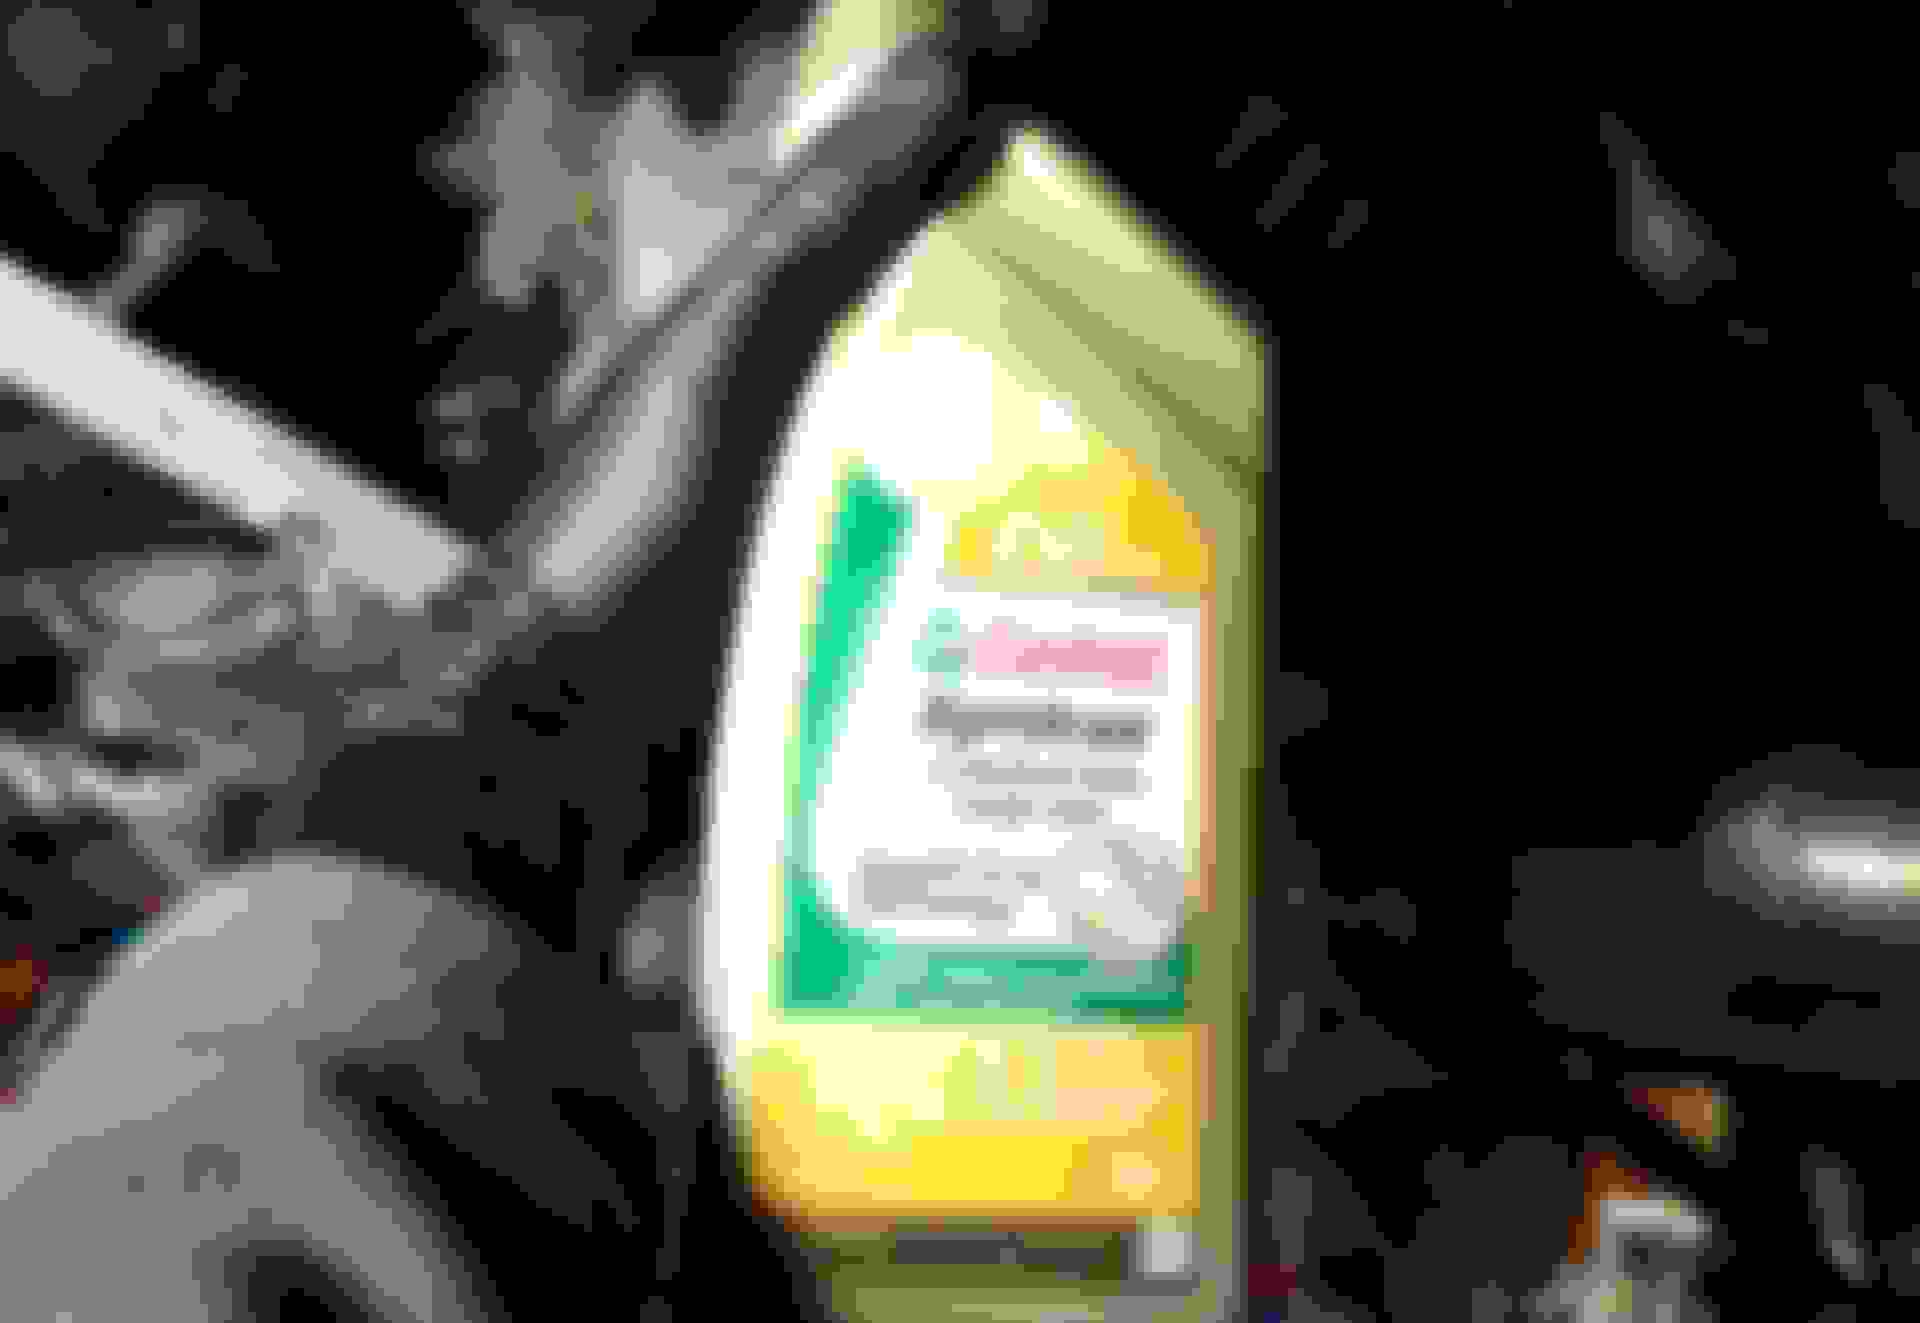
Some regular maintenance was also done, engine got a new can of Motul 5W-40 and I also checked the valve clearance.
A few of them had gone a bit tight.
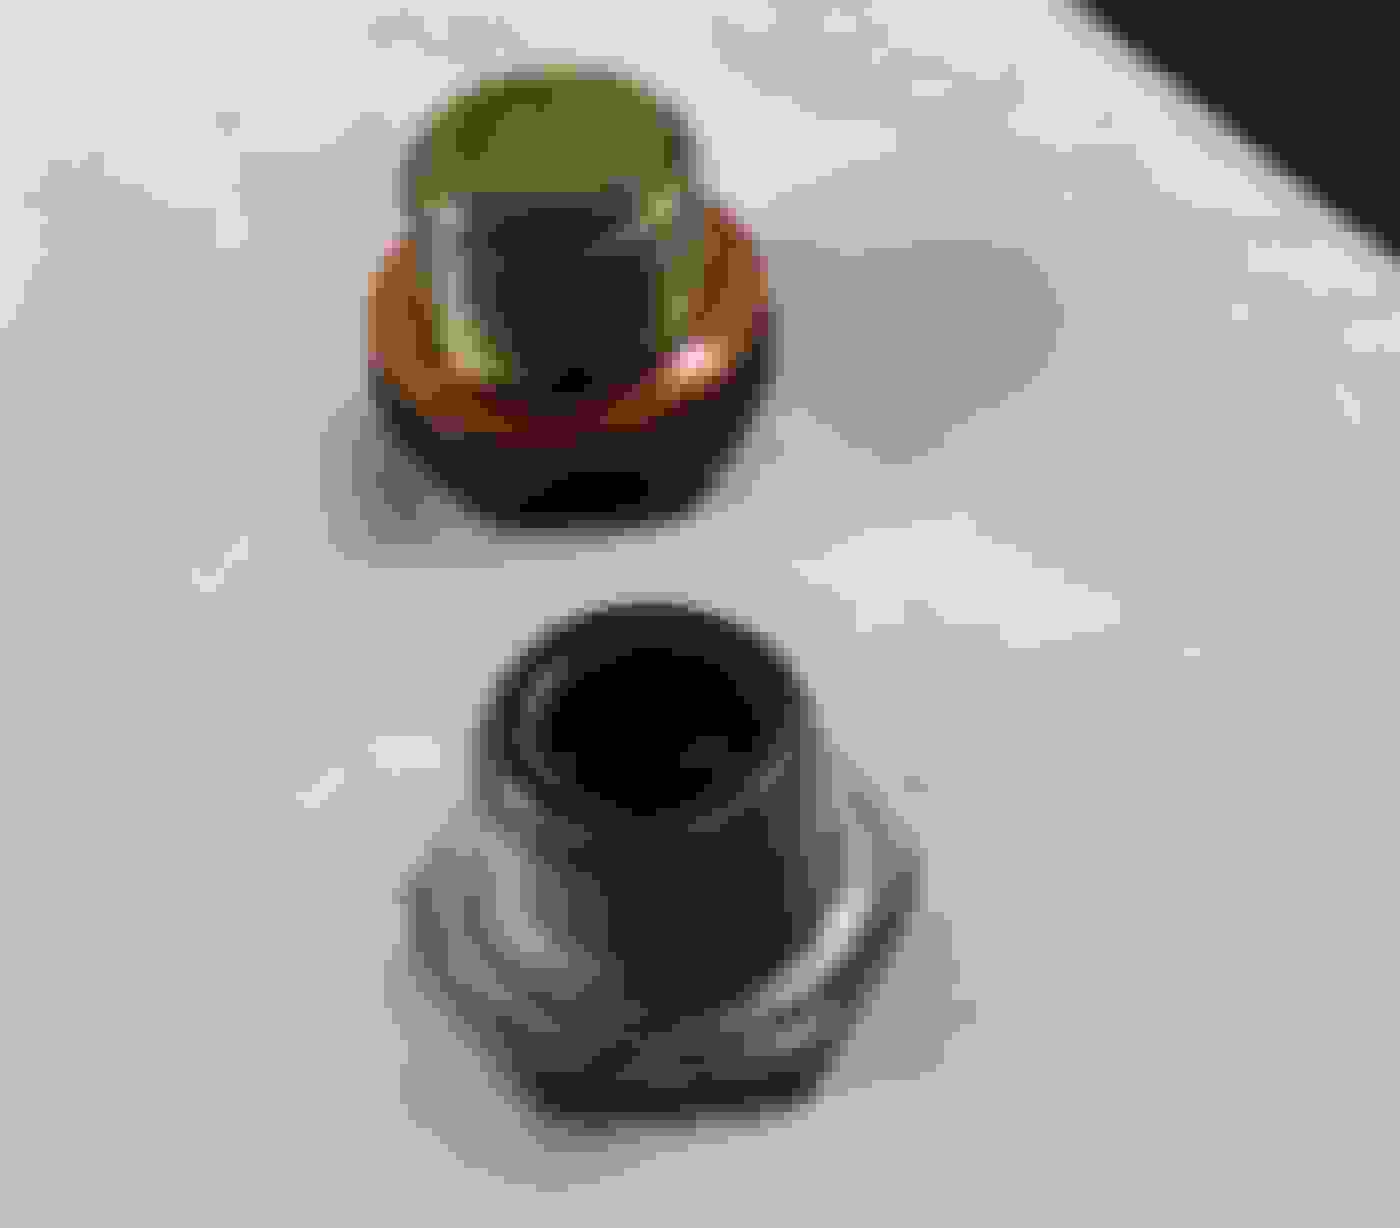
Out with the old, didn't look bad at all.
In with the new.
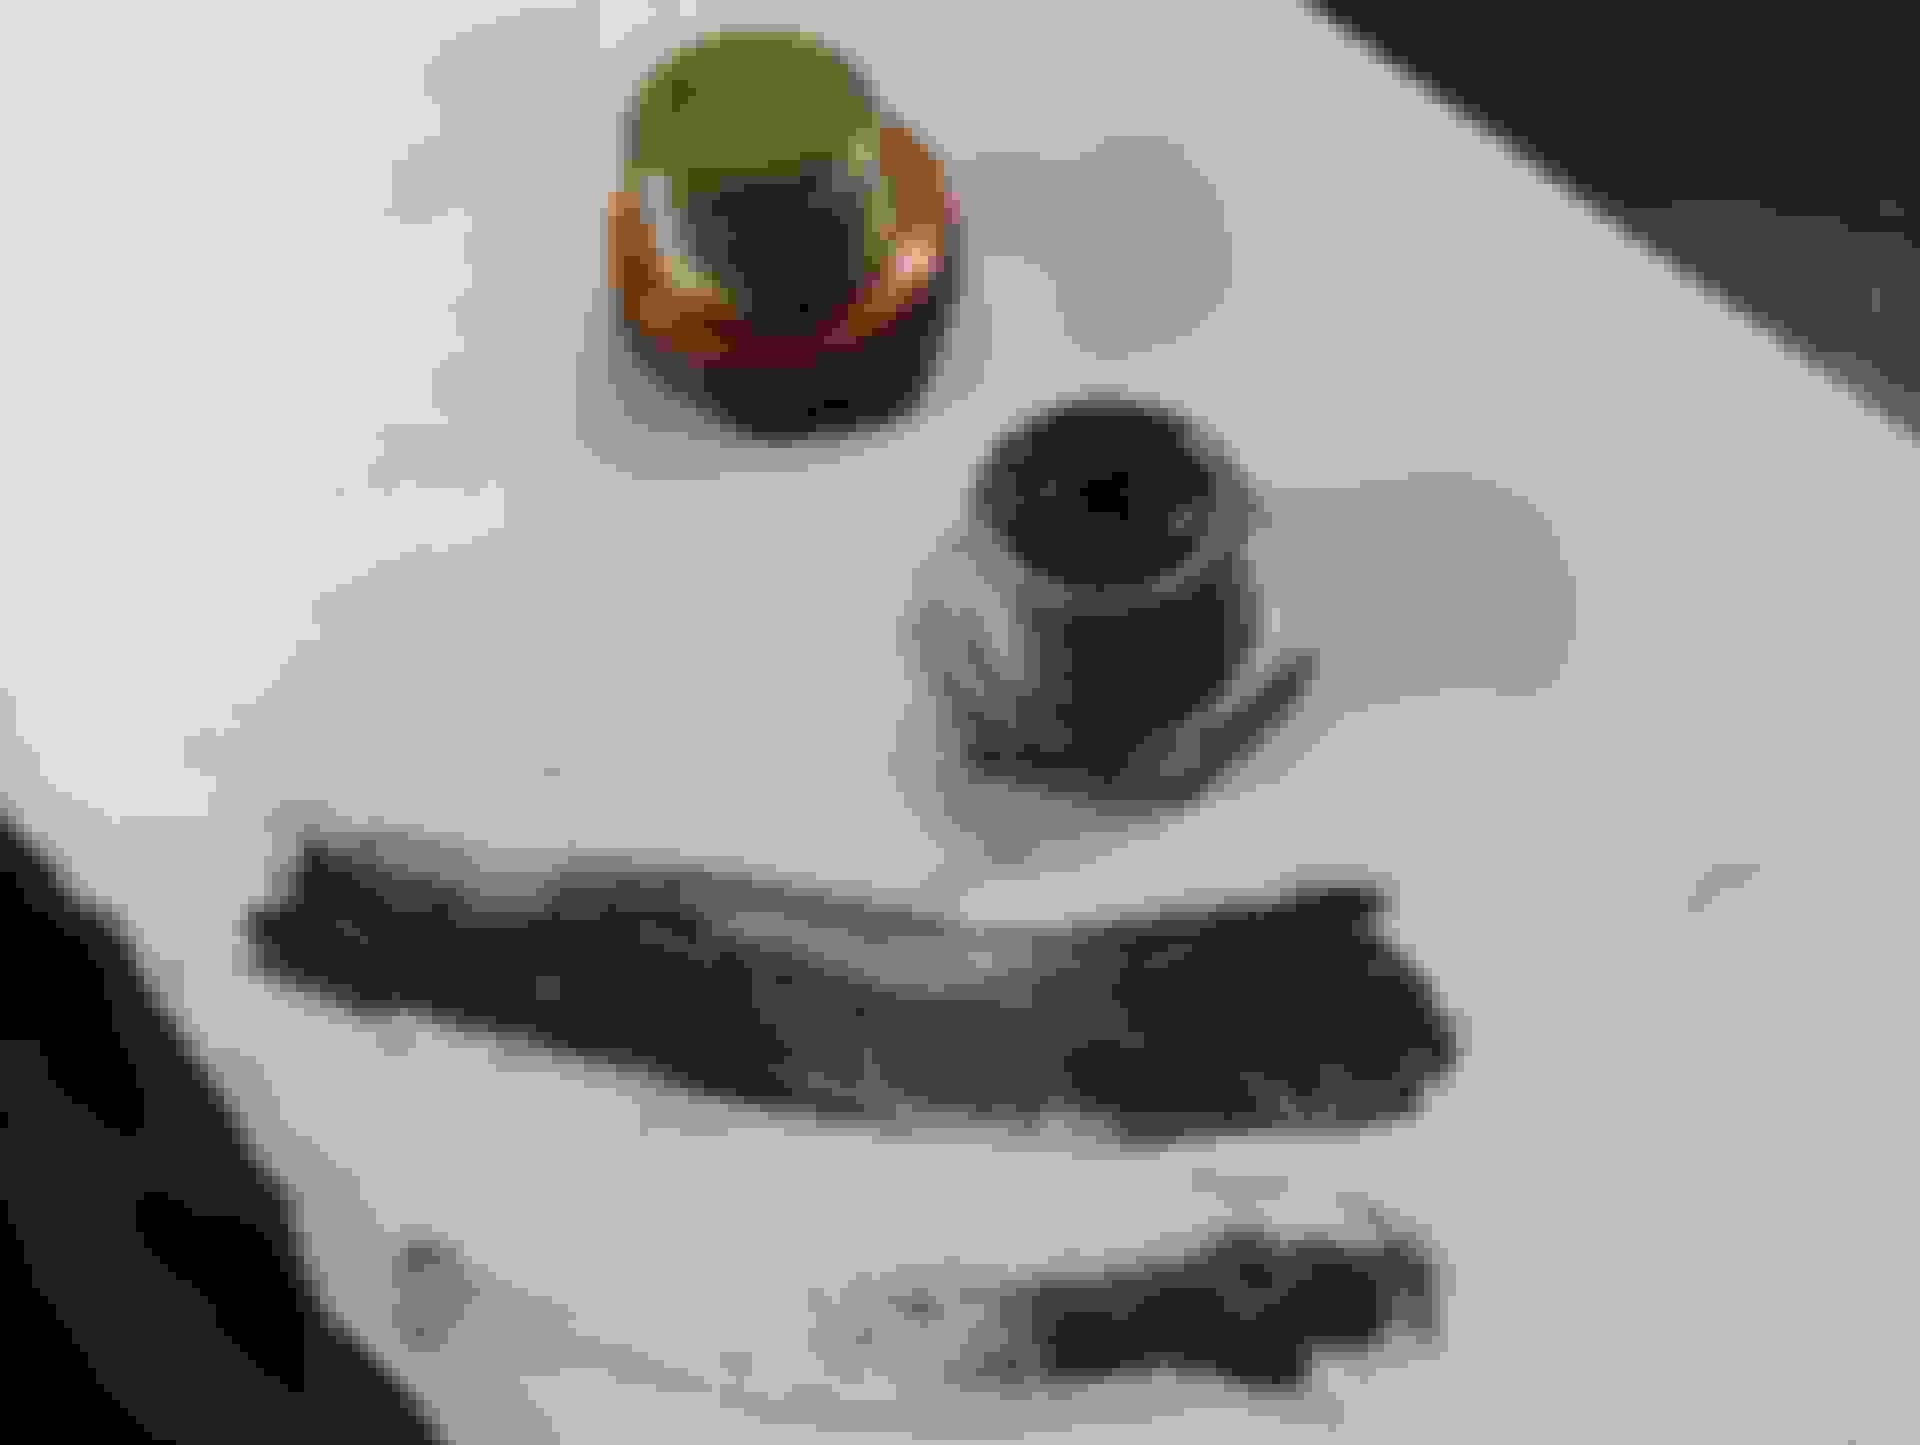
Diff drain plug magnet looked really good.
New stuff going in, got the LS additive version this time because it was much cheaper.
This brings it pretty much up to date, did some few tweaks on the front toe settings but I will be doing a complete alignment next week.
Gone through half a tank now trying to get the tune back on track (because of the new injectors) and I think it's close to being done.
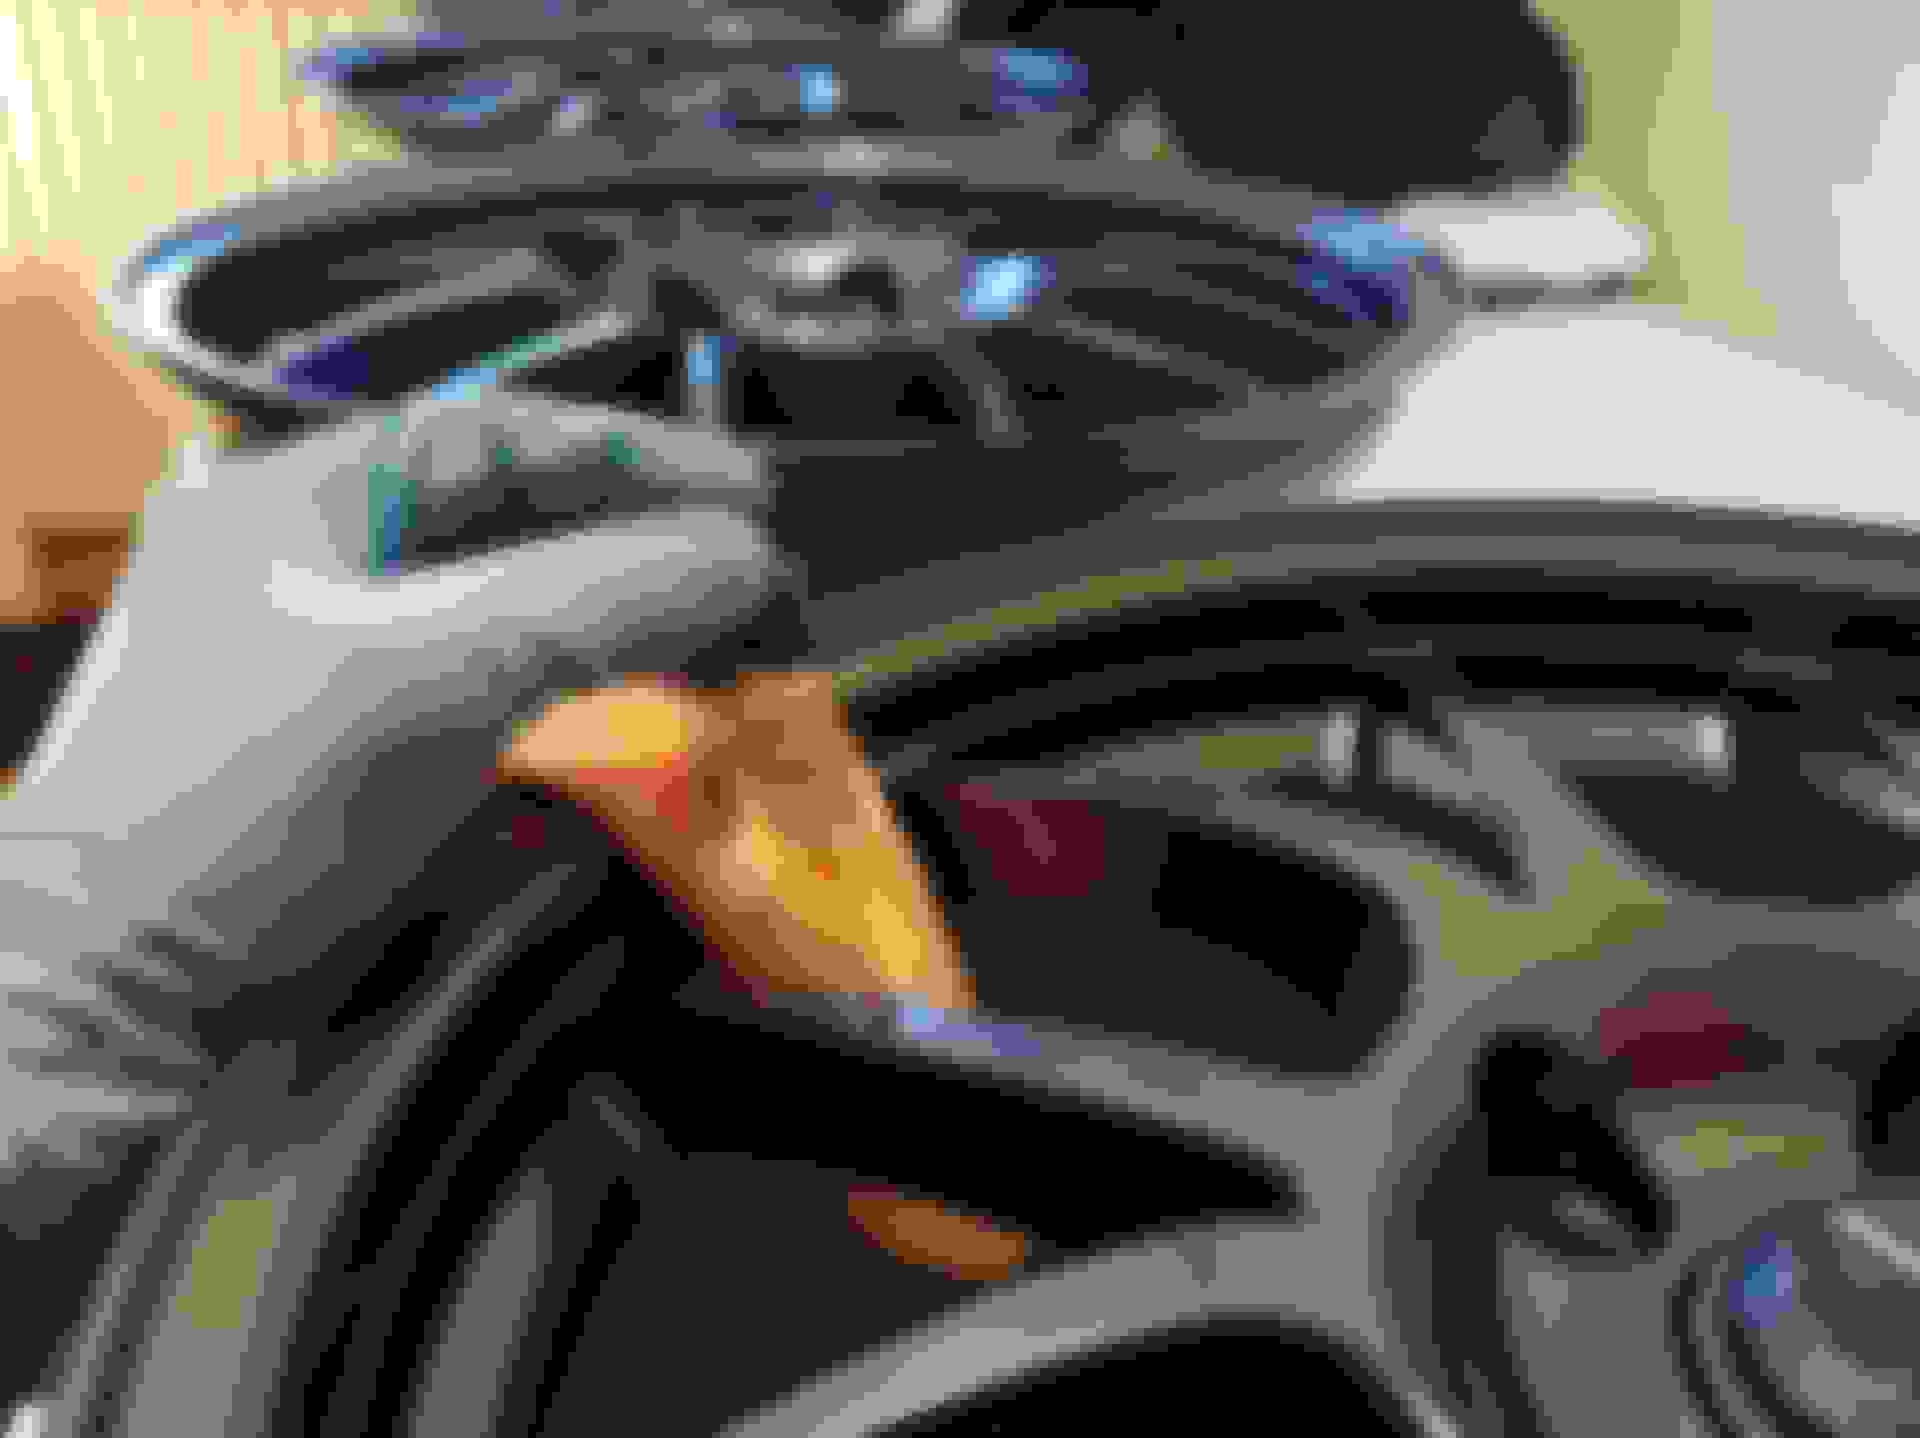
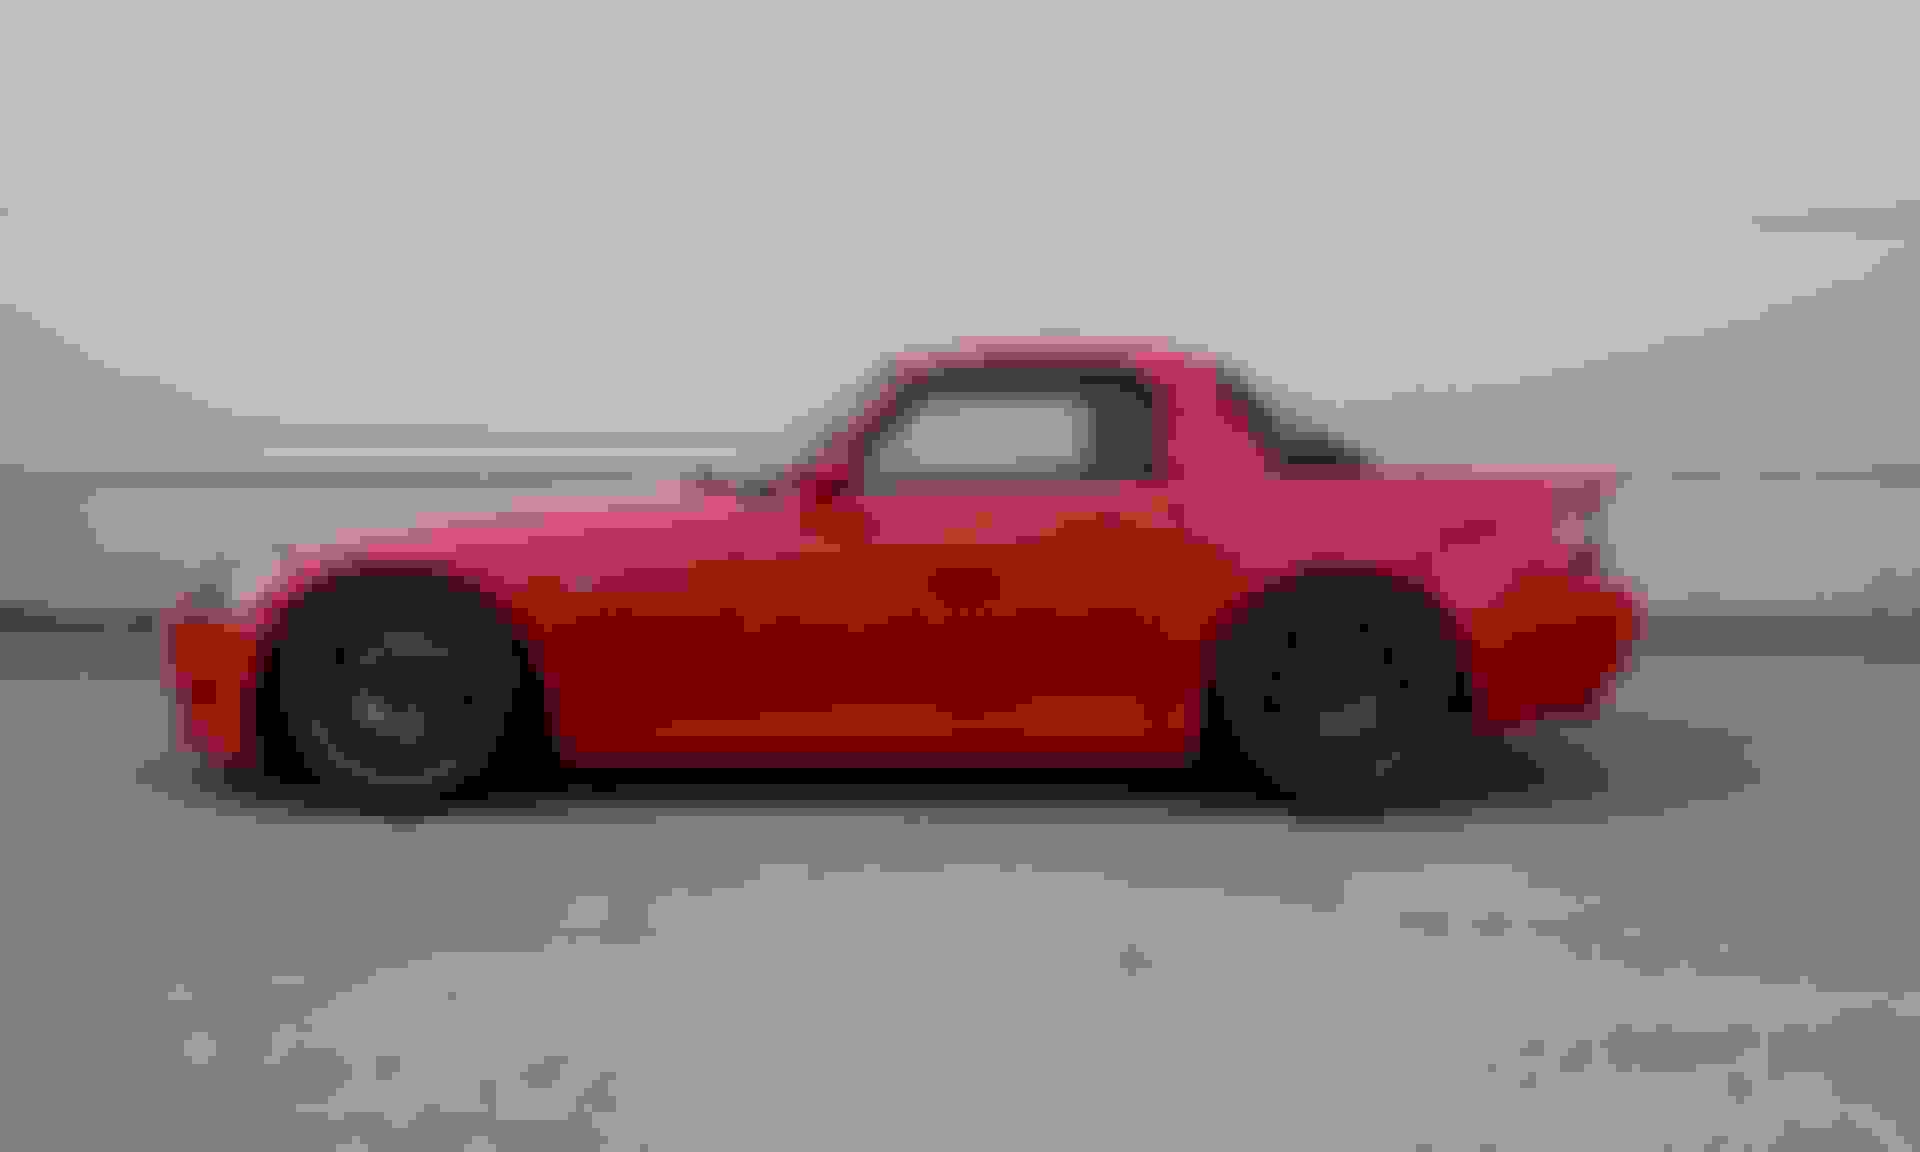
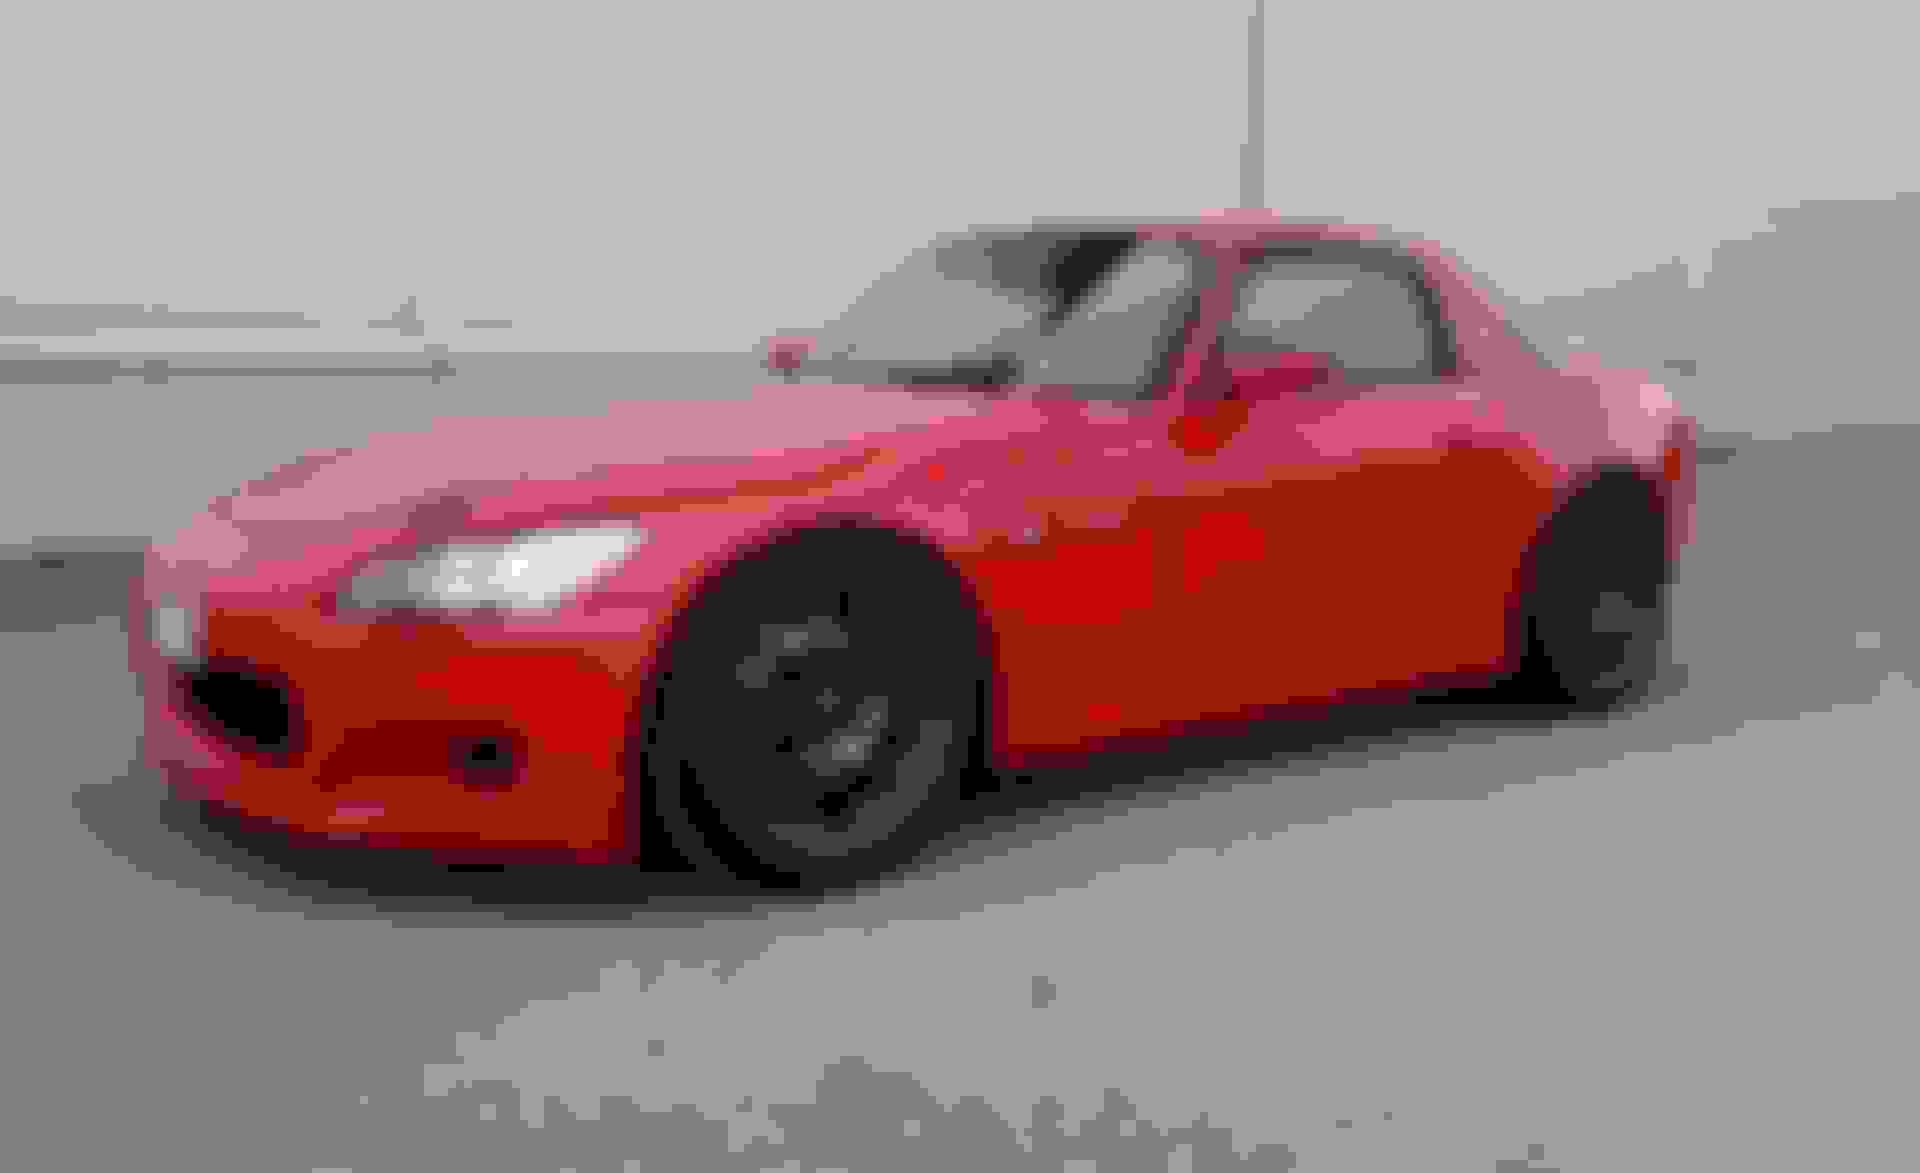
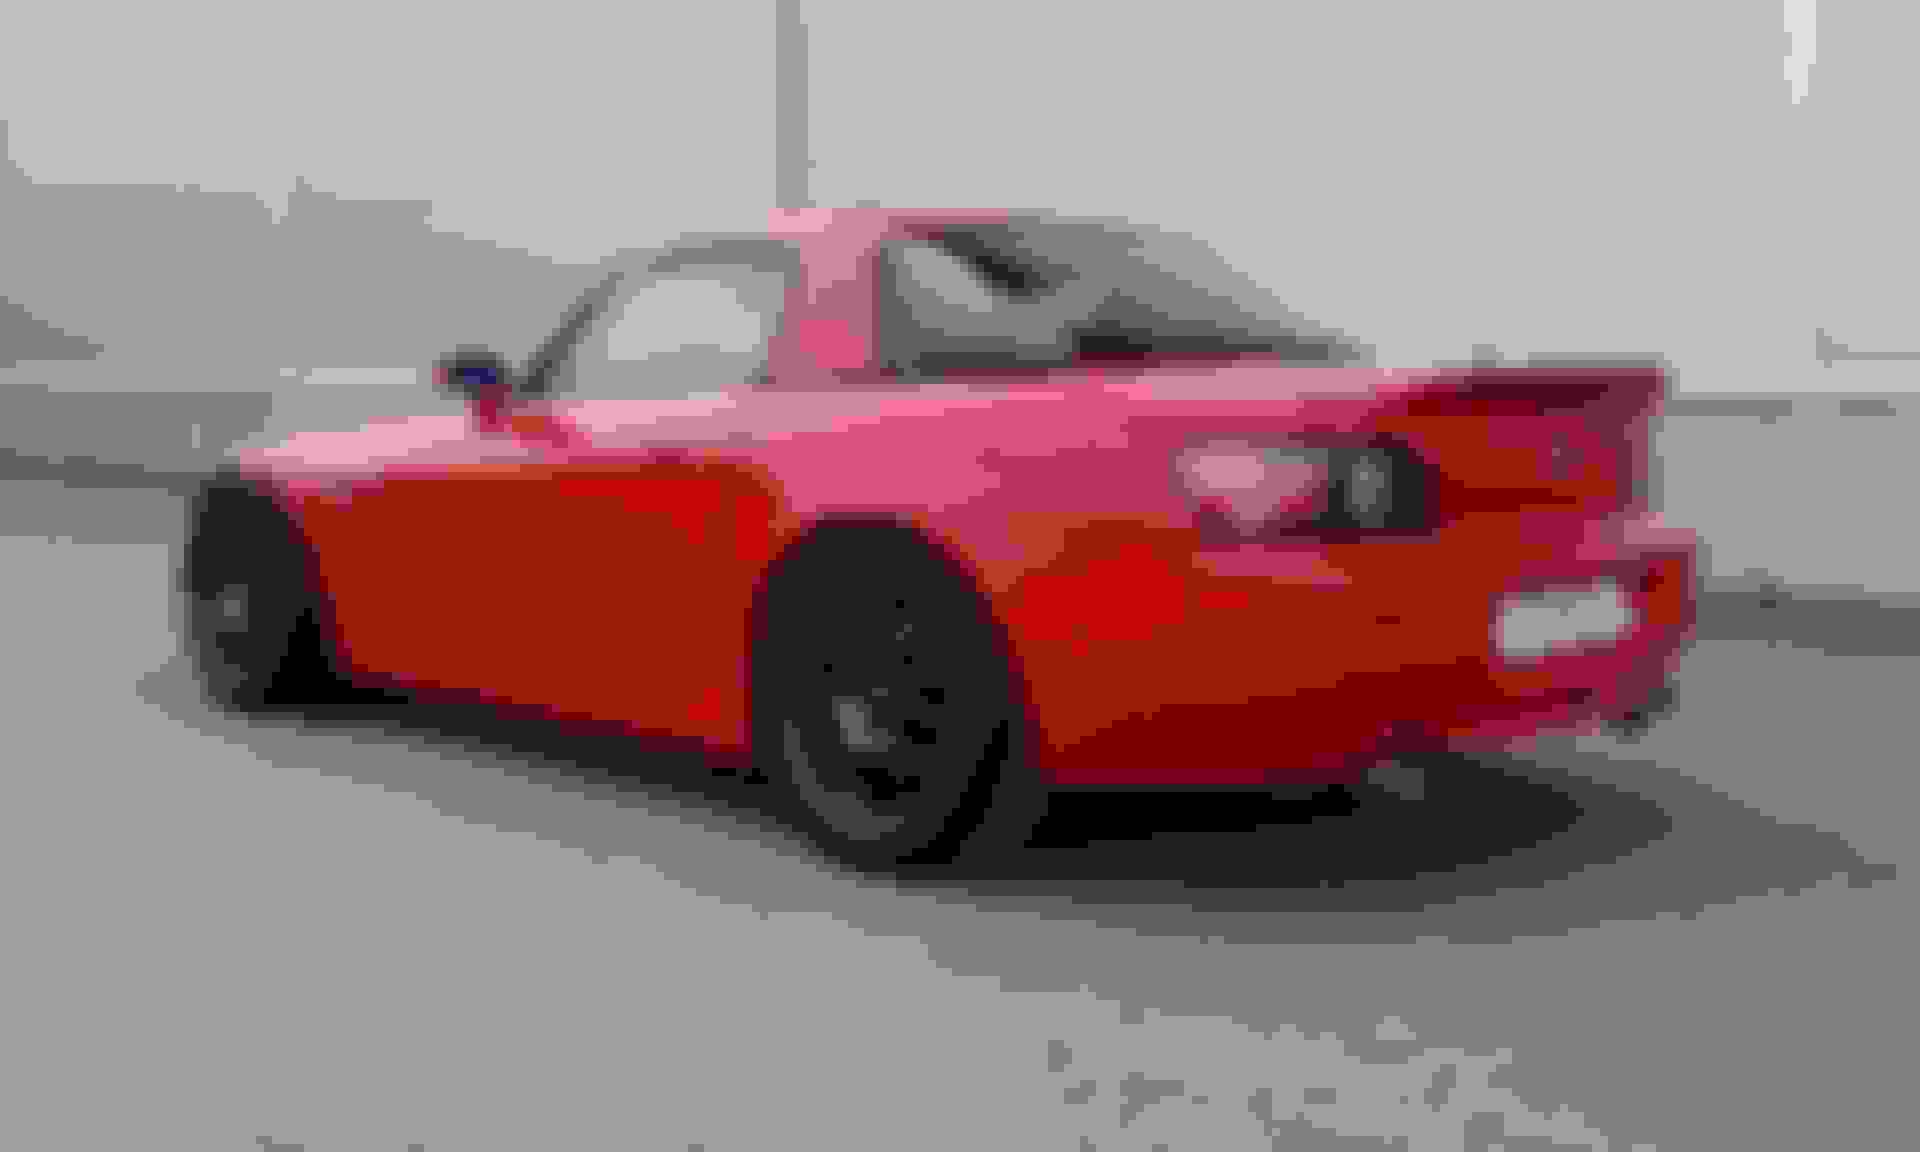
Feels like there is an immense grip level with the new wheels and tires.
And I think they look pretty damn good as well
First track day done and everything went very well.
My new Michelin Cup2 tires offered amazing grip and with the added front tire width it felt faster everywhere.
No problems with fuel cut at lower fuel tank levels, I ran it right down to no bars at all.
New front brakes felt great and even though I was using a street pad (BP-10) they never really faded.
It felt like they could have a bit more bite to match the rear pads though so I will probably try a more aggressive compound next time.
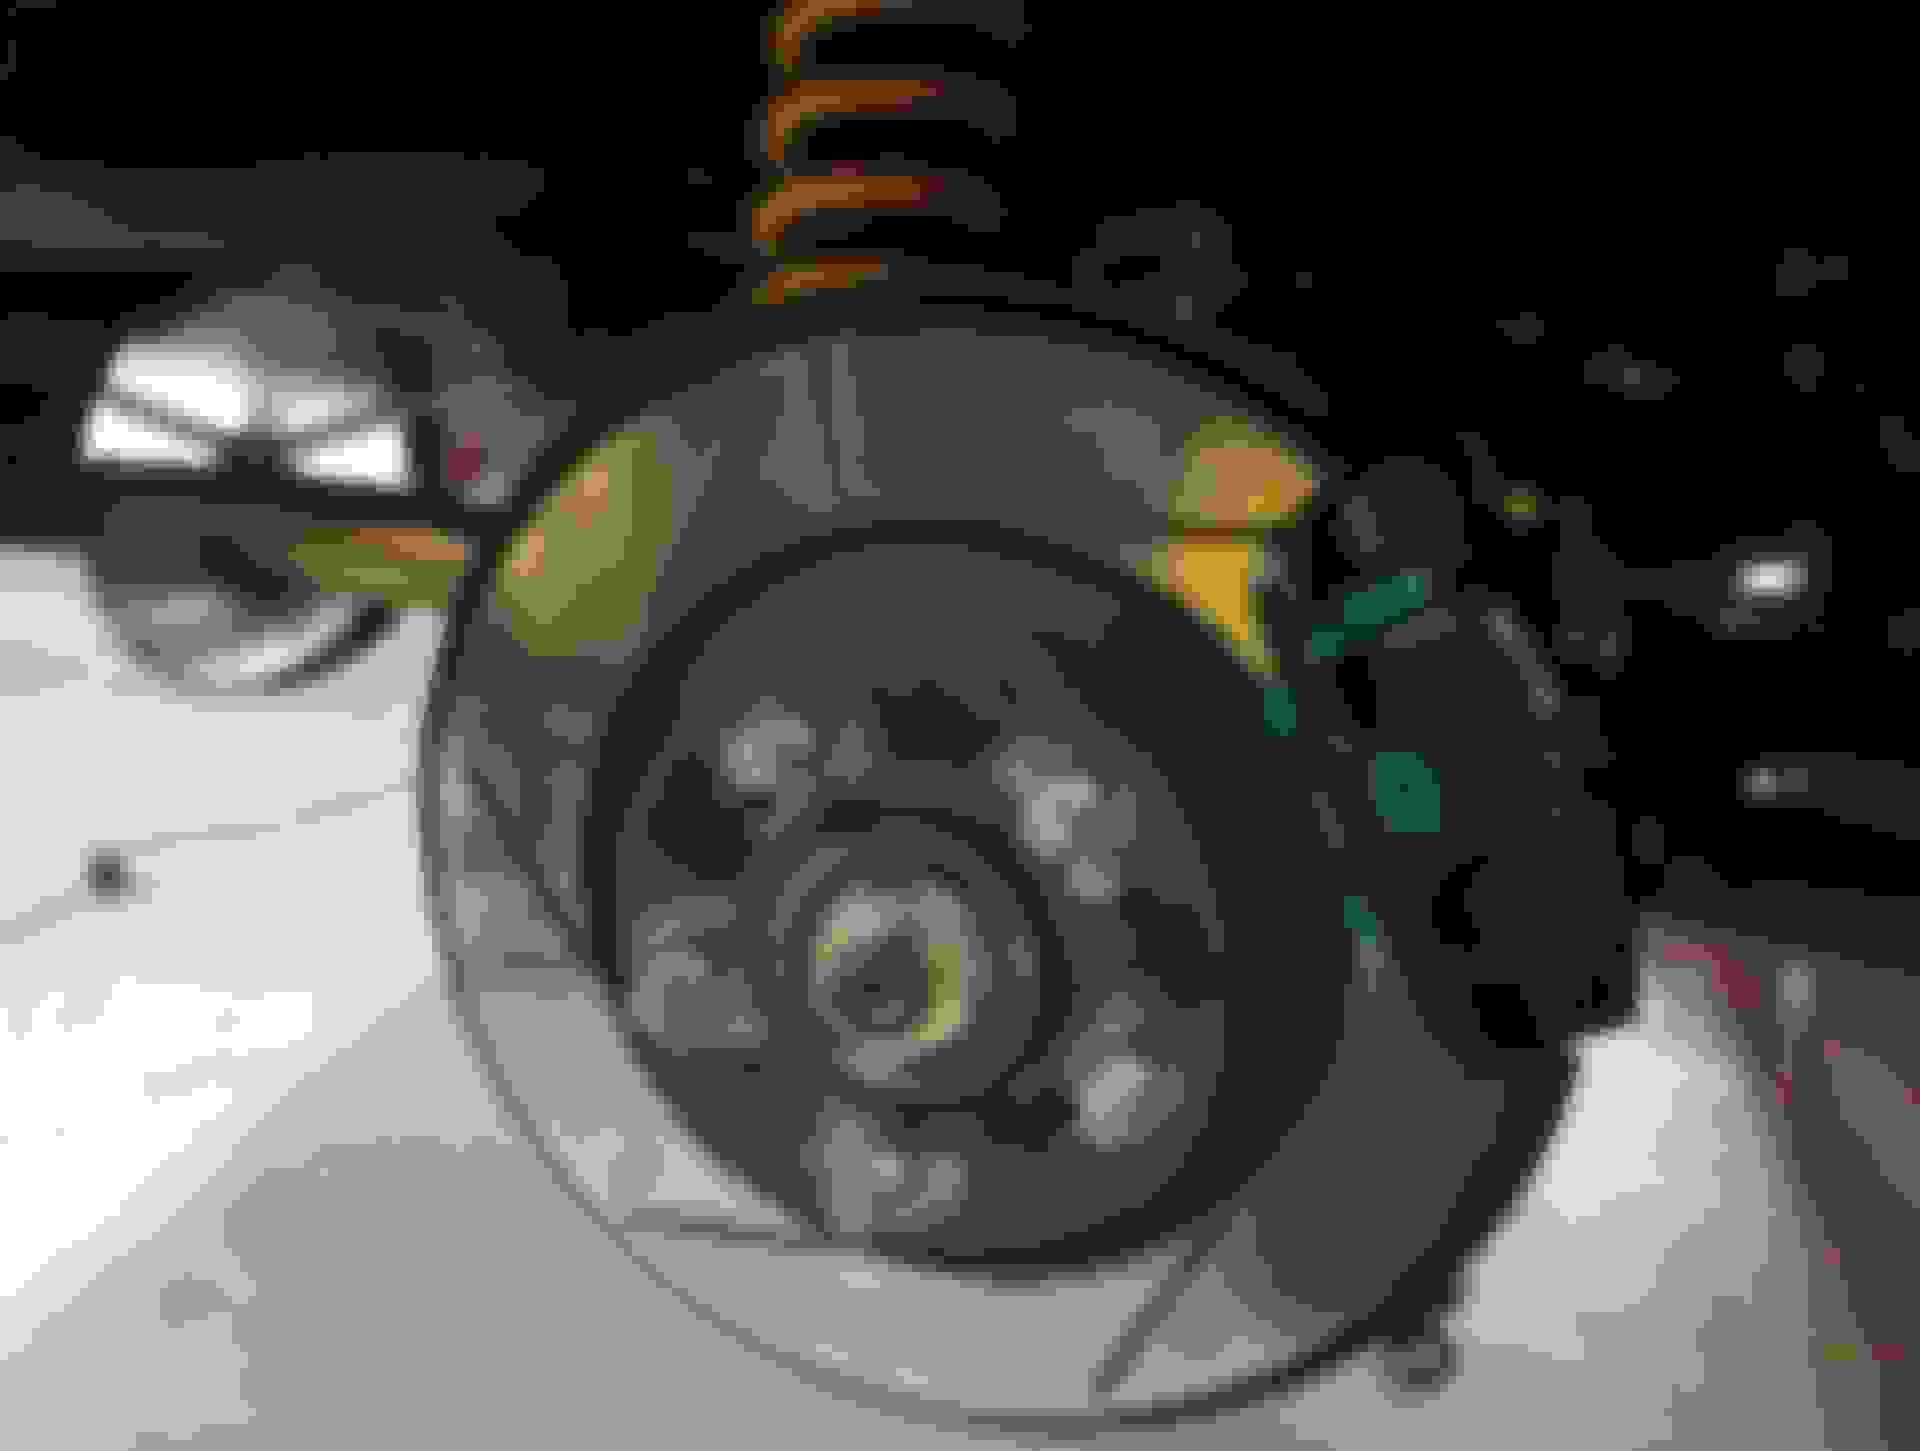
Rotors got some nice colors from the heat as well, hopefully it's nothing bad
Action pic
and one from the pits, next to a Ford Ka
Also some video, low oil temp so taking it slowly on first lap.
Skip to 05:17 for the fastest lap, which was 2-3s better than last year


 04-23-2019, 10:18 AM