When you click on links to various merchants on this site and make a purchase, this can result in this site earning a commission. Affiliate programs and affiliations include, but are not limited to, the eBay Partner Network.
Hey everyone! Welcome to my s2k build thread.
I love seeing the progress that many of you have posted through your build threads so I figured, what the heck, might as well contribute to this magnificent forum.
BACKGROUND:
Just like many others out there, the S2000 was my attainable dream car, and I always wanted one growing up. In every racing game I played I was whipping around a s2k or NSX. A few years ago I had the opportunity to drive a modded AP2 and it was at that point when I truly fell in love with the car. It became my ultimate goal to own one.
Anyways, fast forward to November 2021 when my search began. Seeing the ever increasing prices of s2k’s, I told myself, it’s now or never. I sold my beloved 2014 Civic Si to fund the purchase of my S2000. I never had a preference between AP1 or AP2 but my goal was to find a MY02+ s2k within my budget. I found an AP2 which was well taken care of, however, it had a rebuilt title and fairly high kms. This wasn’t a huge downside but I really wanted a clean title s2000. Not that I plan on selling my car but it’s just nice knowing my car wasn’t wrapped around a tree. After declining the AP2, I then found my current car for sale. It’s a 2003 Sebring Silver (everyone’s favourite colour lol) with a clean title, all 10 VINS, no accidents and around 119,000 kms (74,000 miles). Honestly I love the silver despite the hate it gets. I have also thought about wrapping it in some type of blue but that’s something I’ll decide on in the future.
The car came with a few tasteful mods but the one downside is that the previous owner didn’t keep any of the stock parts. The soft top definitely needs to be replaced and the front bumper has a small scuff. Other than that the car is pretty solid.
First pic when I got her:
CURRENT MOD LIST (these came with the car when I bought it):
- HKS HI-POWER DUAL EXHAUST
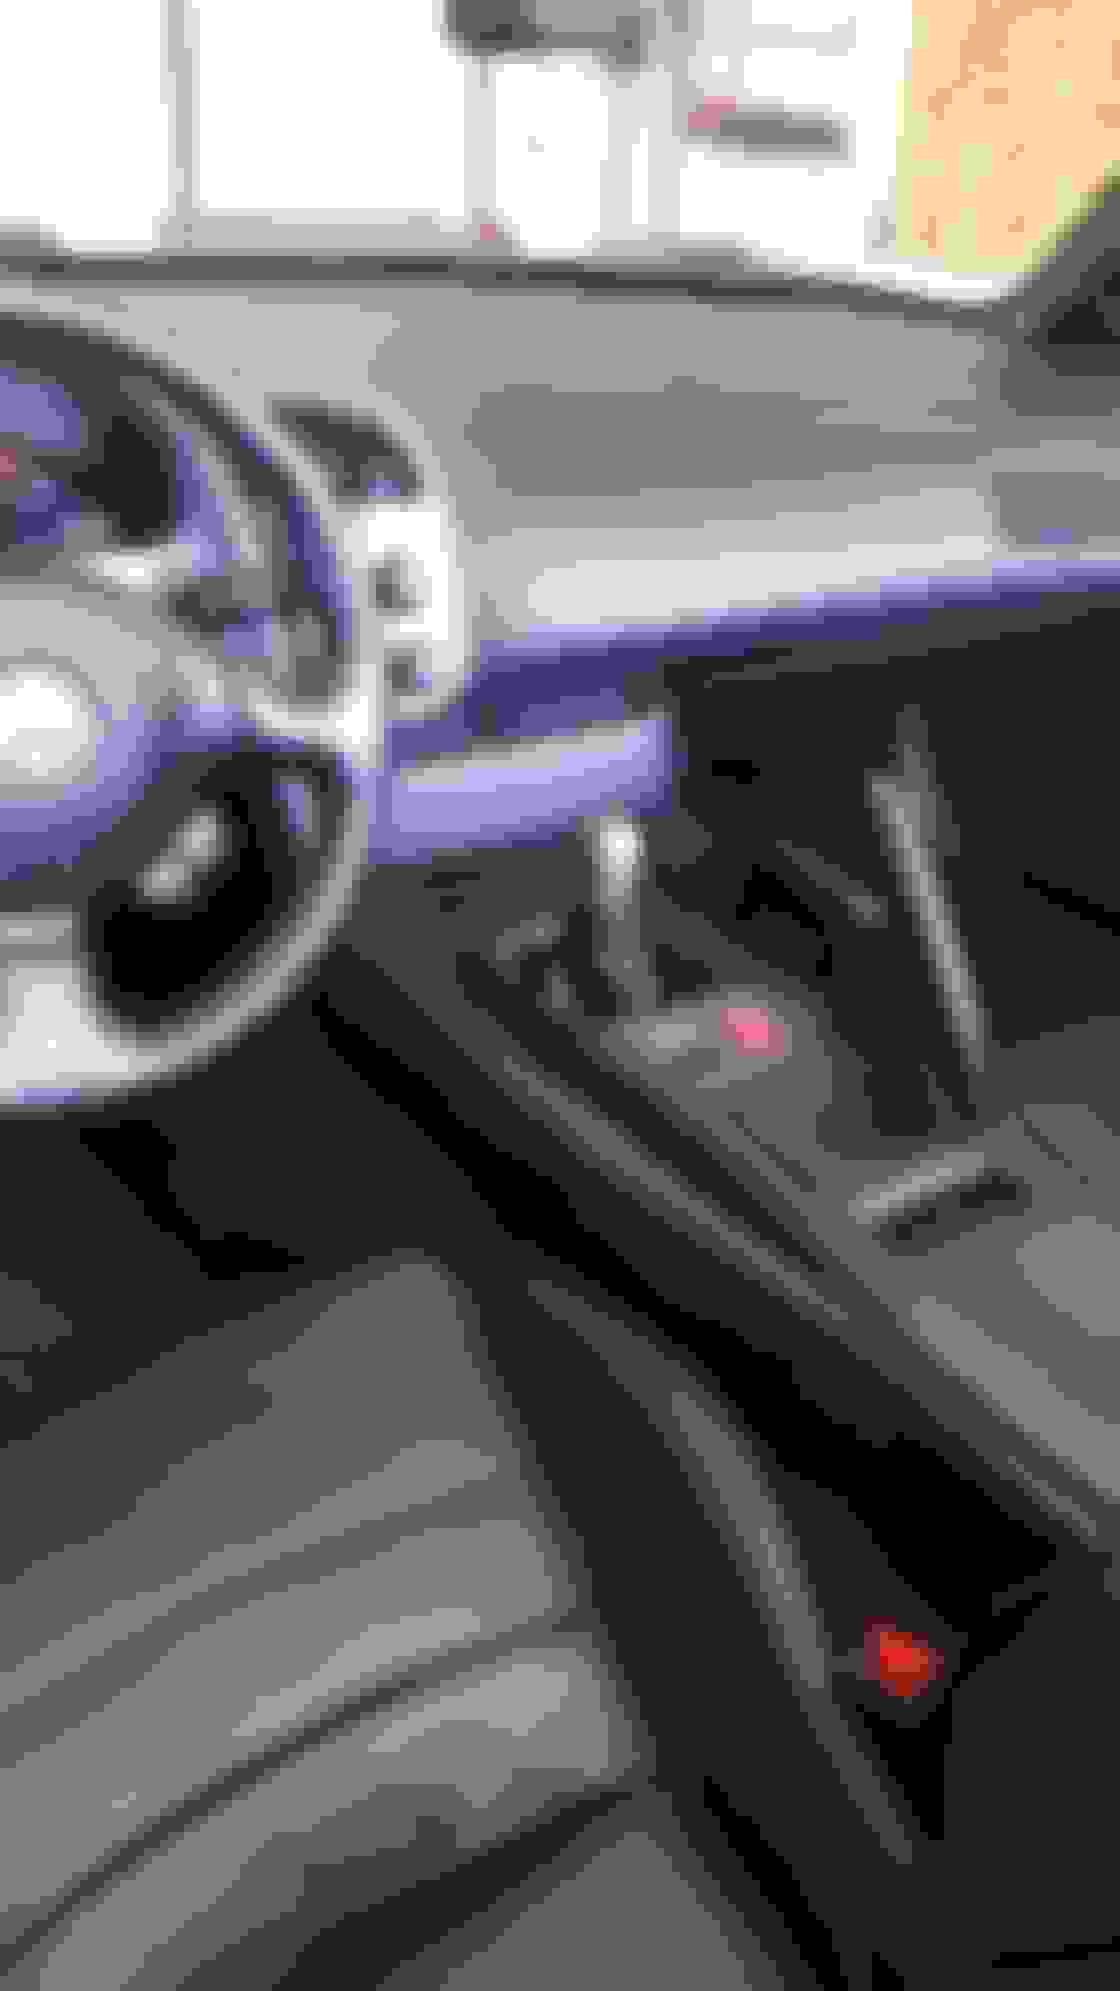
- RENEGADE SHORT SHIFTER
- AMR COILOVERS (not a whole lot of info available online about these coilovers)
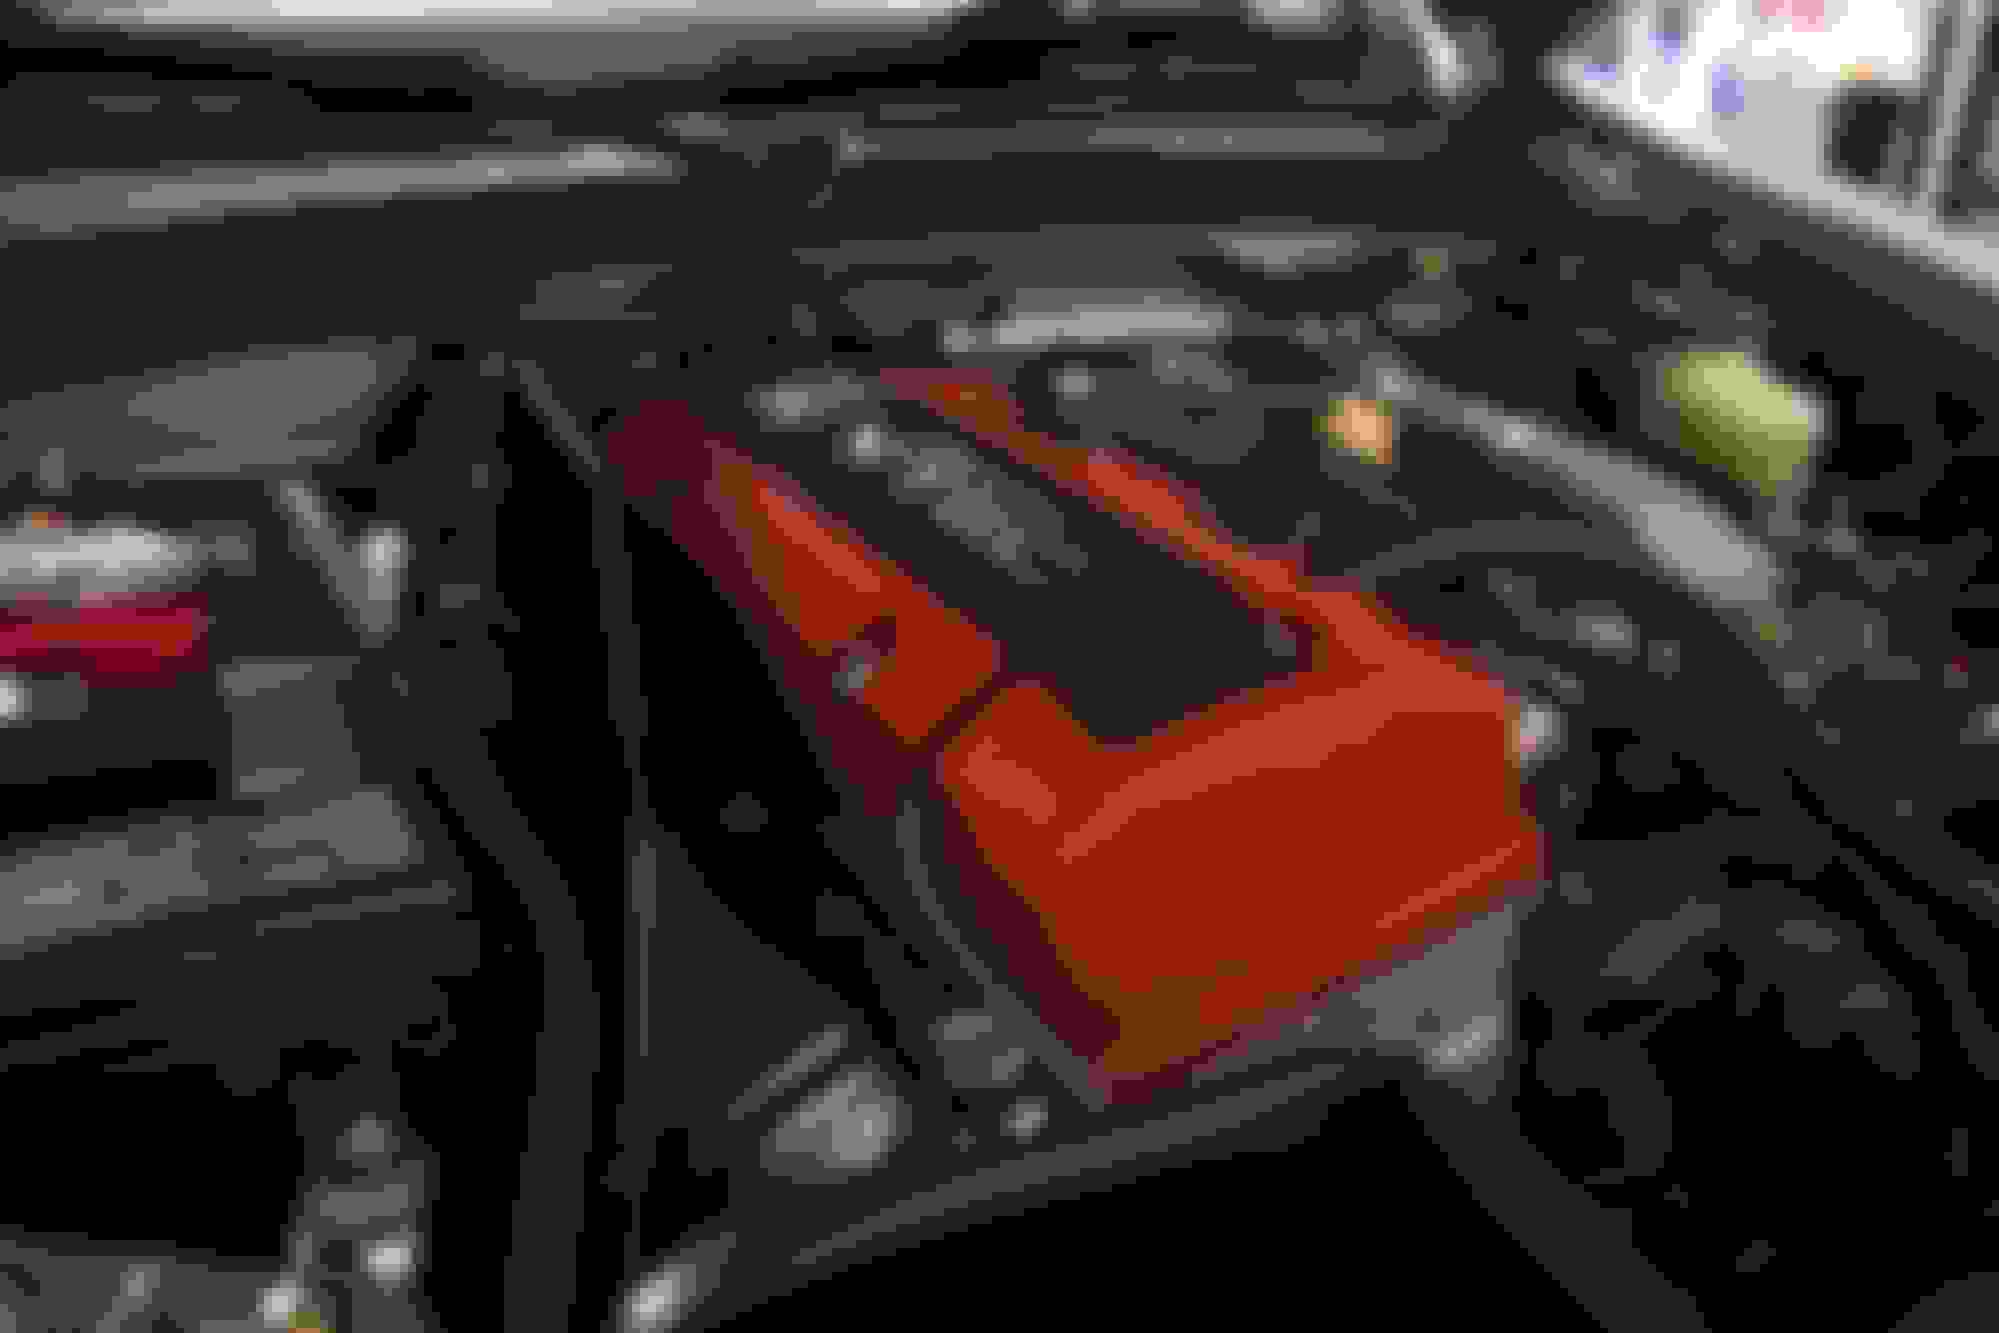
- K&N INTAKE
- AP2 HEADLIGHTS
- AP2 TAIL LIGHTS
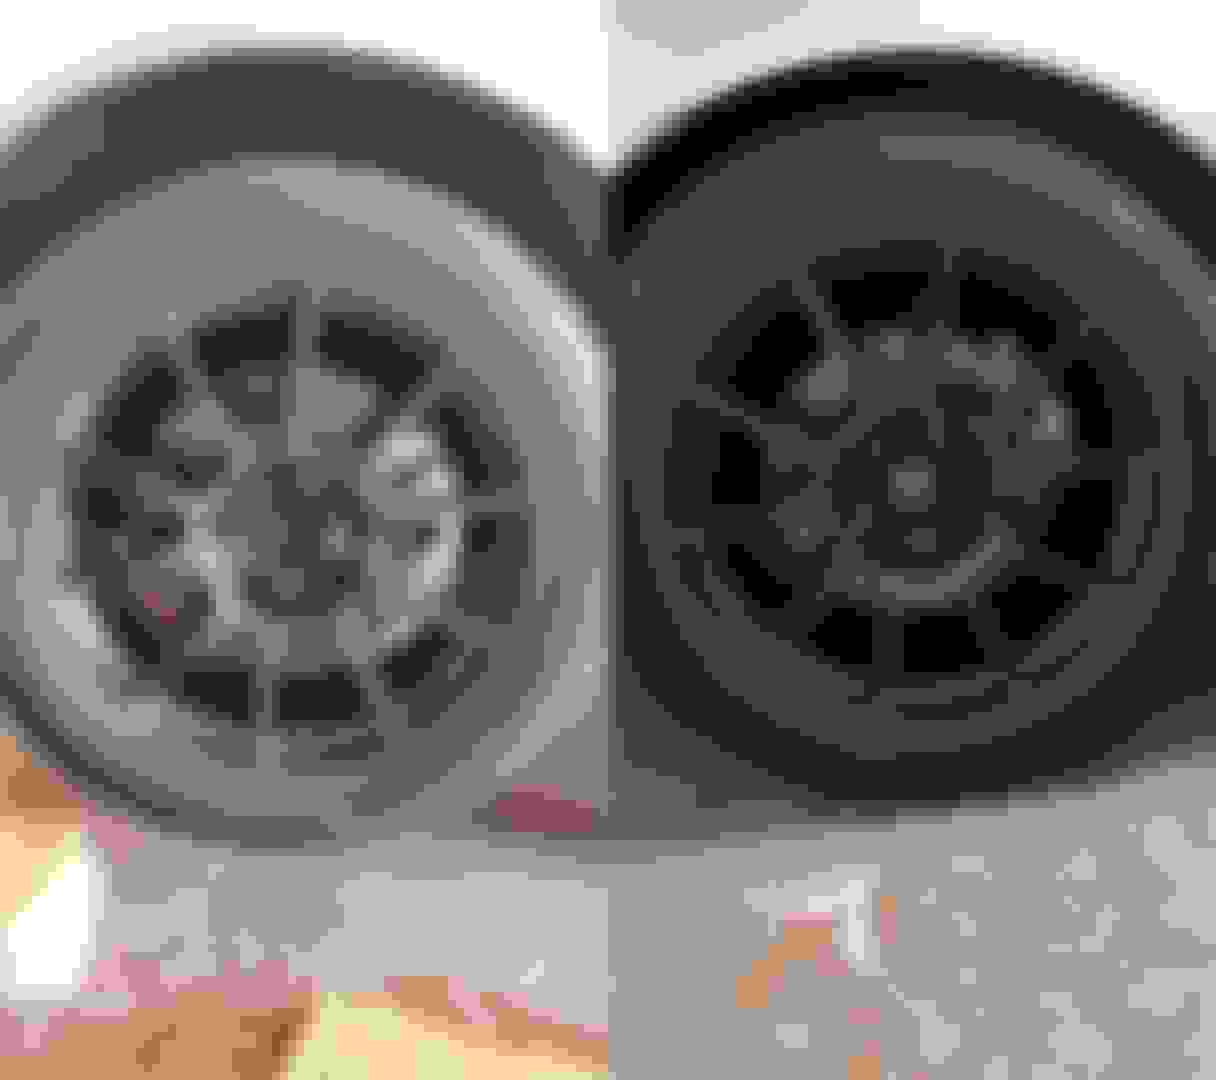
- ENKEI PF01’s with all season tires
WHAT I DID ON MONDAY:
- Took the S2000 out of a long 5 months winter storage
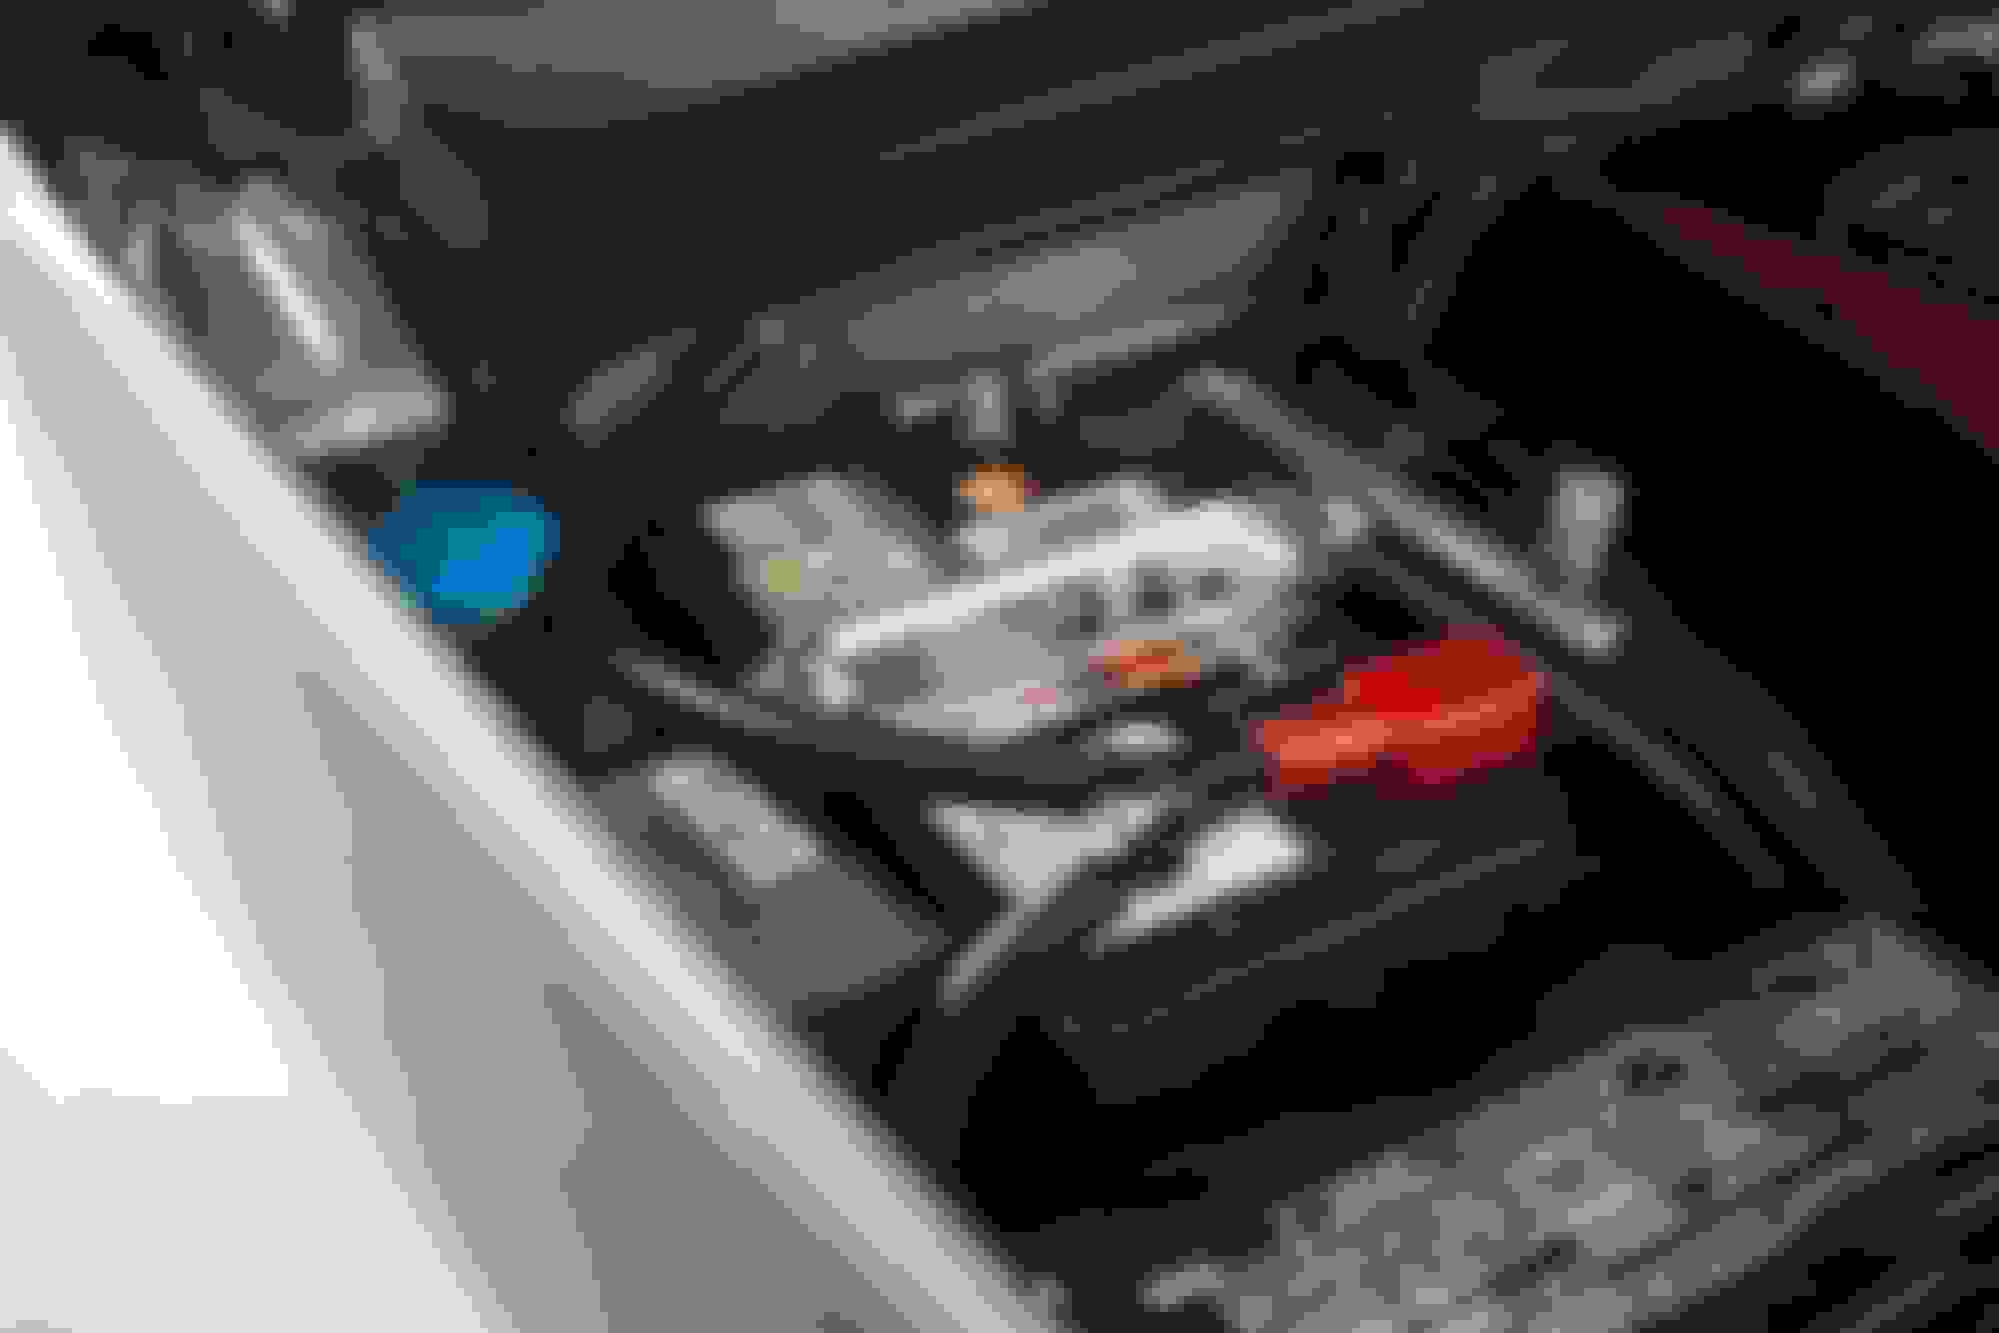
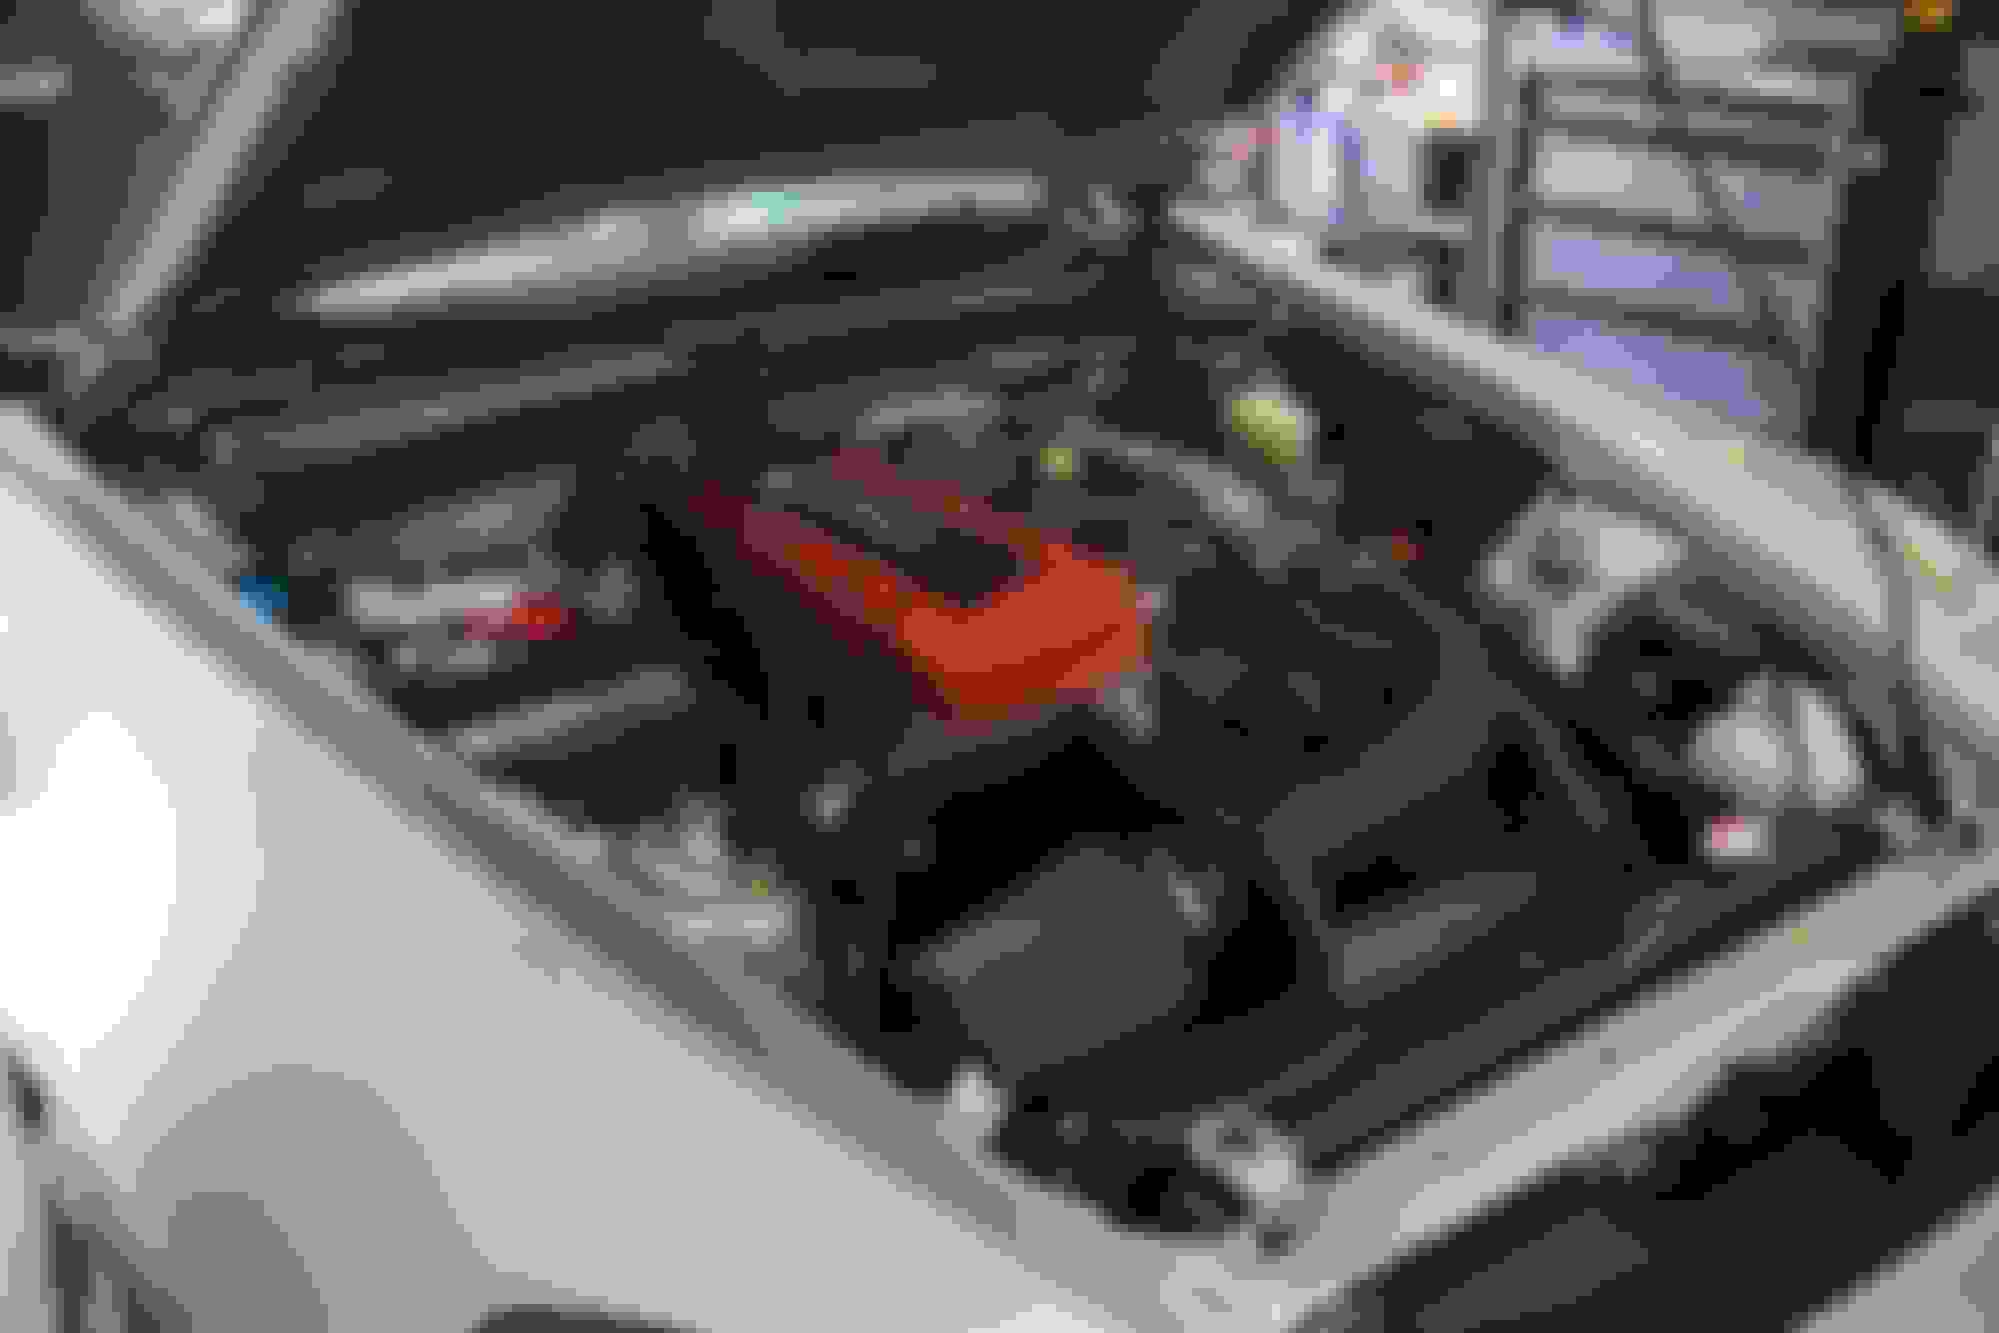
- Reinstalled the battery with a new battery tie down
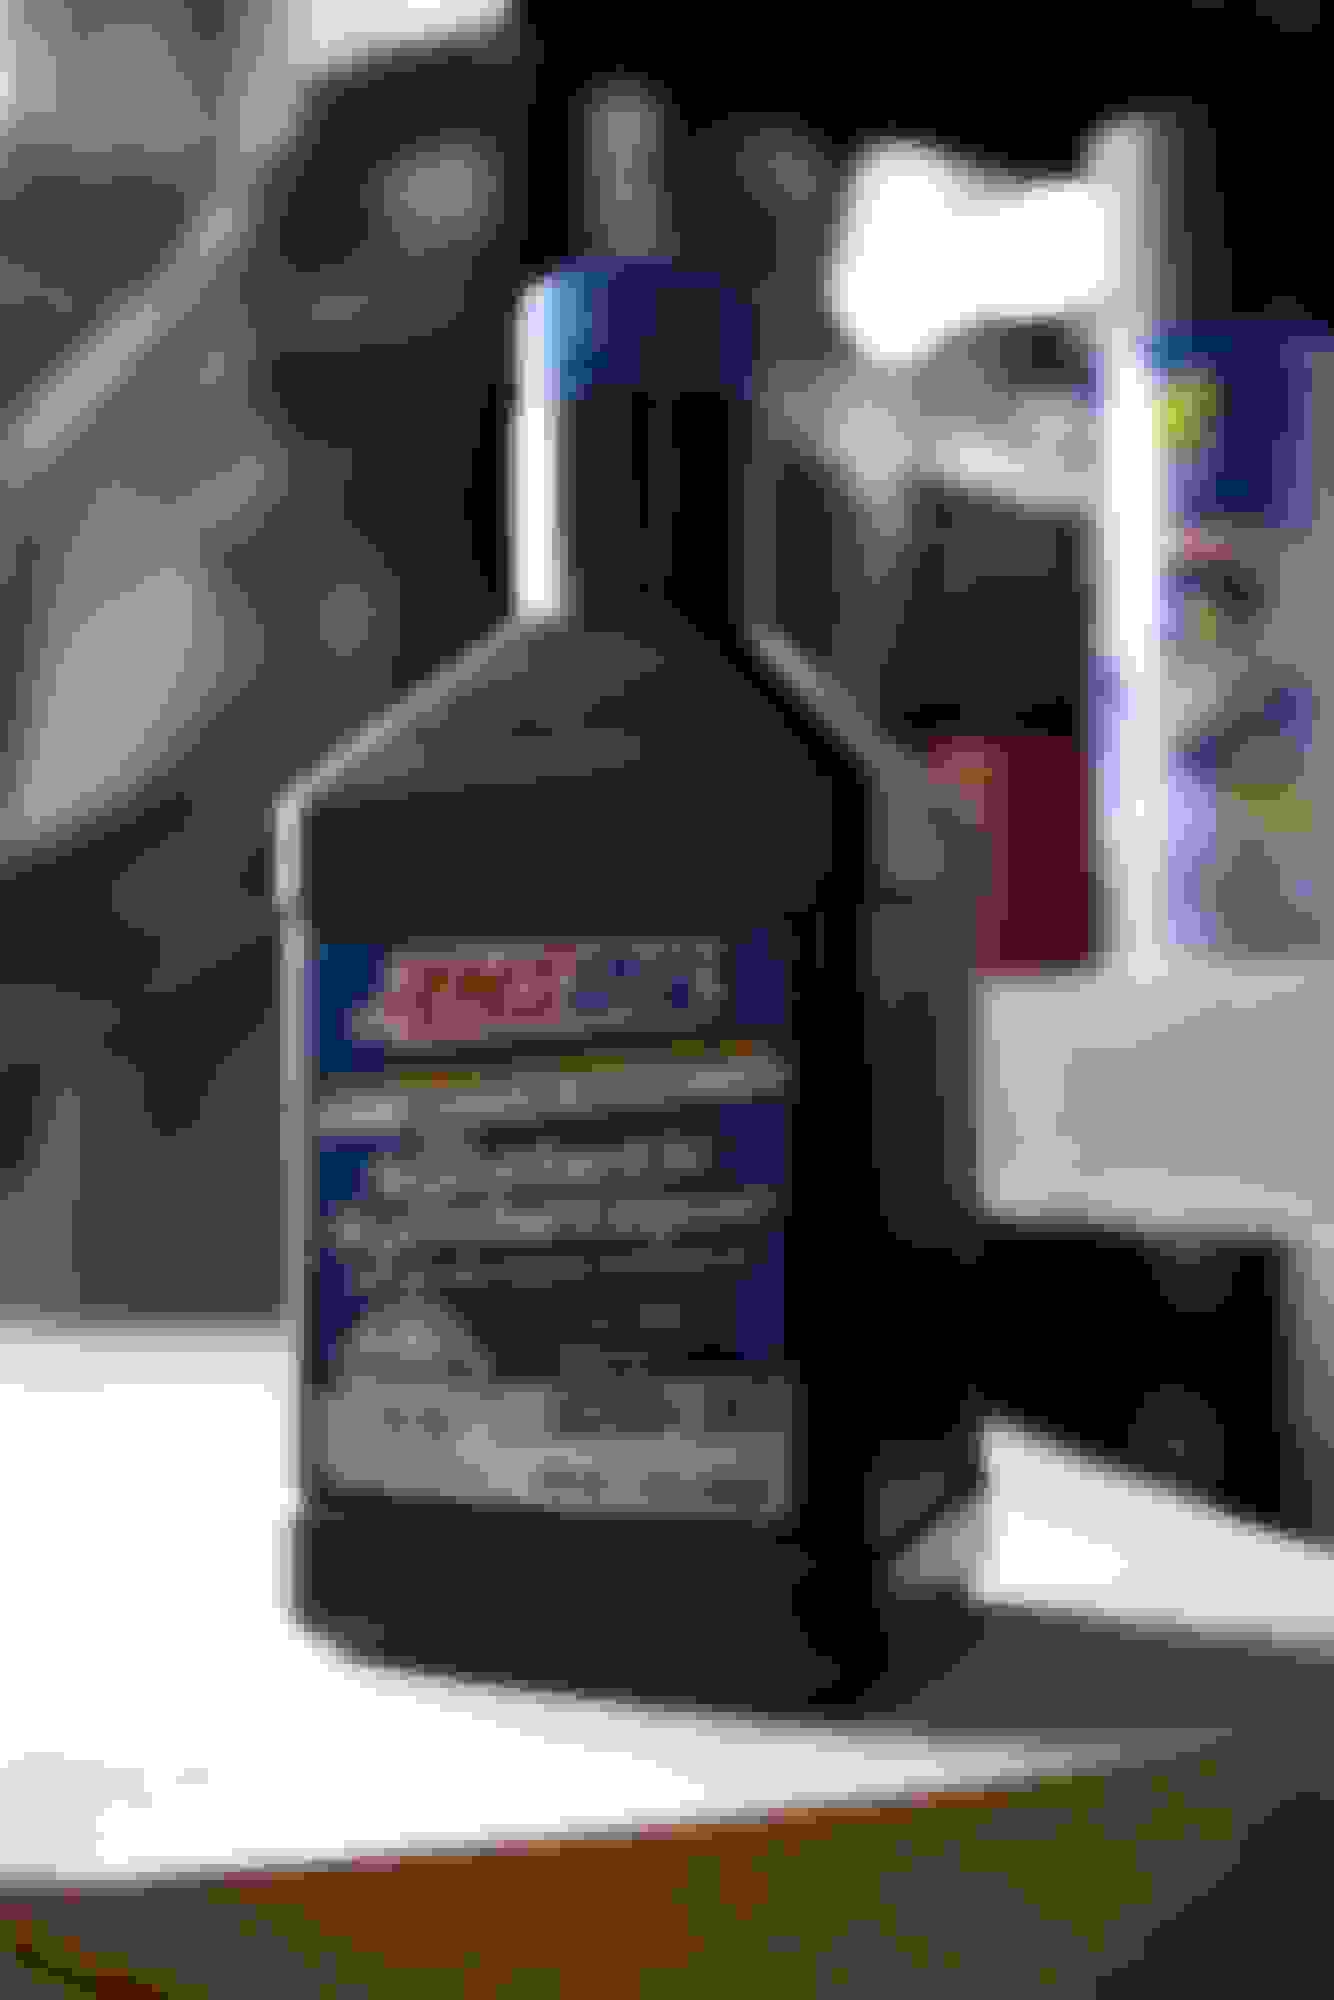
- Did its first oil change under my ownership
- Used the commonly recommend AMSOIL SIGNATURE 10w30
Some photos from this week:
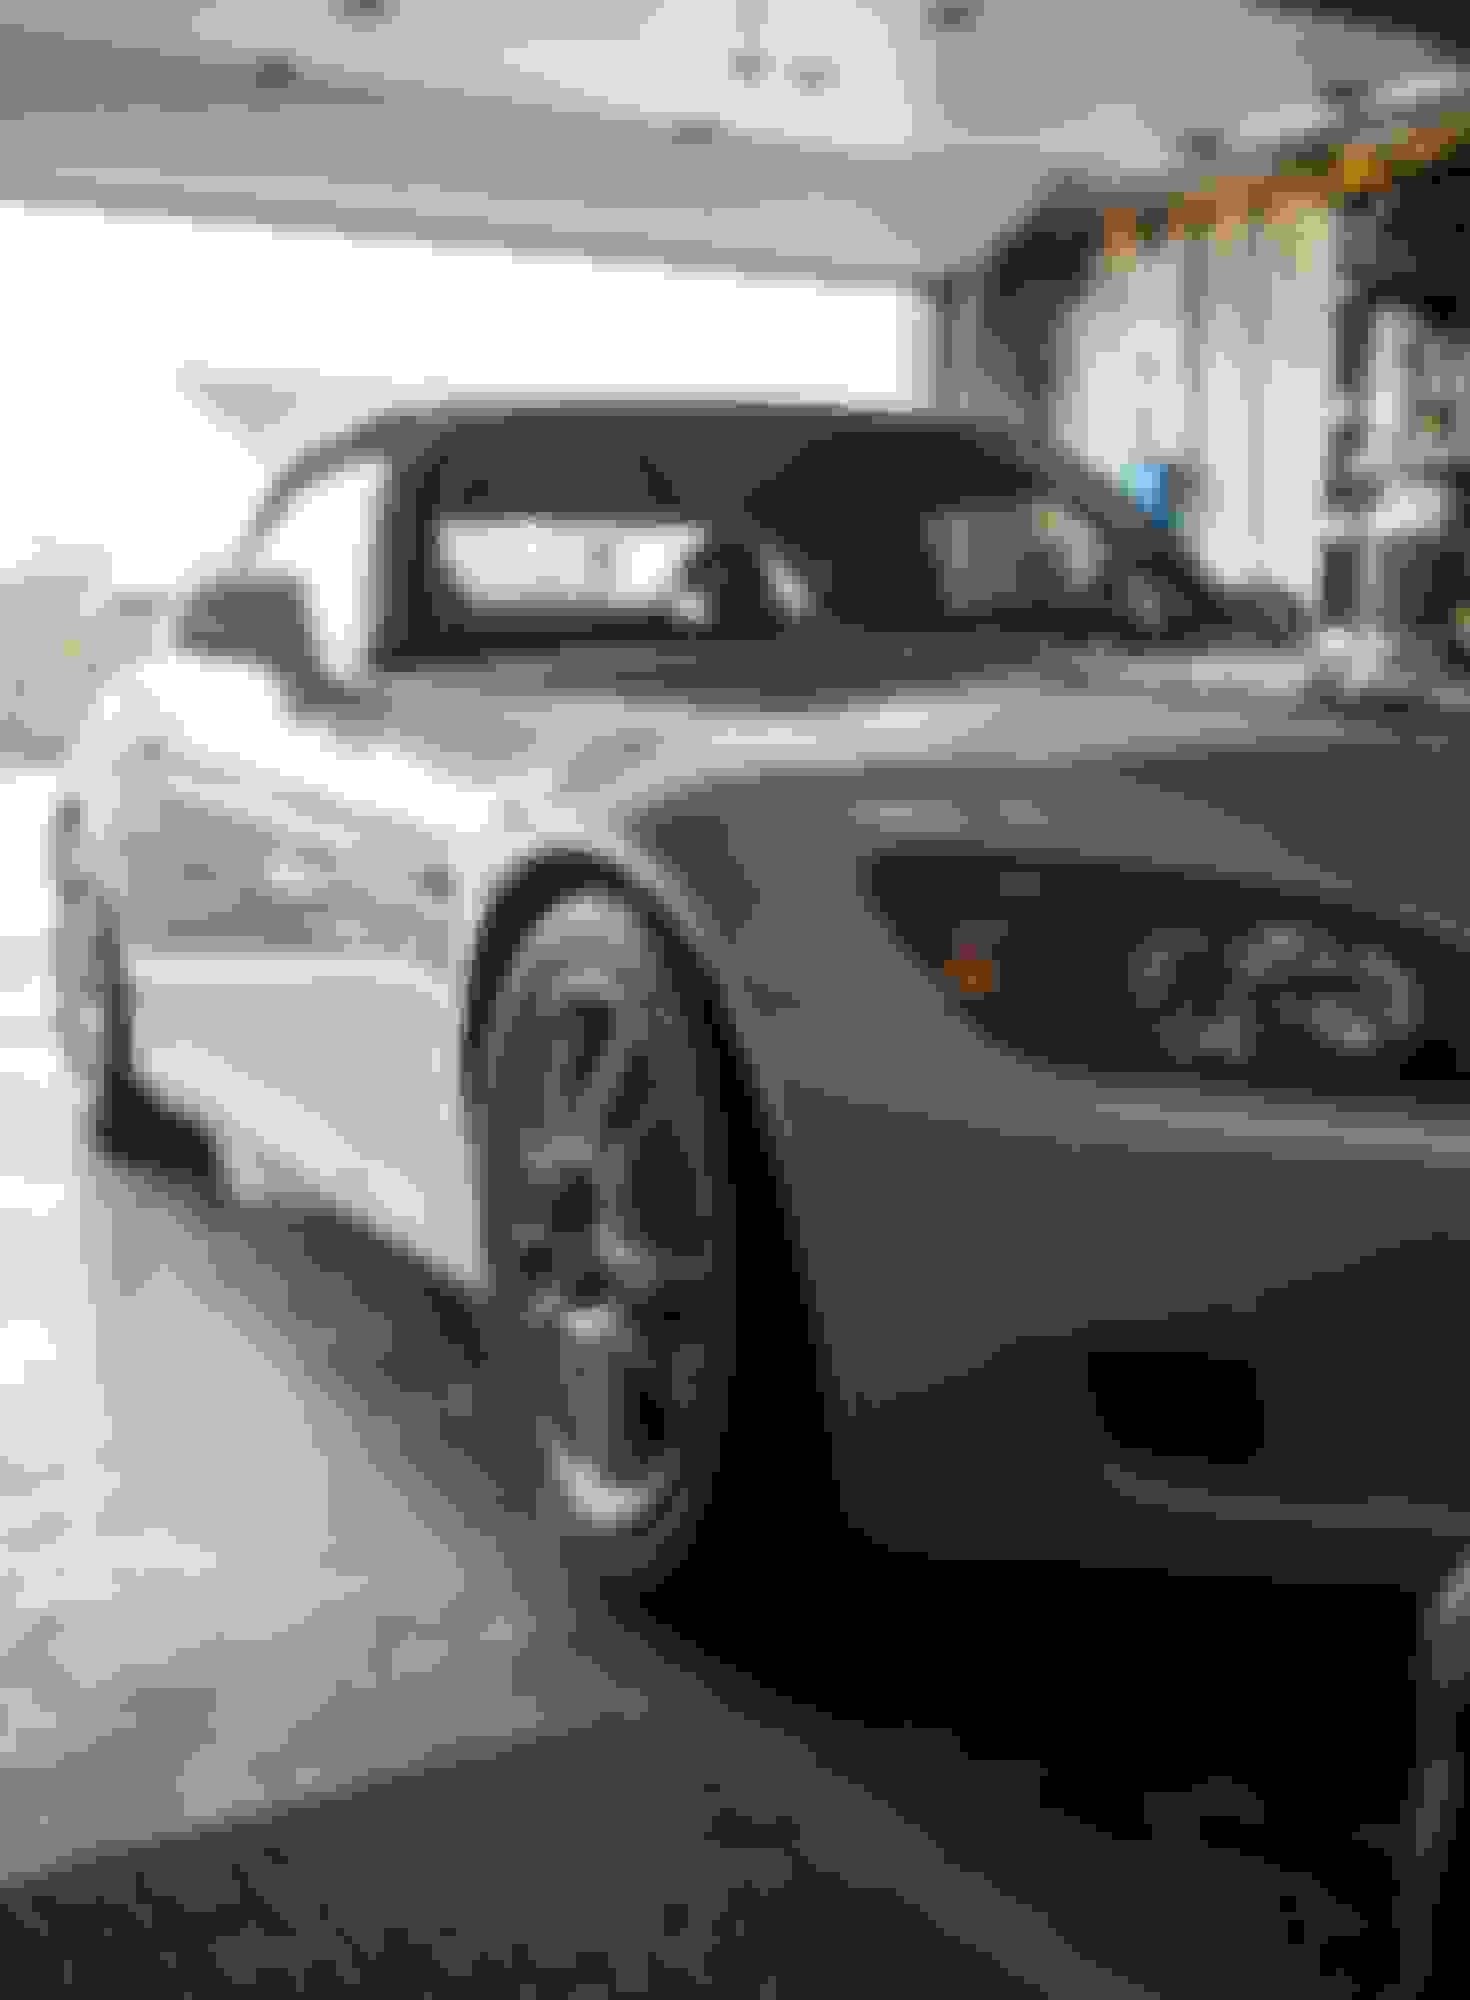
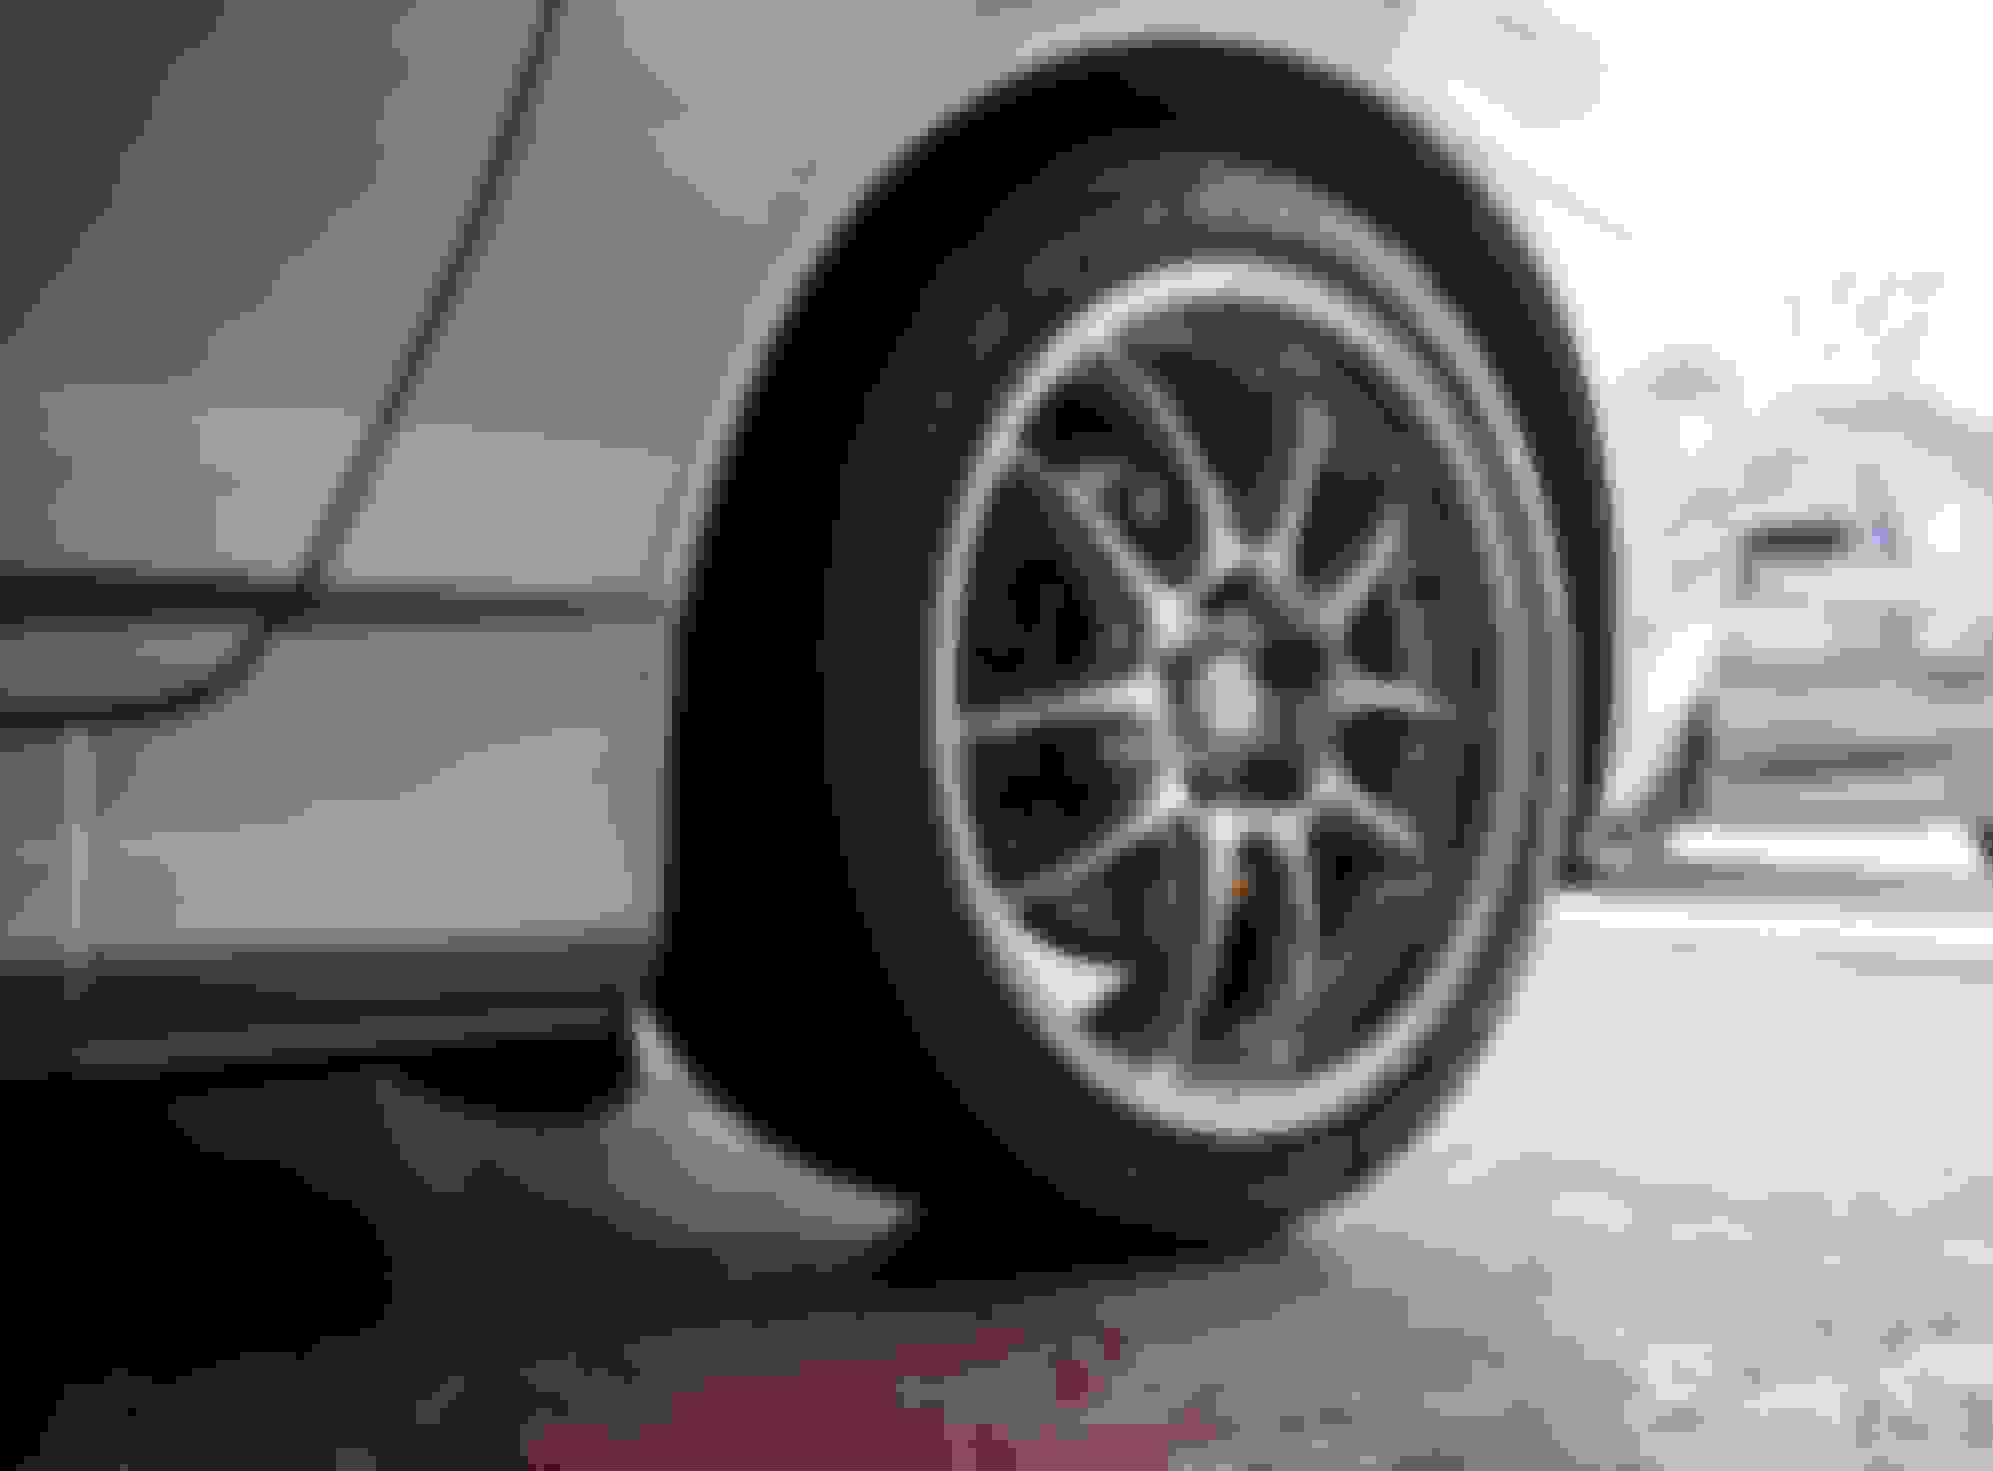
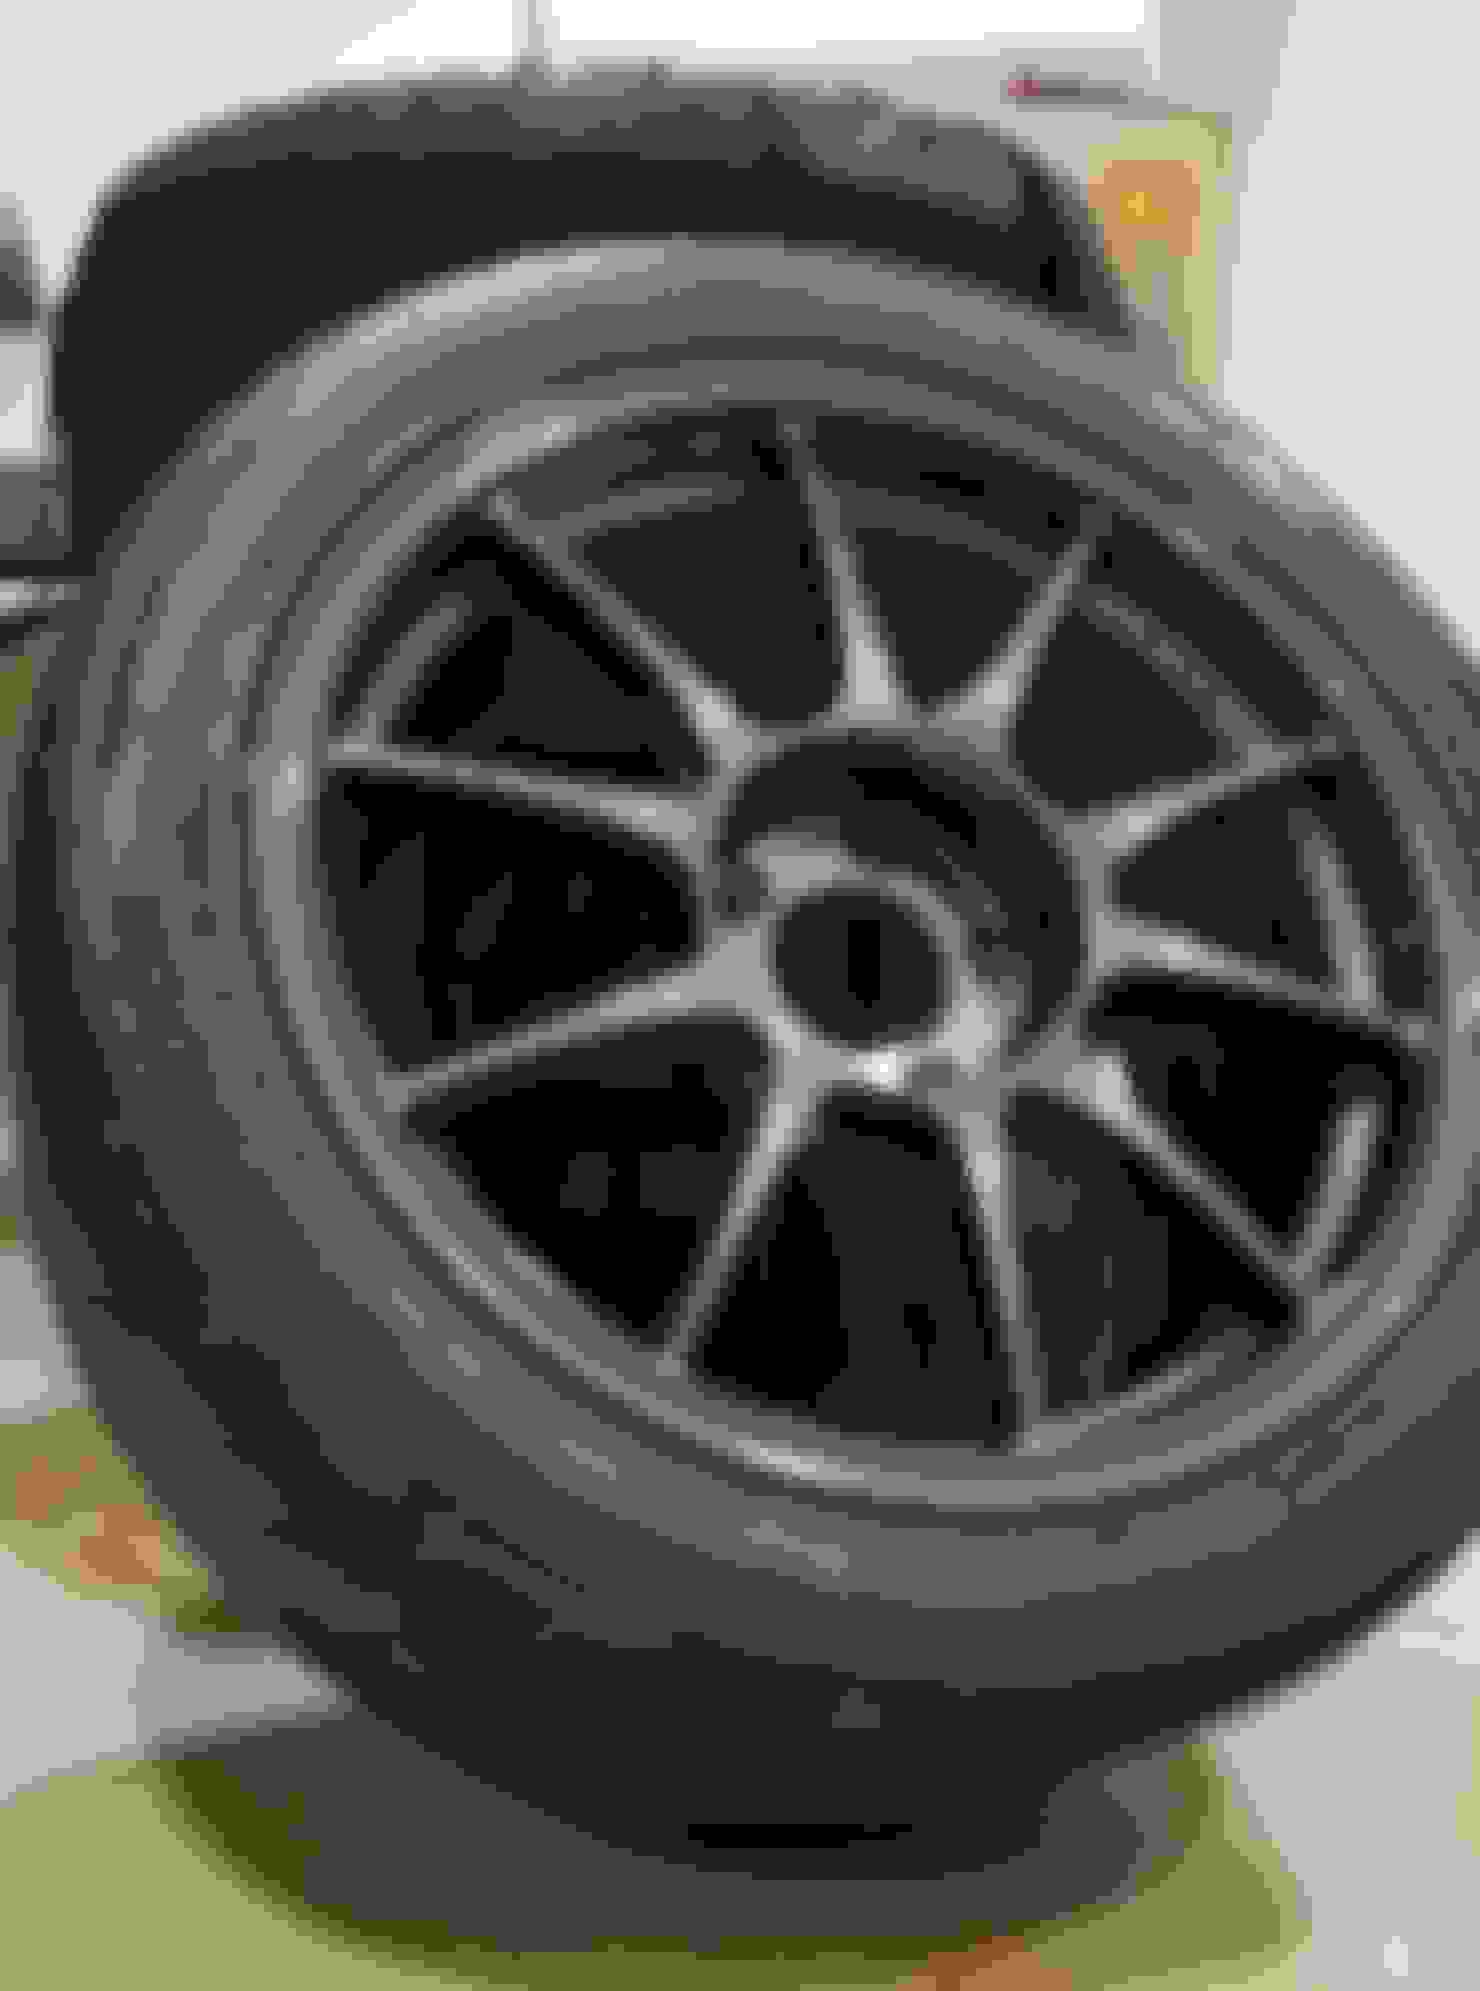
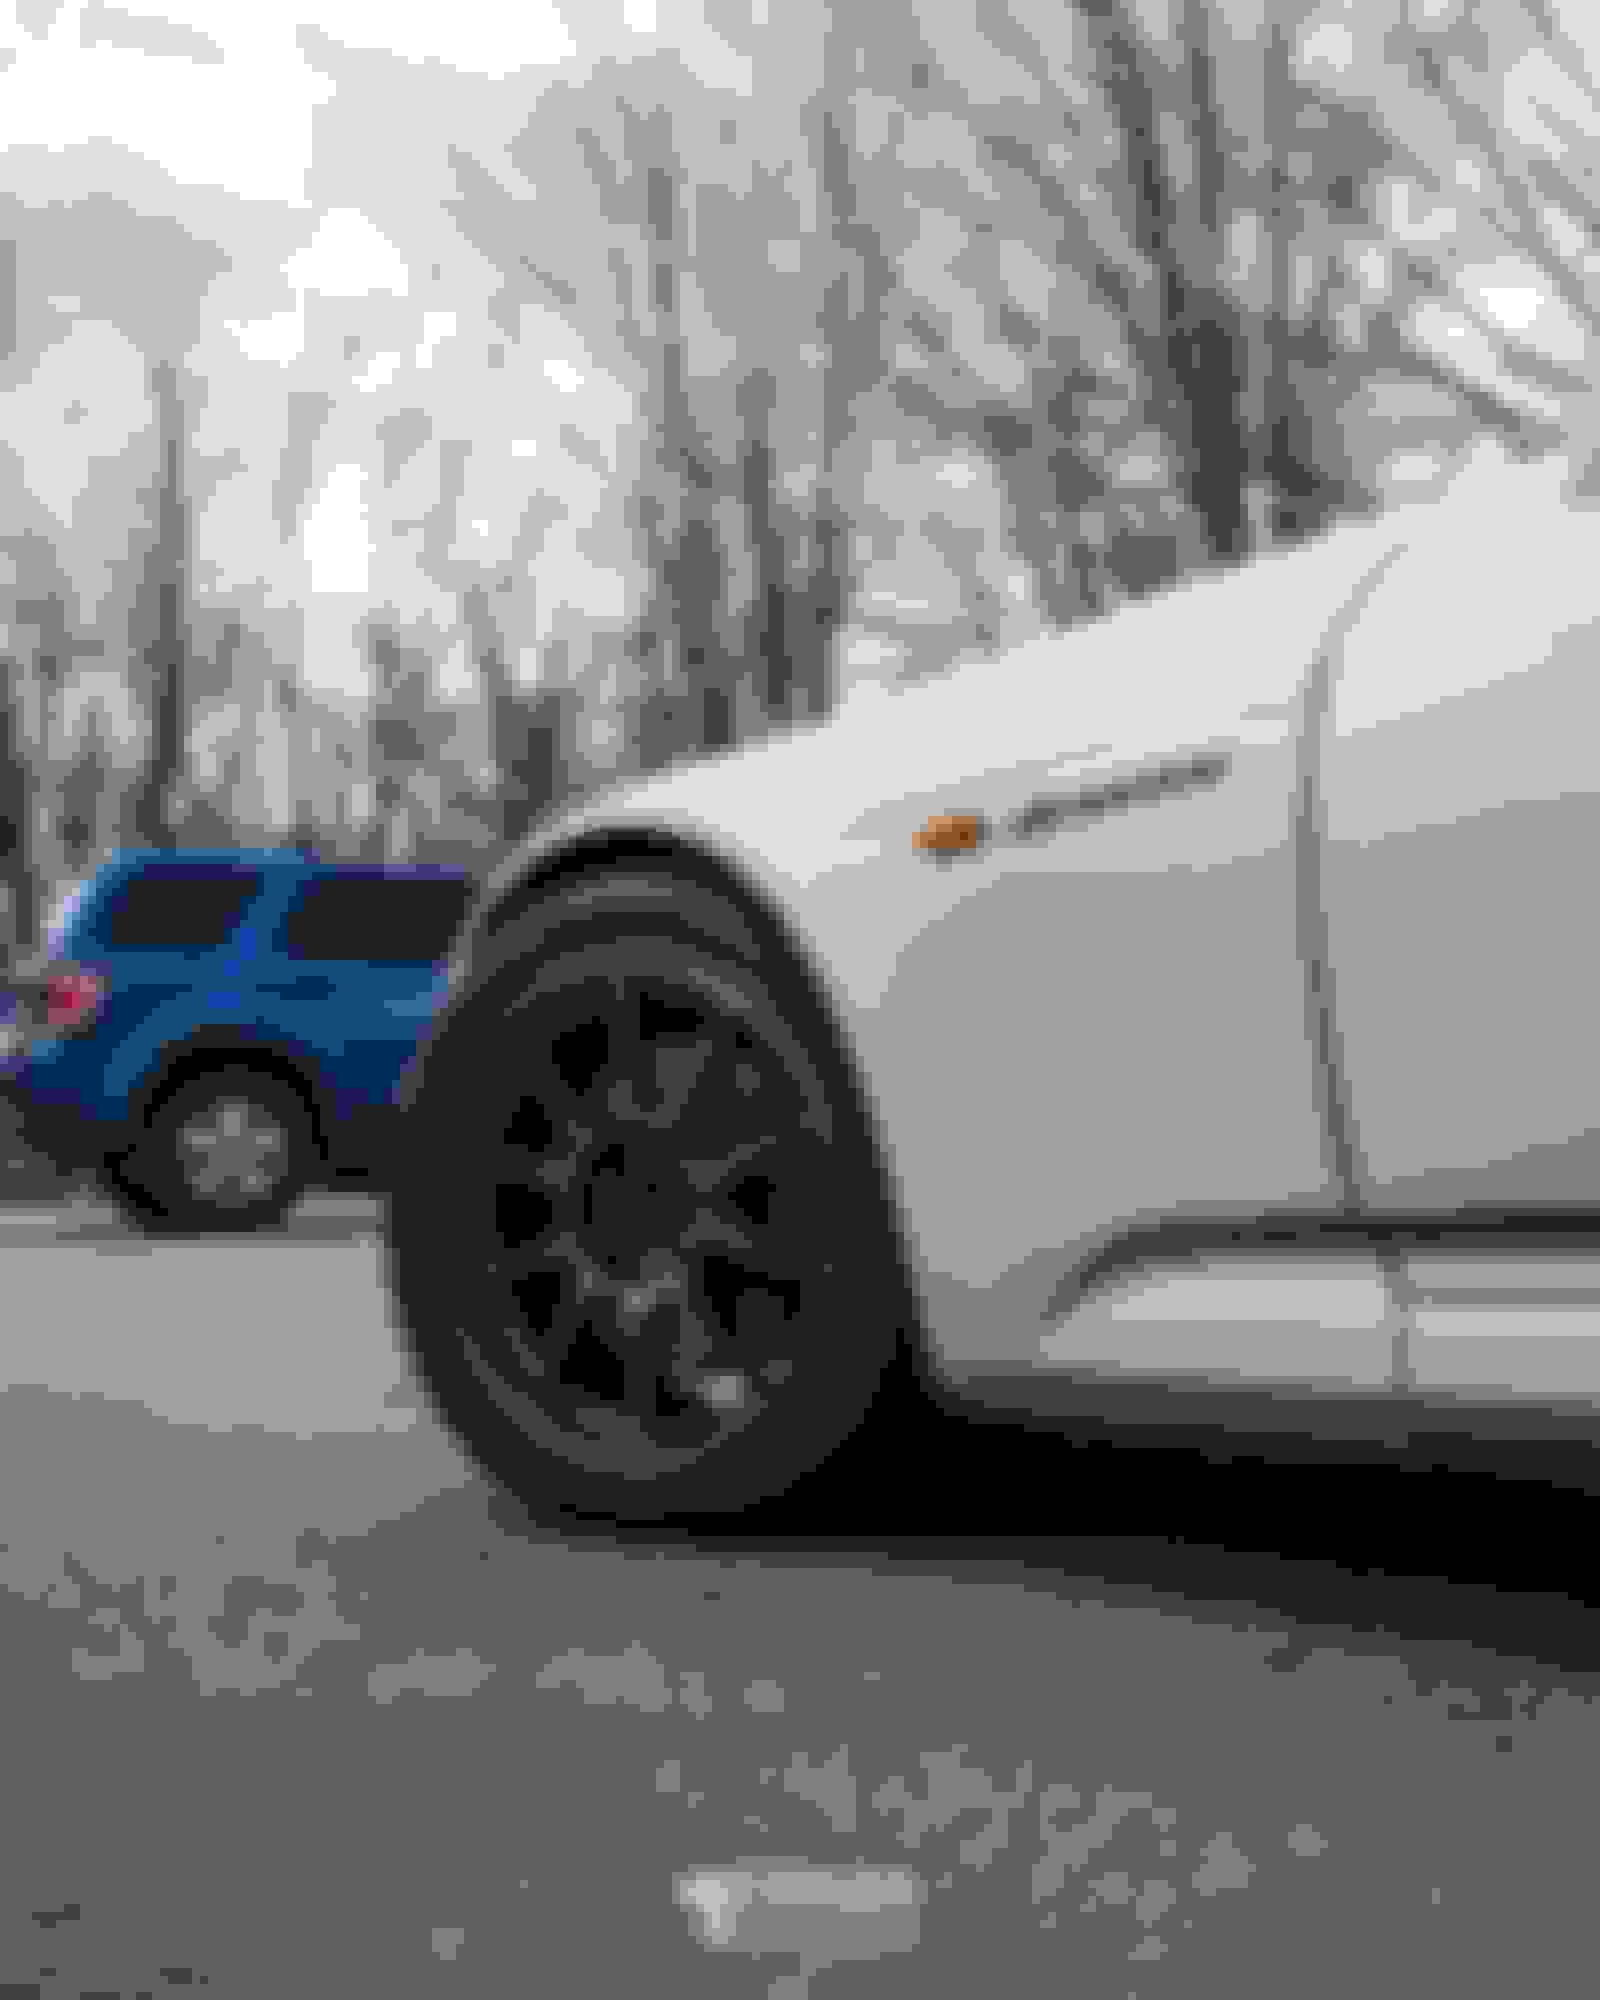
Over the winter break I picked up a set of 17x9 +49 WedsSport TC105N wrapped in 255/40 Hankook RS4's
Next step is rolling all 4 fenders and installing these bad boys:
Got the fenders rolled today and the TC105N installed.
Fitment is perfect! I can go a bit lower but I'm pretty content with the ride height.
Surprisingly I didn't have to run any extra camber but then again I don't even know what the current camber settings are at.
Next step is to get an alignment done and figure out where I'm at in terms of camber and toe.
Finally got around to installing the Modifry Convertible Straps.
They definitely needed to be changed. I didn't realize how badly torn they were until I removed them.
Before the straps, I found that the top would fold aggressively but now that the straps are installed, the motion is a lot smoother and it sits more flush
I also got around to repairing the huge scuff on my front bumper. A local Honda dealership was able to fix it for a fair price. Seriously impressed with the results!
Lastly, I also installed the Modifry cupholder. it doesn't look the prettiest but it's a serious must have in the s2k in my opinion.
The stock cupholder is useless.
This new cupholder is perfect for the bubble tea runs lol.
Took the s2k to its first car meet of 2022. It was a local cars and coffee meet and the turn out was great.
Love the variety of cars that showed up and also met a few other s2k owners.
This past weekend I finally got around to bleeding the brakes and also repainting the corroded brake calipers.
The brake pedal felt a little mushy so I suspected that there was some air in the system or the fluid was old.
I replaced the old fluid with ATE TYP 200 DOT4 fluid.
The brake pedal feels a whole lot better now and a lot stiffer. I even have enough fluid left over to do the clutch fluid.
In terms of the calipers, I'm not sure how they got so corroded/rusted and the previous owner wasn't sure either but I was reading around on S2ki and saw a post where Billman mentioned that old brake fluid could be the cause of it.
I first used a wire brush on the calipers and then sanded them down with a coarse grit and then a fine grit. Cleaned it up with brake clean and rubbing alcohol and it was ready to be spray painted.
I used Rust-oleum high heat spray paint in Silver.
I removed the pads from the front calipers and then removed the calipers from the front rotors but kept the brake line connected. I used a bucket to hold the caliper while I painted.
The rear rotors on the other hand were a bit more troublesome. I hurt my thumb pretty badly while trying to remove a stubborn bolt and at that point I just said screw it I'll just paint with the caliper still on the rotor.
Honestly the results still turned out great. I just made sure to mask important areas such as the pin boots, brackets, and the pad.
I just followed ChrisFix's video on painting calipers and also watched a few other vids. The key is the getting the surface as clean as possible and also masking the area as best as you can for the best adhesion.
Sorry for the crappy phone pics. I didn't want to dirty up my actual camera haha.
I know testpipes are a bit controversial but I finally got around to installing a Berk 63.5mm testpipe. It's now paired up to my HKS Hi-power dual exhaust and it sounds perfect. The HKS was nice on it's own but it was a little too quiet for my liking and I also didn't want to dish out 1-2k on buying a catback. The testpipe definitely opened up the sound and it even reduced the in-cabin drone quite a bit.
I didn't take a before and after video but I find that the cold start isn't any louder than it was before, however, when you get past 4k rpm that's when the car really opens up.
Coming from 2014 Civic Si that I used to daily in Canadian weather, I love working on a rust-free car. I had no issues whatsoever removing the bolts from the stock cat.
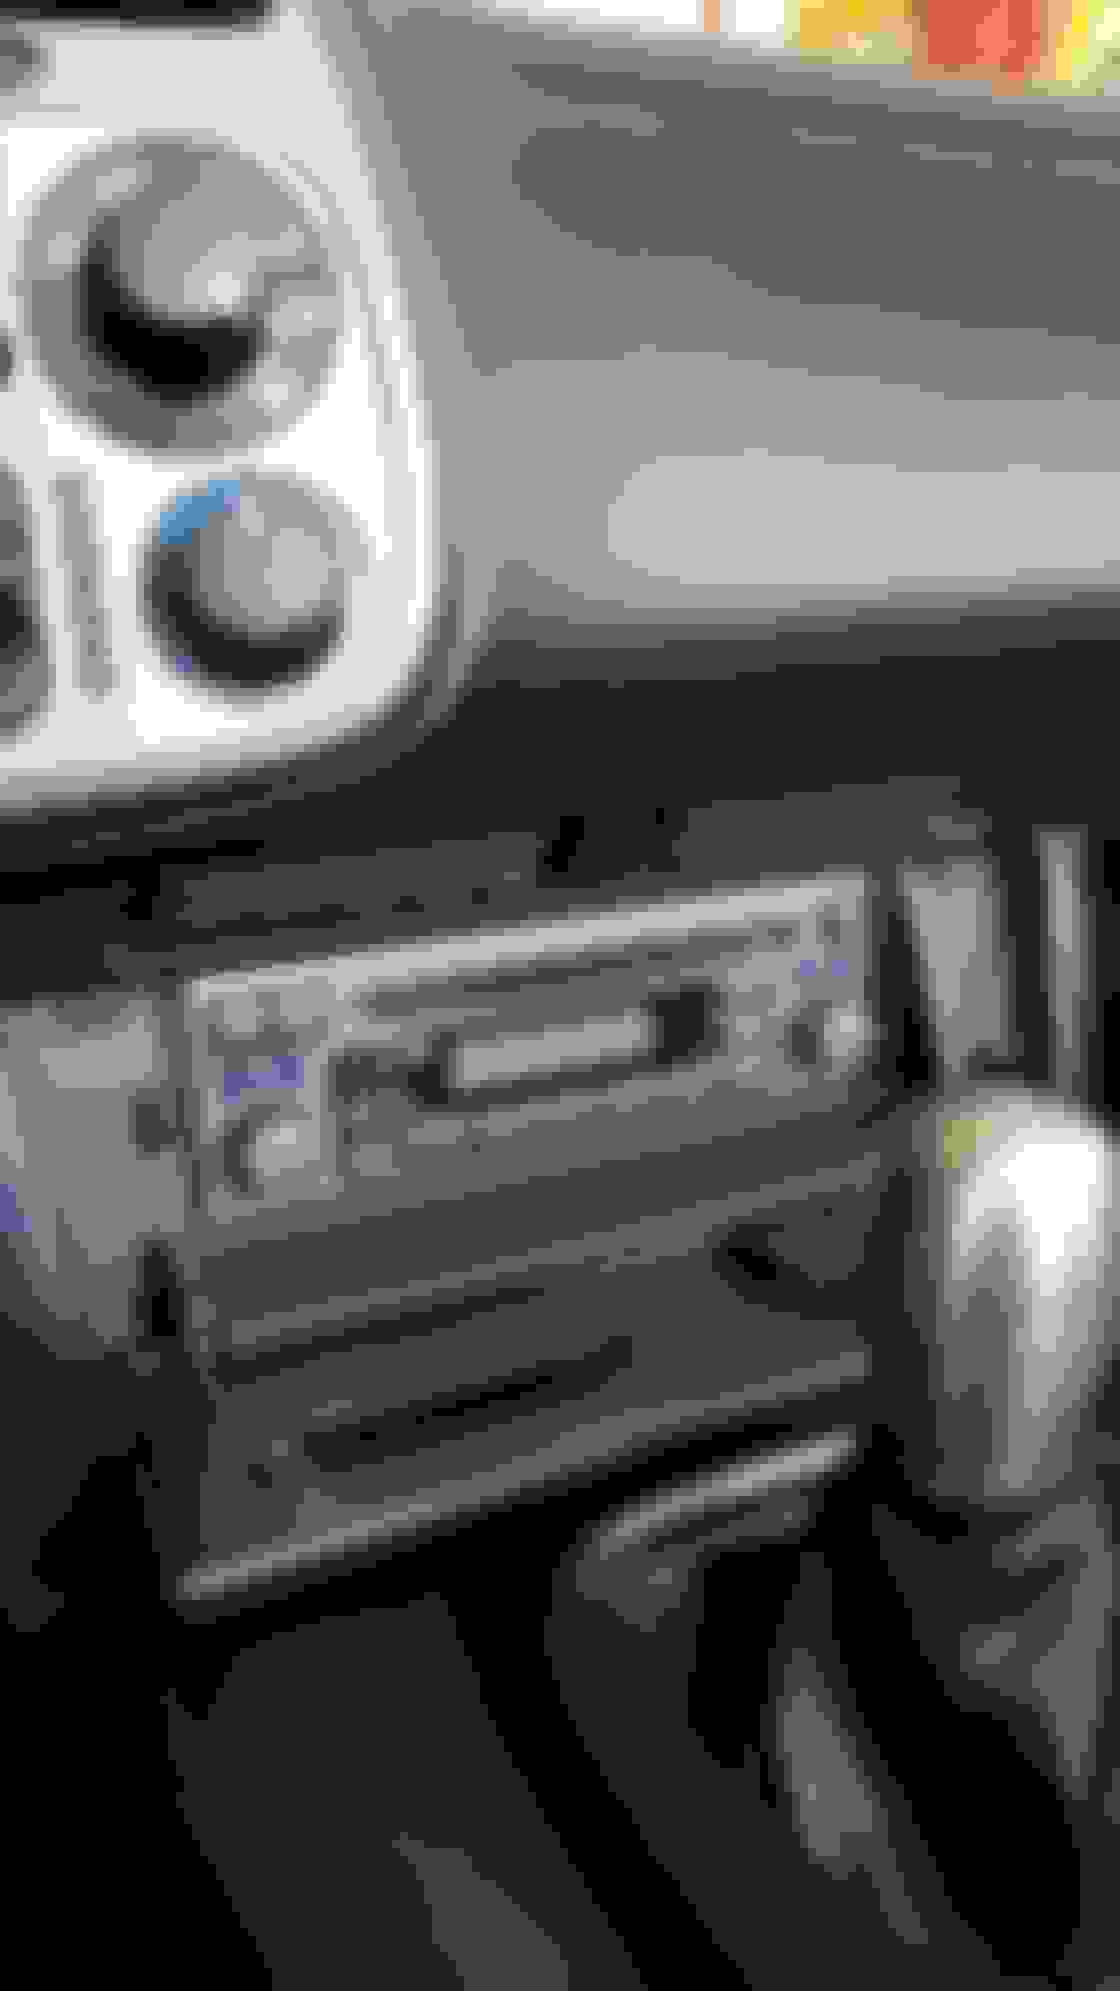
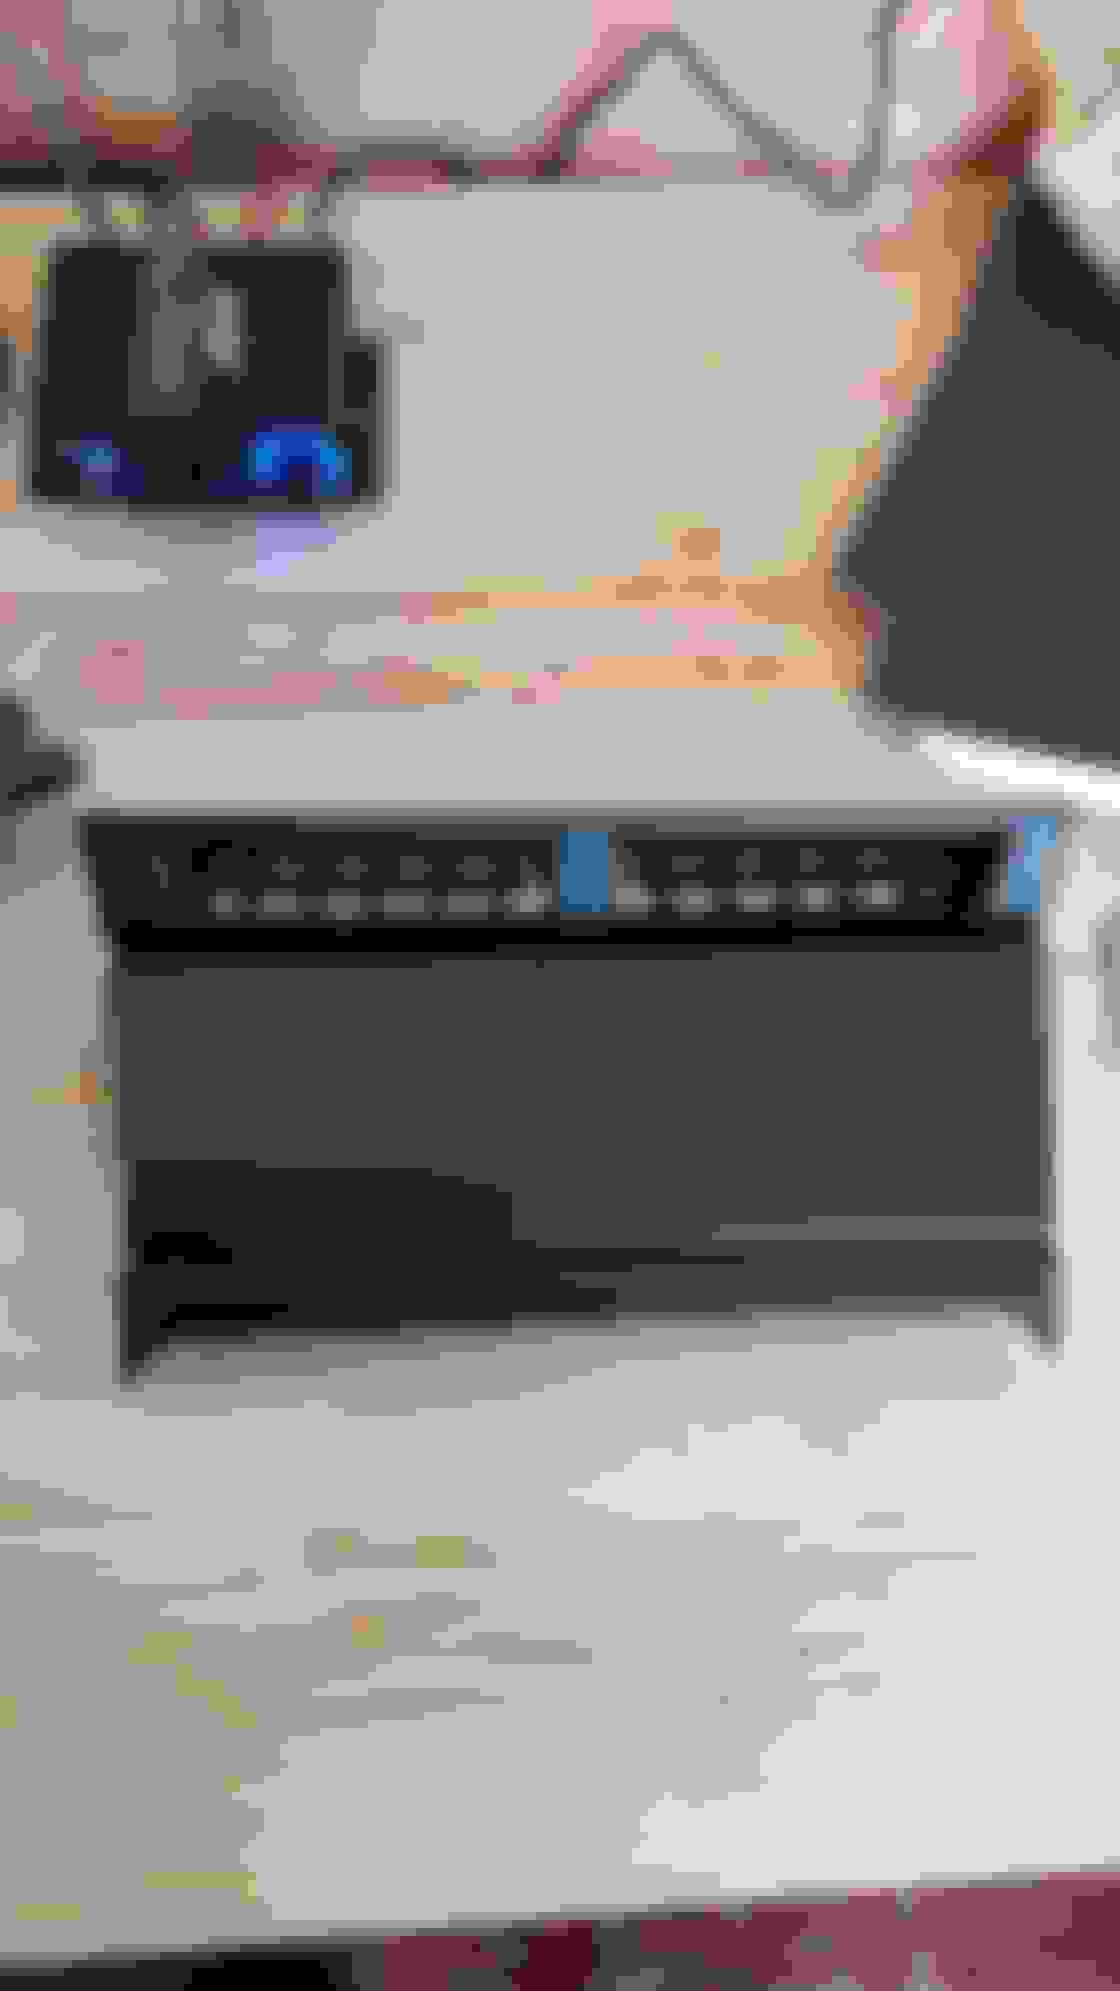
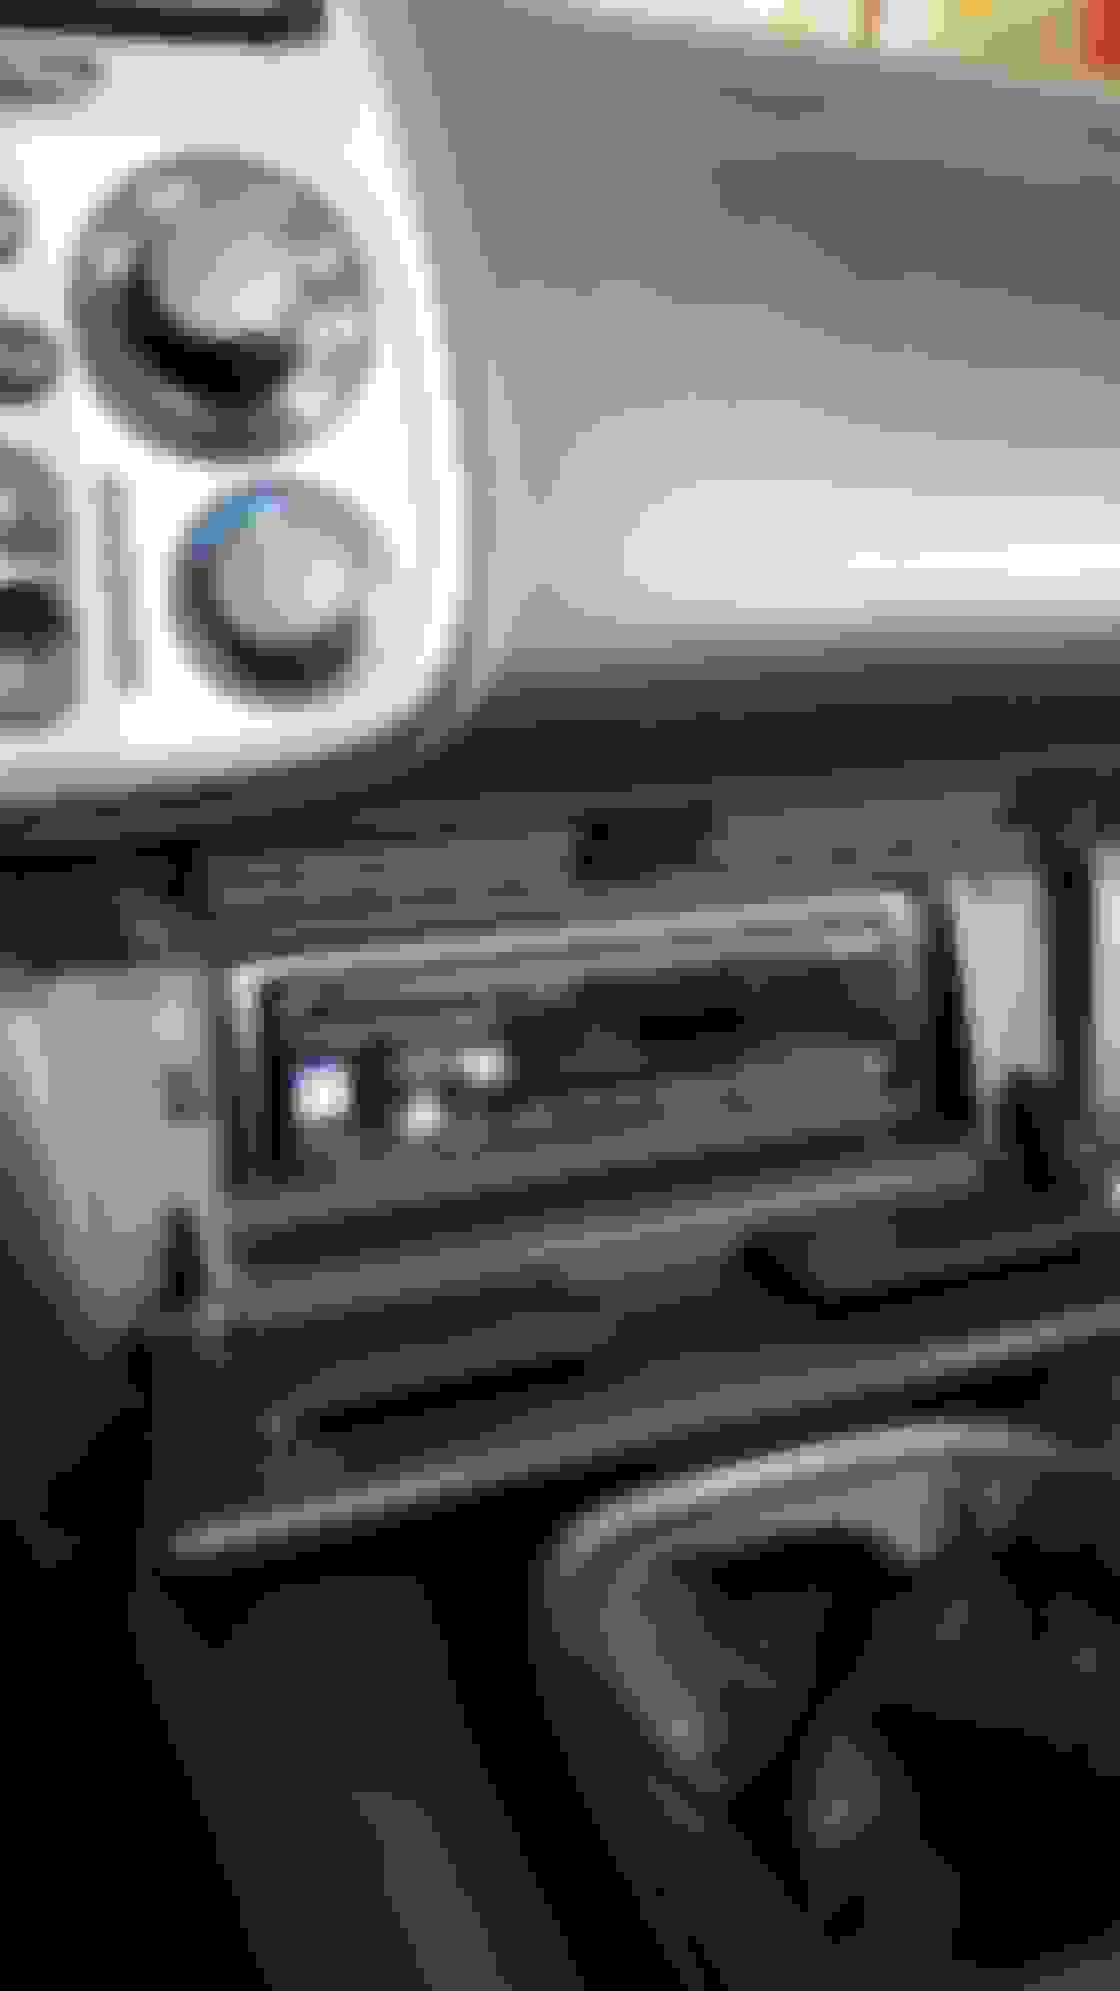
I also installed a CR radio door and an Alpine UTE-73BT headunit.
The all black interior for AP1's look great but I wanted to make the interior pop just a bit more. The CR radio door definitely adds a nice touch to the interior.
The headunit install was pretty straight forward, especially with the Modifry PnP harness and DCI.
 04-14-2022, 09:56 AM