When you click on links to various merchants on this site and make a purchase, this can result in this site earning a commission. Affiliate programs and affiliations include, but are not limited to, the eBay Partner Network.
I plan to eventually get CR shocks & springs (or maybe Spec-R springs) once my stock dampers start failing.
But first, I want to change the front sway bar (to CR or MY00-01) OR the rear sway (to MY04-07); mainly to lessen the oversteer and give more traction bias to the rear (MY03 has kind of a crazy sway bar ratio of 1.32 ..much stiffer in the rear). Idk which to get yet, but I'm leaning more on changing to a stiffer Front sway bar (instead of a softer Rear), because swapping to a MY04-07 rear, might feel too soft for me as time goes on.
As for the exterior: I'd love to respray the stock Ap1 front bumper; but since it's so expensive for a respray in the first place (around $500), I was thinking might as well save a little more and upgrade to an Ap2 bumper. A front oem lip would be nice as well; and, so would a matching rear oem spoiler too. Wheels - I'd really love some 17" AP2 v1 wheels. Lastly, an oem style hardtop. Most likely a carbon fiber one, just because it's so much cheaper than a genuine oem hard top (oem hard top would be +$1k more (than an aftermarket carbon top) plus another $500-700 to paint it.. way too much dinero for me). That's pretty much it. But, all of these cosmetic exterior upgrades aren't going to happen for a while, since they're obviously pricey.
Other than that, it'll be mainly and mostly maintenance, upkeep, repairing anything that arises (mechanically, cosmetically, electronically, etc.) and keeping it oem and classic.
Really loving this car so far though. I don't remember loving any of my other past cars this much. Don't get me wrong, I loved them...but, nowhere as close as to this one. There's just something unexplainable about this S2000 that makes it magical.
Heck, I'd get an AP1 lip instead of getting a whole new bumper and lip. I personally prefer AP1 front, especially on GPW. I'd also swap the rear AP2 bumper for an AP1, cuz again, I prefer that AP1 booty.
Other than that, I love your plans! Clean looking car!
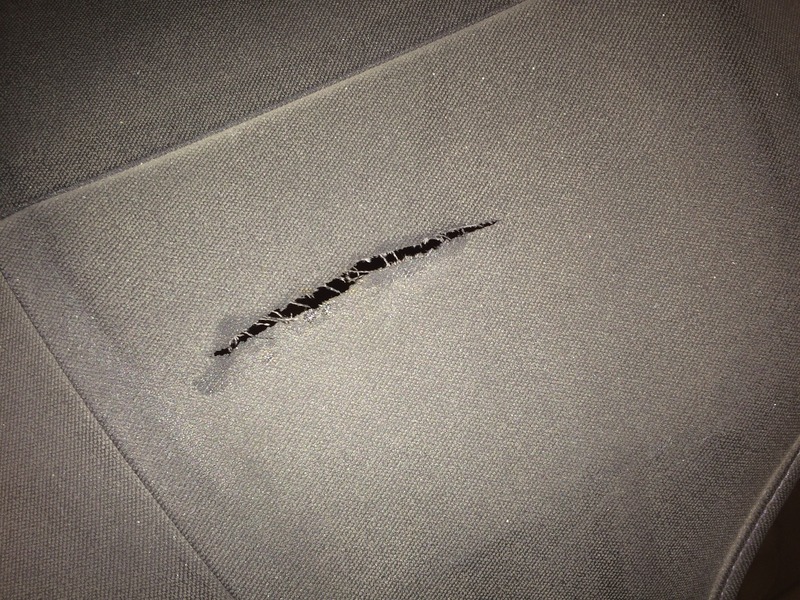
Got a few parts in. Also repaired a few rips on my soft top.
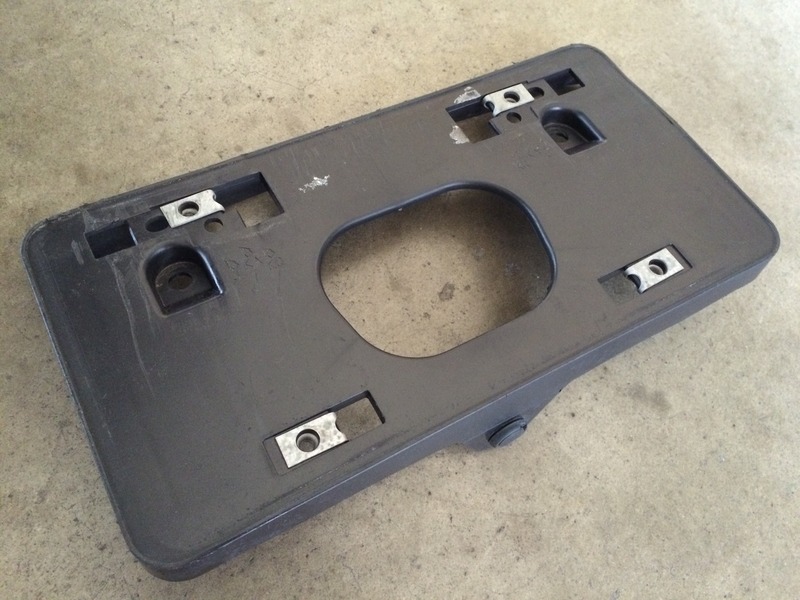
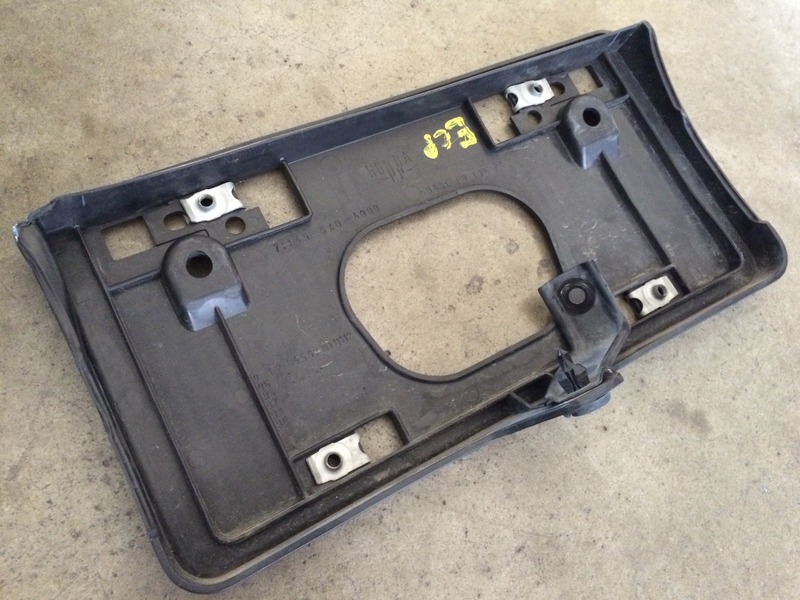
Used front license plate holder with hardware, $20 on ebay. Ended up having a crushed/damaged corner; so, I might just buy a new one (just the plastic part).
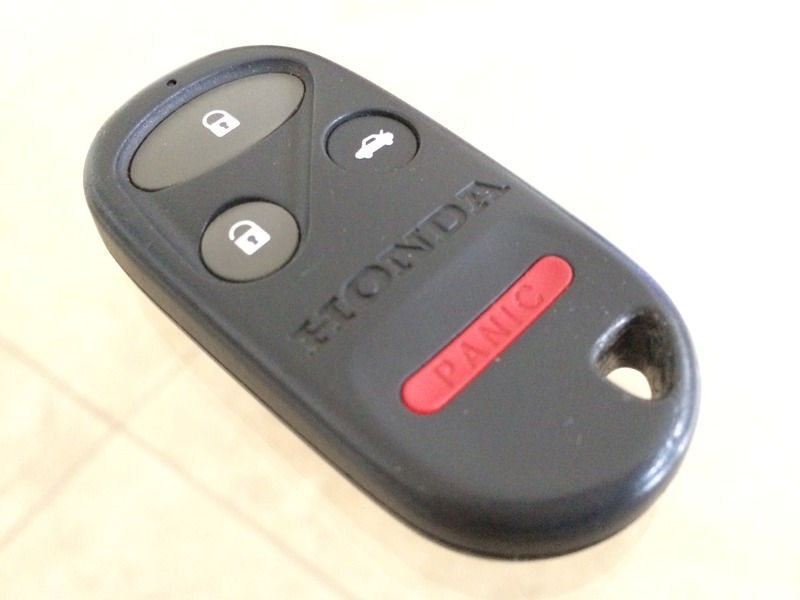
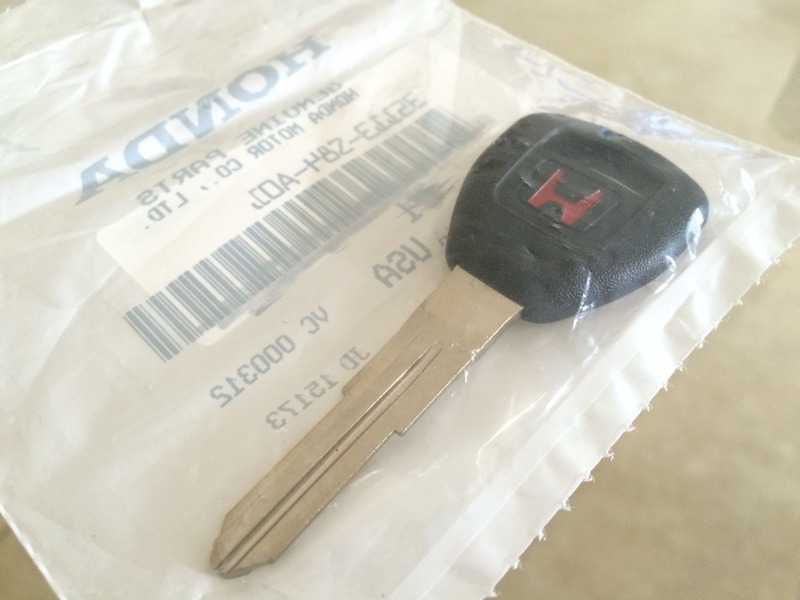
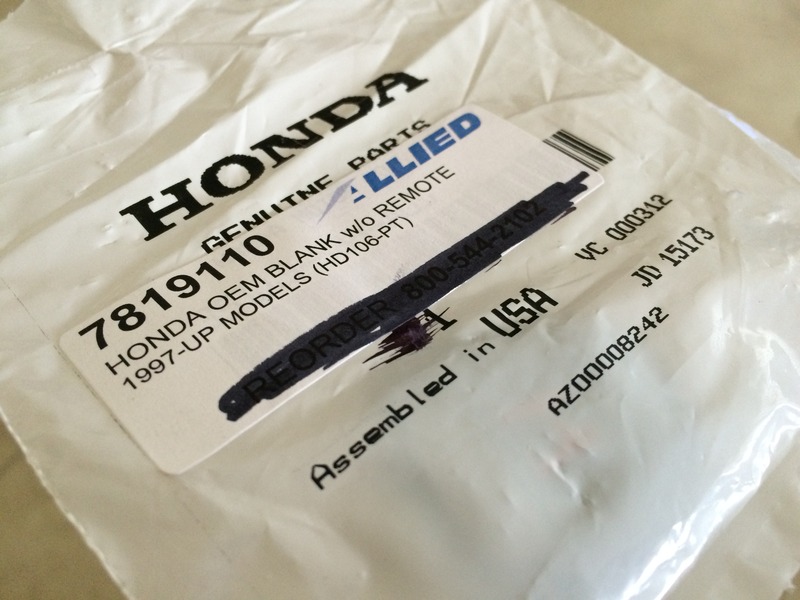
My car only came with one key-set. So I got this used remote ($25) and a new transponder key ($32).
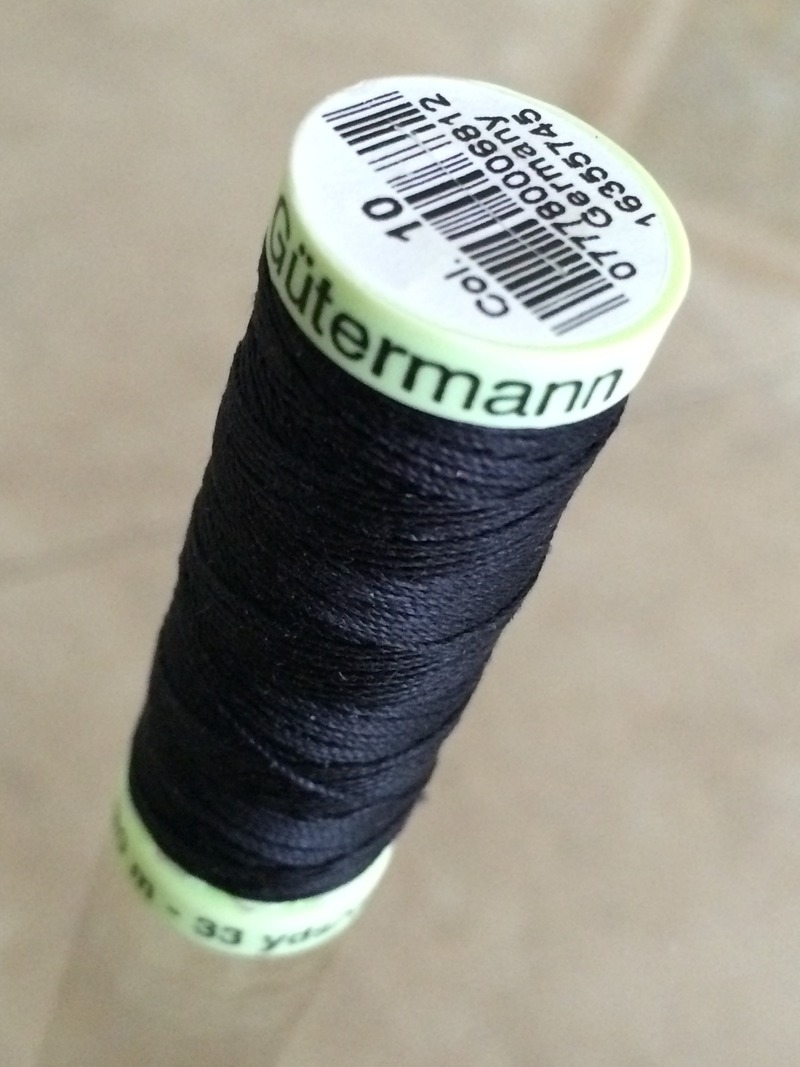
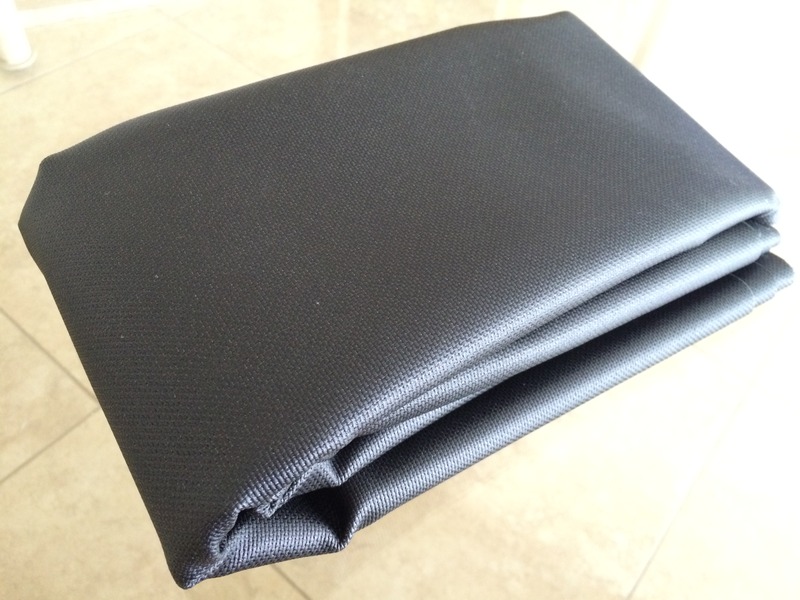
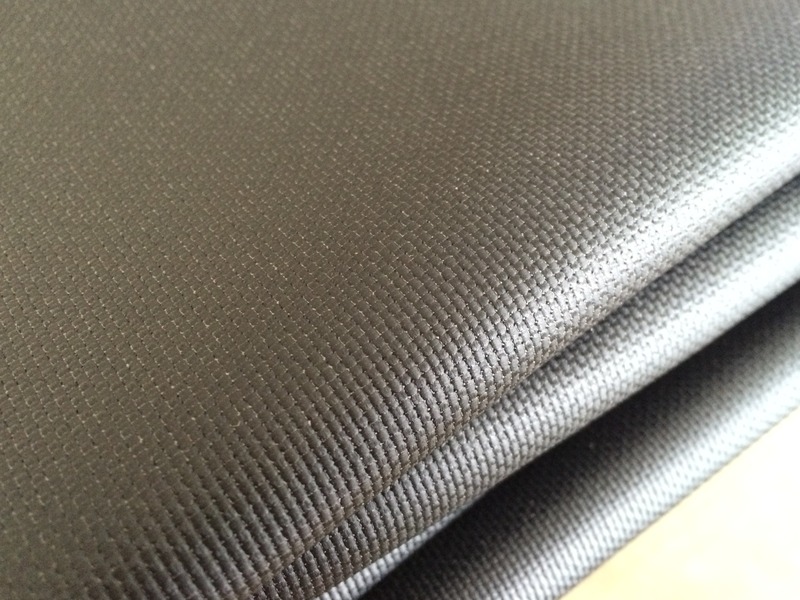
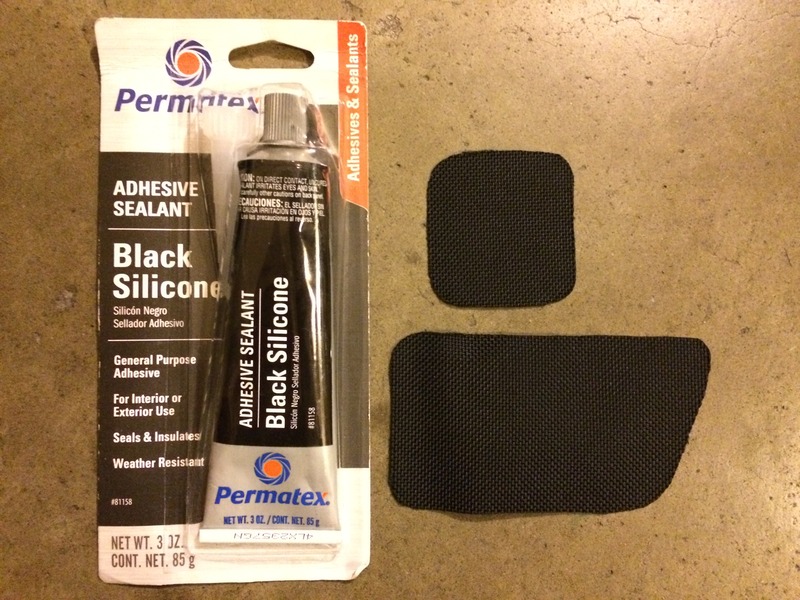
Heavy-duty thread and ballistic fabric to patch soft-top holes and rips.
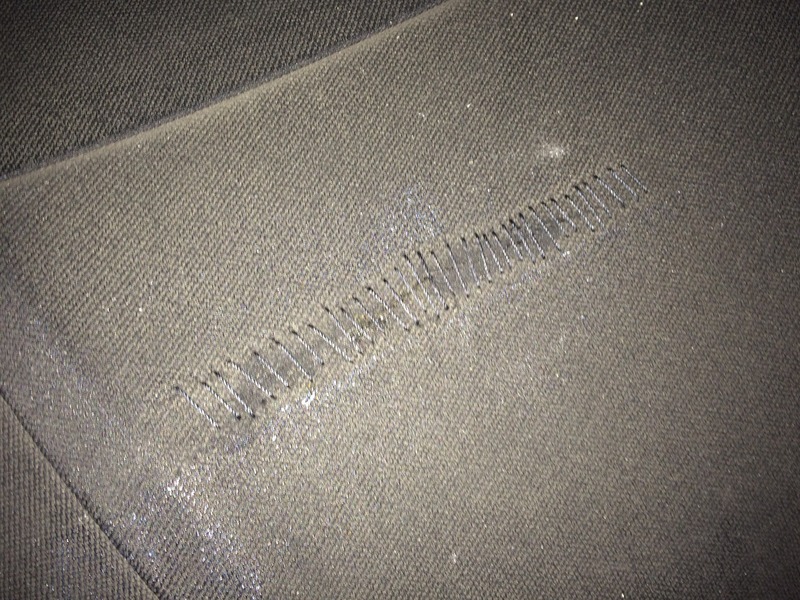
I then proceeded to repair the rips/holes last night. Here is the biggest of the 2 holes - a big 4-5” rip (passenger-side above blind-spot area).
Big rip all stitched up.
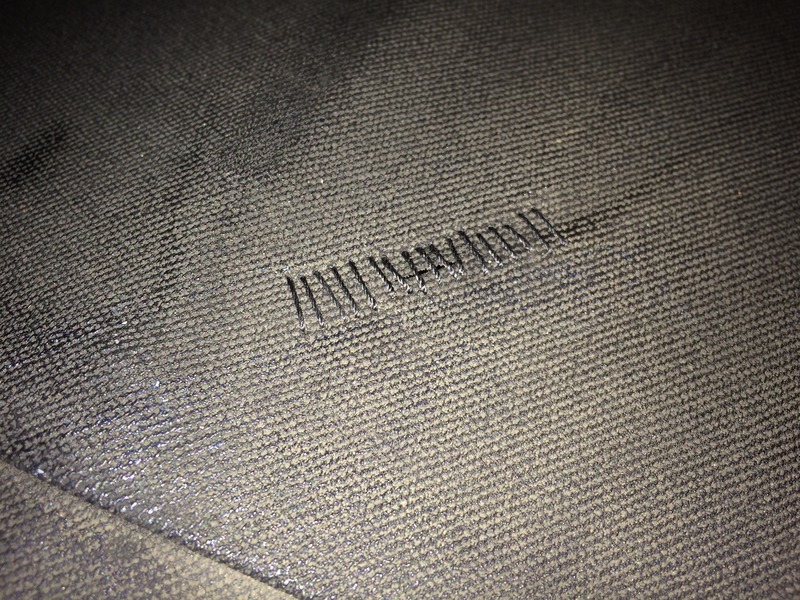
The other rip was a small 1” hole (above driver-side head). Here, all stitched up.
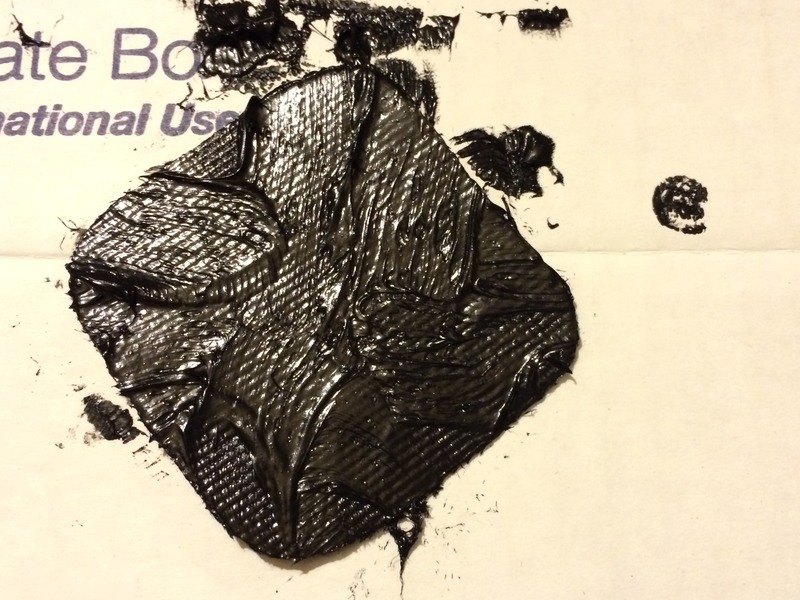
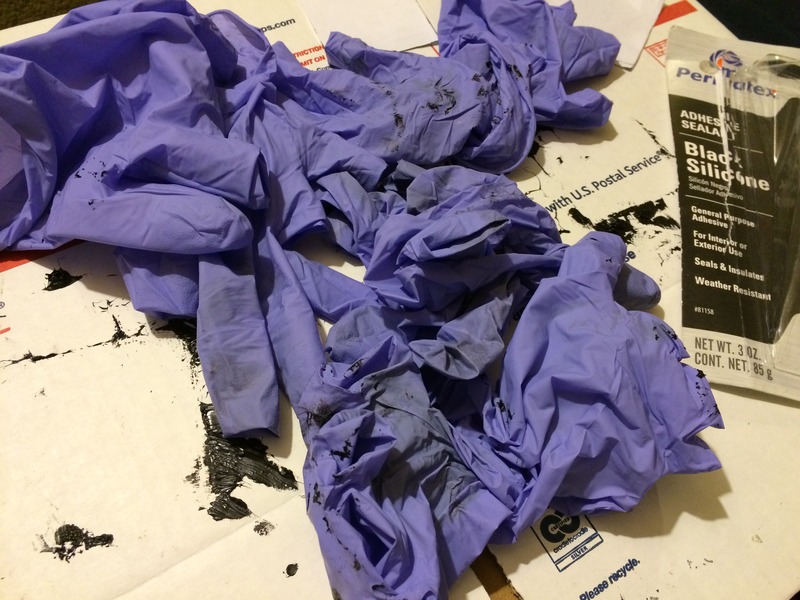
Patches cut out with some Permatex black silicone.
Coating the patches. Super sticky messy stuff.
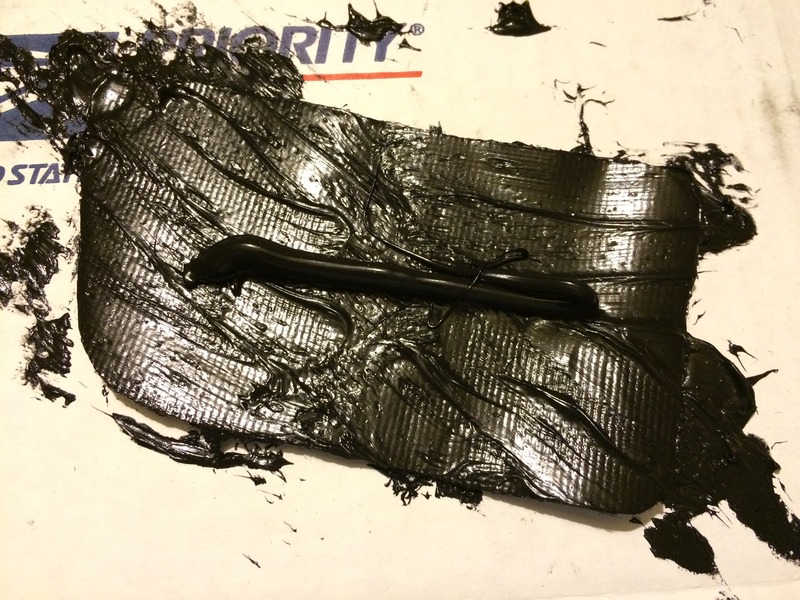
Patches in place. Straps def need to be replaced and are no good anymore.
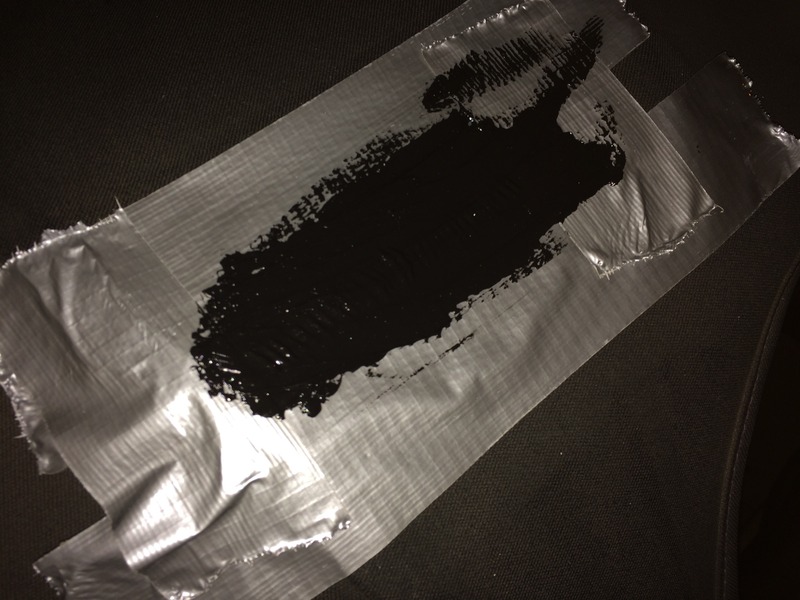
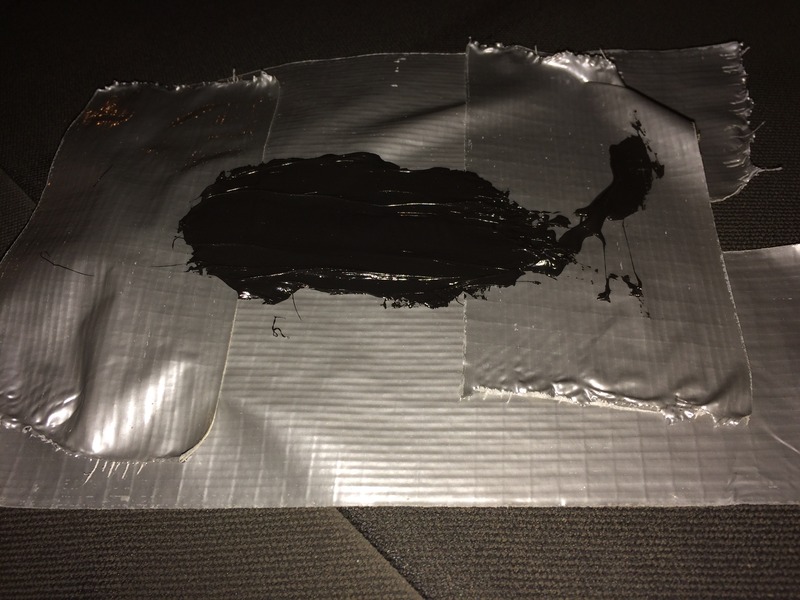
Sealing the threads on the exterior. Used duct tape for masking.
All done. Went through mad gloves.
All dry the next morning. Not too shabby. Much better than a blaring and gaping rip/hole at least.
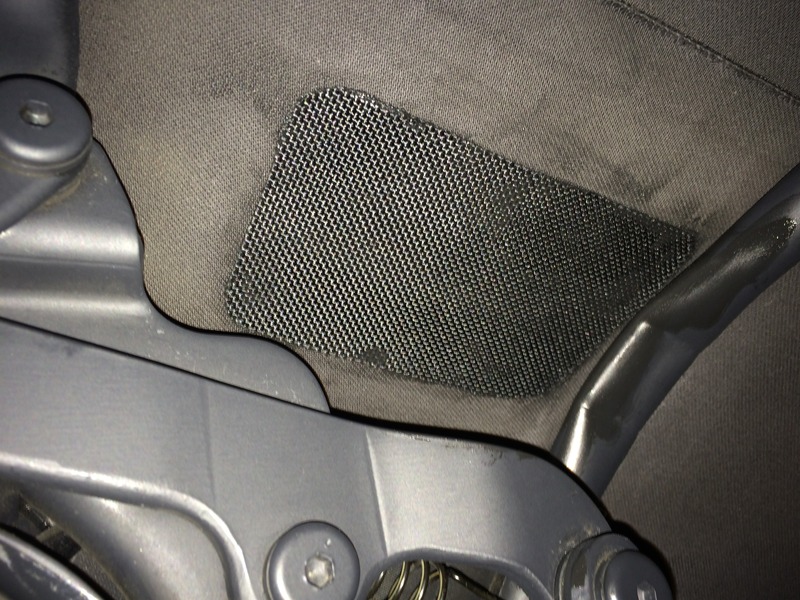
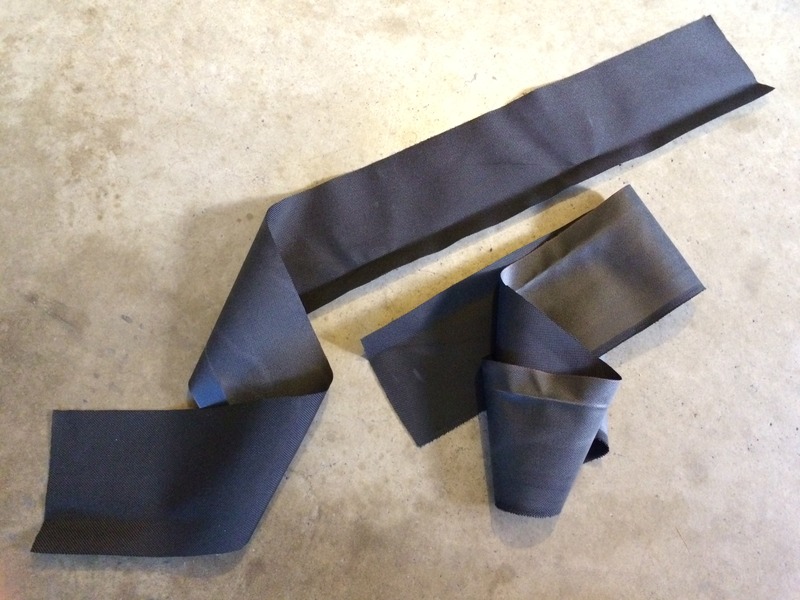
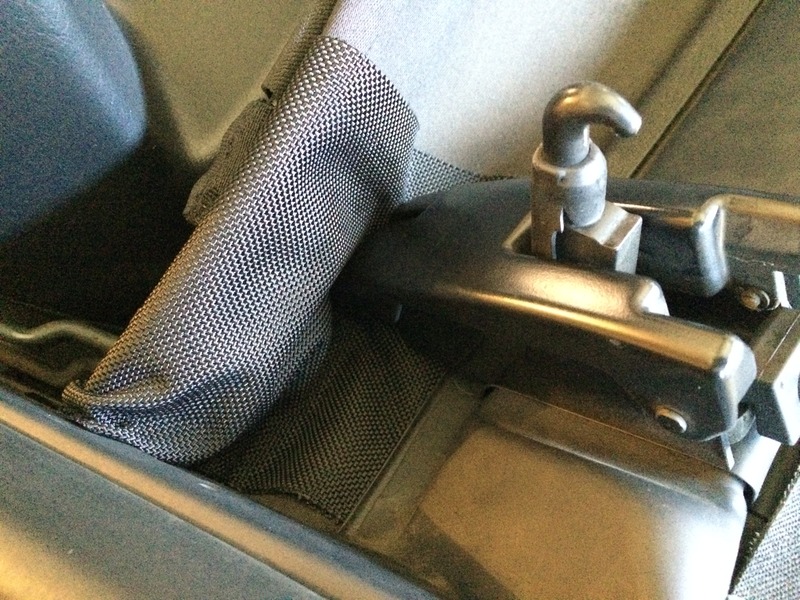
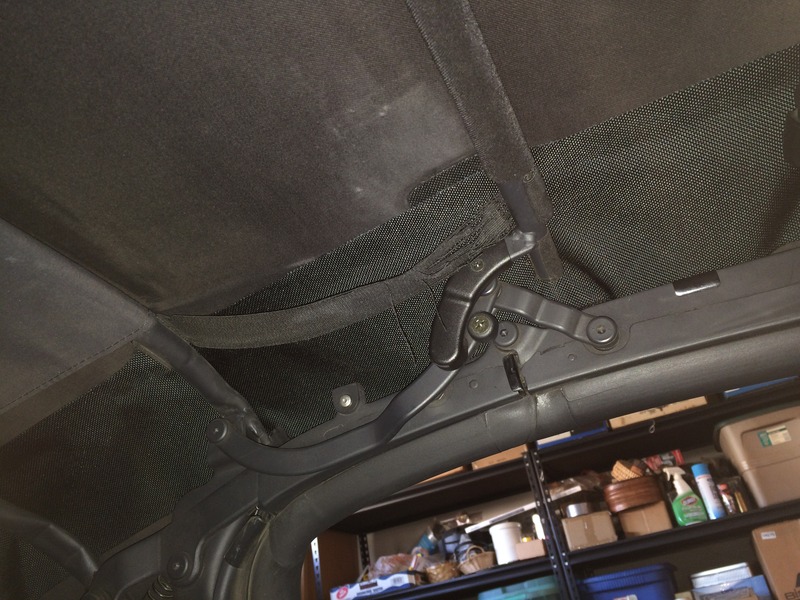
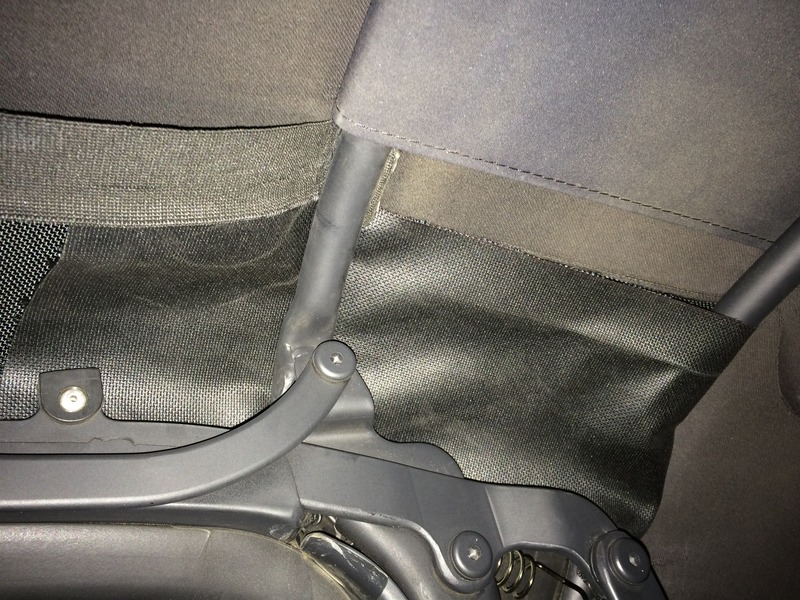
I had so much left-over ballistic fabric (since I’ve only used a few square-inches of it, out of the 60”x36” sheet), I had to do something else with it. So, I decided to do this guy’s little mod - hole/tear prevention strips: https://www.s2ki.com/s2000/topic/453...t__p__22481754
In that thread and post, they are using rubber cove base. I did the same technique as him, except I used my left-over ballistic fabric. I figure it’ll be similarly effective in preventing tears, rips and holes; as it’ll take the friction and wear from the bars instead of the soft-top itself.
No glue, no tape, no velcro nor anything else was involved. Just 2 strips cut-out of the fabric. I made 2 strips - 5”x36” each (though, I think a 4.5” wide piece would fit a tad better).
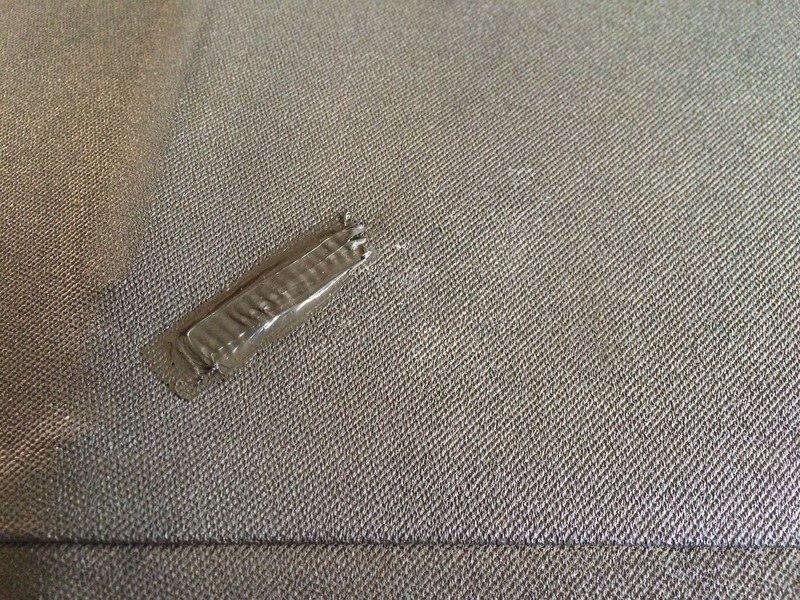
For the front-end, I simply shoved and wedged it neatly here, in-between the frame thingy and soft-top fabric. I opened&close the top a couple times, and it stays in place.
Here’s the front latch area when the top is down. The fabric is still in place and also blends in nicely.
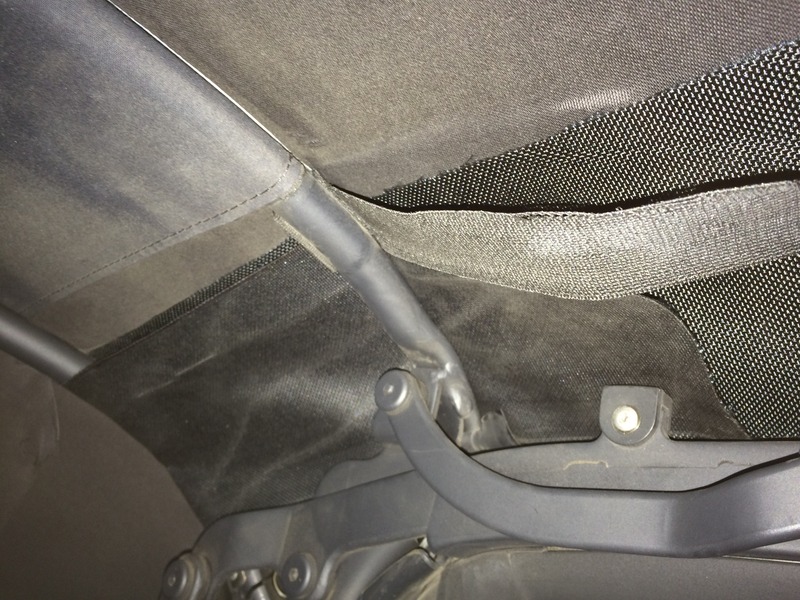
Here’s the fabric-strip over the 3 bars.
For the rear, I simply looped it around the 3rd bar, then back on top of the 2nd bar to wedge it in place. It too hold in place after a couple open&close tests. And, no glue/tape/velcro involved at all. There is enough friction/force in-between the 2nd bar and soft-top to keep it in place.
The other side (passenger-side).
Pretty easy mod and it appears it would help a lot in preventing holes and rips, by taking all of the friction, rubbing and wear from the damaging 1st bar's tip and the 2nd bar's corner (instead of those bars rubbing onto the soft-top directly). And, it seems like it holds in place quite well (so far) without any glue/tape/velcro/sewing involved at all.
If anything, you can probably use 3M double-sided tape to keep the front-end of the strip better in place (eg: 3M tape placed b/n the front frame-thingy and the ballistic fabric strip - outta hold it well). But, the rear, seems to hold in place very well when it's looped then re-lodged/wedged on top of the 2nd bar.
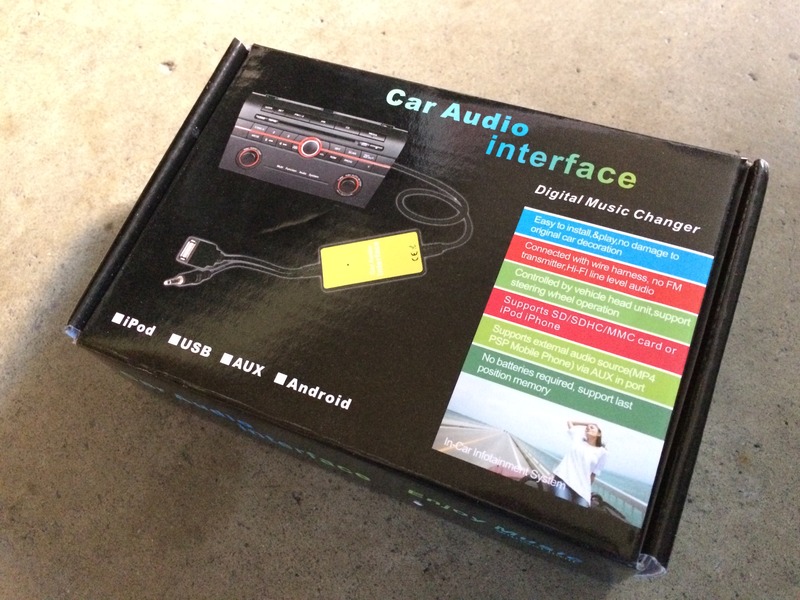
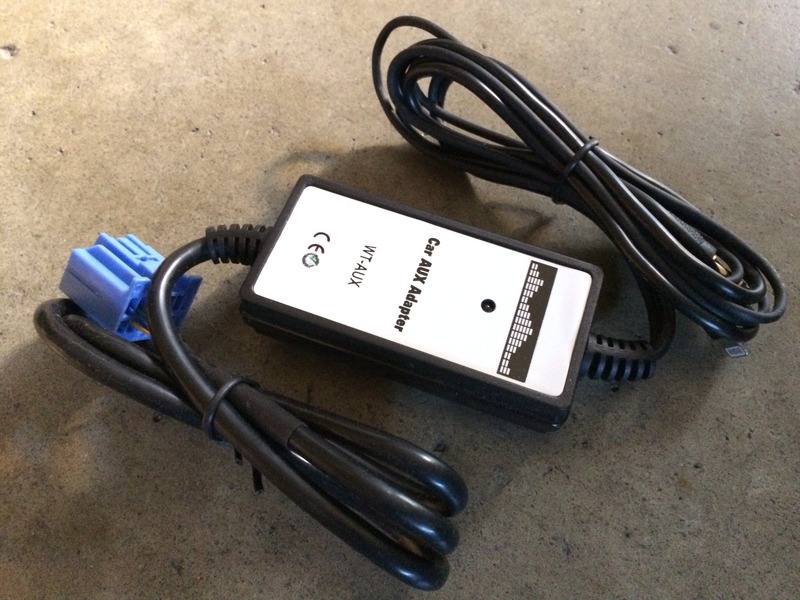
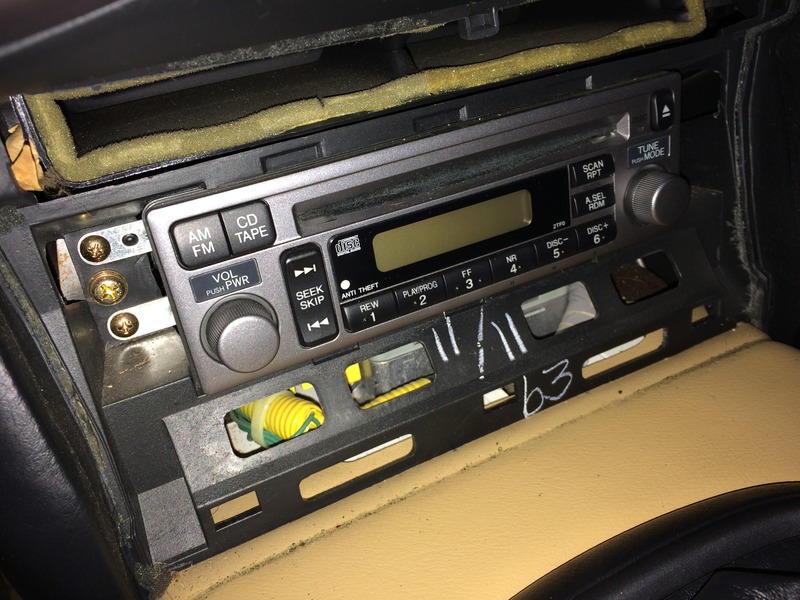
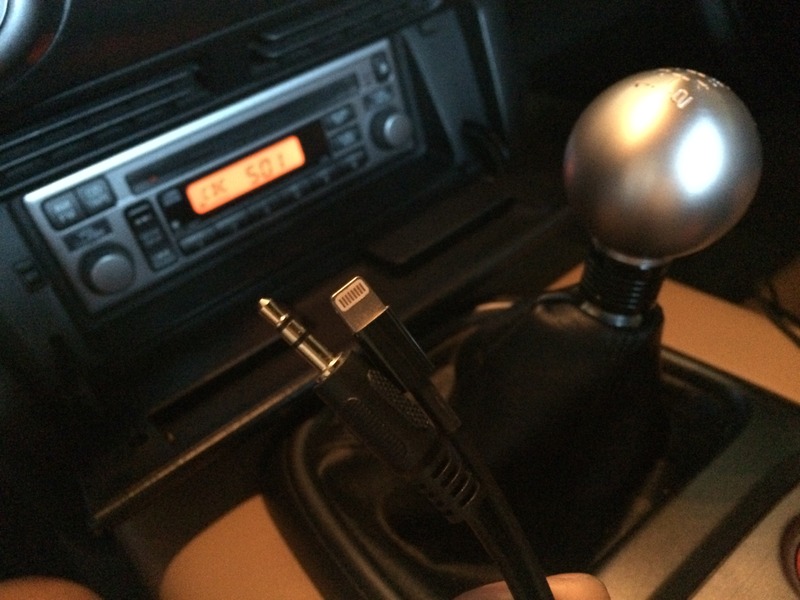
Got an iPhone adapter. Easy install and I’m very satisfied with it (sure beats my cassette/tape-adapter in my previous Tacoma lol). I usually/almost-always like oem decks much more than aftermarket stuff - clean oem appearance, no tacky mismatched light show, simple and all I need. I was never into the “car-stereo” stuff/scene. But, I am into music studio, analog instrument, music-listening audiophile gear though.
It's basically just a regular 3.5mm/mini-jack connection for the audio and the Lightning/iPhone connector is merely just for charging. Yes, you have to control music through/inside your iPhone still. Yes, plug-n-play. Pretty basic and feature-less really. But, at least it connects and plays music well, without using super low-quality connection methods (eg: tape-adapter or FM).
I'm not sure; but, since the S2000 deck is old already, I doubt there will be any type of adapter or interface that allows you to control a complex iPhone from the stock 10+ yo deck.
 10-29-2015, 11:32 AM