Manga_Spawn's Build Thread
 01-14-2015, 05:32 PM
#101
Site Moderator


Thread Starter
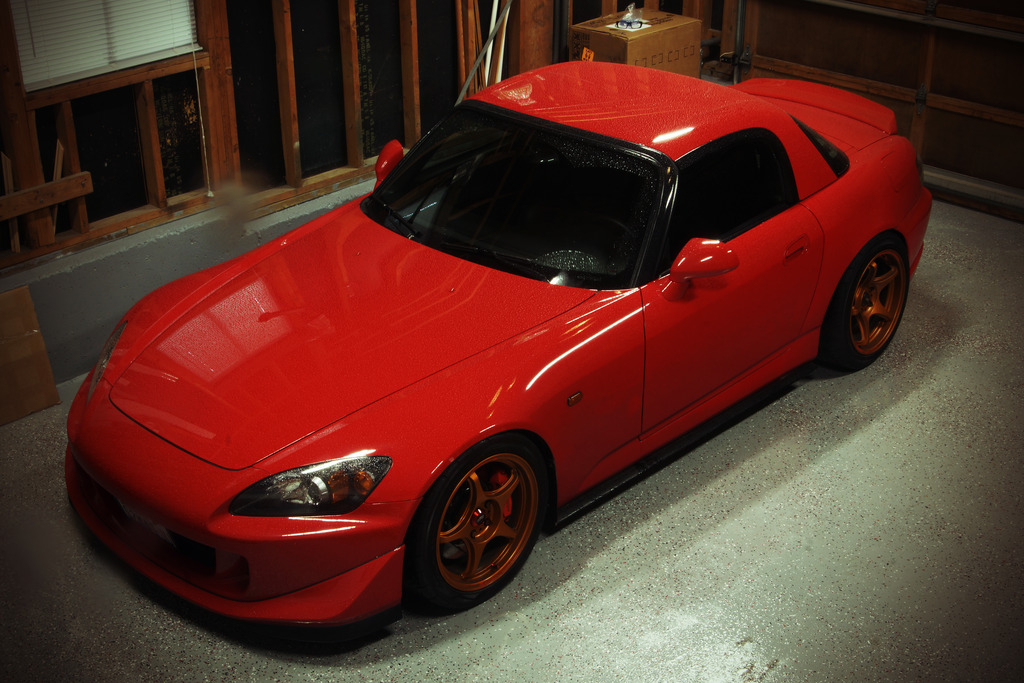
1/13 1/14 Update
Detail Week.
My car has been in bad need of a good cleaning. The issue is here in Seattle we don't get many dry days so at best I can get a quick wash in. As you can see from the pics above it in in need of much more than a quick wash and luckily we have had a few dry days in a row.
Day 1 1/13 Prep, Undercarriage wash, wheel wash etc
I was inspired by feezy's cleaning of his wheel wells and pinch welds so I decided to take a crack at it as well as give the car an initial wash using some dish soap to remove old wax, dirt grime etc.
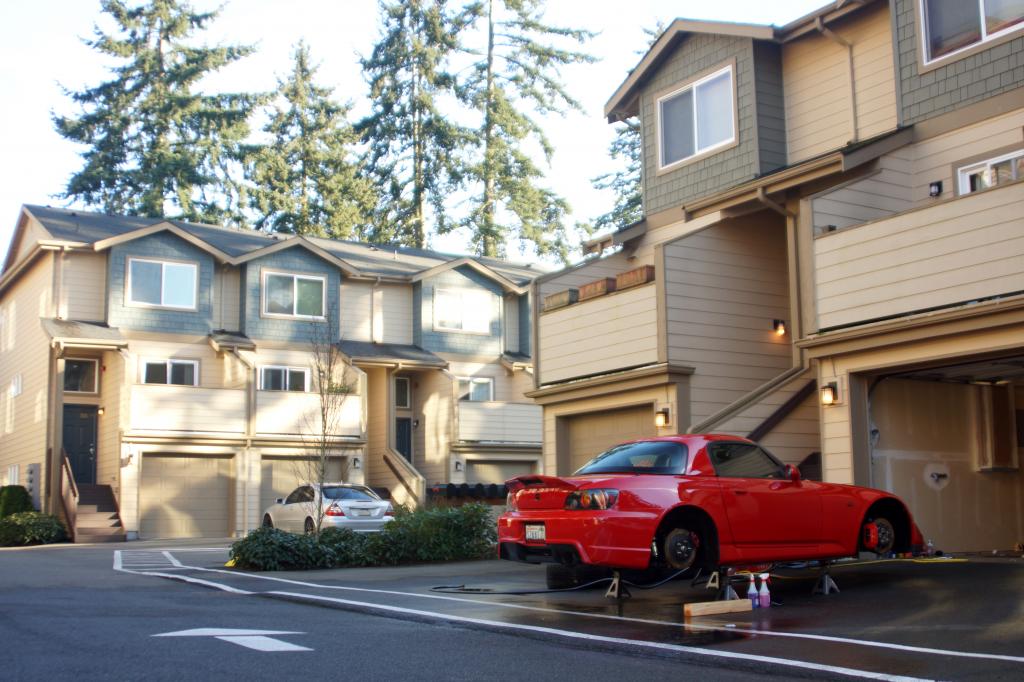
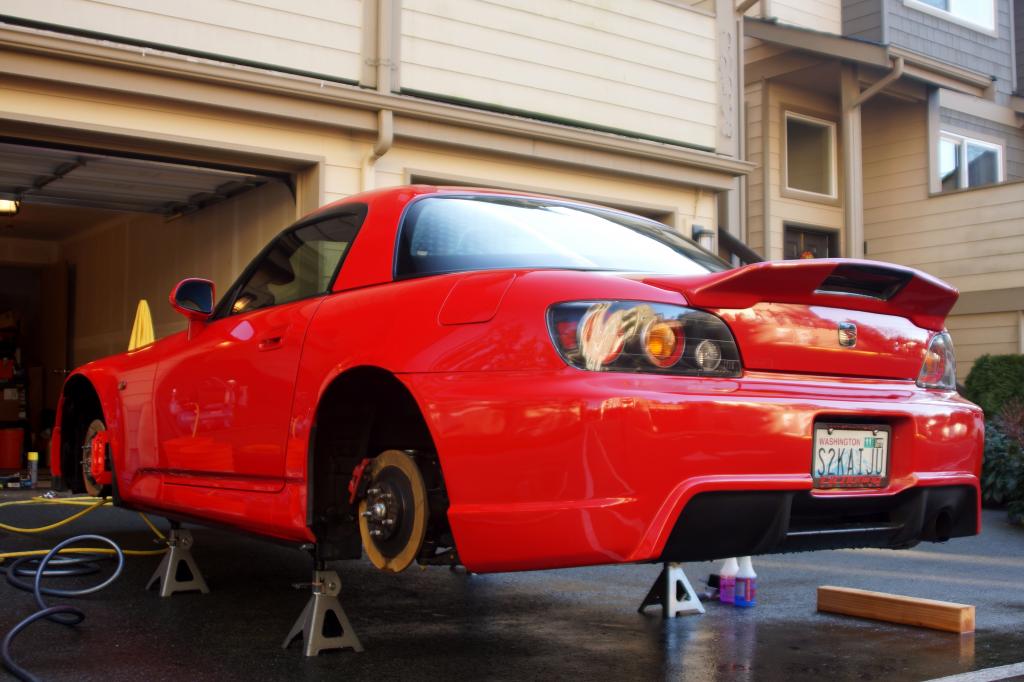
Car on Jack stands wheels pulled off and car washed. Yes it was dark as the sun goes down around 4
Sorry this pic sucks (all the other were worse) but you can see how nasty the wheel wells were. Years of dirt, grime and rain.
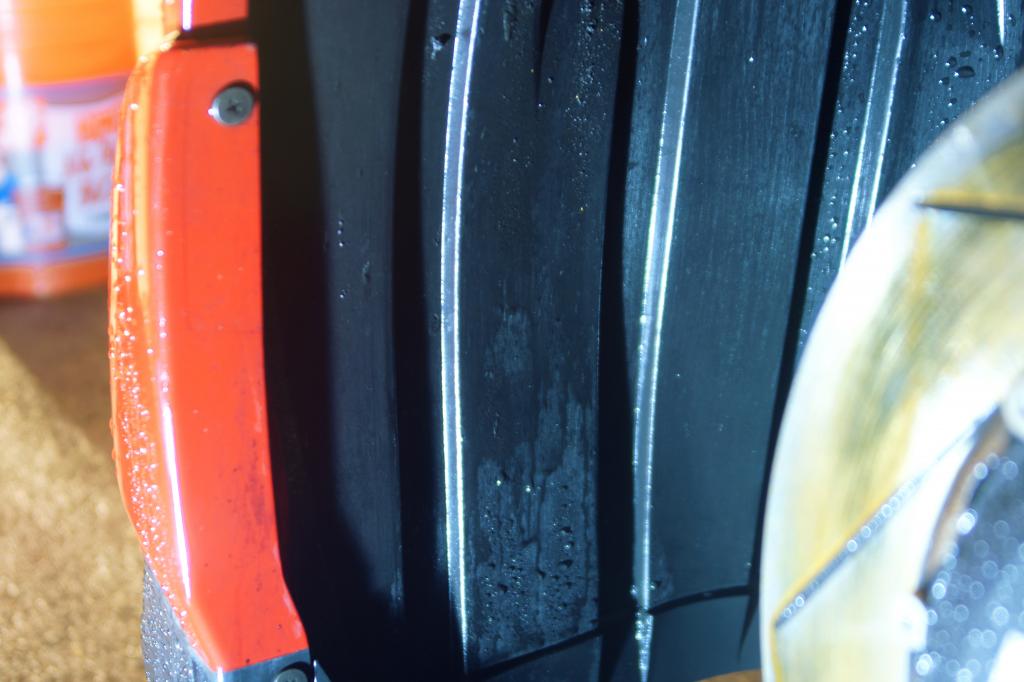
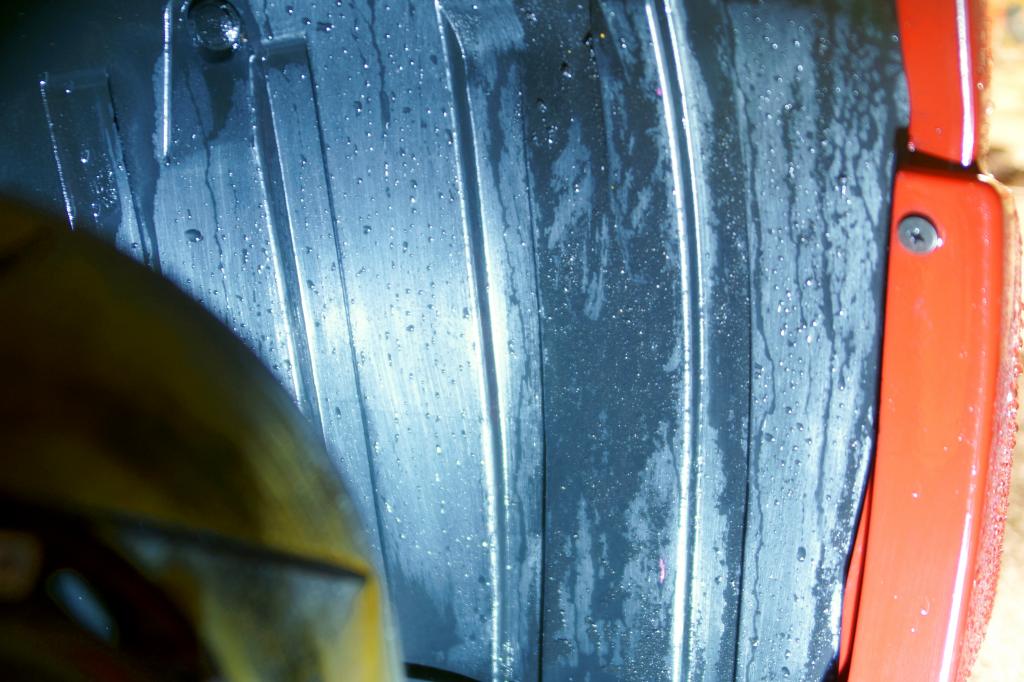
After. Much cleaner. I used a stiff bristle brush, Chemical guys De-greaser (this stuff http://www.amazon.com/gp/product/B00...?ie=UTF8&psc=1) diluted with water and a lot of elbow grease. I also sprayed some Griot's Undercarriage spray on it after giving it another good scrubbing. Not perfect but for 10 year old underside it is much better.
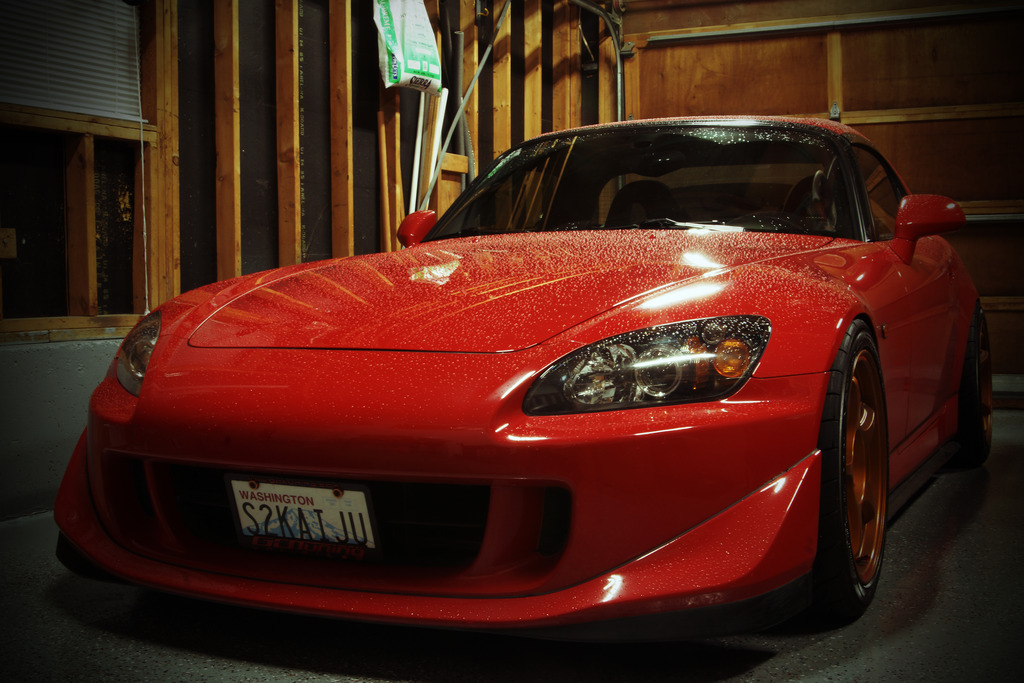
The Wheels
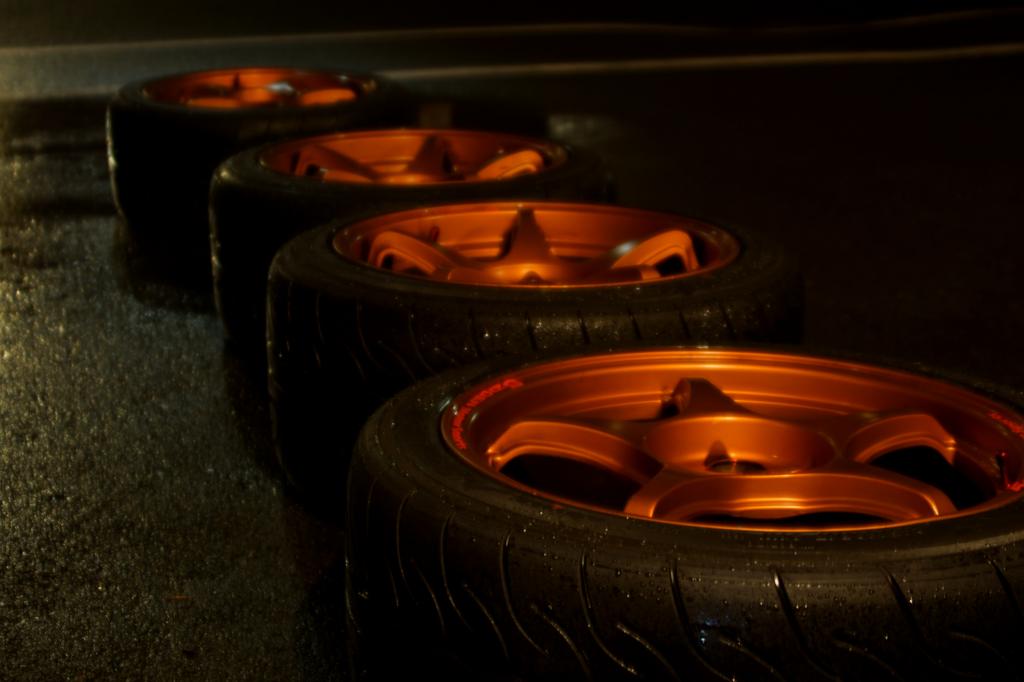
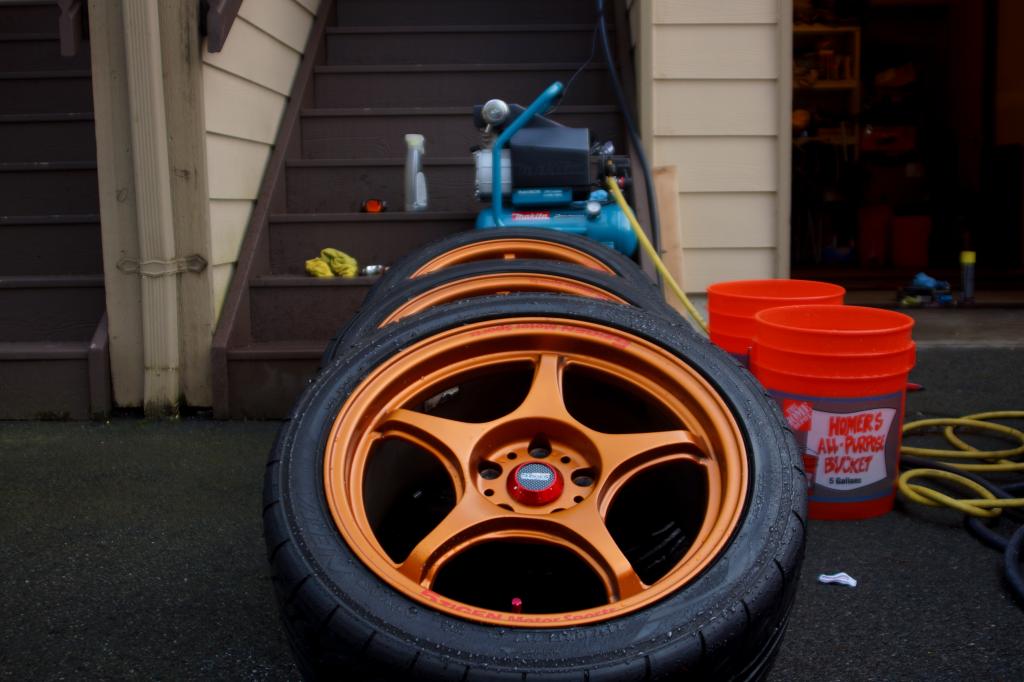
With the wheels off the car I sprayed them down and hit them with a coat of Sonax. This is the second time I have used this stuff and I was not impressed the first time. It seemed to work better this time but still not great. Not sure if it is because my wheels are painted or what but it never changes color like it is supposed to and I still have to scrub the wheels down to get them clean. I got it on sale which is why I figured I would give it another shot. You can see how gross the wheels were
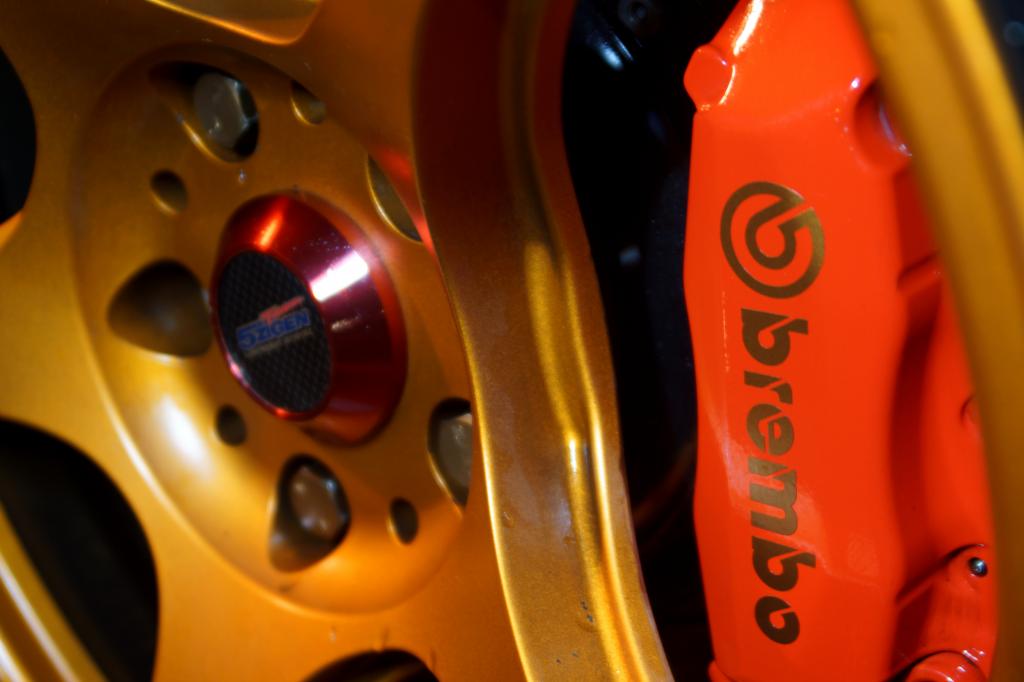
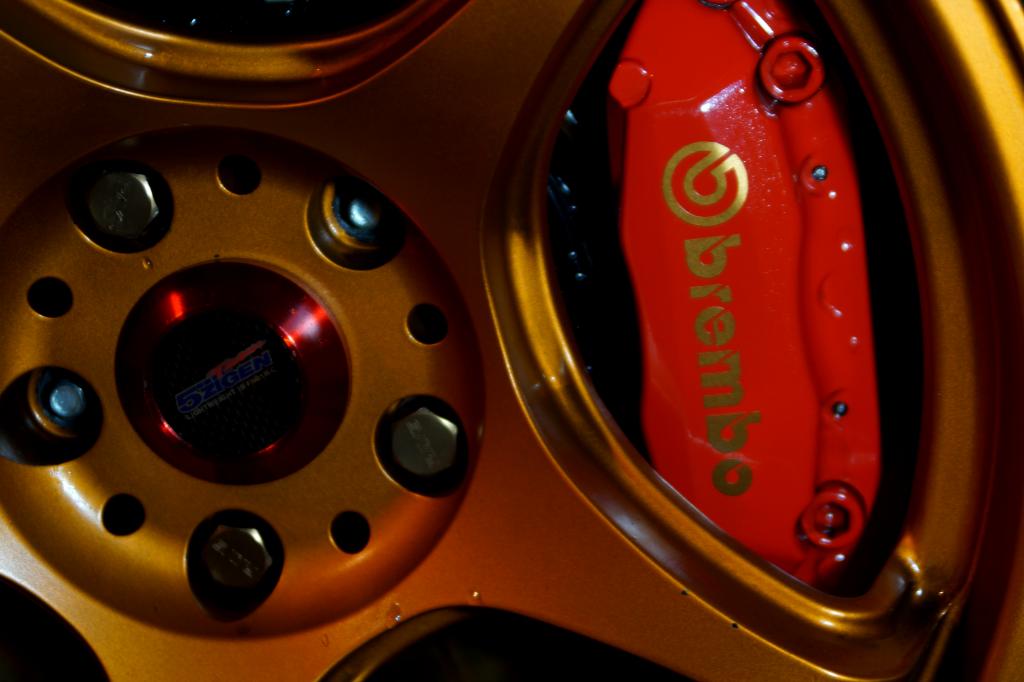
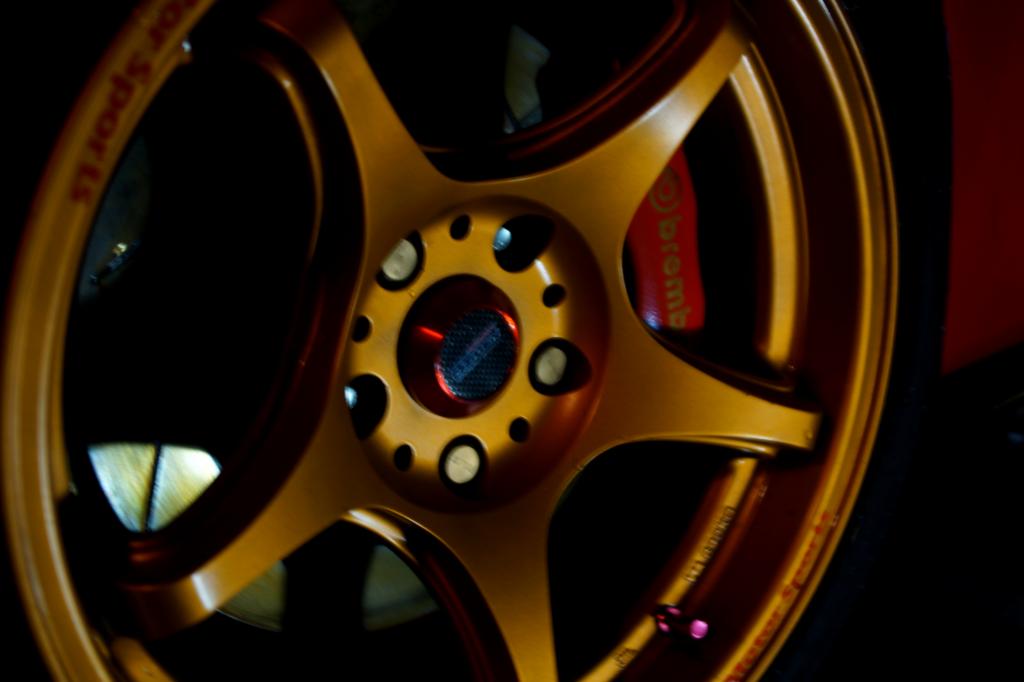
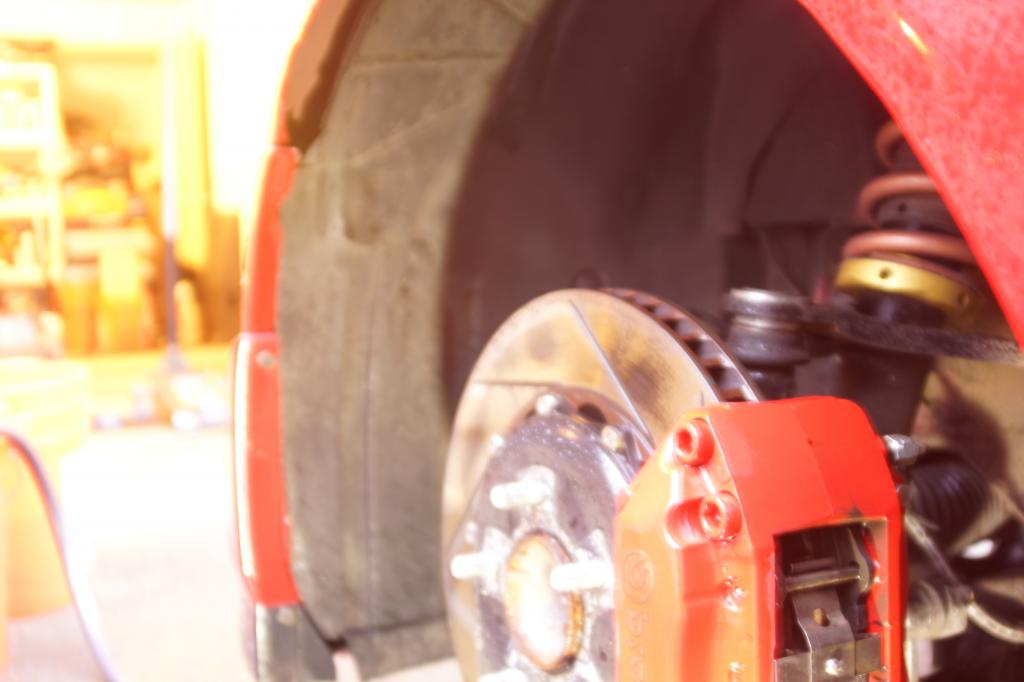
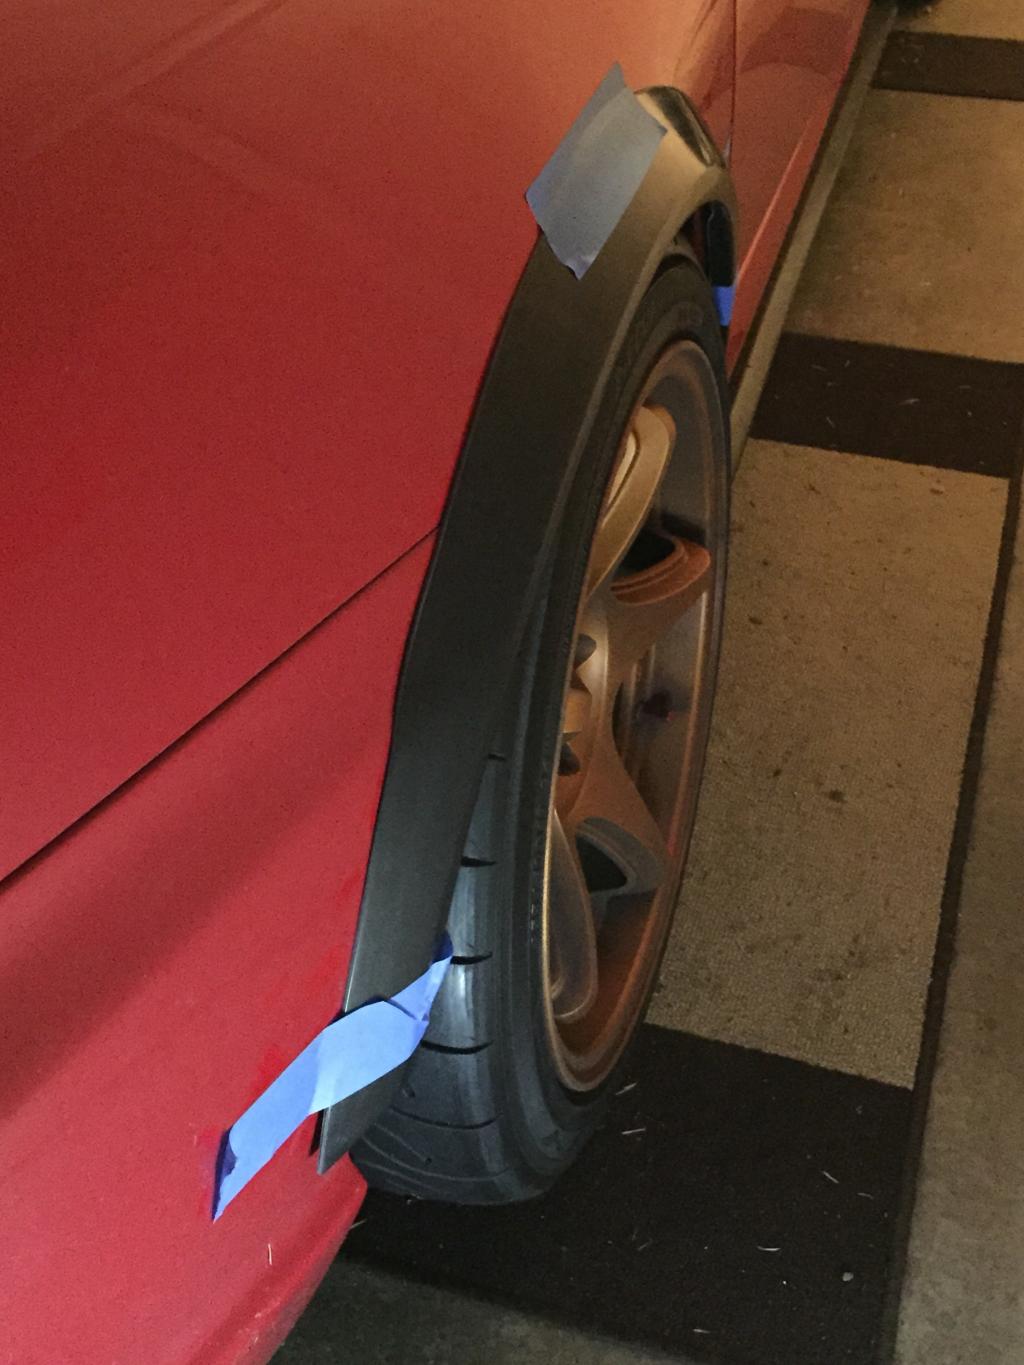
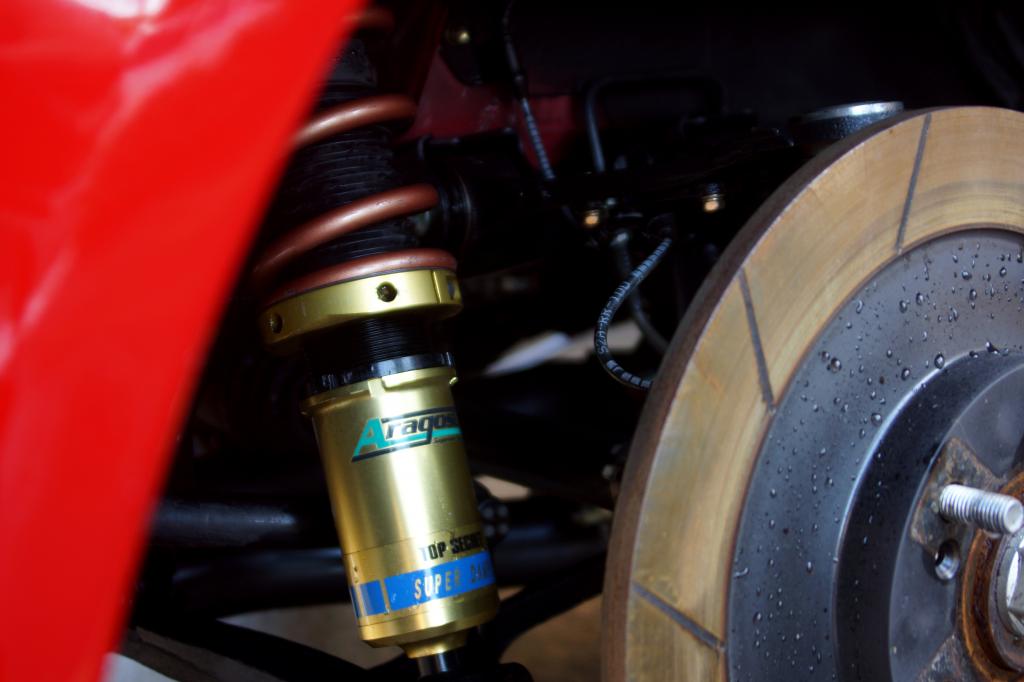
I wiped off my brake calipers as well and put one of the 17x10 +35 wheels on the front to make sure they cleared the brakes as I will be running these all around when I get the new front fenders. As you can see plenty of space.
Detail Week.
My car has been in bad need of a good cleaning. The issue is here in Seattle we don't get many dry days so at best I can get a quick wash in. As you can see from the pics above it in in need of much more than a quick wash and luckily we have had a few dry days in a row.
Day 1 1/13 Prep, Undercarriage wash, wheel wash etc
I was inspired by feezy's cleaning of his wheel wells and pinch welds so I decided to take a crack at it as well as give the car an initial wash using some dish soap to remove old wax, dirt grime etc.
Car on Jack stands wheels pulled off and car washed. Yes it was dark as the sun goes down around 4
Sorry this pic sucks (all the other were worse) but you can see how nasty the wheel wells were. Years of dirt, grime and rain.
After. Much cleaner. I used a stiff bristle brush, Chemical guys De-greaser (this stuff http://www.amazon.com/gp/product/B00...?ie=UTF8&psc=1) diluted with water and a lot of elbow grease. I also sprayed some Griot's Undercarriage spray on it after giving it another good scrubbing. Not perfect but for 10 year old underside it is much better.
The Wheels
With the wheels off the car I sprayed them down and hit them with a coat of Sonax. This is the second time I have used this stuff and I was not impressed the first time. It seemed to work better this time but still not great. Not sure if it is because my wheels are painted or what but it never changes color like it is supposed to and I still have to scrub the wheels down to get them clean. I got it on sale which is why I figured I would give it another shot. You can see how gross the wheels were
I wiped off my brake calipers as well and put one of the 17x10 +35 wheels on the front to make sure they cleared the brakes as I will be running these all around when I get the new front fenders. As you can see plenty of space.
 01-14-2015, 05:32 PM
#102
Site Moderator
Thread Starter
1/14 Wash. Claybar, finish wheels and wheel wells etc.
Started much earlier today. Went over the touched up the car to hit any spots I missed washing it in the dark. Once again put the car up on stands and pulled the wheels off. The main goal today was to get the car ready for the polishing stages which meant getting it all clay bared.
Next I check each wheel well and gave them all another scrub and spray with the Griot's spray. Didn't take a ton of pics on all this but you get the idea.
The Wheels also got another pass to clean the missed spots.
Clay Bar
Went over the entire car with Griot' Clay bar and Griots Quick Detailer. Always amazed at the marks the clay is able to pull out of the paint. I have tons of little black smudges and marks that just a wash didn't touch but the clay knocks them right out. It just takes forever to do the entire car.
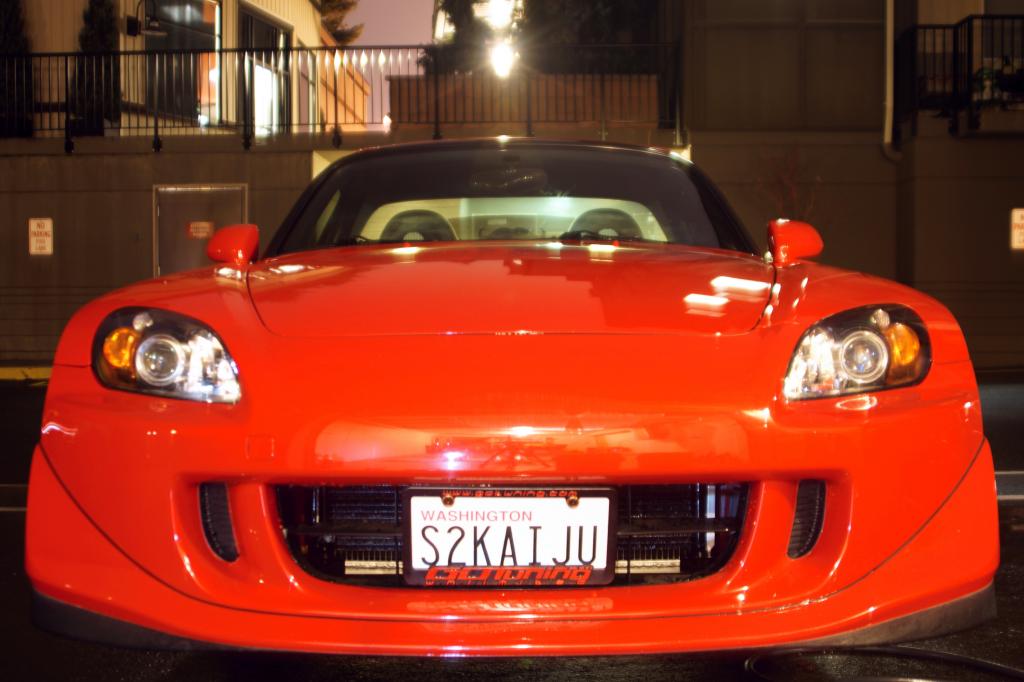
The Damage from that Stupid *&#&# that backed into me.
So i think i posted about this but nothing official. Stupid person backed into my car while we were both sitting in a parking lot. Luckily I was able to get the car into reverse before she made real impact and it just scuffed up my front bumper. Still it is now clear that the scraps went through the paint and it won't just buff out. After clay barng the car today I can see the damage better.
You can even see the little half circle of something on her bumper. The black lines are what went through the paint. Annoying. Oh well I guess she did buy my new bumper so I can be thankful for that. More pics to come tomorrow and more detailing
Started much earlier today. Went over the touched up the car to hit any spots I missed washing it in the dark. Once again put the car up on stands and pulled the wheels off. The main goal today was to get the car ready for the polishing stages which meant getting it all clay bared.
Next I check each wheel well and gave them all another scrub and spray with the Griot's spray. Didn't take a ton of pics on all this but you get the idea.
The Wheels also got another pass to clean the missed spots.
Clay Bar
Went over the entire car with Griot' Clay bar and Griots Quick Detailer. Always amazed at the marks the clay is able to pull out of the paint. I have tons of little black smudges and marks that just a wash didn't touch but the clay knocks them right out. It just takes forever to do the entire car.
The Damage from that Stupid *&#&# that backed into me.
So i think i posted about this but nothing official. Stupid person backed into my car while we were both sitting in a parking lot. Luckily I was able to get the car into reverse before she made real impact and it just scuffed up my front bumper. Still it is now clear that the scraps went through the paint and it won't just buff out. After clay barng the car today I can see the damage better.
You can even see the little half circle of something on her bumper. The black lines are what went through the paint. Annoying. Oh well I guess she did buy my new bumper so I can be thankful for that. More pics to come tomorrow and more detailing
 01-19-2015, 06:17 AM
#104


The black marks all over the car are probably from the track day. My car is filthy after just one track day, as the rubber chunks on track are flung around and leave nice marks on the car. Best/easiest way to clean them off is "Mothers Racing Rubber Remover." That and Sonax or some other wheel cleaner is crucial for cleaning your car after track days. 
01-24-2015, 12:36 AM
#105
Site Moderator
Thread Starter
End the track day was a while ago and I think I cleaned it up. This is just from crappy roads and crappy weather and not having the time to do a full detail on the car in months. It is all done but once again it is rainy and ugly out so no pics.

 02-09-2015, 11:41 AM
#108
Site Moderator
Thread Starter
Got a daily! I can finally not worry about the S driving into work and really save it for fun drives.
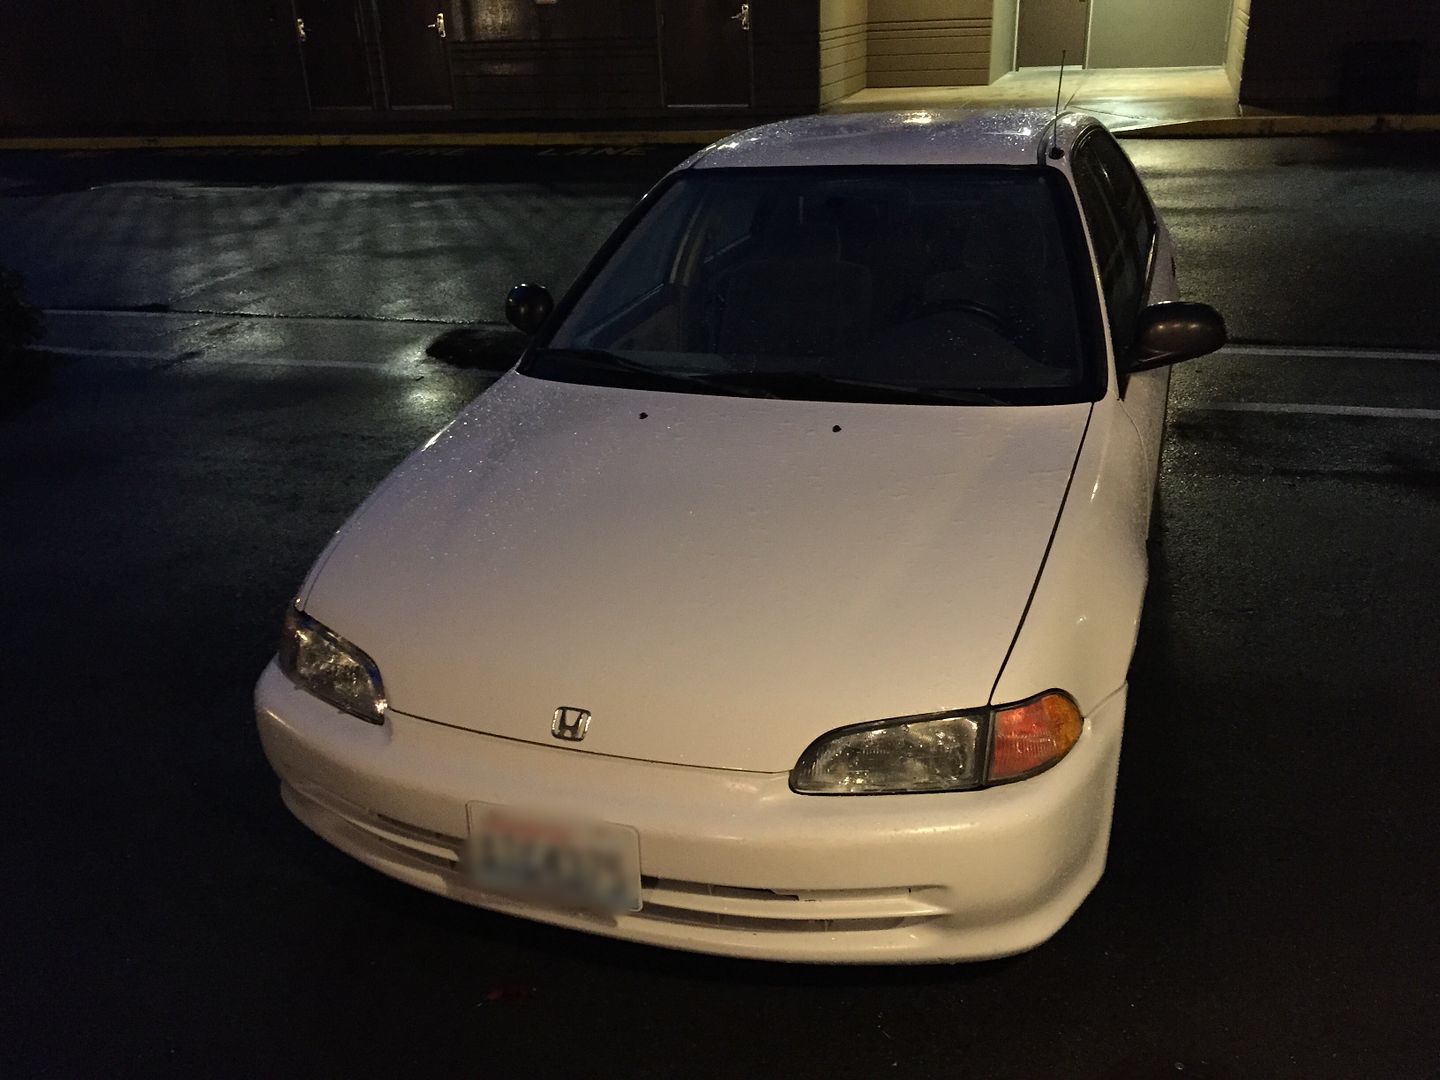
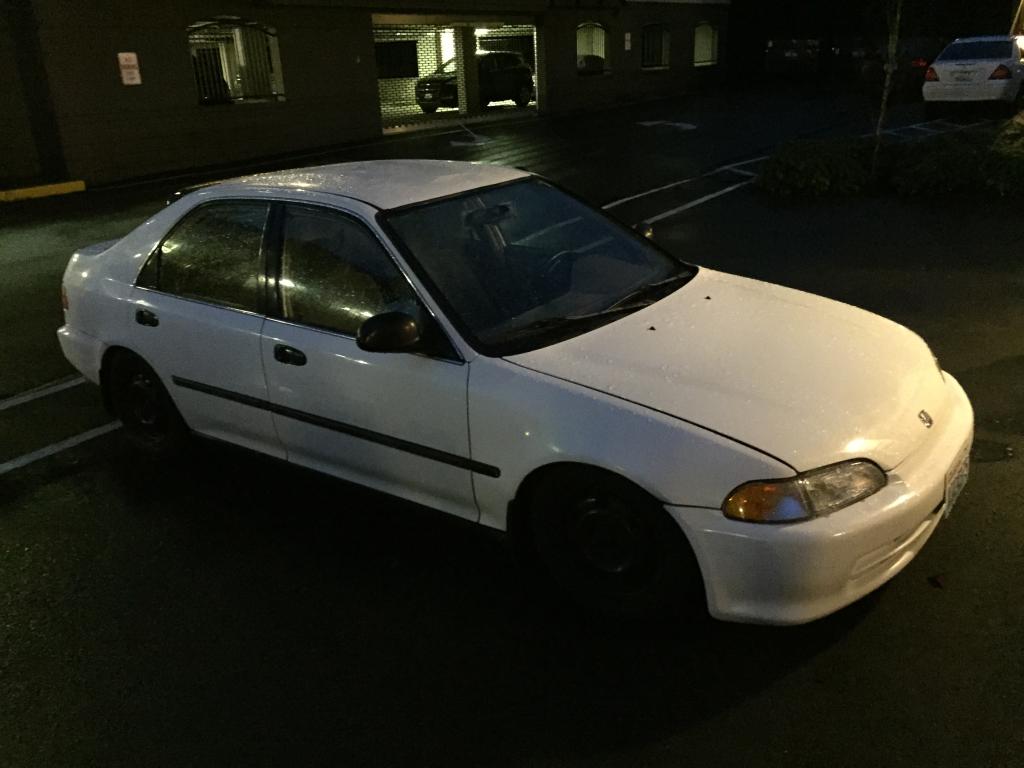
Its not pretty and needs some work but it'll do. Spent this entire past weekend cleaning the inside. Gave the outside a wash as well but with the 4 different shades of white it doesn't really matter. Should be good on gas and cheap to run. List of things I already ordered/did
New stereo and speakers
New catback (has a terrible ricer muffler welded onto the oem exhaust. Sounds like a wet fart.)
New wiper blades
New tires
Window visor things
Ebay coilover sleeves that need to go in the trash not sure what I'll replace them with.
Anyways waiting for the insurance to pay me for the damage to my bumper. Probably just going to have the body shop repair and repaint my current bumper. I don't feel like waiting for another bumper from Japan as I am still waiting on my front bumper.
02-23-2015, 07:57 AM
#109
Site Moderator
Thread Starter
The story of the beater civic continues. Replaced the suspension this weekend. It was one some shocks (3 were blue 1 was black.....) and it had ebay coilover sleeves so it road like complete crap. Replaced with some cheap coilovers as I just wanted something easy to install and didn't break the bank. Rides 1000x better.
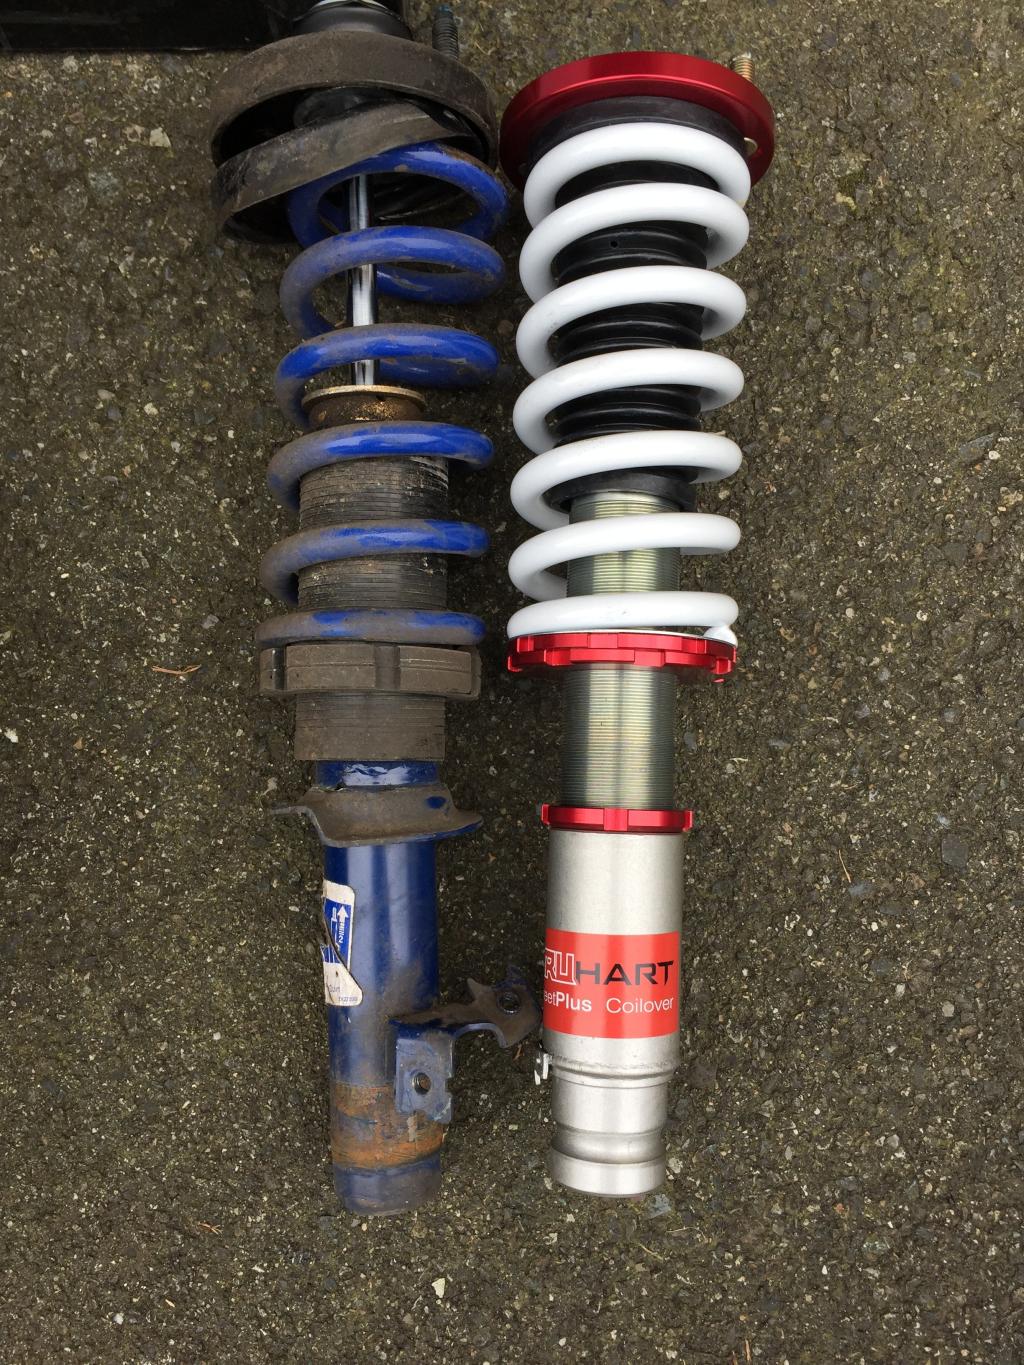
Surprisingly easy install. I didn't even have to adjust them (I probably will when they settle).
As for the S2000 I started it. I need a trickle charger damn thing barely started. I'll be taking it to the body shop this week or next week to have the damage on the rear bumper repaired.
Surprisingly easy install. I didn't even have to adjust them (I probably will when they settle).
As for the S2000 I started it. I need a trickle charger damn thing barely started. I'll be taking it to the body shop this week or next week to have the damage on the rear bumper repaired.
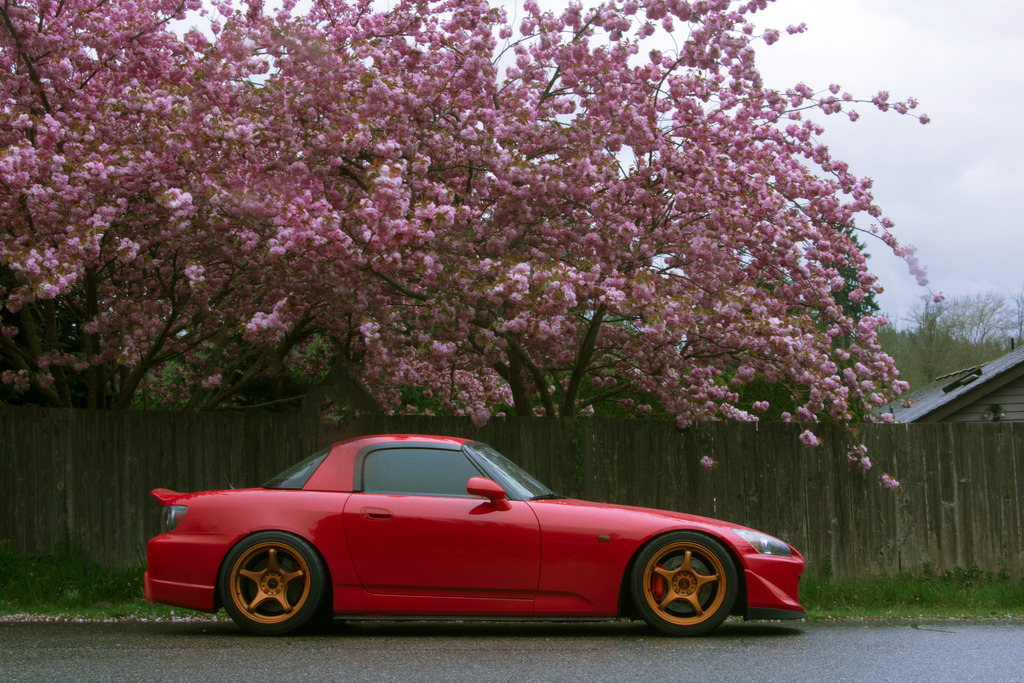
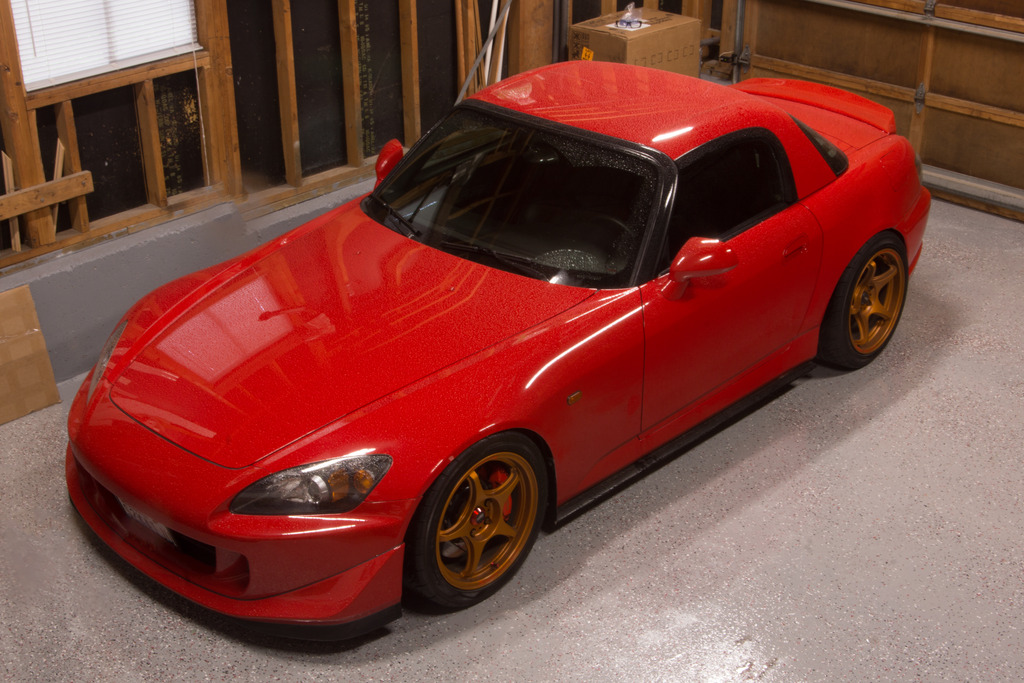
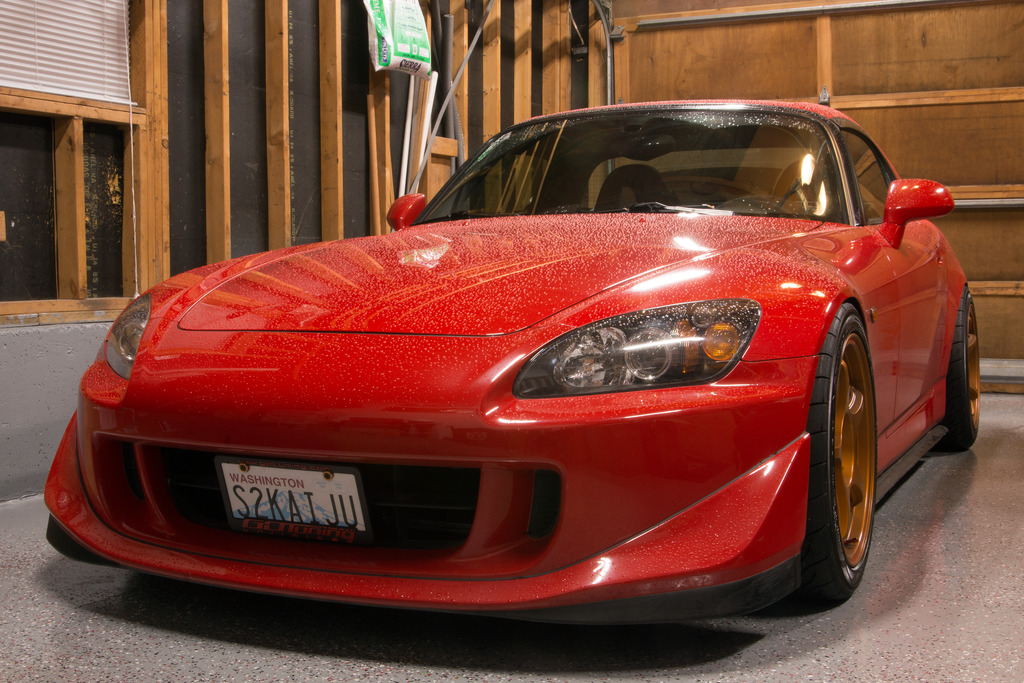
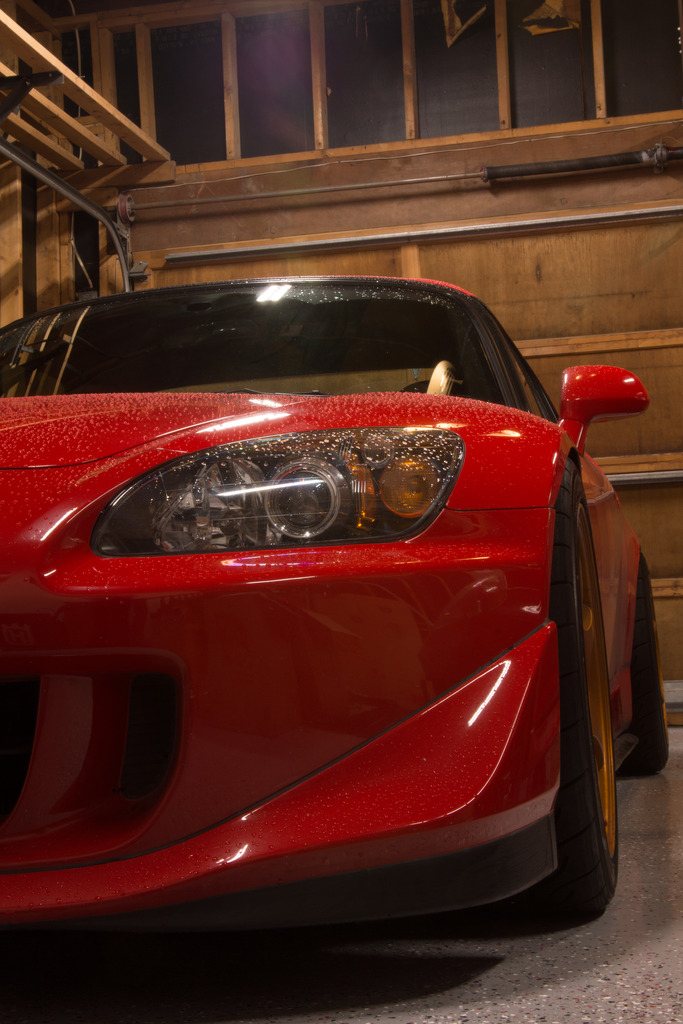
04-10-2015, 10:49 PM
#110
Site Moderator
Thread Starter
Messing around with the camera and photoshop that I hadn't touched yet. My wheel color in the pics got a little wonky. Need to keep working on it. Also planning on pulling the front bumper and fenders off this weekend so it won't look like this again.