MY04 NFR AP2 Build/Log Thread!
 09-15-2016, 07:54 PM
#1


I'm back after 5 years of absence!
I've purchased my first s2000 in 2004, suzuka blue AP2 and I had that car stolen out of my driveway in 2011....
Since then a lot of things happened, including joining the military.
I had the roadster bug and I've replace my s2000 with a Miata in 2014 after I came back from oversea.
And then I slowly built my Miata to be a more capable car.
Here is my Miata build thread if any of you guys are interested.
It's a kmiata, it had k24/20 frankenstein engine swap (gotta love the Honda engine)
http://www.k20a.org/forum/showthread.php?t=174081
I recently sold my KMiata and purchased an s2000 again... Haha...
So, I'm back in the s2ki fam.
Enough about the history/back story.
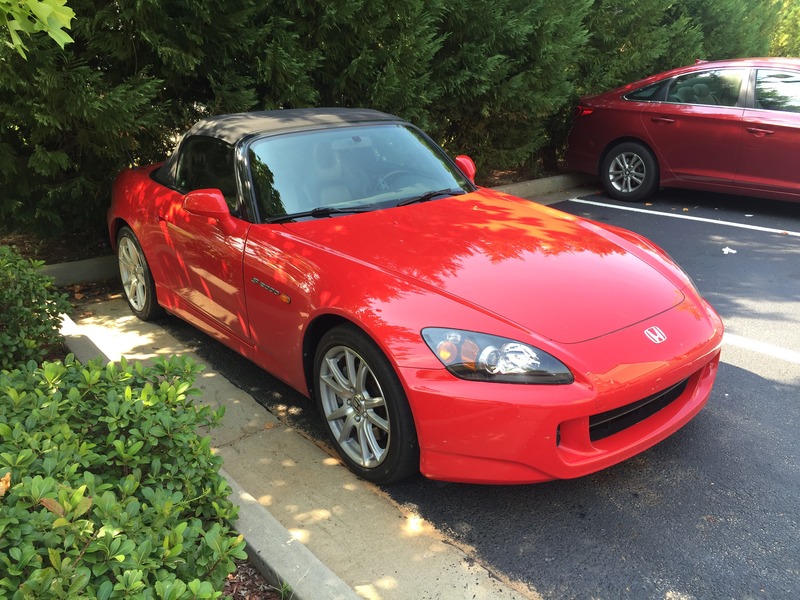
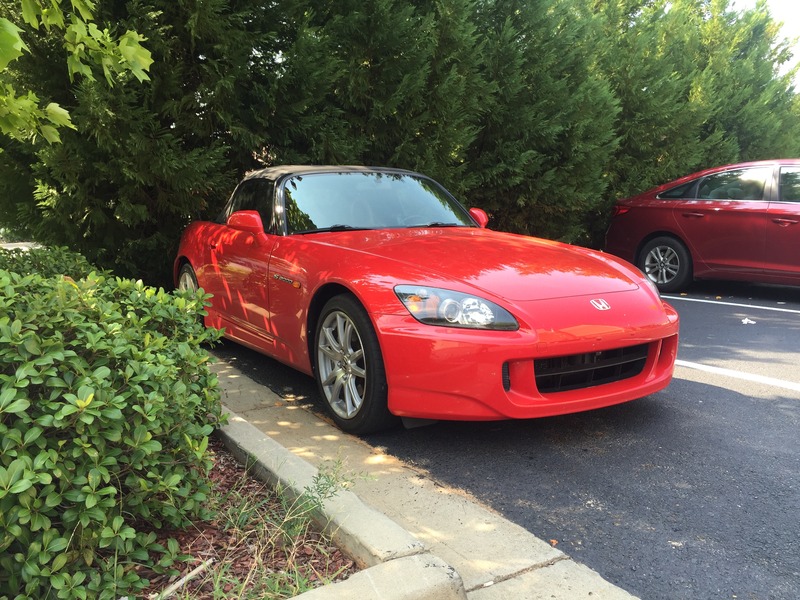
Here is my new-to-me 2004 NFR AP2 purchased on 9/8/2016
She has 548XX miles right now, previous owner had multiple vehicles and kept her out of the weather
100% Stock/OEM Unmolested!
Paint original and there are no fading or any sign of clear coat peel.
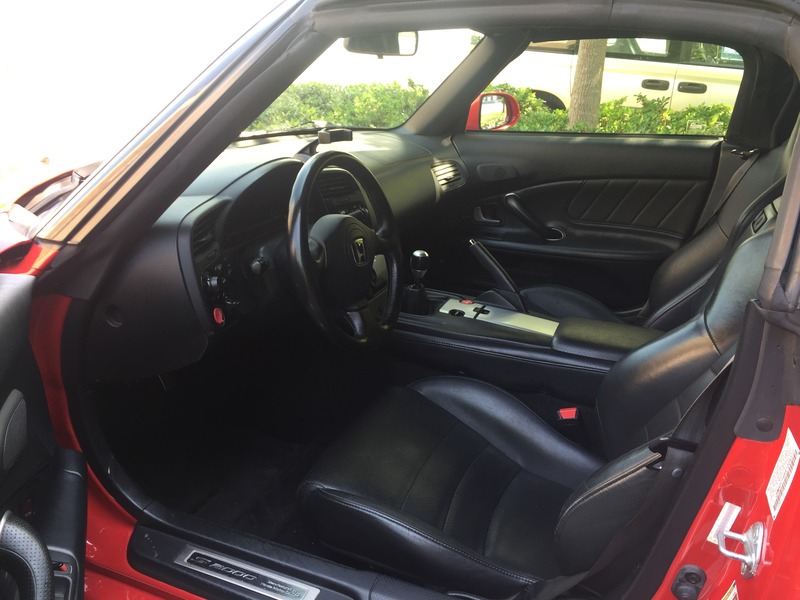
Interior is really clean, the only flaw is the scrape on the middle section driver's seat.
I flew into Indianapolis and drove back to GA to attain this gem
I'm currently planning on running B-Street Solo (AutoX) Class til I can save enough money to go full STR build.
I hope this car can teach me a lot and be much more competitive since I won't be running an XP class...
Few teaser pics til I have time to wash her and get more pics!

It's good to be back!
I've purchased my first s2000 in 2004, suzuka blue AP2 and I had that car stolen out of my driveway in 2011....
Since then a lot of things happened, including joining the military.
I had the roadster bug and I've replace my s2000 with a Miata in 2014 after I came back from oversea.
And then I slowly built my Miata to be a more capable car.
Here is my Miata build thread if any of you guys are interested.
It's a kmiata, it had k24/20 frankenstein engine swap (gotta love the Honda engine)
http://www.k20a.org/forum/showthread.php?t=174081
I recently sold my KMiata and purchased an s2000 again... Haha...
So, I'm back in the s2ki fam.
Enough about the history/back story.
Here is my new-to-me 2004 NFR AP2 purchased on 9/8/2016
She has 548XX miles right now, previous owner had multiple vehicles and kept her out of the weather
100% Stock/OEM Unmolested!
Paint original and there are no fading or any sign of clear coat peel.
Interior is really clean, the only flaw is the scrape on the middle section driver's seat.
I flew into Indianapolis and drove back to GA to attain this gem
I'm currently planning on running B-Street Solo (AutoX) Class til I can save enough money to go full STR build.
I hope this car can teach me a lot and be much more competitive since I won't be running an XP class...
Few teaser pics til I have time to wash her and get more pics!
It's good to be back!
 09-22-2016, 08:21 PM
#2
Update:
-A BUNCH of "modifry" stuff
-Ram mount
-Stereo Stuff
Starting the car off with the essentials.
First off is my favorite s2000 vendor, modifry!
LOVE his mods for the car. Clean and innovative.
Pic of all of the modifry stuff.
A moment before my 2-year-old destroyed....
(note the sneaky little hands...)

From the top left
-Windscreen mount bracket
-Glove box organizer
-Top straps
-Go-pro (Garmin Virb XE) mount for the windscreen bracket
-Shift Beeper
-Dash Bracket
-Dash Control Interface for Alpine headunit
Add-ons for the dash mount bracket.
I love the quality of RAM mount, simply the best constructed multi-platform mounting system available.
Here is the pic
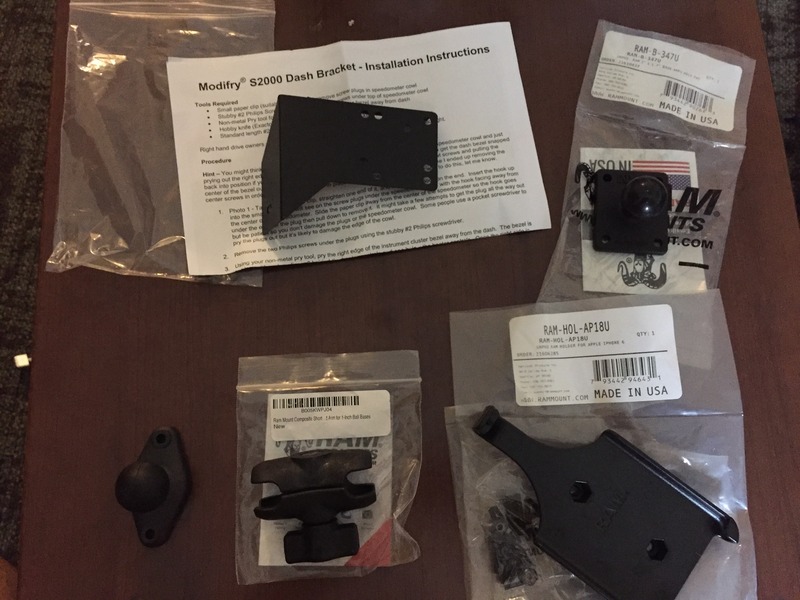
From the top left
-Modifry Dash bracket (previously pictured)
-RAM AMP 1 inch ball mount.
-RAM 1 inch ball mount
-RAM 1 inch adjustable arm
-RAM iPhone 6/6S cradle
Stereo Stuff
I did a good amount of research and ended up going with the Alpine CDE-HD149BT.
This unit has the USB connection in the rear.
Rear USB connections are VERY RARE these days, almost every single radio now days come with front mounted USB for easy access for smartphone connectivity.
I wanted the rear USB connection because I wanted to close the radio door even when I'm using my USB connection for my music source.
Which is about 95% of the time.
Having a radio door that can't close makes the whole S2000 radio door pointless.
This unit also does NOT hit the radio door whenever I open and close the radio door.
A lof of head units will actually hit the radio door every time you open and close.
I'm going to have my radio door closed most of the time since I'll be integrating the modifry DCI, so this unit is perfect for my usage.
Only downside to this model is.... it's a 3 year old model, even though my radio had manufacturer date of May 2016.
Here are the pic of the unit and the stuff I got along with the unit.
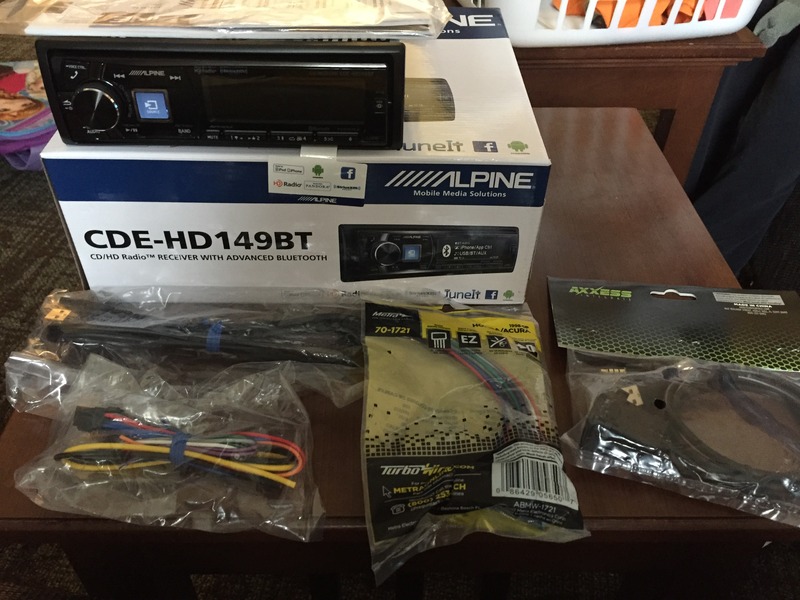
-Alpine CDE=HD149BT
-Metra 2004+ Honda Wiring Harness
-USB/3.5mm extender/flush mount (this will help me relocated the rear mounted USB/3.5mm jack) more info HERE
-A BUNCH of "modifry" stuff
-Ram mount
-Stereo Stuff
Starting the car off with the essentials.
First off is my favorite s2000 vendor, modifry!
LOVE his mods for the car. Clean and innovative.
Pic of all of the modifry stuff.
A moment before my 2-year-old destroyed....
(note the sneaky little hands...)
From the top left
-Windscreen mount bracket
-Glove box organizer
-Top straps
-Go-pro (Garmin Virb XE) mount for the windscreen bracket
-Shift Beeper
-Dash Bracket
-Dash Control Interface for Alpine headunit
Add-ons for the dash mount bracket.
I love the quality of RAM mount, simply the best constructed multi-platform mounting system available.
Here is the pic
From the top left
-Modifry Dash bracket (previously pictured)
-RAM AMP 1 inch ball mount.
-RAM 1 inch ball mount
-RAM 1 inch adjustable arm
-RAM iPhone 6/6S cradle
Stereo Stuff
I did a good amount of research and ended up going with the Alpine CDE-HD149BT.
This unit has the USB connection in the rear.
Rear USB connections are VERY RARE these days, almost every single radio now days come with front mounted USB for easy access for smartphone connectivity.
I wanted the rear USB connection because I wanted to close the radio door even when I'm using my USB connection for my music source.
Which is about 95% of the time.
Having a radio door that can't close makes the whole S2000 radio door pointless.
This unit also does NOT hit the radio door whenever I open and close the radio door.
A lof of head units will actually hit the radio door every time you open and close.
I'm going to have my radio door closed most of the time since I'll be integrating the modifry DCI, so this unit is perfect for my usage.
Only downside to this model is.... it's a 3 year old model, even though my radio had manufacturer date of May 2016.
Here are the pic of the unit and the stuff I got along with the unit.
-Alpine CDE=HD149BT
-Metra 2004+ Honda Wiring Harness
-USB/3.5mm extender/flush mount (this will help me relocated the rear mounted USB/3.5mm jack) more info HERE
09-23-2016, 04:37 PM
#3
Update:
-Installation
I'm actually in process of moving into a new house so I'm currently staying at the hotel til I move in.
I just couldnt hold the temptation to install some of the new goodies I received in the mail....
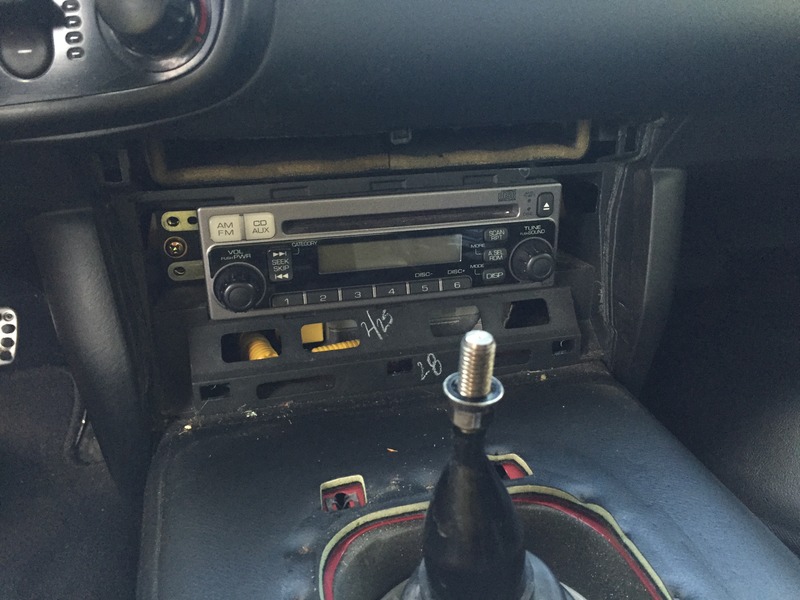
Radio installation:
Factory radio about to be removed
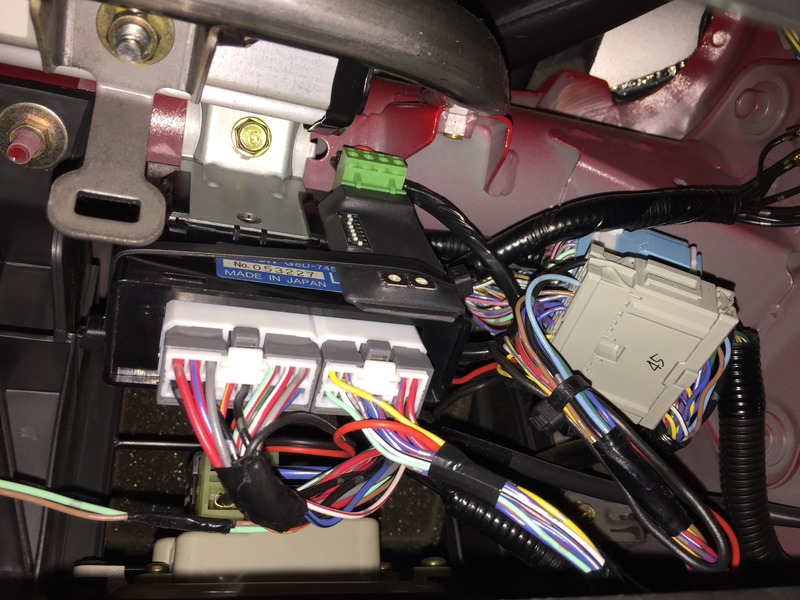
Wire harness wired up to the alpine harness.

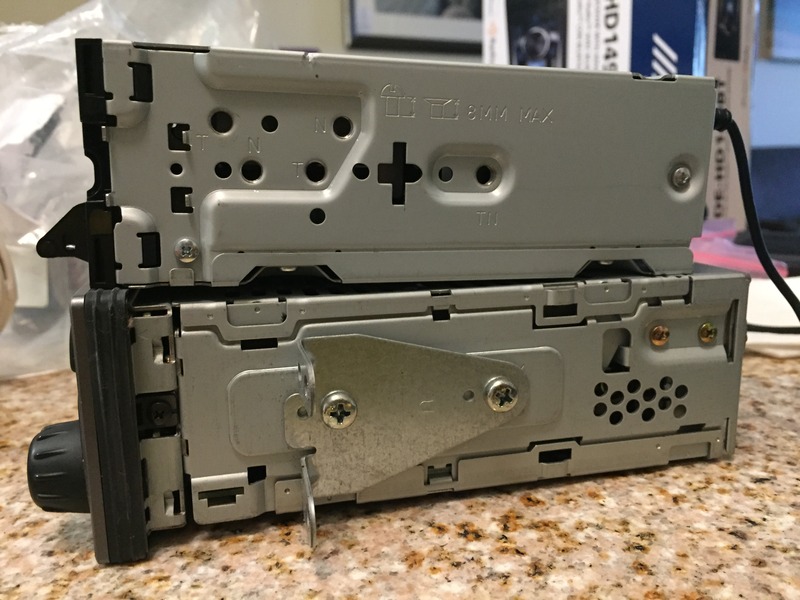
Moving the factory radio bracket to the new one
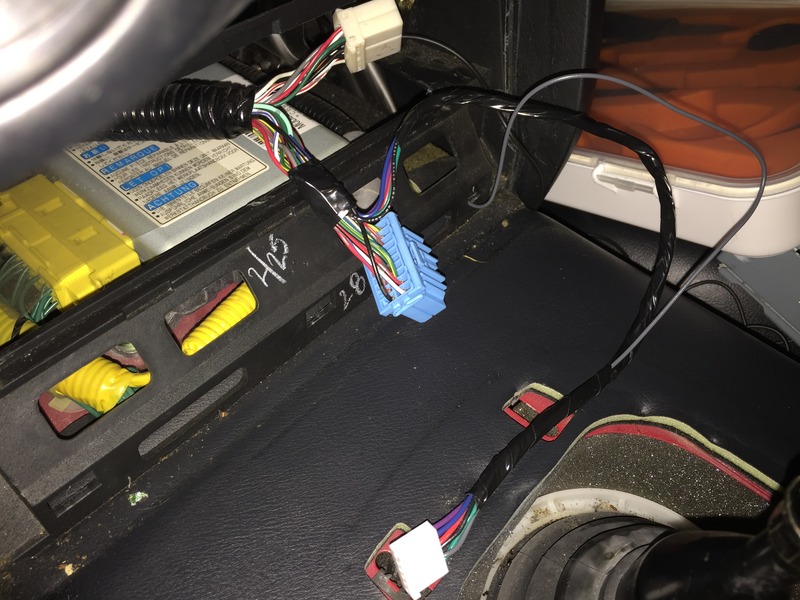
4 wires needed for the DCI.
Wht/Red, Grn/Red, Yel/Blu, Blk
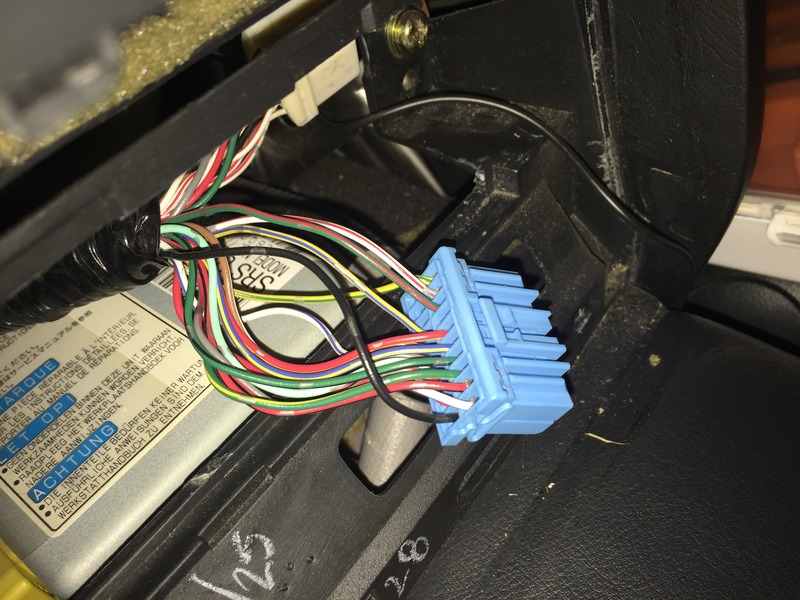
DCI harness tapped into the factory harness
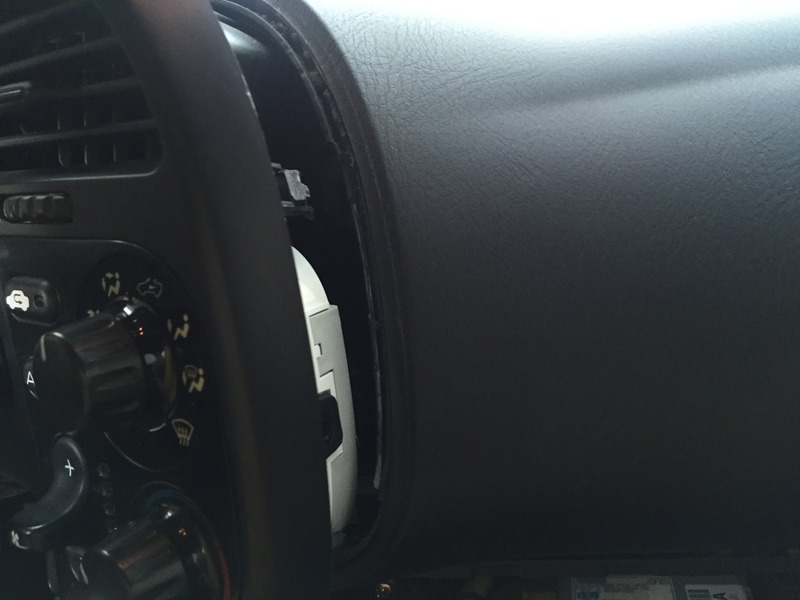
Dash pried out a bit to cut out the "lip" to flush mount the dash bracket.
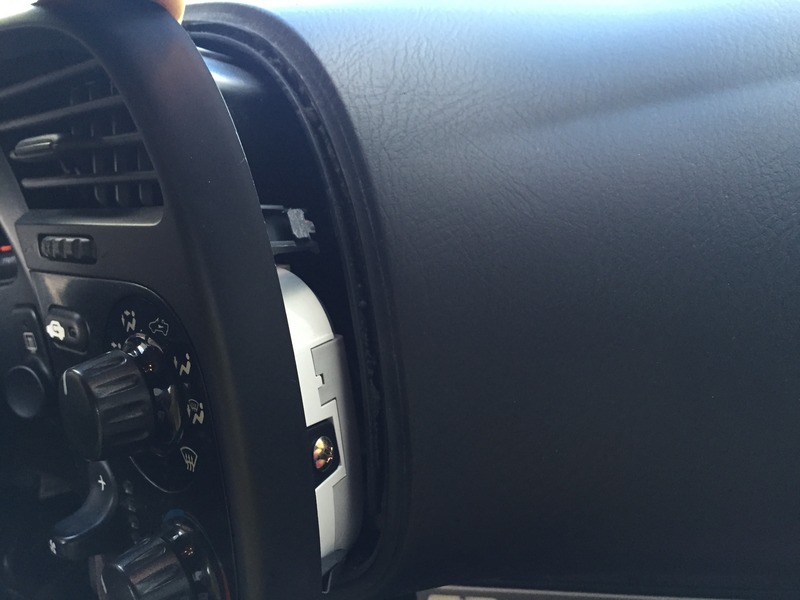
All done and cut out the lip.
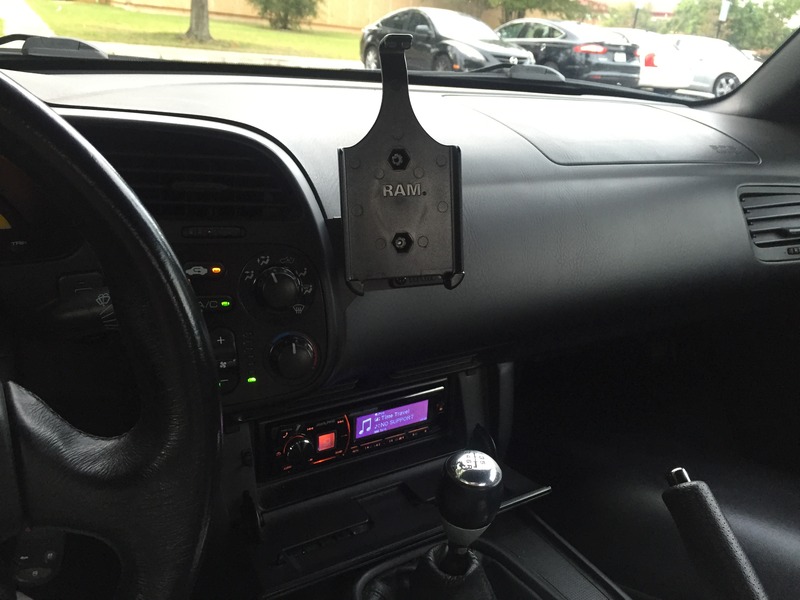
Stereo, dash bracket w Ram mount all installed in place!
I'm rather a bit disappointed with the dash bracket, it is a bit flimsy.
I guess I shouldve ordered the foam that goes behind the bracket but I thought it was going to be fine without it...
Next up is the windshield go pro bracket.
In my case, Garmin Virb XE bracket.
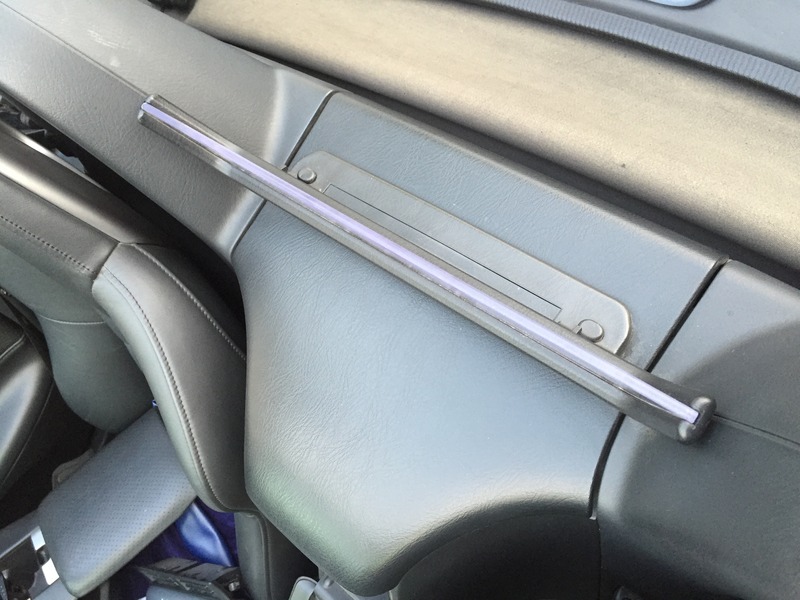
Very easy, 2 screws in the back removed the shield, and just install the bracket underneath the wind shield.
Here is the installed bracket pic.
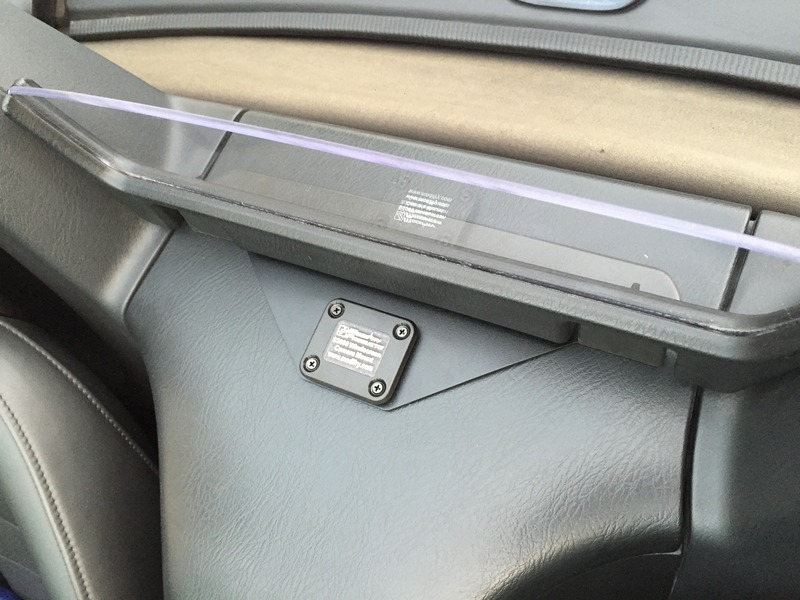
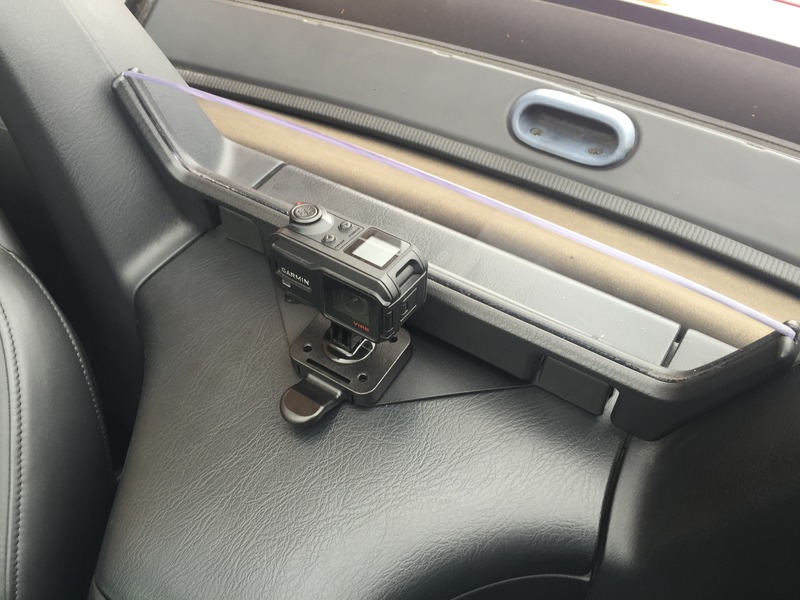
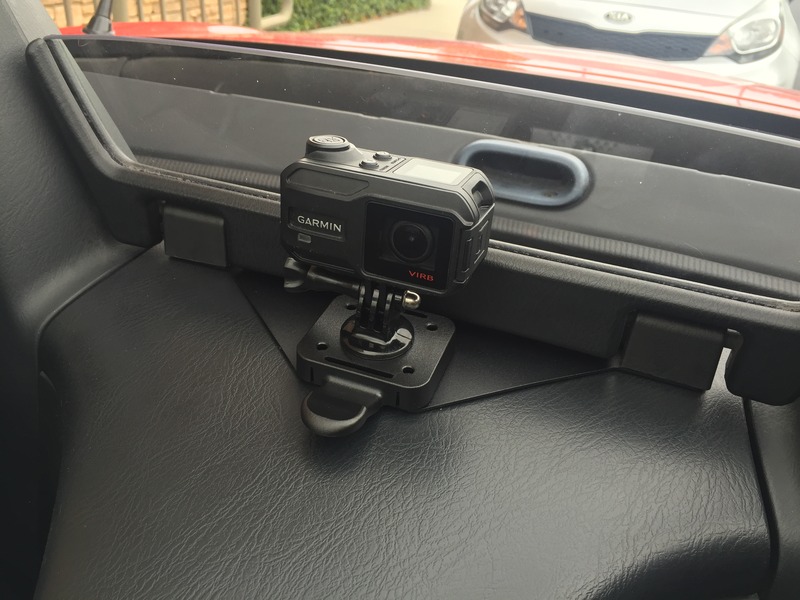
Complete with the Garmin Virb XE.
Love this mount!! Ready for some autox footage!!
-Installation
I'm actually in process of moving into a new house so I'm currently staying at the hotel til I move in.
I just couldnt hold the temptation to install some of the new goodies I received in the mail....
Radio installation:
Factory radio about to be removed
Wire harness wired up to the alpine harness.
Moving the factory radio bracket to the new one
4 wires needed for the DCI.
Wht/Red, Grn/Red, Yel/Blu, Blk
DCI harness tapped into the factory harness
Dash pried out a bit to cut out the "lip" to flush mount the dash bracket.
All done and cut out the lip.
Stereo, dash bracket w Ram mount all installed in place!
I'm rather a bit disappointed with the dash bracket, it is a bit flimsy.
I guess I shouldve ordered the foam that goes behind the bracket but I thought it was going to be fine without it...
Next up is the windshield go pro bracket.
In my case, Garmin Virb XE bracket.
Very easy, 2 screws in the back removed the shield, and just install the bracket underneath the wind shield.
Here is the installed bracket pic.
Complete with the Garmin Virb XE.
Love this mount!! Ready for some autox footage!!
09-30-2016, 12:09 PM
#4
Update:
-Shift Beeper Install
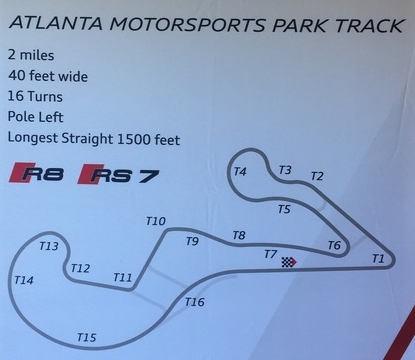
-SCCA Track Night Event @ Atlanta Motorsports Park 9/28/2016
Wired/Mounted the Modifry's Redline Shift Beeper on top of the Soft Top Computer.
It was my first time at the track and AMP is an awesome track.
A lot of turns and elevation changes! It was an awesome day.
I ran in a Novice group, and novice group has 1 paced lap with an instructor and 3 20 minute sessions.
Will definitely return in the near future to improve my driving at the track.
Course map
-Shift Beeper Install
-SCCA Track Night Event @ Atlanta Motorsports Park 9/28/2016
Wired/Mounted the Modifry's Redline Shift Beeper on top of the Soft Top Computer.
It was my first time at the track and AMP is an awesome track.
A lot of turns and elevation changes! It was an awesome day.
I ran in a Novice group, and novice group has 1 paced lap with an instructor and 3 20 minute sessions.
Will definitely return in the near future to improve my driving at the track.
Course map
10-15-2016, 08:40 PM
#5
Update:
-AutoVation Pedals
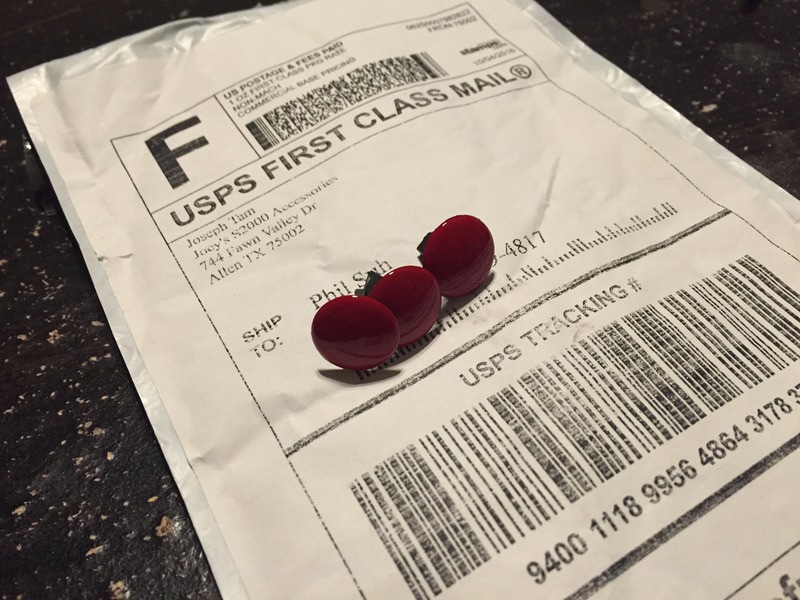
-JS2K Keyhole plug
Received/Installed the JS2K Keyhole plugs
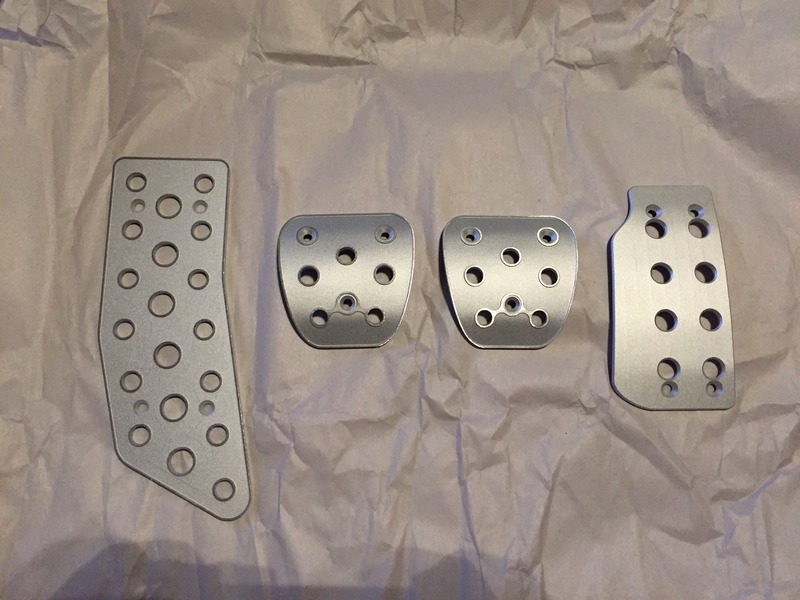
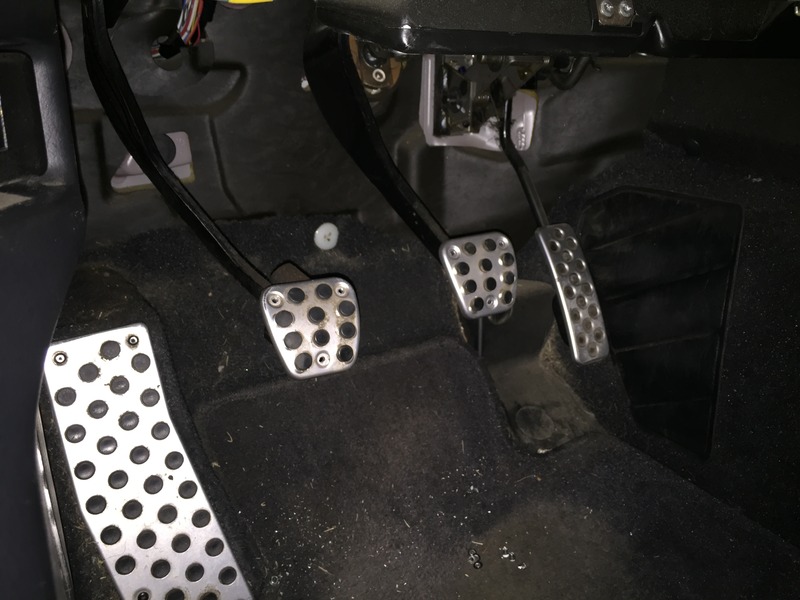
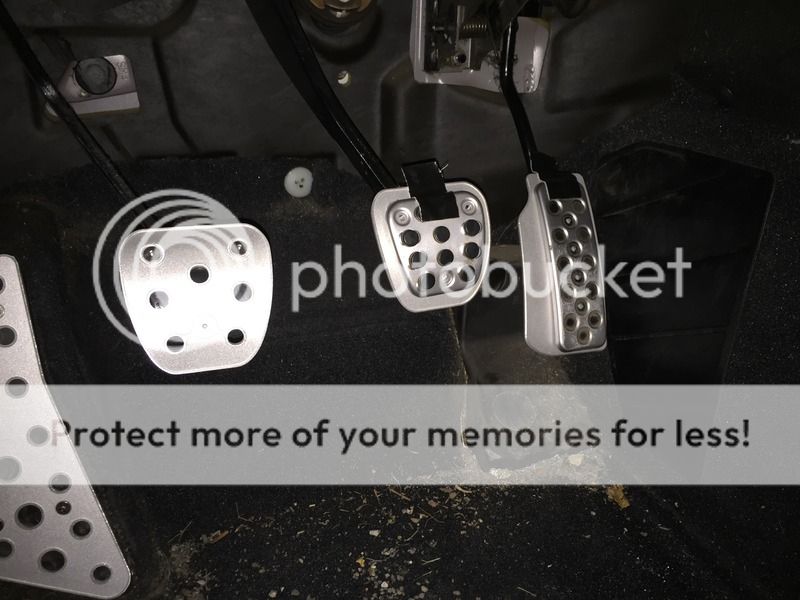
Autovation Competition Series Pedal Set
They are a full 4 pedal set.
Very nice cut and also very grippy due to the cuts.
Original pedal assembly
Pedal rivets drilled out
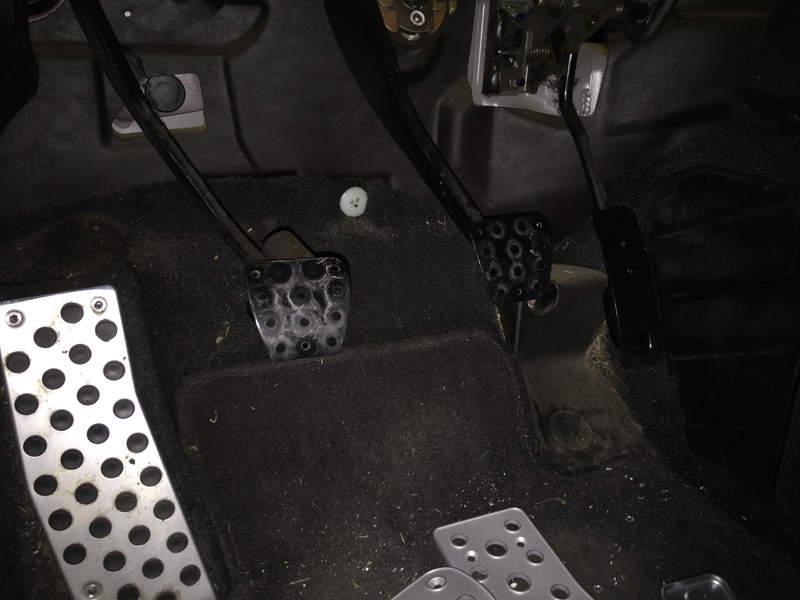
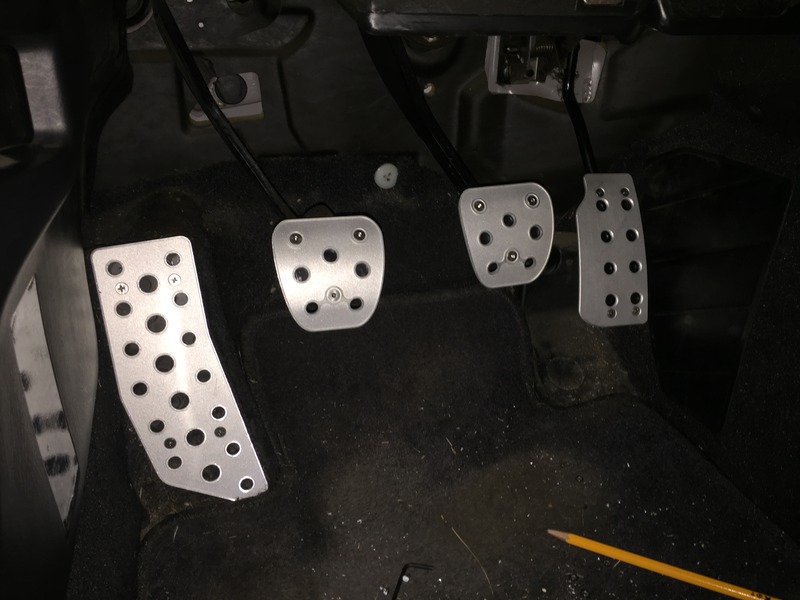
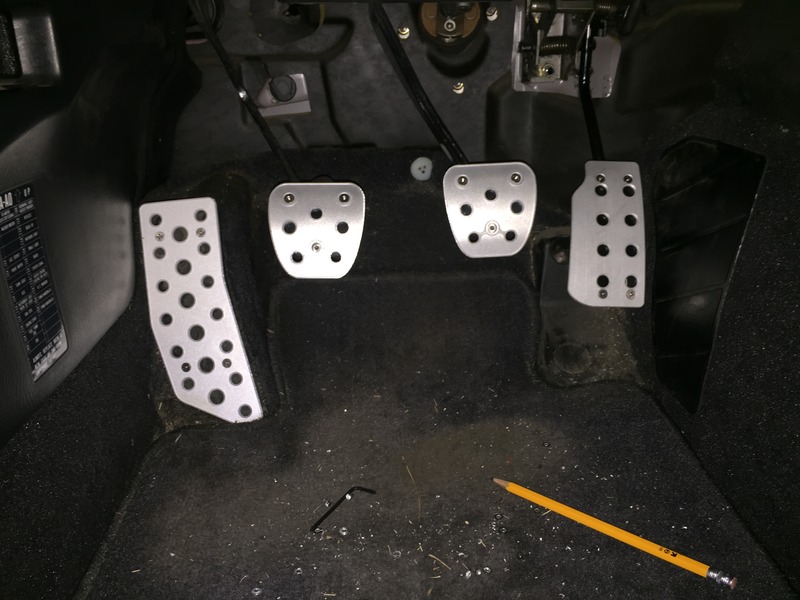
New pedals installed!
Time to practice some heel-toe downshifts.
-AutoVation Pedals
-JS2K Keyhole plug
Received/Installed the JS2K Keyhole plugs
Autovation Competition Series Pedal Set
They are a full 4 pedal set.
Very nice cut and also very grippy due to the cuts.
Original pedal assembly
Pedal rivets drilled out
New pedals installed!
Time to practice some heel-toe downshifts.
 10-18-2016, 09:46 AM
#7
Update:
-Tires
-Floor mats
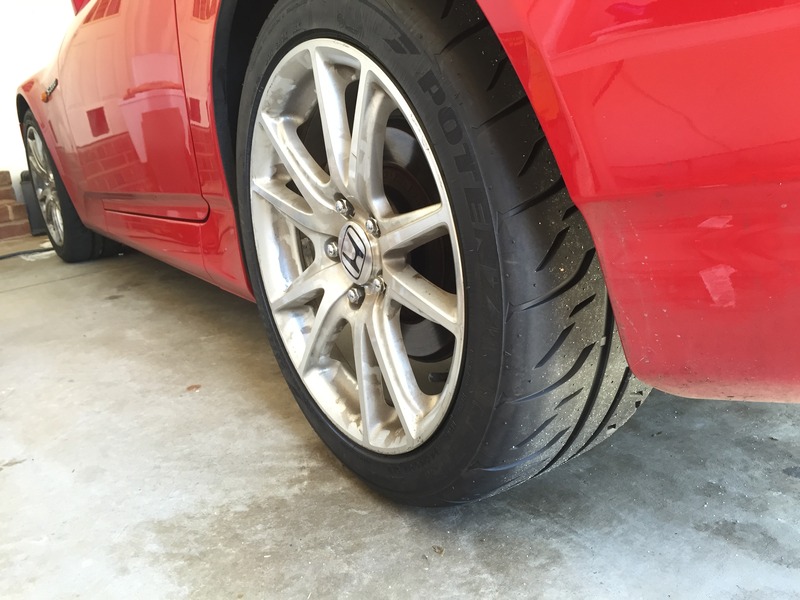
OK, new tires.
I was thinking about going bigger but I decided to stay stock size tire for now.
A new set with the wheels will probably get ordered later this year or early next year.
I just can't decide on which wheels I'm going to buy....
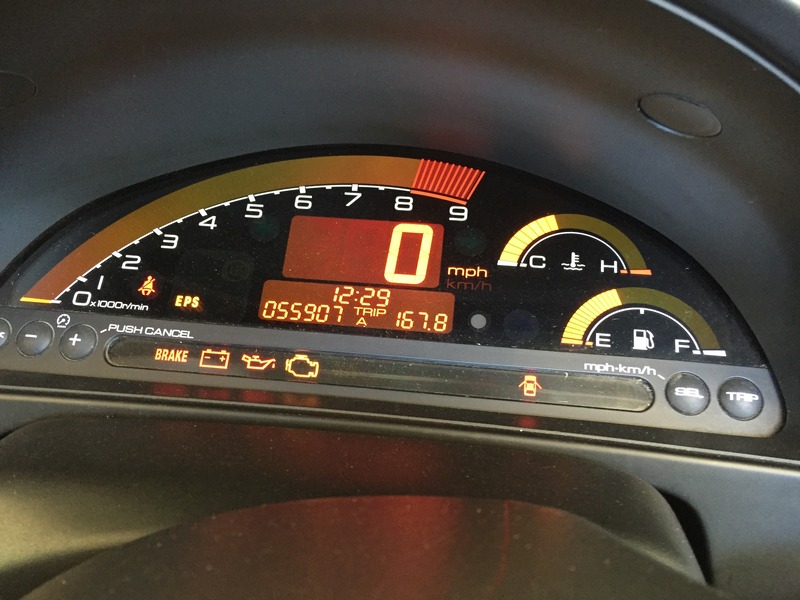
Mileage: 55907
Tires: 215/45/17 and 245/40/17 Bridgestone Potenza RE-71R.
Dash
Tires
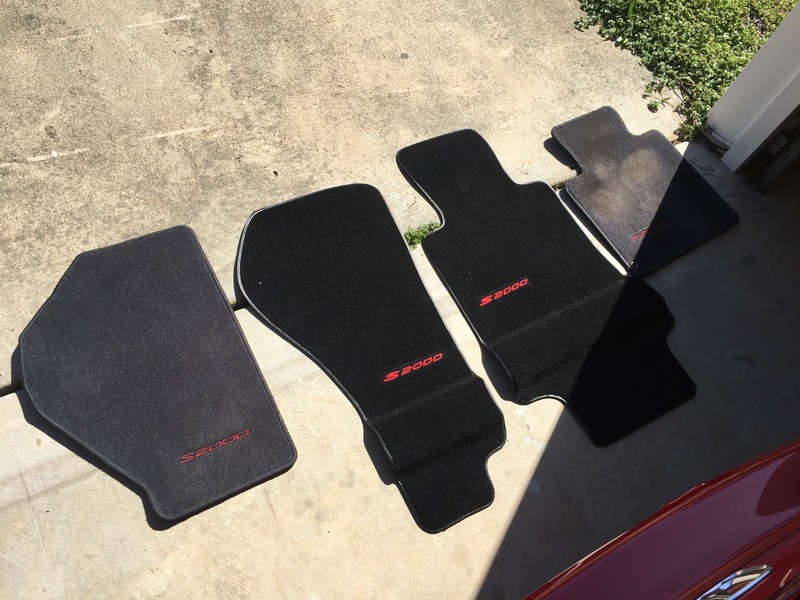
New over-size floormats.
I bought these off of someone in facebook group, he makes them and ships them from Portugal.
It took about 3 weeks to arrive but they look excellent and covers up the frame rail.
My only gripe is the lack of eyelets on the driver side floormats.
Front
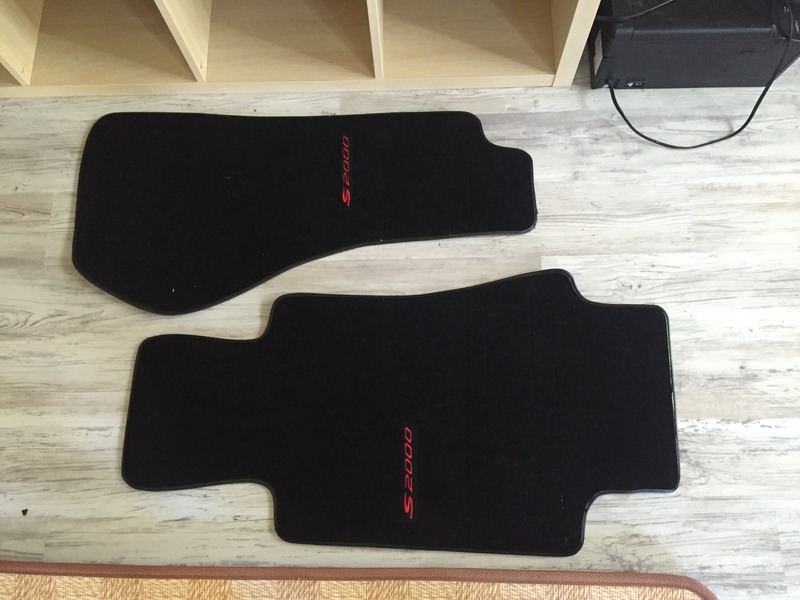
Rear/Back. Notice the lines/stitching for easy folding.
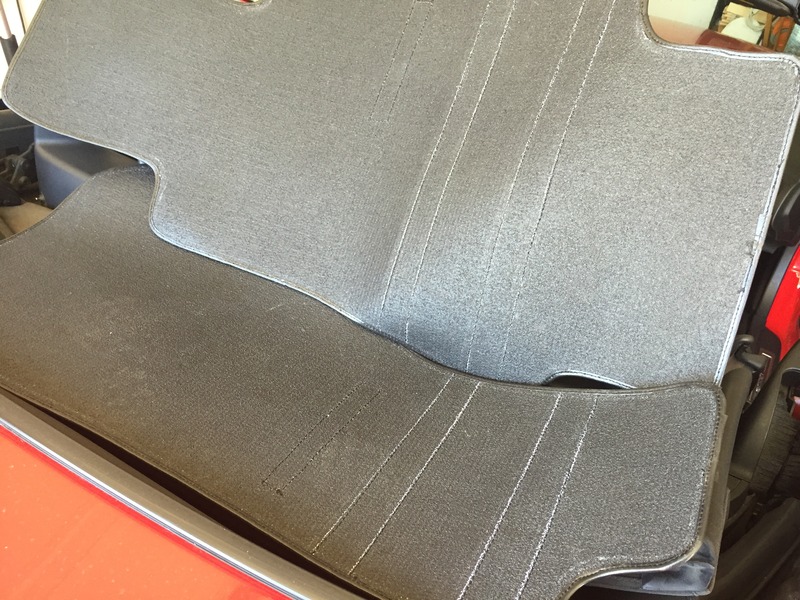
Compare to stock/OEM.
Not just that they cover the rail, it also covers a bit more toward the front too.
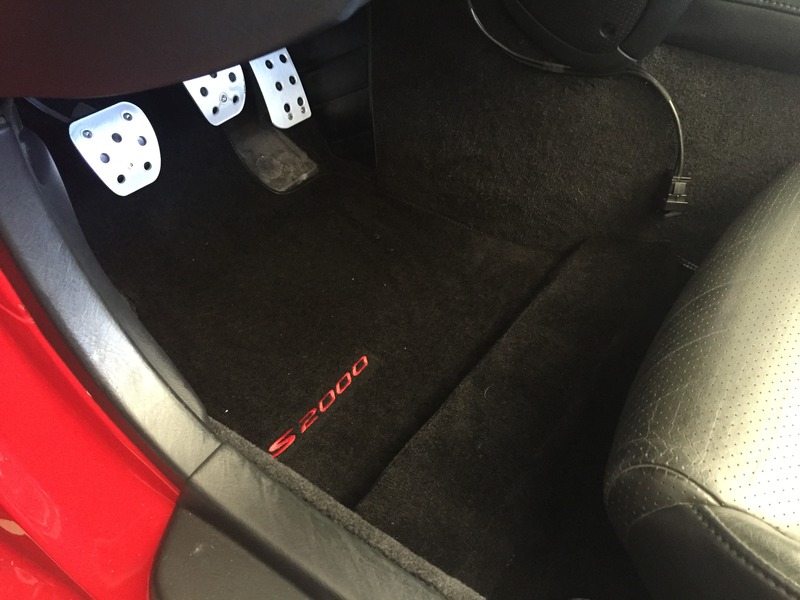
Driver side installed
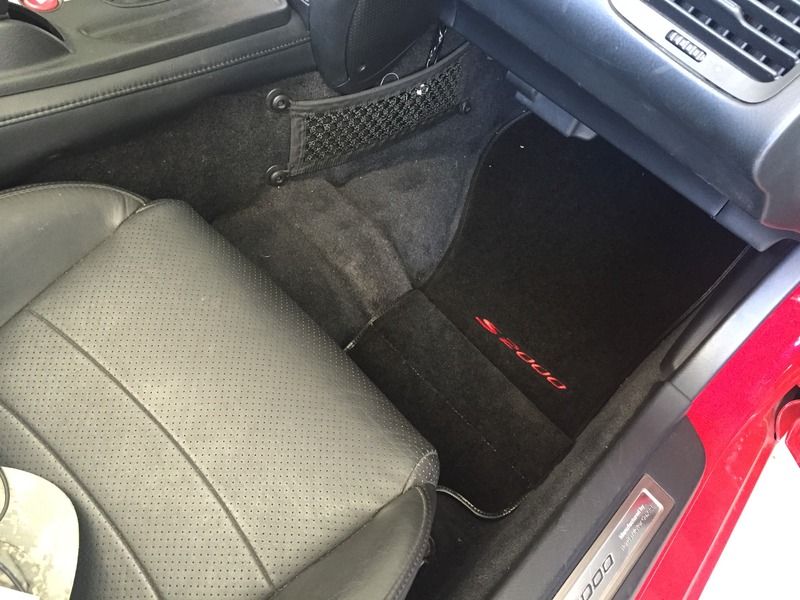
Passenger side installed
-Tires
-Floor mats
OK, new tires.
I was thinking about going bigger but I decided to stay stock size tire for now.
A new set with the wheels will probably get ordered later this year or early next year.
I just can't decide on which wheels I'm going to buy....
Mileage: 55907
Tires: 215/45/17 and 245/40/17 Bridgestone Potenza RE-71R.
Dash
Tires
New over-size floormats.
I bought these off of someone in facebook group, he makes them and ships them from Portugal.
It took about 3 weeks to arrive but they look excellent and covers up the frame rail.
My only gripe is the lack of eyelets on the driver side floormats.
Front
Rear/Back. Notice the lines/stitching for easy folding.
Compare to stock/OEM.
Not just that they cover the rail, it also covers a bit more toward the front too.
Driver side installed
Passenger side installed
Trending Topics
10-18-2016, 08:25 PM
#8
Update:
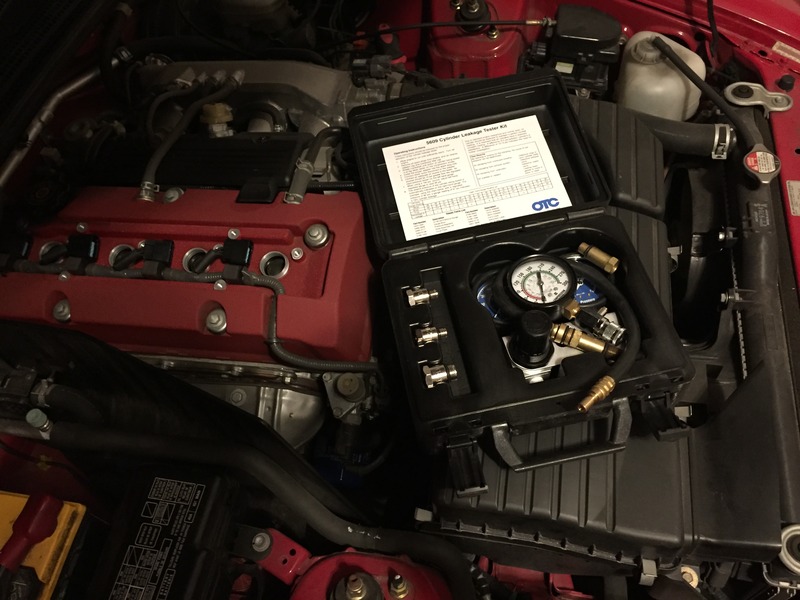
-Compression Test
Decided to do a compression test after a month of owning the car.
I know... shame on me but I was busy with renovation of the new-to-us house.
I suppose I can do a leak down test as well but compression test checked out great so I'm not going any further at this moment.
Also too lazy to turn on my loud ass air compressor...
The tool
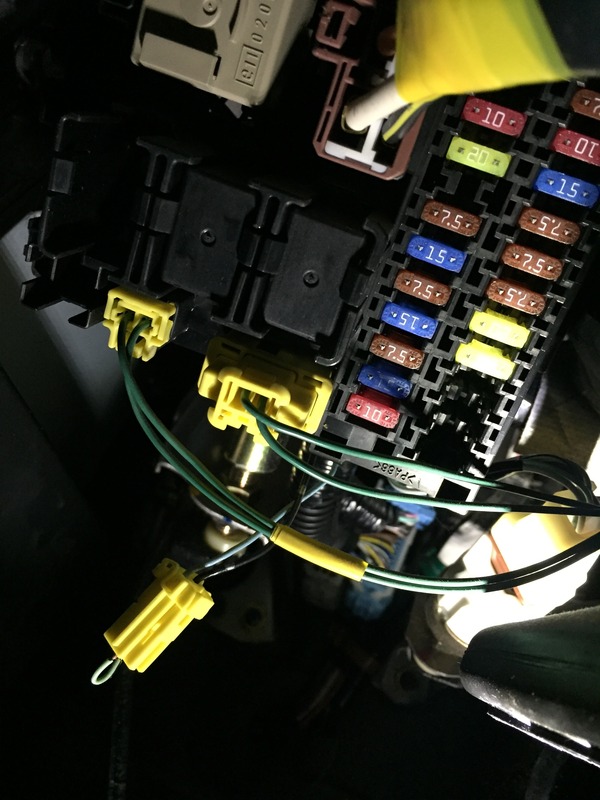
Clutch bypass and also removed 15A fuel pump fuse. (not pictured, it's the first blue 15A fuse from the bottom)
Helping hand...
Well... It's a el cheapo cutting tool but it's holding the throttle wide open for me

After those are setup, all I need to do is press the start button and I can do the compression test all by myself.
Cylinder #1 ~232

Cylinder #2 ~232
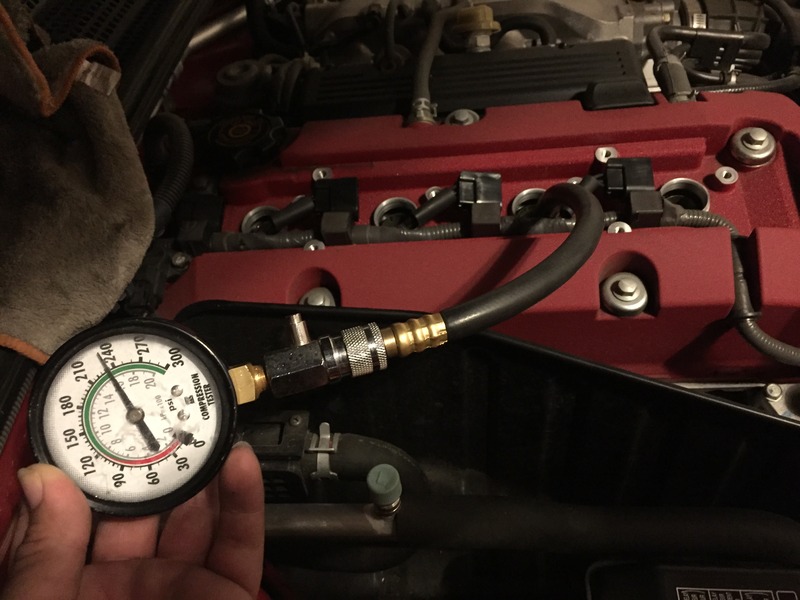
Cylinder #3 ~232
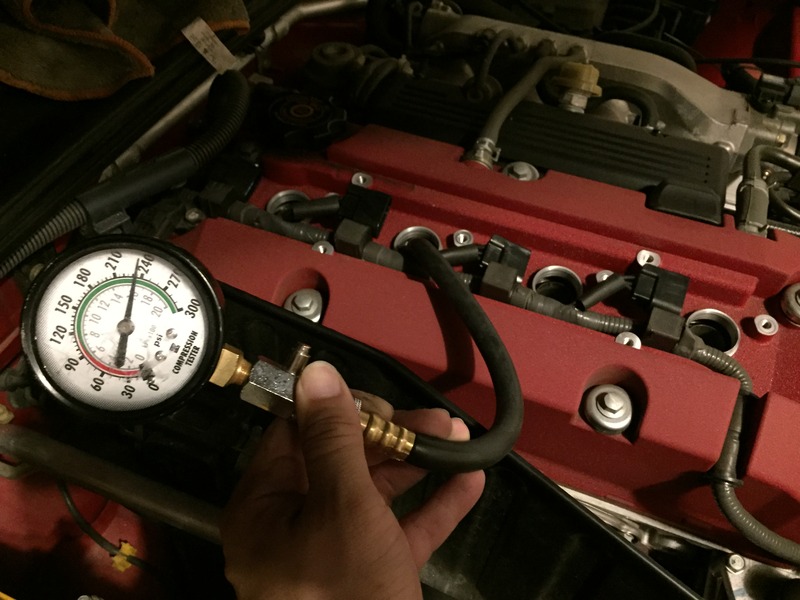
Cylinder #4 ~230

Loving the result.
They are well within 5% of each other.
-Compression Test
Decided to do a compression test after a month of owning the car.
I know... shame on me but I was busy with renovation of the new-to-us house.
I suppose I can do a leak down test as well but compression test checked out great so I'm not going any further at this moment.
Also too lazy to turn on my loud ass air compressor...
The tool
Clutch bypass and also removed 15A fuel pump fuse. (not pictured, it's the first blue 15A fuse from the bottom)
Helping hand...
Well... It's a el cheapo cutting tool but it's holding the throttle wide open for me
After those are setup, all I need to do is press the start button and I can do the compression test all by myself.
Cylinder #1 ~232
Cylinder #2 ~232
Cylinder #3 ~232
Cylinder #4 ~230
Loving the result.
They are well within 5% of each other.
10-20-2016, 11:15 AM
#9
Update:
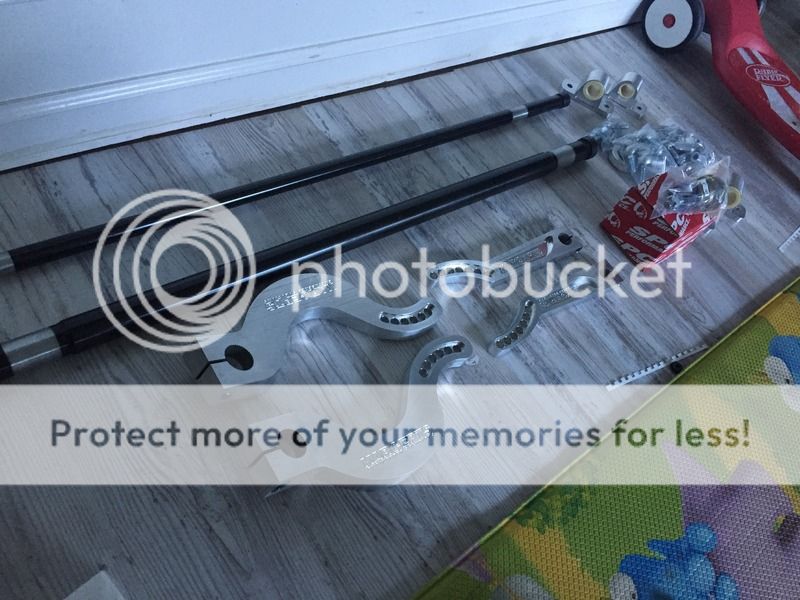
-Parts, parts and parts.
Parts list
-Karcepts spec JRZ Pro. (It's the new piggyback system for the rear.)
-Hypercoil 2.25" ID 750F/550R
-Karcepts Tophats
-Karcepts Stepped up Front Sway bar
-Karcepts Rear Sway bar
-SPC Adjustable Ball joint
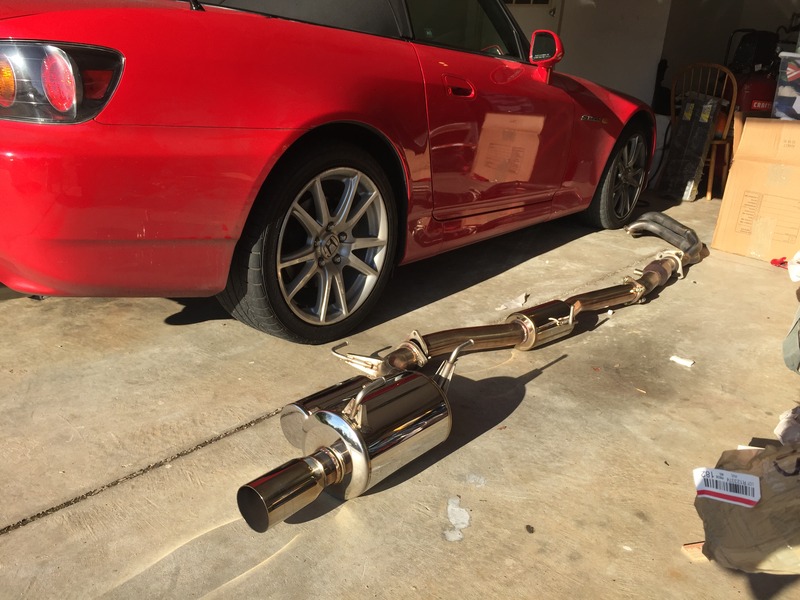
-PLM Header (Used)
-Berk 70mm HFC (Used)
-EVS Tuning 70-SSP (Used)
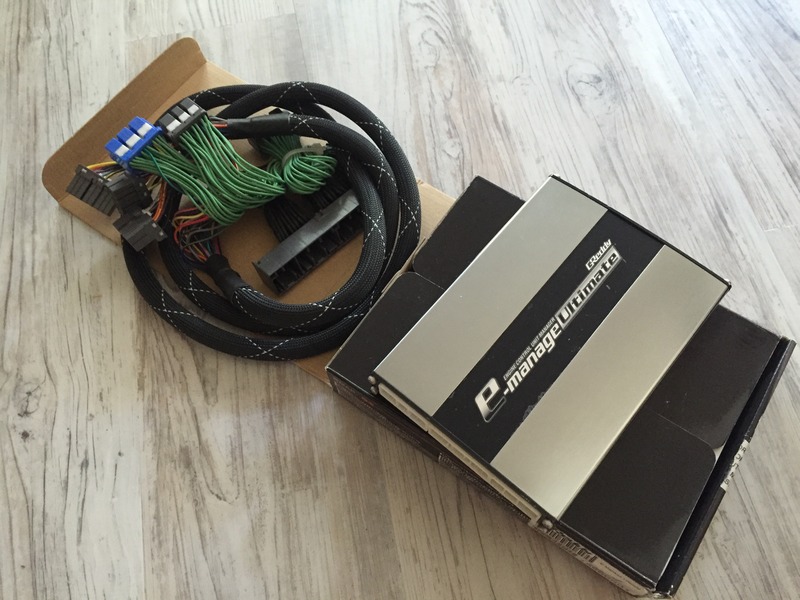
-Karcepts NA(STR) Tune Greddy EMU (Used and tune reloaded by Brian @ Karcepts)
-Piggyback harness (Used)

-Parts, parts and parts.
Parts list
-Karcepts spec JRZ Pro. (It's the new piggyback system for the rear.)
-Hypercoil 2.25" ID 750F/550R
-Karcepts Tophats
-Karcepts Stepped up Front Sway bar
-Karcepts Rear Sway bar
-SPC Adjustable Ball joint
-PLM Header (Used)
-Berk 70mm HFC (Used)
-EVS Tuning 70-SSP (Used)
-Karcepts NA(STR) Tune Greddy EMU (Used and tune reloaded by Brian @ Karcepts)
-Piggyback harness (Used)


