Sirbikealot7's Auction car rebuild and Function>Form quest for Lap times
 01-20-2018, 07:38 AM
#61

Thread Starter

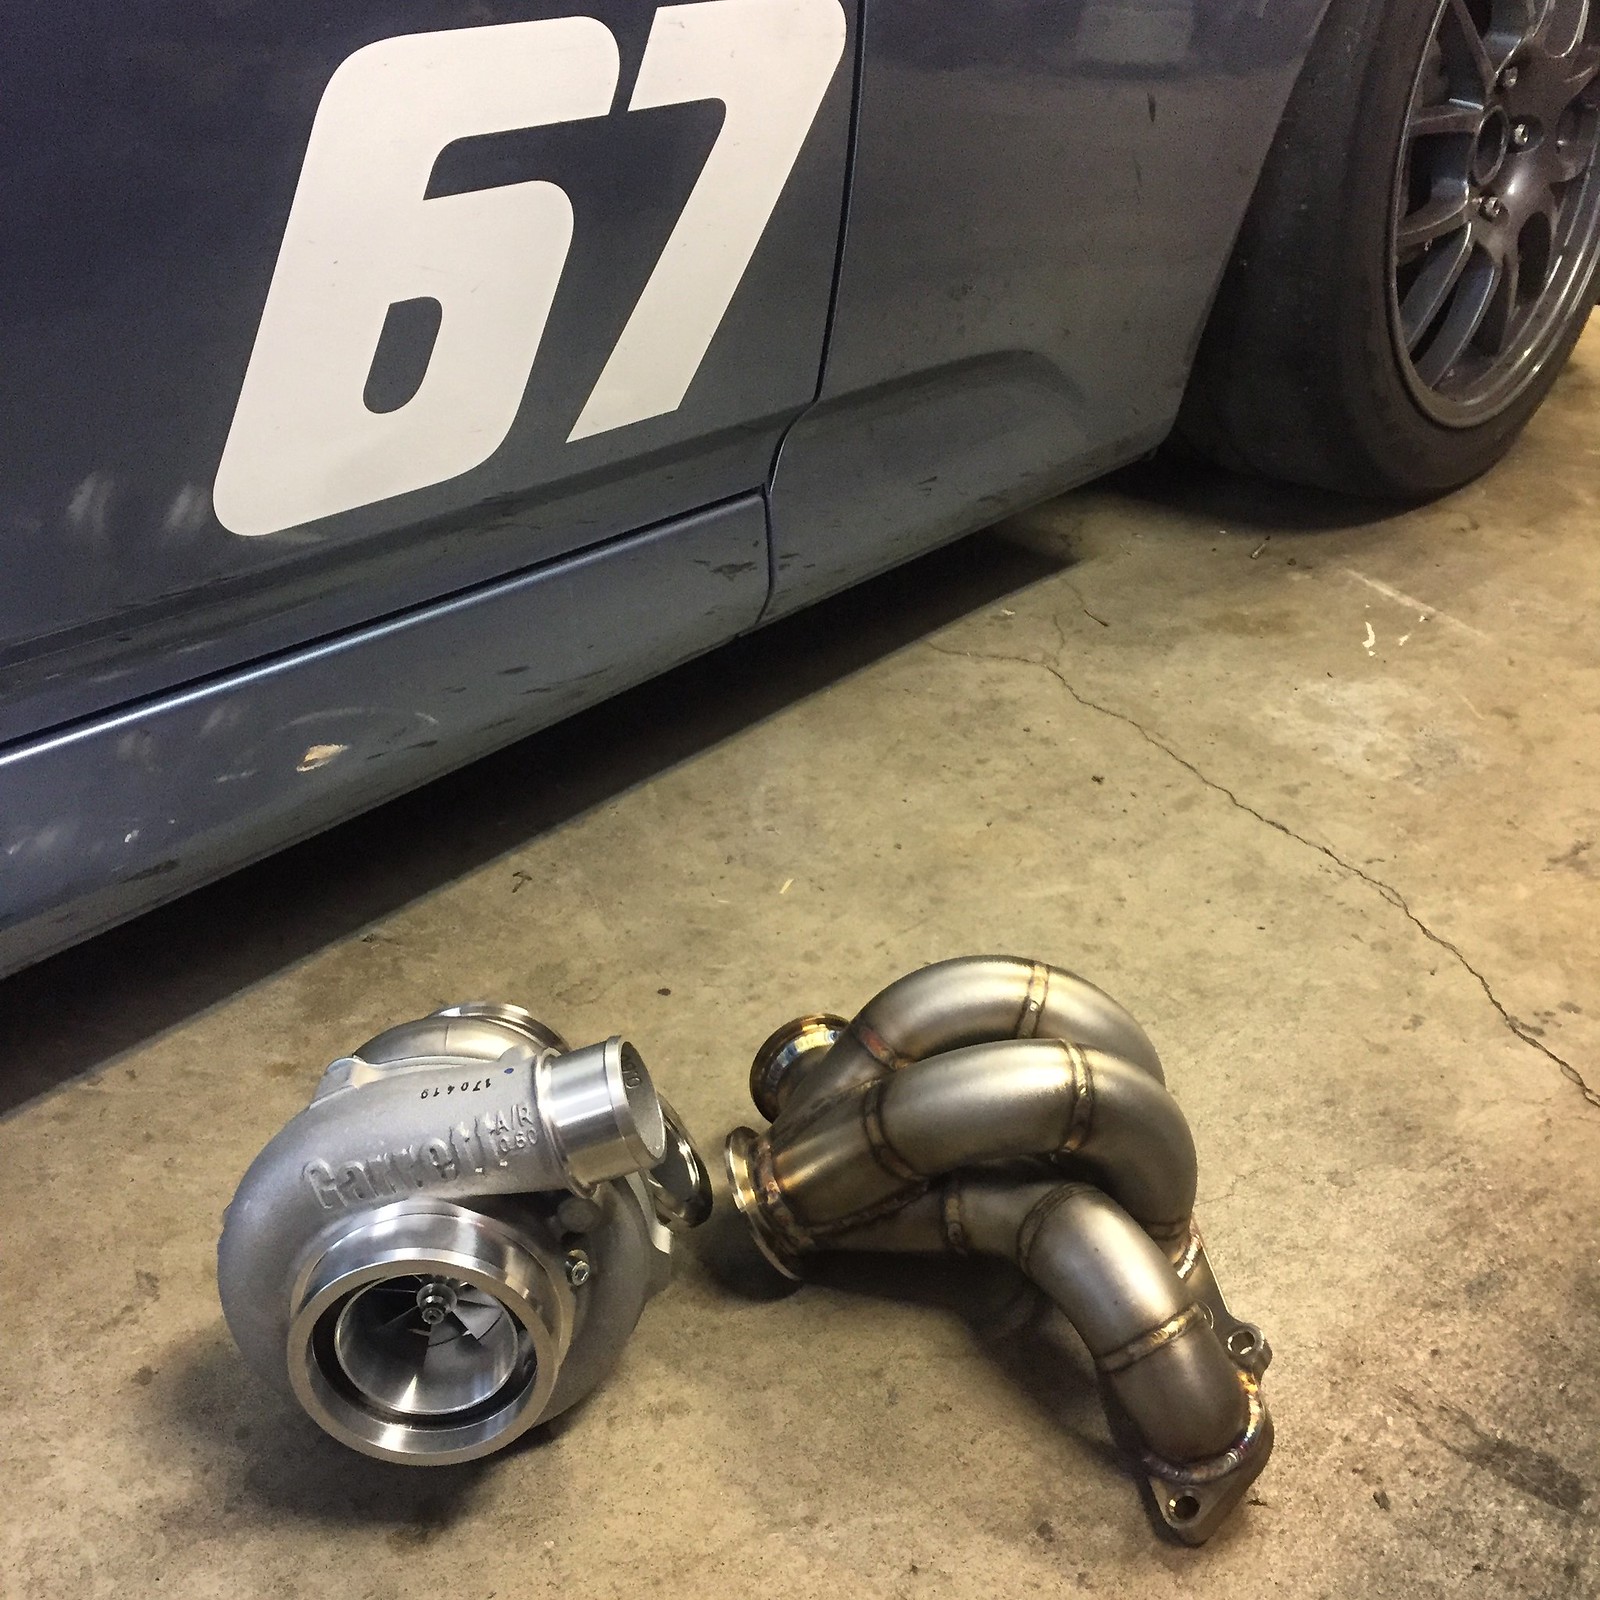
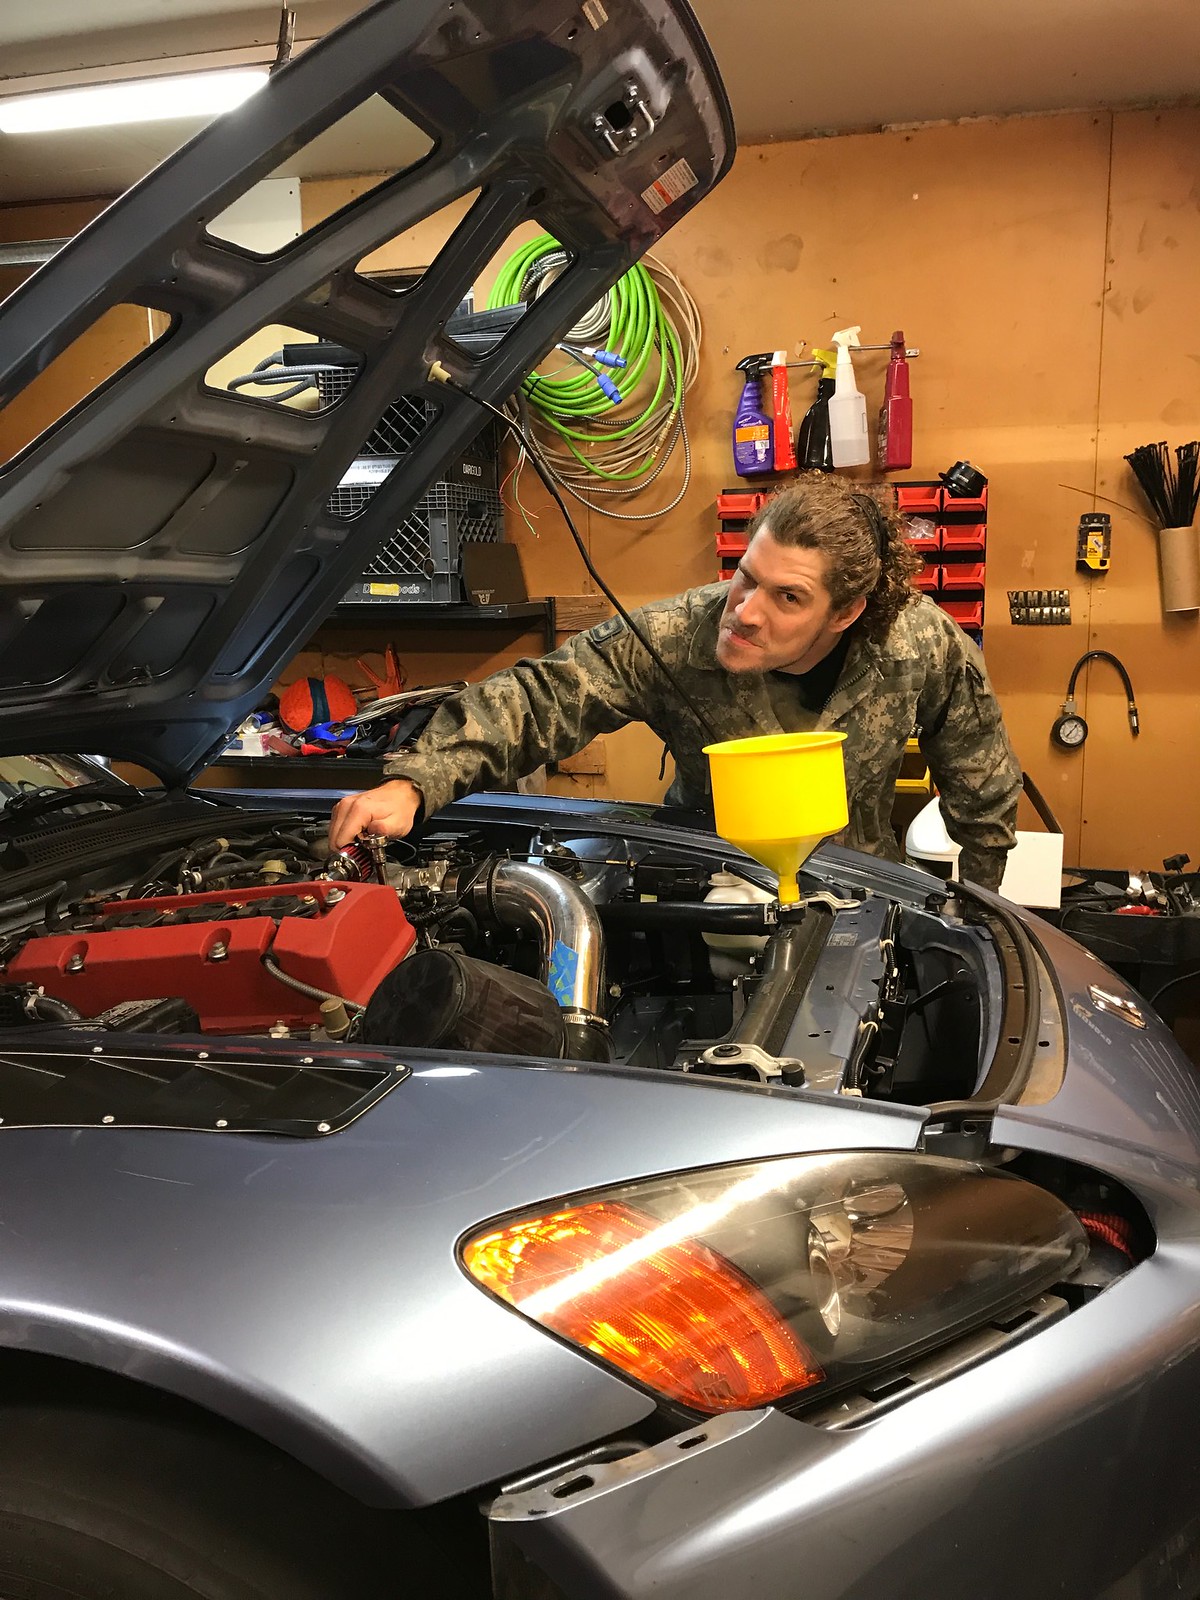
Well, its been a long time since I made an update. Got in on the Ptuning ground buy and bought the option 2 with no intercooler. My buddy Gabe at Rampage Fab in Olympia, WA is going to be sponsoring the car this year and we whipped up a track worth V-mount setup. The goal was maximum cooling capacity and reliability, all while showcasing incredible fabrication and making a functional but nice looking setup. That being said, I've got to wire in flex fuel, boost control and traction control to the ECU and then it's ready to be tuned!!
Getting the clutch installed and broken in before the turbo installation. ACT HD PP with OEM disk.
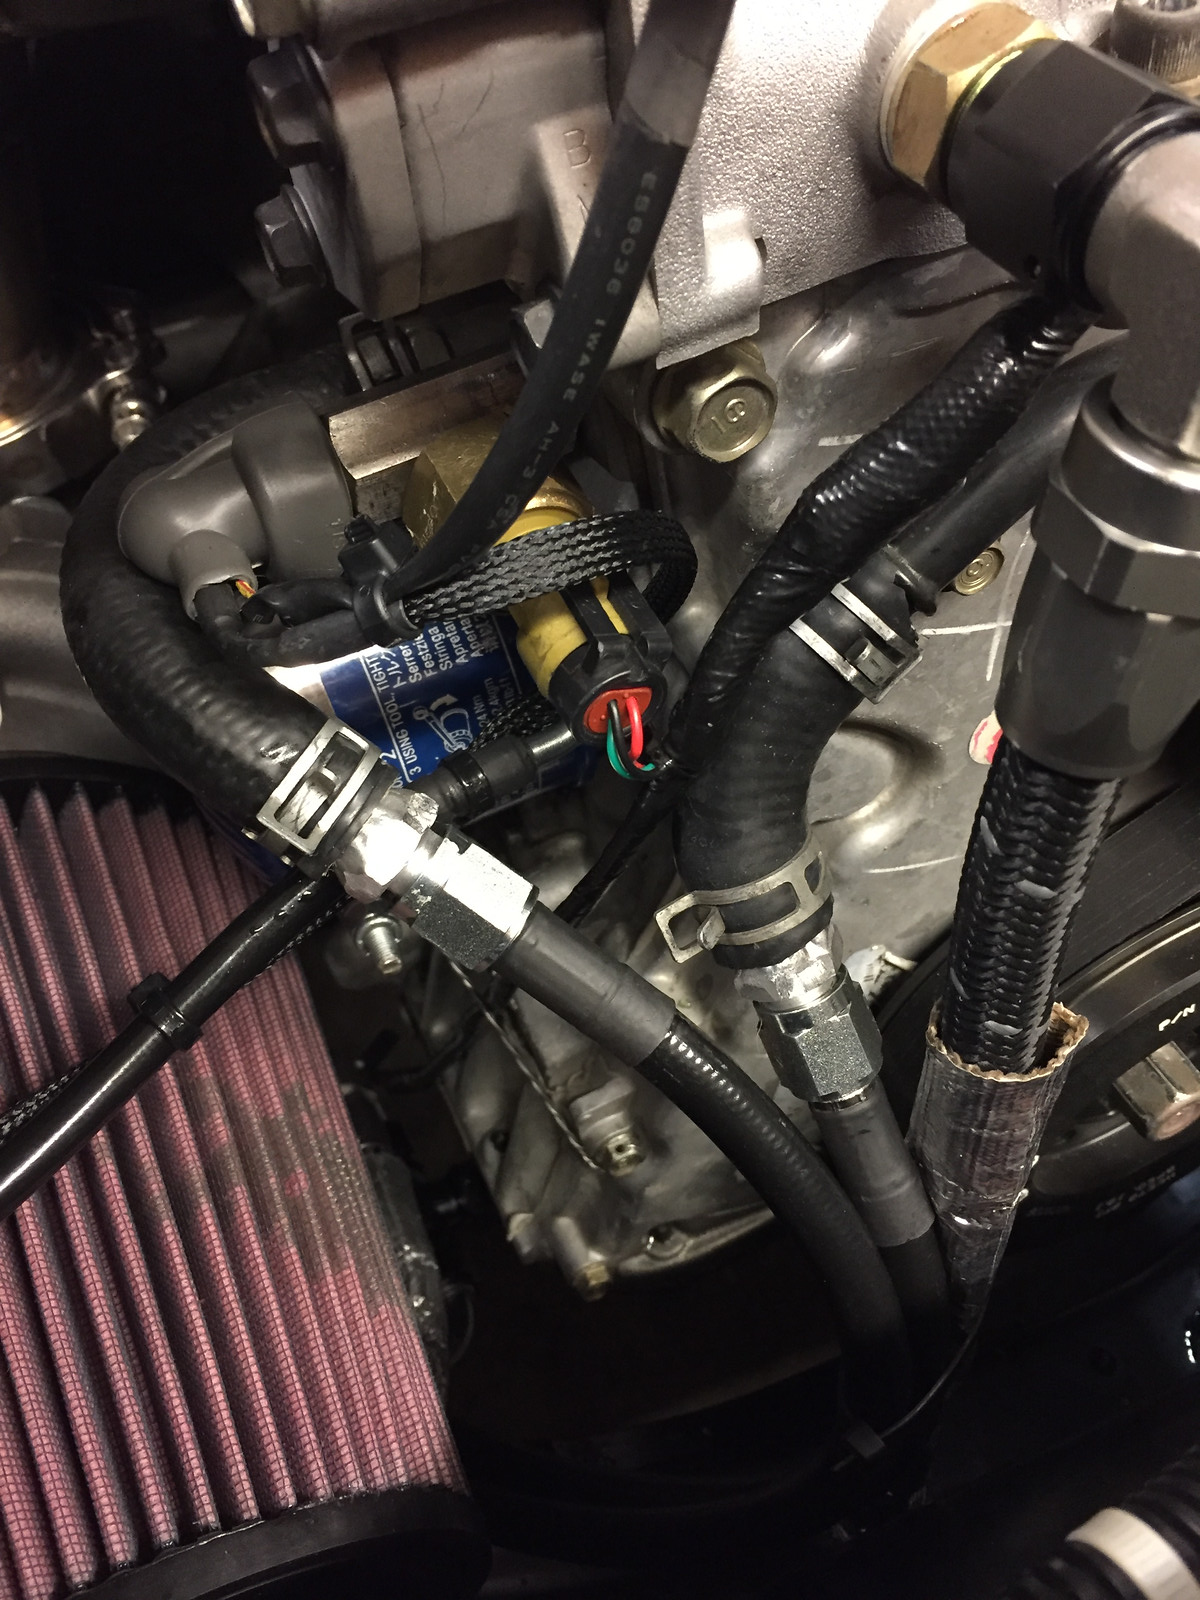
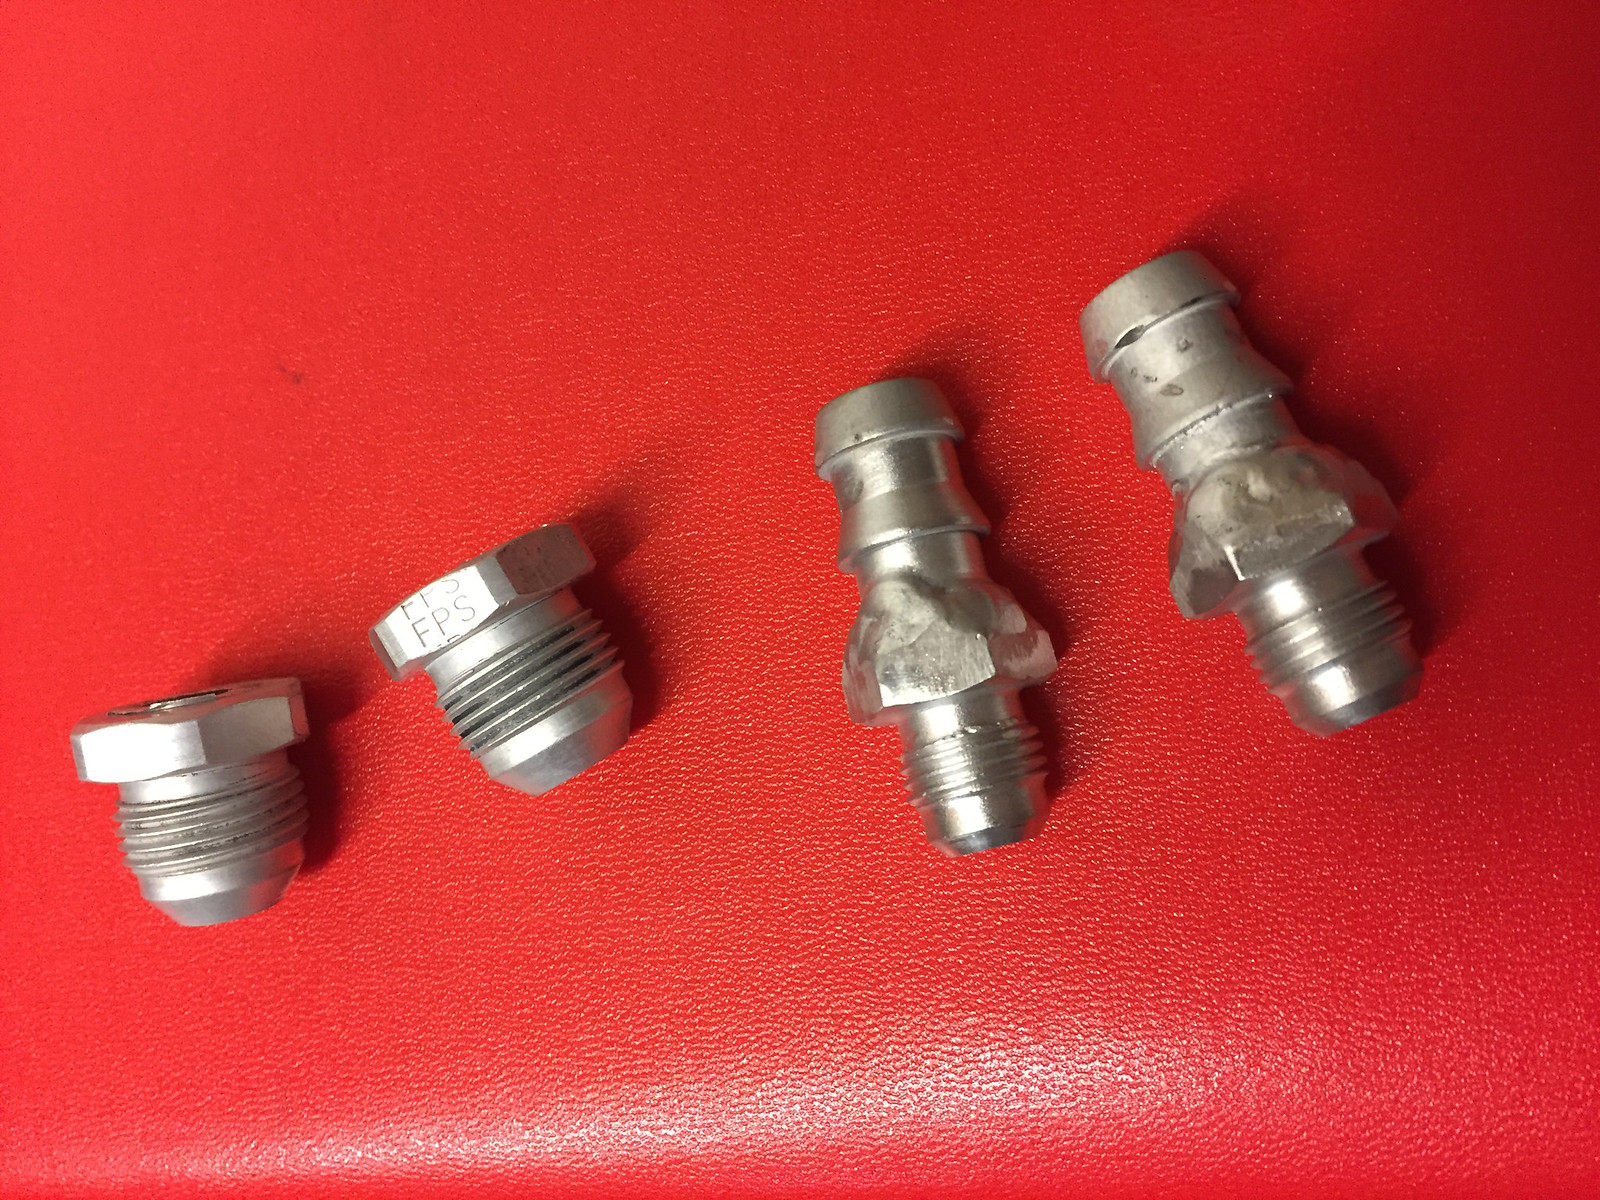
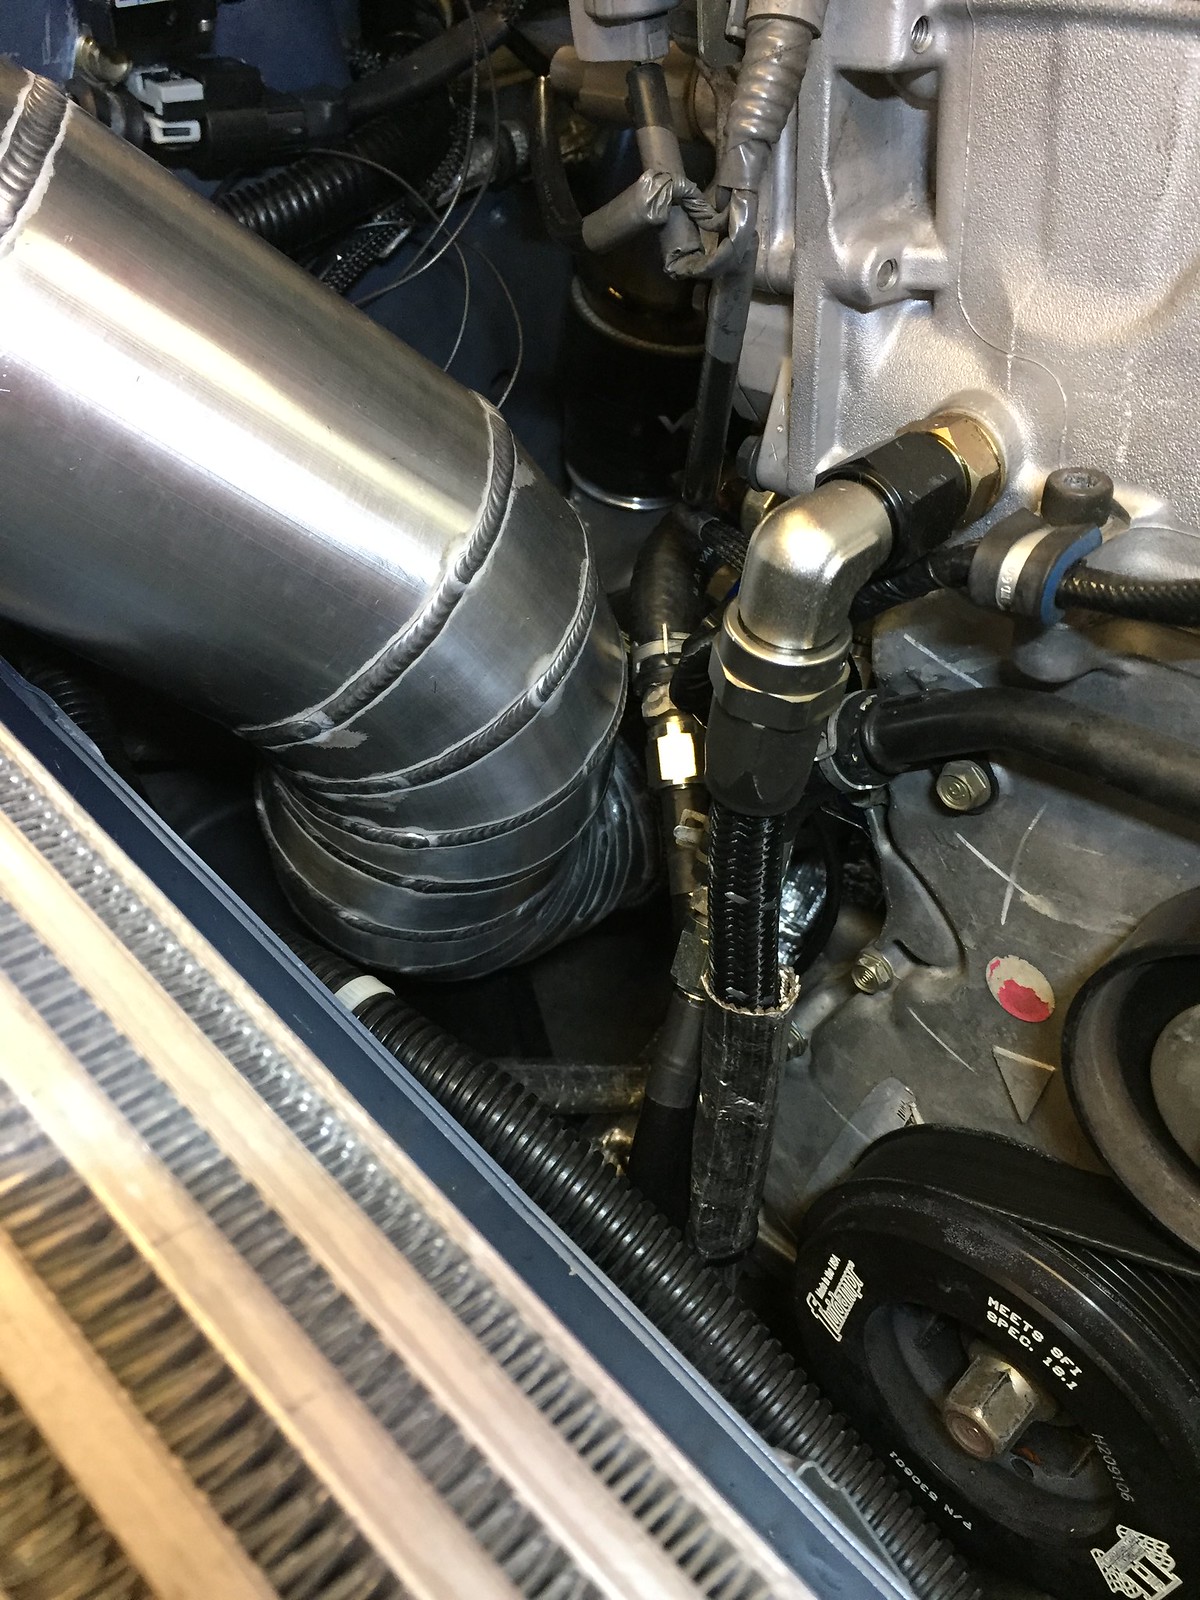
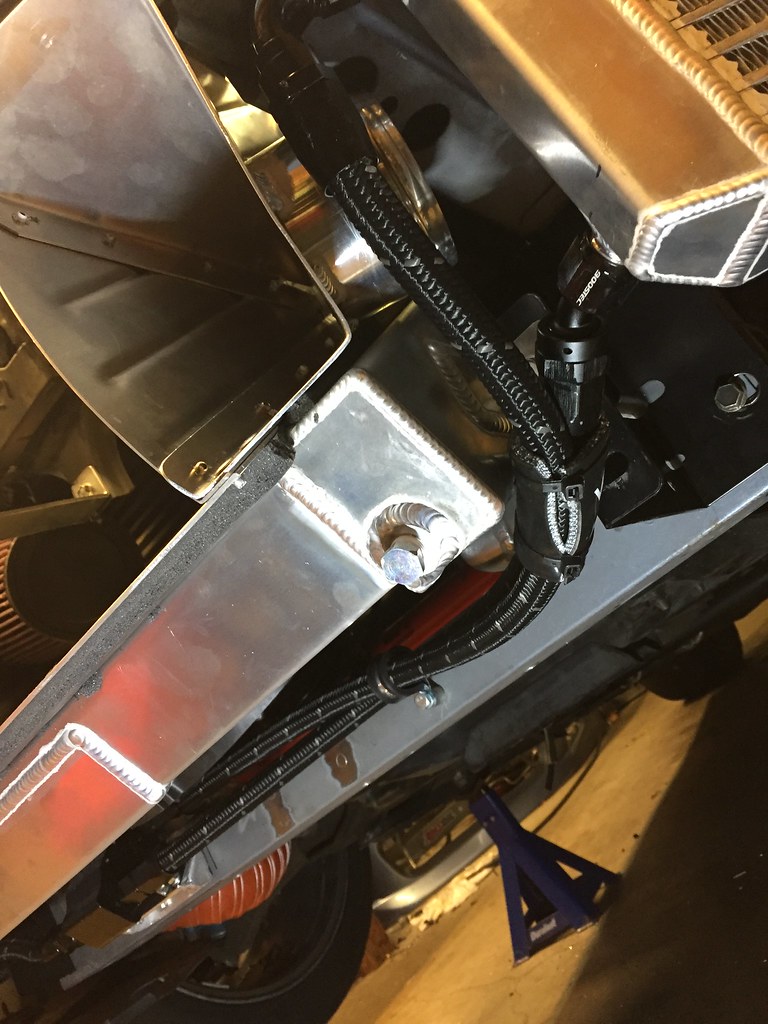
I didn't like where the PTuning took water to cool the turbo from up by the throttle body, so this was my solution since no one makes a -8 AN to 1/2 barb. I'm not a great tig welder but I make do haha. I leave all the important stuff to Rampage.
P-clamps and rivnuts everywhere to secure wiring and hoses throughout.
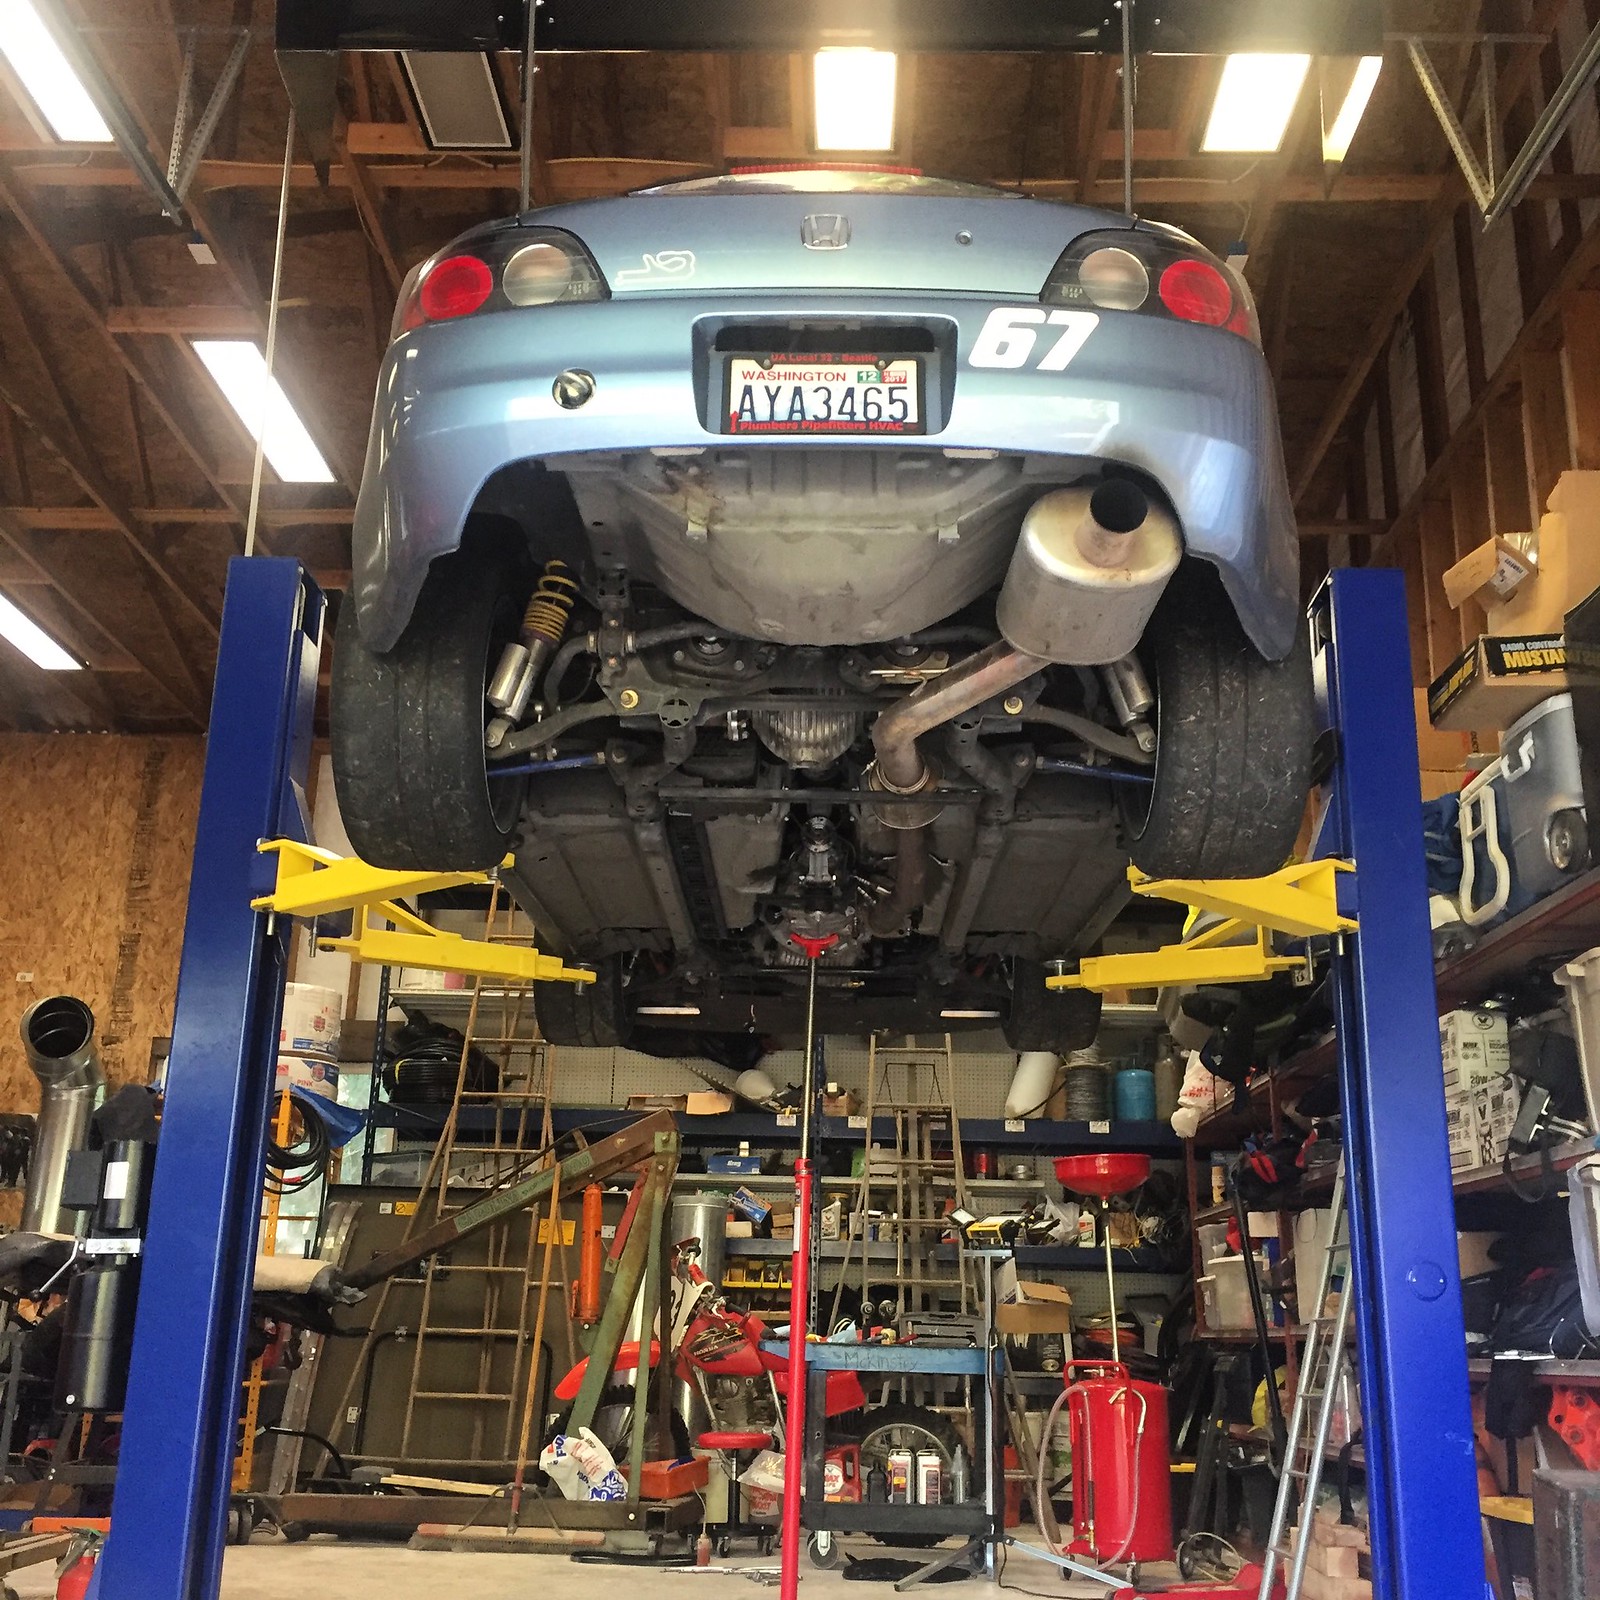
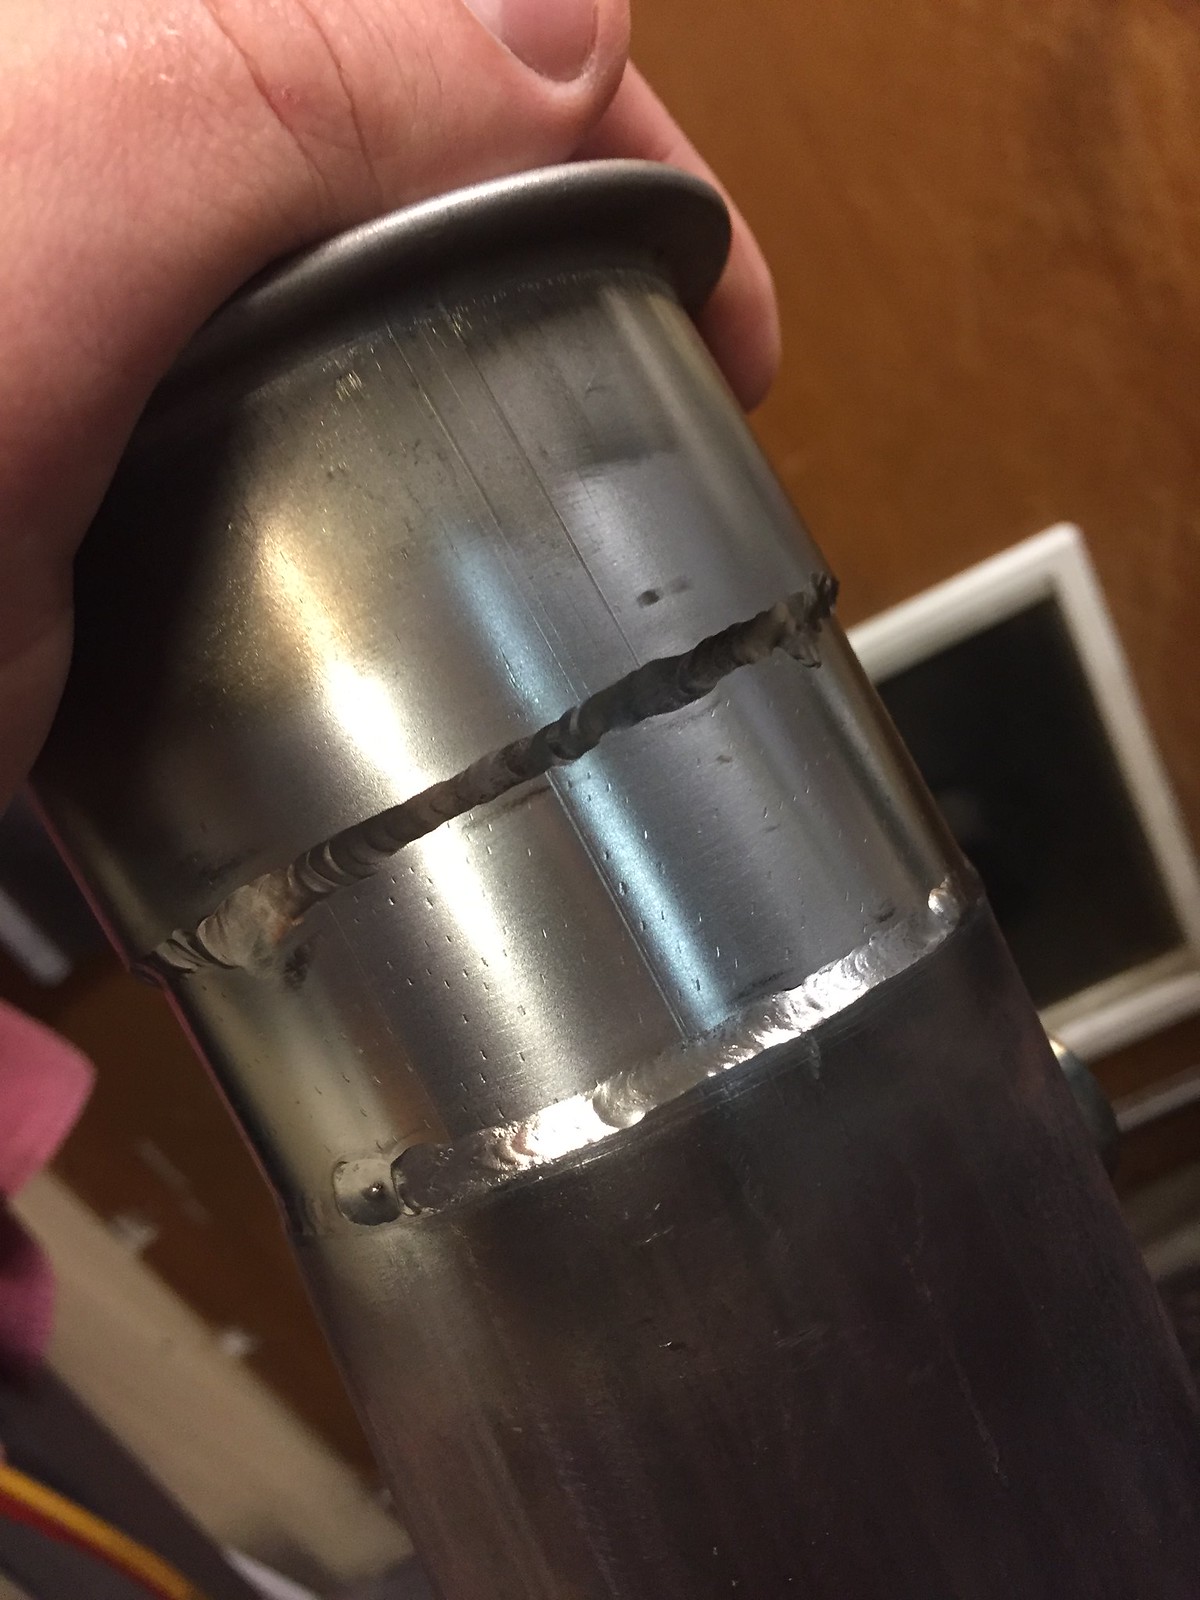
Another issue I had with the Ptuning kit is that the downpipe hung really low, like 2" below the frame rail, so naturally I shortened it up. Again I'm no welder, I leave the important stuff to Gabe.
Getting the clutch installed and broken in before the turbo installation. ACT HD PP with OEM disk.
I didn't like where the PTuning took water to cool the turbo from up by the throttle body, so this was my solution since no one makes a -8 AN to 1/2 barb. I'm not a great tig welder but I make do haha. I leave all the important stuff to Rampage.
P-clamps and rivnuts everywhere to secure wiring and hoses throughout.
Another issue I had with the Ptuning kit is that the downpipe hung really low, like 2" below the frame rail, so naturally I shortened it up. Again I'm no welder, I leave the important stuff to Gabe.
 01-20-2018, 07:51 AM
#62
Thread Starter
Had to remake the throttle cable bracket, because the ballade throttle body has a smaller wheel and makes it really hard to get the cable adjusted in the proper range. Had more of a bandaid solution before.
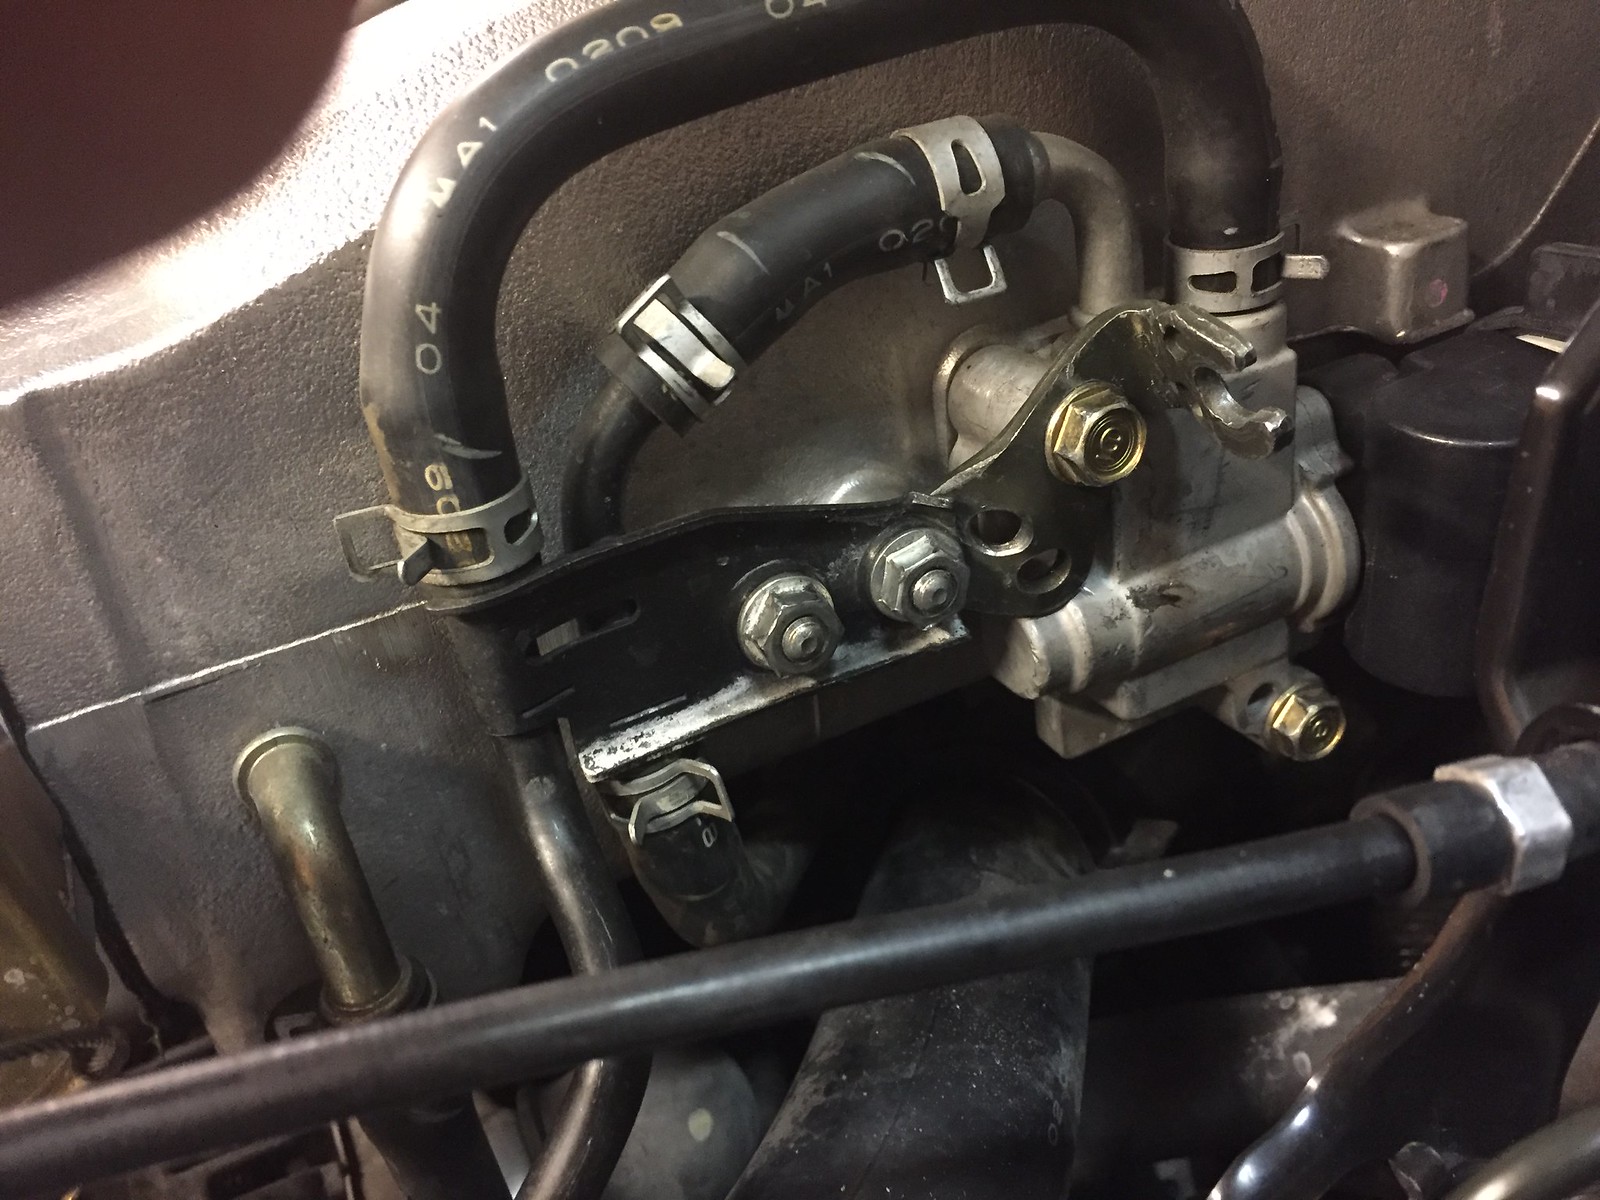
Photo dump of a bunch of the fab work from Rampage. His work is phenominal.
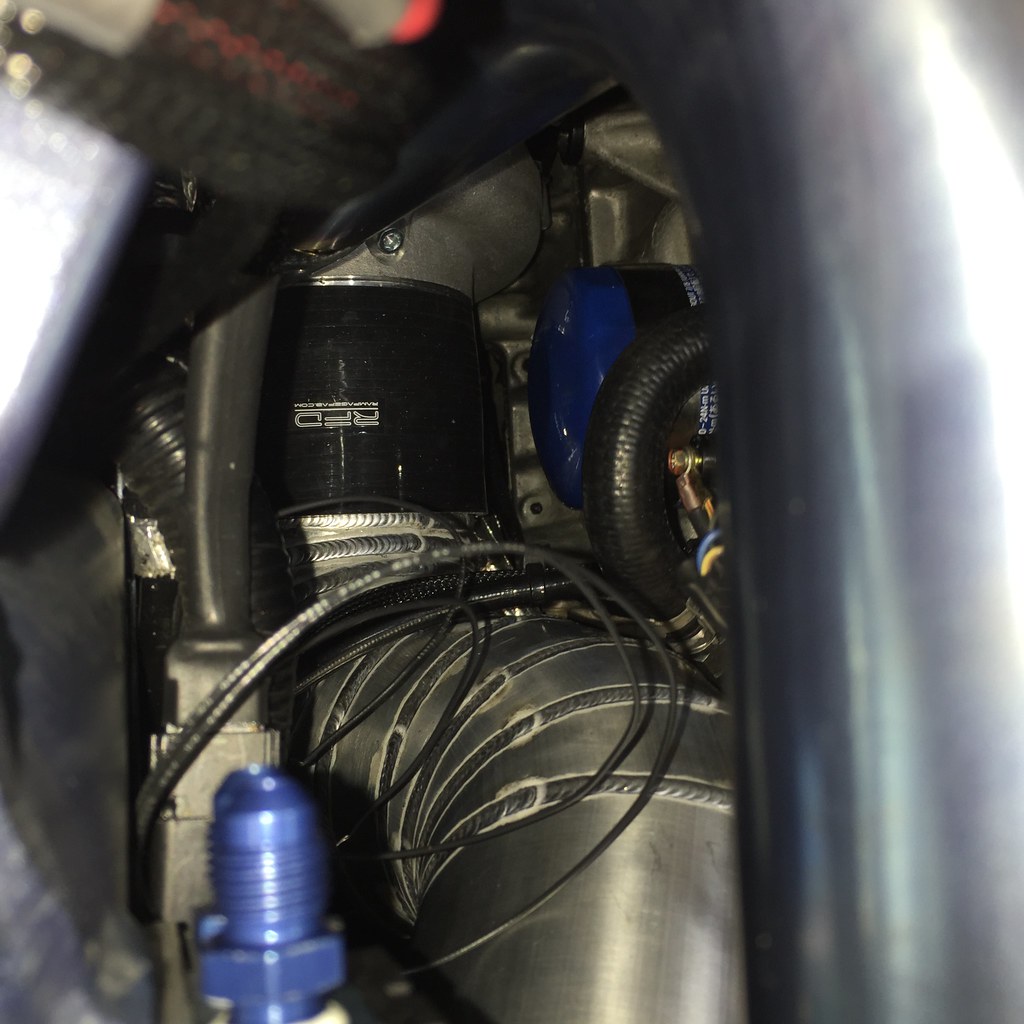
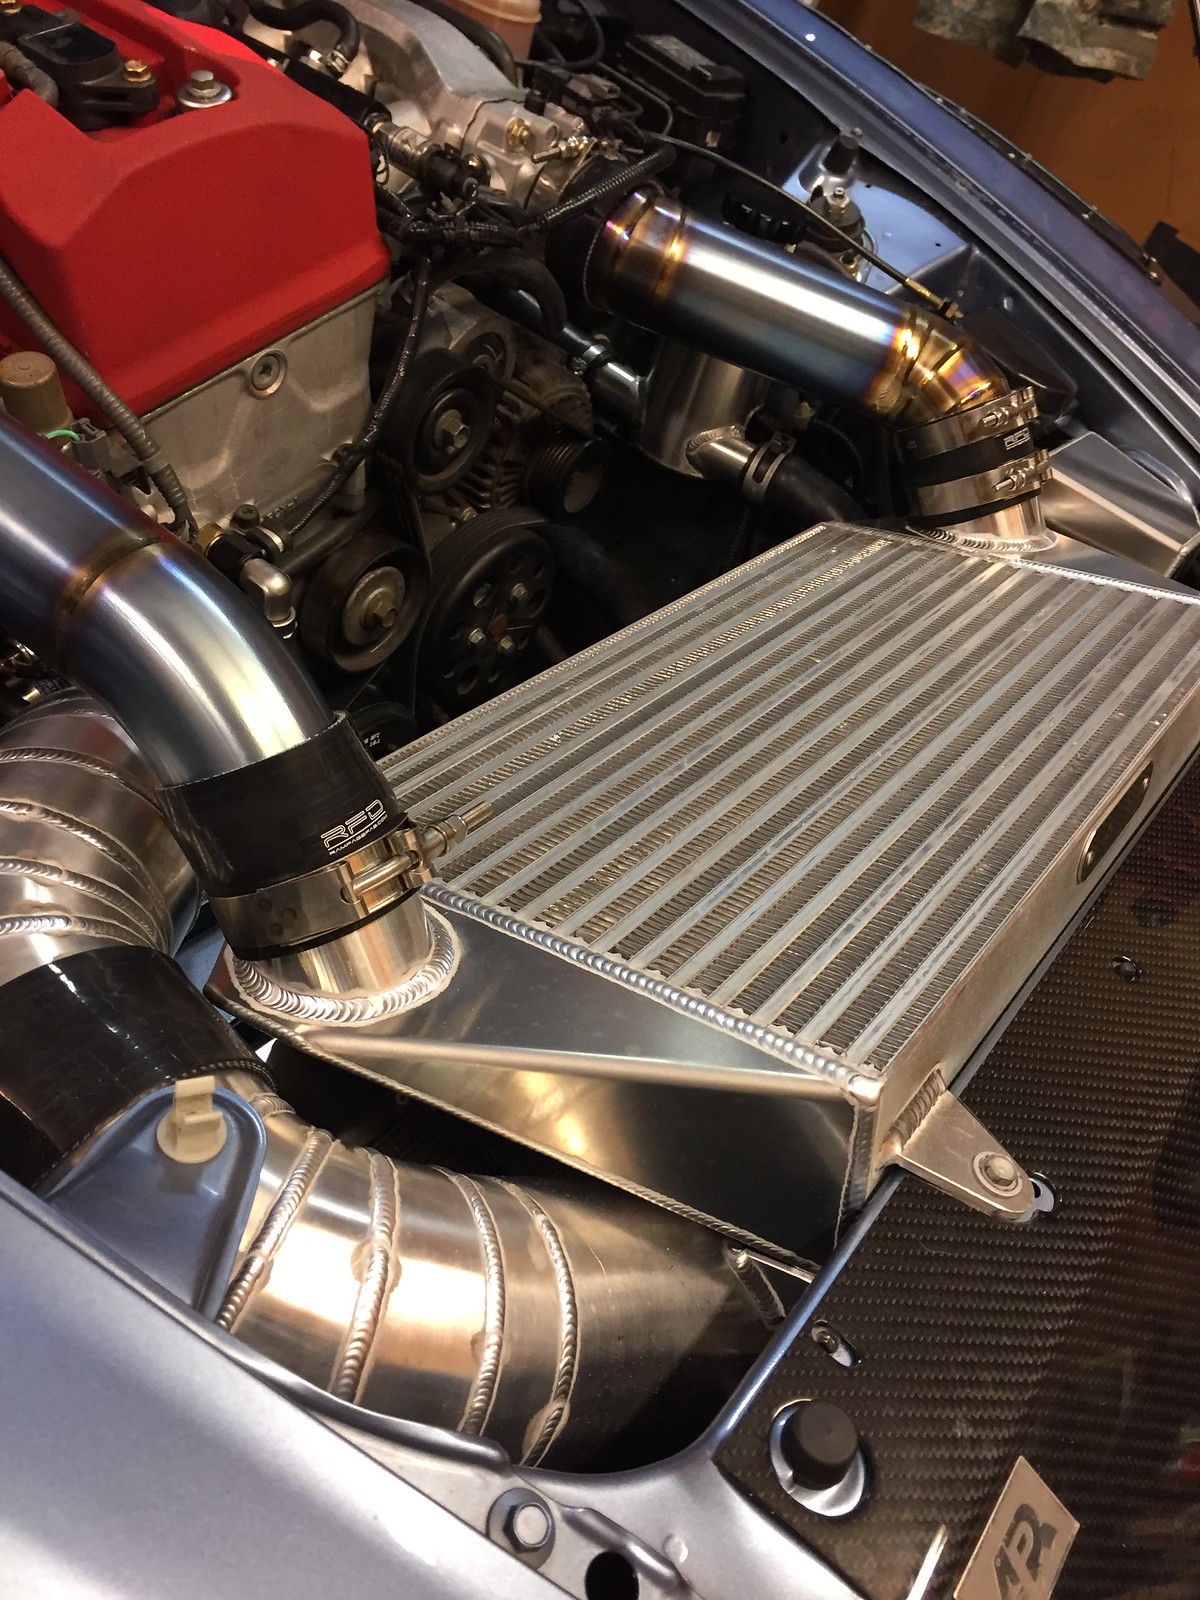
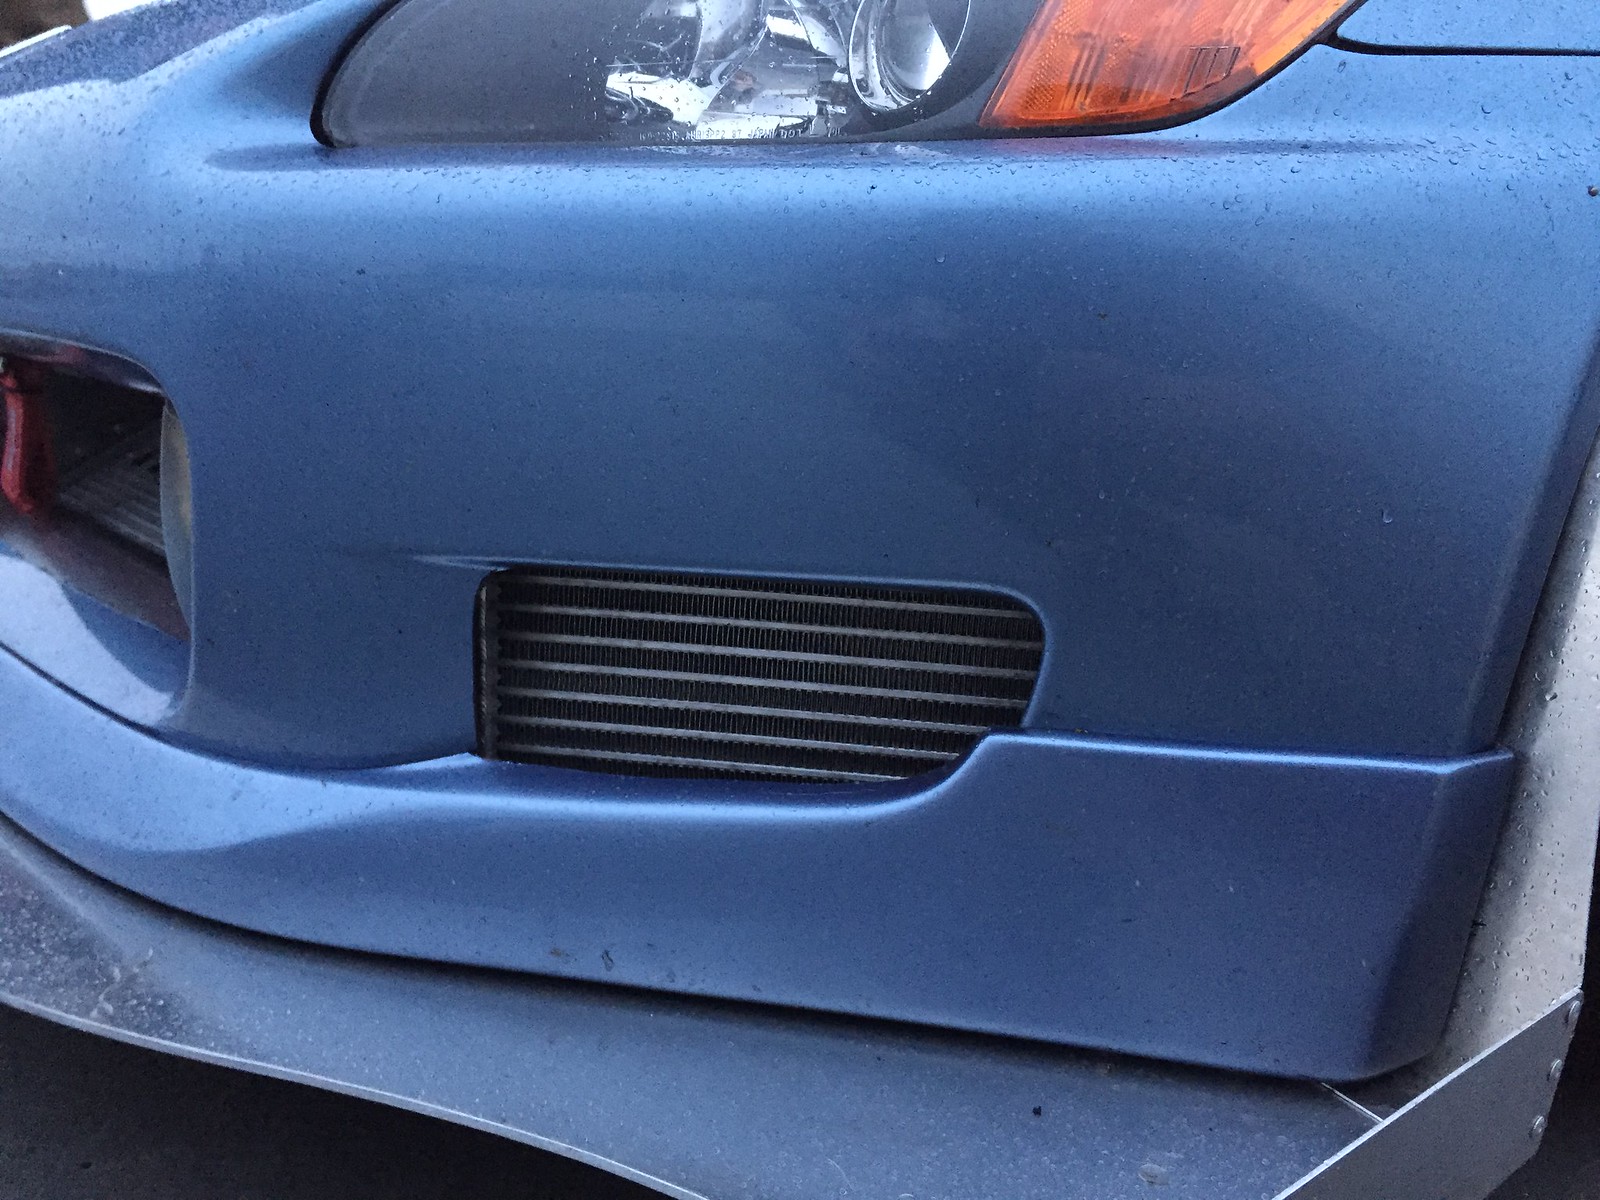
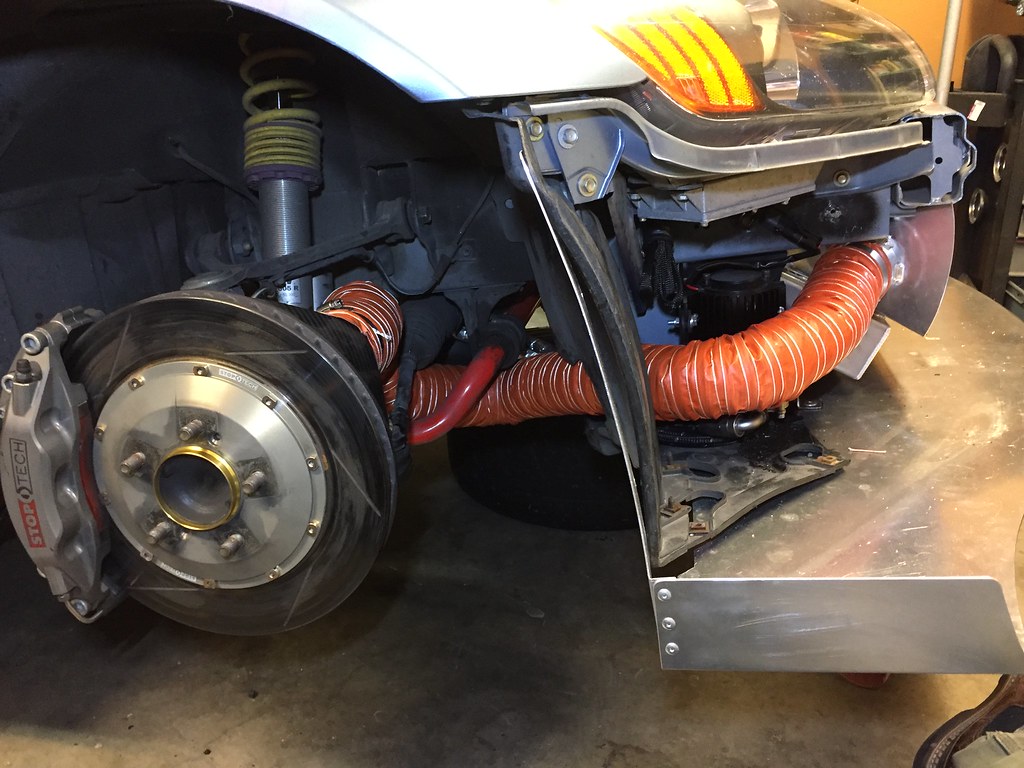
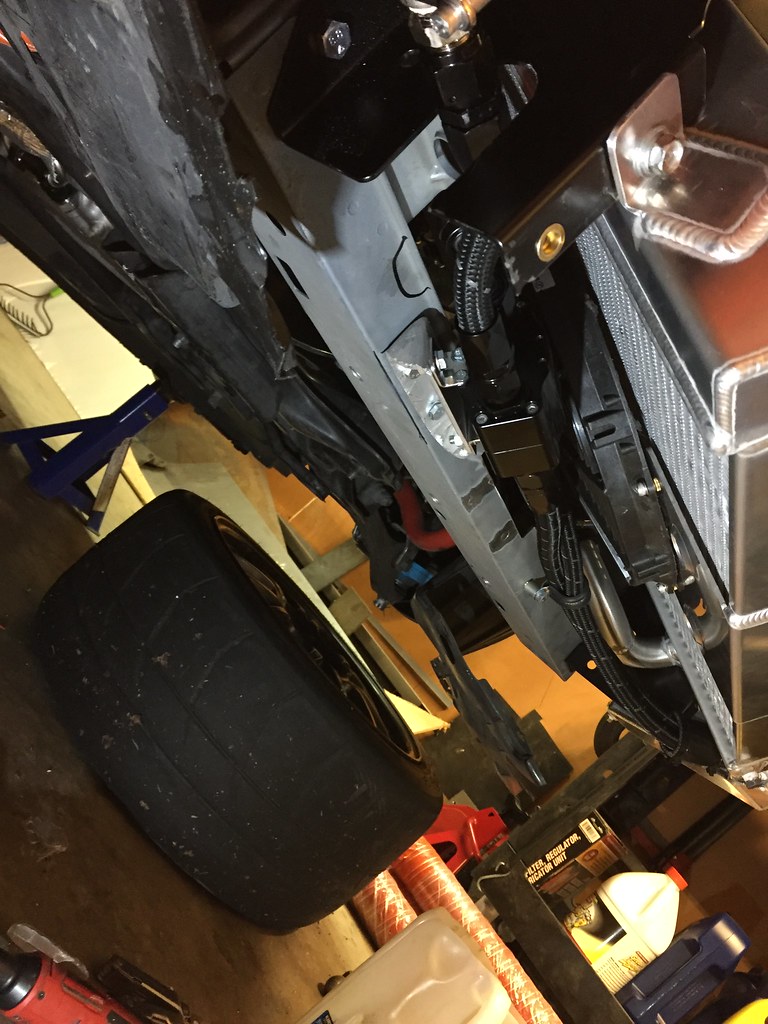
Oil cooler stuffed behind the fog light hole
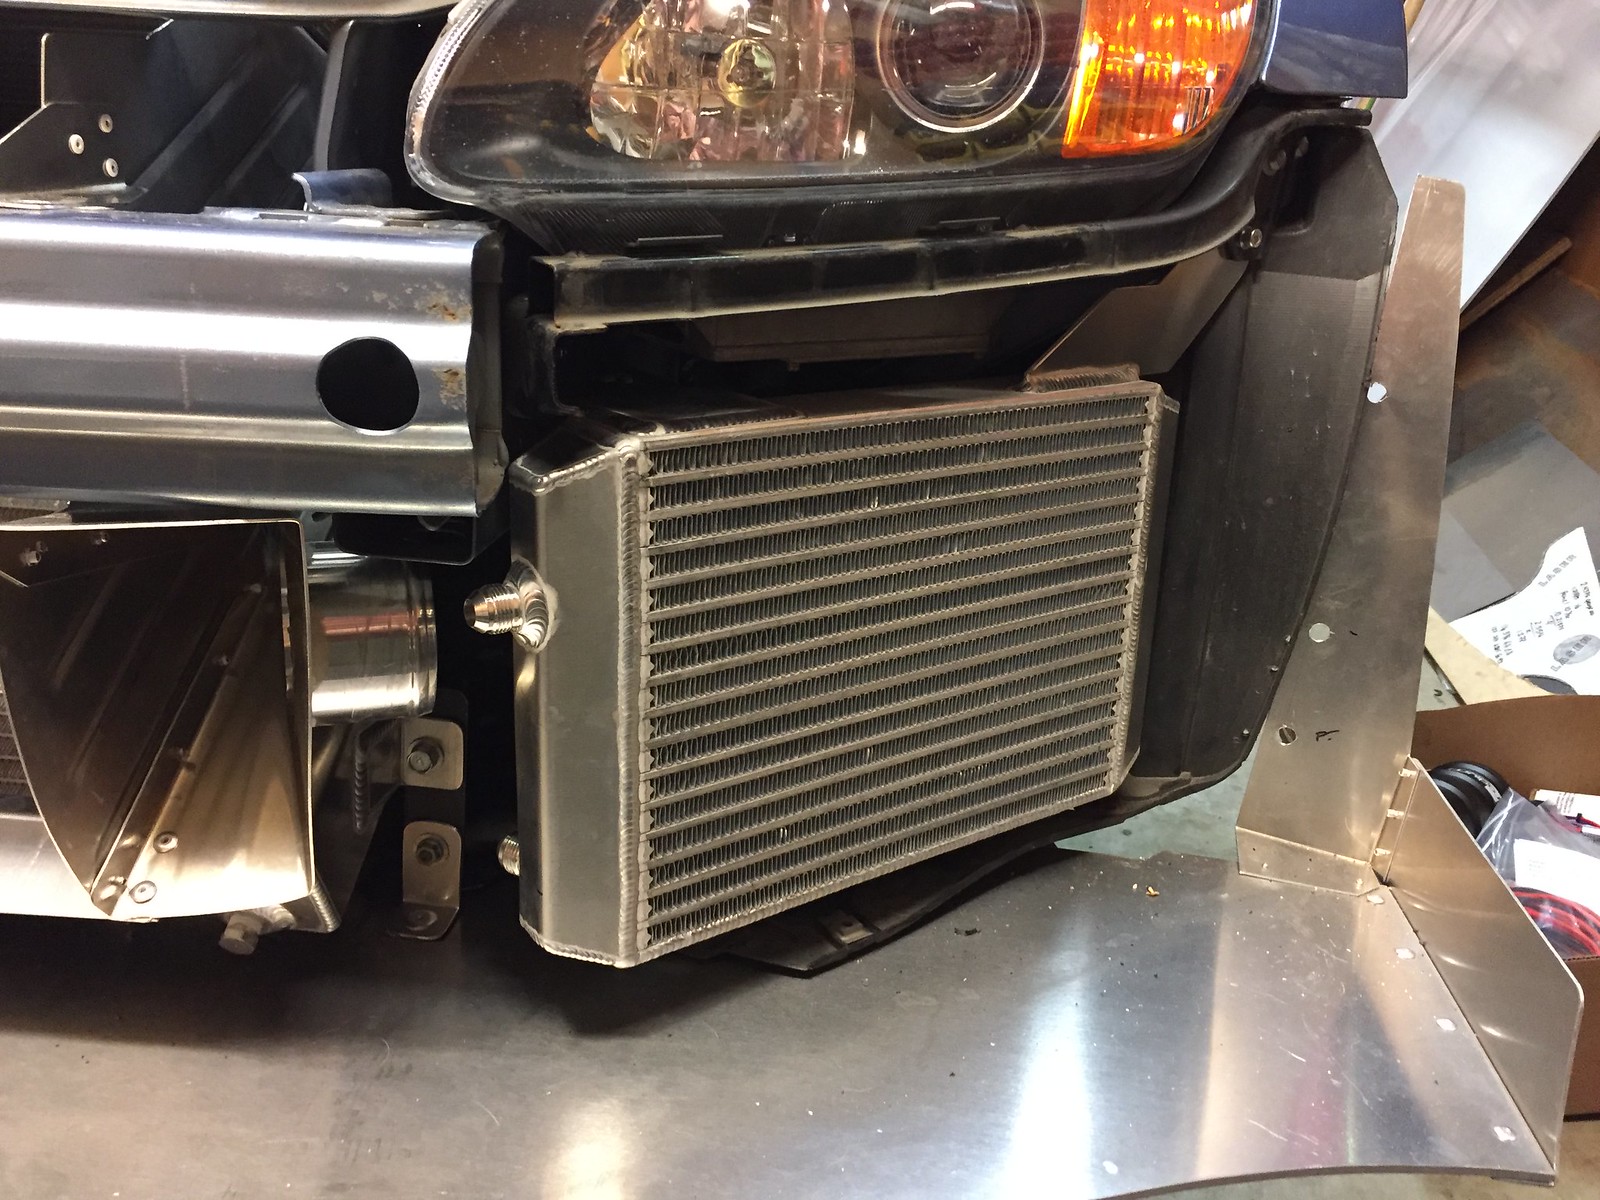
The ductwork is killer.
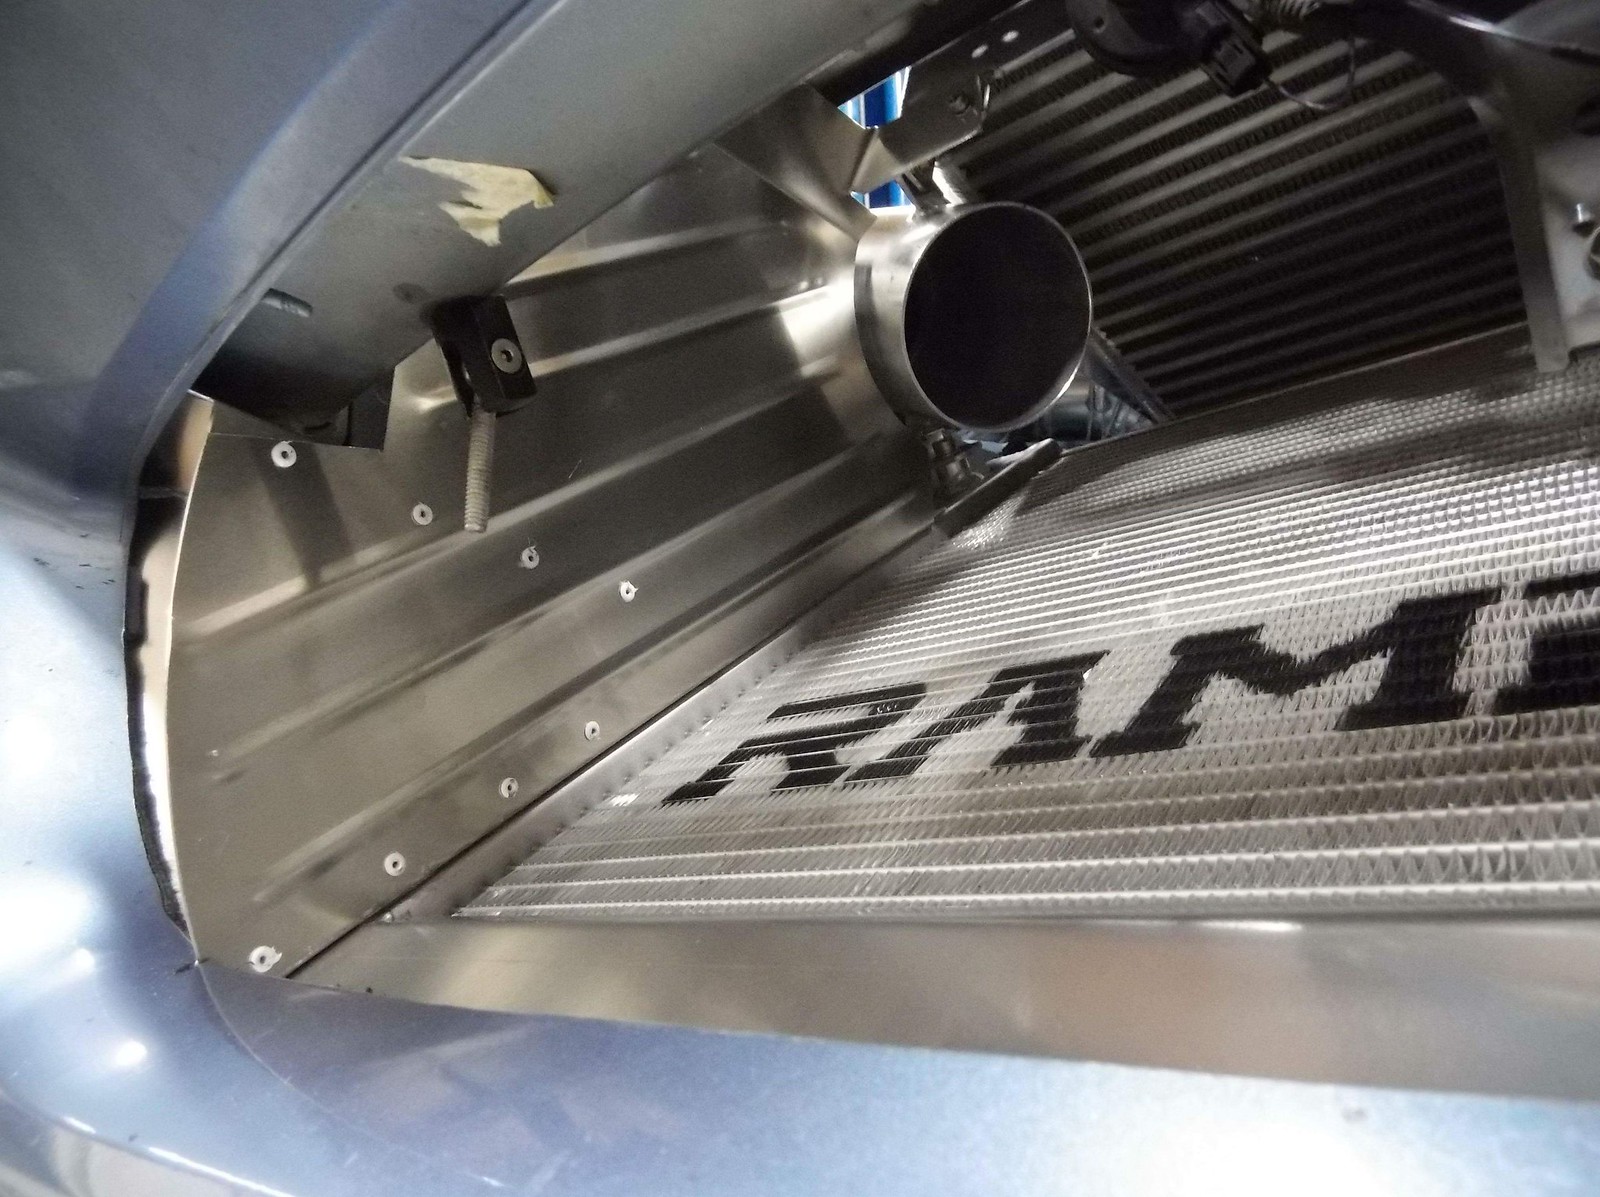
Complete with color matched anodized Titanium intake piping
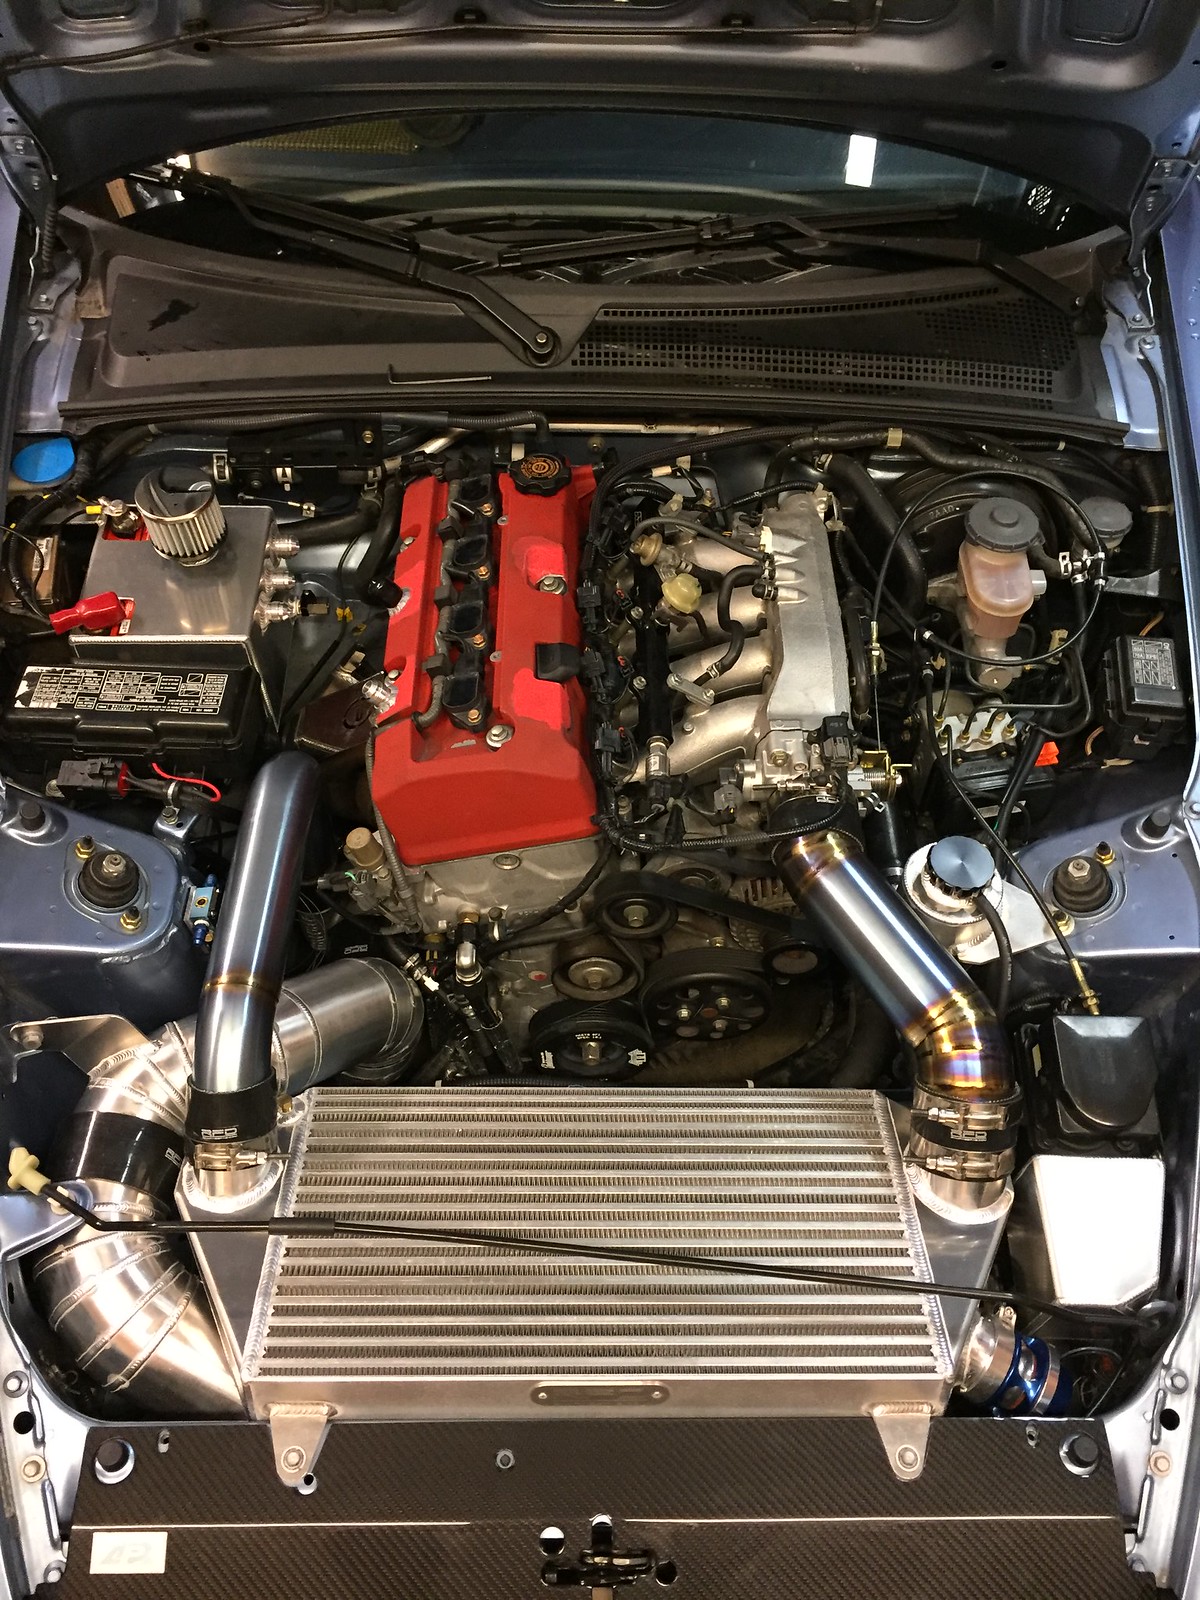
Photo dump of a bunch of the fab work from Rampage. His work is phenominal.
Oil cooler stuffed behind the fog light hole
The ductwork is killer.
Complete with color matched anodized Titanium intake piping
01-20-2018, 08:00 AM
#63
Thread Starter
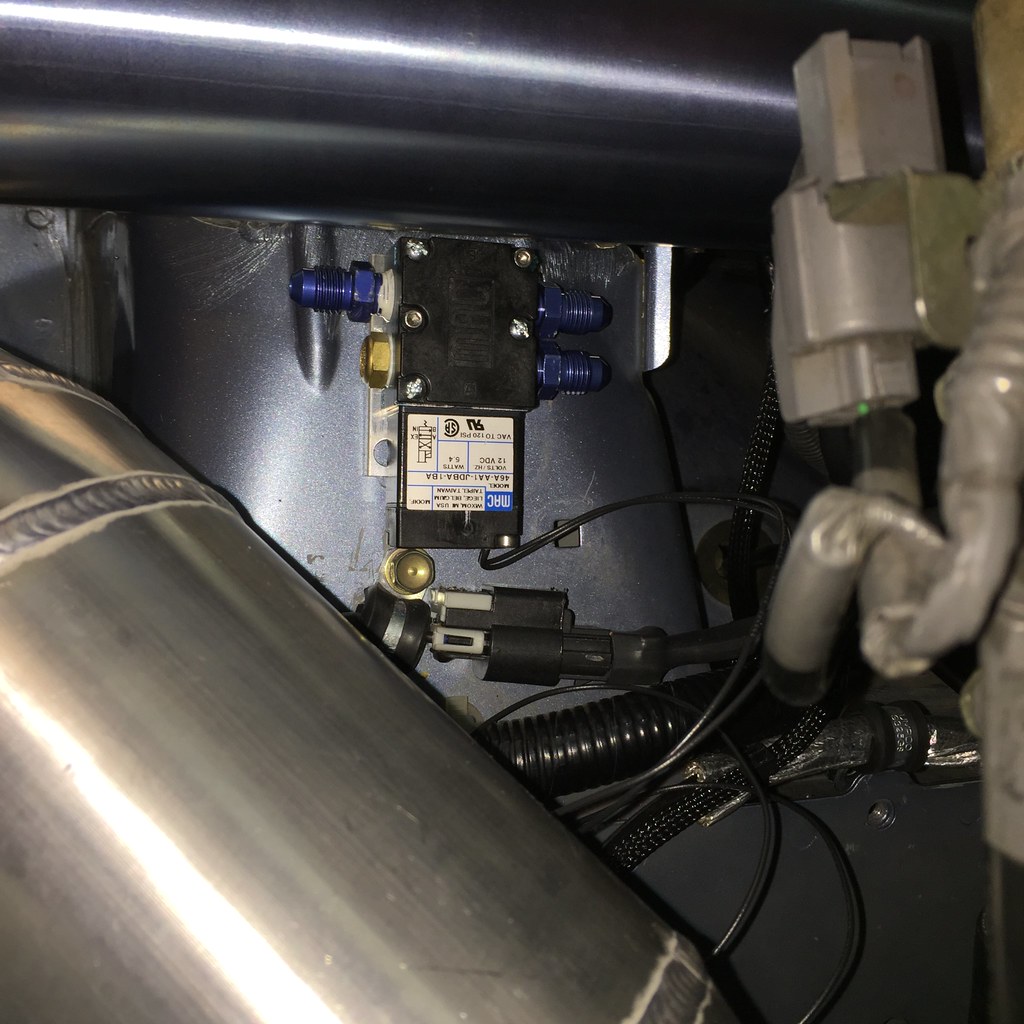
Made a spot for the 4 port solenoid, running everything in -4AN
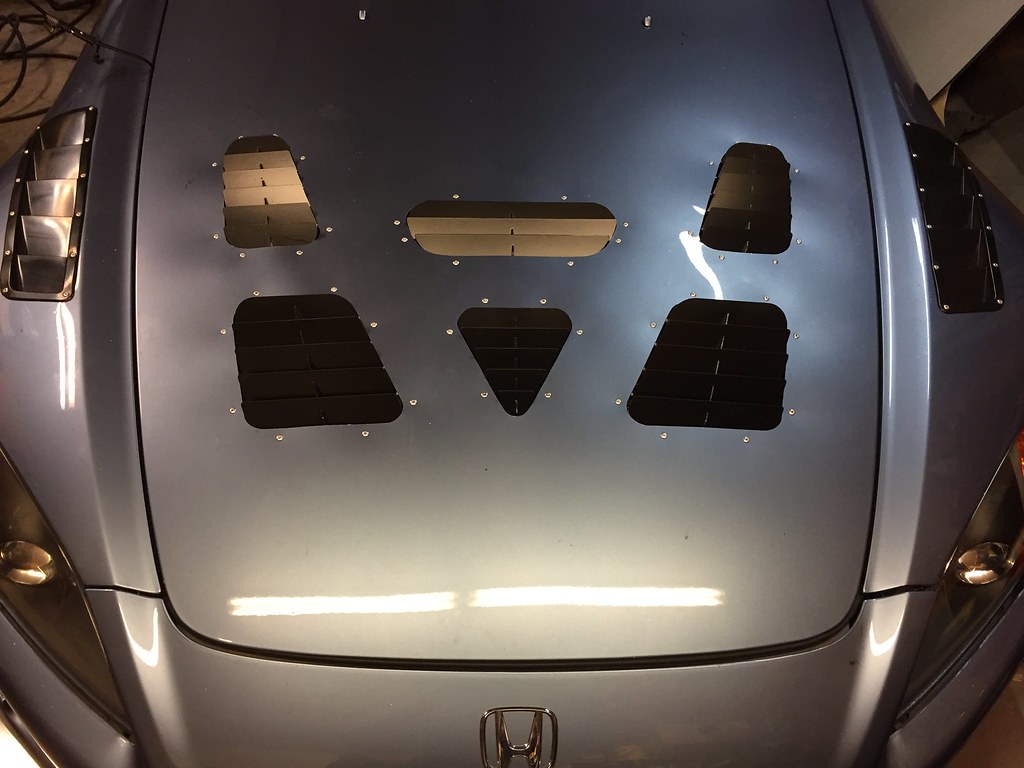
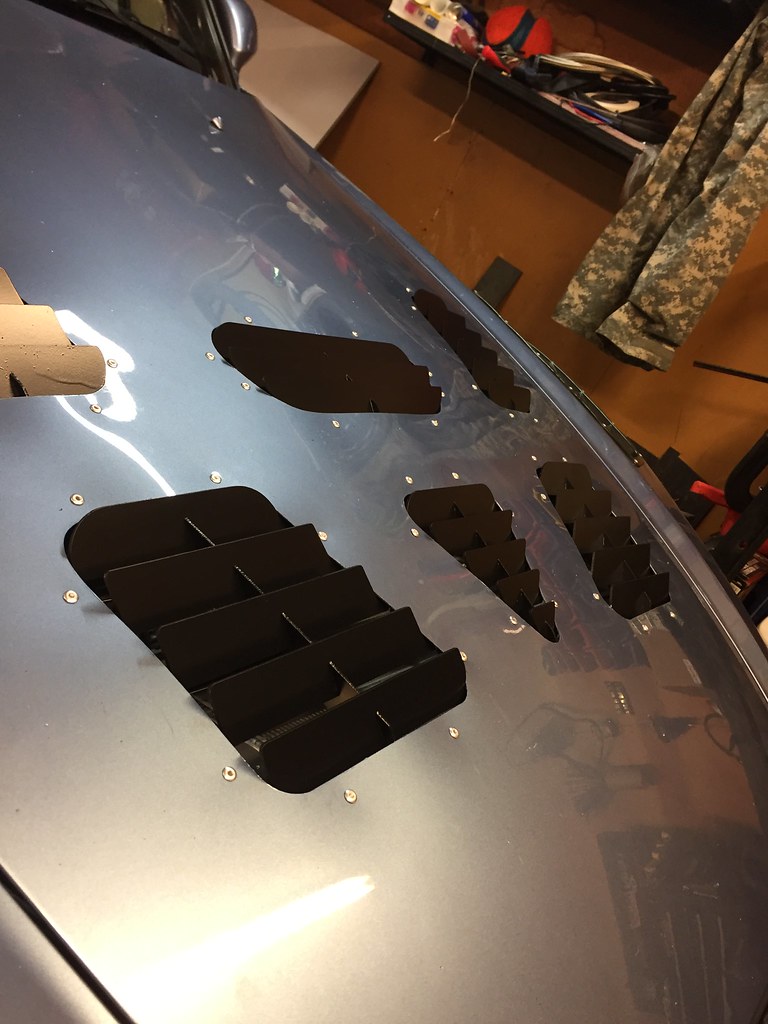
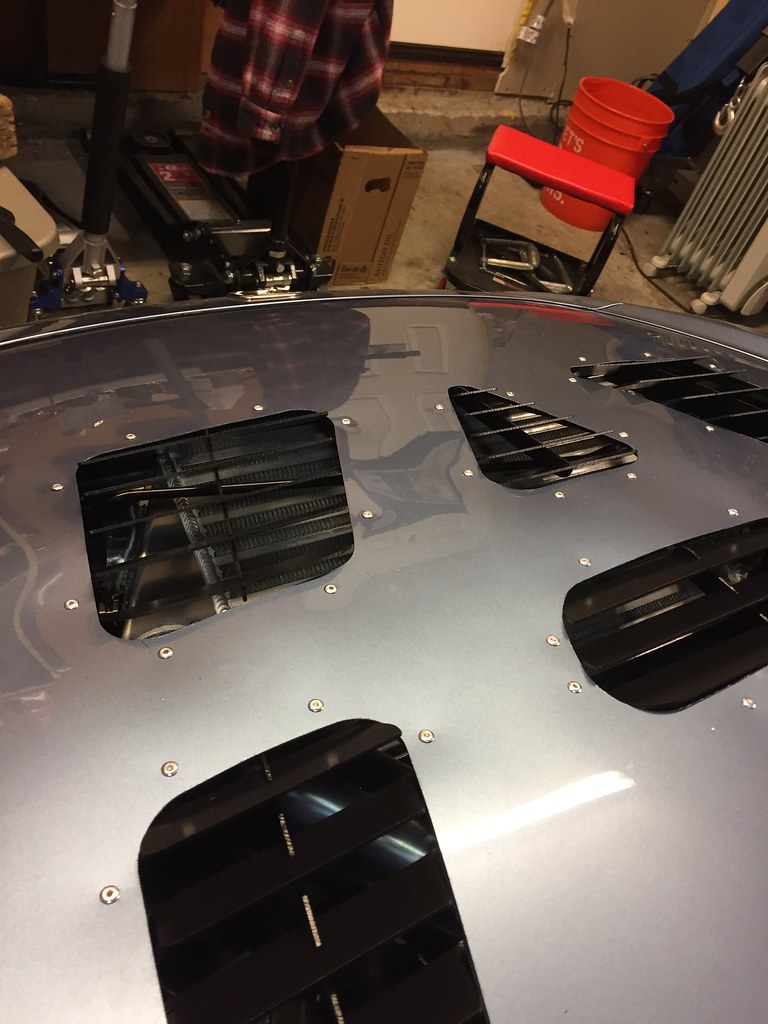
Also worked with V Raptor Speed works to get some center louvers made for the holes I had already cut
Brake ducting done
Got the oil cooler thermostat installed on a bracket I made and fabbed all the lines
Also worked with V Raptor Speed works to get some center louvers made for the holes I had already cut
Brake ducting done
Got the oil cooler thermostat installed on a bracket I made and fabbed all the lines
01-20-2018, 08:13 AM
#64
Thread Starter
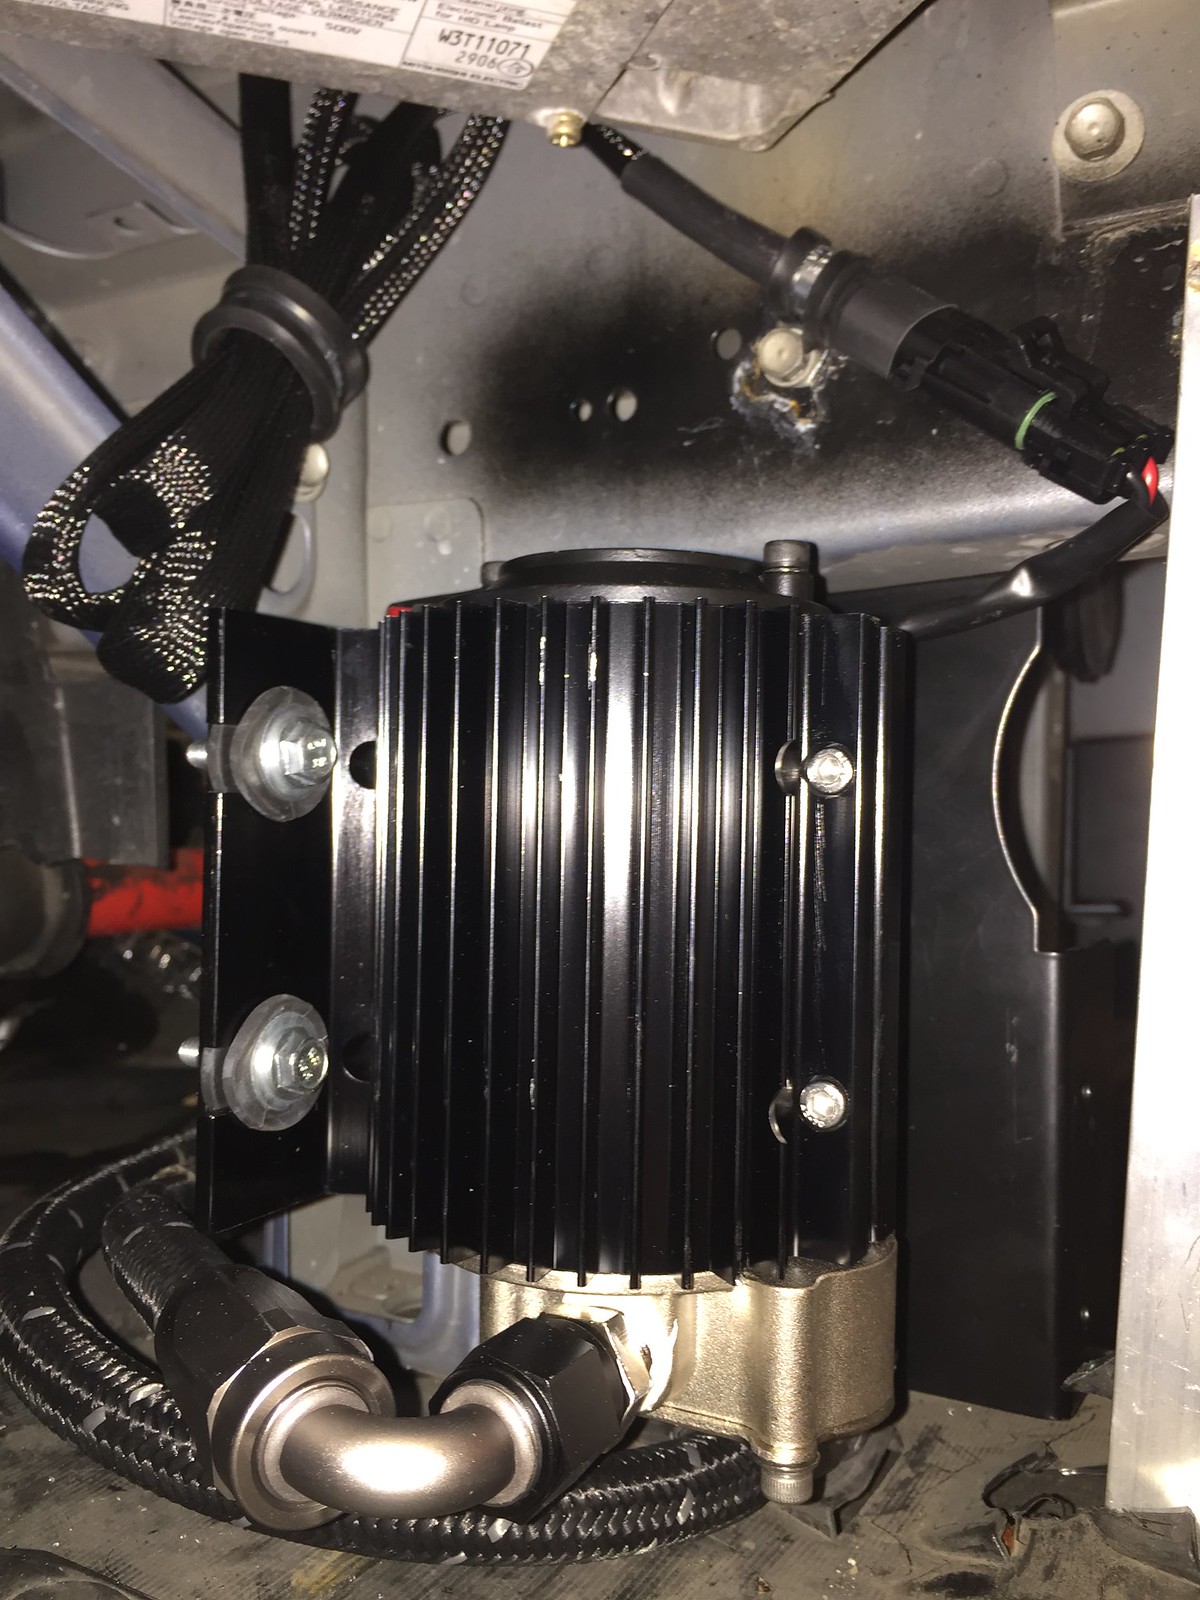
Now for the wiring and surge tank install
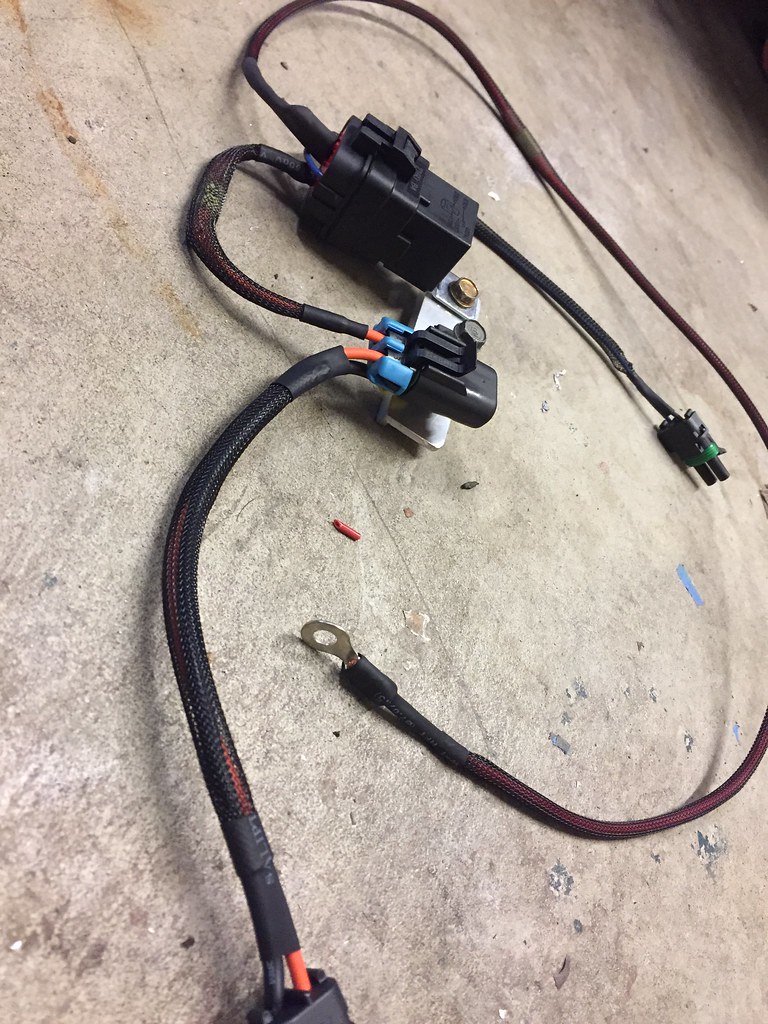
Fan wiring harness
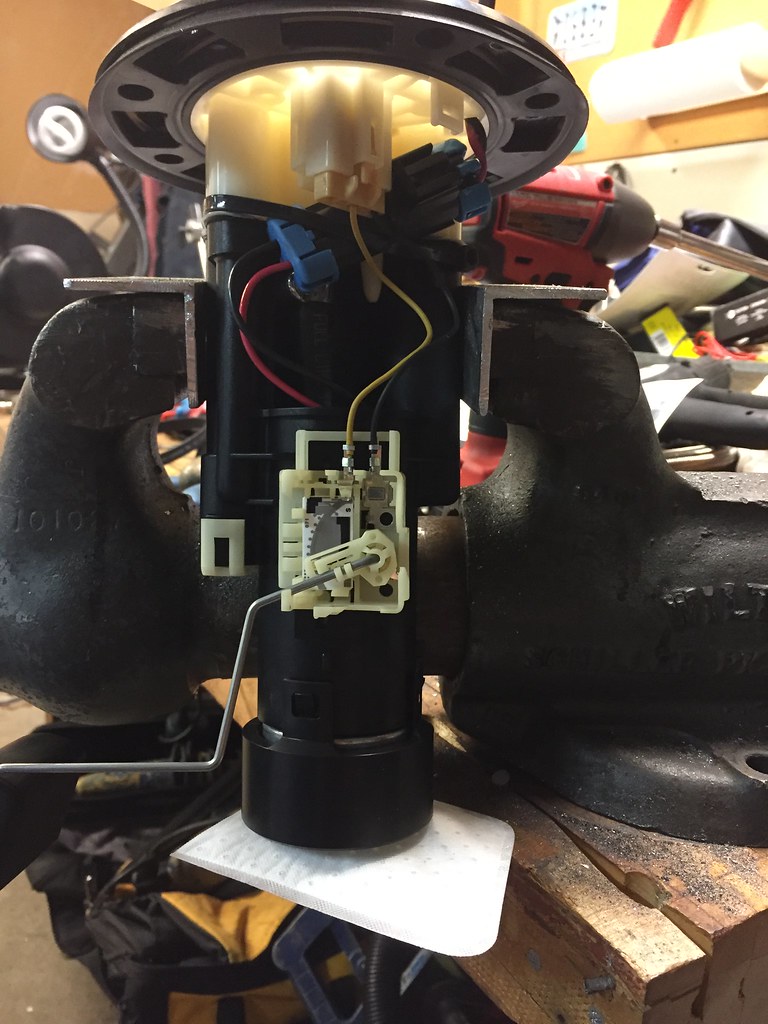
Walbro 450 in tank with SOS mount kit
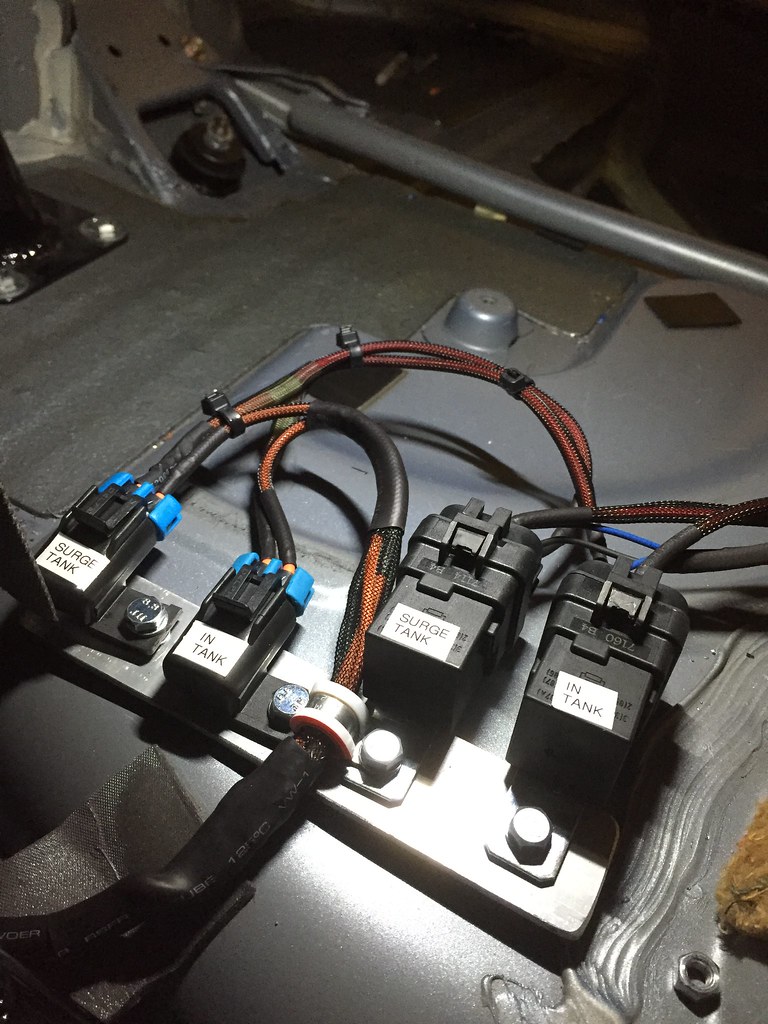
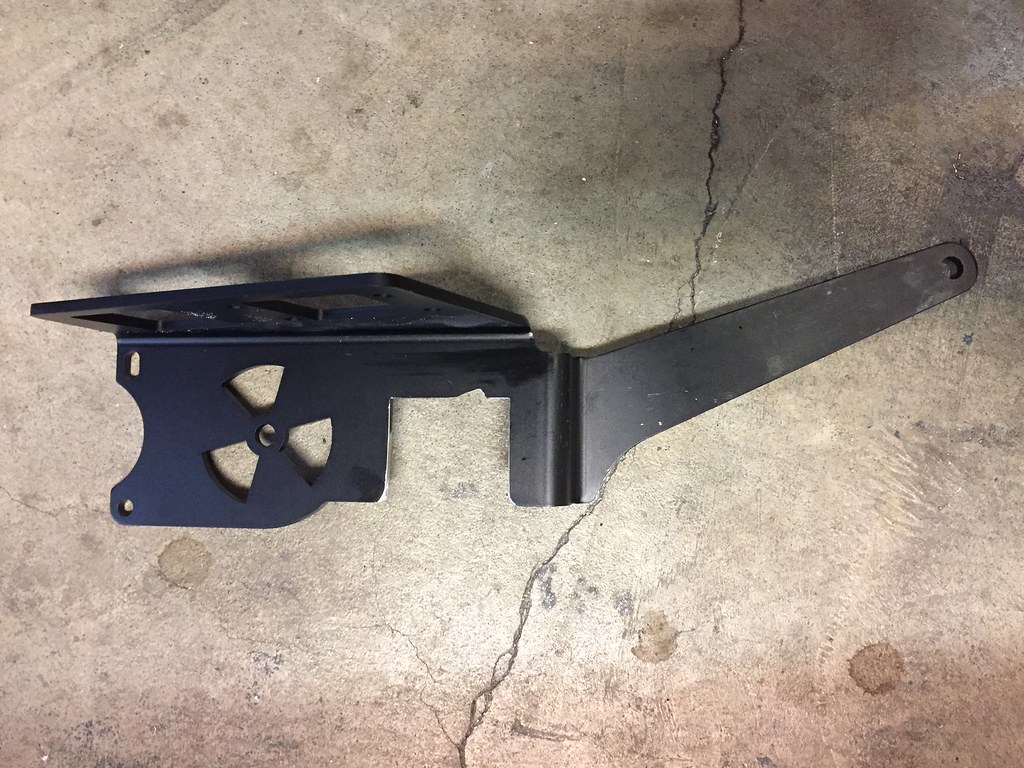
Ran 2 10 gauge supply wires back to this block I made, Hella waterproof fuses and Delphi fuse holders. Everything from the Relays back is 12 gauge
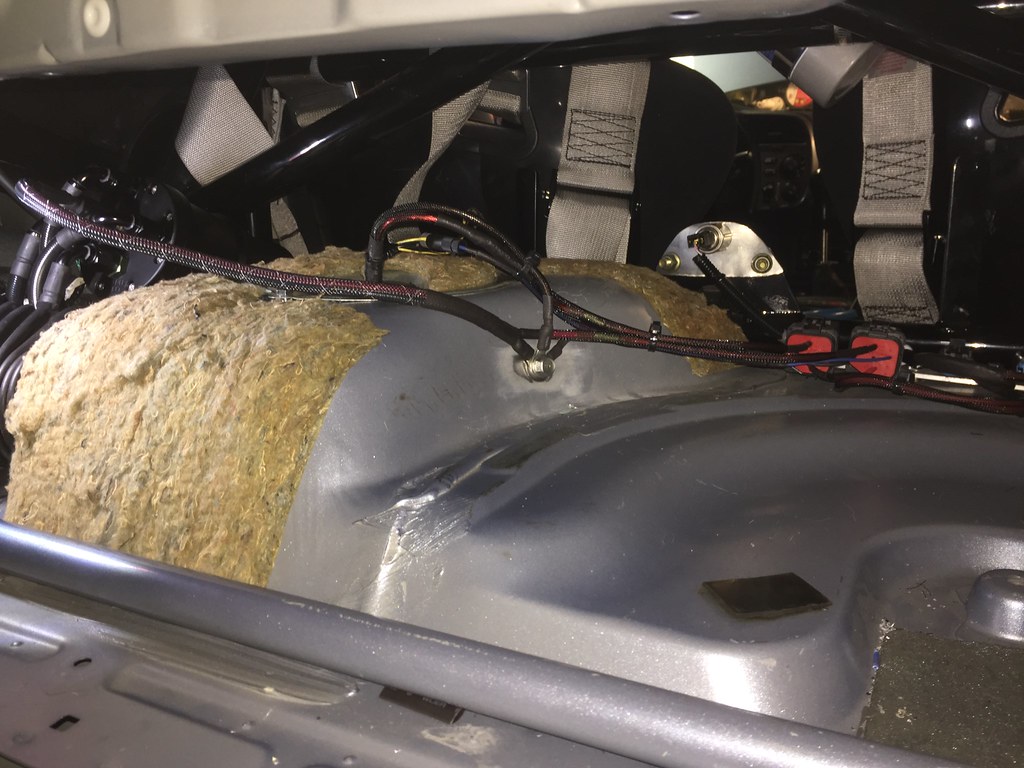
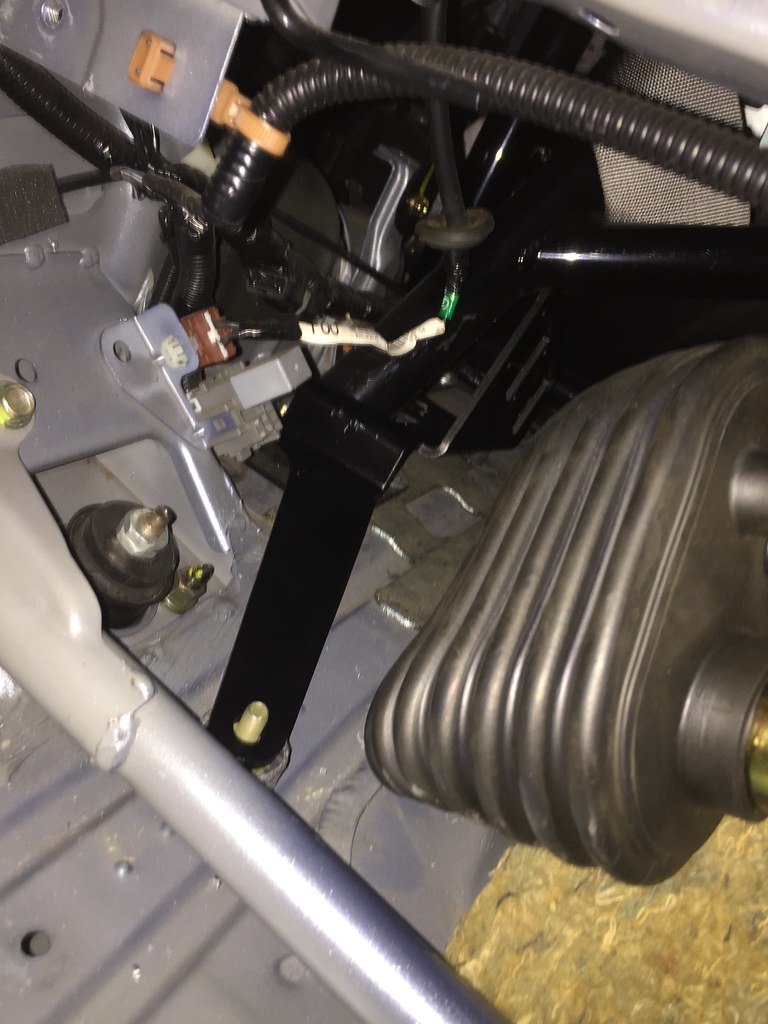
Had to insert a RIVNUT here because the chassis didn't have a pickup point for the Radium kit.
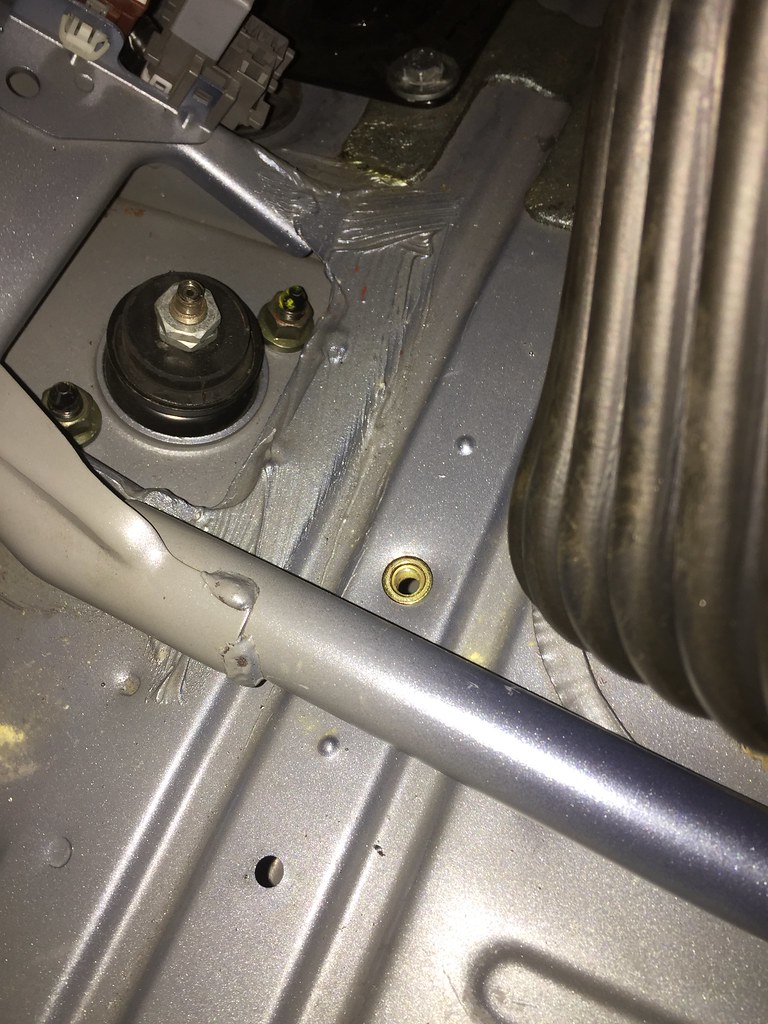
And notched the mount to fit with the rollbar
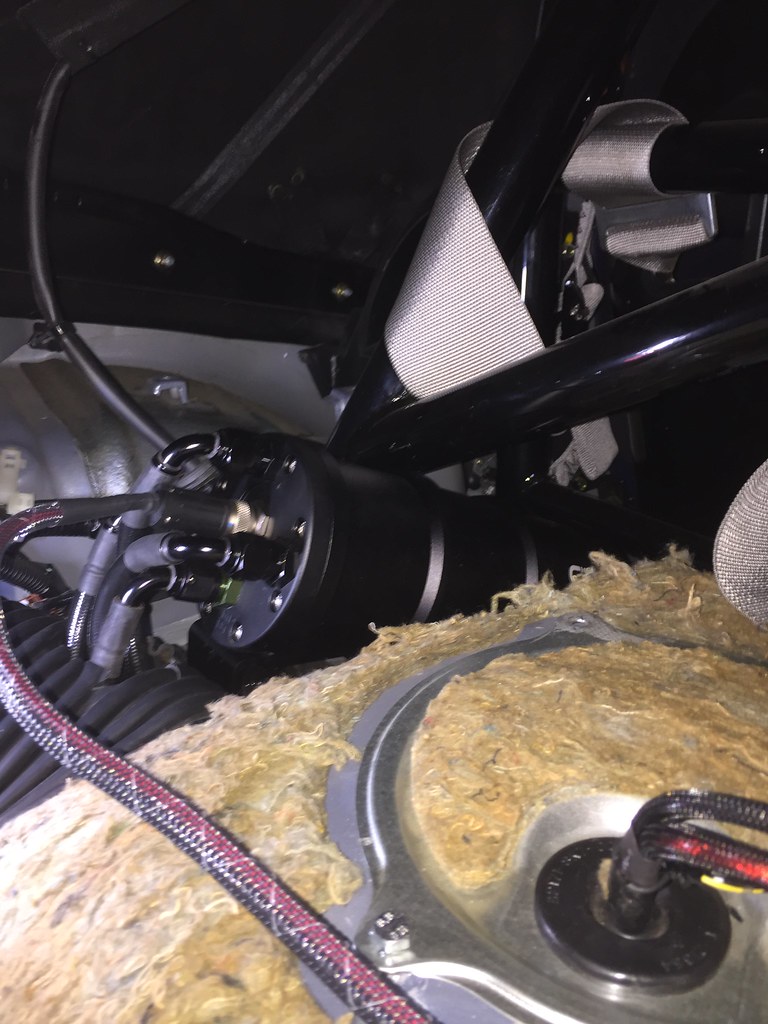
Side note, The Radium kit is great with a few exceptions, mainly the hose configuration is trash, minimum bend radius is not met, and without swivel ends the hoses are a pain to install and risk breaking the OEM plastic hanger. I fought with them via email about changing the hose design to have the proper fittings and they sent me a 2nd set of hoses with 90's instead of 120's like I mentioned was necessary. I told them I'd give them a try and report back, but after letting them know they in fact need to be swivel 120's on the oem tank side they told me no one else complained past "a challenge to install" and that I can make new hoses myself if I want to. For a $1300 part I expect it to be correct. They completely lost a customer and I'll be making a separate review post shortly.
Fan wiring harness
Walbro 450 in tank with SOS mount kit
Ran 2 10 gauge supply wires back to this block I made, Hella waterproof fuses and Delphi fuse holders. Everything from the Relays back is 12 gauge
Had to insert a RIVNUT here because the chassis didn't have a pickup point for the Radium kit.
And notched the mount to fit with the rollbar
Side note, The Radium kit is great with a few exceptions, mainly the hose configuration is trash, minimum bend radius is not met, and without swivel ends the hoses are a pain to install and risk breaking the OEM plastic hanger. I fought with them via email about changing the hose design to have the proper fittings and they sent me a 2nd set of hoses with 90's instead of 120's like I mentioned was necessary. I told them I'd give them a try and report back, but after letting them know they in fact need to be swivel 120's on the oem tank side they told me no one else complained past "a challenge to install" and that I can make new hoses myself if I want to. For a $1300 part I expect it to be correct. They completely lost a customer and I'll be making a separate review post shortly.
01-20-2018, 08:37 AM
#65
Thread Starter
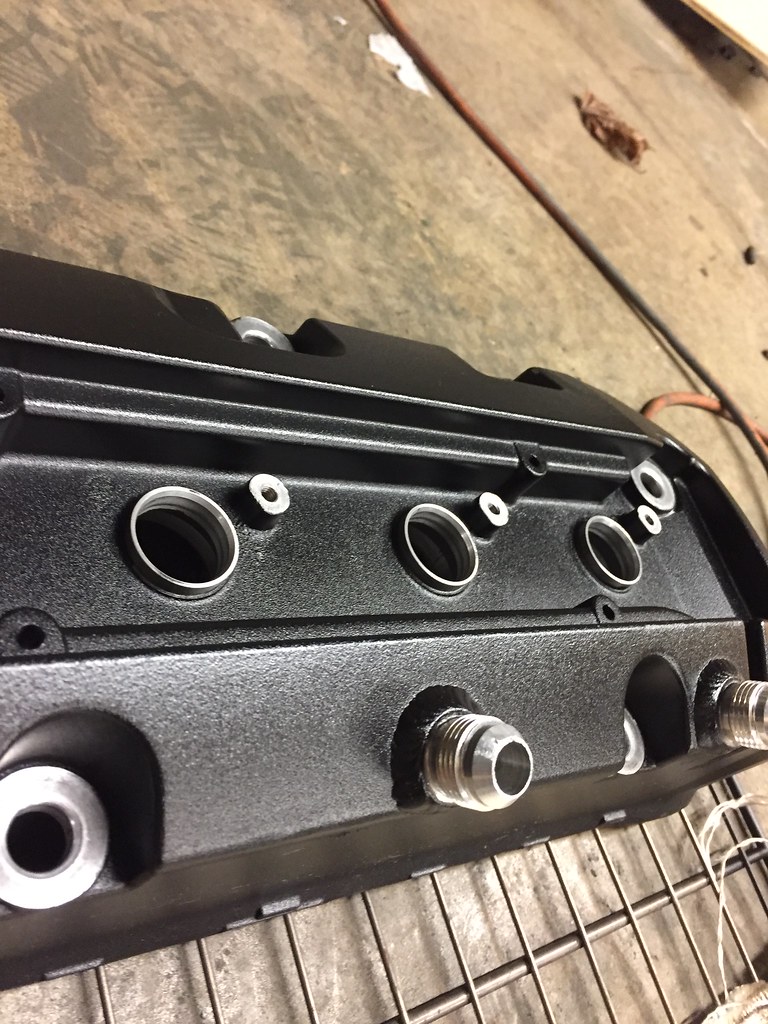
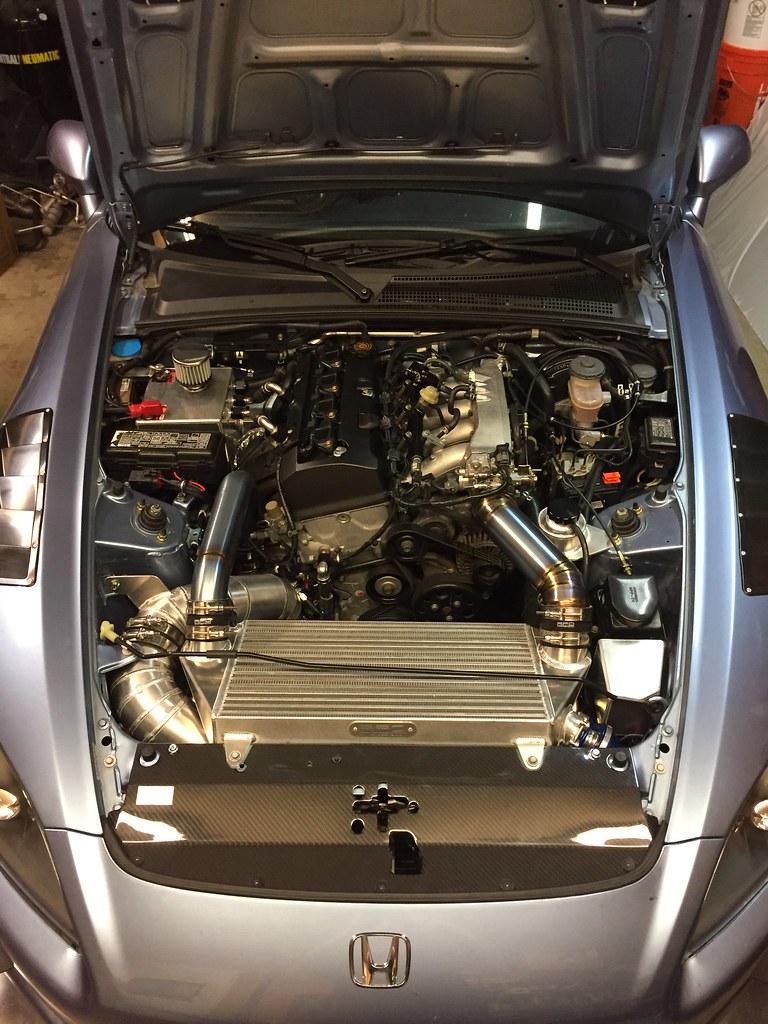
Finally powdercoated the valve cover. I've got a little DIY setup at home with a spare kitchen oven in my basement.

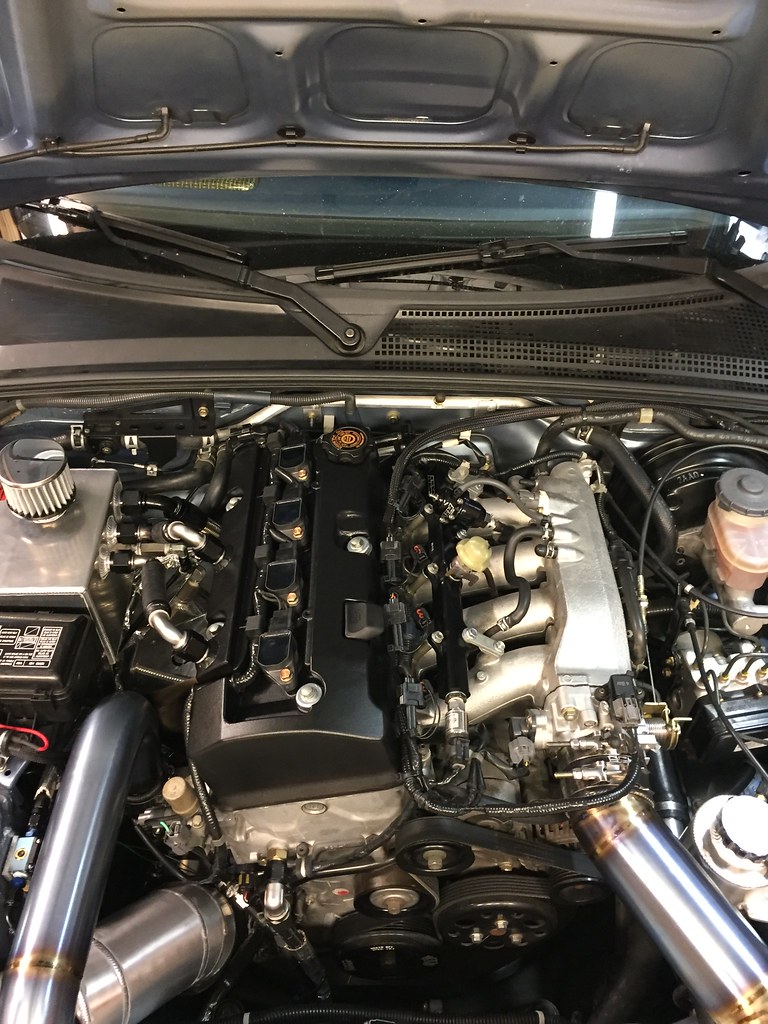
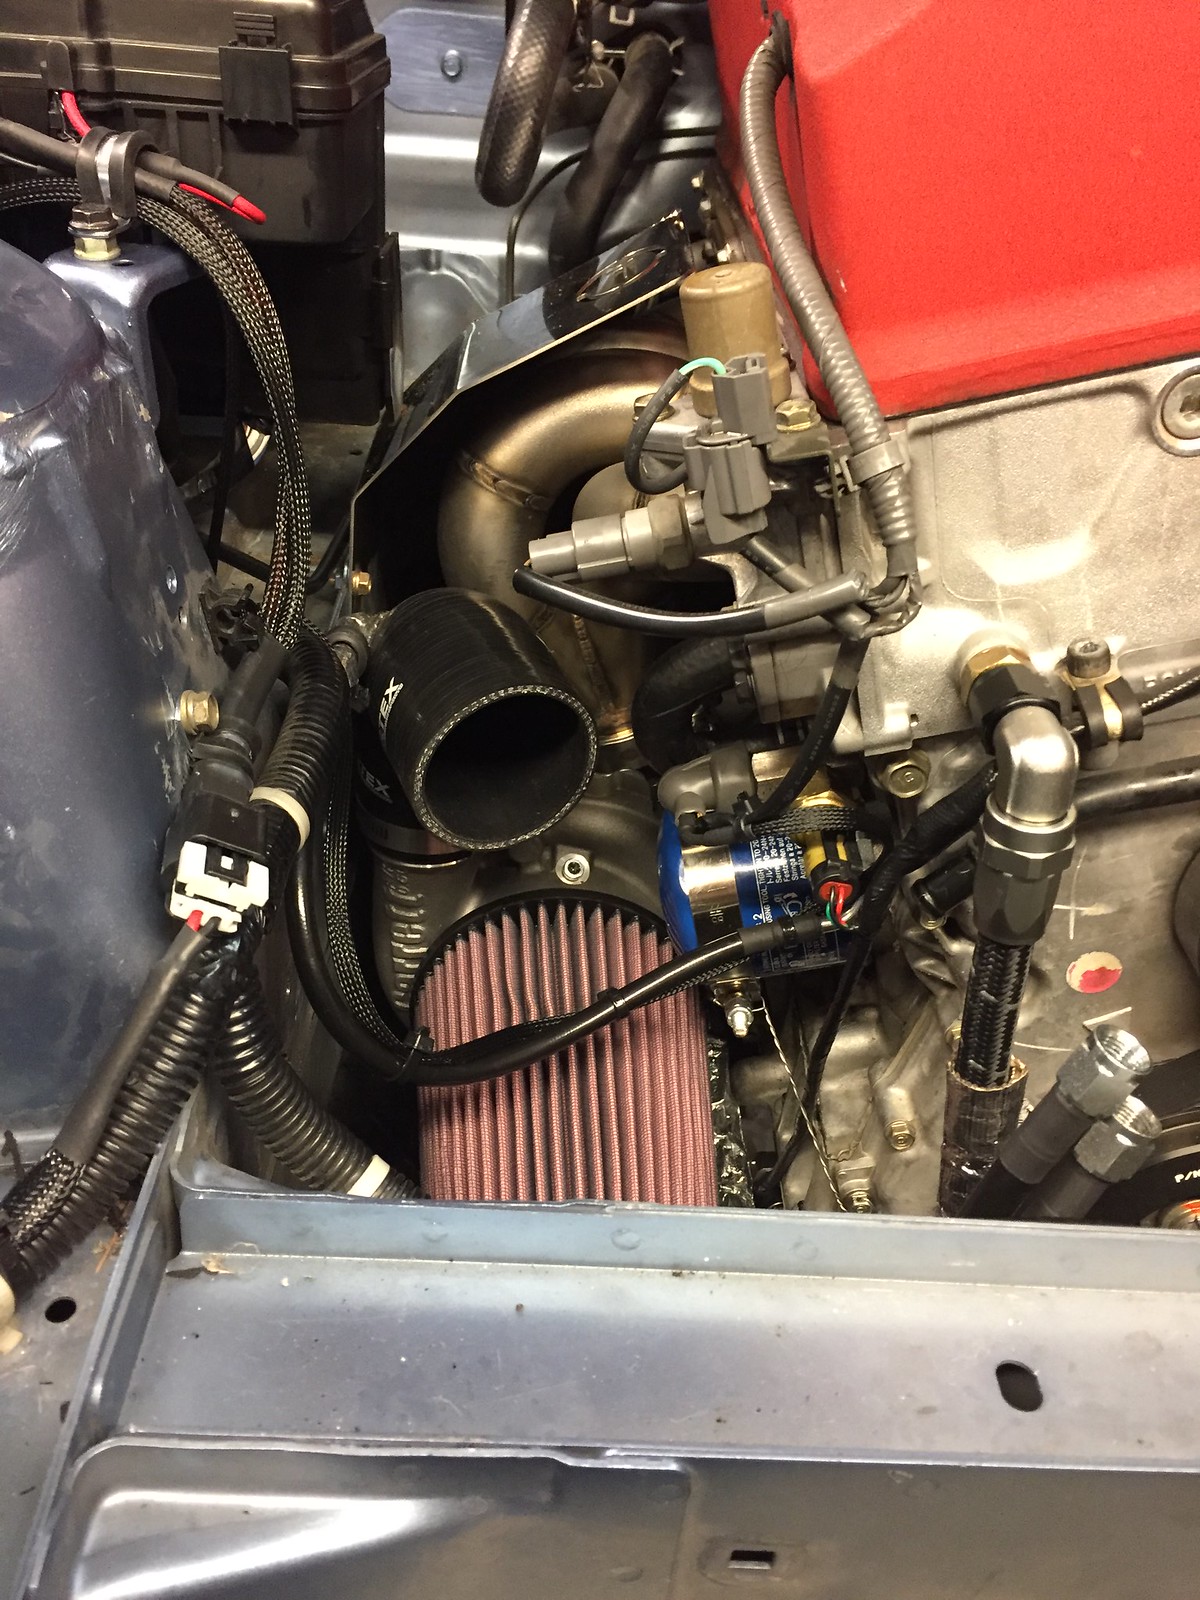
Here is a bay shot with the cooling plate off
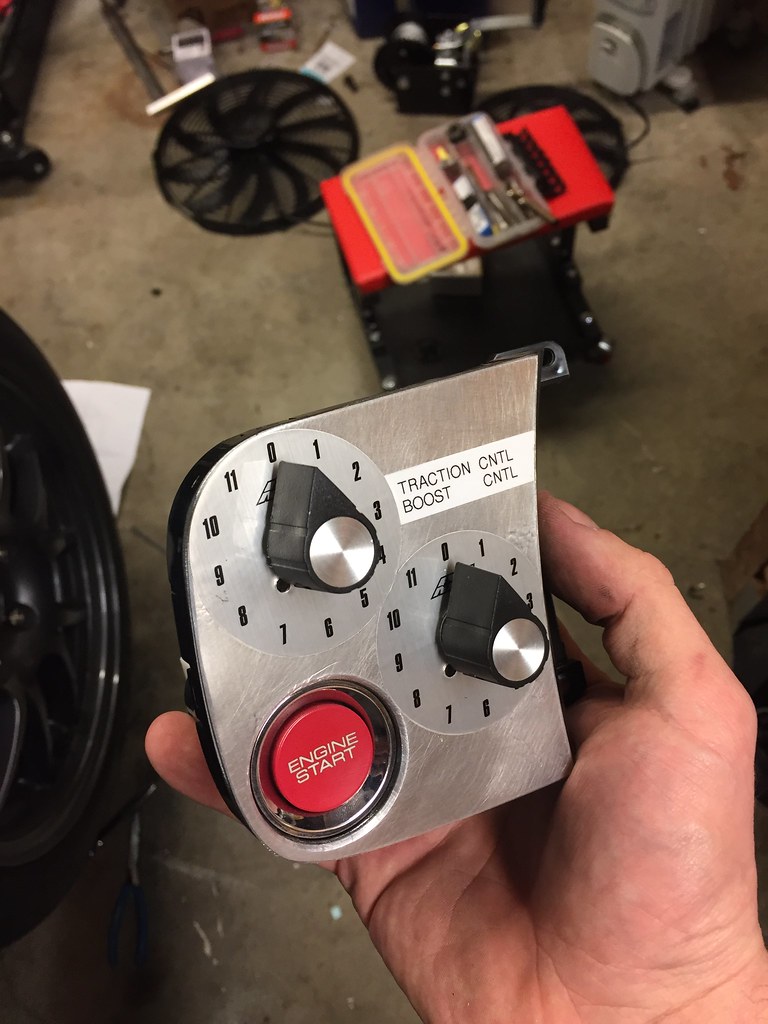
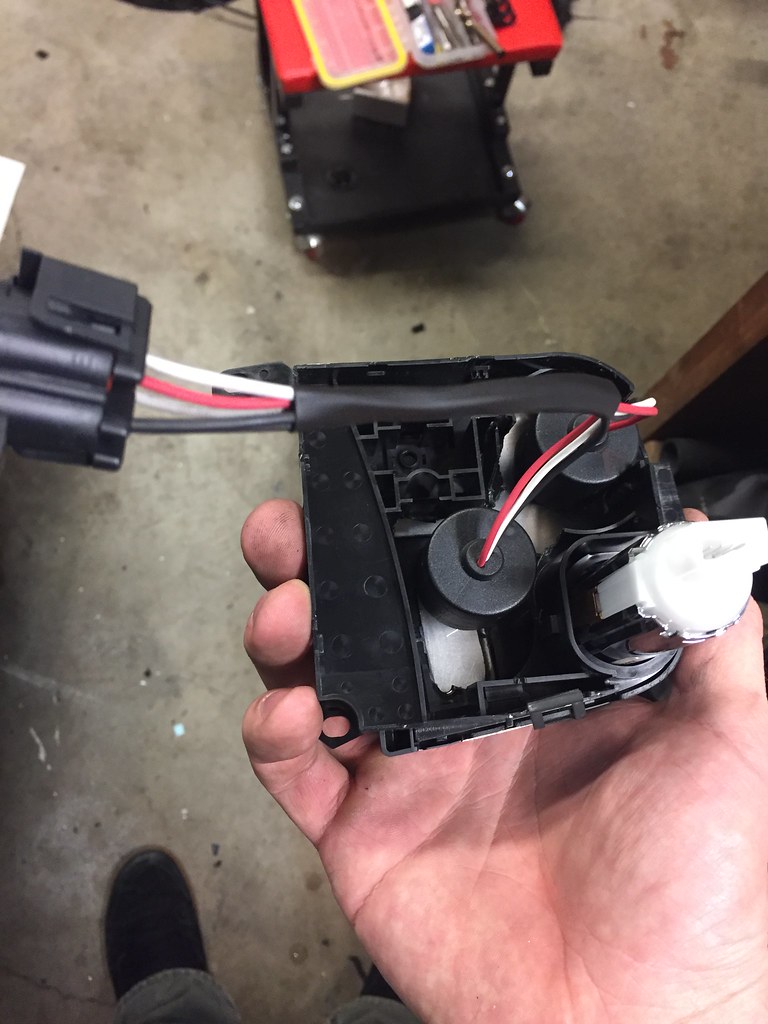
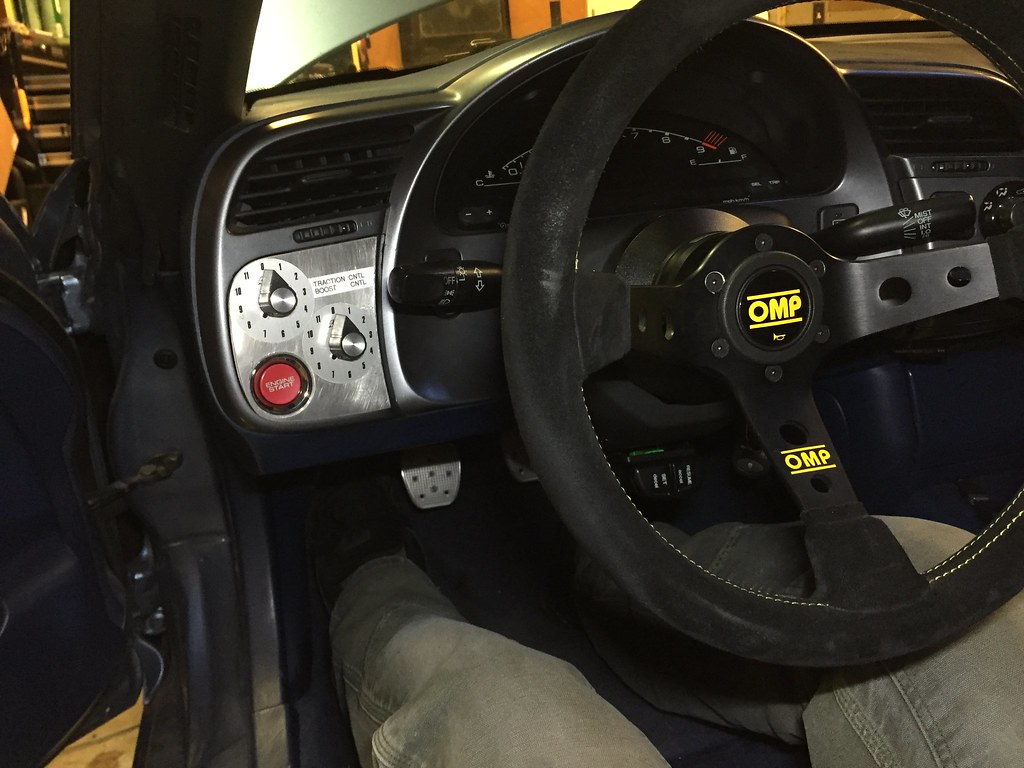
Also made a switch plate for the audio control panel
Here is a bay shot with the cooling plate off
Also made a switch plate for the audio control panel
01-20-2018, 08:44 AM
#66
Thread Starter
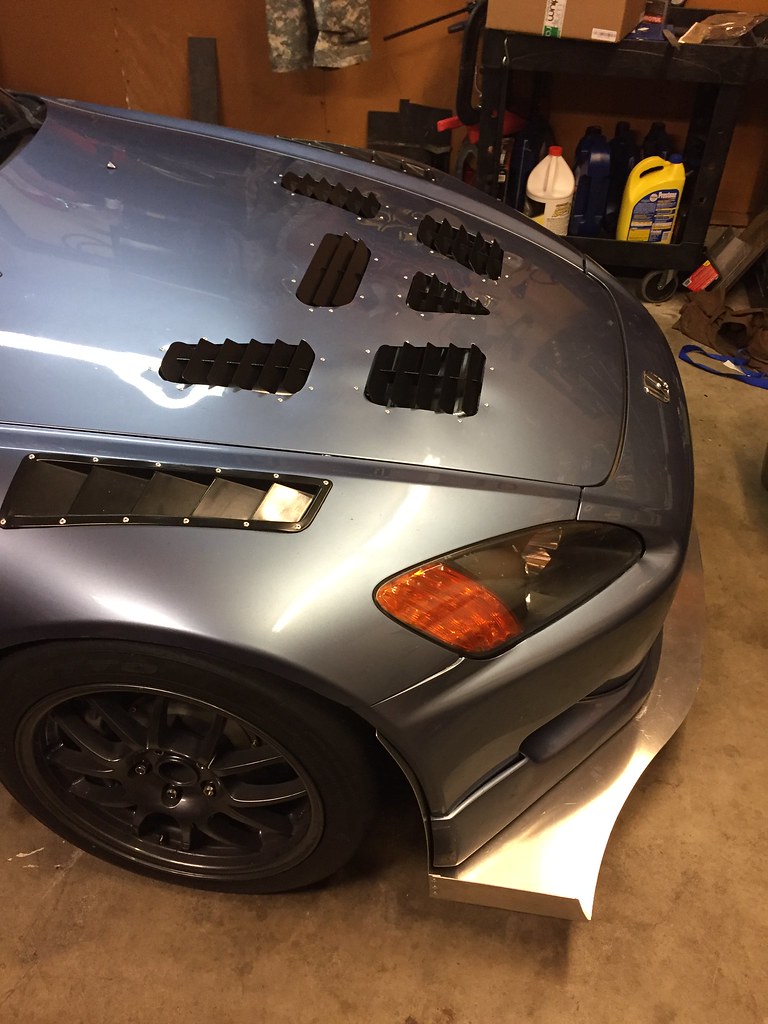
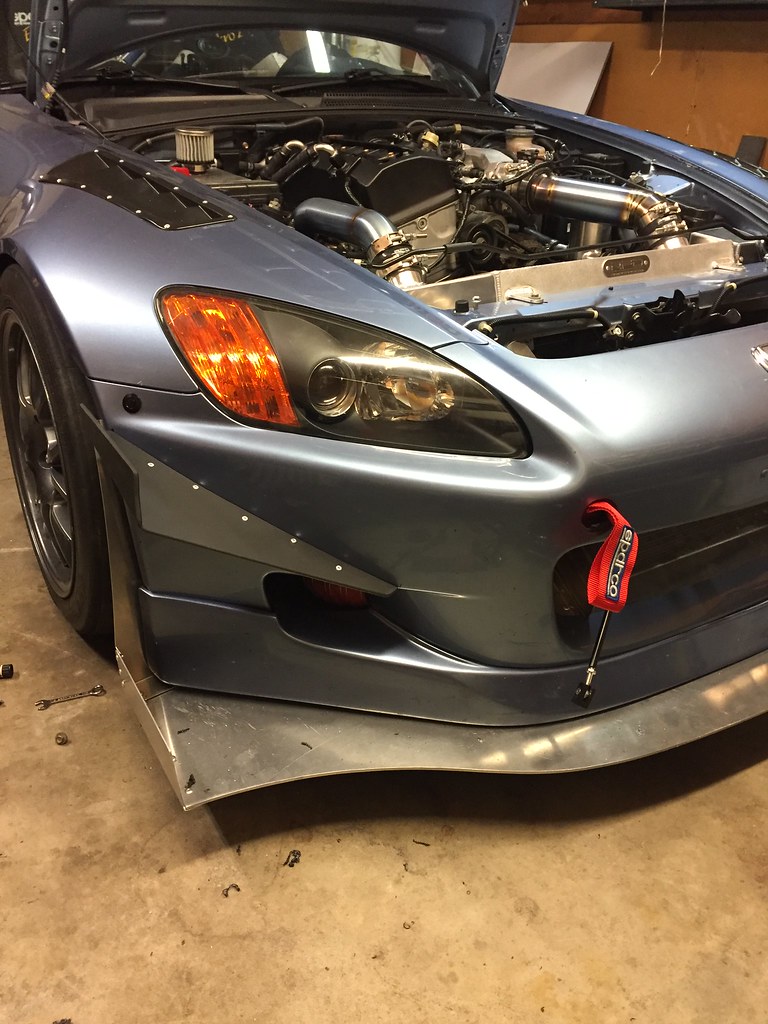
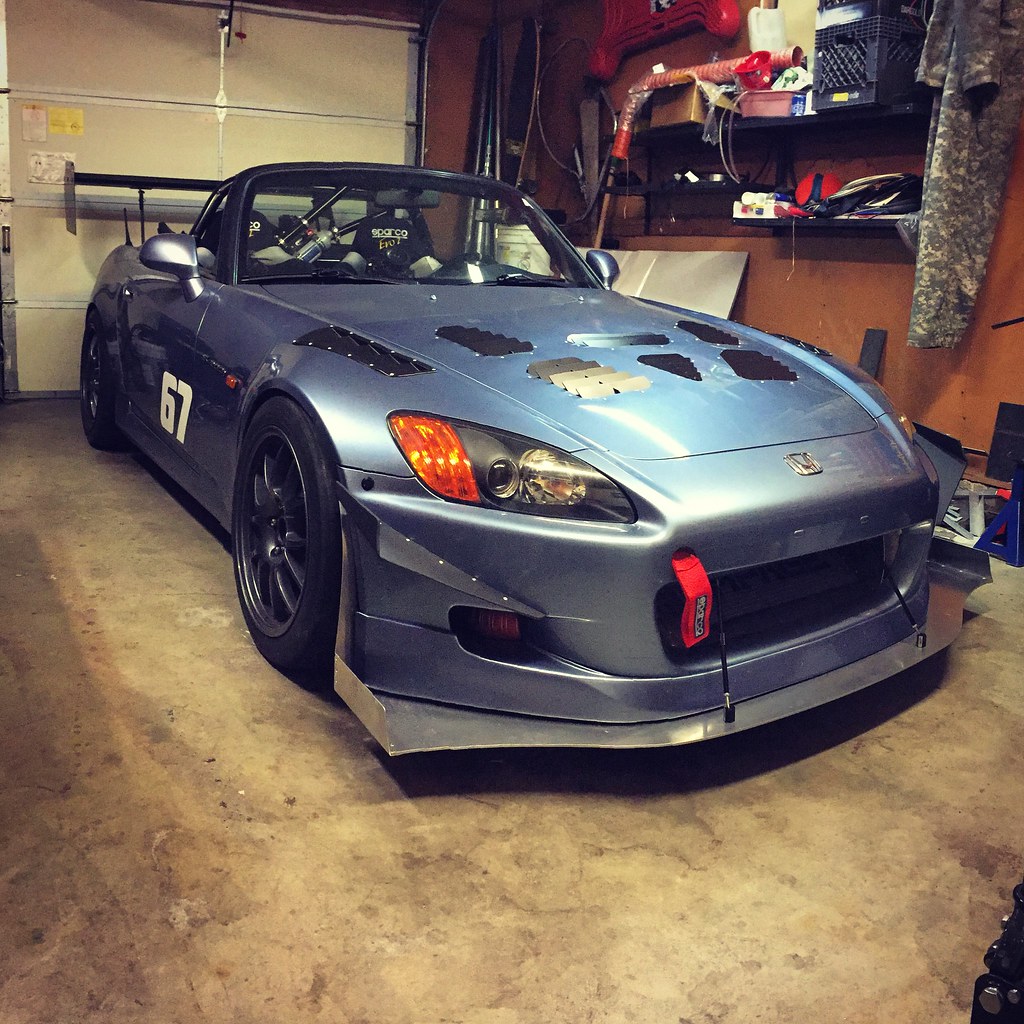
Installed some quicklatch minis for easy bumper retention and removal, as well as some canards from top 1, will be installing some additional turnbuckles to brace the canards, and also the out edges of the splitter.
They fit really will in the rear most headlight mount hole, just remove the little metal clip first

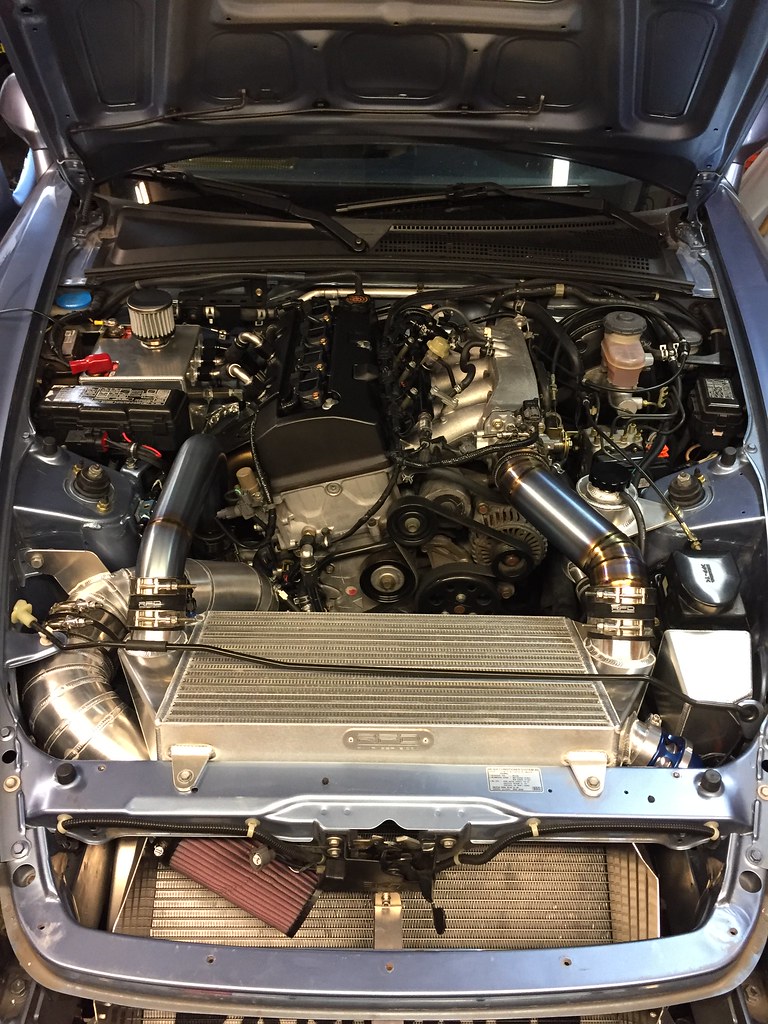
Final bay shot
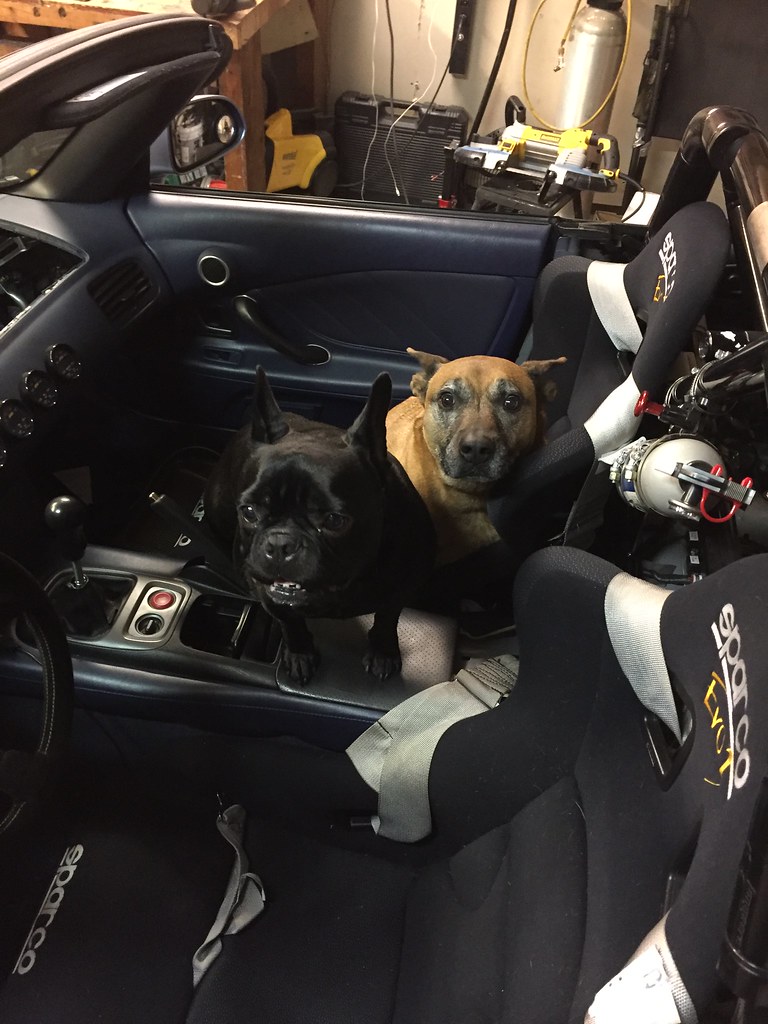
The GF wanted to take a picture of the puppies in the car lol
And as she sits now
They fit really will in the rear most headlight mount hole, just remove the little metal clip first
Final bay shot
The GF wanted to take a picture of the puppies in the car lol
And as she sits now
01-20-2018, 01:13 PM
#67
Wow amazing work and great pictures, is that catch can filter really not hitting the hood sitting that high?
Do you got a picture of the brake cooling from the inlet side as well? Looks very nice.
Do you got a picture of the brake cooling from the inlet side as well? Looks very nice.
 01-20-2018, 03:10 PM
#68
Thread Starter
If you scroll up to up to the photos of the oil cooler you can see the brake duct inlets but I’ll snap a couple photos and post them up!


The following users liked this post:
flanders (01-21-2018)

