SoHonda Garage. S2000 Build
 11-10-2013, 08:11 AM
#21

The build will start to pick up over the next few weeks as parts start coming in and the car is put away for the winter.
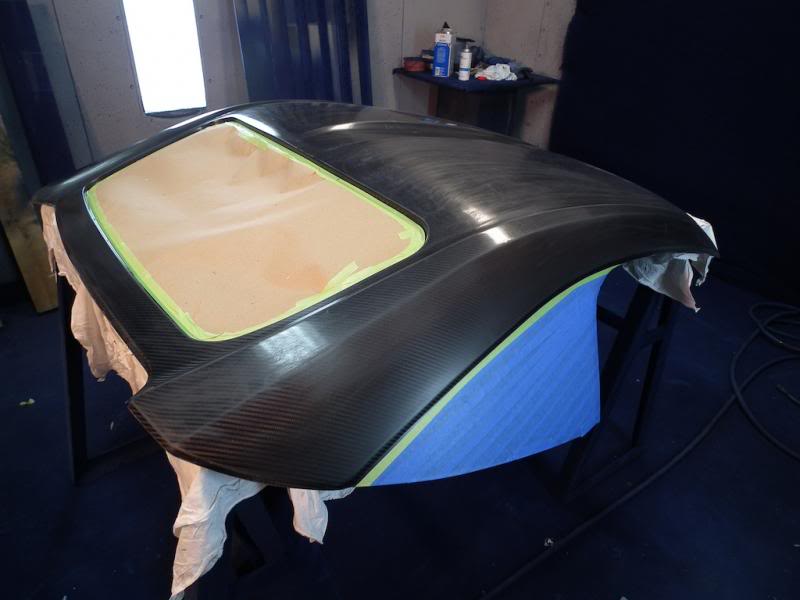
I got my 'scratch and dent' carbon RSG This week and yesterday I went through the process of laying down some paint on it.
I say 'scratch and dent' because there were a few flaws in the clear coat that Justin from RSG had informed me off and gave me a price that made it worth it. I was going to sand and paint the top anyway, so it wasn't much more work/prep than just a regular FPR top.
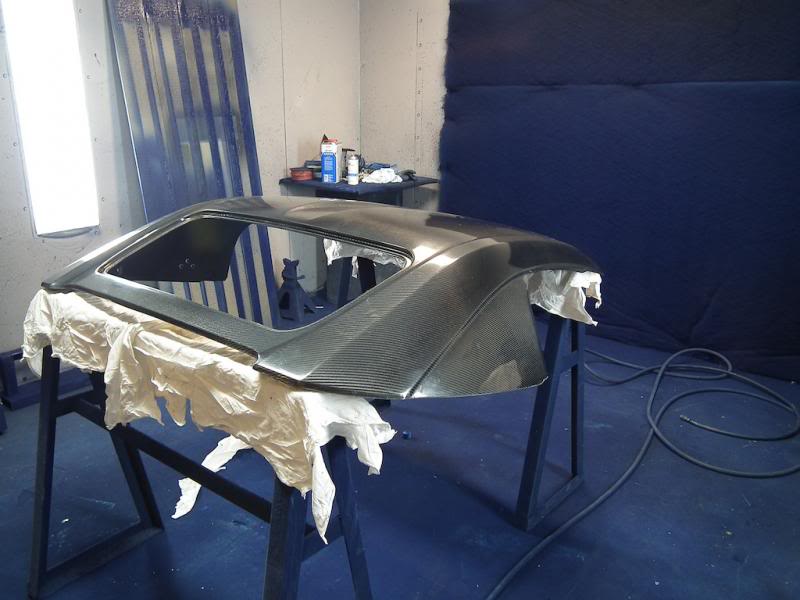
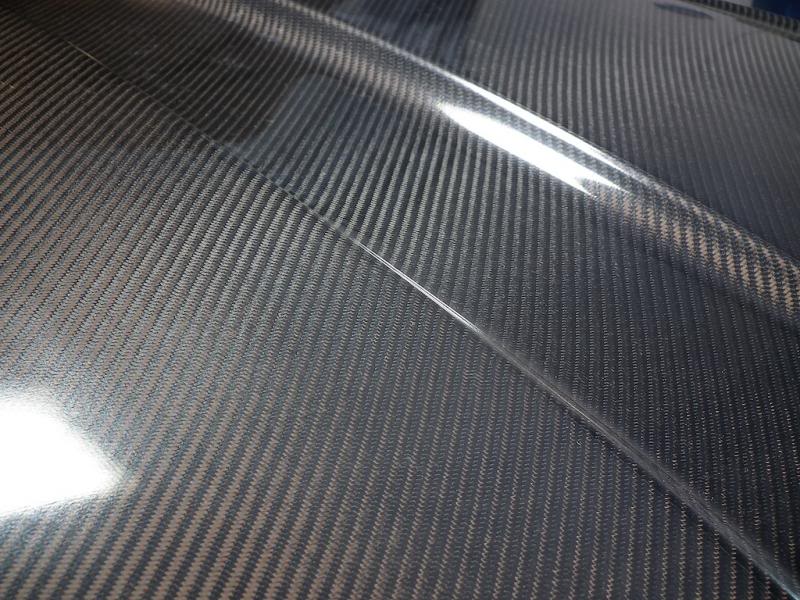
The weave was nice, tight and uniform. Vacuum infusion is the only way to make quality carbon pieces.

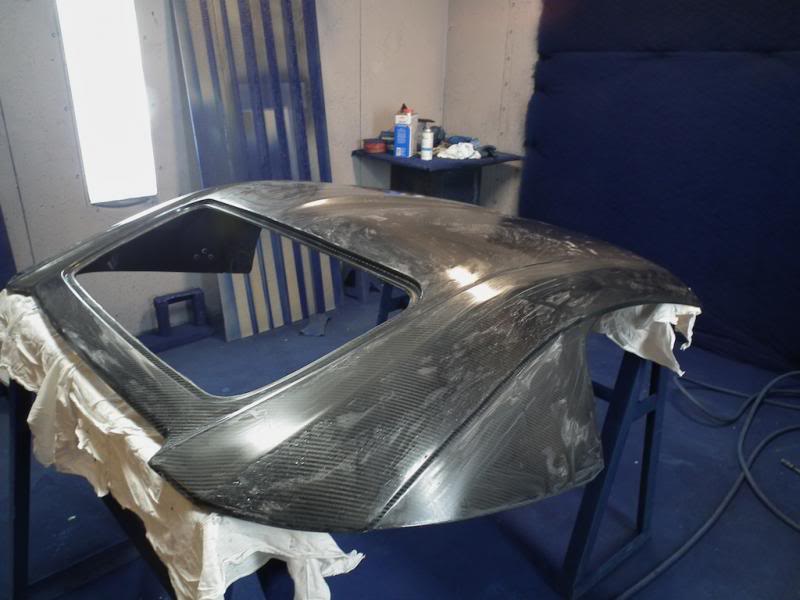
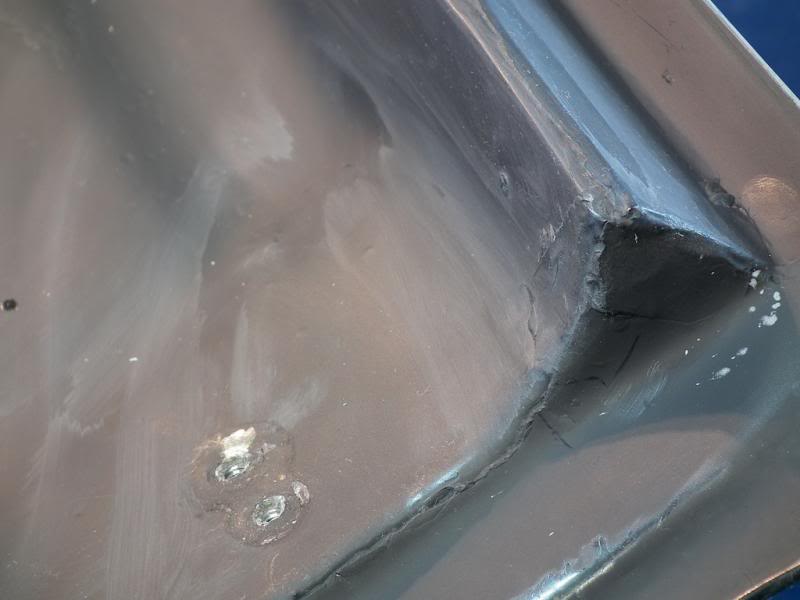
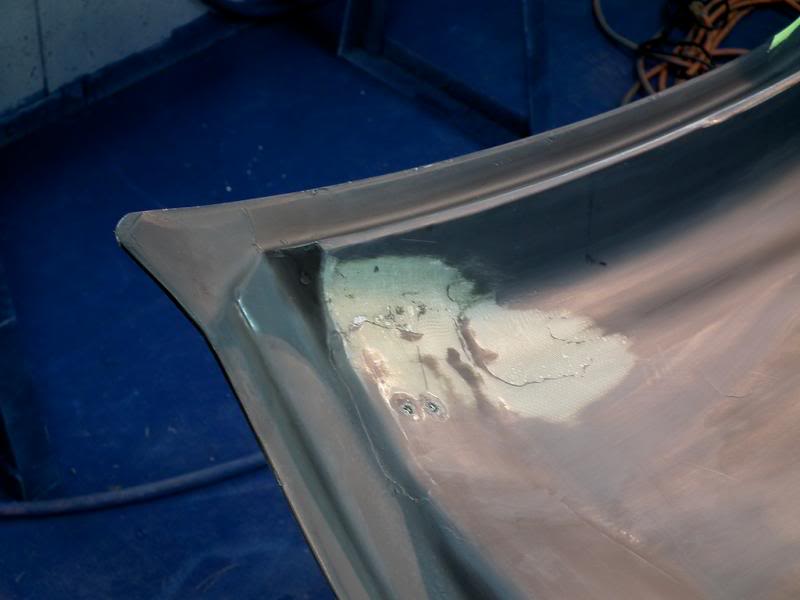
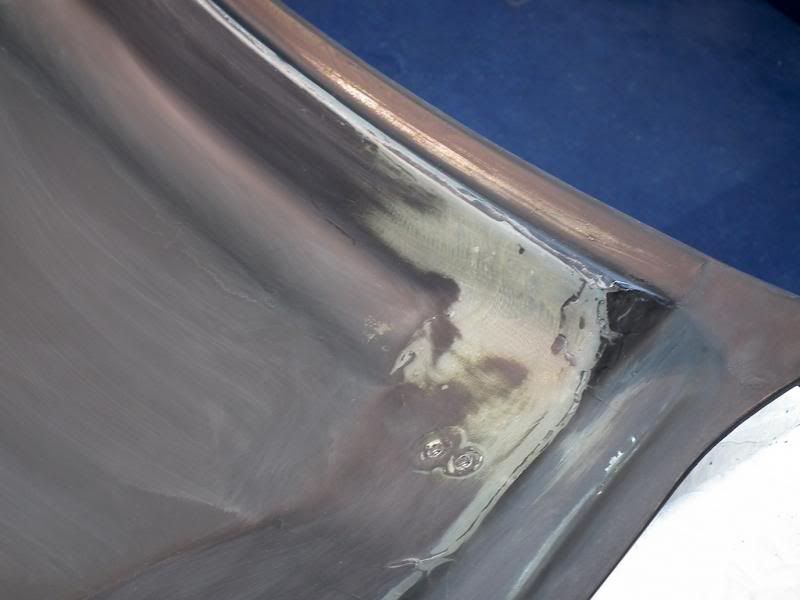
The first step in the process was to fix the resin flaws that were in the corners of the top and then wet send the whole top. This would give a new raw surface for the primer to adhere to.
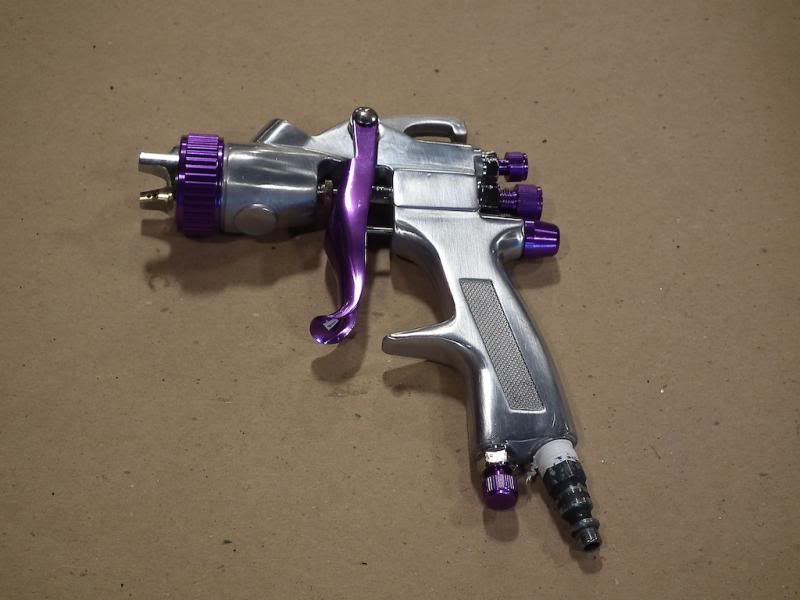
The gun I used was the Harbor Freight Pro special. Before anyone cries foul, I am not a pro painter, nor do I ever intend to be. This will be the largest piece I will have painted to date. I needed something to spray a few items and after that will probably stay dusty in the tool box. I had great results with a $15.00 gun a when I painted a fender for a co-worker recently, so I figured why not. After much research there are almost all positive reviews on the gun and there is even a rumor that they may come from the same factory as the famed Devilbiss HVLP economy kit.
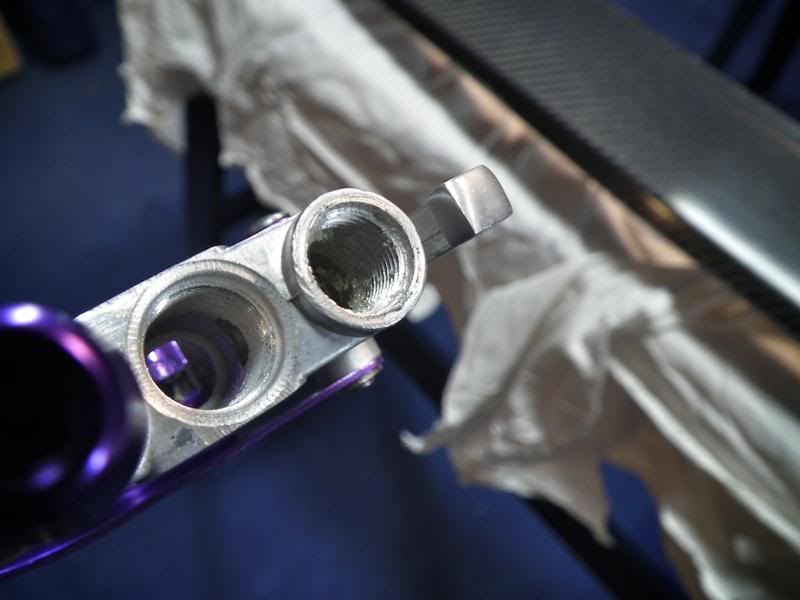
The only negative comment that I read about these they they are poorly assembled and have a lot of silicone debris inside. First thing I did was take everything apart to have a look for myself...

The reviews are correct. Whole bunch of junk that could contaminate your feed and clog the gun.
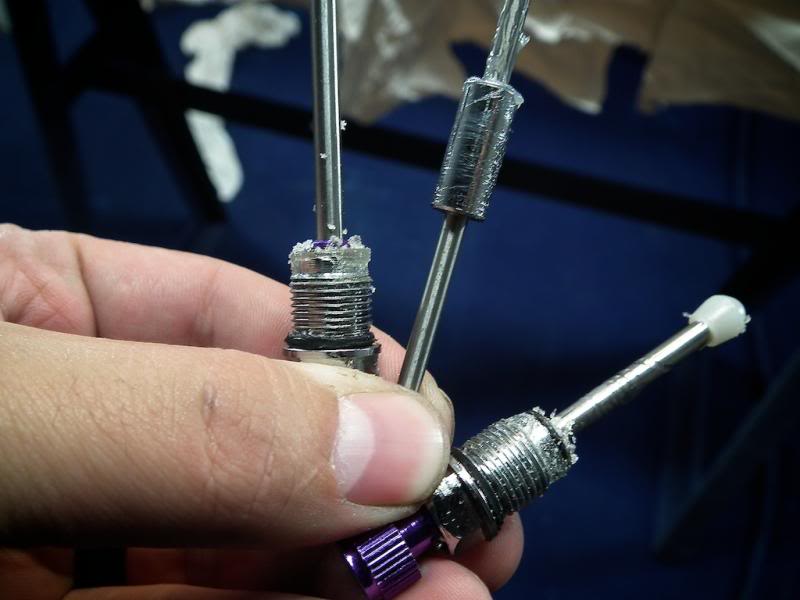
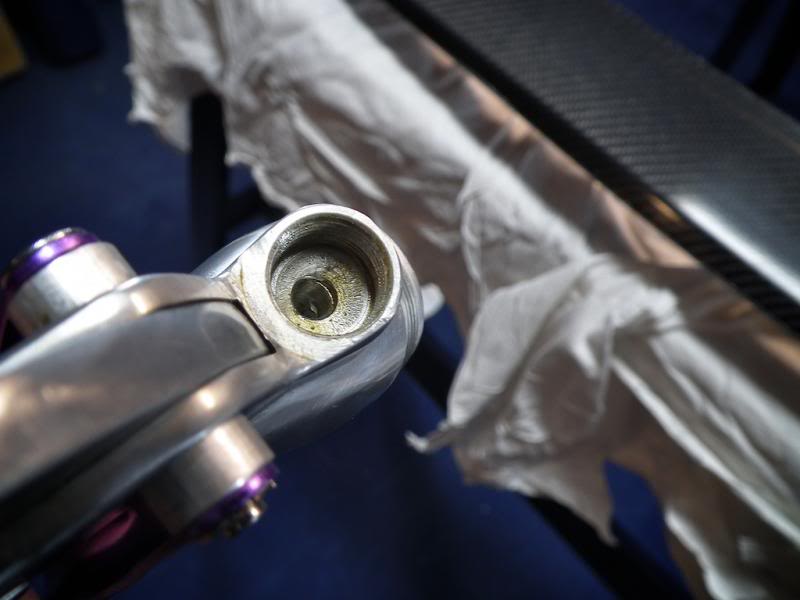
Cleaned and all back together.
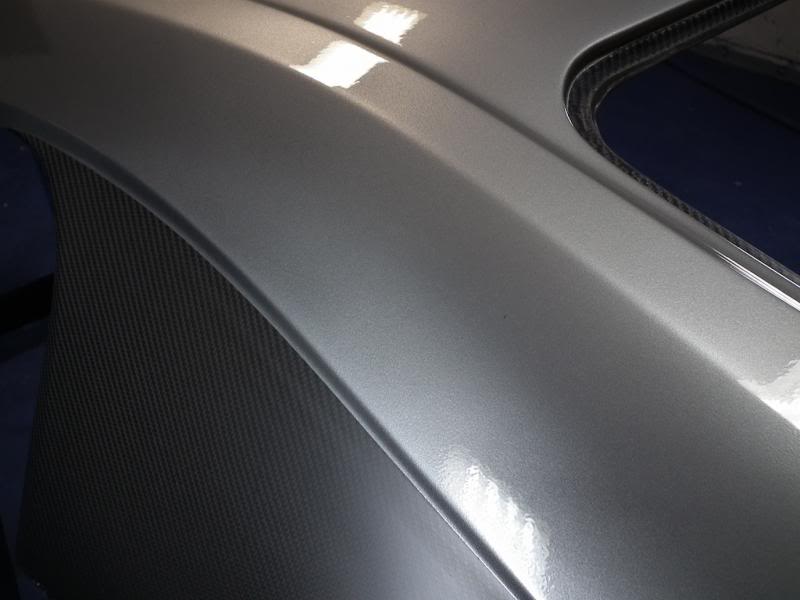
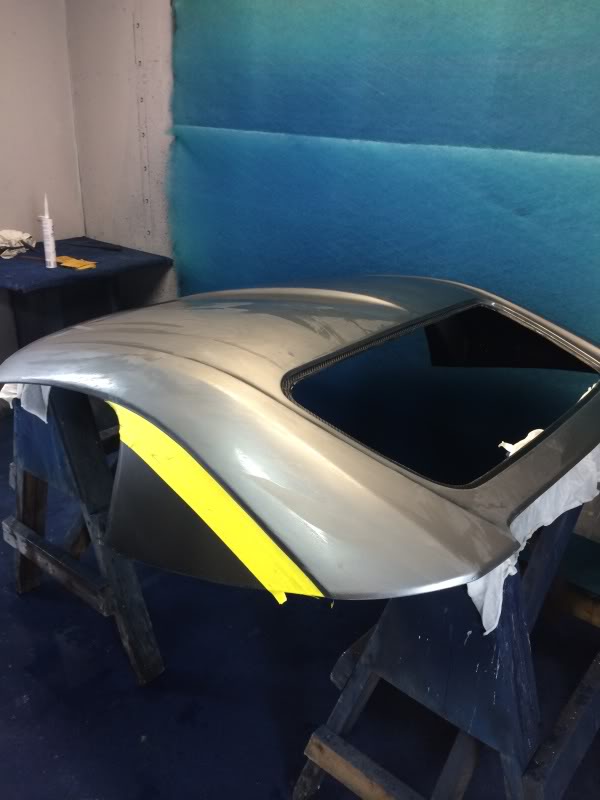
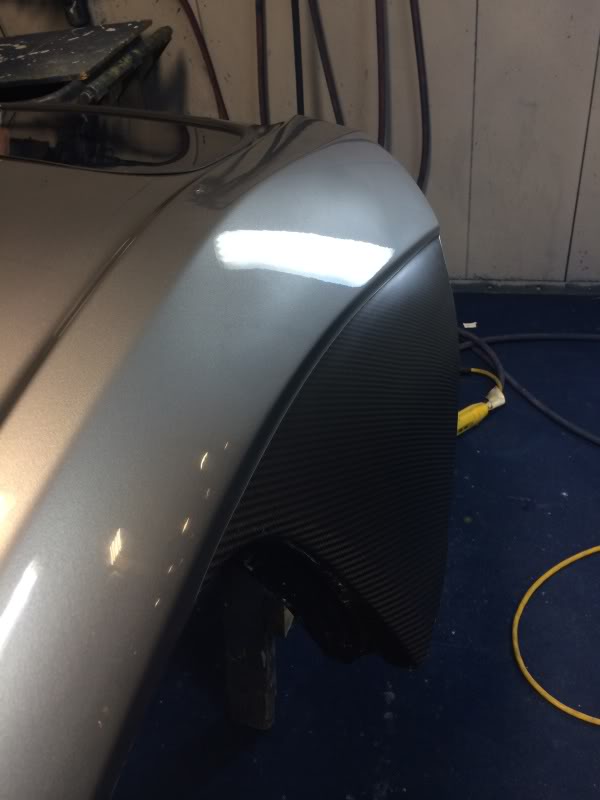
Most people who have the Mugen or replica top leave the 'faux window' raw carbon or painted black. Because I love the look of dry or matte carbon I decided to put my own SHG twist on the style with matte carbon sides.
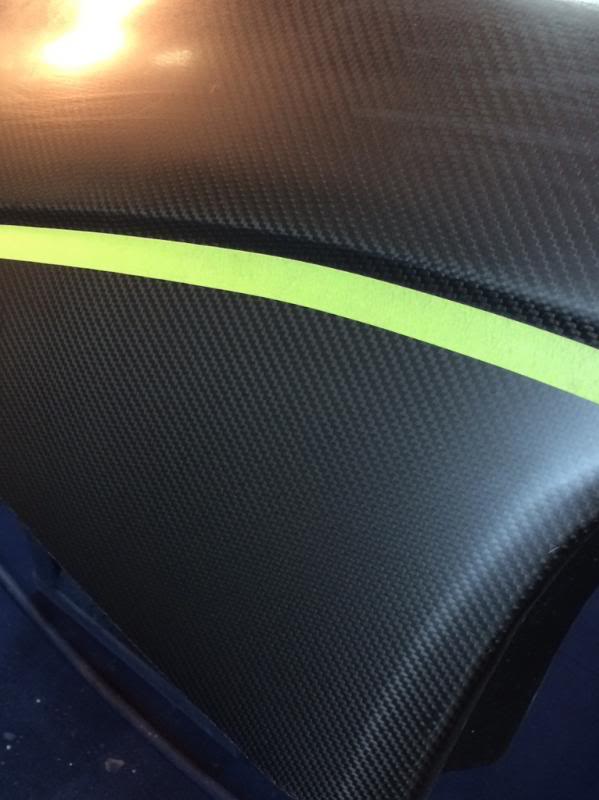
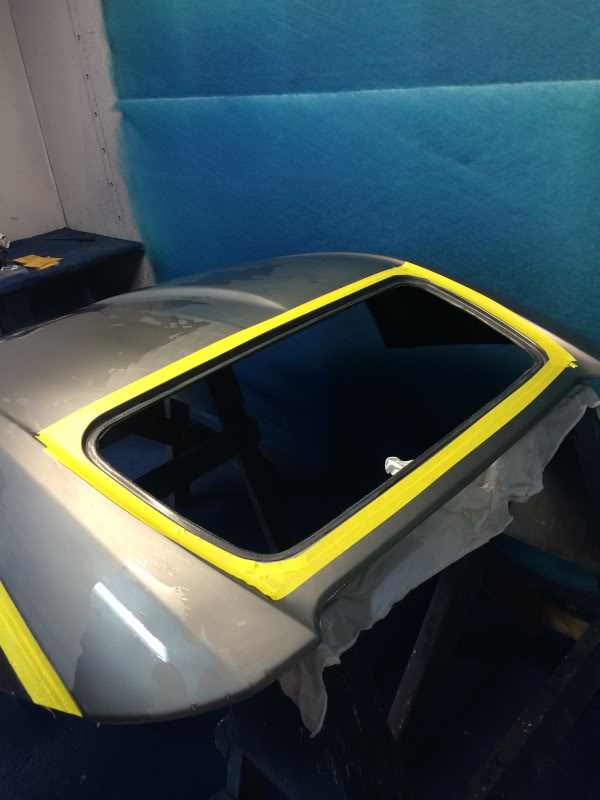
Next the sides got masked off.
I flipped over the top and smoothed out some rough edges I wasn't fond of. After I laid down a fresh coat of matte black.
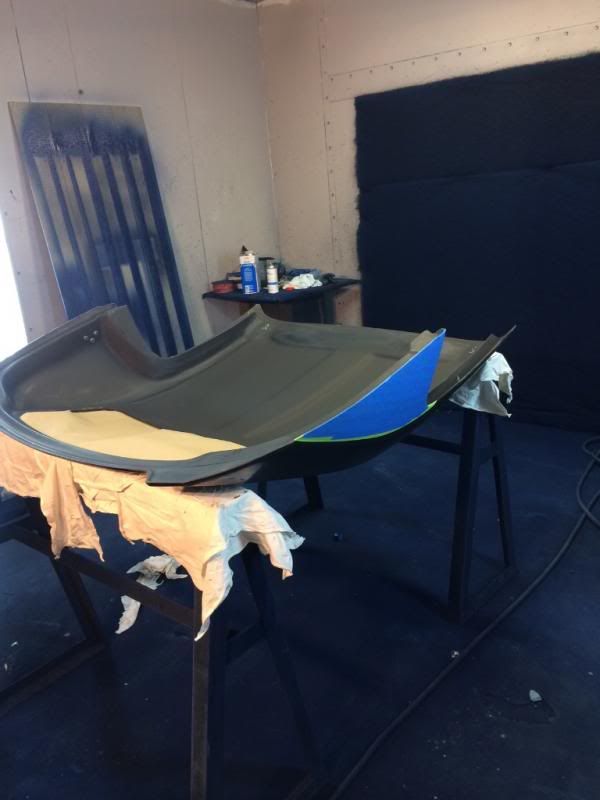
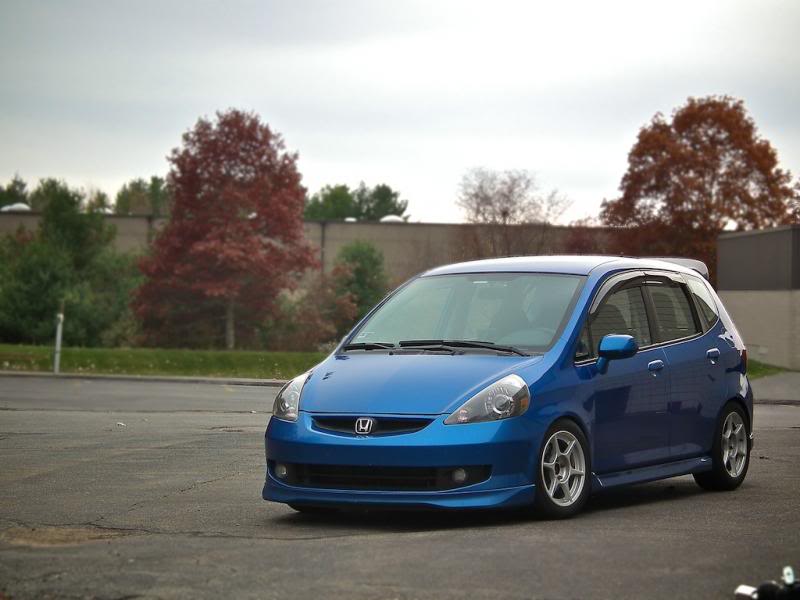
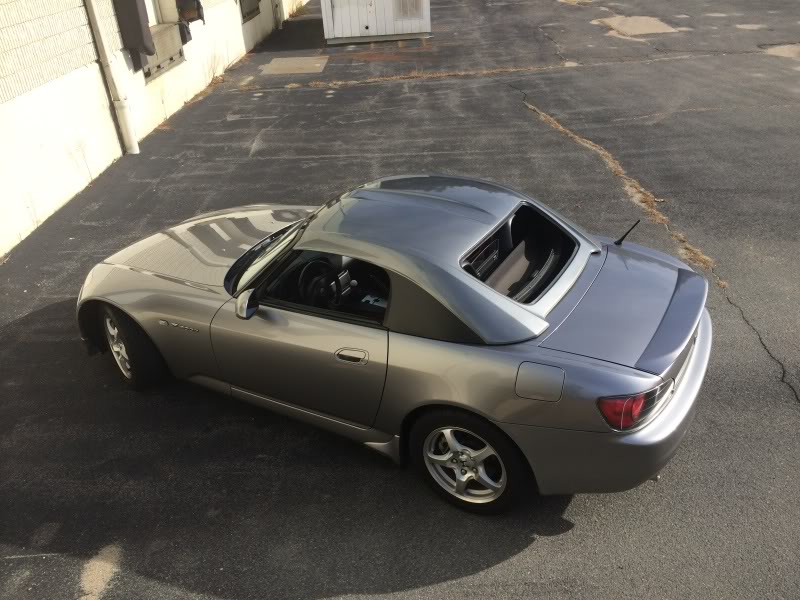
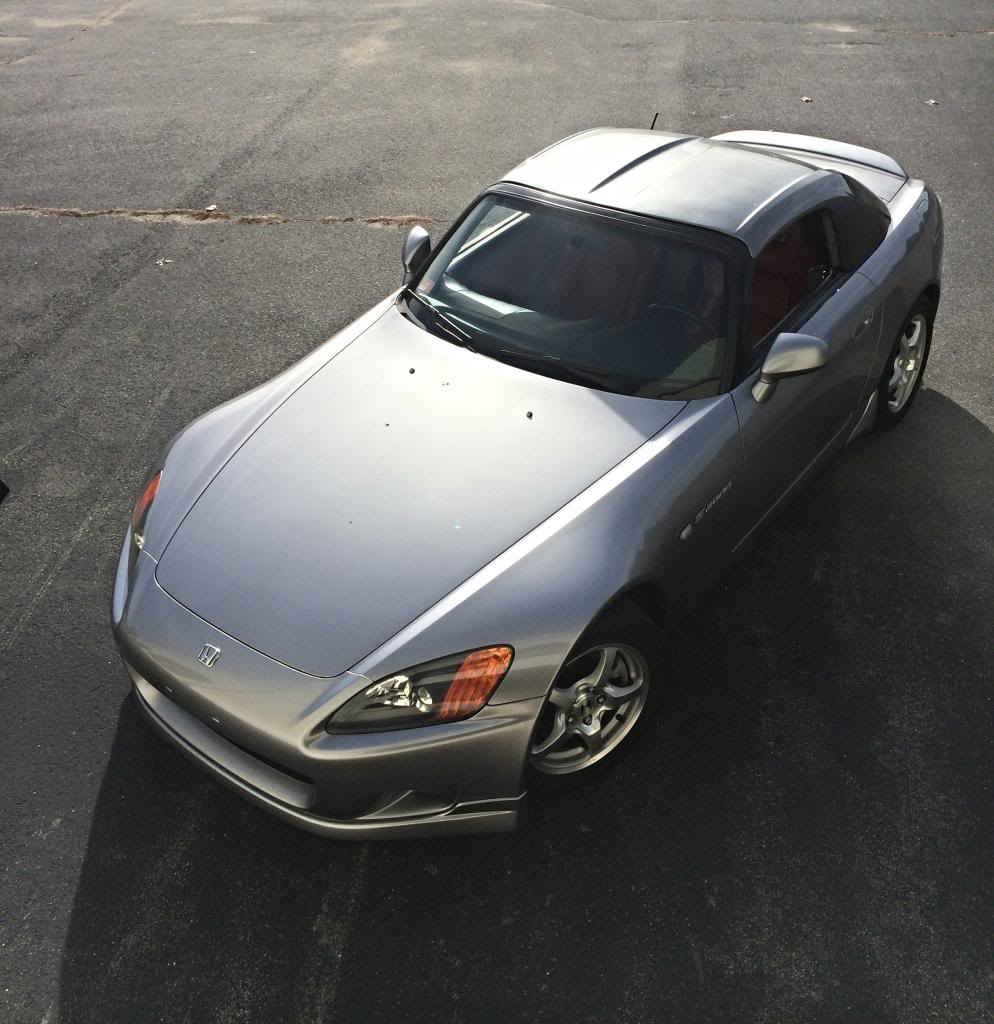
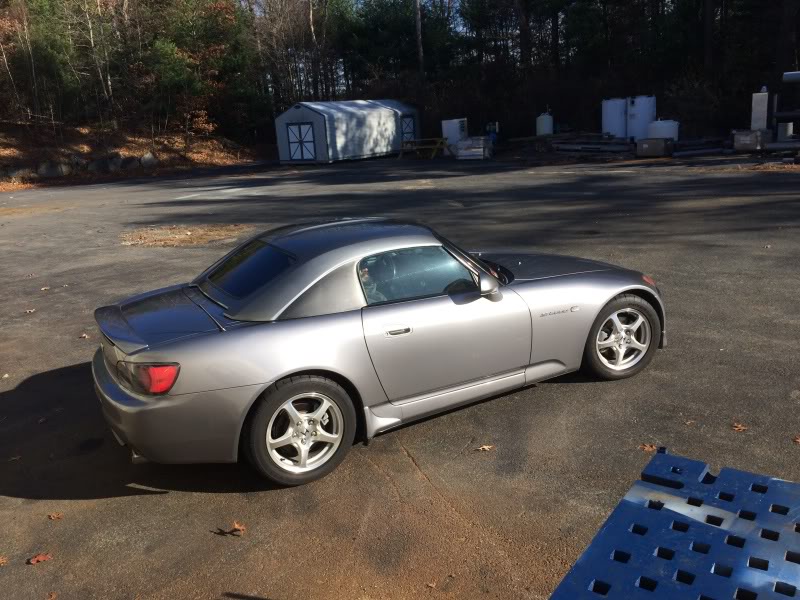
Quick snap of the daily while waiting for paint to dry....
The rear window opening and underside was masked to prevent any silver overspray.
Next was prepping the paint products and gun. I used PPG's Omni which is their economy line system. It was recommended to me by a fellow SHGer and the local paint supply owner (Dial Battery and Paint, East Providence) who was super helpful. Support your local shops!
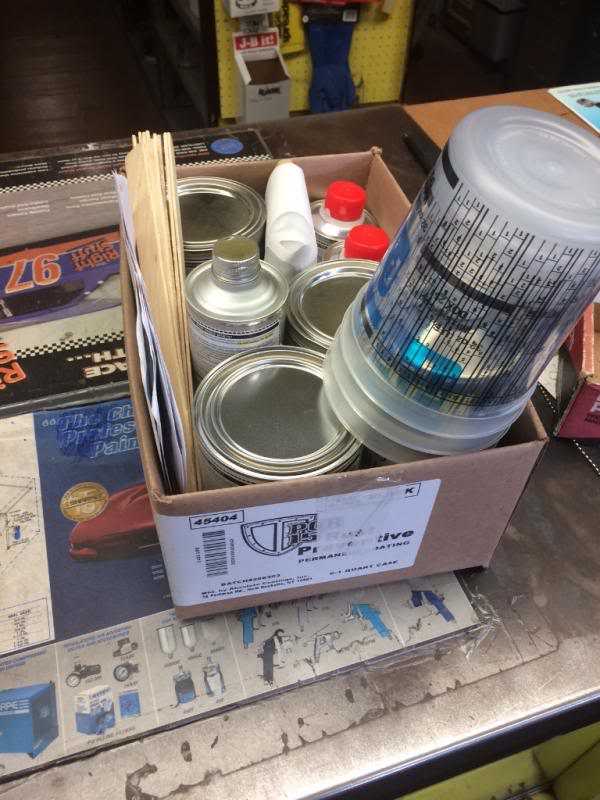
I forgot to snap a pic of the primer, but I used an epoxy primer to ensure good adhesion to the raw carbon gel coat.
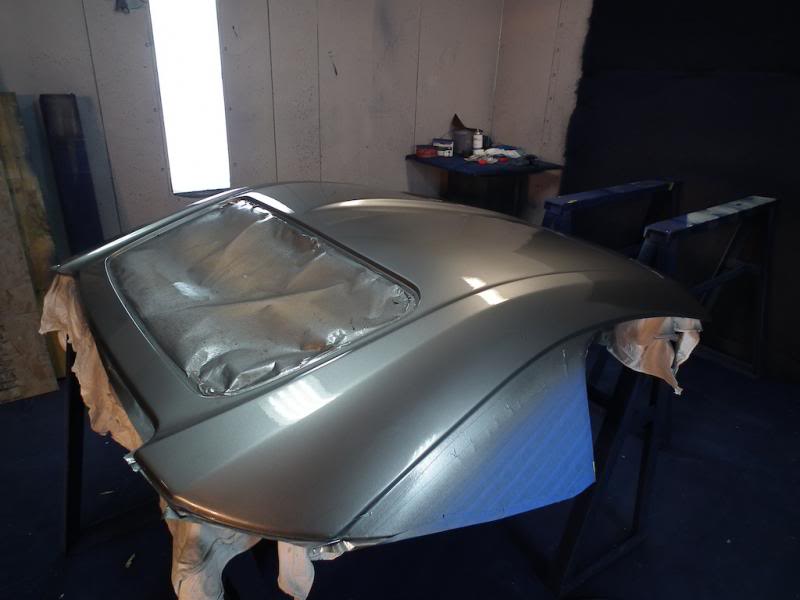
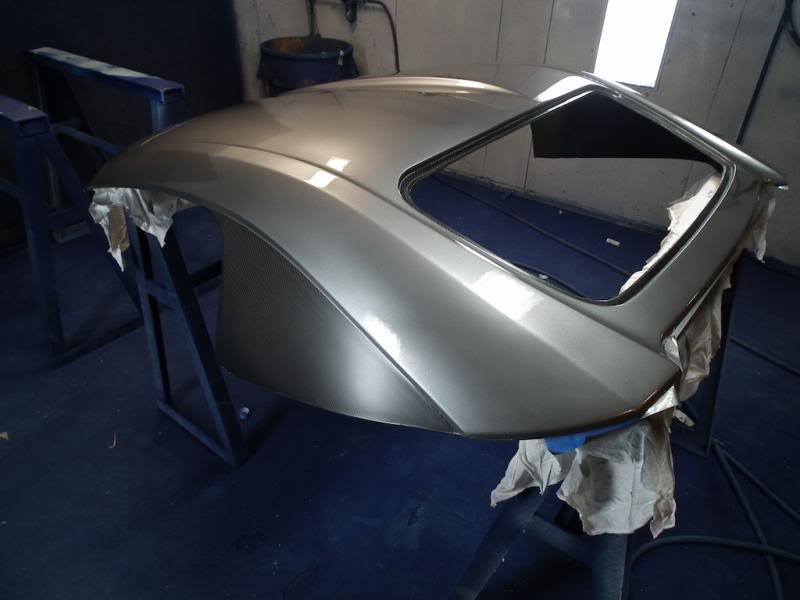
Base Silver...
Clear...
I got my 'scratch and dent' carbon RSG This week and yesterday I went through the process of laying down some paint on it.
I say 'scratch and dent' because there were a few flaws in the clear coat that Justin from RSG had informed me off and gave me a price that made it worth it. I was going to sand and paint the top anyway, so it wasn't much more work/prep than just a regular FPR top.
The weave was nice, tight and uniform. Vacuum infusion is the only way to make quality carbon pieces.
The first step in the process was to fix the resin flaws that were in the corners of the top and then wet send the whole top. This would give a new raw surface for the primer to adhere to.
The gun I used was the Harbor Freight Pro special. Before anyone cries foul, I am not a pro painter, nor do I ever intend to be. This will be the largest piece I will have painted to date. I needed something to spray a few items and after that will probably stay dusty in the tool box. I had great results with a $15.00 gun a when I painted a fender for a co-worker recently, so I figured why not. After much research there are almost all positive reviews on the gun and there is even a rumor that they may come from the same factory as the famed Devilbiss HVLP economy kit.
The only negative comment that I read about these they they are poorly assembled and have a lot of silicone debris inside. First thing I did was take everything apart to have a look for myself...
The reviews are correct. Whole bunch of junk that could contaminate your feed and clog the gun.
Cleaned and all back together.
Most people who have the Mugen or replica top leave the 'faux window' raw carbon or painted black. Because I love the look of dry or matte carbon I decided to put my own SHG twist on the style with matte carbon sides.
Next the sides got masked off.
I flipped over the top and smoothed out some rough edges I wasn't fond of. After I laid down a fresh coat of matte black.
Quick snap of the daily while waiting for paint to dry....
The rear window opening and underside was masked to prevent any silver overspray.
Next was prepping the paint products and gun. I used PPG's Omni which is their economy line system. It was recommended to me by a fellow SHGer and the local paint supply owner (Dial Battery and Paint, East Providence) who was super helpful. Support your local shops!
I forgot to snap a pic of the primer, but I used an epoxy primer to ensure good adhesion to the raw carbon gel coat.
Base Silver...
Clear...
 11-10-2013, 08:11 AM
#22
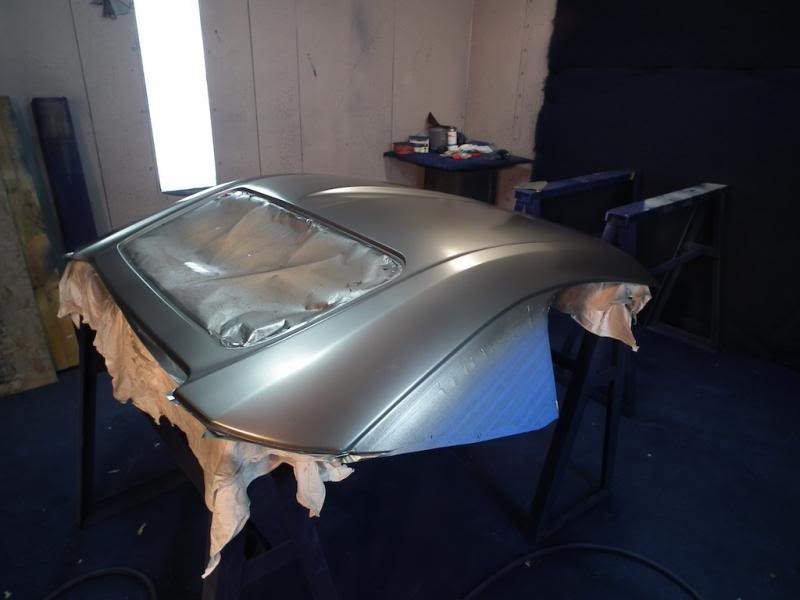
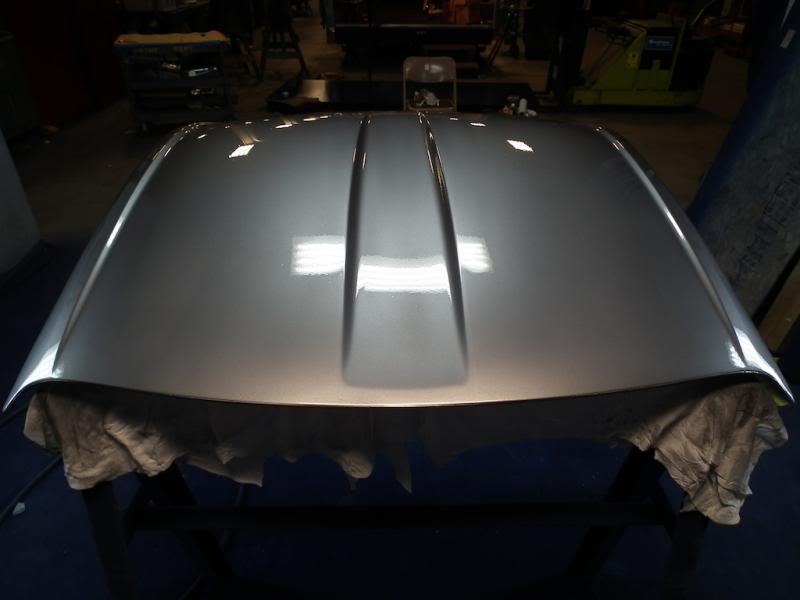
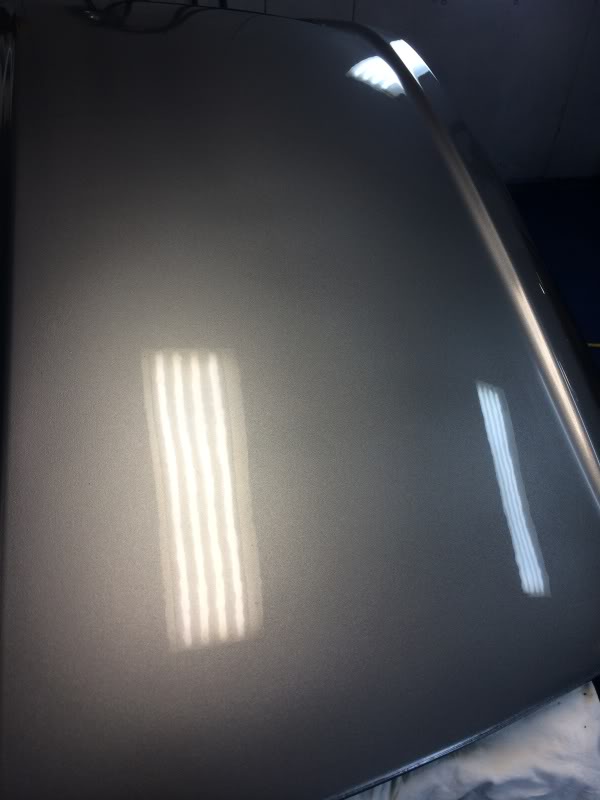
had some trouble getting used to this paint and primer and it didn't exactly get the finish I had hoped for, overall I am pleased with the result and happy I can say I did it myself. Once fully cured a good wet sand and buff should clean things up nicely
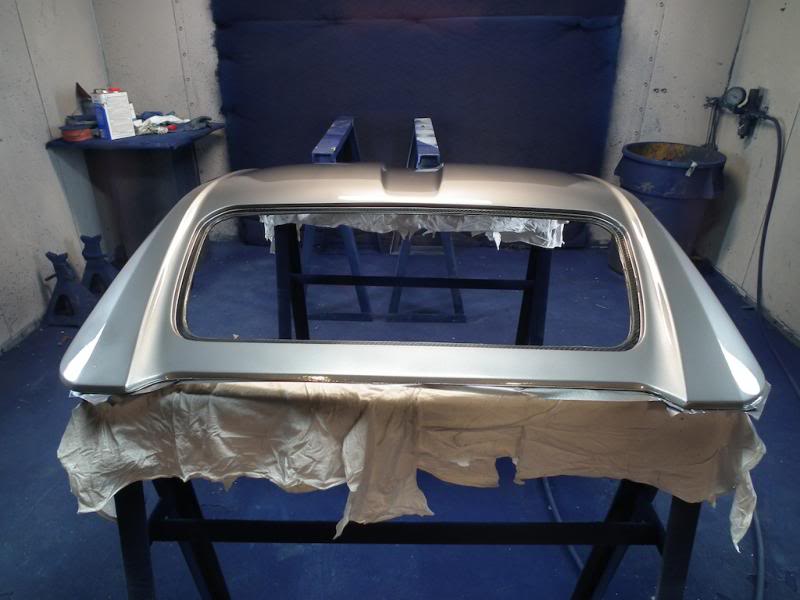
The finish...
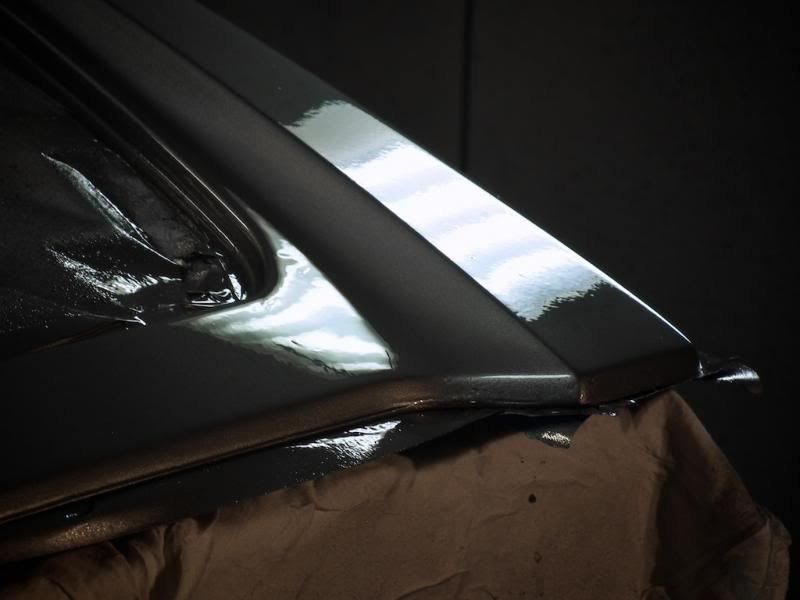
Ill let the rest speak for themselves...
Next up is ordering my seats and steering wheel. I need to get my driving position dialed in so I can then start the process of fitting and fabricating the roll bar/cage...
The finish...
Ill let the rest speak for themselves...
Next up is ordering my seats and steering wheel. I need to get my driving position dialed in so I can then start the process of fitting and fabricating the roll bar/cage...

 11-25-2013, 11:57 AM
#27
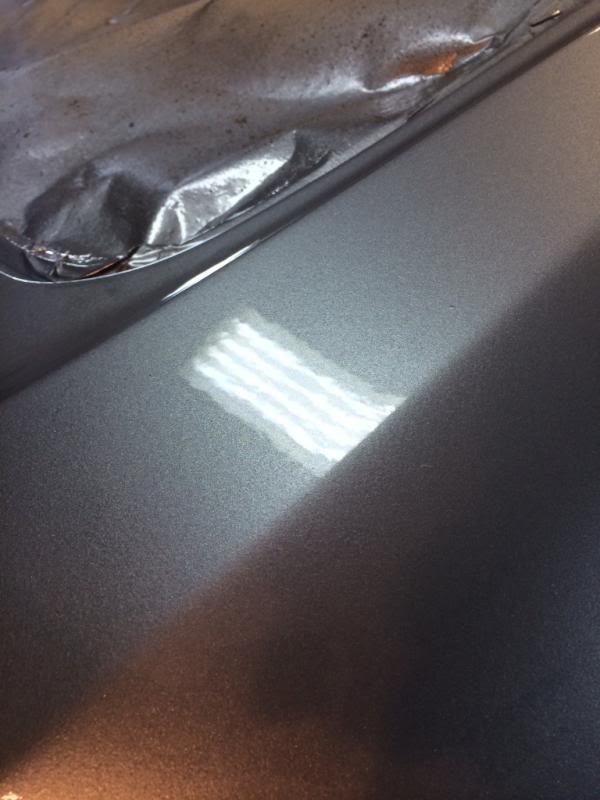
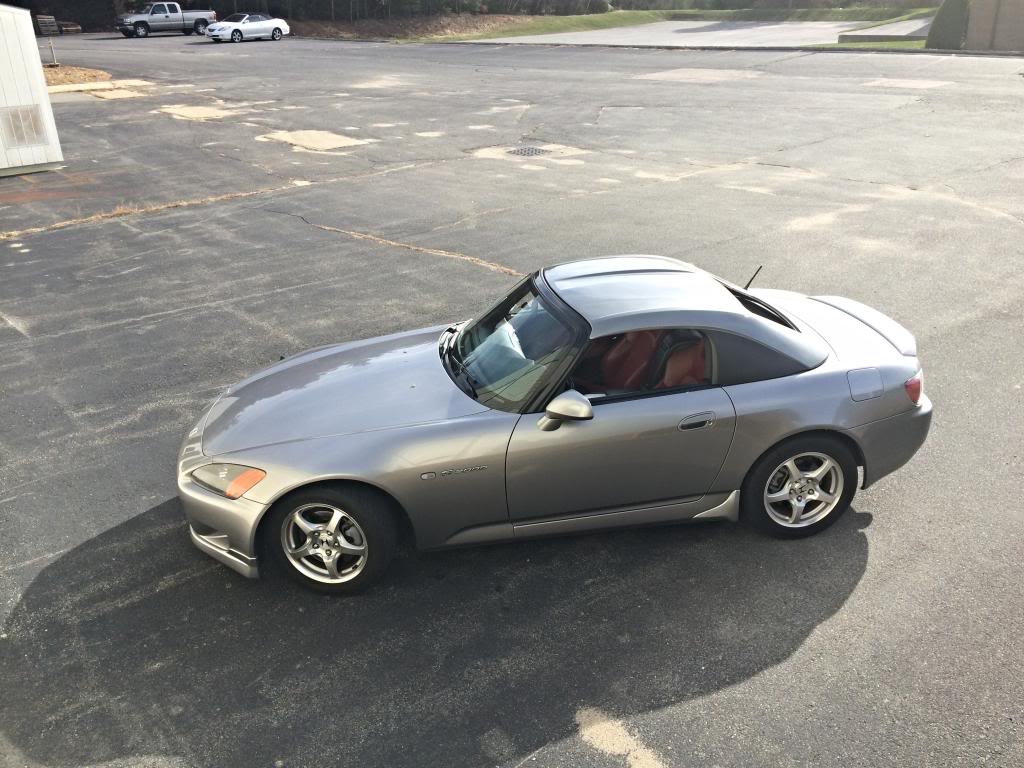
Got down to the business of wetsanding the paint and installing the window over the weekend...
I went from 1000 on the heavy peal, to 1500, 2000, then finished with 2500.
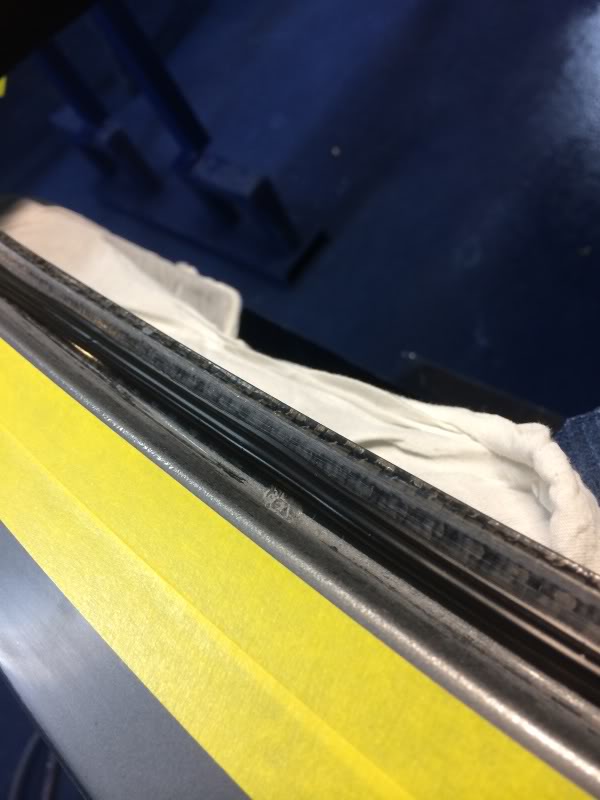
I then masked the area around the window frame to ensure that no urethane got on the paint.
I cut the tip of the canister to give a nice even bead around the frame
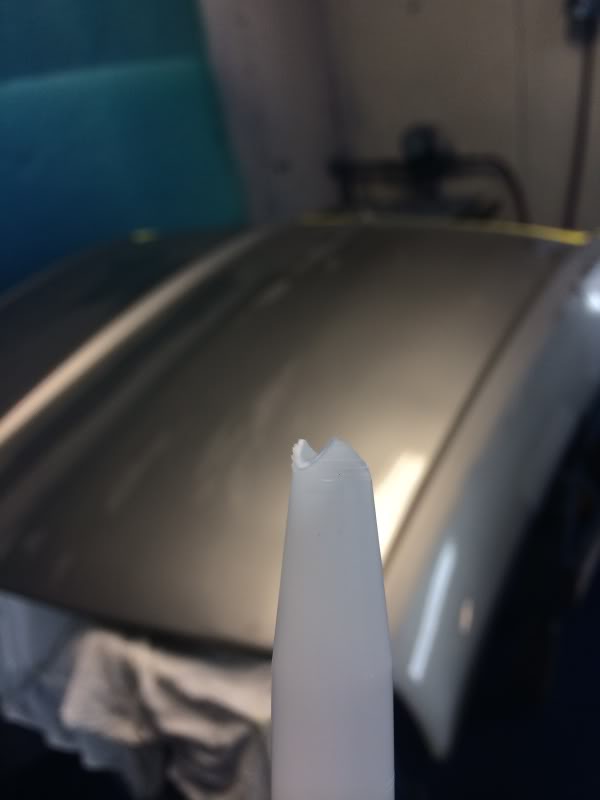
vola...
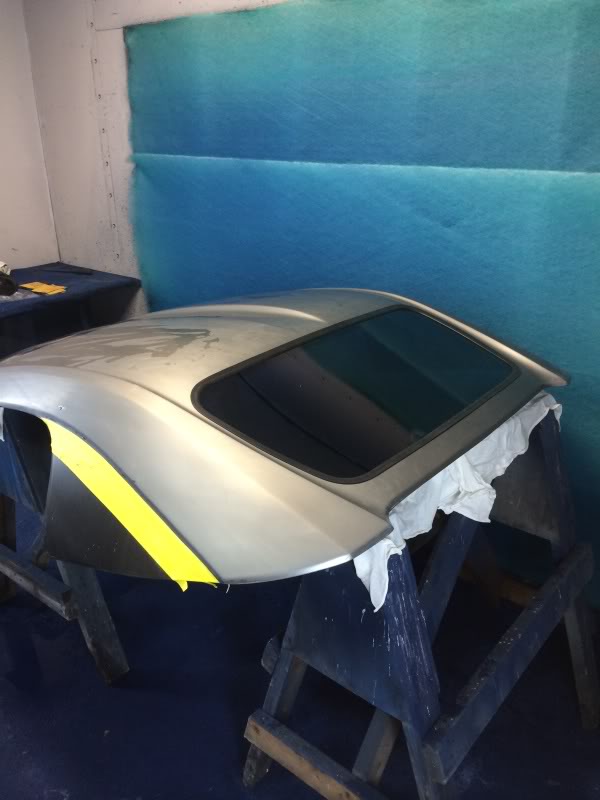
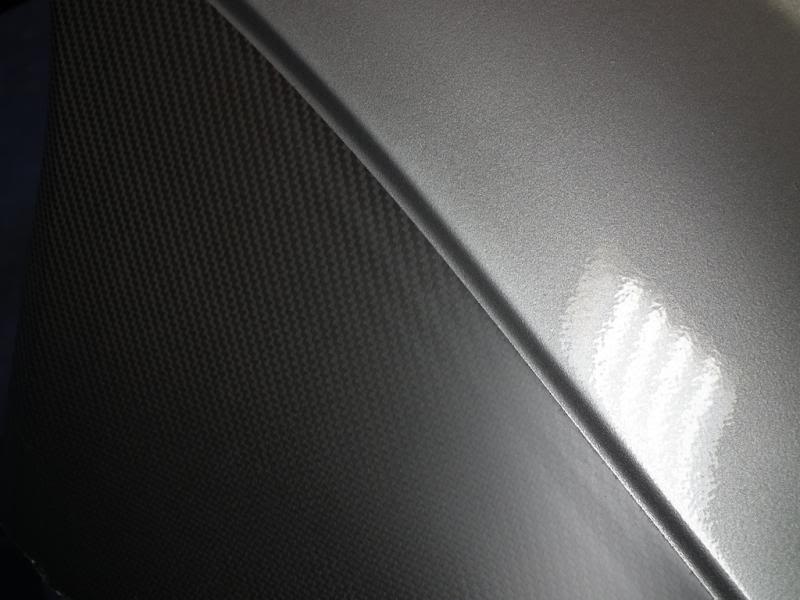
The next day I came back and hit the top with some 3M compound and Meguiers Ultimate Compound (magic in a bottle) with my low speed random orbital. I need to go over it again with a high speed buffer to take out the super fine swirls but my random orbital did a pretty good job...
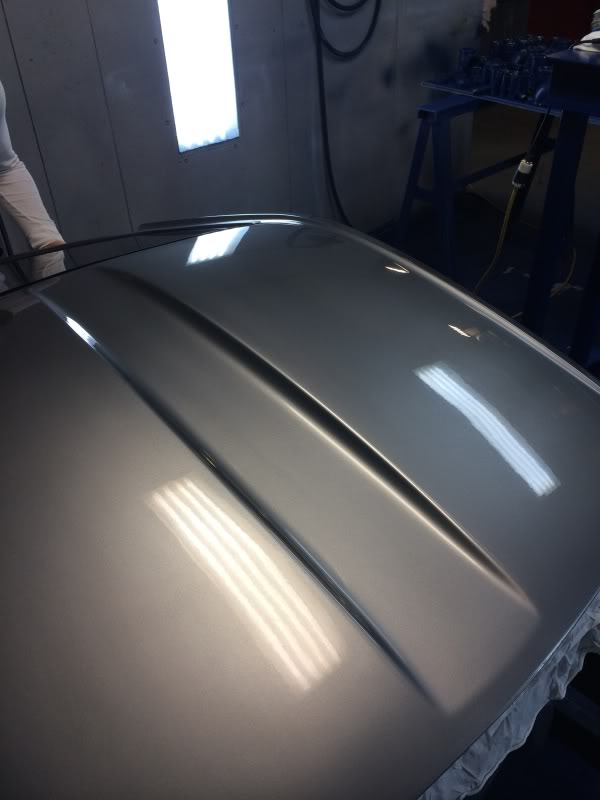
One little sneak preview....
I have ordered everything to get my driver position sorted, so that I can begin taking measurements and fabricating the roll bar

Stay tuned!
I went from 1000 on the heavy peal, to 1500, 2000, then finished with 2500.
I then masked the area around the window frame to ensure that no urethane got on the paint.
I cut the tip of the canister to give a nice even bead around the frame
vola...
The next day I came back and hit the top with some 3M compound and Meguiers Ultimate Compound (magic in a bottle) with my low speed random orbital. I need to go over it again with a high speed buffer to take out the super fine swirls but my random orbital did a pretty good job...
One little sneak preview....
I have ordered everything to get my driver position sorted, so that I can begin taking measurements and fabricating the roll bar
Stay tuned!
11-26-2013, 02:43 PM
#29
I don't know if you plan to keep your softtop, but just wanted to let you know the middle bar bar
of the softtop isn't retracting properly, so the soft top isn't fully retracted down...
Awesome job painting your hardtop. Looks great.
of the softtop isn't retracting properly, so the soft top isn't fully retracted down...
Awesome job painting your hardtop. Looks great.

