Yitz's 03 Suzuka Blue Metallic


 12-02-2015, 03:44 PM
#22
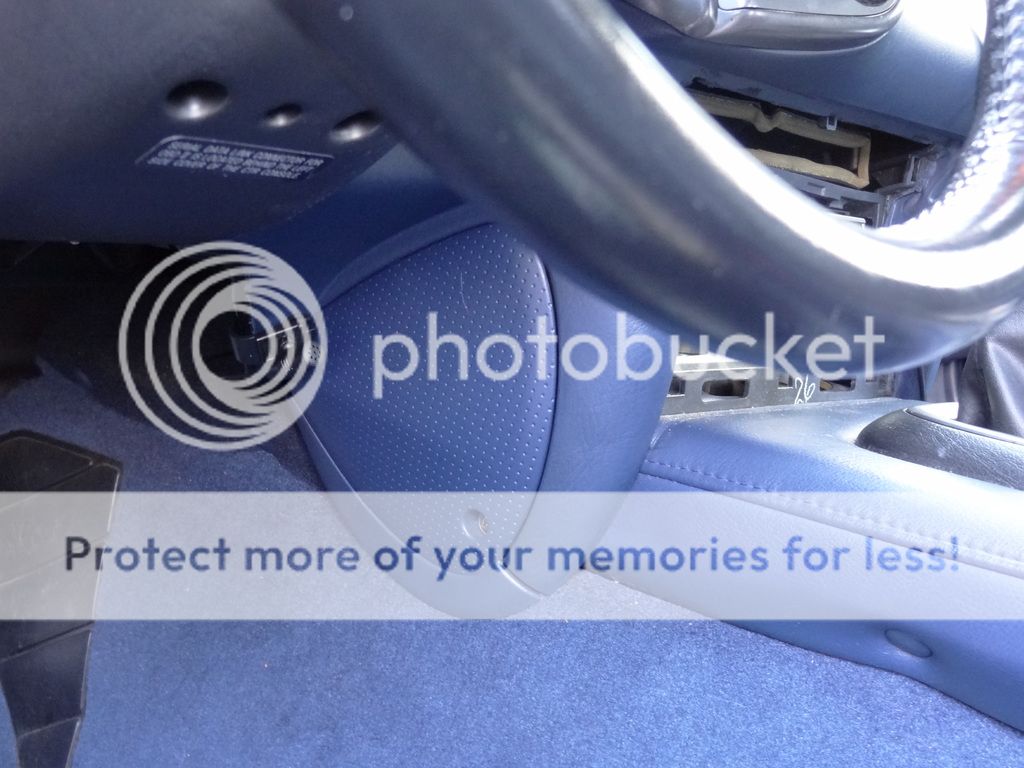
Alarm installer left the driver's footwell cowl trim flapping, which now pushes against my left foot. Couldn't drive right, not enough room for my foot on the dead pedal.
I started freaking out, thinking they messed up the clutch pedal. I just need to get my hands on some new trim fasteners. I'll leave it off for now, hold off ordering the bits until I see whether I break anything else installing my V1 and dashcam hardwire kits, and the other horn.
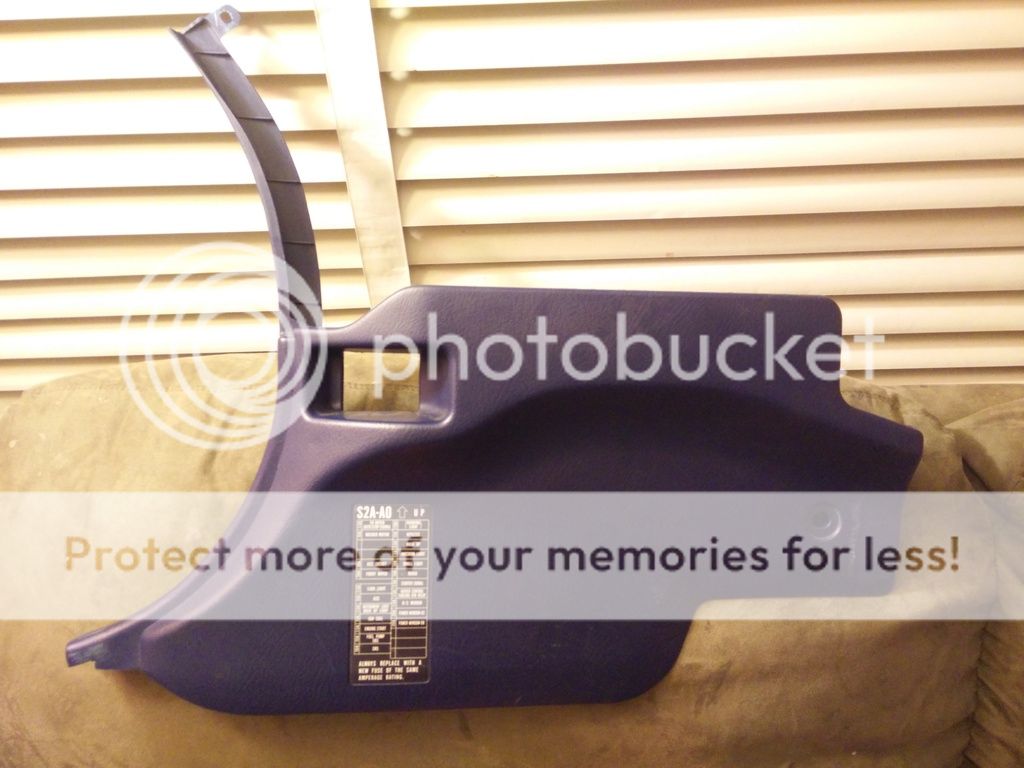
I started freaking out, thinking they messed up the clutch pedal. I just need to get my hands on some new trim fasteners. I'll leave it off for now, hold off ordering the bits until I see whether I break anything else installing my V1 and dashcam hardwire kits, and the other horn.
12-03-2015, 05:23 AM
#23
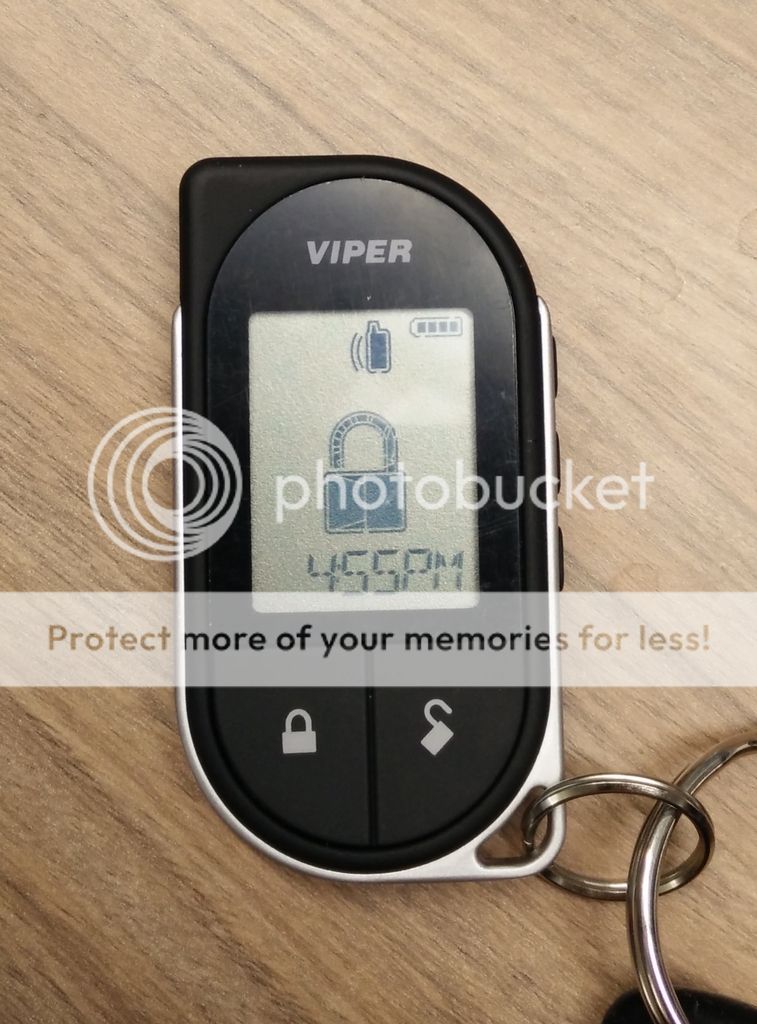
Got my hands on the Viper alarm installation manual and did some voodoo settings changes: restore chirps on arm; passive mode; don't lock/unlock on ignition.
Changing dealer settings be like

Changing dealer settings be like
12-03-2015, 08:39 AM
#24
Special-ordered the kickplate trim connector.
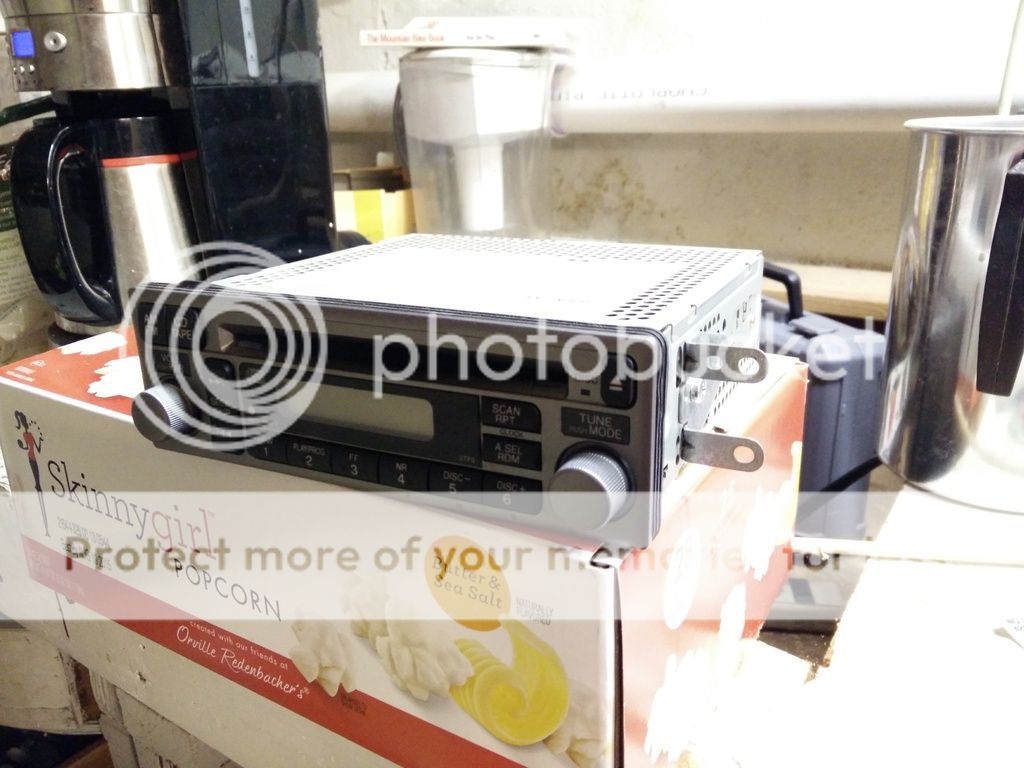
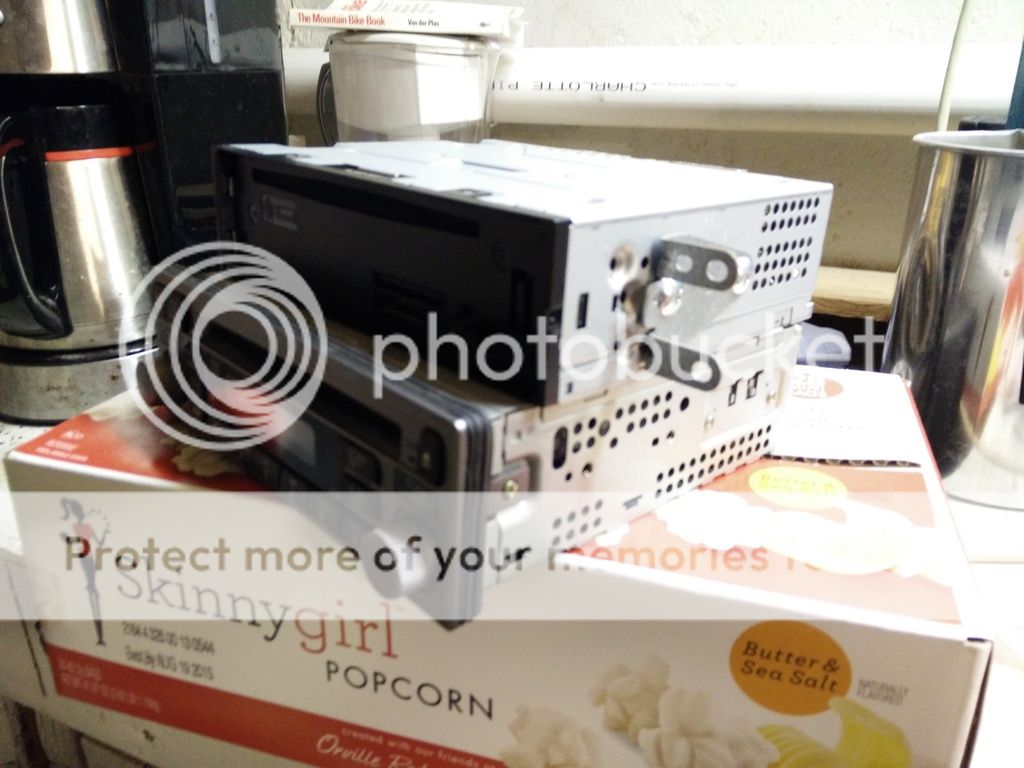
I pulled the radio door assembly and factory radio in anticipation of the new radio installation, plus a passenger trim piece to get the Modifry adapter stashed away. I'm planning on deleting the radio door itself; I've seen DIYs on extracting the hinge pins, but it seems like a pain. I think I'm just going to carefully Dremel off the hinge mounting posts from the door trim, and sand that down. The posts will look weird anyway with no door attached.
I pulled the radio door assembly and factory radio in anticipation of the new radio installation, plus a passenger trim piece to get the Modifry adapter stashed away. I'm planning on deleting the radio door itself; I've seen DIYs on extracting the hinge pins, but it seems like a pain. I think I'm just going to carefully Dremel off the hinge mounting posts from the door trim, and sand that down. The posts will look weird anyway with no door attached.
12-03-2015, 02:24 PM
#25
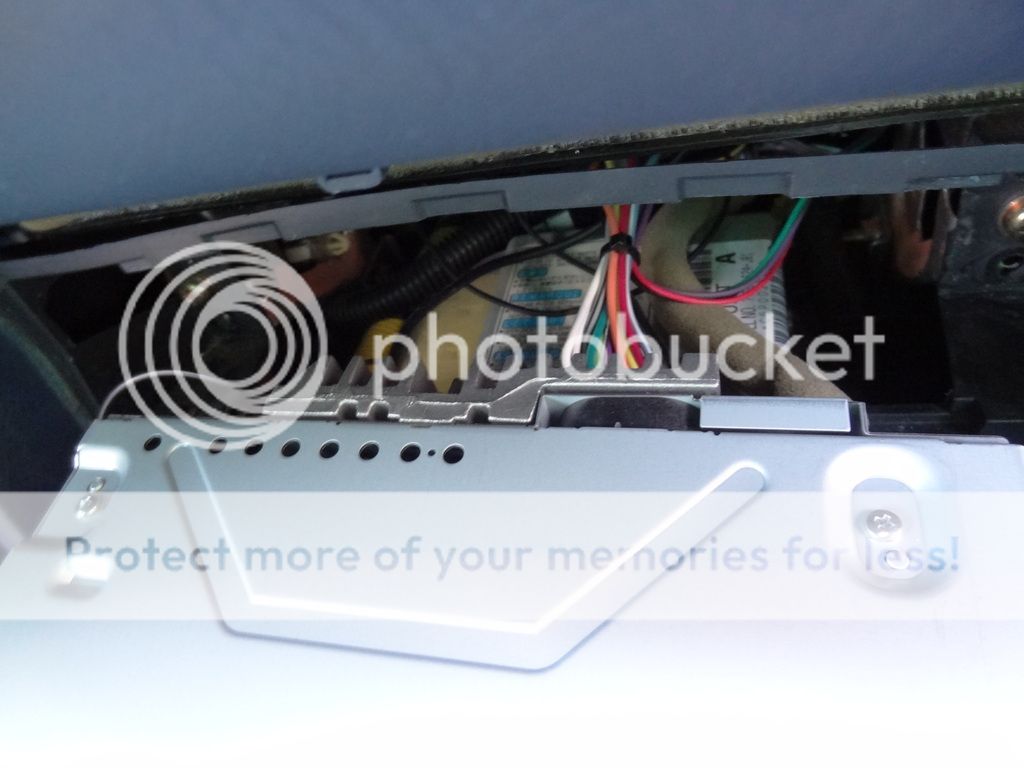
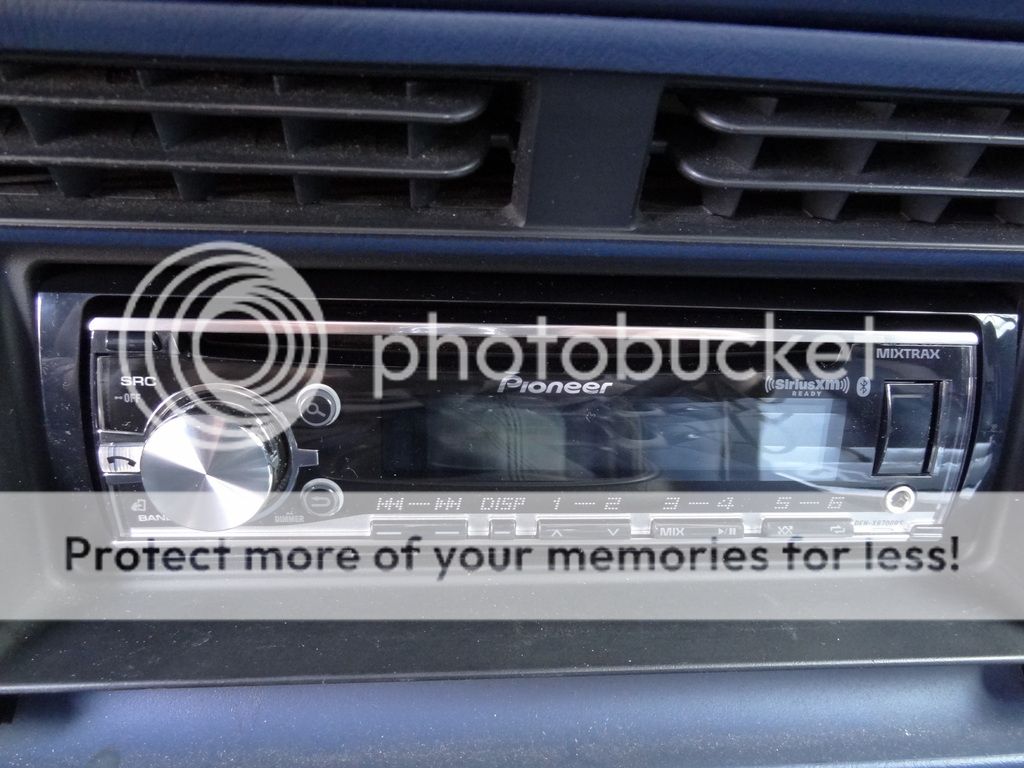
Removed the factory radio and transferred the brackets to the Pioneer head unit. Oddly, the left one fit fine, but on the right one the alignment button and screw holes were not in quite the right spots. If it doesn't fit, you make it fit! I was still able to screw it down.
12-04-2015, 05:25 AM
#26
Radio install underway. I got everything wired up with Modifry, and the radio + dash controls work. Now I just need to have five beers to get me ready to fit the wires back in the dash... initial attempt was not successful.
12-04-2015, 09:01 AM
#27
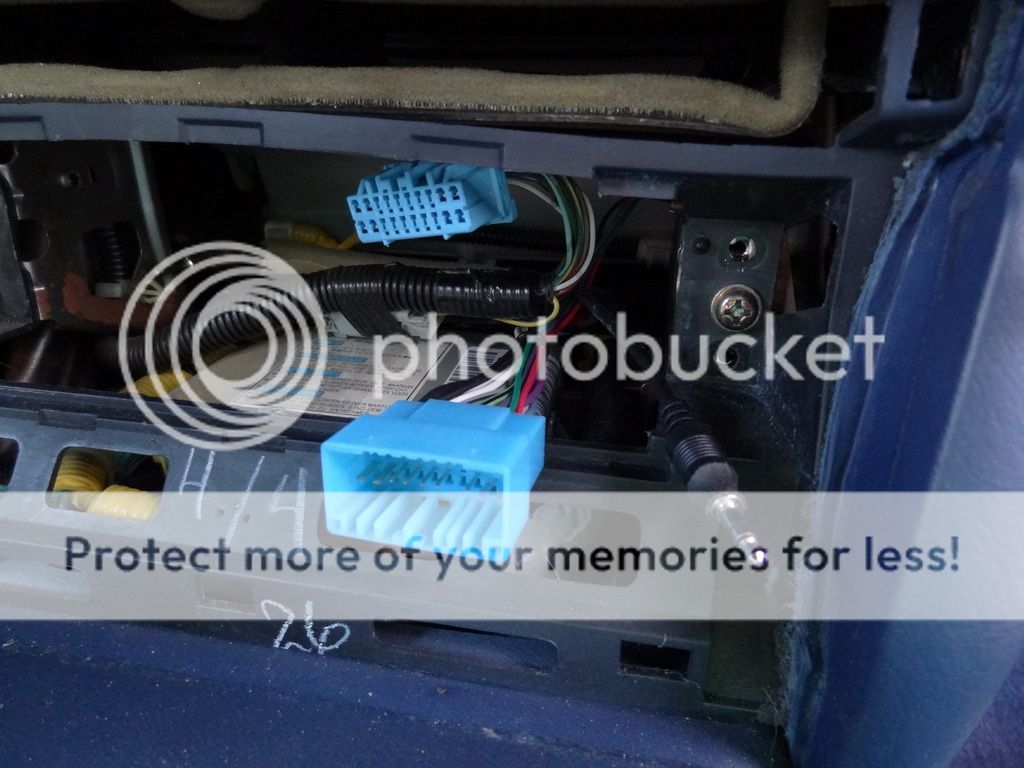
I popped off the "ear" trim pieces along the side of the center console, and managed to use a long zip tie as a lasso to pull the big honkin' blue connector into the side of the cavity, making room for the radio - it's mounted!
I did the nail popping trick with the radio door hinge pins, and the door's deleted with no Dremeling. Just need to reinstall the door trim piece, set up the radio, and mount the Bluetooth microphone now.
I did the nail popping trick with the radio door hinge pins, and the door's deleted with no Dremeling. Just need to reinstall the door trim piece, set up the radio, and mount the Bluetooth microphone now.
12-06-2015, 11:27 AM
#28
Radio install complete. I have an anti-glare iPad Mini screen protector waiting for me at the office; I'm going to cut it up for the Viper remote fob (it's a crazy scratch magnet), and the radio face; I hate the glossy look in the middle of a muted dash.
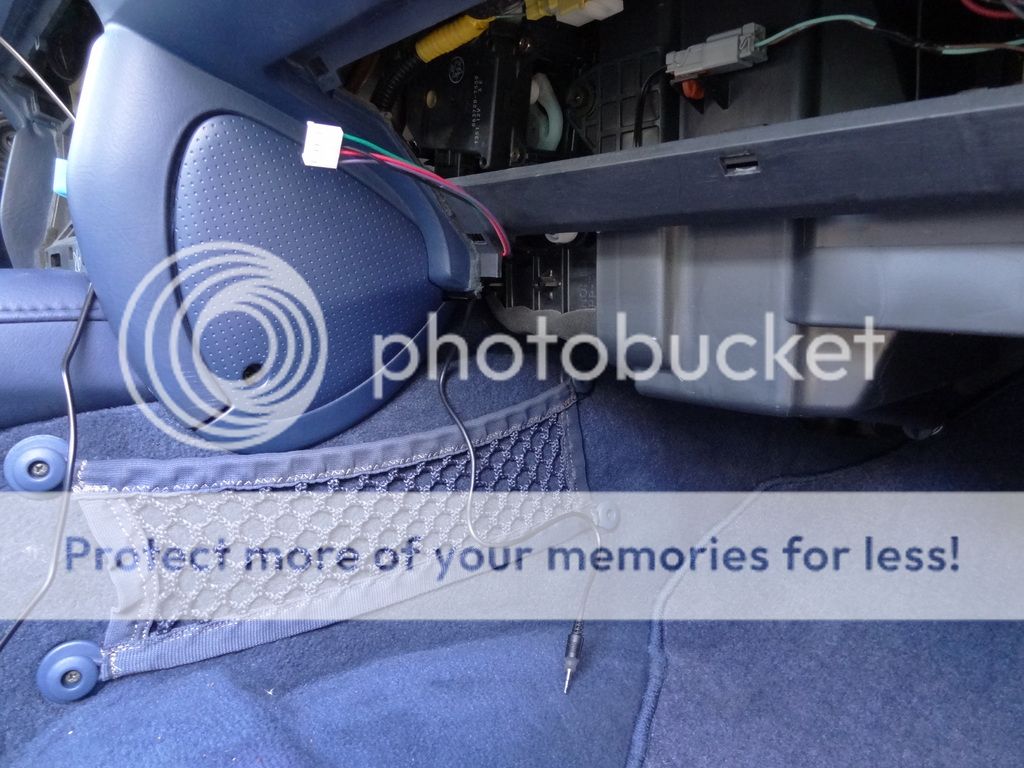
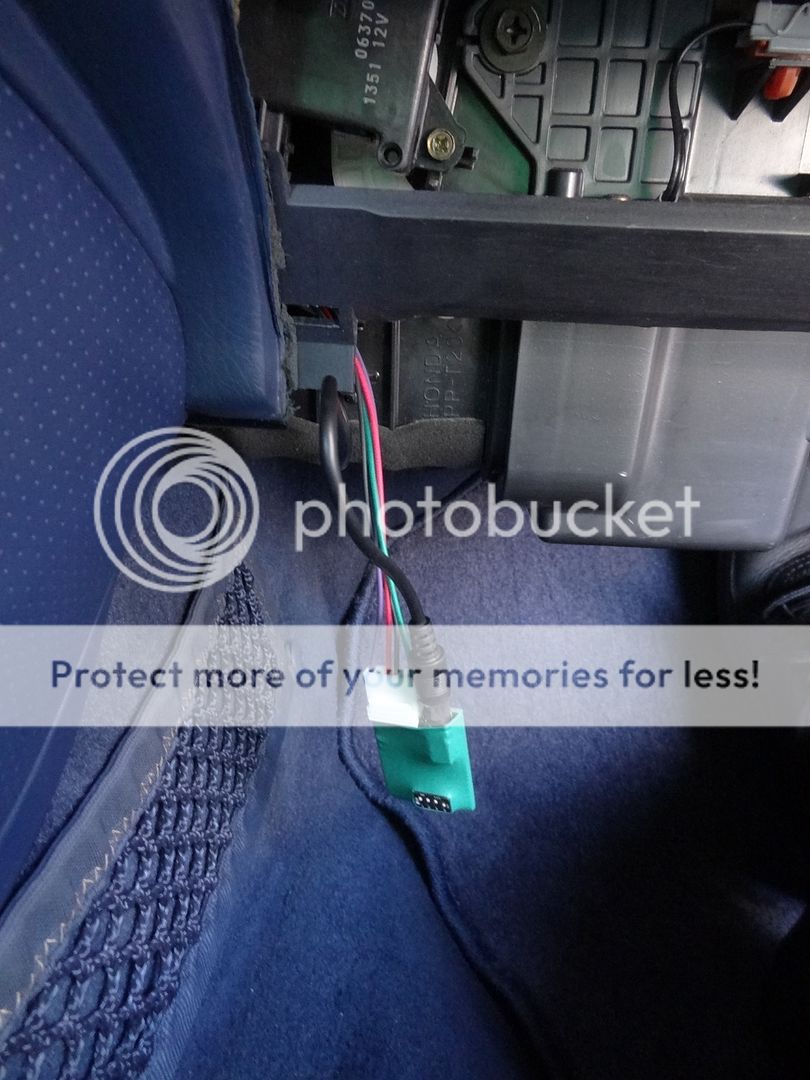
I couldn't get foam tape to stick, but the microphone clip actually clipped in the place I wanted to put it, so, win!
I used Pioneer's blue and light blue colors for keys and text, respectively, to match my True Blue interior. Looks right at home! Once I figured out how to do it, Bluetooth pairing with my phone, including audio stream and Pandora, works like a charm.
Horn install complete. No unexpected craziness in dropping the front bumper, thank God. Soldering the lead was a little tricky.
[media]http://www.youtube.com/watch?v=410uXh7kb8A[/media]
12-09-2015, 06:22 PM
#30
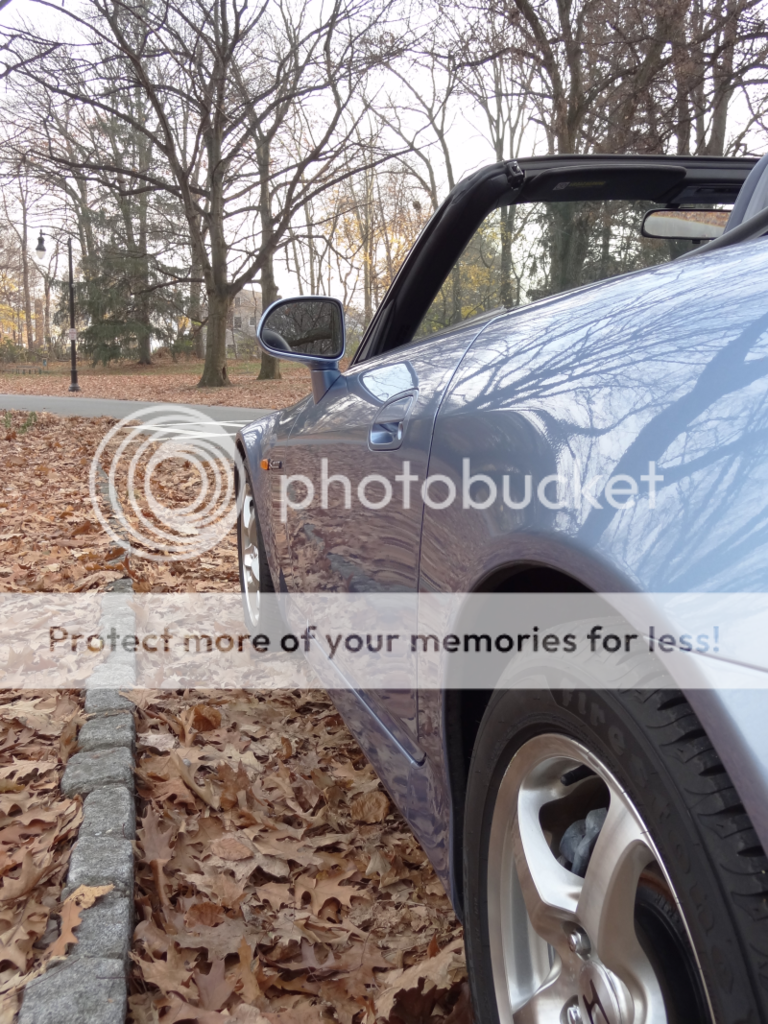
First wash and photo session. She's in even better condition than I realized!
Photos on Oppositelock
http://oppositelock.kinja.com/introd...lia-1747194436
Photos on Oppositelock
http://oppositelock.kinja.com/introd...lia-1747194436