When you click on links to various merchants on this site and make a purchase, this can result in this site earning a commission. Affiliate programs and affiliations include, but are not limited to, the eBay Partner Network.
My headlights have shown more and more pitting and scaring over the years. Polishes and rubbing componds just did not do the trick. Some searching in Wash and Wax revealed an interesting "Sanding" concepts. I added to the existing instructions in hopes of vast improvement. Results ended up being new or better.
I got really nervous when before starting 600 grit paper knowing there was no going back. The first scrape accoss the lenses made the hair on the back of my neck stand straight up. After the first coat I pretty much crapped myself. You'll see in a minute.
The entire job took about 4 hours. All manual work, no power tools. I prefered leaving the lenses in as leverage was more convenient. You other option is remove the headlights and skip th masking. I preferred to mask, but needed to remask aboutr 5 times during the job.
This detail comes highly recommended, however, do at your own risk. I take no responsibility for work you may do from the advice on this thread.
1. You have to find the sandpaper, which can be a challenge, but I found mine at
a Hobby Shop. I also bought some lower grits from the auto store. Here is
what is required:
a. 600, 800 and 2000 grit (paper for wet or dry)......Autozone
b. 3200, 3600, 4000, 6000, 8000, and 12000 grit. They came in a "Micro Mesh
Polishing Cloth Kit" from the Hobby shop. The Kit cost about $20, and they are
not paper, but sanding cloth. Found mine at Mark Twain Hobby. I recommend soaking them for about 5 minutes before use to prevent any cracking in the cloth.
c. Spray bottle filled with water.
d. Some kind of plastic polish (Plastx and Plexus worked well.)
e. micro fiber towels sponge.
f. painters tape
2. Clean the outer part of the lens with Plexus. Do this step twice as you want no wax residue to get into the sandpaper.
3. Wet sand everything, so before and during the sanding, keep the lens and sand paper/cloth wet. The wetter the headlights are, the easier the job becomes. After each sanding, clean with headlights with wet towel
4. First, use the 600 grit on the heavy crators. Use the 600 for spot sanding the bad spots. Switch to 800 grit and sand back and forth lengthwise (side to side) the lens to get out the remainder of the tough blemishes. Once complete another coat top to bottom. Make sure to get out all of the glossyness from the lens before going to the next Grit. The top layer of the lens is not even. You will see little bumps, and those should be evened out. The entire front of the lens should be very cloudy and smooth before you're done with the 800 (no craters, unless you want to leave them, but get them out for best results).
5. Use the same step for the 2000 grit, again side to side and top to bottom. Keep sanding until the scratches from the 800 grit are gone
6. Use the 3200 grit next, again side to side and top to bottom. Keep sanding until the scratches from the 2000 grit are gone.
Repeat steps 5 & 6 until your done with the 12000 grit.
By the time you get to the 6000 grit, you should be saying WOW to yourself, and when you get to the 12000, you could make a mirror out of "newly" revived lens.
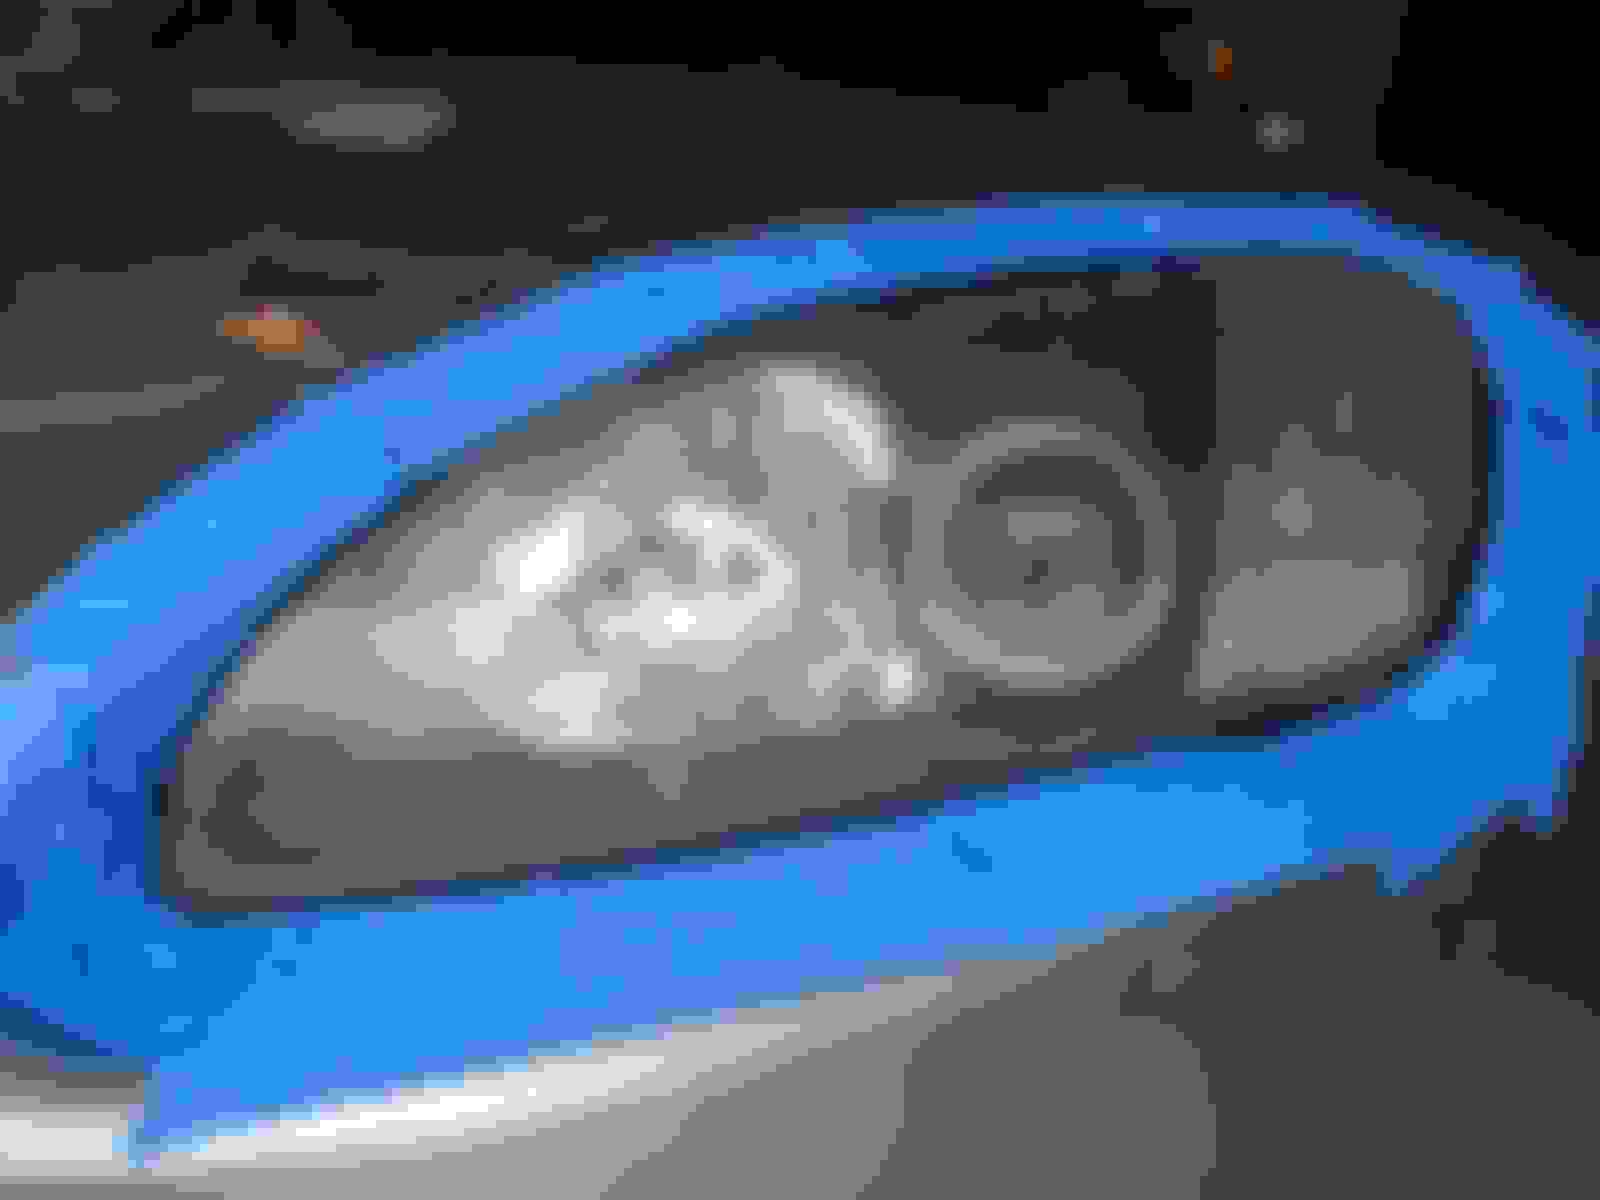
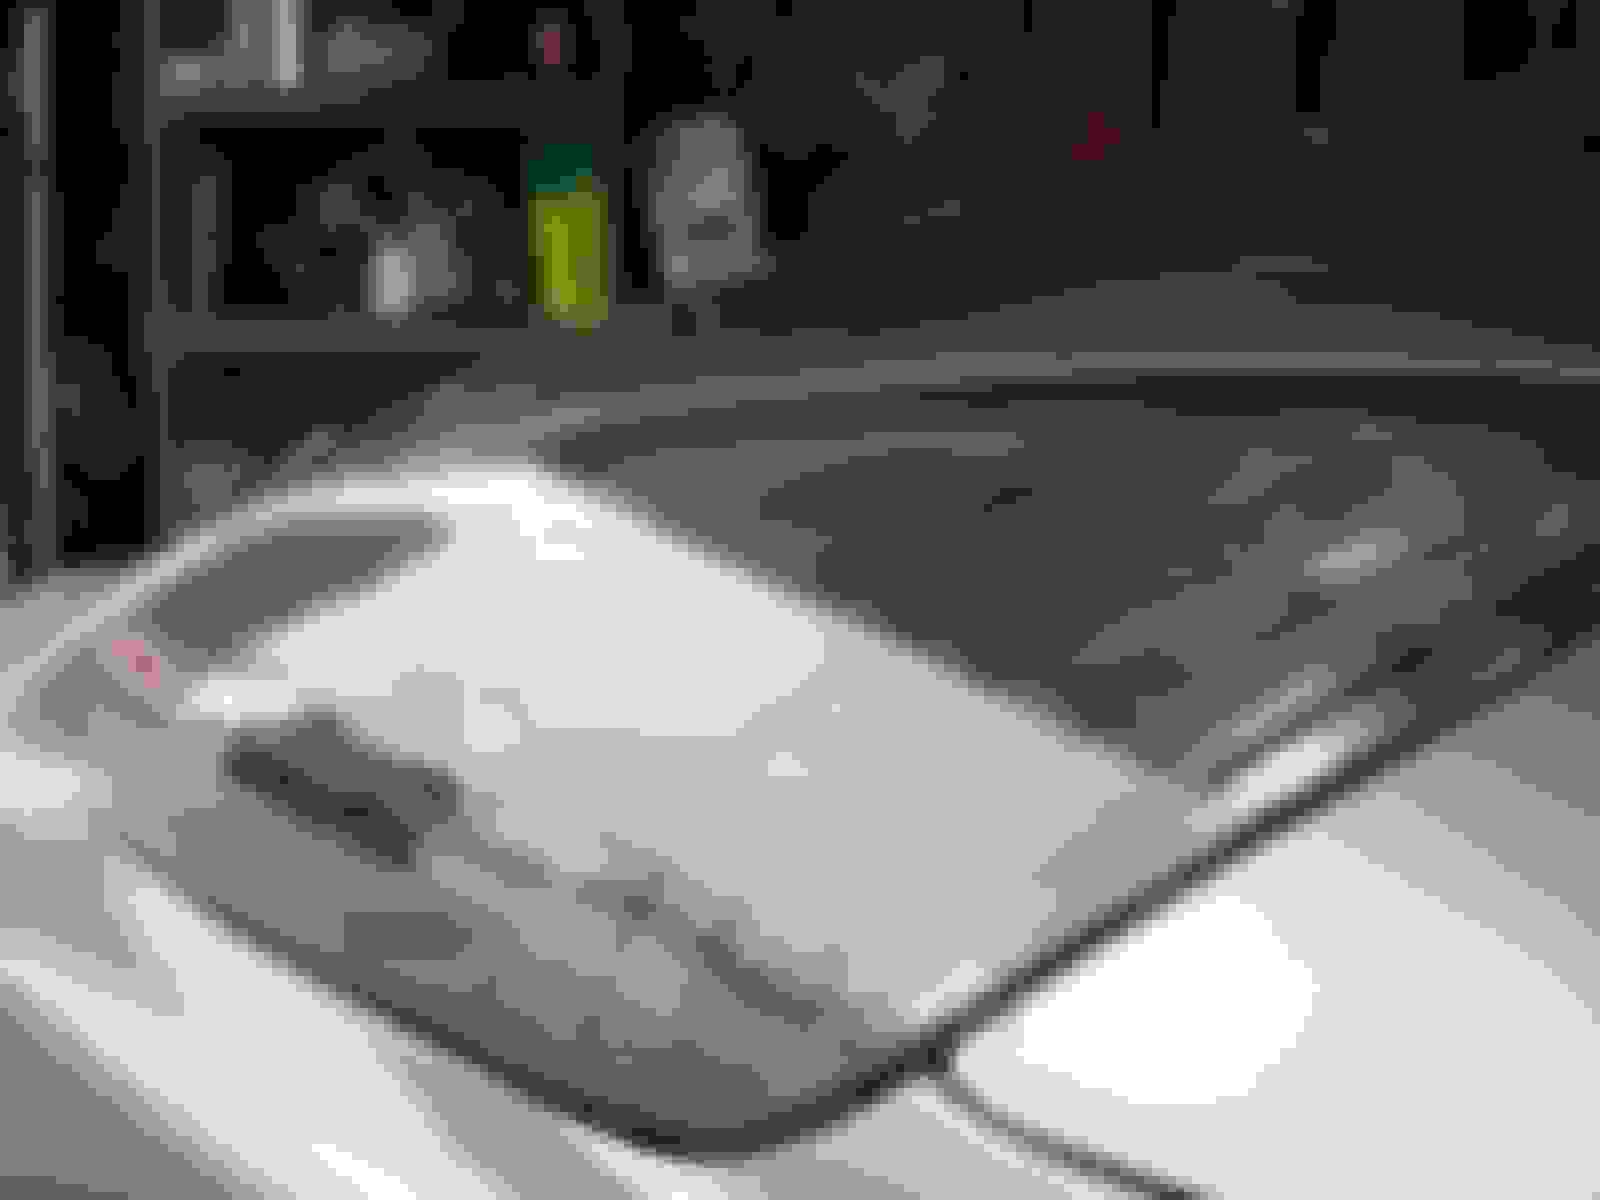
800 Grit (OMFG!!! What did I do?)
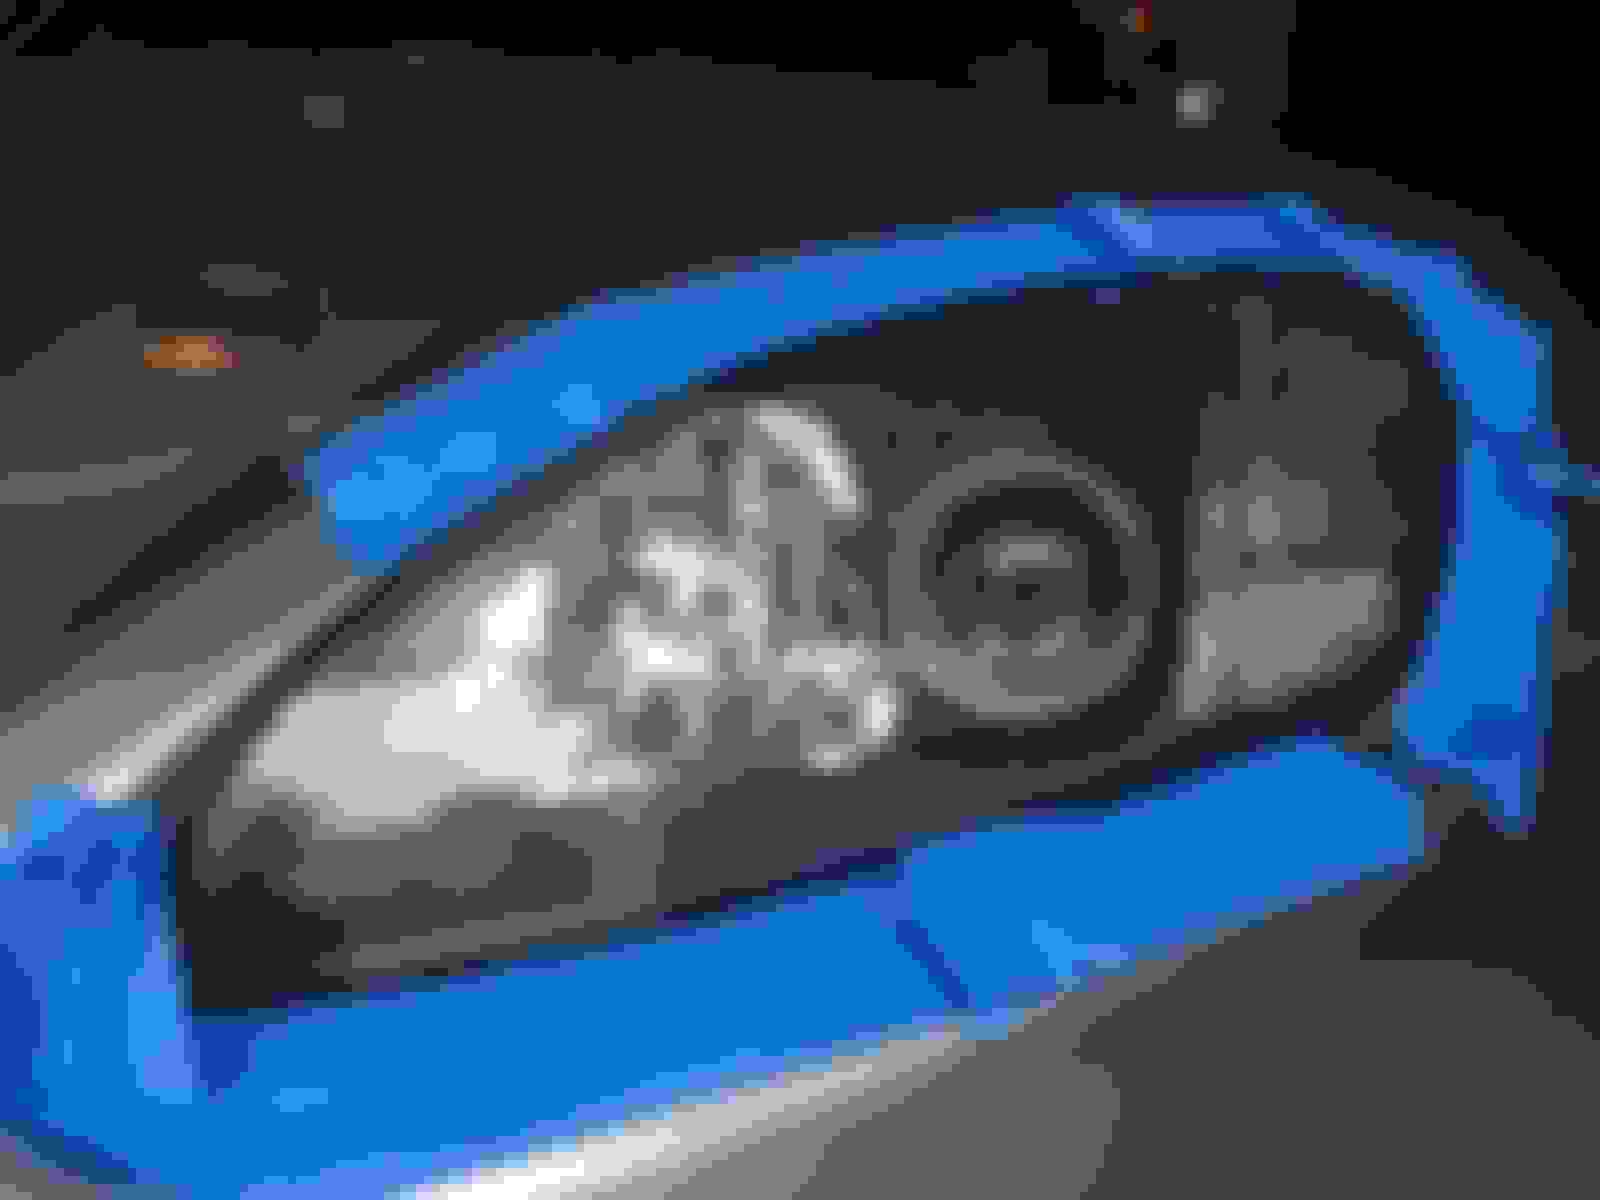
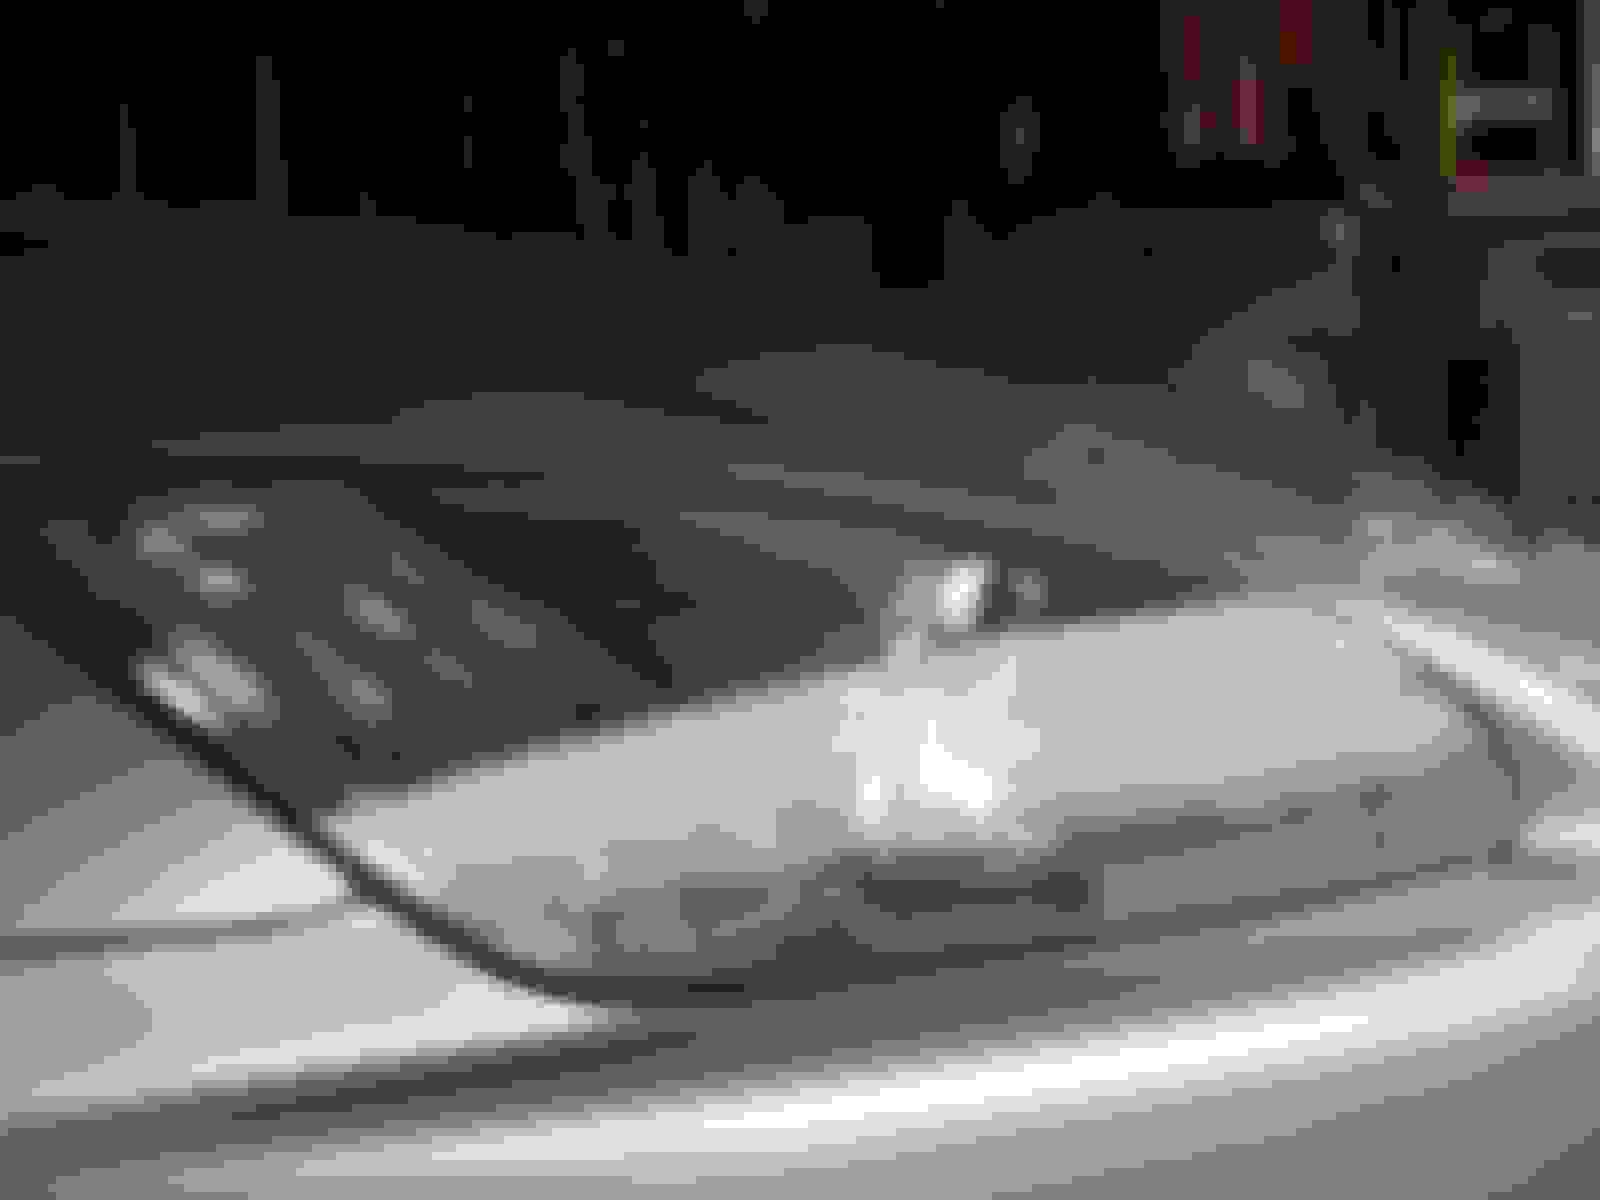
After using 2000 Grit
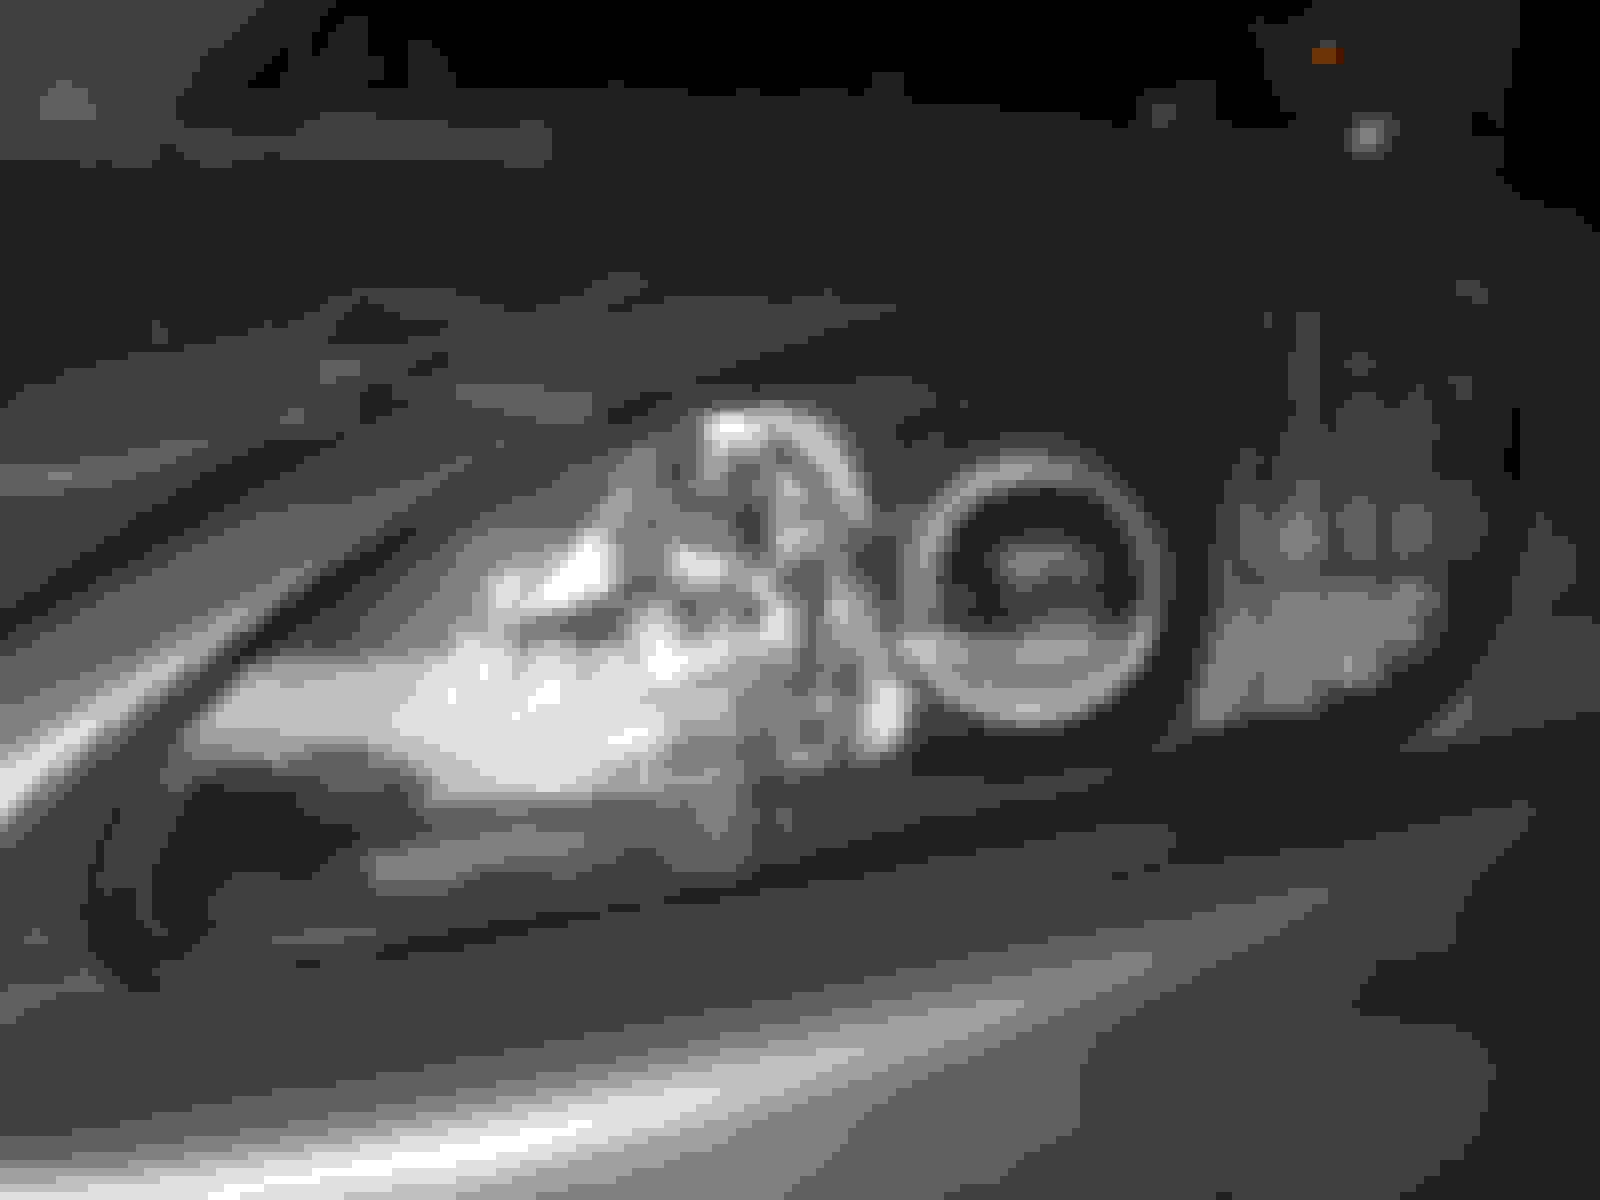
After using 3200 Grit
After using 3600 Grit
After using 4000 Grit
After using 6000 Grit
After using 8000 Grit
After using 12000 Grit
After an apllication of Plastx and a power buff. This step was the only step I did with a power tool
An application of Plexus and a final hand polish. Lenses are as smoth as after a Menzerna 3-step polish. Like new or maybe even better.
 05-25-2008, 05:59 PM