When you click on links to various merchants on this site and make a purchase, this can result in this site earning a commission. Affiliate programs and affiliations include, but are not limited to, the eBay Partner Network.
Unplug the socket and unscrew the two 10mm bolts. The IAC will swing away from the manifold.
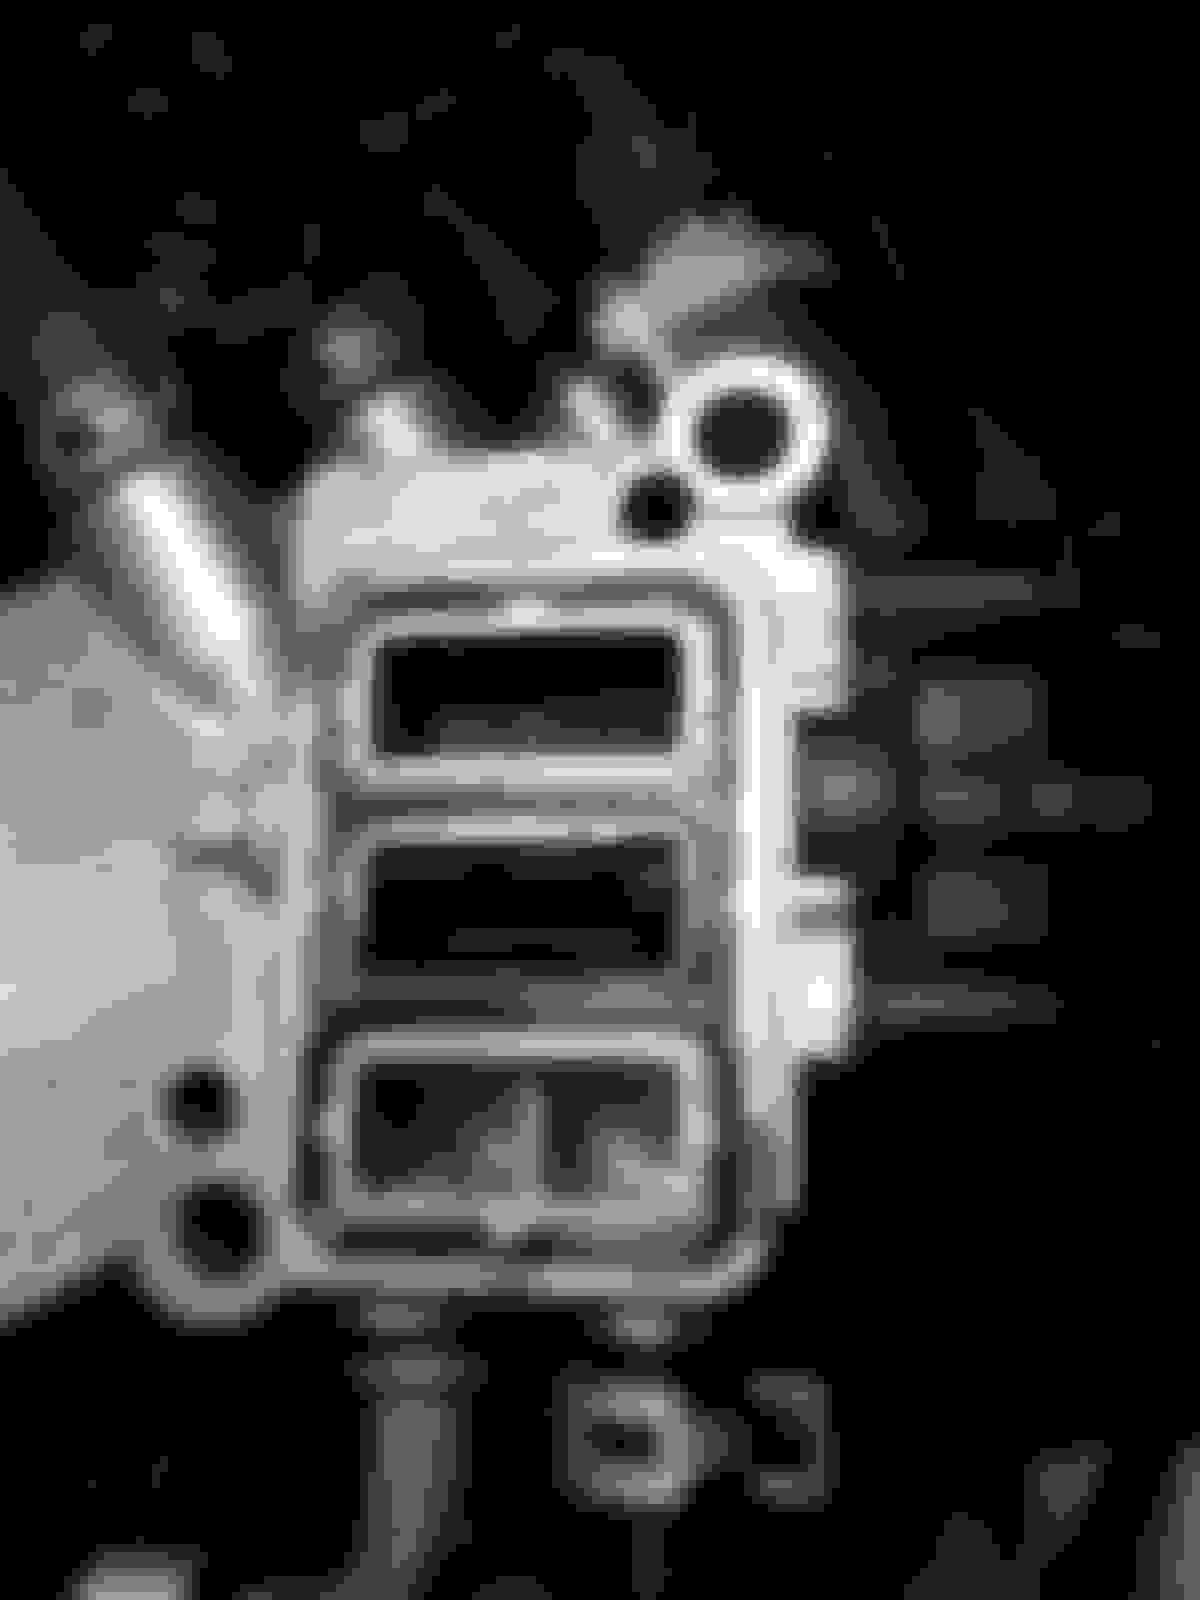
What it looks like when removed...careful with the rubber gasket around the edge.
Spray the roller valve and chambers with brake cleaner or carb cleaner. You can also gently use a tooth brush, but be careful no bristles are left in the chambers.
A little oil on the rubber gasket before reassembly is a good idea. Just get your finger wet and run it over the gasket. You just want to get the gasket moist, not dripping.
Then screw the bolts back in (DON'T over torque...these are only 10mm bolts so they don't need wrath of God torque or they will break...as we've seen one owner do).
Plug the socket back in...it can be a pain when the rubber sleeve gets in the way.
You're ready to go.
If you are having trouble with the socket here is an alternative sequence to remove the IAC thanks to gospeedgo1:
1. move clips for coolant lines that are on the IACV
2. loosen the two 10mm bolts holding the IACV on
3. now you can pull the IACV up and easily pull back the rubber plug shroud and unplug the
connector (press bottom of plug)
4. hold 1 coolant line and IACV and twist them in opposite directions
5. repeat for other coolant line
6. clean IACV
You will see what needs cleaning when you take it off. The pic above shows a clean IAC. You'll see carbon build up in some of the chambers. And you will see a mechanism (roller valve)...clean that up as best you can.
Originally Posted by negcamber,May 25 2007, 07:38 AM
You will see what needs cleaning when you take it off. The pic above shows a clean IAC. You'll see carbon build up in some of the chambers. And you will see a mechanism (roller valve)...clean that up as best you can.
If Sea Foam is lightly sprayed into the TB does that also clean the IAC?
If Sea Foam is lightly sprayed into the TB does that also clean the IAC?
It won't do a very good job...the engine will suck the seafoam in before it would reach the IAC. And if the engine is off, you still won't reach it very well from the TB.
Ok so I looked under the hood and I have no idea what needs to be disconnected. It seems it will take a while. Does anybody know exactly what needs to be removed? Pictures would help.
It only had 2 bolts. Use the 10mm socket... or wrench to remove the racket that hold the throttle cable and the iac also. So, total is 4 bolts in all. Make sure to disconnect the sensor to the iac. If you look at the pics then you will also see 2 black holes. Once you remove the iac you need to remove the holes in order to get the iac out, but you don't have to if you don't want to. As for cleaning i used wd-40 and it worked like a charm. It shouldn't taking you more than 10 minutes.
Okay I was looking for a How To on this - negcamber had the best pics I could find. So I used them as a reference as well as my "personal" Honda Tech Help Line
Here are my Pics and my progress.
Here is the IAC on the intake. Use NC's pics above and compare to mine.
I stuck a towel below the IAC - a little coolant will spill (but not much)
Push back the rubber boot off the plug on the right side of the IAC, and unplug it. You can see where to press in the pic.
Now remove the 2 - 10mm bolts - Pull the IAC up and rotate it as below.
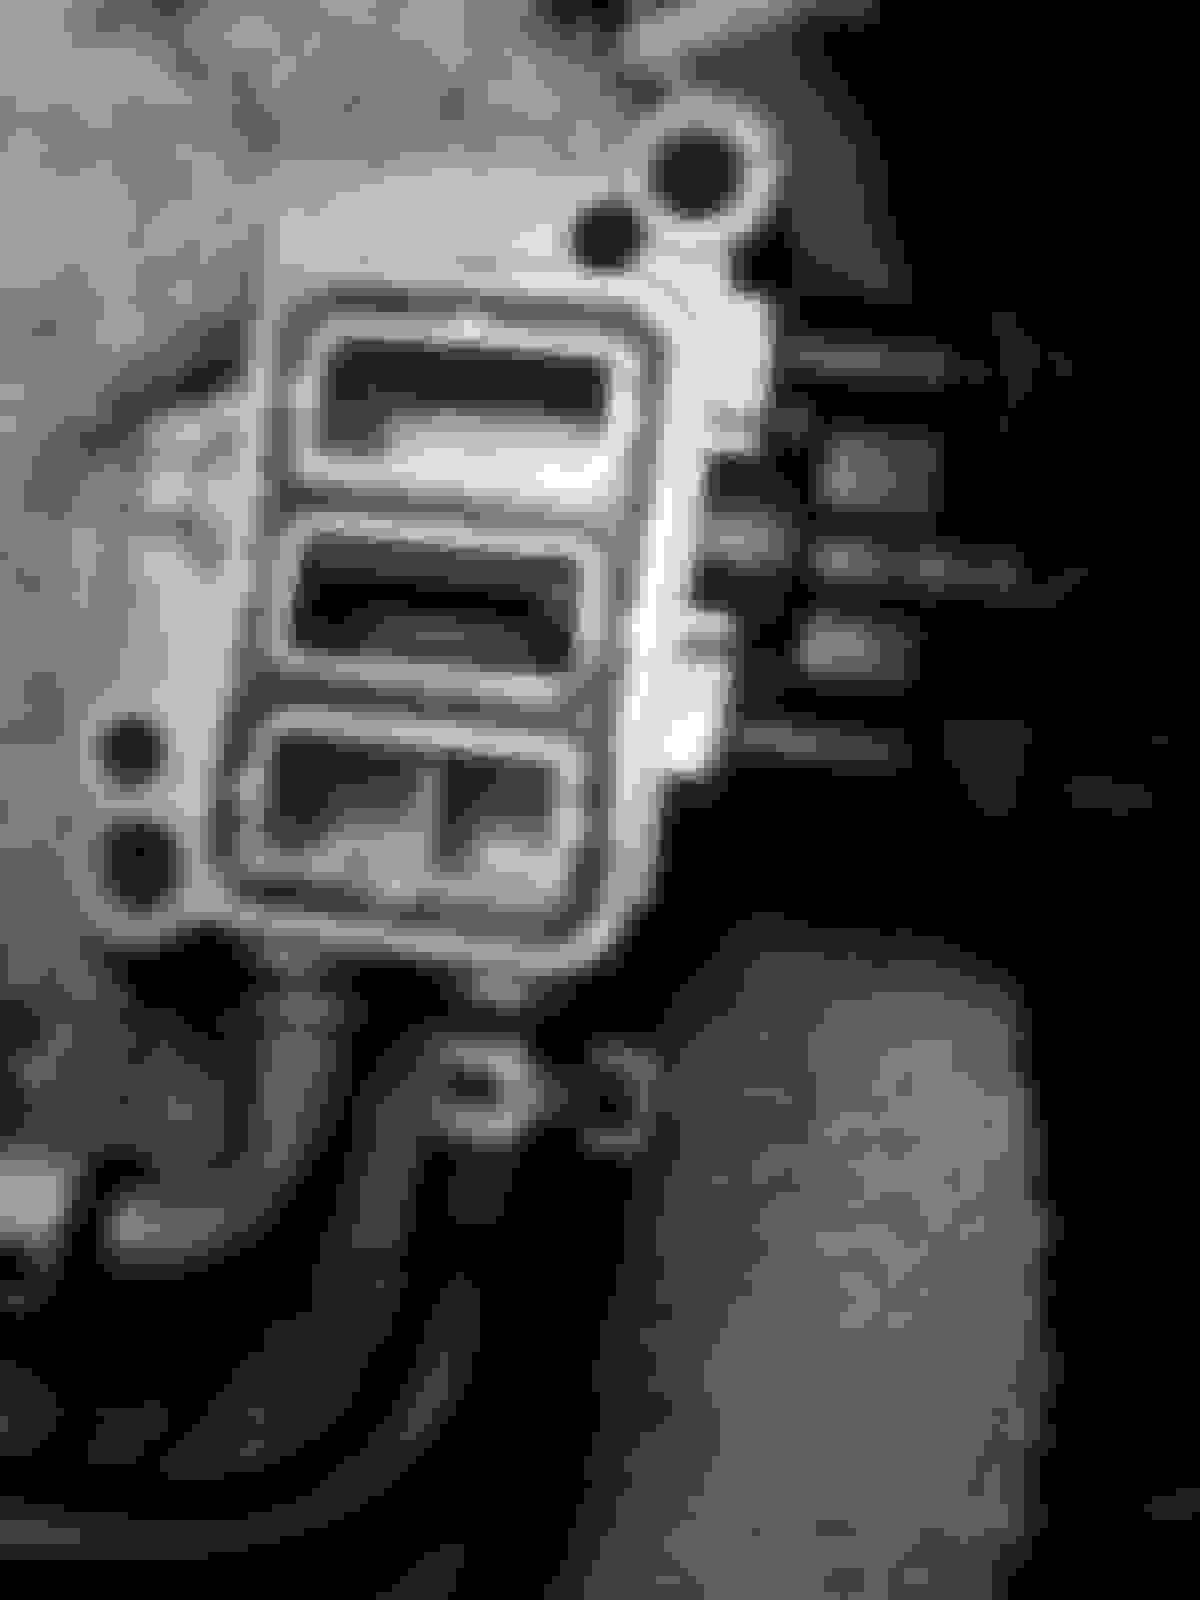
Here is the IAC Dirty - the middle chamber was the worst.
Use Carburetor Cleaner "liberally" to clean away the build up. Use an air hose to blow out the excess. This took some time for myself. I had a thick build up, so I repeated the application several times. WD-40 was tried first, and didn't do squat compared to the Carb Cleaner.
Once clean:
Rotate it back over and replace the two bolts. Be sure to start the bolts by hand and tighten them as much by hand as possible just to be safe.
Snug them up and you should be ready to go. [Edit] These are only 10mm bolts, so they don't need wrath of God torque...they will break.
I also haven't had the MAP sensor zip tie fix from Honda so I just did a MAP WACK - unplugged and cleaned the plug (not the sensor) with Honda Brake Cleaner, allowed it to dry - replugged it and applied two zip ties to hold it tight.
I also pulled the Back Up Fuse for 30-45secs
Started the car and allowed it to run for a minute or two. Then took it out for a drive.
 05-24-2007, 06:47 PM