
20 hours on an Arctic White S4

Thread Starter
Registered User
Joined: Mar 2006
Posts: 17,670
Likes: 0
From: Bay Area
I've been looking forward to this detail for a few weeks now, since we originally booked it. There's something about the Audi S and RS series of cars that are just so sexy! And this car was VERY tastefully modded from the RS4 front grille, S6 fogs, DPE wheels, painted roof, header back exhaust, and a perfect stance. Needless to say.. I wouldn't mind one  (Arctic White
Although the car was quite dirty. As stated in previous details, in the Bay Area, it's been about a month of off and on rain. Not to mention, this car WAS ( ) a regular at an infamous detail place here called AJs. Those that are familiar with it know they get cars clean, but aside from that, they swirl and mar the paint like no other! And this car showed it.
I started bright an early at 8am Saturday morning. This is what I found when I pulled it out:

Notice the lack of gloss..


After initial inspection and a game plan formulated in my head I started off with a thorough pressure rinse of the car with my PW filtered with DI water:

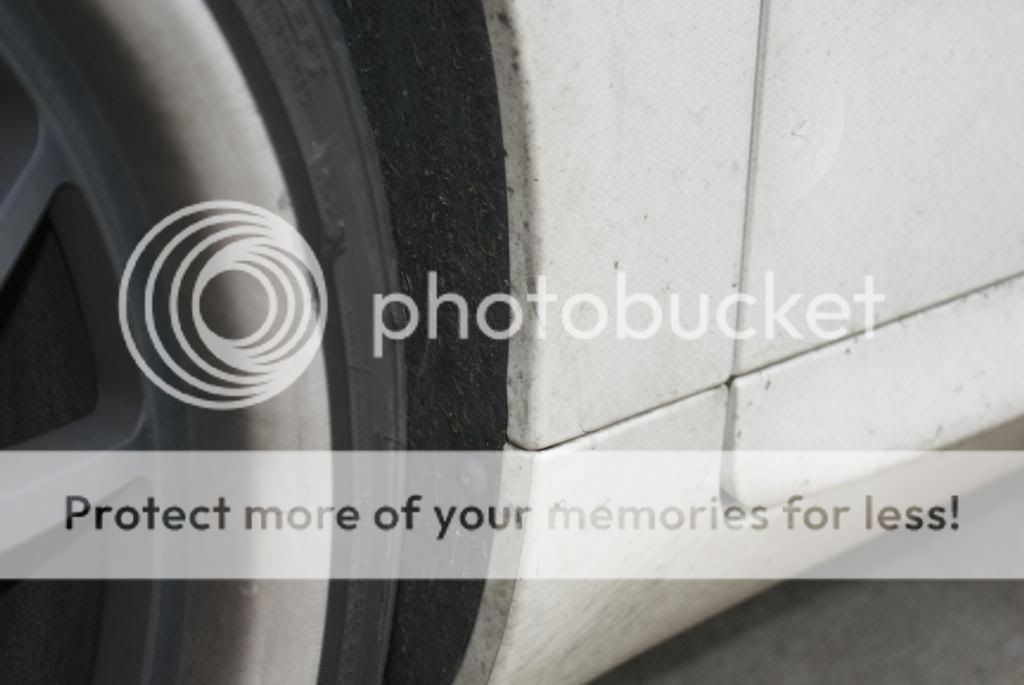
After the rinse down, I moved on to the wheels. With the usual healthy helping of P21S Wheel Gel on the rim faces. The wheel wells and tires were doused with P21S TAW. Both were let to dwell for a few minutes, and then agitated with various brushes:


I then turned my attention to the engine bay. I had originally rinsed it down when I was rinsing the rest of the car, so it was all ready to be cleaned. The owner said he tried to keep it wiped down as much as possible, and surprisingly it showed. There was only a little bit of dirt, but overall not that bad!
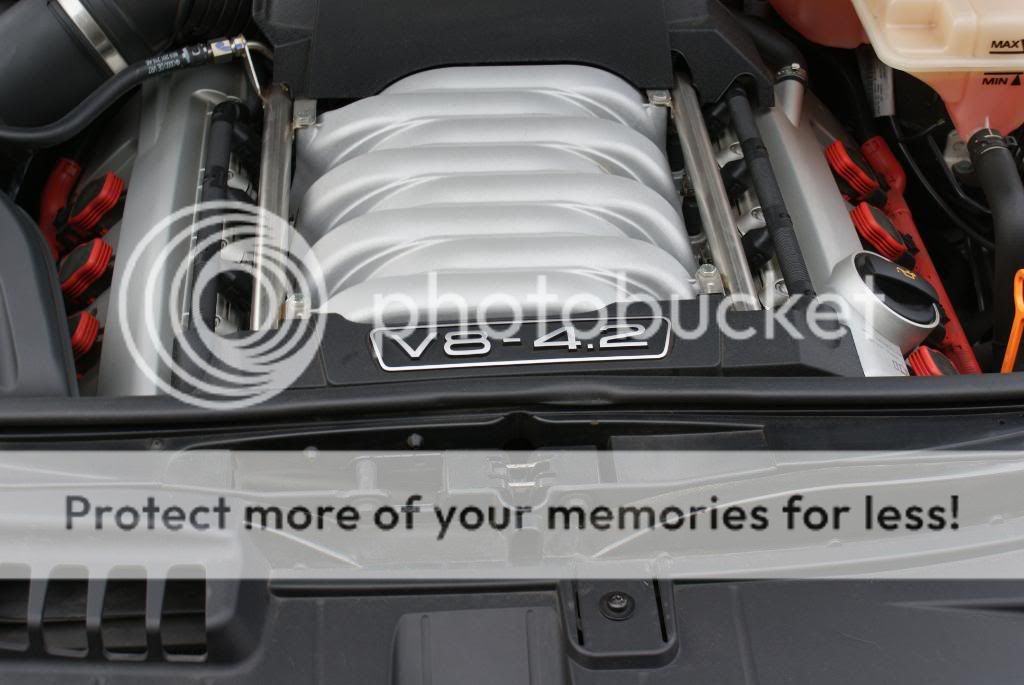

After the initial rinse, I sprayed it with P21S TAW and let dwell for a few minutes before rinsing.


After the engine bay was finished, it was time for the foaming. I decided to try something different that was a little bit more agressive since the car was so dirty.


So what I mixed up was about 2 ounces of P21S TAW and about 2-3 ounces of Optimum Power Clean. Again, I wanted to see how much I could suds off with the high concentration of soap. It was then foamed on:


While the foam was setting in, I decided to tackle the door jambs with a sw brush, slide lock brush, and P21S TAW:

After that was done, I pressure rinsed the rest of the foam off. I was fairly happy with the cleaning results given, but it wasn't nearly enough. Instead of a second stage of foaming, I decided it'd be best to just use the normal method of washing with two buckets, two grit guards, genuine sheepskin mit, and CWG. This did the charm. The car was then blown dry and pulled inside.
Unfortunately the pics stopped, as I wanted to get the show on the road!! Once inside, after claying with Meguiars Professional medium white clay, and luber as lube, I inspected under the halogens. Let me tell you.. trying to capture defects on the TiAG E46M seemed a cake walked compared to trying to capture defects with the halogens on the Artic White.
This was the best I could do with the hologens:
But the light of truth LED light did a decent job, when I could focus on the light right!!


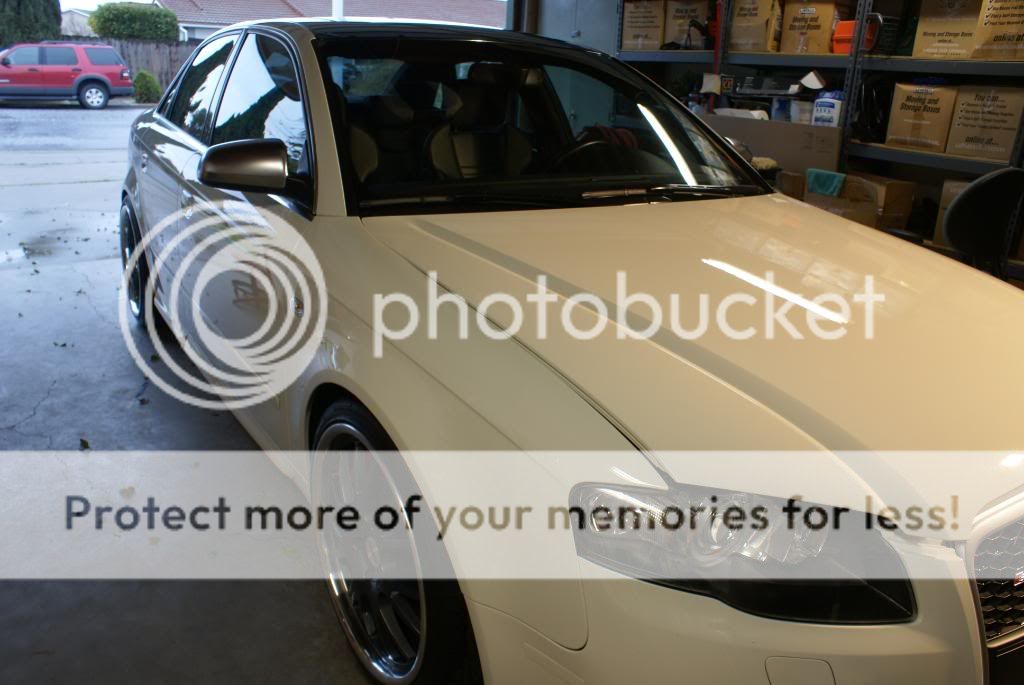
The aftermarket painted gloss black roof:

And gloss black sides:


Horrible attempt at a 50/50:


On the test panel of the hood, for the first half of the car the process used was: M105+Megs Yellow Woolx2, M105+PFWx2, SIP+3M Greenx1, and UF+3M Blue x1. This was the result:


Hood corrected, fender not:

Once I got to the tail lights, I used the 3" PFW+m105x2, then 3" 3M Yellow+SIP x2. Before:

After:

(Arctic WhiteAlthough the car was quite dirty. As stated in previous details, in the Bay Area, it's been about a month of off and on rain. Not to mention, this car WAS (
) a regular at an infamous detail place here called AJs. Those that are familiar with it know they get cars clean, but aside from that, they swirl and mar the paint like no other! And this car showed it. I started bright an early at 8am Saturday morning. This is what I found when I pulled it out:
Notice the lack of gloss..
After initial inspection and a game plan formulated in my head I started off with a thorough pressure rinse of the car with my PW filtered with DI water:
After the rinse down, I moved on to the wheels. With the usual healthy helping of P21S Wheel Gel on the rim faces. The wheel wells and tires were doused with P21S TAW. Both were let to dwell for a few minutes, and then agitated with various brushes:
I then turned my attention to the engine bay. I had originally rinsed it down when I was rinsing the rest of the car, so it was all ready to be cleaned. The owner said he tried to keep it wiped down as much as possible, and surprisingly it showed. There was only a little bit of dirt, but overall not that bad!
After the initial rinse, I sprayed it with P21S TAW and let dwell for a few minutes before rinsing.
After the engine bay was finished, it was time for the foaming. I decided to try something different that was a little bit more agressive since the car was so dirty.
So what I mixed up was about 2 ounces of P21S TAW and about 2-3 ounces of Optimum Power Clean. Again, I wanted to see how much I could suds off with the high concentration of soap. It was then foamed on:
While the foam was setting in, I decided to tackle the door jambs with a sw brush, slide lock brush, and P21S TAW:
After that was done, I pressure rinsed the rest of the foam off. I was fairly happy with the cleaning results given, but it wasn't nearly enough. Instead of a second stage of foaming, I decided it'd be best to just use the normal method of washing with two buckets, two grit guards, genuine sheepskin mit, and CWG. This did the charm. The car was then blown dry and pulled inside.
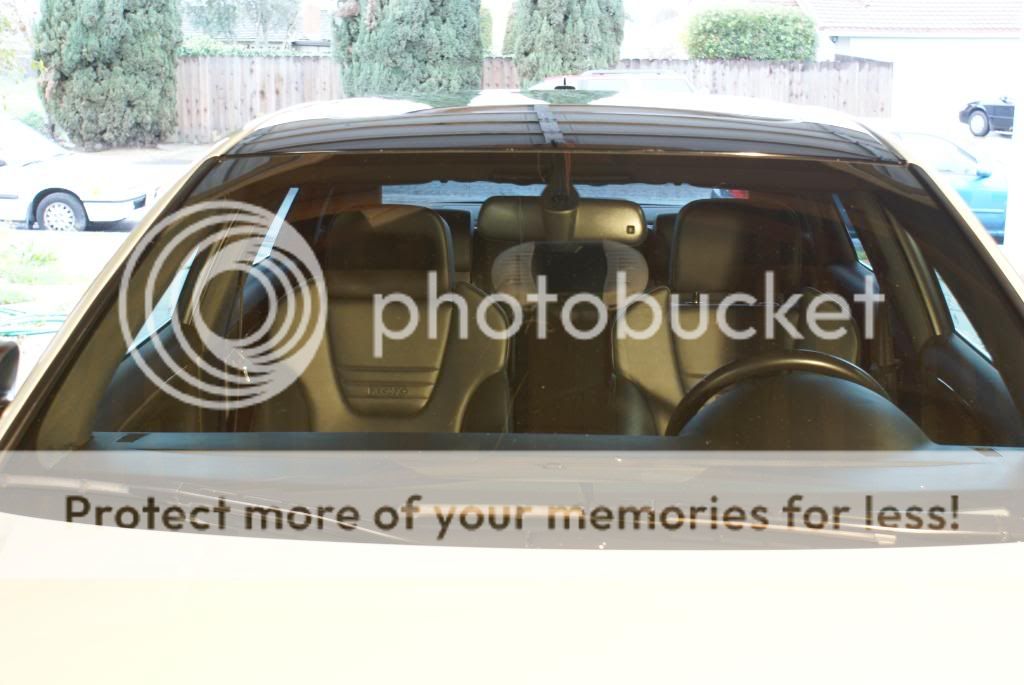
Unfortunately the pics stopped, as I wanted to get the show on the road!! Once inside, after claying with Meguiars Professional medium white clay, and luber as lube, I inspected under the halogens. Let me tell you.. trying to capture defects on the TiAG E46M seemed a cake walked compared to trying to capture defects with the halogens on the Artic White.
This was the best I could do with the hologens:
But the light of truth LED light did a decent job, when I could focus on the light right!!
The aftermarket painted gloss black roof:
And gloss black sides:
Horrible attempt at a 50/50:
On the test panel of the hood, for the first half of the car the process used was: M105+Megs Yellow Woolx2, M105+PFWx2, SIP+3M Greenx1, and UF+3M Blue x1. This was the result:
Hood corrected, fender not:
Once I got to the tail lights, I used the 3" PFW+m105x2, then 3" 3M Yellow+SIP x2. Before:
After:
Thread Starter
Registered User
Joined: Mar 2006
Posts: 17,670
Likes: 0
From: Bay Area
After about 10 hours in to the car, I decided to call it a night. Plus I had to go to a party in PATTERSON of all places with the other half  . So the next morning I was talking with Billy from PresidentialDetailing out of Tampa and he was telling me about the Kevin Brown method for wool compounding a car. Which is as follows:
Use M105+Megs Burgundy wool and thoroughly prime the pad. Then lay a bead of the compound on the paint and pick it up, staying between 1200-1400 rpm. Move slowly and don't up the spead, and when 105 flashes, spritz with water, and work it again. It should be nearly perfect by this step. Then take a finishing pad with m205 and prime the foam pad. Spin the rest of the suface polish off the pad, and then lay a bead on the paint and work it at around 1200rpm and jewel it down to about 800rpm.
I was VERY skeptical about this process.. 'cause if it took me 6 different applications of product in 4 different steps to get the paint 95%+ then there was NO way this would work. BOY WAS I WRONG!!
The rest using the Kevin Brown method of wool compounding:
The rear quarter corrected, C pillar not:


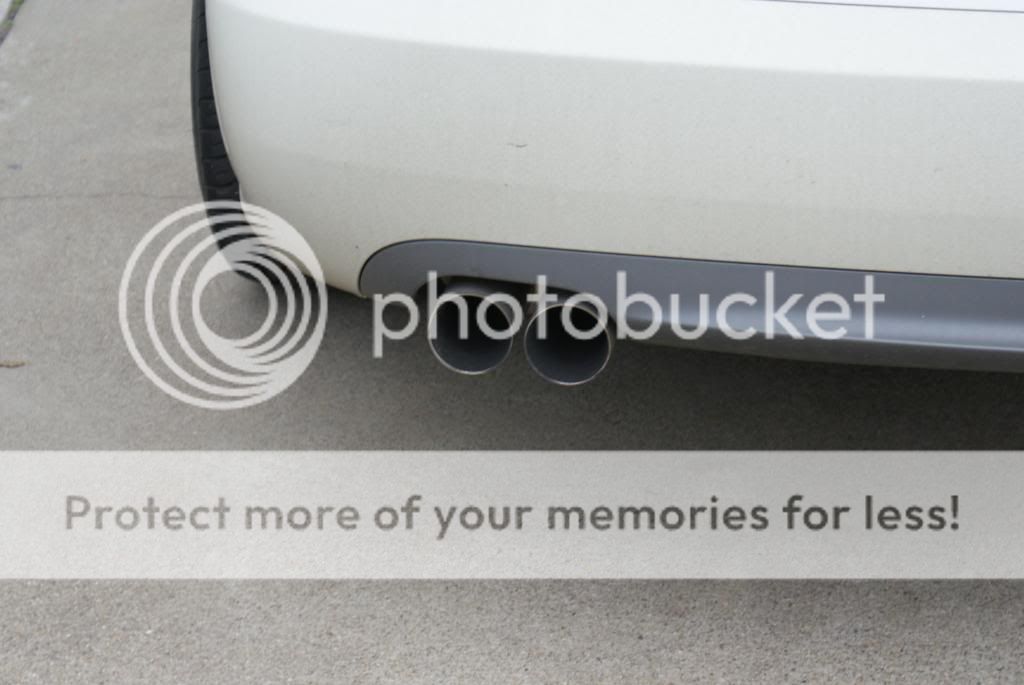
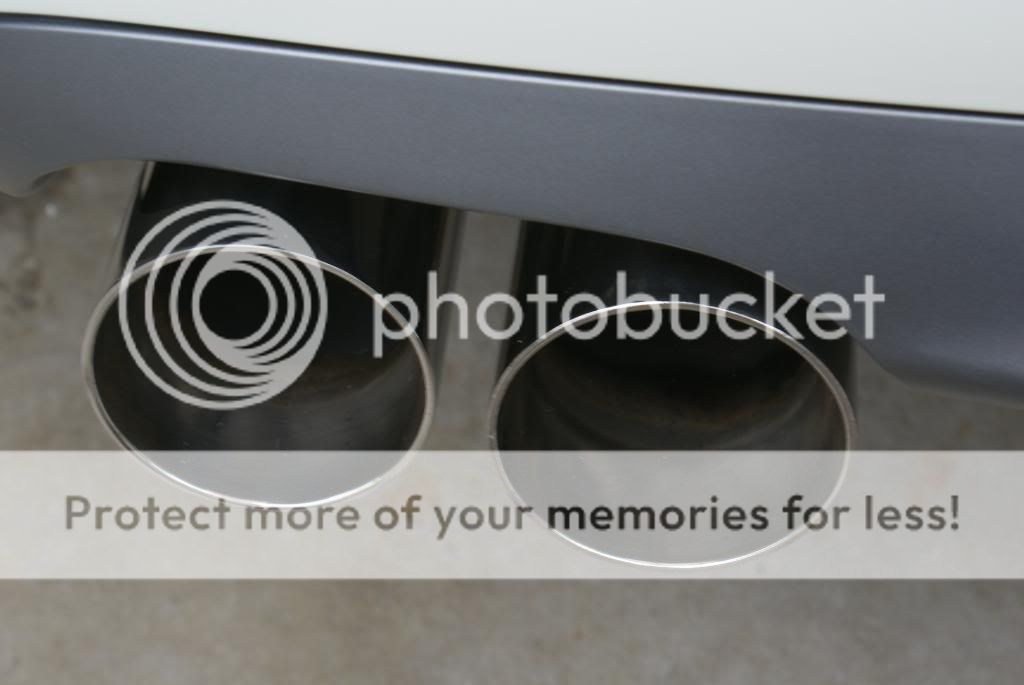
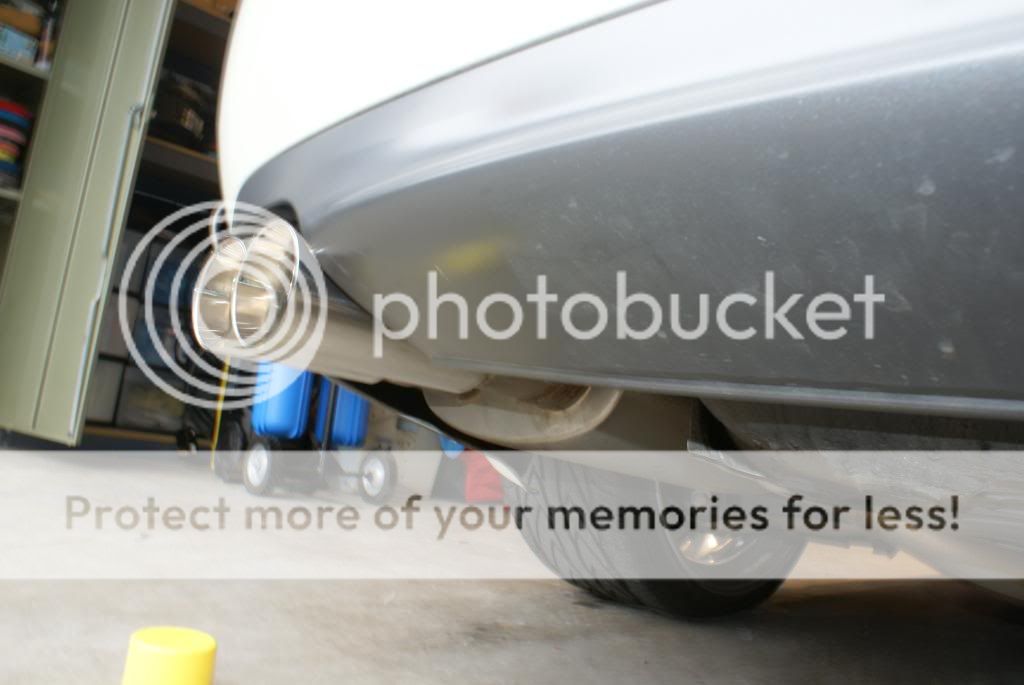
This also cut my polishing time in half, and then some! I then moved on to the exhaust tips. I used stoners tarminator inside the tips to clear all of the soot out, then Mothers Mag and Aluminum polish on the outsides, then on the insides.
Before:

After:


The interior was adressed. Unfortunately I forgot to take befores. It was in generally good condition. The carpets were cleaned with CG Citrus Carpet Cleaner and a swissvax leather brush. The leather was treated with the Leather Masters Trio, and the dash was treated with 1z cockpit premium and then 303 protectant. The seals got 1z gummi pfledge.


The engine bay was also dressed with 303 protectant:


The wheel lips were vigorously polished with Mothers Mag and Aluminum, and then the faces and lips were waxes with Swissvax Autobahn. The tires received Megs HD 3:1 x2:

 '
'

They were polished lips afterall!!
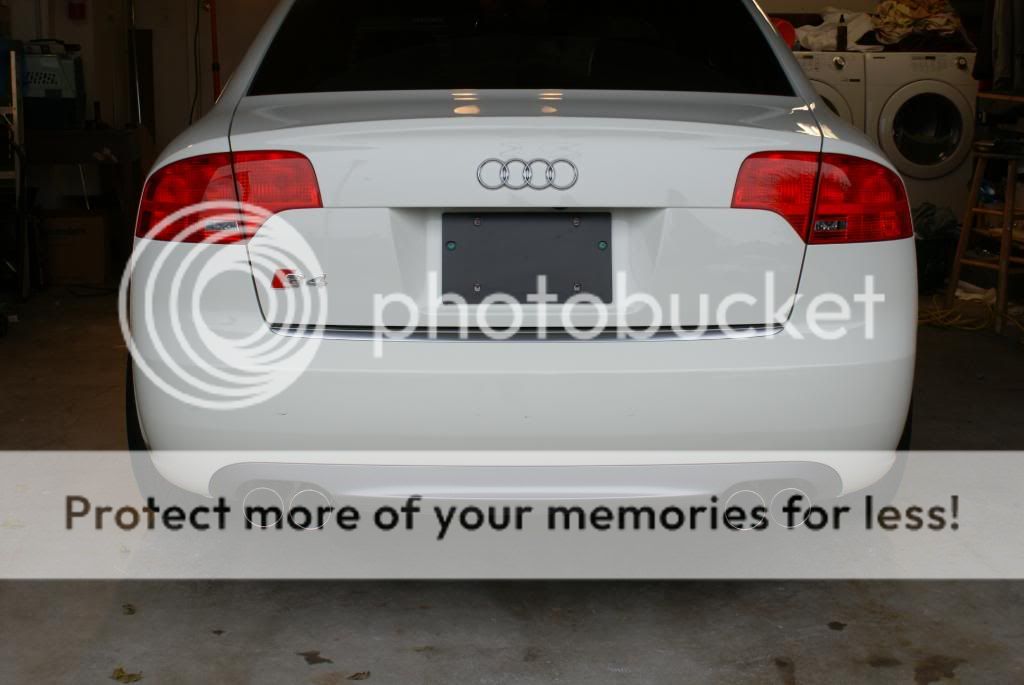
The LSP of choice for this car was the Gloss-It Twins: Signature Gloss Sealant, and Concorso Gloss. I chose this for it's amazing shine/wet look, as well as the super duarbility since this car is a daily driver. Now for the tons of afters:
Under the light of truth:


And the reflection shots:


Alright guys that's all!
C/C Welcome!
Aaron
. So the next morning I was talking with Billy from PresidentialDetailing out of Tampa and he was telling me about the Kevin Brown method for wool compounding a car. Which is as follows:Use M105+Megs Burgundy wool and thoroughly prime the pad. Then lay a bead of the compound on the paint and pick it up, staying between 1200-1400 rpm. Move slowly and don't up the spead, and when 105 flashes, spritz with water, and work it again. It should be nearly perfect by this step. Then take a finishing pad with m205 and prime the foam pad. Spin the rest of the suface polish off the pad, and then lay a bead on the paint and work it at around 1200rpm and jewel it down to about 800rpm.
I was VERY skeptical about this process.. 'cause if it took me 6 different applications of product in 4 different steps to get the paint 95%+ then there was NO way this would work. BOY WAS I WRONG!!
The rest using the Kevin Brown method of wool compounding:
The rear quarter corrected, C pillar not:
This also cut my polishing time in half, and then some! I then moved on to the exhaust tips. I used stoners tarminator inside the tips to clear all of the soot out, then Mothers Mag and Aluminum polish on the outsides, then on the insides.
Before:
After:
The interior was adressed. Unfortunately I forgot to take befores. It was in generally good condition. The carpets were cleaned with CG Citrus Carpet Cleaner and a swissvax leather brush. The leather was treated with the Leather Masters Trio, and the dash was treated with 1z cockpit premium and then 303 protectant. The seals got 1z gummi pfledge.
The engine bay was also dressed with 303 protectant:
The wheel lips were vigorously polished with Mothers Mag and Aluminum, and then the faces and lips were waxes with Swissvax Autobahn. The tires received Megs HD 3:1 x2:
'They were polished lips afterall!!
The LSP of choice for this car was the Gloss-It Twins: Signature Gloss Sealant, and Concorso Gloss. I chose this for it's amazing shine/wet look, as well as the super duarbility since this car is a daily driver. Now for the tons of afters:
Under the light of truth:
And the reflection shots:
Alright guys that's all!
C/C Welcome!
Aaron


Registered User
Joined: Nov 2005
Posts: 315
Likes: 0
From: Rochester, MI
Amazing job! I have an A4 and the clear is hard as heck. But it keep swirls from showing up. I have about a year of daily driving and a few quick washes and it is pretty much swirl free still. This beauty should stay clear for awhile.
BTW, how do you prime the pads for the KB Method? Lay product into it with your hands, or on a test panel?
BTW, how do you prime the pads for the KB Method? Lay product into it with your hands, or on a test panel?
Thread Starter
Registered User
Joined: Mar 2006
Posts: 17,670
Likes: 0
From: Bay Area
Originally Posted by Ubetit,Mar 3 2009, 08:03 AM
Kevin Brown method huh? Does the pad skip or grab after spritizing of the water?
Nope. Not at all. You only spritz water on the wool pad (not the foam pad), and I have found that wool pads are quite easy to control
 . And no spitting of water either!
Gasolina, you prime the pads by squirting product on the pad and rubbing it in with your fingers. You only wipe off the excess on the foam pad, not the wool pad.
KR, I spend 11 hours the first day, and 10 hours the second. I was WIPED OUT let me tell you
Thanks for all the compliments guys!!
Aaron
Trending Topics

Thread Starter
Registered User
Joined: Mar 2006
Posts: 17,670
Likes: 0
From: Bay Area
Originally Posted by slanguage,Mar 3 2009, 07:09 PM
Nice work. Looks like it was raining after you finished up 