When you click on links to various merchants on this site and make a purchase, this can result in this site earning a commission. Affiliate programs and affiliations include, but are not limited to, the eBay Partner Network.
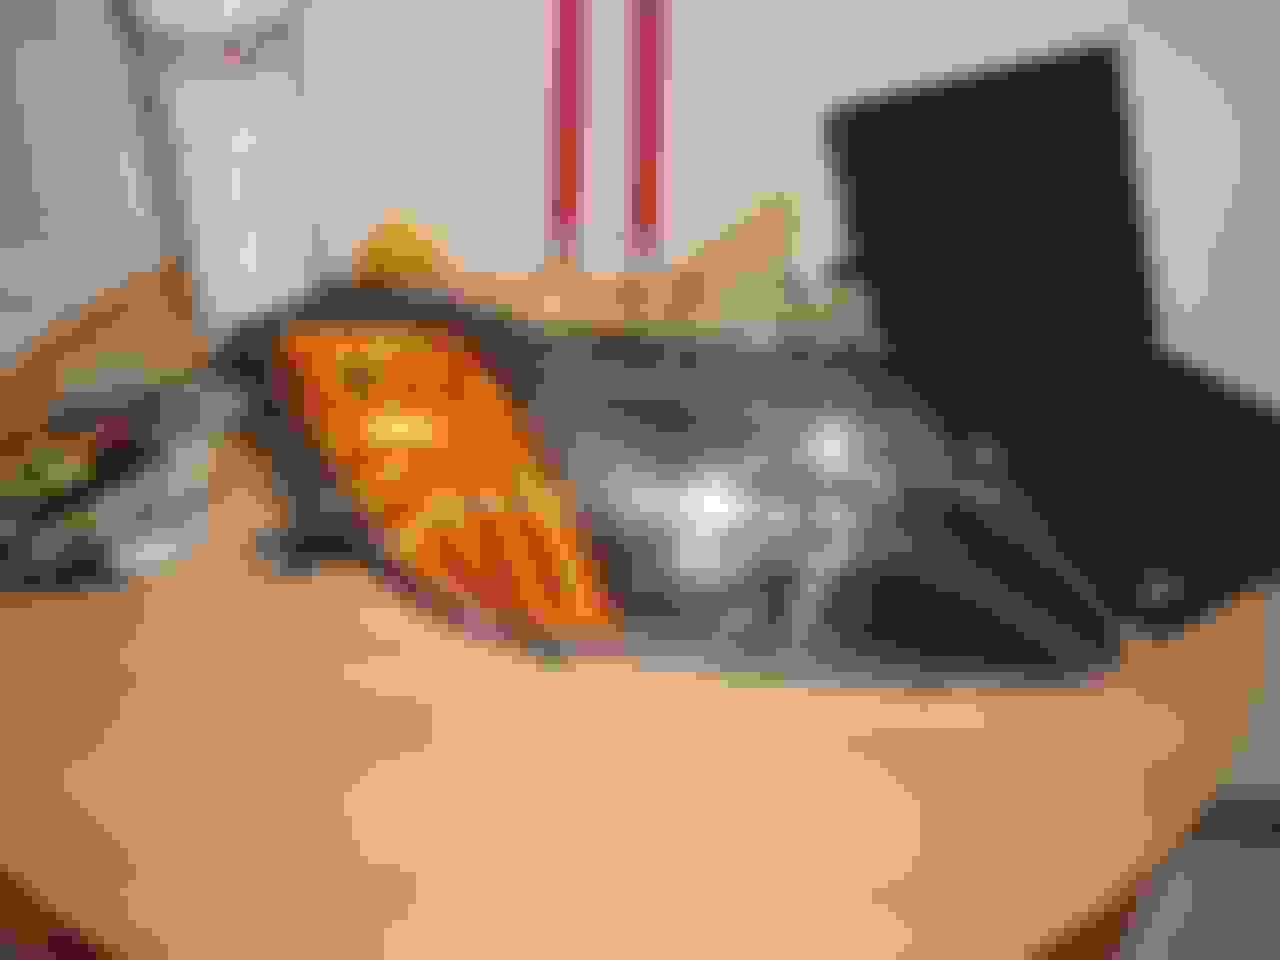
Somebody asked me about it during the Bear Mtn Run and my response was that I didn't think it would be that hard. Well the long weekend gave me the time to attempt it. Here are the pics. This is only the portion after you have removed them from the car and does not discuss the reinstall into the car which I felt Arnell had documented quite accurately.
I followed the directions in this thread. https://www.s2ki.com/forums/showthread.php?...?threadid=50775
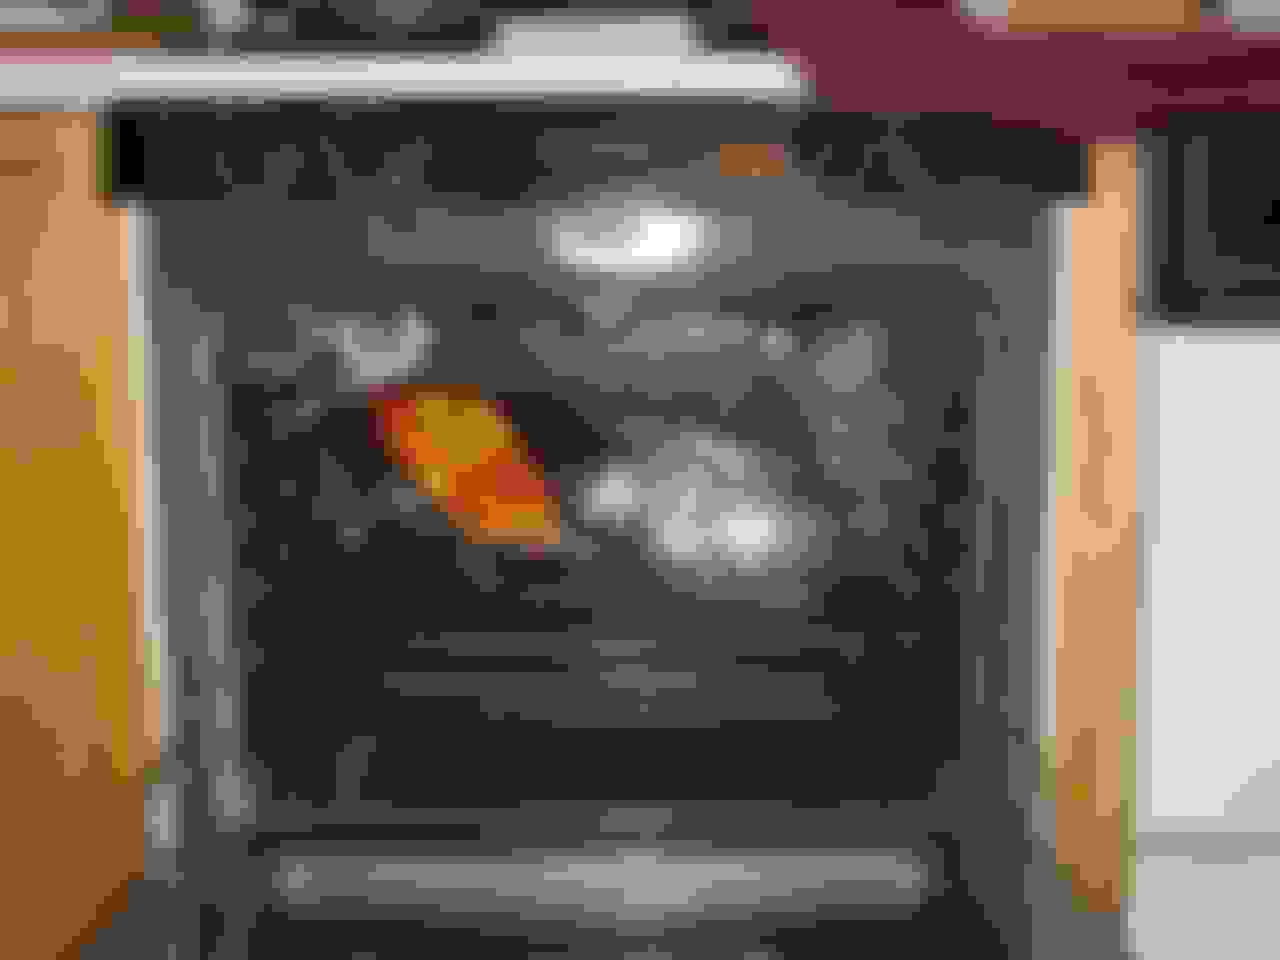
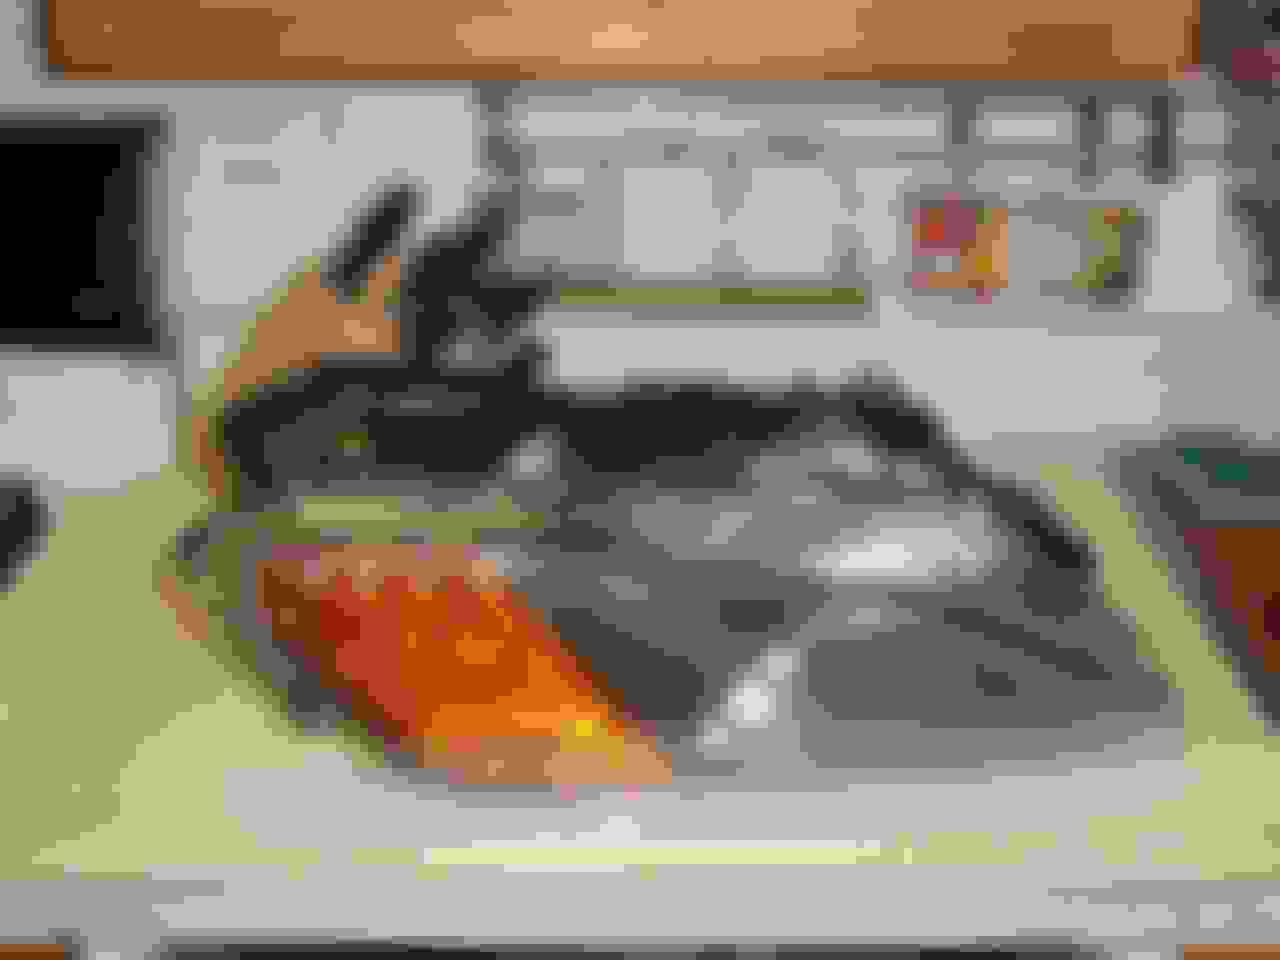
I already have the Euro Headlights so I did this just to try it out (mainly to prove a point). The only changes I would make to Arnell's instructions is to preheat the oven and let it cook for about 20~25mins the first time. I was able to seperate the entire piece with my barehands at that point. Use gloves that plastic gets hot. Once open it's 3 screws to remove the amber diffuser. To reseal you have 2 choices. If you have a heat gun and spare time I would suggest peeling off as much of the original adhesive as possible in order to ensure a proper new seal. If the heat gun and time are not available you can just apply extra adhesive and reseal by heating up the headlight again for about 20~25 mins. I did about 22 mins in my runs and the heating time allowed the adhesive to become a very soft compound again. Before resealing I used compressed air to make sure there was nothing inside the headlight (lint, dust) that shouldn't be. Wear cotton t-shirt (non fuzz clothes). As for resealing Arnell used a towel and rope to hold the pieces together for bonding. I suggest getting some zip ties and a cotton clean lint free pillow case. As you can see I resealed it with the orange piece because I have no need for a clear corner headlight.
Now here are some additional things you can do. When I looked at my headlights I was surprised at how messy the original adhesive was laid. So my advice would be that after you get it sealed to scrap off any adhesive and apply an extra thin coat to ensure the integrity of the seal. After plugging up the holes for the light bulbs sockets in the back with some paper and tape, I left the headlight outside in the rain overnight and happy to say it does not leak.
Somebody might be wondering about cost at this point, so I'll break it down (tax not included)
Adhesive - $2.97 at Pep Boys
Work Gloves - $1.00 at the local dollar store
Zip Ties - $1.00 at the local dollar store
Phillips Screwdriver - please tell me you have this laying around the house
Pillow Case - should be able to find one around the house
Flat head Screwdriver - same as above
2 hr of usage on your oven, about an hour a headlight.
A scrapper - $1.00 at the local dollar store
Utility Knife Blade $1.00 at the local dollar store
So as you can see there is not much cost involved.
ok i prob. am the stupidest one here but lemme get this straight...you put the yellow thing back on afterwards???
If it didnt have the yellow thing would it just look plain like the euro accords and G2 integras or does it keep that Grayish look (hope you know what i mean)???
And lastly Are you sure you dont wanna make some fast bucks by selling me your pair?????
Originally posted by BlueDevilS2K ok i prob. am the stupidest one here but lemme get this straight...you put the yellow thing back on afterwards???
If it didnt have the yellow thing would it just look plain like the euro accords and G2 integras or does it keep that Grayish look (hope you know what i mean)???
And lastly Are you sure you dont wanna make some fast bucks by selling me your pair?????
Yup, put the Amber piece back in afterwards. I already have the Euro Clears so no need for it. I did this because some folks thought I was being hardheaded to argue that it isn't worth paying somebody $200 to do. I think I proved my point since I haven't heard anything from them after I posted this.
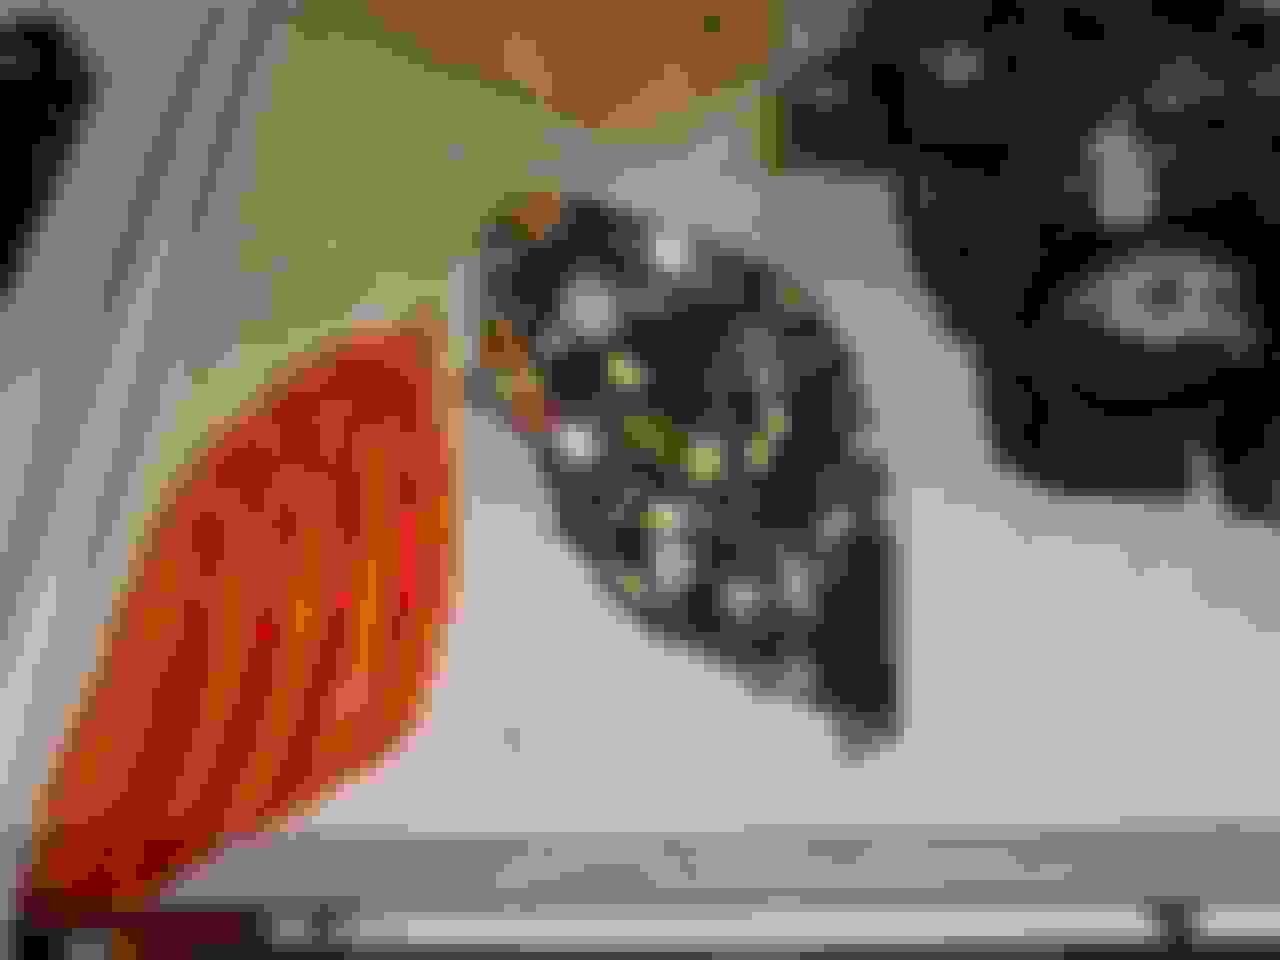
Sorry, won't sell my stockers I am sure that I will need them eventually. As for look, 5th pic down see the silver piece next to the amber, that is exactly what it will look like. That's the piece that shows through.
Originally posted by BlueDevilS2K ok i prob. am the stupidest one here but lemme get this straight...you put the yellow thing back on afterwards???
If it didnt have the yellow thing would it just look plain like the euro accords and G2 integras or does it keep that Grayish look (hope you know what i mean)???
And lastly Are you sure you dont wanna make some fast bucks by selling me your pair?????
It looks "plain" as in there's no more diffuser there...it's straight clear with what looks like a chrome reflector.
Not as nice as the real euro lights in my opinion.
It looks "plain" as in there's no more diffuser there...it's straight clear with what looks like a chrome reflector.
Not as nice as the real euro lights in my opinion.
yupp...just as i suspected im not too crazzy bout that clear look but ohh well ill think about it cause that darn orange looks rediculous with blue and theres no way on earth im gonna pay 900 for the real thing....thanks you guys for your info
Back to the top, as I have been informed quite a few of you guys are paying $150 to get them cleared. Which is ridiculous! If you need it cleared please contact me and we will work out something more reasonable. Hell, I believe JP (Ludedude has also done this mod) he probably would be willing to help somebody else out as well. The directions are there if you want to do it yourself. It's relatively safe and easy. I've done 3 sets now with no leaks. They've been on the owner's cars for over a year.
I thought $200 was to expensive, and I still think $150 is as well.
 03-31-2002, 08:32 AM