My restoration project: 1998 BMW M3
 04-28-2014, 07:09 AM
#1


This past year i did a lot of thinking whether i should sell the S2000 or not i decided to keep it. I've grown to love my S and it was hard to think of selling it. In 2012 when I had my baby daugther, i knew the S would get less driving time and the impracticality of a 2 seater would show even more when I wanted to drive around town with the family. Even though we have my wife's car, i decided to bite the bullet and buy a 3rd car. When i saw a 1998 BMW M3 Sedan for sale locally, i knew i had to get it. It was one of the cars when i was in HS and college i always wanted but was way too much $$ at the time. My purpose was to have a car i could drive without really caring too much about parking it on the street or driving it on a daily basis. For the past 1.5 years, i've been concentrating on doing maintenance for the car that it much needed. The car had high mileage but ran awesome. With maintenance to the car, i kept wanting more and more. I decided i would restore this car back to its glory, better yet, i decided to make this car into what it should have been. In Germany, this car actually had 320HP engine with a 6spd transmission out of the factory. Unfortunately in the US, this car got received the lessor 240HP engine with a 5spd transmission made specifically for the US to cut cost etc. After seeing some amazing builds and swaps going on with the euro motors, i had to see what i wanted for the long run. Instead of opting for the Euro 320HP motor, i decided to look into the E46 M3 motors(S54) which pumps out 333HP out of the box. After searching for a low mileage unit, i found a vendor who had a 2004 M3 he was parting out and decided to pull the trigger and buy the complete drop out. Thats where i am today, this past weekend I rented a truck and i picked up the motor/trans etc from CT and drove it down. Below are pics of what i've done so far.
As much as I love the M3, I don't feel the camaraderie with the bimmer members like i do with my fellow metro s2ki members hence why i wanted to share this project with the rest of you fellas!!
Enough babble, below are pics and I'll update more as the project progresses!!
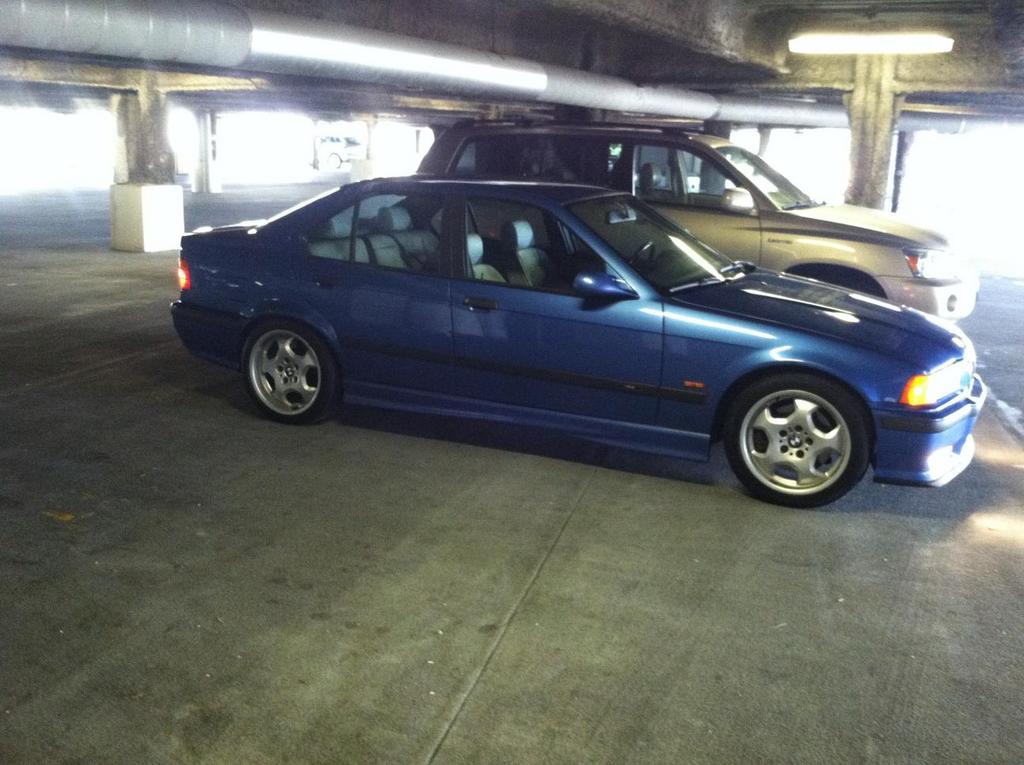
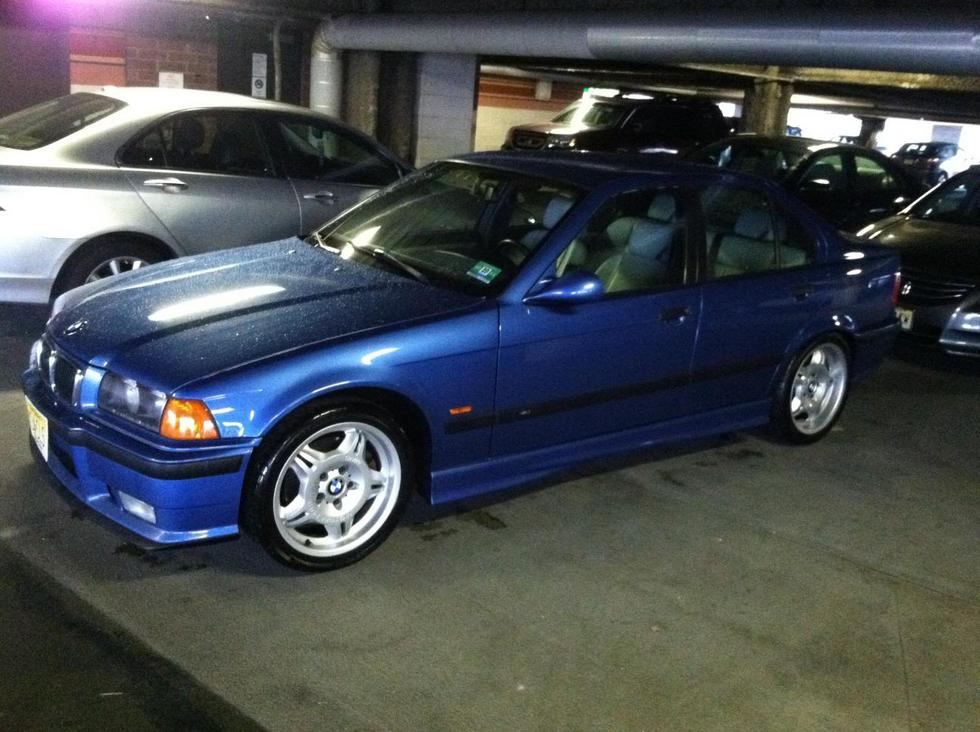
First day I picked up the car.
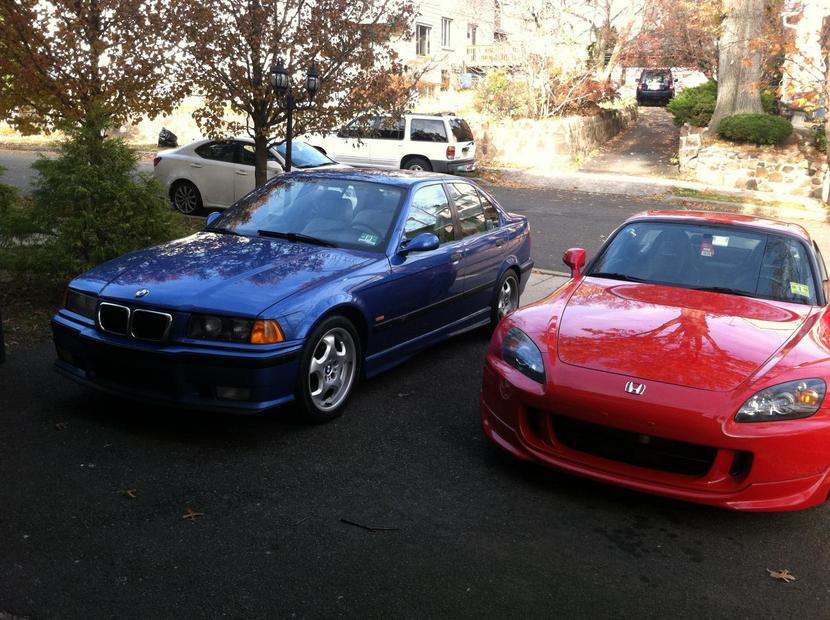
Lets hope they can be friends.
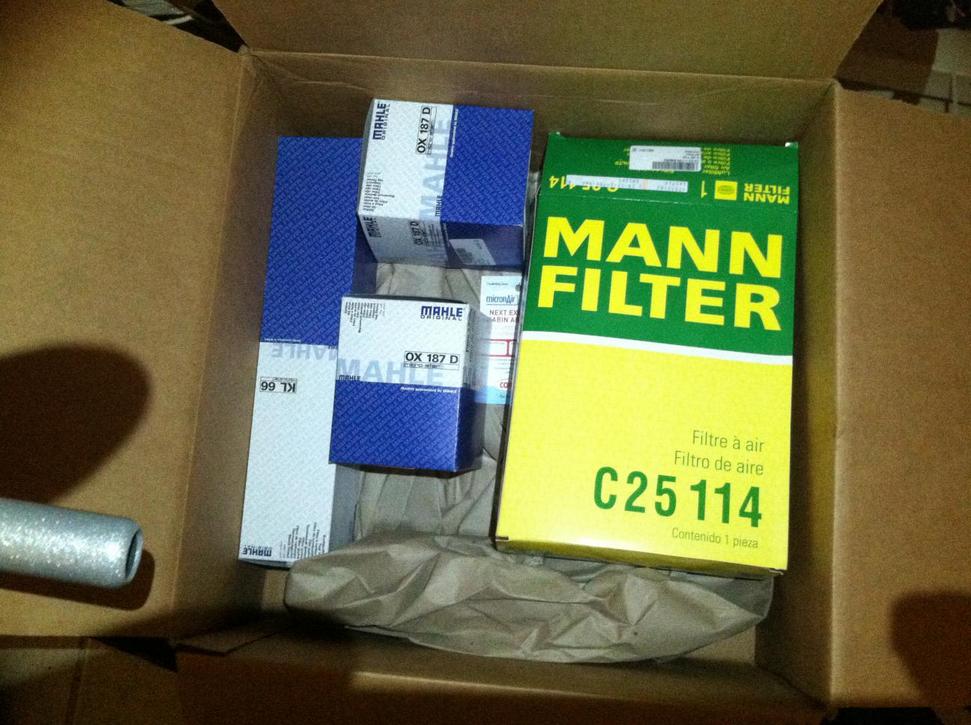
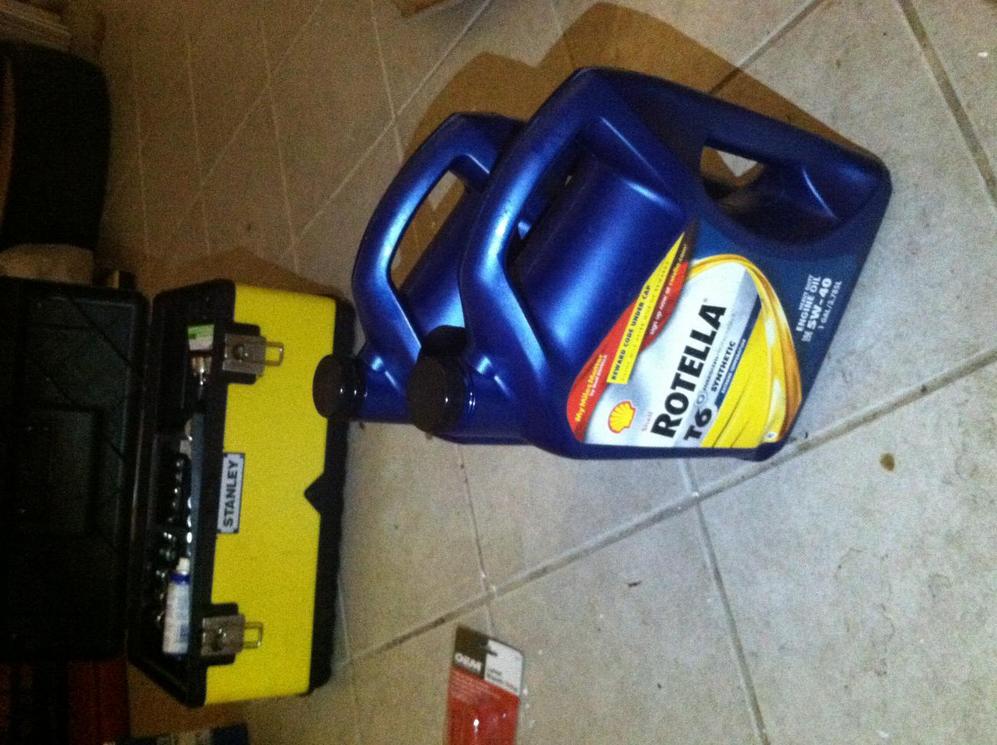
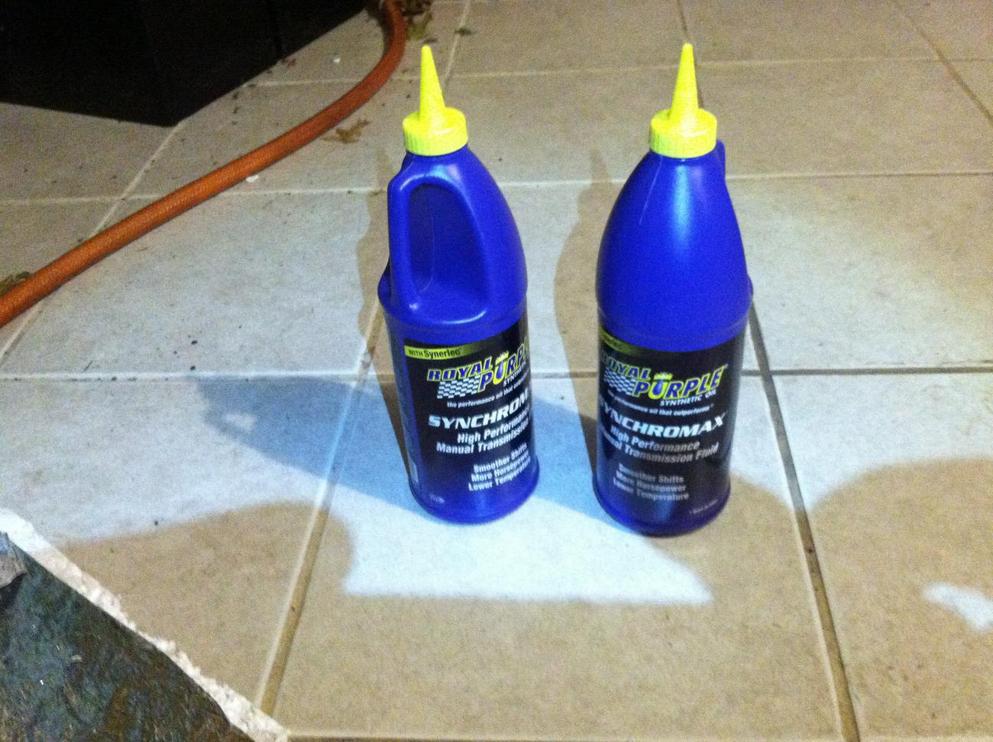
Bunch of maintenance stuff first 2 months of owning the car.
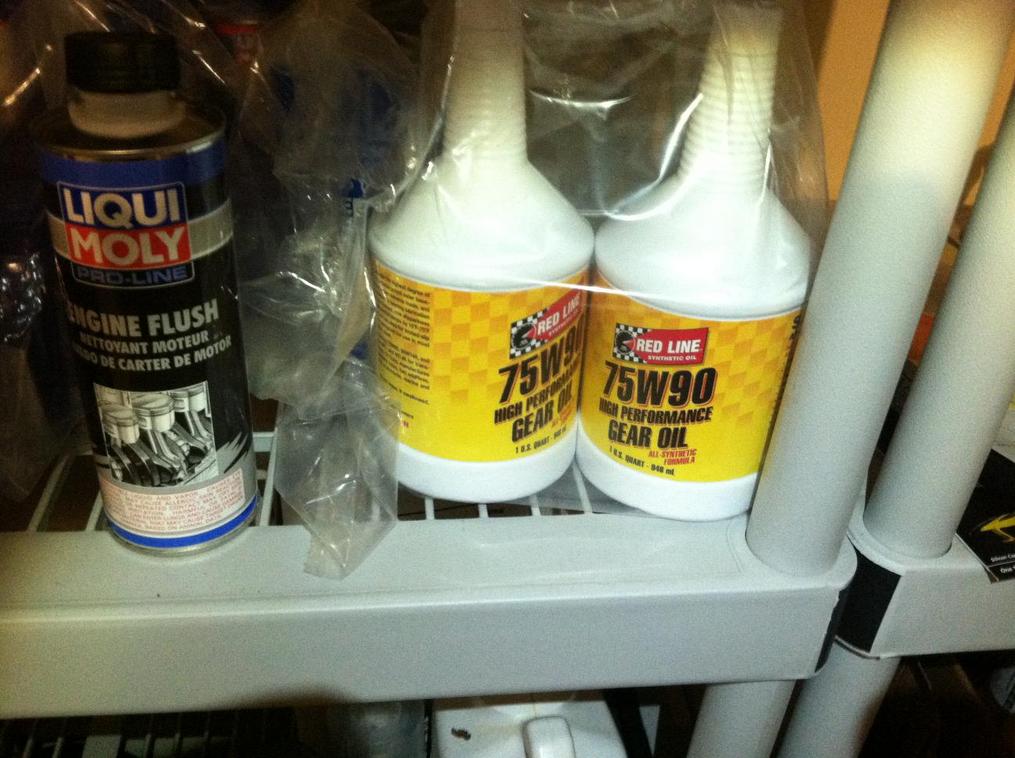
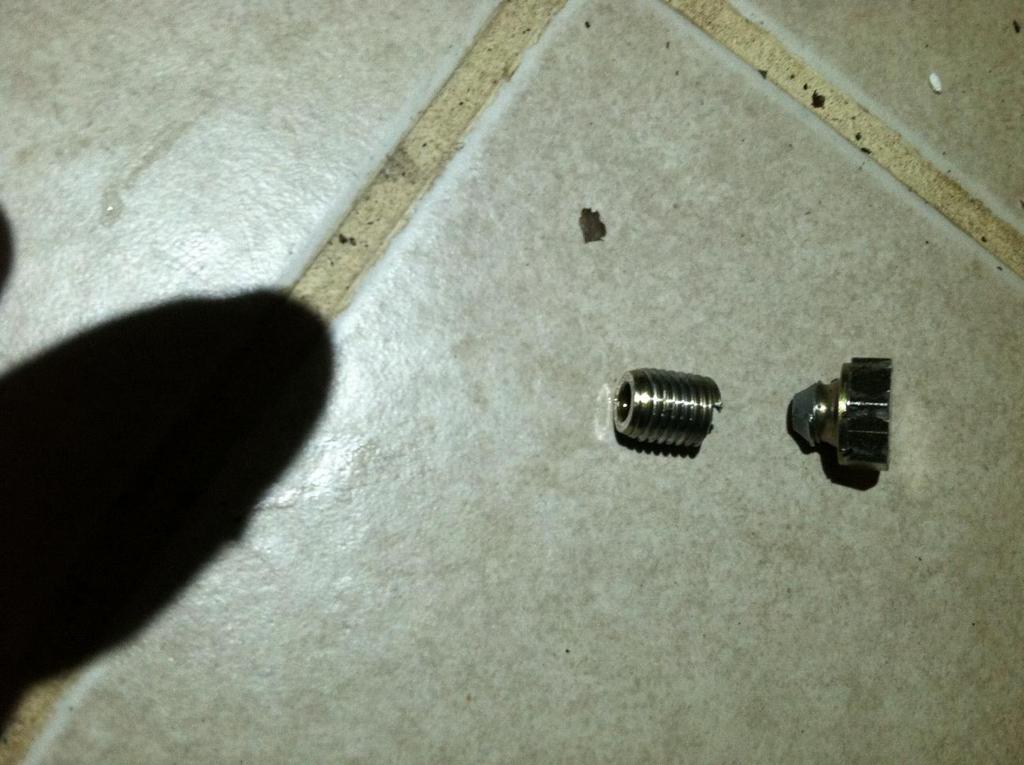
First time doing an oil change and this is what happened.....no idea that the oil drain plug was 18ft lbs of torque. It just snapped off and I almost shat my pants. Got it out with an ez-out.
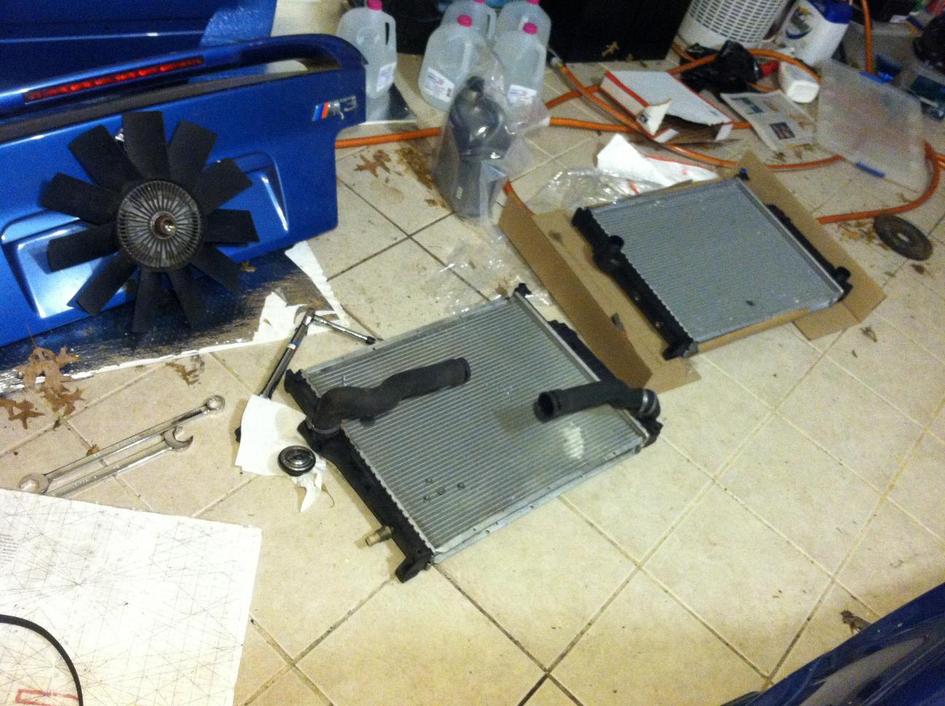
E36 M3s had cooling issues and right in the dead of winter the thermostat was stuck open. I decided to rip out everything and replace it.
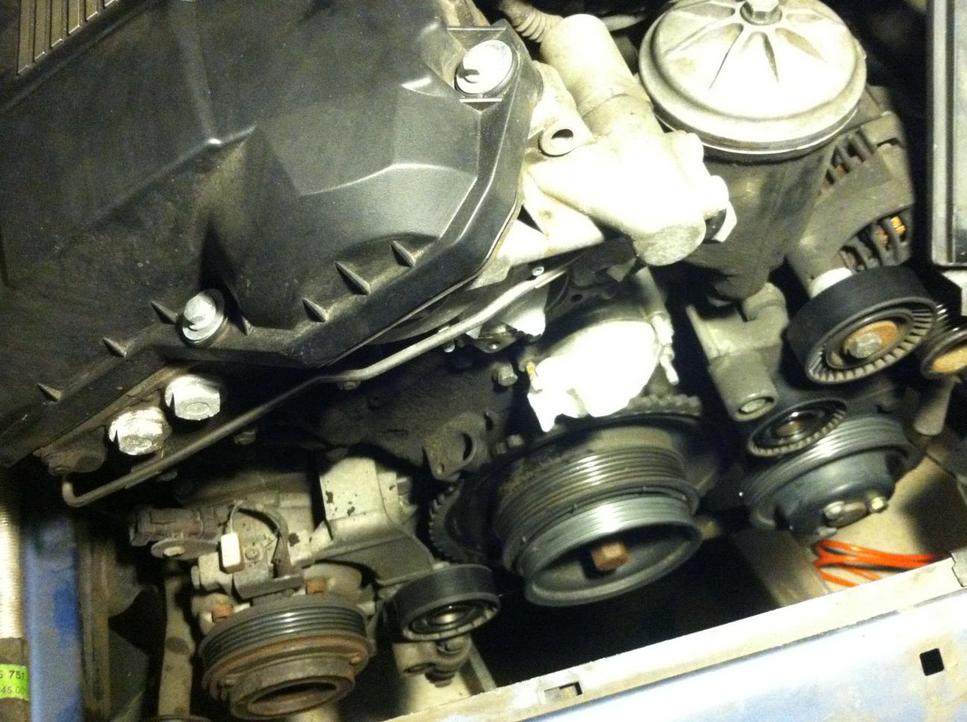
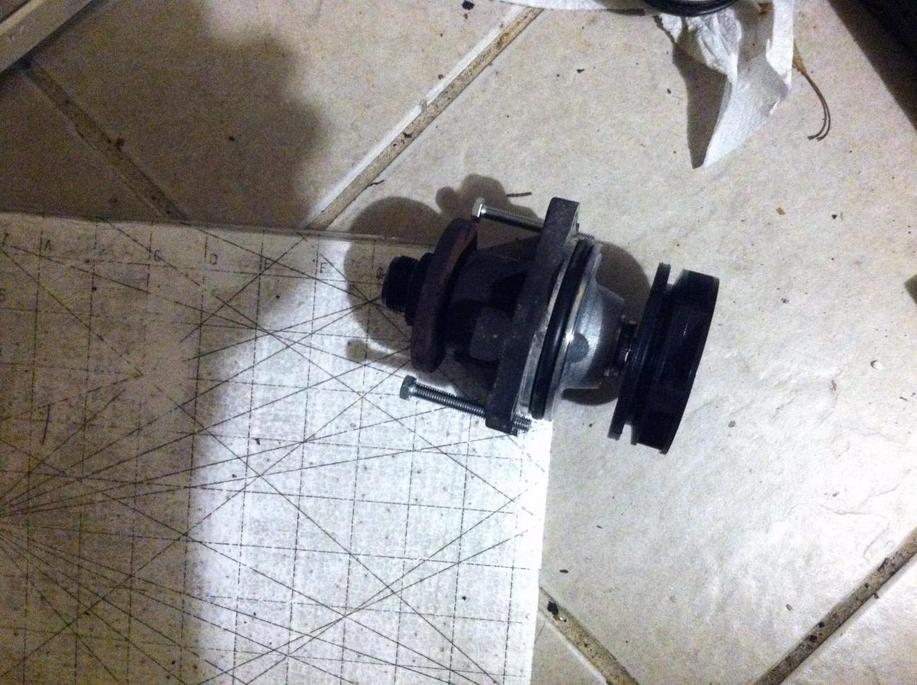
Old water pump with plastic impeller, why would you do such a thing BMW....
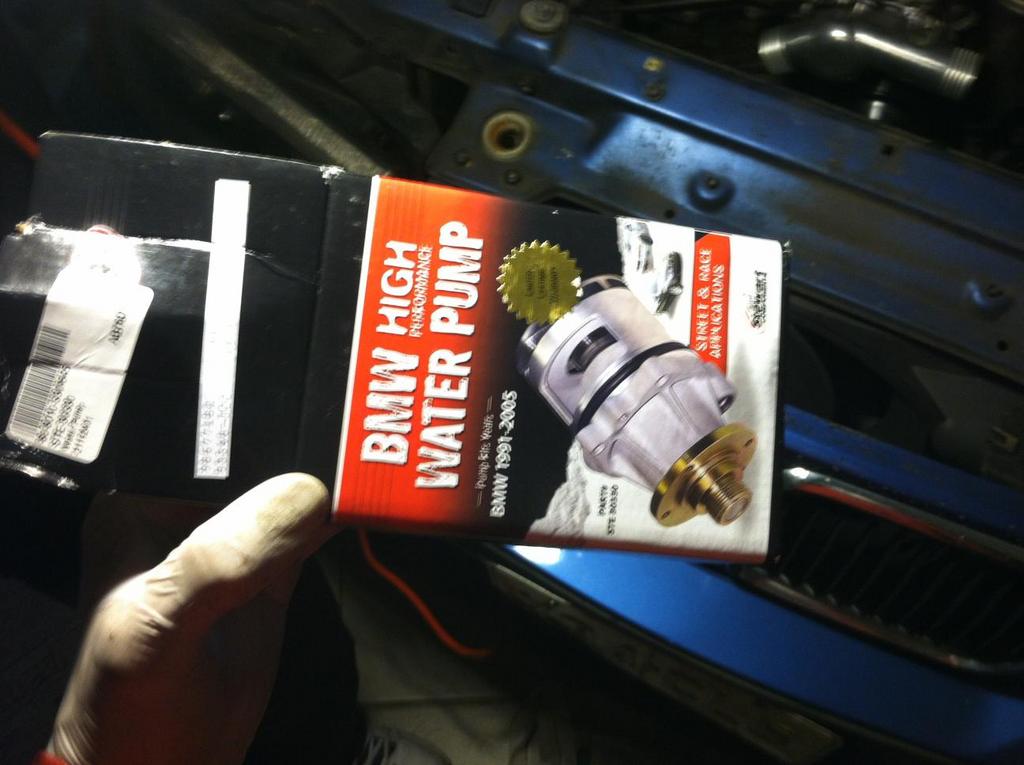
Decided to replace it with this bad boy.
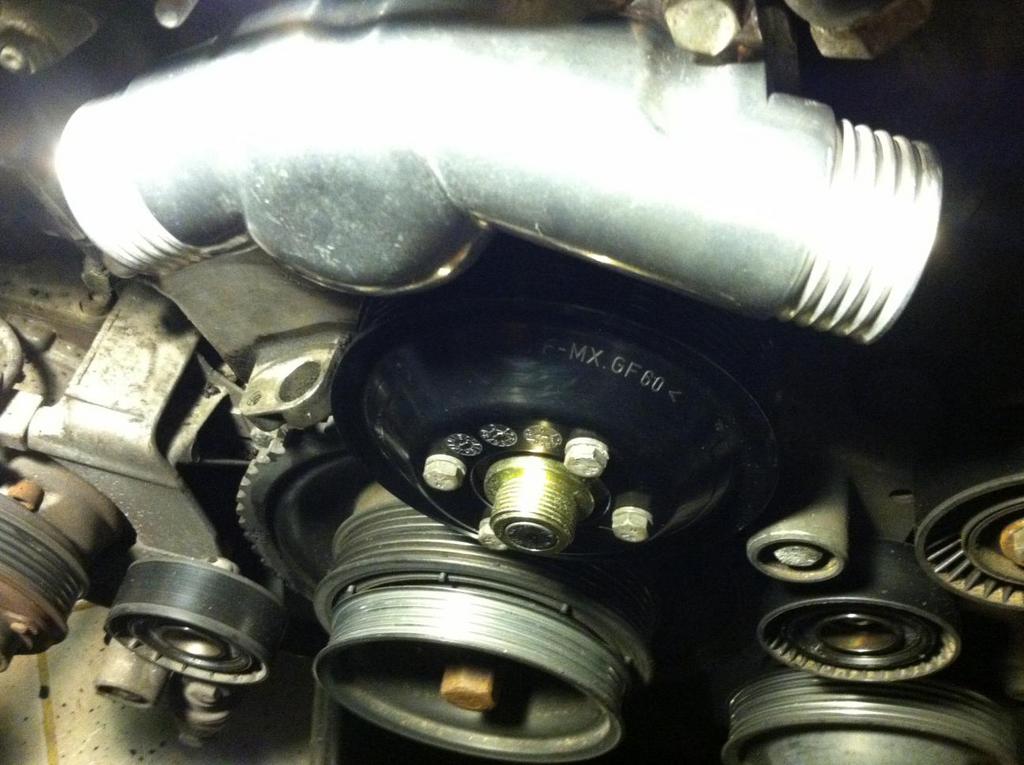
Out with the old and in with the new.
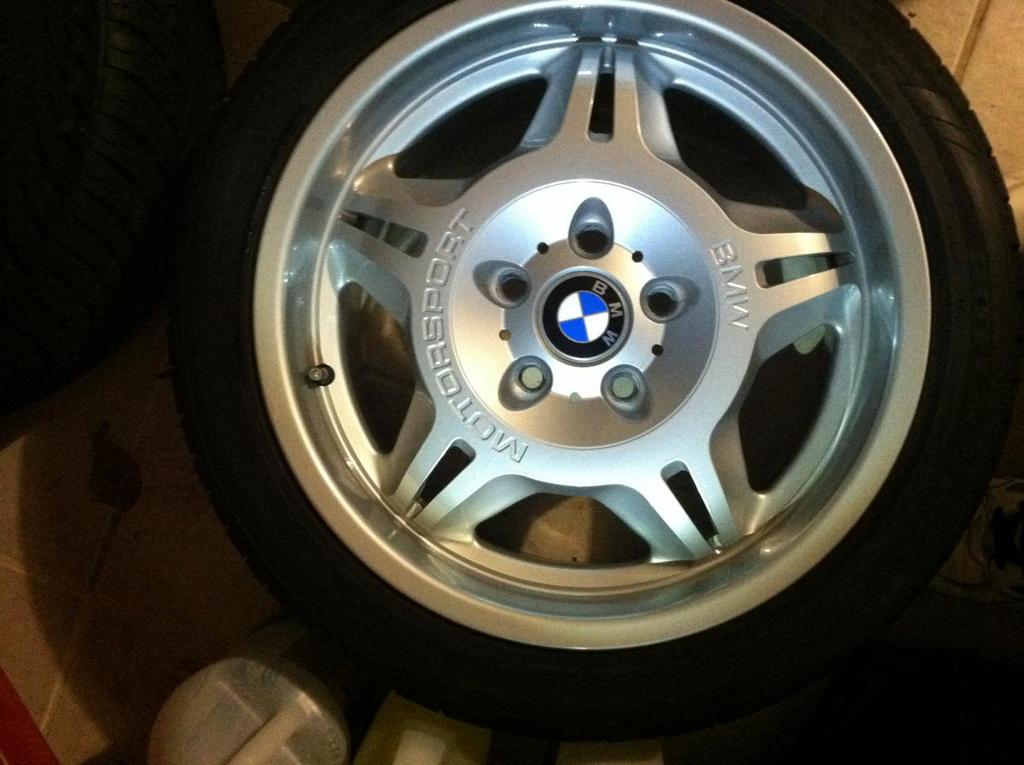
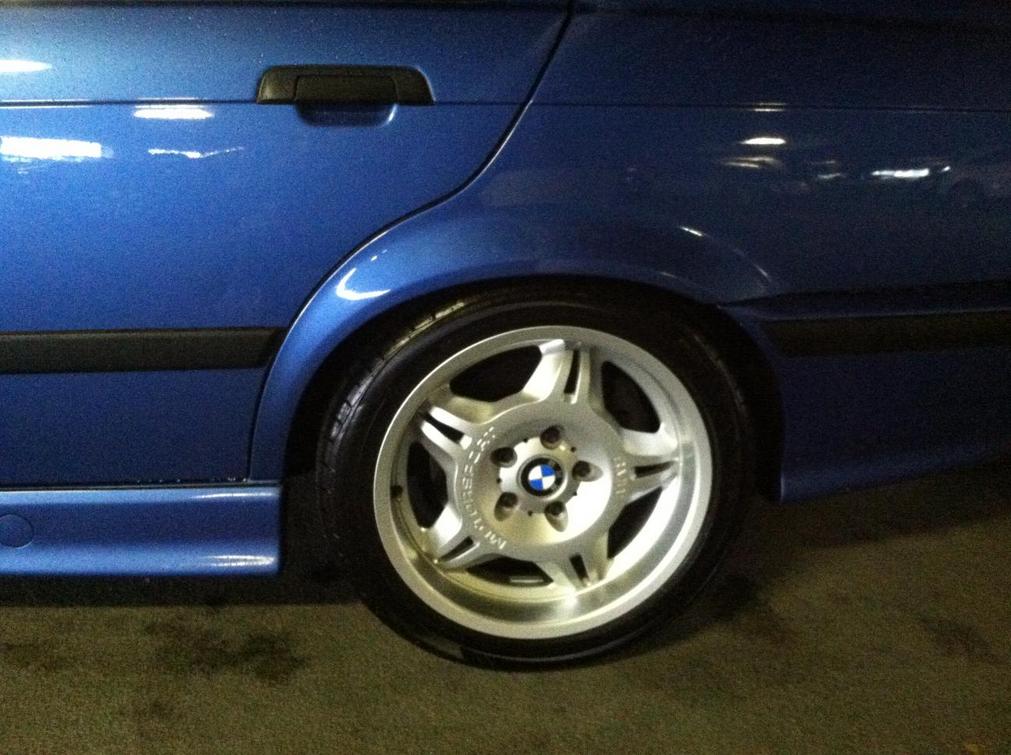
After doing some maintenance, i decided to upgrade the wheels and tires as well. Decided to go with the sought after Lightweight model wheels with Bridestone potenzas.
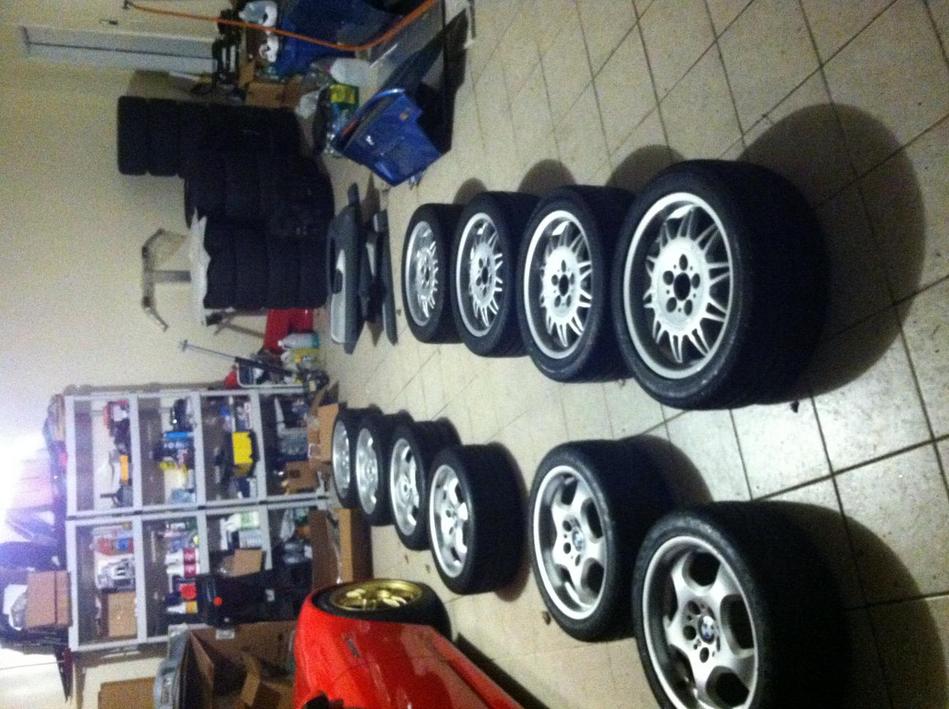
Wheel hoarding...
Decided to order some parts from a vendor in Germany to replace some of the inferior US spec parts.
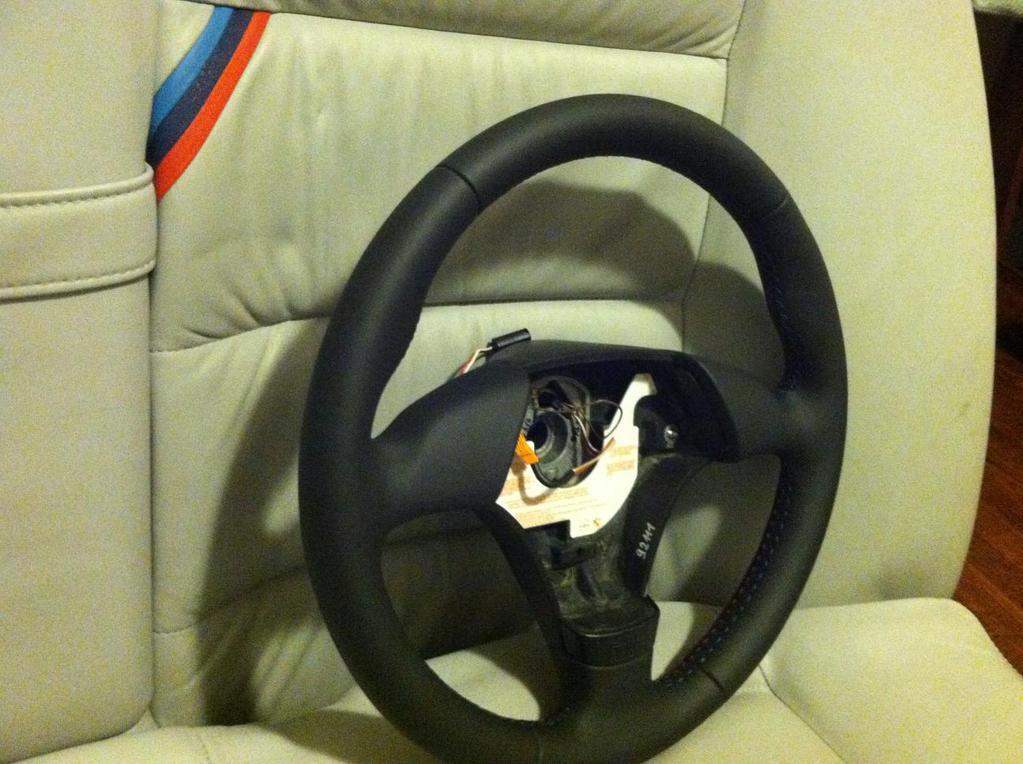
Rewrapped steering wheel
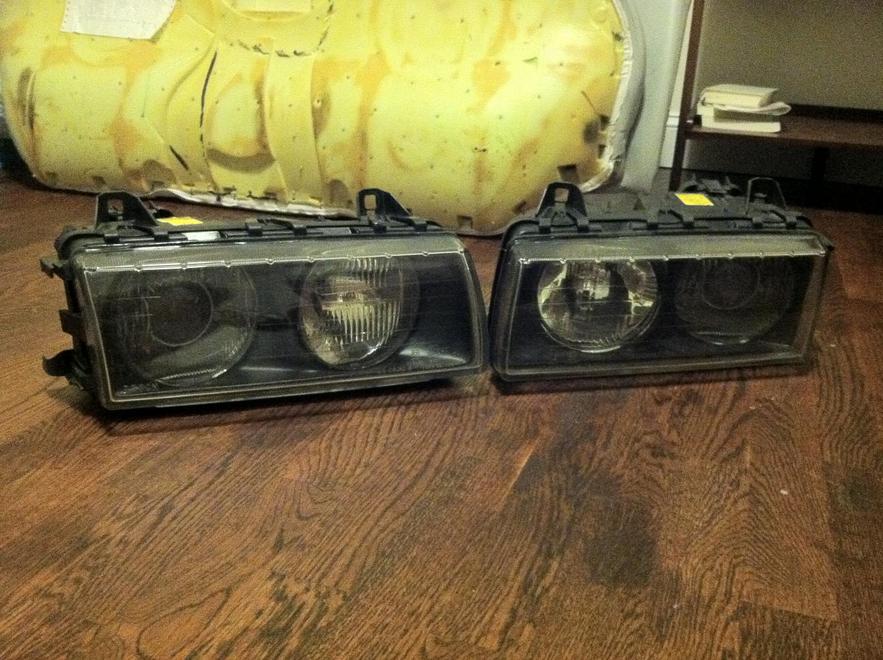
Glass Bosch Euro headlamps.
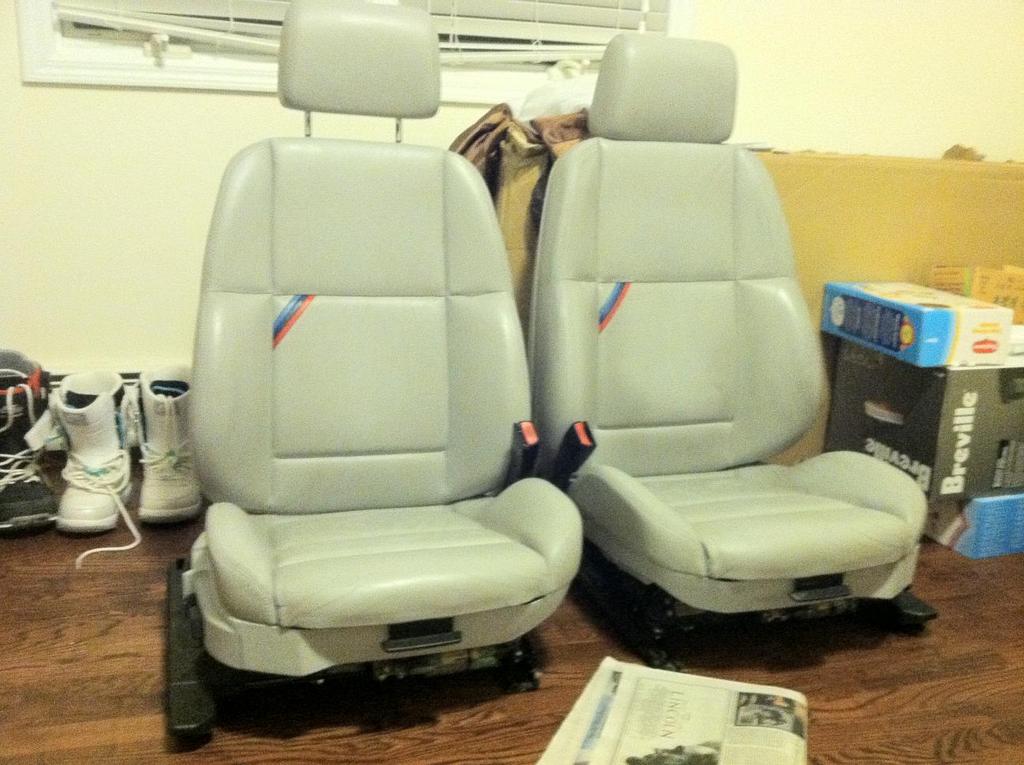
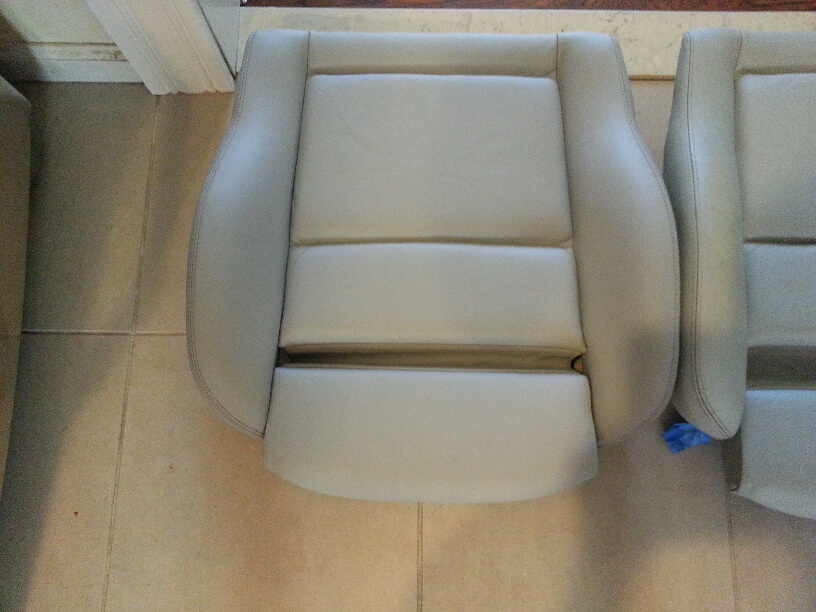
Also decided to refurbish the interior as the leather was pretty beat up. I decided to get a spare set of seats then respray them like the leather restoration shops do. Found a ton of info on how to do this and bought a HVLP and decided to go to town. It came out looking like new. Even though the process was tedious and time consuming, it was so well worth it. I'd love it if one of the members volunteered their seat to get this done, i would love to help do this for someone whos interested. I think it would be cake walk considering its only 2 seats and they're pretty easy to disassemble.
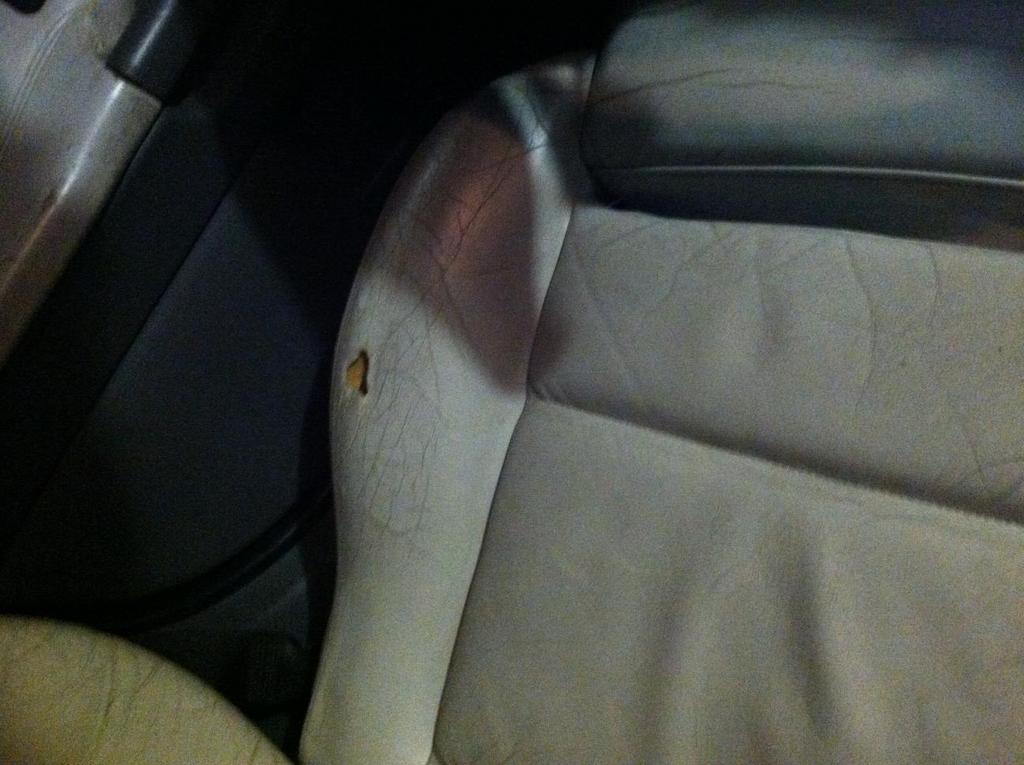
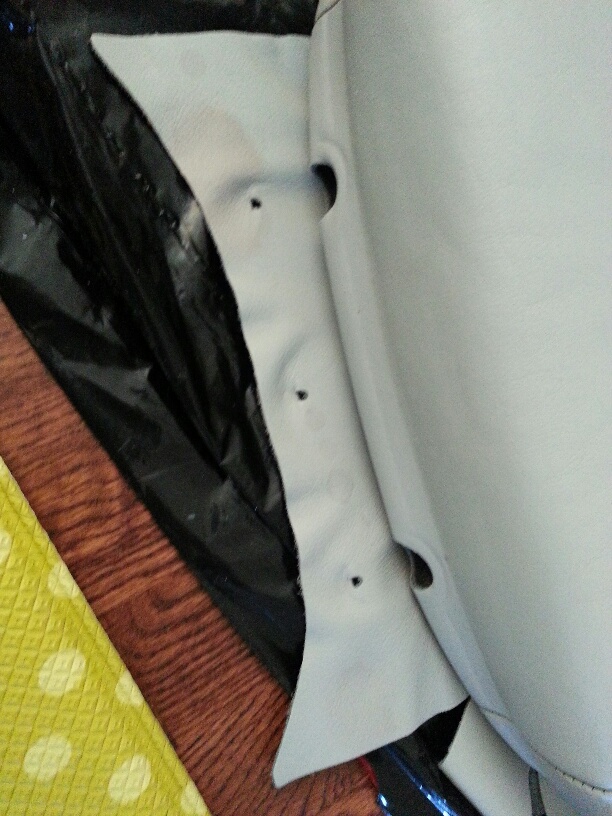
Old driverseat with a hole...bugged the heck outta me.
Just a few pics of the spare set of interior.
Getting refurbed!
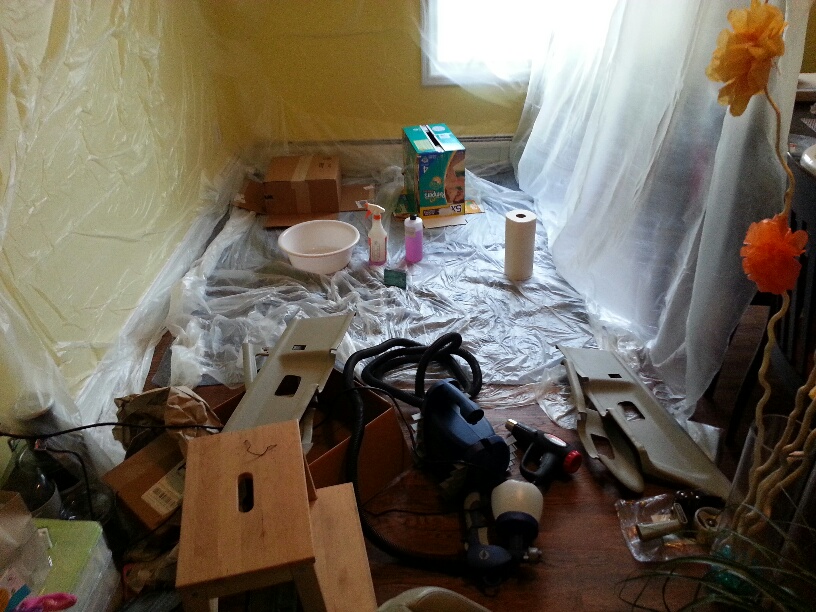
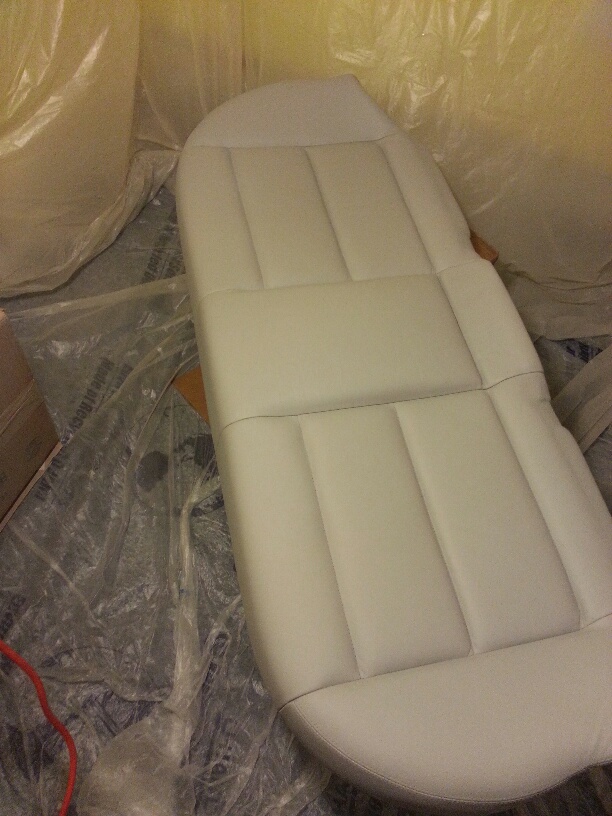
My make-shift booth...don't do this inside of your dining room or inside period!! Do it in a garage if available. I was impatient and jumped at doing this in the house as my wife was out of the country with the baby for a month.
Testing the dye on the leather to make sure the color was spot on, took me 3 tries going back and forth with the leather dye company to get it right.
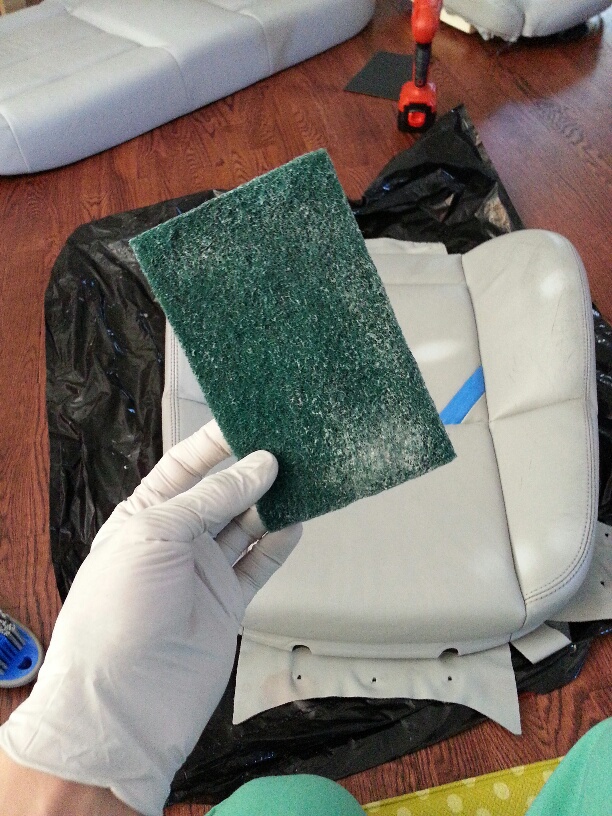
Prepping, taking all the old color off. Some people prefer sandpaper, 400-1000 grit but i didnt feel comfortable doing that to good condition leather. If it was worn out, def do it with sandpaper gradually going to finer grit to get imperfections minimized and blended. But if its just color fading, you can do something like this with the scuff pad. Works perfectly with the prep solution.
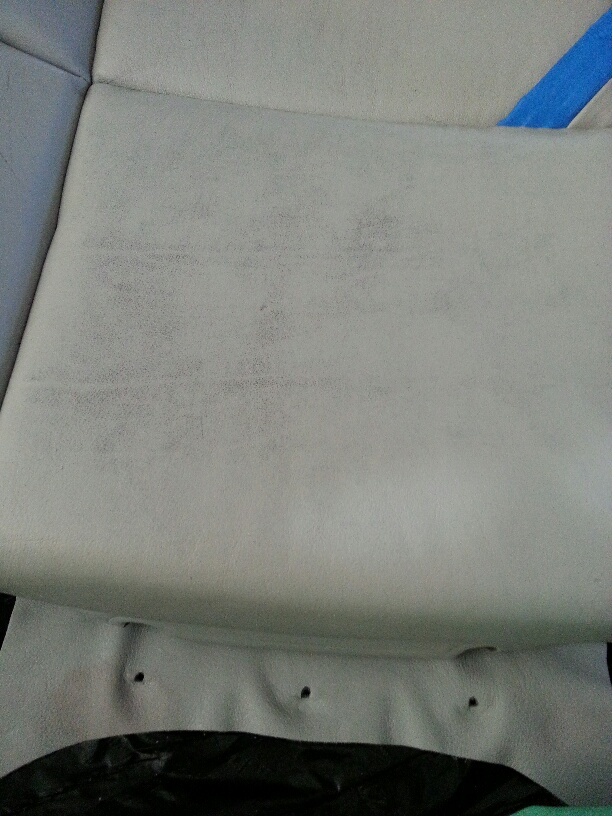
A lot of the color out, letting it dry for a few min before i spray them with dye.
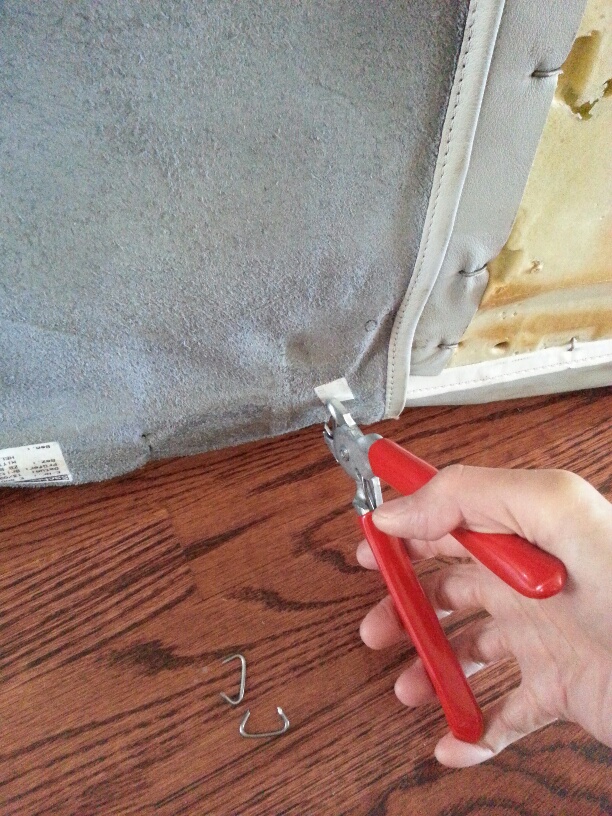
Seat bottoms done, looks brand spanking new. I did have a bit of leather sag on the driver seat. I decided to rip it apart and add some automotive foam to get rid of the leather sag, worked out great. This picture shows added foam and all new hog rings. Hog rings....i had no idea wtf this stuff was until i took the leather off the seats. Its like a thick staple that you snap together to make a closed loop.
As much as I love the M3, I don't feel the camaraderie with the bimmer members like i do with my fellow metro s2ki members hence why i wanted to share this project with the rest of you fellas!!
Enough babble, below are pics and I'll update more as the project progresses!!
First day I picked up the car.

Lets hope they can be friends.

Bunch of maintenance stuff first 2 months of owning the car.


First time doing an oil change and this is what happened.....no idea that the oil drain plug was 18ft lbs of torque. It just snapped off and I almost shat my pants. Got it out with an ez-out.

E36 M3s had cooling issues and right in the dead of winter the thermostat was stuck open. I decided to rip out everything and replace it.

Old water pump with plastic impeller, why would you do such a thing BMW....

Decided to replace it with this bad boy.

Out with the old and in with the new.


After doing some maintenance, i decided to upgrade the wheels and tires as well. Decided to go with the sought after Lightweight model wheels with Bridestone potenzas.


Wheel hoarding...

Decided to order some parts from a vendor in Germany to replace some of the inferior US spec parts.
Rewrapped steering wheel

Glass Bosch Euro headlamps.

Also decided to refurbish the interior as the leather was pretty beat up. I decided to get a spare set of seats then respray them like the leather restoration shops do. Found a ton of info on how to do this and bought a HVLP and decided to go to town. It came out looking like new. Even though the process was tedious and time consuming, it was so well worth it. I'd love it if one of the members volunteered their seat to get this done, i would love to help do this for someone whos interested. I think it would be cake walk considering its only 2 seats and they're pretty easy to disassemble.
Old driverseat with a hole...bugged the heck outta me.

Just a few pics of the spare set of interior.

Getting refurbed!
My make-shift booth...don't do this inside of your dining room or inside period!! Do it in a garage if available. I was impatient and jumped at doing this in the house as my wife was out of the country with the baby for a month.

Testing the dye on the leather to make sure the color was spot on, took me 3 tries going back and forth with the leather dye company to get it right.

Prepping, taking all the old color off. Some people prefer sandpaper, 400-1000 grit but i didnt feel comfortable doing that to good condition leather. If it was worn out, def do it with sandpaper gradually going to finer grit to get imperfections minimized and blended. But if its just color fading, you can do something like this with the scuff pad. Works perfectly with the prep solution.

A lot of the color out, letting it dry for a few min before i spray them with dye.

Seat bottoms done, looks brand spanking new. I did have a bit of leather sag on the driver seat. I decided to rip it apart and add some automotive foam to get rid of the leather sag, worked out great. This picture shows added foam and all new hog rings. Hog rings....i had no idea wtf this stuff was until i took the leather off the seats. Its like a thick staple that you snap together to make a closed loop.

 04-28-2014, 07:09 AM
#2
Pictures of hog rings. When taking off and putting on leather its a must for majority of car seats.
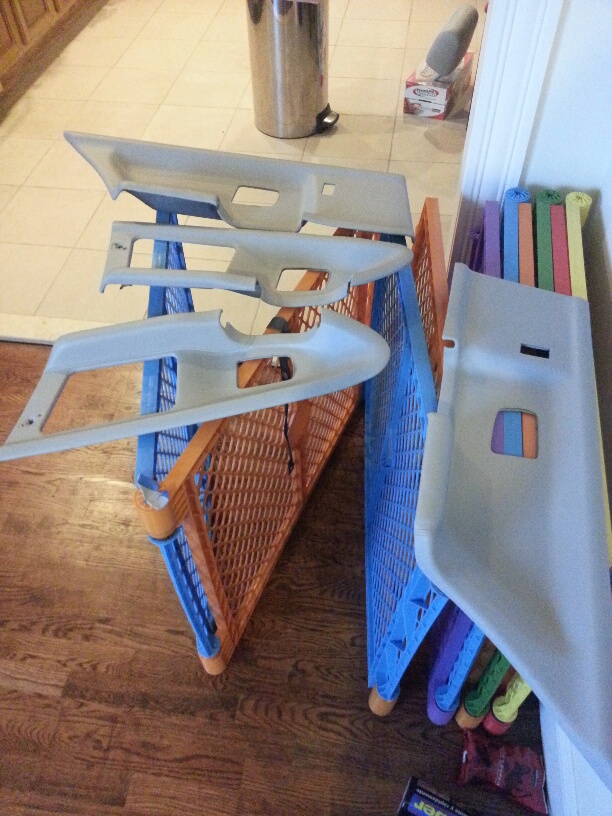
Door panels done. All pieces including seats were dyed 4 coats of very fine spray setting with 2 coats of matte clear finish to protect it from further damage.
Rear bench....so fresh and so clean!
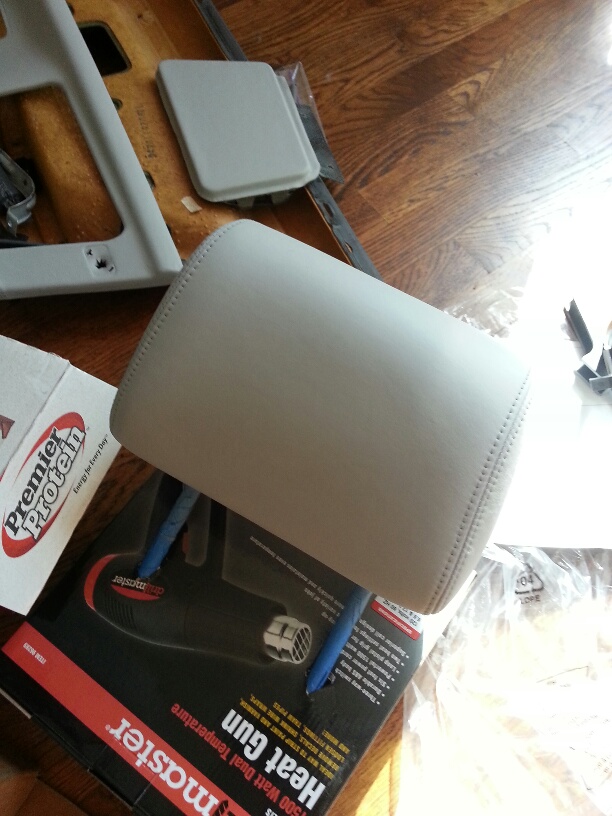
Headrests too.
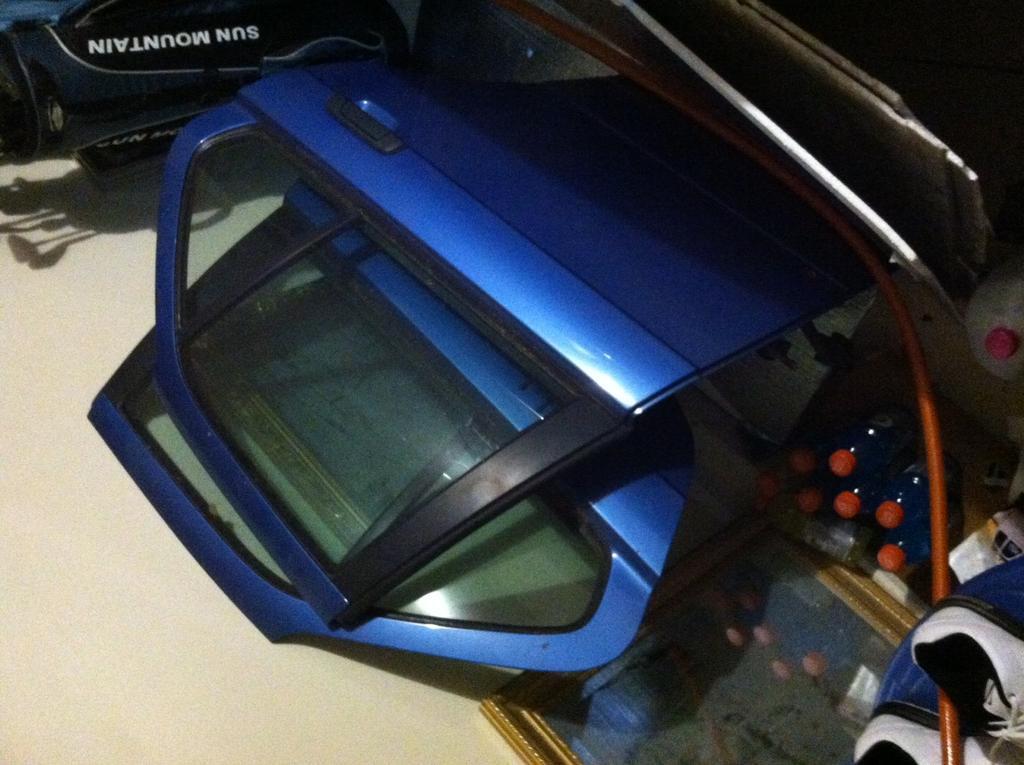
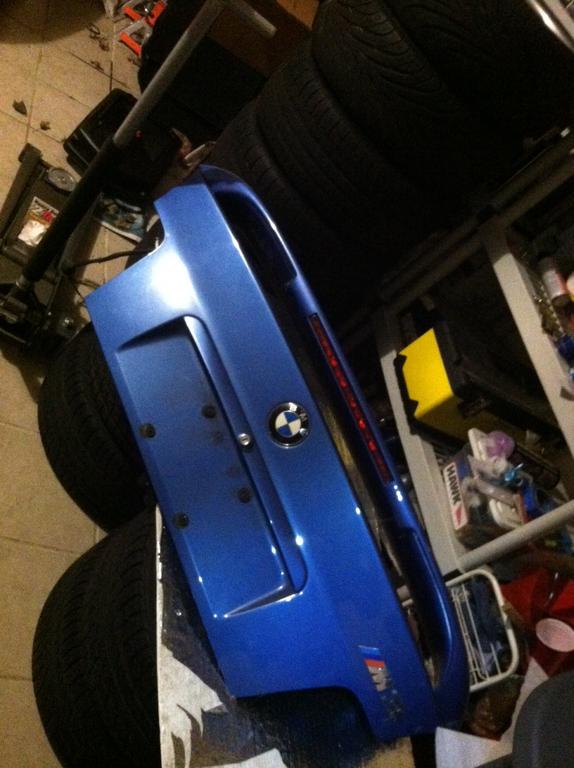
I decided that extra parts won't be easy to get in years to come for this car. Decided to buy some extra doors and trunk with matching paint when locally it became available.
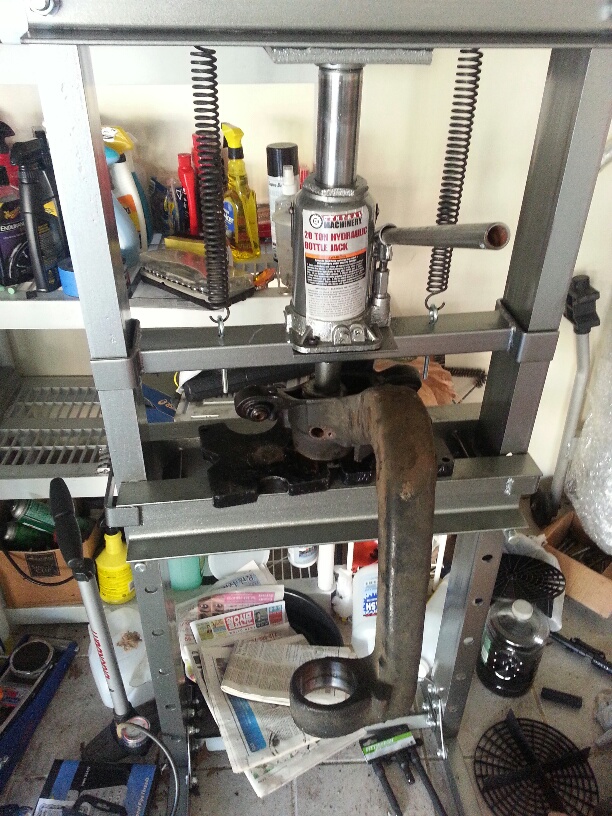
I thought i would be plenty satisfied with doing all the above and just puttin around town and using it for daily purposes. I was on Rt80 driving home one day and a wrx was closing in on behind me. He slows down then decides to take off in the passing lane, i gave chase. Surprisingly, my e36 kept up with him but when it was time to take the fork towards 95, i felt uneasy and nervous about how much the car was unstable....After looking into the suspension, it seemed like everything was shot. Not only was it the struts and springs but i heard and felt clunking from the back which made me think it was something else. So i decided to get the car up and do some checking. After prying and pushing and pulling, i discovered that the 15+ year rubber bushings were all shot to shit. There mustve been at least dozen or more bushings and i knew this was going to be a lot of money to invest in. This was the time where i was contemplating just selling this thing and moving on. But i felt like i gave way too much to give up now.... After calling a few shops i found the prices to replace were in the thousands just for labor. I was seriously stressed but decided to just bite the bullet and do it myself. I went out and bought a propane torch, hammer, dremel and most importantly, 20 ton press. Press ended up being pretty cheap at Harbor freight and with the 20% coupon, i would make my money back with pressing just 1 bushing out of the car.
20 Ton press.
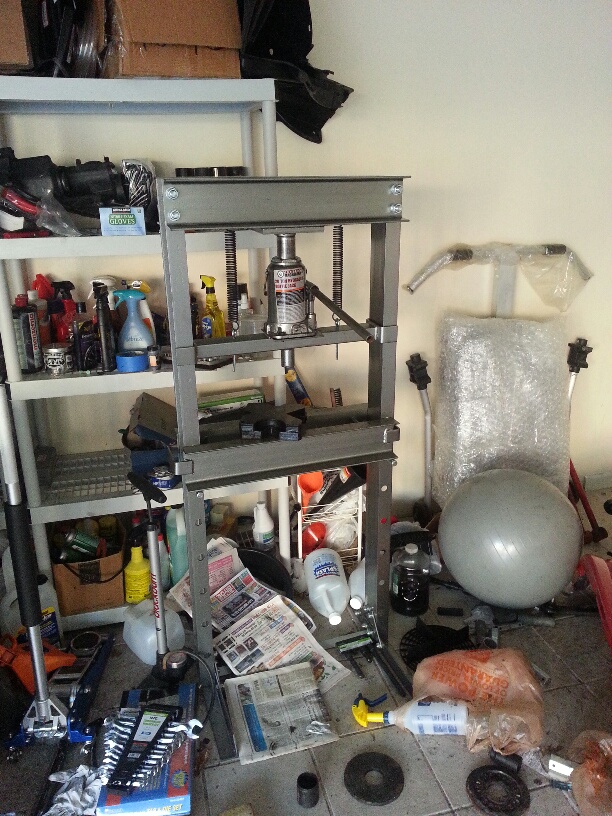
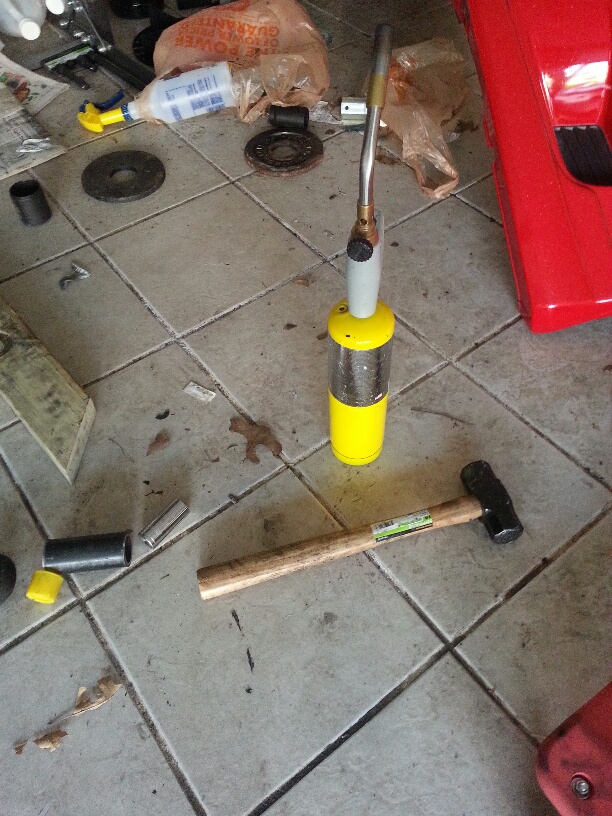
Torch and baby sledge, a must
Pressing out wheel bearings. A few BMW dealers asked for 600 just to do this even with the trailing arms off. Indie shops wanted 150-250. It took less than 2 minutes with the press to get them out, cake walk.
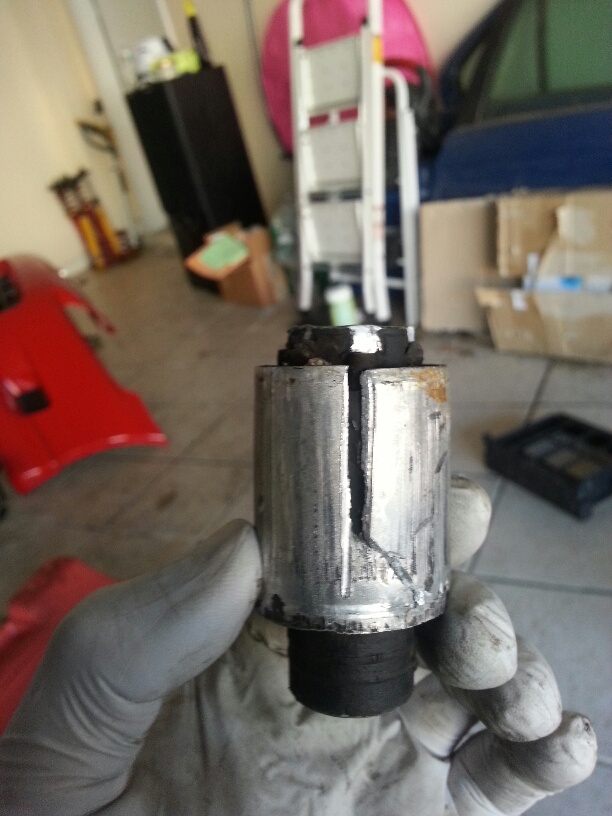
It was definitely scary when you hear a loud bang while using the press however...and the result of the loud bang was the bushing cracking under pressure.
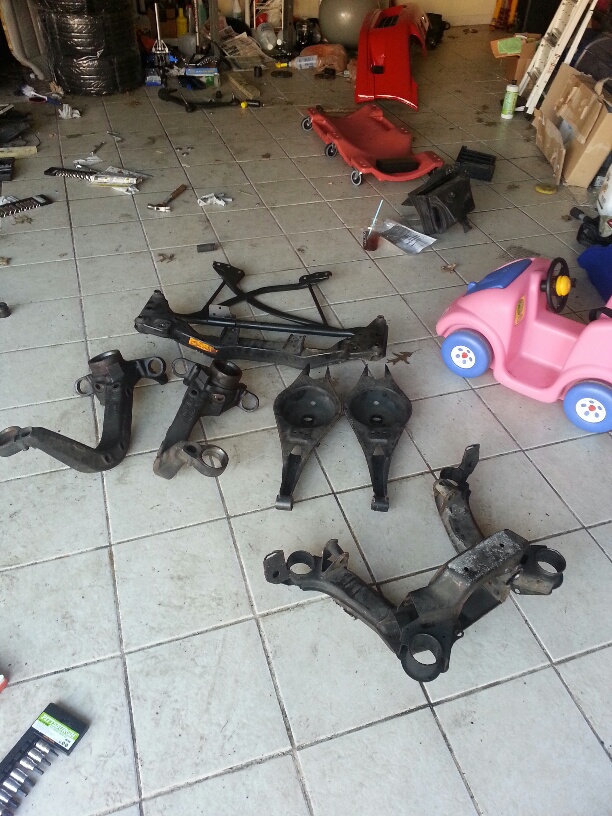
All the bushings, bearings, hubs from the rear of the suspension out!!
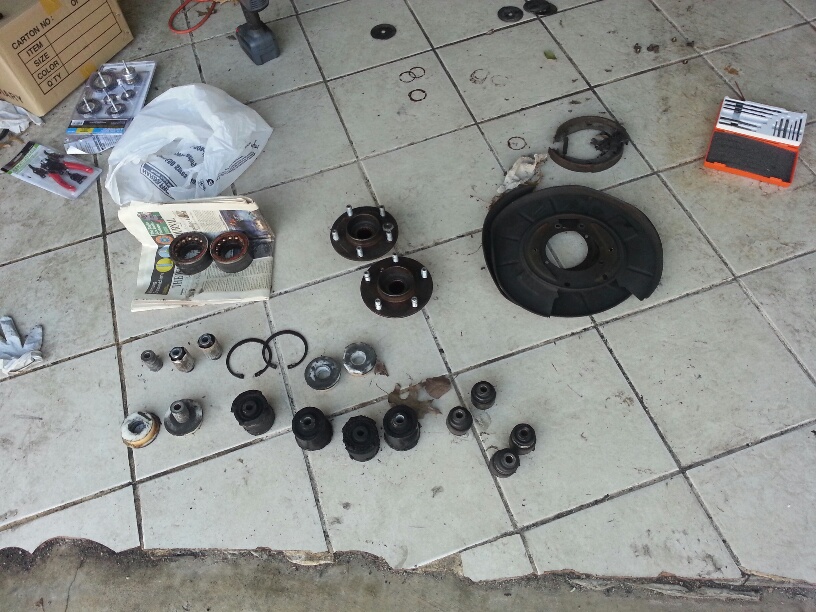
The big stuff ready to get some powder coating done!
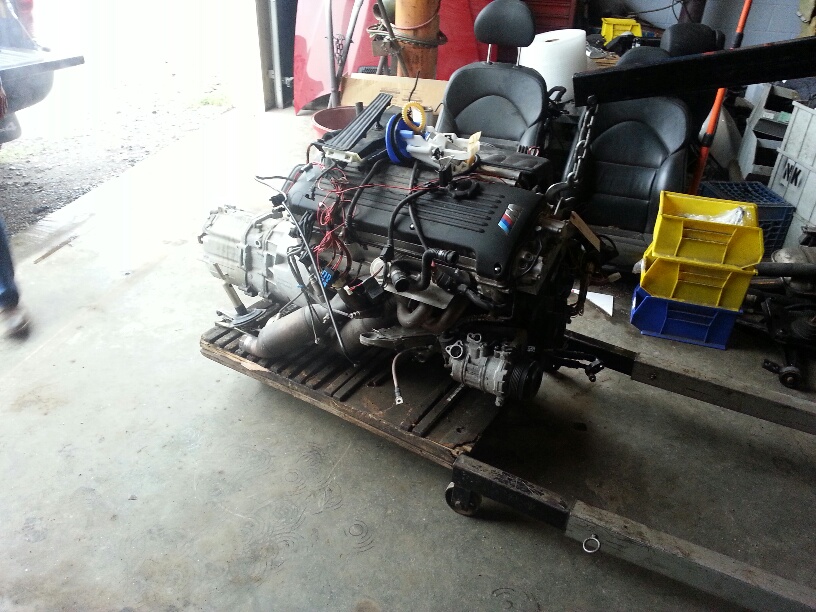
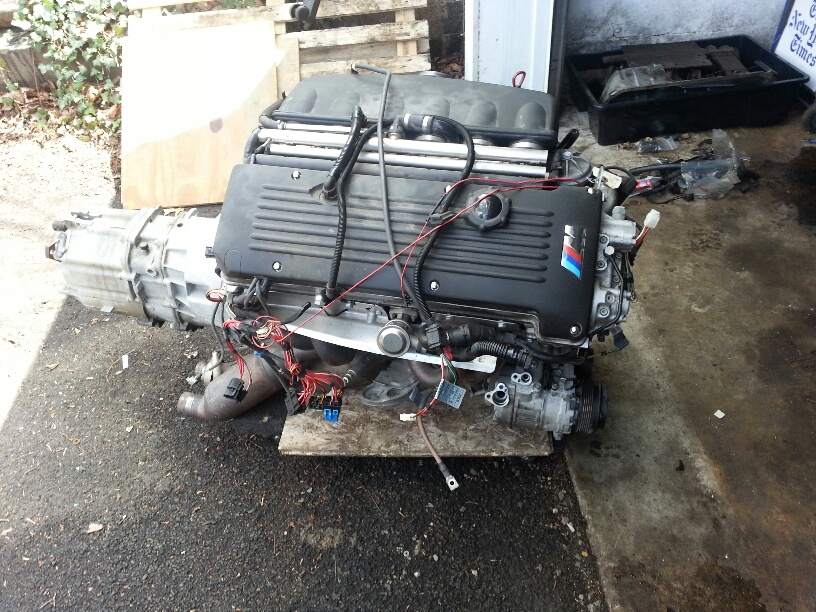
And finally...the S54 out of a 2004 E46 BMW M3. I went up to CT a few weeks prior to hear it run in person and make sure the mileage checked out etc.

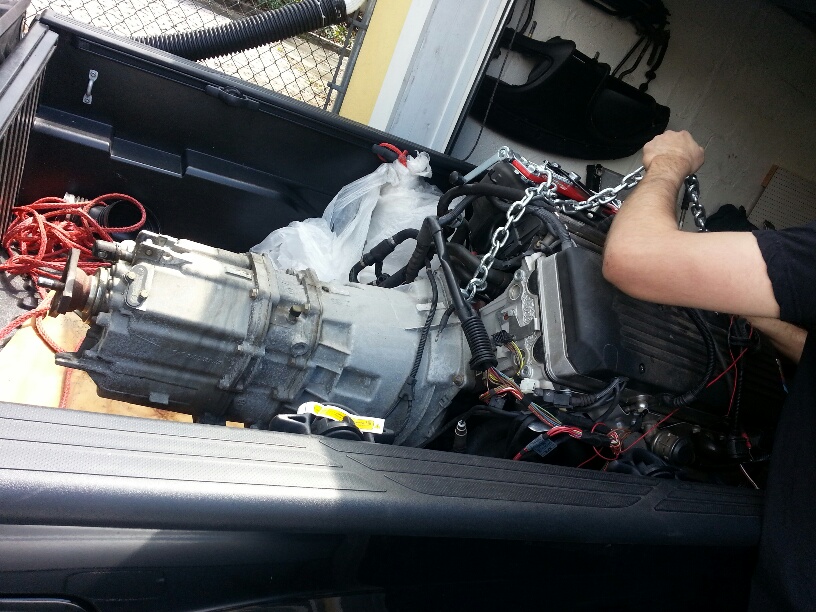
This past Saturday, bringing home the big Kahuna!!
Thats it for now...I'll update as the project progresses!! Currently in process of making a parts list to order so i can get started with the swap. I'm hoping this will satisfy my new car desires i had in 2013! Its been an amazing learning experience trying to do most of it DIY. If any members need to use the press or have questions about refurbishing their leather or whatever questions you might have, please shoot me a pm! After being on several different forums, S2ki is still by far the best in my opinion, esp my metro peeps.

Door panels done. All pieces including seats were dyed 4 coats of very fine spray setting with 2 coats of matte clear finish to protect it from further damage.

Rear bench....so fresh and so clean!

Headrests too.

I decided that extra parts won't be easy to get in years to come for this car. Decided to buy some extra doors and trunk with matching paint when locally it became available.


I thought i would be plenty satisfied with doing all the above and just puttin around town and using it for daily purposes. I was on Rt80 driving home one day and a wrx was closing in on behind me. He slows down then decides to take off in the passing lane, i gave chase. Surprisingly, my e36 kept up with him but when it was time to take the fork towards 95, i felt uneasy and nervous about how much the car was unstable....After looking into the suspension, it seemed like everything was shot. Not only was it the struts and springs but i heard and felt clunking from the back which made me think it was something else. So i decided to get the car up and do some checking. After prying and pushing and pulling, i discovered that the 15+ year rubber bushings were all shot to shit. There mustve been at least dozen or more bushings and i knew this was going to be a lot of money to invest in. This was the time where i was contemplating just selling this thing and moving on. But i felt like i gave way too much to give up now.... After calling a few shops i found the prices to replace were in the thousands just for labor. I was seriously stressed but decided to just bite the bullet and do it myself. I went out and bought a propane torch, hammer, dremel and most importantly, 20 ton press. Press ended up being pretty cheap at Harbor freight and with the 20% coupon, i would make my money back with pressing just 1 bushing out of the car.
20 Ton press.

Torch and baby sledge, a must

Pressing out wheel bearings. A few BMW dealers asked for 600 just to do this even with the trailing arms off. Indie shops wanted 150-250. It took less than 2 minutes with the press to get them out, cake walk.

It was definitely scary when you hear a loud bang while using the press however...and the result of the loud bang was the bushing cracking under pressure.

All the bushings, bearings, hubs from the rear of the suspension out!!

The big stuff ready to get some powder coating done!

And finally...the S54 out of a 2004 E46 BMW M3. I went up to CT a few weeks prior to hear it run in person and make sure the mileage checked out etc.


This past Saturday, bringing home the big Kahuna!!


Thats it for now...I'll update as the project progresses!! Currently in process of making a parts list to order so i can get started with the swap. I'm hoping this will satisfy my new car desires i had in 2013! Its been an amazing learning experience trying to do most of it DIY. If any members need to use the press or have questions about refurbishing their leather or whatever questions you might have, please shoot me a pm! After being on several different forums, S2ki is still by far the best in my opinion, esp my metro peeps.
04-28-2014, 07:23 AM
#3


awesome! my favorite body m3. def gonna keep an eye on this. i recently picked up a resto/build up project myself for a daily. =) ill get started as soon as racing season has slowed down for me.
 04-28-2014, 09:05 AM
#6

Absolutely fantastic project! I love how you're keeping it authentic and paying attention to the important details! Please keep updating this thread with pics and your write-ups. 
Which tire from the Potenza series did you get?
Which tire from the Potenza series did you get?

Trending Topics
04-28-2014, 10:38 AM
#9
I agree with you Clyde, it's minimal in luxury and lightweight for sure. I want to start removing the sound deadening material out, total of 60lbs in this car.
Iamxpl, what car did you pick up?
Gofast, I picked up Bridgestone re050. So far so good but wish I went starspecs.
Anyone have a custom exhaust shop you recommend prefer in North nj but will travel if they're reputable.
Iamxpl, what car did you pick up?
Gofast, I picked up Bridgestone re050. So far so good but wish I went starspecs.
Anyone have a custom exhaust shop you recommend prefer in North nj but will travel if they're reputable.
04-28-2014, 11:05 AM
#10
Don't sweat it too much unless you're on the track, the RE050 is probably better-suited for road use. If you like Bridgestone, the new RE-11A is fantastic on the track (the A is key designating the new model). With all those sets of wheels you can give yourself several options!