When you click on links to various merchants on this site and make a purchase, this can result in this site earning a commission. Affiliate programs and affiliations include, but are not limited to, the eBay Partner Network.
I've been playing with the Volvo, and after about 40 hours of analysis, I finally got the dome light rebuilt, installed and working. In the process of trying to sort electrical issues, the heater fan accidentally started to work. That has to be the weakest fan in existence!
I've been taking down the "second" spare MG engine(1500 bored out to 1638), tediously trying to measure bearing clearances with plasti-gauge as I do so. I've taken out a dial bore gauge that I bought a few years ago, but I will still need to learn how to use it with any degree of accuracy before re-assembly. My plan is to remove everything, then drill out the oil gallery plugs so that I can clean out the oil galleries. This engine had significant evidence of bearing damage. Someone did a very professional job on the oil gallery plugs but I have no clue whether it was before or after the damage. My plan is to tap the oil gallery plug holes so that I can replace the plugs with NPT threaded plugs that will just screw in. Sort of a test as well for when the "first" spare engine block returns.
I need to get a set of micrometers, a hone for the cylinder walls and a few other tools for when I start rebuilding this lump.
MGB pistons for the disk brakes: The problem is that my front brakes seize when they get too hot, and the viton/rubber dust seals tend to melt/distort under this condition. I’ve measured brake disk temperatures up in the 650° F range. After many seal replacements as well as running without the dust seal, I’ve theorized that at high temperatures, the piston and/or caliper expand so that the piston becomes seized in the bore. One can see wear marks on the pistons evidencing apparent metal to metal contact.
My vacation is aborted, so I had time to pull off my calipers. Plan was to split the calipers and hone the bores, then replace the pistons with new MGB pistons. Couldn’t get enough leverage to loosen the caliper bolts without developing some sort of jig, so the plan to split the calipers is abandoned.
I had ordered new stainless MGB pistons from British Parts Northwest (SKU 8G8642SS). Measuring these, they are an estimated .006” to .008” smaller in diameter than my old pistons. This minute change seemed to make a difference. I could actually get a .003” feeler gauge in the bore with the new pistons that I couldn’t get in with the old. And they were also much easier to slide in past the seals. Plan is to see how these work under race conditions. Defer plan to split the calipers.
Yesterday's festivities involved replacing the rear wheel studs with the longer Moroso studs. I used the wheel stud kit, part 46450, that included both the wheel stud and the lug nuts, Studs are 7/16–20 x 2 7/8” with a 0.480 diameter knurl. The use of the longer studs was necessitated by my switching over to the Minatour Minilite wheels. The mounting area is thicker than the old racing wheels by about half an inch. Plus the lug nut mounts within a deep recess, maybe up to 1” deep.
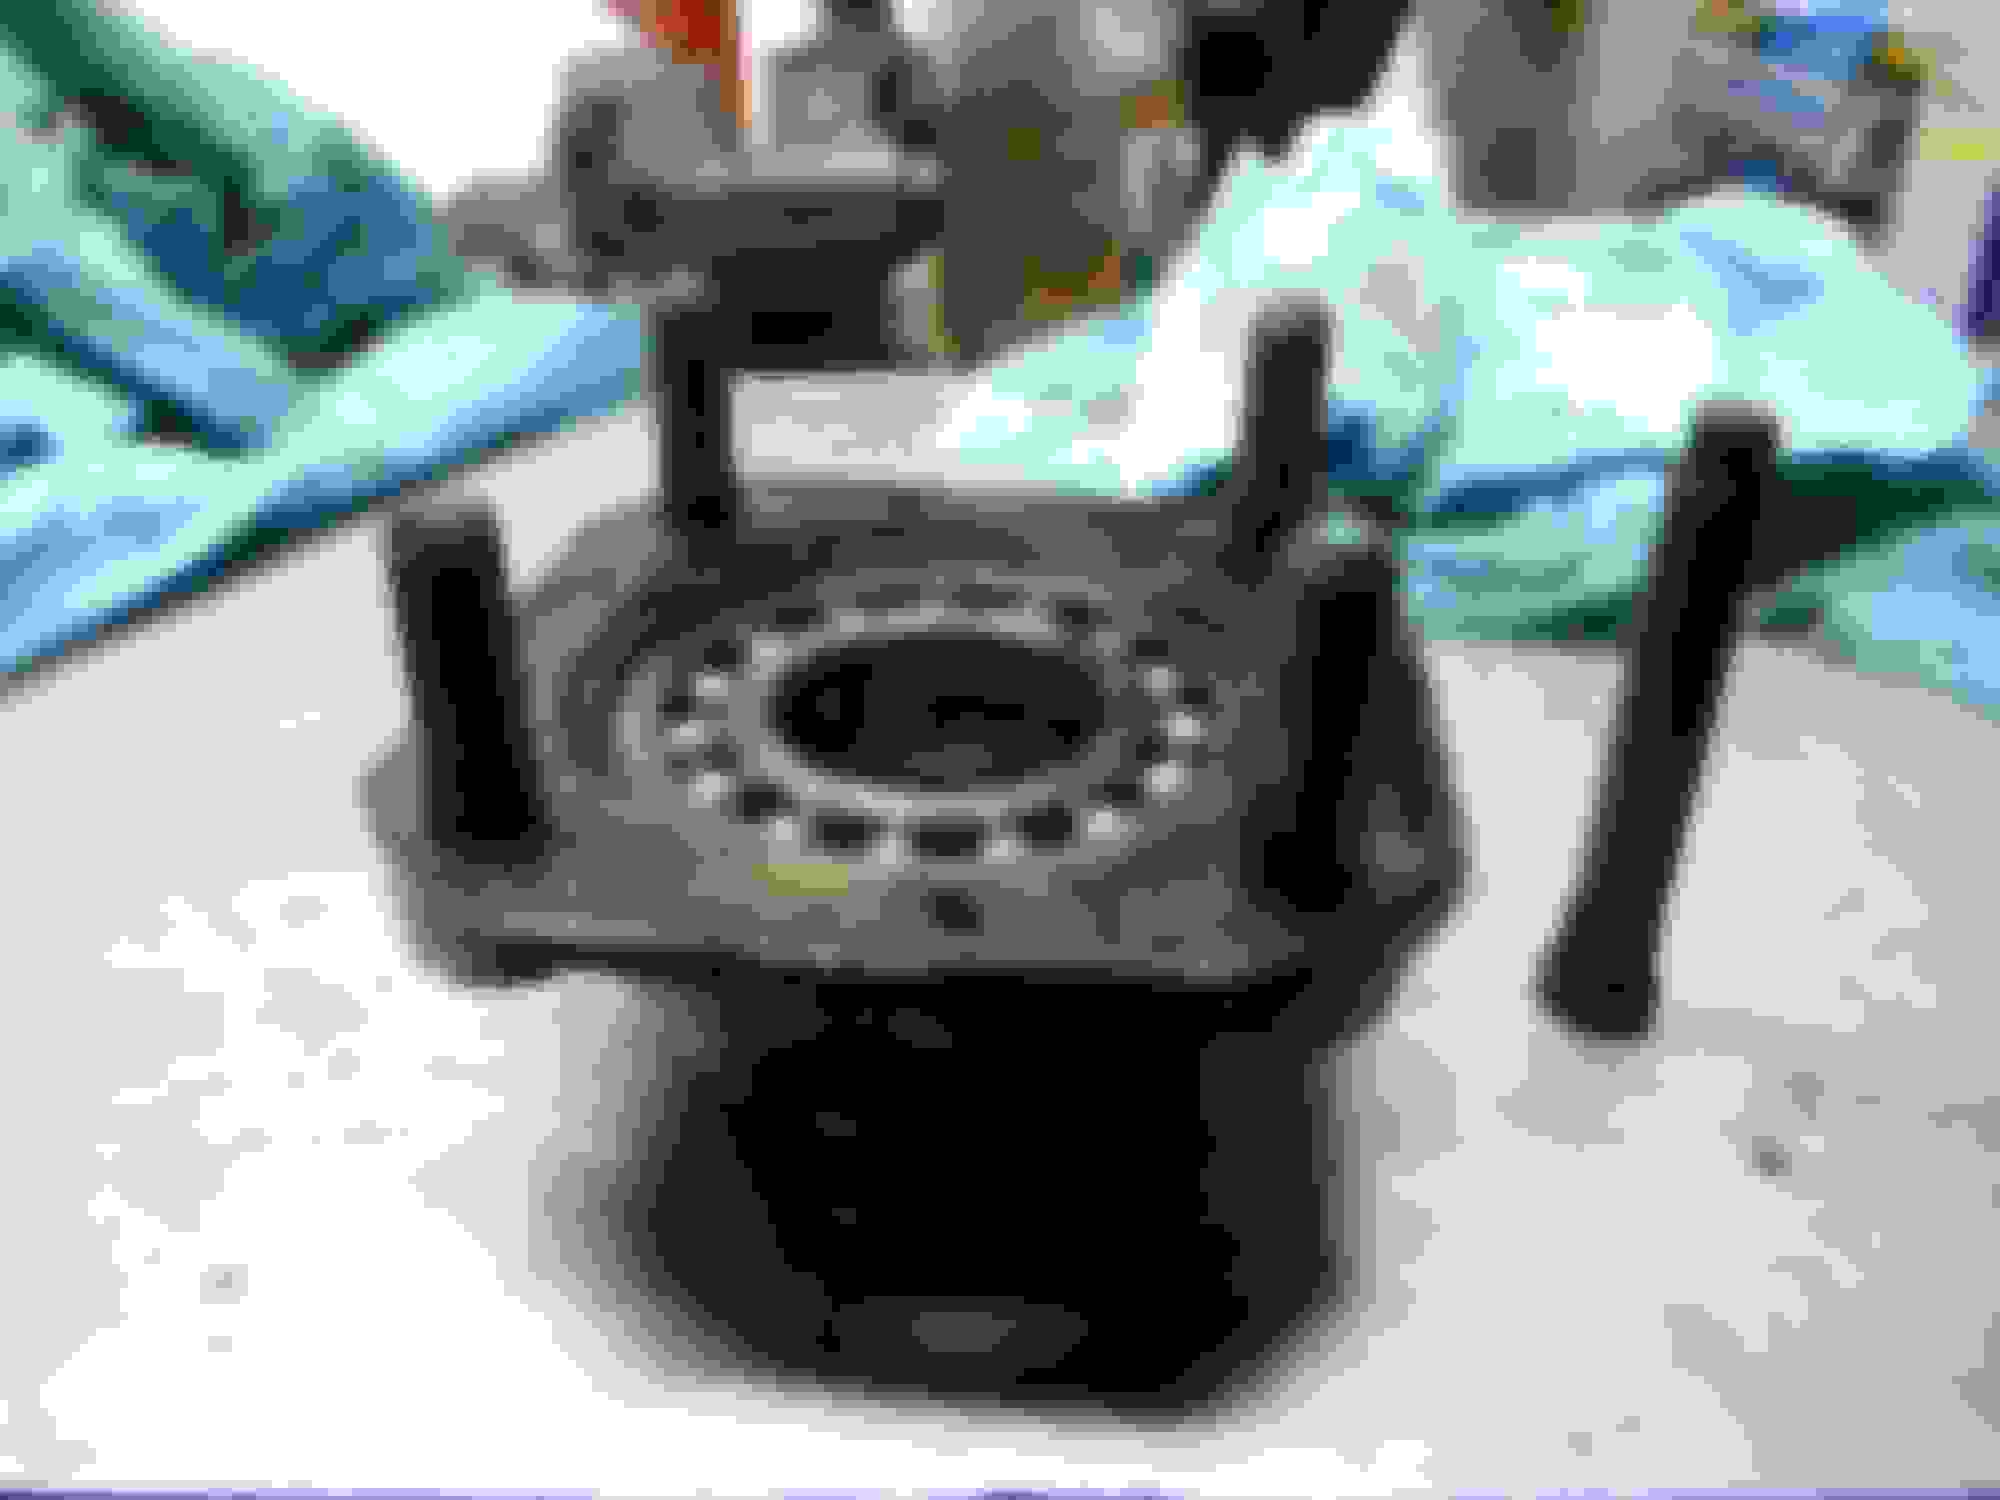
The task was easy enough. I raised one side of the rear end quite high so that all the differential fluid that lubricates the rear seal would flow down to the lower side. Remove the tire and the brake drum and the hub is exposed. Straighten out the tabs on the lock washer and remove the wheel hub nut. I had a properly sized socket and I was expecting to need a breaker bar to loosen the nuts. Both sides, however, were extremely loose and came off quite easily. Then I used a puller and pulled off the hubs.
To remove the studs from the hub, I put a lug nut on the stud, then supported the lower side with an appropriately sized socket and bashed it down with a 5 lb hammer. A few blows and it was out.
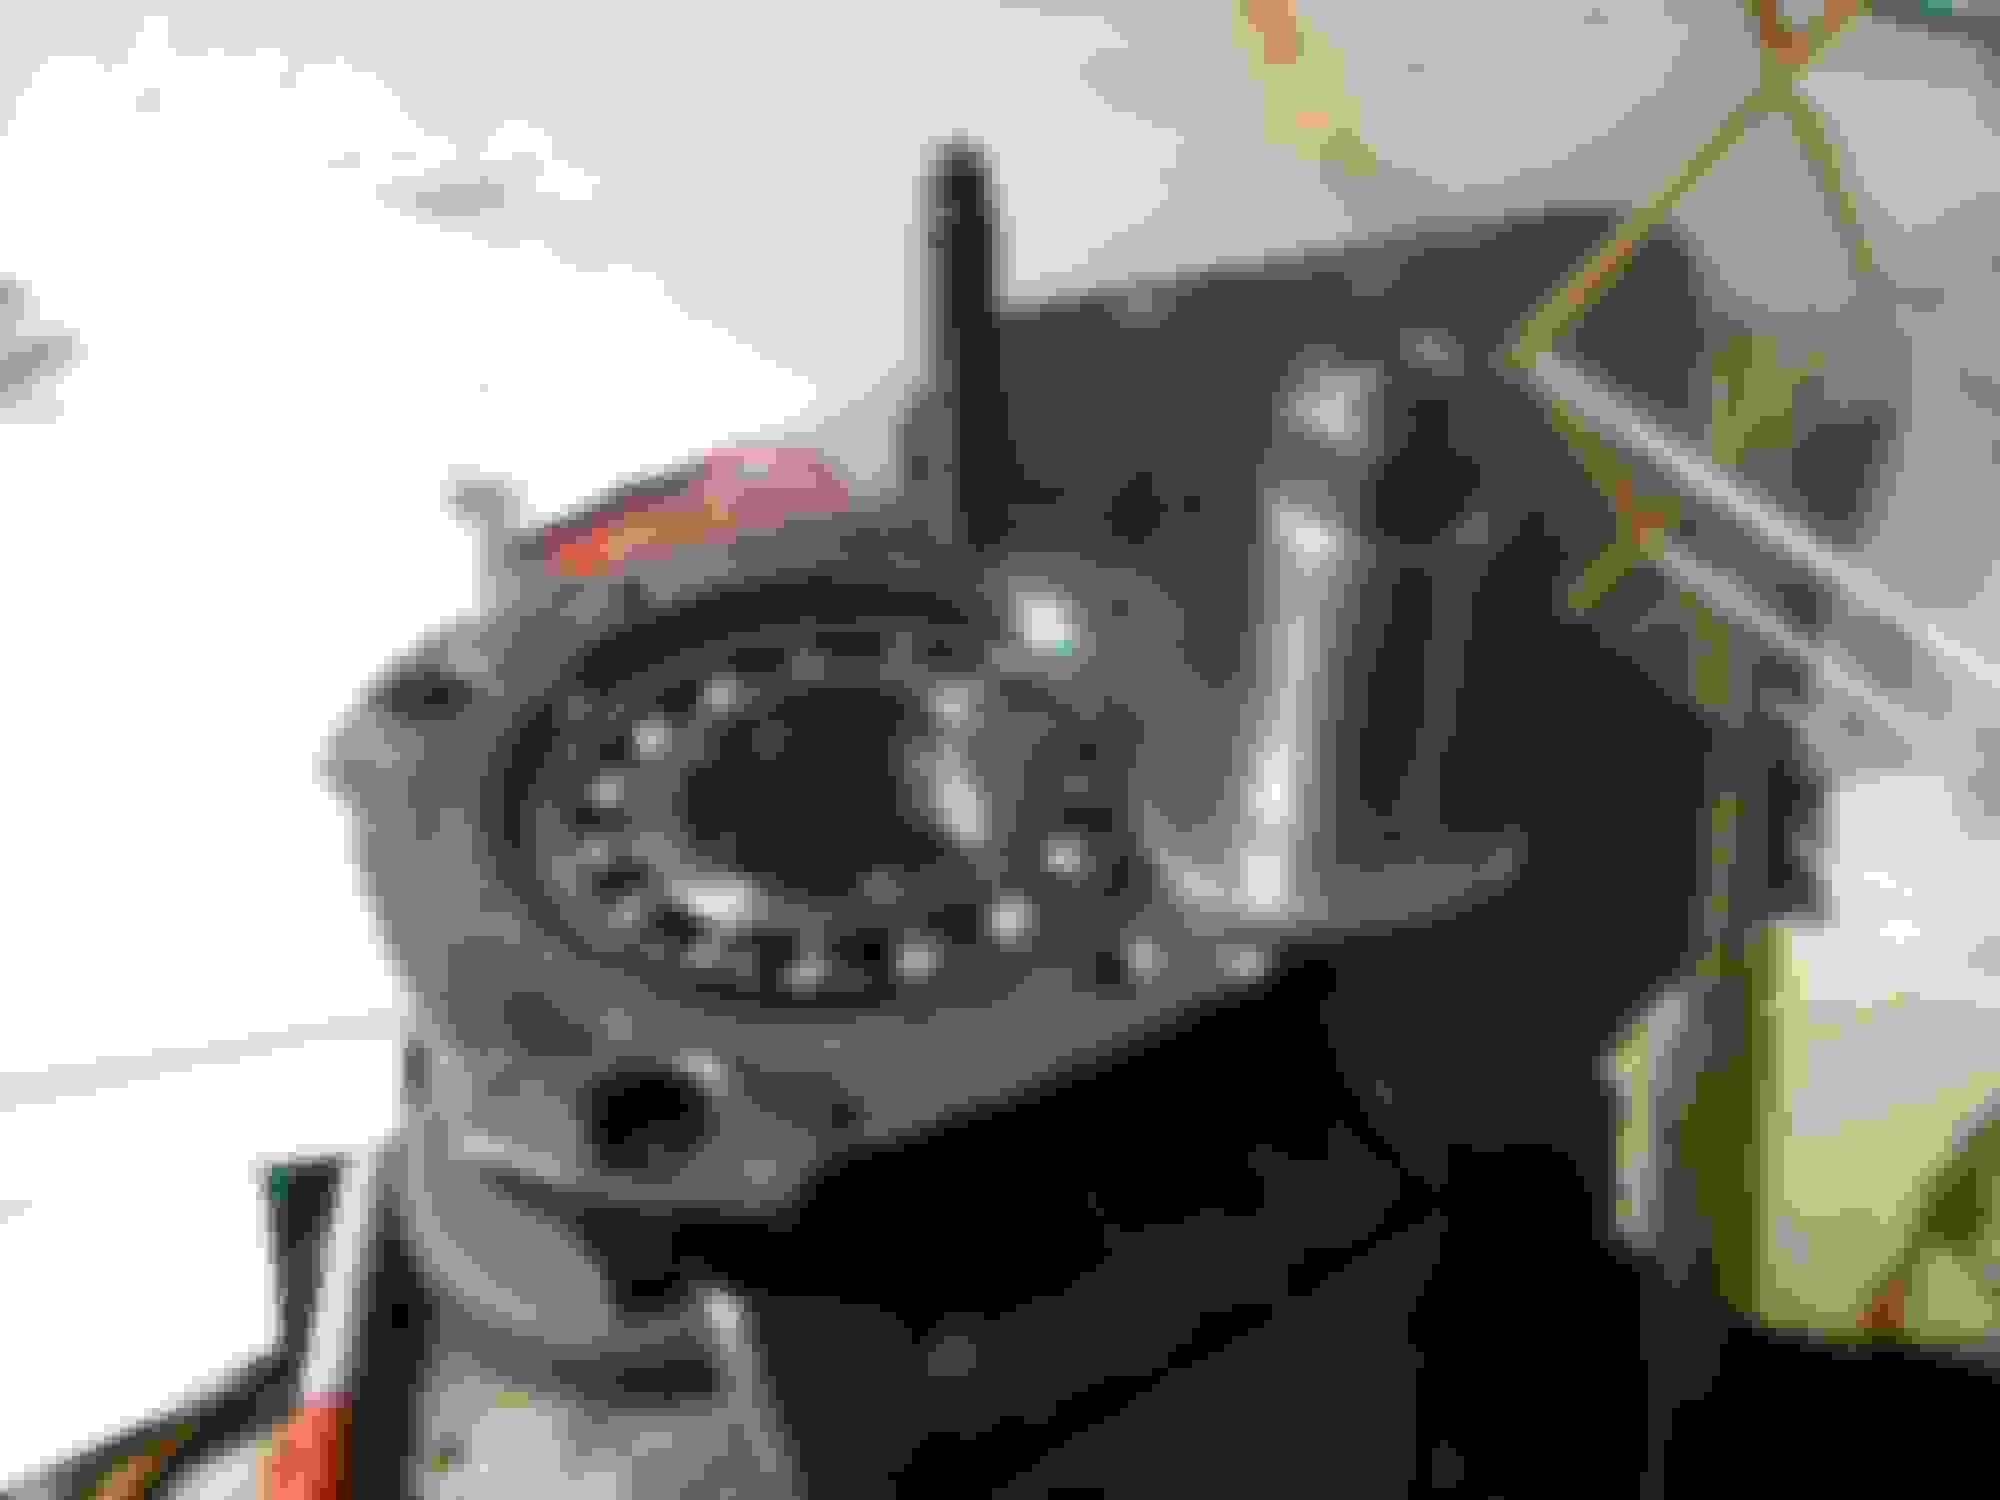
It is not a perfect match since the knurled part of the new stud has 32 splines, fewer than the stock MGA stud which I think might have 60. But it fits in tight. To install, I used a washer, a socket and a lug nut and screwed the stud home. Takes some force, so I laced the hub in the vice and extended the length of my ratchet with a length of pipe.
I reinstalled the passenger side and torque to 150 ft. lbs. of torque. I plan to pull the dust shield on the driver’s side today for examination so the driver's side hub rests in a plastic bag on the bench.
A fellow named John Leoutsacos paddock adopted me last year and spent hours at Summit Point and at Lightning helping me deal with my seized brake problems.
I think it was at Lightning where he identified a very loose rear brake slave cylinder on the driver’s side (although not my primary problem!) Initially he (we) thought the mounting area on the slave cylinder had worn down due to excessive vibration. We “borrowed” a new slave cylinder from another MGA racer. But that was also loose when installed, so we jury rigged a Coke can shim. Now was the time to further evaluate the problem.
It was apparent that our shim had moved.
In light of this development, I decided to make a permanent shim repair, cutting a new shim and epoxying or tack welding into place. I cut a shim, but the backing plate already had a shim permanently affixed. I decided to pull a backing plate off of a spare rear axle that I’ve been tripping over for a few years and compare the two. The thickness of the two slave cylinder mounting areas was .06” to .08” on my car and .11” to .012" on the spare axle. Both my original slave cylinder (aftermarket, probably Classic Gold) and the borrowed slave cylinder (Lockheed) fit much better on the spare backing plate, with the Lockheed being rather tight.
I decided to rehab the backing plate from the spare axle and use that plate instead. This one was clearly stamped “Lockheed” whereas mine was not similarly stamped, so presumably after market. Therein, perhaps, was my problem.
The “new” backing plate required a fair amount of wire brush and grinding work. Then I treated with Eastwood’s Fast Etch, then painted and installed. I got as far as reinstalling the brakes on the driver’s side, and then decided to re-paint the hub, brake drum and half shaft. Now waiting for those to dry.
Finished up the driver's side rear hub yesterday. This time I used blue Loctite instead of the locking washer. Managed to get 150 ft lbs of torque on the nut.
Since I have to bleed the brakes yet again, I finally ordered up some speed bleeders from Pegassus Racing.
Also pulled to oil cooler and flushed with kerosene. I was concerned that I might have had metal in the oil cooler as I had had some metal shards in the oil pan from when the crankshaft broke. Was not an issue. I will replace my oil cooler lines. My old lines look good, but they are at least 10 years old.
I have been procrastinating on the 1500 engine rebuild. I have two different types of pistons - two with a 7 cc. dish and two with a 8.2 cc dish. I did a quick and dirty calculation, and came up with an 8.87 to 1 compression ratio for the 8.2 cc pistons and a 9.05 to 1 compression ratio on the 7 cc pistons. So the 8.2 cc pistons will be at about 98% of the compression ratio of the 7 cc pistons. Supposedly the engine ran like this for years, but it is disconcerting.

 12-13-2017, 12:14 PM