When you click on links to various merchants on this site and make a purchase, this can result in this site earning a commission. Affiliate programs and affiliations include, but are not limited to, the eBay Partner Network.
Ill probably leave the bumper as is. Once I opened them up i did clean up all the metal and lay down a coat of primer/paint, so hopefully that will last.
Oh and the alarm works alright lol. CC is still there, but I haven't gotten around to wiring up the switches per Jakes write up. Ill try to maintain CC as my drives to the track are usually quite lengthy.
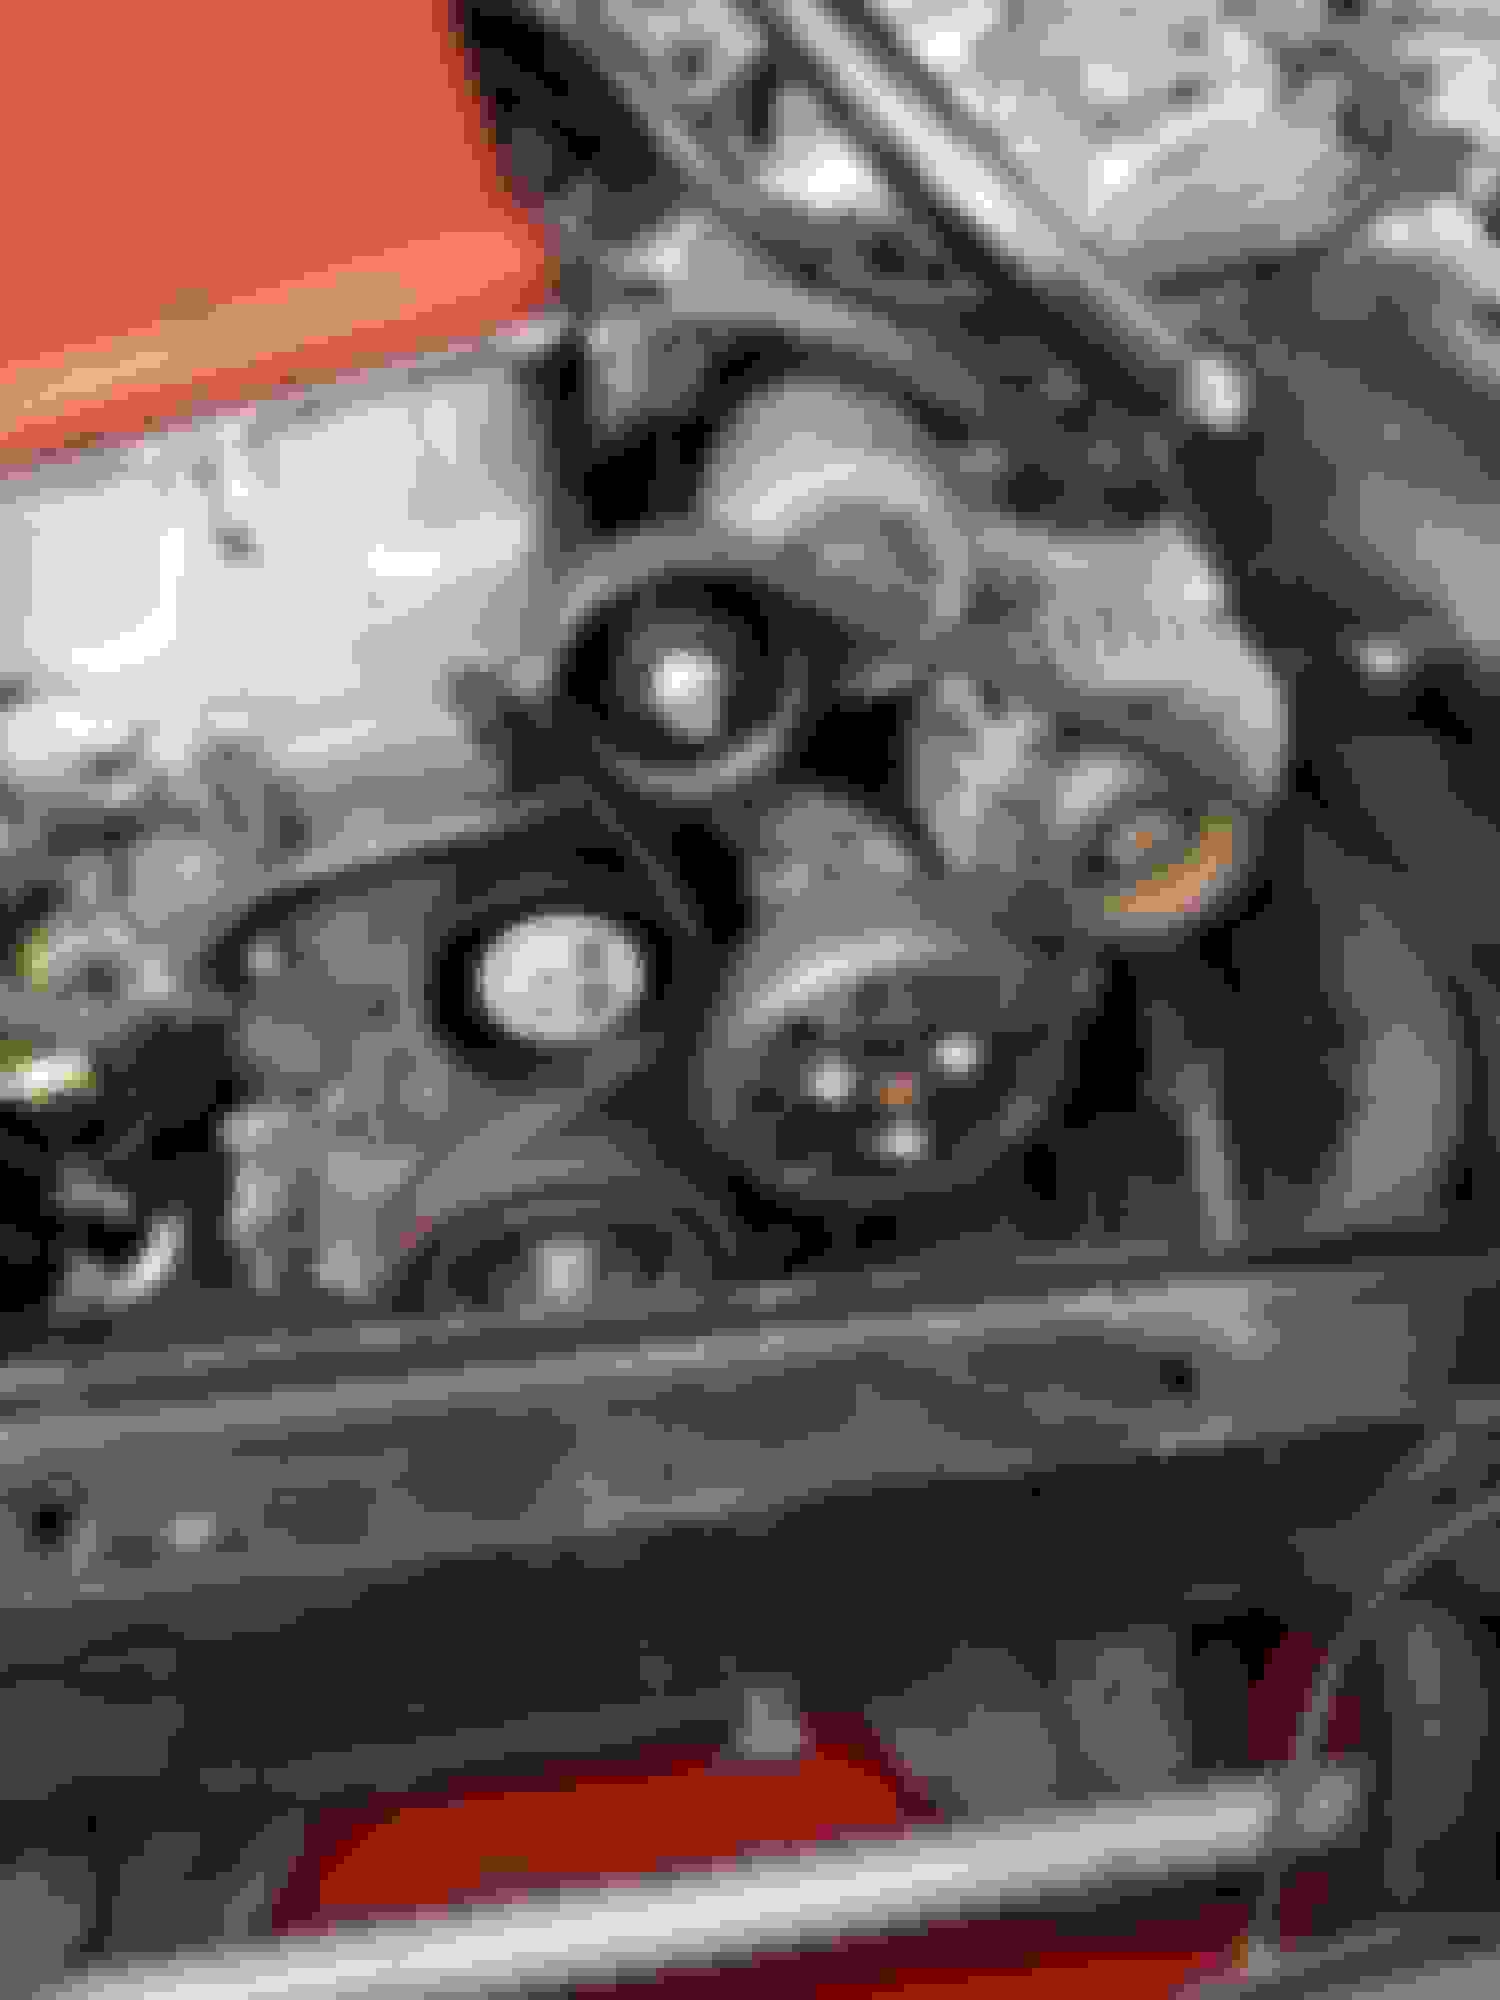
Got a bit more wrenching done on the car today. I received my crank pulley tool to swap the stock crank pulley with the fluidampr unit. The reason I am swapping over to the fluidampr unit is because I scared myself into getting it . I read through URGE's website on the fluidampr, and basically my understanding is that this unit dampens engine crankshaft vibration. They say at high engine speed, especially over 8K, the engine is vibrating like a mofo. This should effectively dampen those high rpm vibrations. My goal was to simply add further reliability to this engine. Like I said, I scared myself into getting this unit lol.
Anyway installation is very straightforward, however getting the crank bolt off is a BIIIIIIIIIIIITCH. For anyone that plans on removing the crank pulley, do not use anything less than 1/2 drive hardware. Reason I know is that I snapped 2 extensions and a ratchet and bent a breaker bar that were all 3/8. Actually my 1/2 drive breaker bar also bent slightly by the time I cracked the bolt. I wedged the crank tool against the sub-frame, and then put the jack handle on the end of the breaker bar on the bolt, and gave it all hell. After that I made a quick text to Jake regarding the crank key orientation, torqued the bolt down to 181 ft- lbs (yeah its a lot!), and went out for a drive. I must say that above 6K the engine does rev smoother. Nothing ground breaking, but the revs climb smoother for sure. Hopefully it adds a hint of reliability to this motor. And here are a couple pics of the install:
On the MGA and MGB, crankshaft failure in race engines is a known problem. This is our conventional wisdom.
"Crack inducing stress comes from at least 2 sources. Bending which is worse in a 3-main vs 5-main. Twisting loads from combustion pressure loading and torsional resonances which is why we use torsional crank dampers. If crack originates at the rear of the engine, then this suggests combined stress from both load sources."
We get our crankdogs loosened by wedging in the breaker bar and then giving a quick spin on the starter.
First crank at that damn bolt it had me swearing at it for 3 FULL days, 4 trips to the store for new breaker bars and finally to tractor supply for 3/4" hardware and tools that can handle the vicious bolt on its virgin break !.
First time you break that bolt it's a bitch, if you haven't done it before it's definately a little nerve wracking, then you start wondering if it's reverse thread...but now you've got it down. I've got a nice long handled crank tool that makes this easier, the small tool is kinda rinky dink. Would have shipped it your way or done it for you while you were getting MG parts if I knew you had this mod in mind.
Had my 2nd COM event at NHMS yesterday that didn't quite go as planned. I have never been to NHMS so I watched as much video as I could to learn the track. I figured between that and the first 2 practice runs of the day should suffice. What I was not prepared for was the seriously volatile track surface. I have been spoiled with fresh surfaces such as Watkins and Palmer. NHMS has various surfaces materials and qualities. The uber stiff suspension had the car bouncing around like I couldn't believe. I would have crazy understeer at turn in, and drift-like oversteer on track out. Plus when I tried to push my braking zone I would almost immediately hit the abs and the car felt like it was on ice. CRAZY! The matters began to get worse after the first session. I thought I would throw the slicks on the car to see how the response would change to the insane terrain. 3 slicks bolted on no problem (you can see where I am going with this). I got 4 lugs off the driver side front wheel no problem. The 5th one rotated about 540 degrees and then stopped. Wouldn't come out or go back in. Mind you I just had all the wheels off to do the brakes the day before and everything had come off and gone back on smooth as silk. Also my impact gun is rated somewhere in the 400 ft lb range and had a full charge, so plenty of juice for wheel lugs. I put the impact gun back on the lug and the moment I hit the switch I hear a loud pop and it starts spinning freely. "Oh joy" I thought, "I must have snapped the stud". WRONG. I managed to pop the stud out of the hub assembly with the lug still seized onto it. No slicks for me. I decided to run the 2nd session with street tires. Halfway through the session it starts raining blue on the driver side part of the windshield, and nowhere else. Joy of joys, the car was puking out coolant. Never overheated but I pulled it back in and tried to source the leak but couldn't find it. The engine has been making a chirping noise which I thought could be tensioner or idler pulley. As I have already replaced those, Im guessing it could be the water pump. I did the TT but didn't stick around for awards as I knew I hadn't done anything worth while. The Aim said I was doing 1:23-1:24 consistently. Im sure with more time on track and softening up the dampers I could have improved.
Before leaving Peter with the endurance s2k had me pull the car into the garage and we tried extracting the stud. We threaded another stud into the front of the lug, attached a slide hammer and tried to pull the stud back into the hub. After 3 attempts we would managed to get the lug threaded out a little more. However toward the end the stud would either immediately pop right out, or rotate inside the hub. Not sure how I am to go about extracting this damn thing, but I'm thinking some form of heat and a sledge hammer.


 06-15-2017, 04:56 AM


 . I read through URGE's website on the fluidampr, and basically my understanding is that this unit dampens engine crankshaft vibration. They say at high engine speed, especially over 8K, the engine is vibrating like a mofo. This should effectively dampen those high rpm vibrations. My goal was to simply add further reliability to this engine. Like I said, I scared myself into getting this unit lol.