When you click on links to various merchants on this site and make a purchase, this can result in this site earning a commission. Affiliate programs and affiliations include, but are not limited to, the eBay Partner Network.
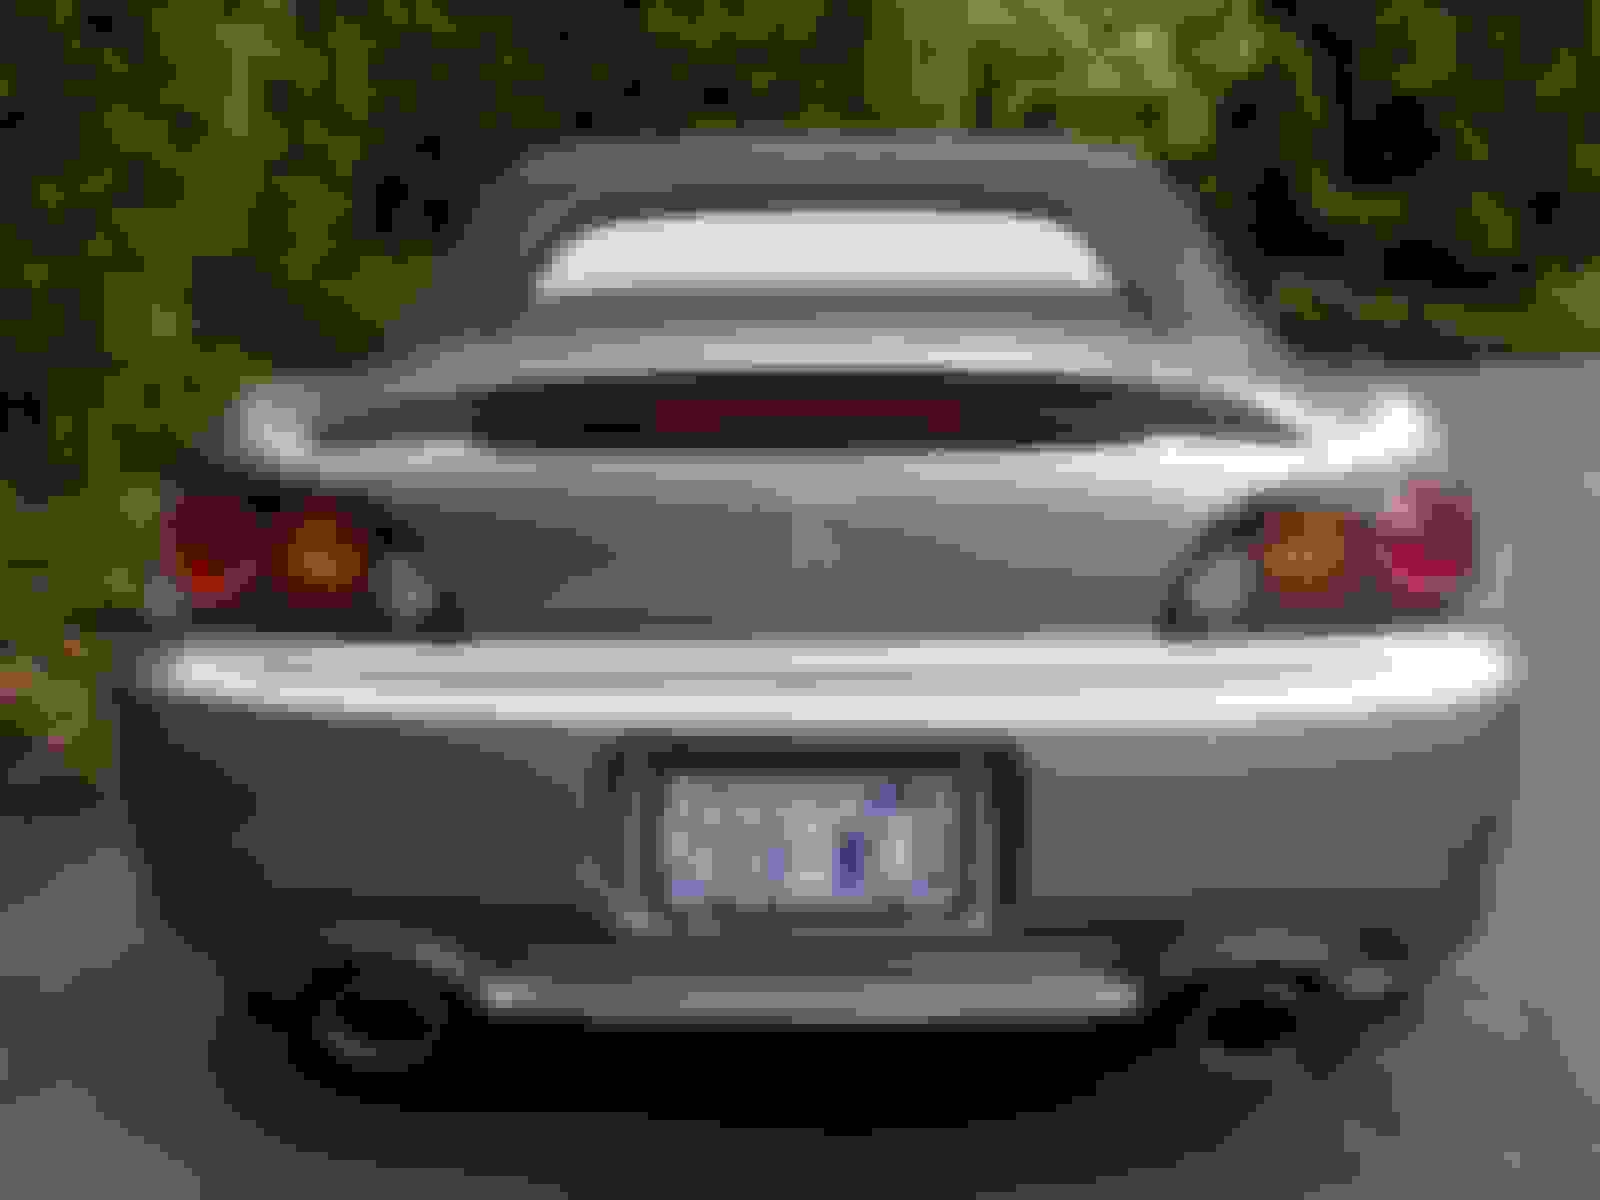
The first weekend after I bought my S, I ended up behind another Silverstone that had an OEM spoiler and I've wanted one since. I finally got mine last weekend, from Majestic Honda, who seemed to have the best price. All of the OEM spoilers come pre-painted and it was much easier to install than I though it would be.
I did not plan to install the new trunk lid springs that come with the spoiler but it turns out that the new trunk springs DO help with popping the trunk open and holding it open once the spoiler is on. I was able to remove and install the springs with tape-covered channel locks and I'd suggest wearing heavy gloves when placing them, just in case.
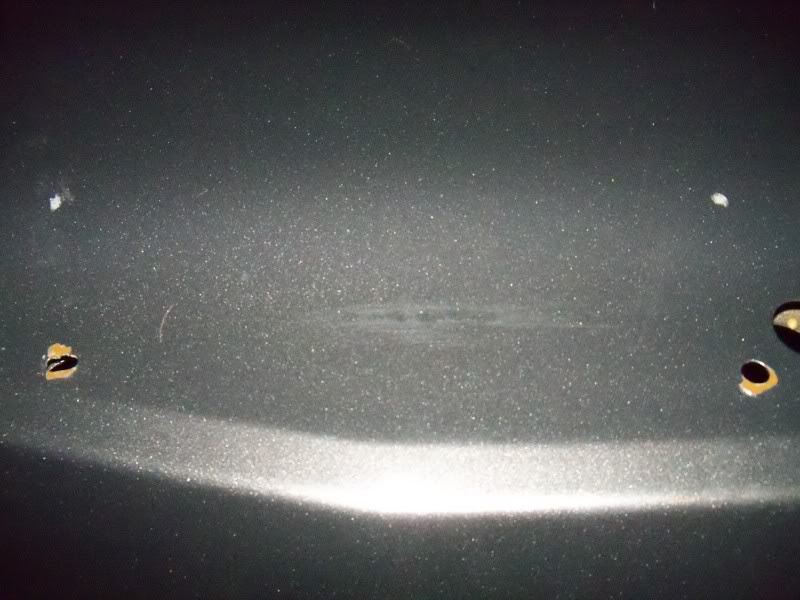
This is about the hardest part, man this hurt.....
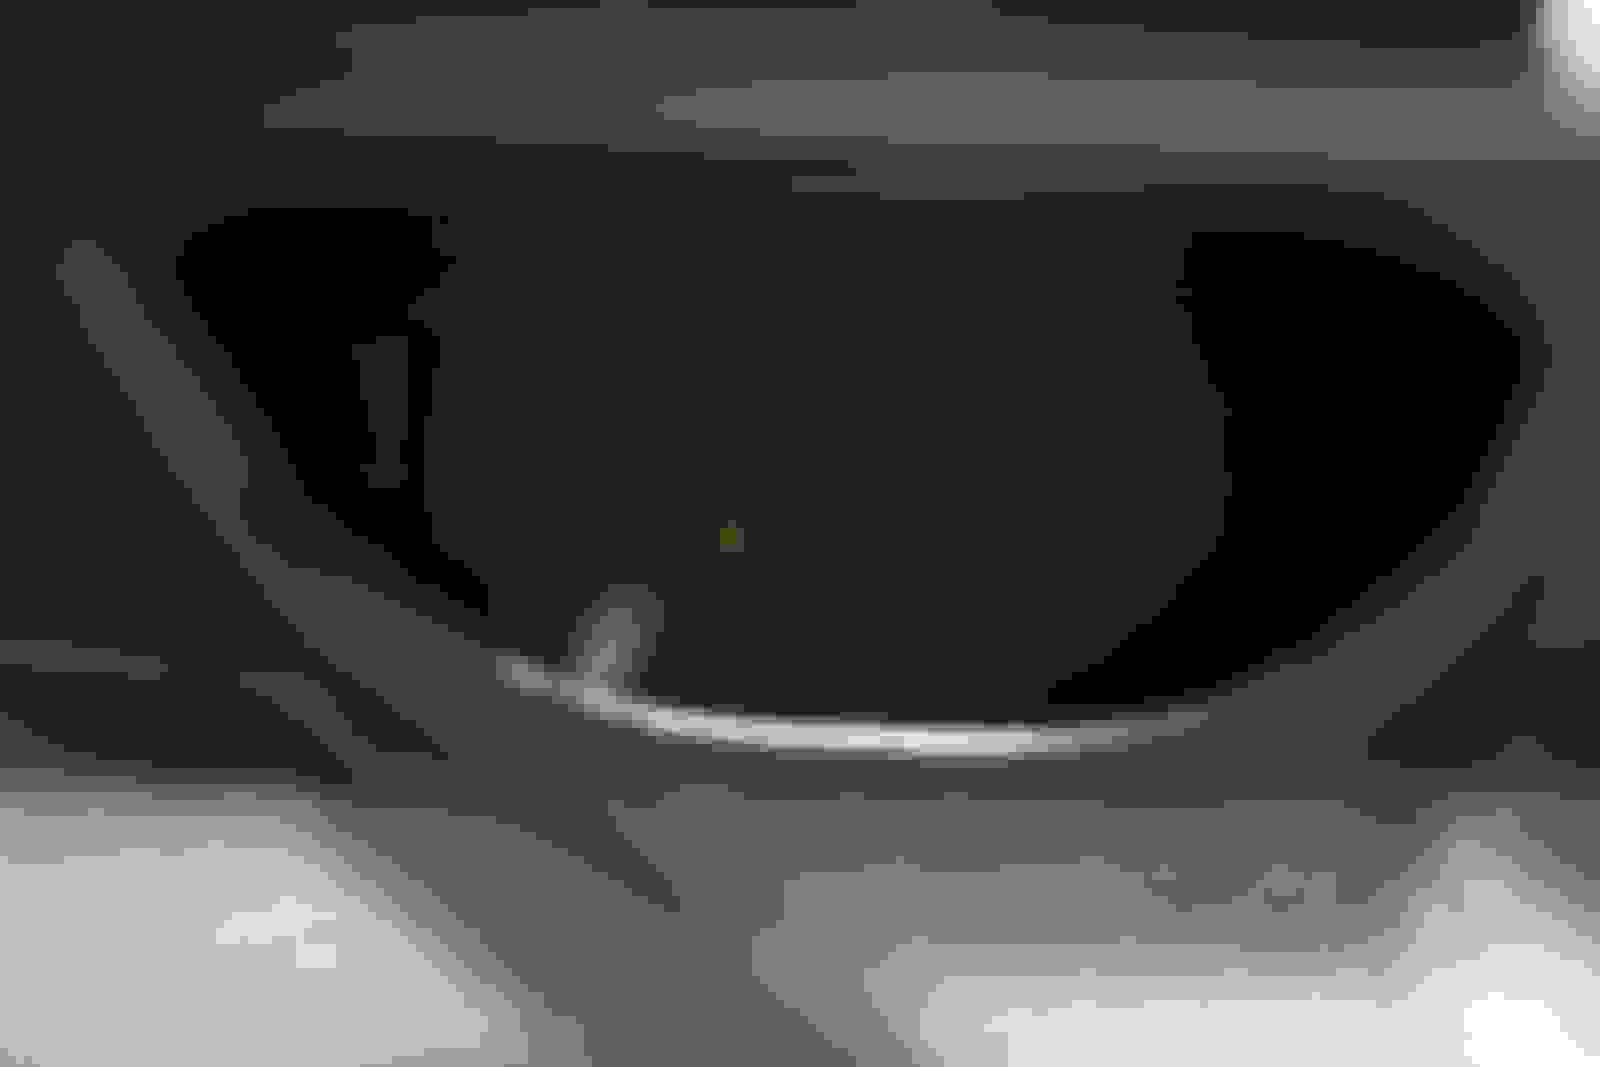
But this one hurt even more. Just be sure you center-punch perfectly. Once you drill the two outer holes, which are based on pre-cast marks inside the trunk, you install the spoiler with the two outboard bolts through the trunk. The inboard holes will have 2 double stick doughnut-shaped stickers attached, which will remain on the trunk lid and show you where to drill. The spoiler has two bolts attached to the underside at the outboard edges, and two nuts affixed within the spoiler for the inboard holes.
With supplied grommets prior to seating the spoiler. Be sure you get good paint coverage on the freshly drilled metal.
Fit one side and then flex the spoiler to make the other side "reach" the other hole.
Its a tight reach to get the middle two bolts tight.
Torque specs seemed high to me, I tightened the bolts just enough to compress the butyl washers without crushing them.
Nice work and for the DIY. I prefer to just 3m double side tape.
3m double sided tape is more than enough, that shit is STRONG. especially if you heat it up before installing. once it cools, it's close to impossible to get it off without damaging the paint (basically the same amount of work to debadging)
as mentioned above, i REALLY hope you applied touch up paint to drilled holes
too common do I see riced up civics with two lines of rust coming from the spoiler holes
 05-18-2010, 05:26 PM