When you click on links to various merchants on this site and make a purchase, this can result in this site earning a commission. Affiliate programs and affiliations include, but are not limited to, the eBay Partner Network.
Did 4P give a target boost level and engine speed for your target horsepower level?
They did not build the engine, only the head. I talked to them and inlinepro. Both advised against O-ringing the head so that's a no go. We took the engine up to 8500 which is where it signed off. I'll end up setting the limiter to 8200ish as im trying to make this thing last a little while
Last edited by Charper732; 04-11-2019 at 07:27 PM.
I ended up just bringing the car back to my house instead of the shop and ripped the head off in the driveway. Cylinder #4 didn't like it. The sleeves didnt move, so that's good. I was going to just throw a HG on it and send it, but I think it would be wise to make sure the head is perfectly flat so I'll take it to the machine shop in the morning for the light resurface.
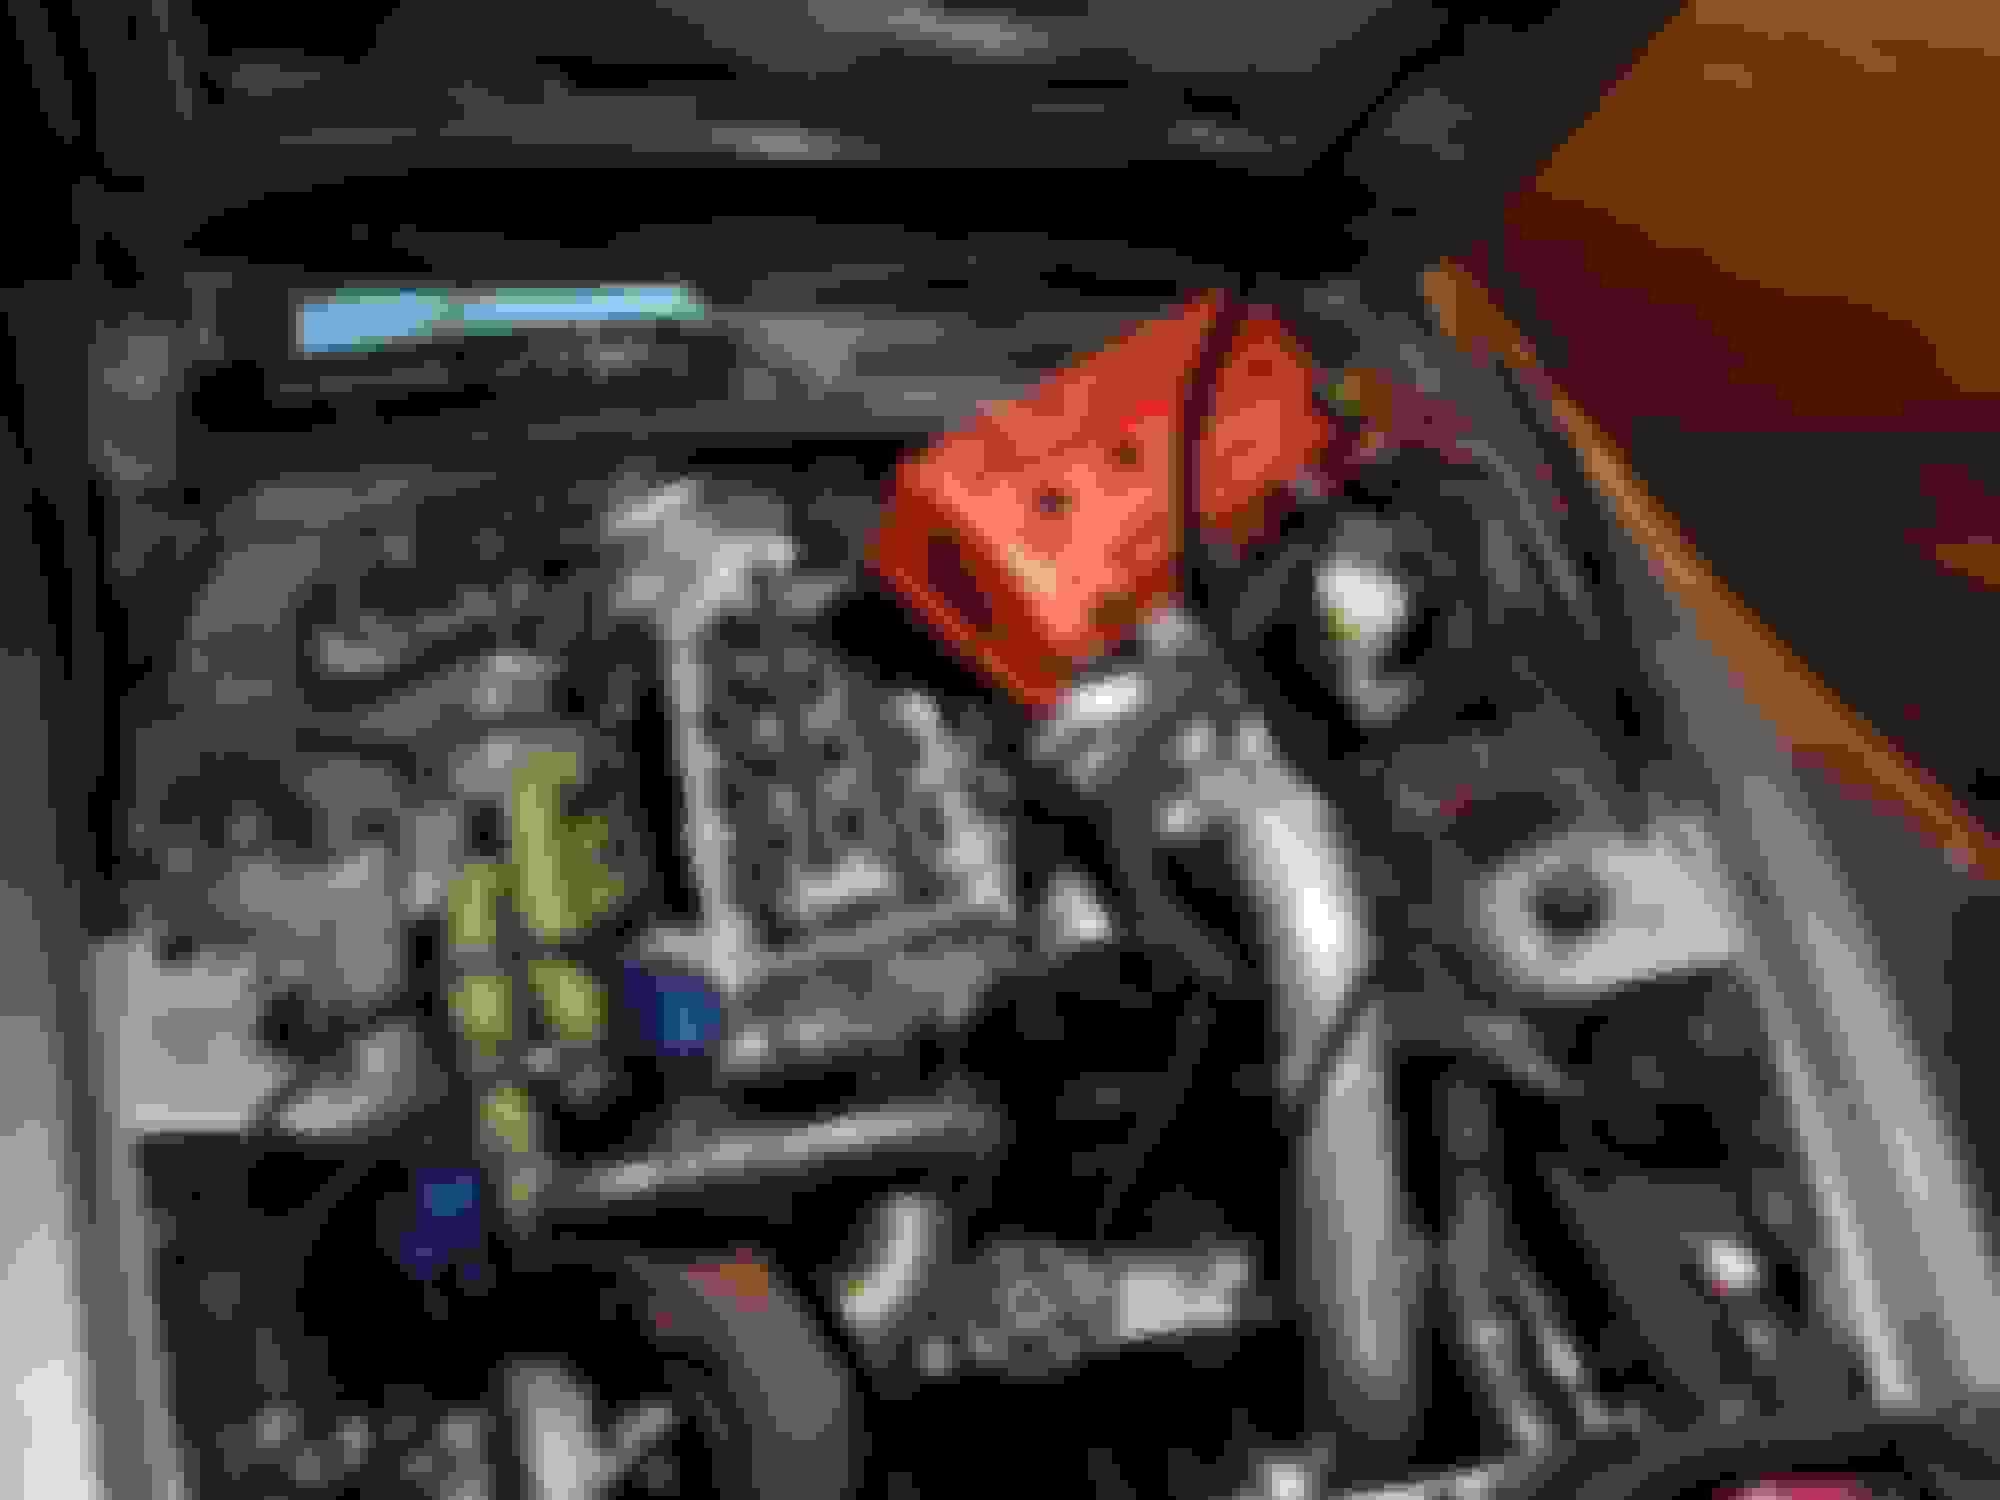
Got the head gasket replaced. I had the head resurfaced, it needed to have .005" taken off to fix the warpage where the HG blew. It has a slight miss at idle right now, leakdown shows no issues so im guessing it is tune related because anything off idle and it runs just fine. The power band is siiiick. There is almost no turbo lag, ive never driven anything that was this responsive and still had this much power.
The setup I had with the pte 6062 was violent as hell when it came onto boost around 5200..it felt awesome because of the huge ramp in power but this new setup has more power and is much more predictable.
Last edited by Charper732; 04-16-2019 at 05:17 PM.
Car is up and running pretty well after changing the head gasket. I'm not too happy with the tune as it was pretty half-assed and the tuner charges a premium. I should have just stuck with my original plan and had Evans tuning do it.
Anyway, when I had the head off I noticed the #2 piston had been making contact with the head pretty heavily on one side of the piston pin. That would explain the knocking sound I had immediately after changing out to the 4piston head. And also tells me either Rockstar garage or 4piston lied about the amount that was shaved off the head...doesn't matter now though. What doesn't make sense its why it's only happening on the #2 piston to this degree. All of the others were making slight contact on the corner near the valves. It has clearanced itself, but I went and opened up the chambers anyway. There is quite a bit of play on the side to side along the piston pin axis. The only logical explanation for this contact is that the rod width is too narrow allowing for the piston to slide a bit on the pin. I've seen PTH contact before from tight squish, but it was always 90* from the piston pin as the piston can rock on the pin, thus allowing for the contact. I've never seen it on the pin axis.
I had the chance to finally install a the traction and boost control switches on the streering wheel. A converter is needed to use the VSS signal from the trans. I went with the SOS converter unit. You can get a dakota digital converter to save a few bucks, but the simplicity and instructions of the SOS unit really made it worth the $. I made another post for the construction of the control switches.
And lastly, when it was on the dyno. The tuner didn't open the exhaust valve as I told him to do when making high boost pulls. If the car backfires with the exhaust valve closed this is what happens...every. time. I'm on my 6th butterfly now.
There are several threads where people discuss the piston hitting the head. Apparently, the piston protrudes 1mm and the gasket is 0.762mm crushed. Some builders mentioned that they had to chamfer the pistons when using an overbore. Note: I never talked to any builders about this directly; never knew it was an issue before I looked.
What was the peak engine speed reached?
Did you measure the piston-to-deck or piston-to-head distances when assembling? Your posts indicated you were very diligent with the piston, pin, rod, and ring clearances. I remember a thread on a different forum where a builder was getting elongated pin bores because lightweight pin he was using was bending. Are you planning on pulling that piston and rod to check for damage to the pin (bending) or piston or rod (elongating the pin bores.)
Yeah, im aware of the deck height. Mine protrudes .042" The problem is not the bore size as I am running 87mm. The problem is that the piston has room to slide on the pin from side to side in combination with the head being milled. I didn't measure anything on the new head(although in hindsight I should have) as I was told what I was buying was a brand new, never milled head. That's what I get for trusting a somewhat questionable dealer. I seriously doubt 4piston would have fudged information. I've built superbike motors with extremely tight squish clearances to where the piston was slightly tapping the head, although it was quite a bit less than what is going on here. I don't plan on tearing this thing down. If it was gonna blow, it would have done so when it was on the dyno. The pin is not bending, its an upgraded CP pin.
Yeah, im aware of the deck height. Mine protrudes 0.042" The problem is not the bore size as I am running 87mm. The problem is that the piston has room to slide on the pin from side to side in combination with the head being milled. I didn't measure anything on the new head(although in hindsight I should have) as I was told what I was buying was a brand new, never milled head. That's what I get for trusting a somewhat questionable dealer. I seriously doubt 4piston would have fudged information. I've built superbike motors with extremely tight squish clearances to where the piston was slightly tapping the head, although it was quite a bit less than what is going on here. I don't plan on tearing this thing down. If it was gonna blow, it would have done so when it was on the dyno. The pin is not bending, its an upgraded CP pin.
The piston is constrained by the bore and the rings and only starts with 0.003-0.004" clearance. This is from JE:
Connecting rod to piston clearance
Due to the large variation in rod widths and material thickness above pin, always check
for proper piston to connecting rod pin end clearance. Recommended clearance is .050" min
per side and .050" min from top of rod to piston. With the piston installed on the rod, rock
the piston side to side and rotate forward and backward to ensure proper clearance. (fig. 3)
The .050" is larger than the piston to cylinder wall clearance cold, by an order of magnitude.
Even piston-guided rods have .005-.010 clearance, using the piston to locate the connecting rod.


 04-11-2019, 07:22 PM