When you click on links to various merchants on this site and make a purchase, this can result in this site earning a commission. Affiliate programs and affiliations include, but are not limited to, the eBay Partner Network.
Any turbo thats properly sized for this engine, or most known frame sized turbos that everyone uses and runs this setup on pump gas and stock block shouldnt have to worry about IATs. That intercooler is Ginormous!
If you were overworking a really small turbo; this thing could probably keep up! Lol.
I did end up pulling the turbo and going back to the supplied -AN fitting for the return line because I was getting a little bit of smoke. I had to cut a decent sized notch out of the crossmemeber, but the turbo hides it once installed back. I cheated the first time and ran the return back into the drain, so this time I pulled the oil pan and had a separate return bung welded on.
I scrapped the Tial bov and replaced it with the Synapse Trident R55. It sounds way better imo, and the actuation is super fast. That being said, if anyone needs to buy a Tial bov, let me know. Lol
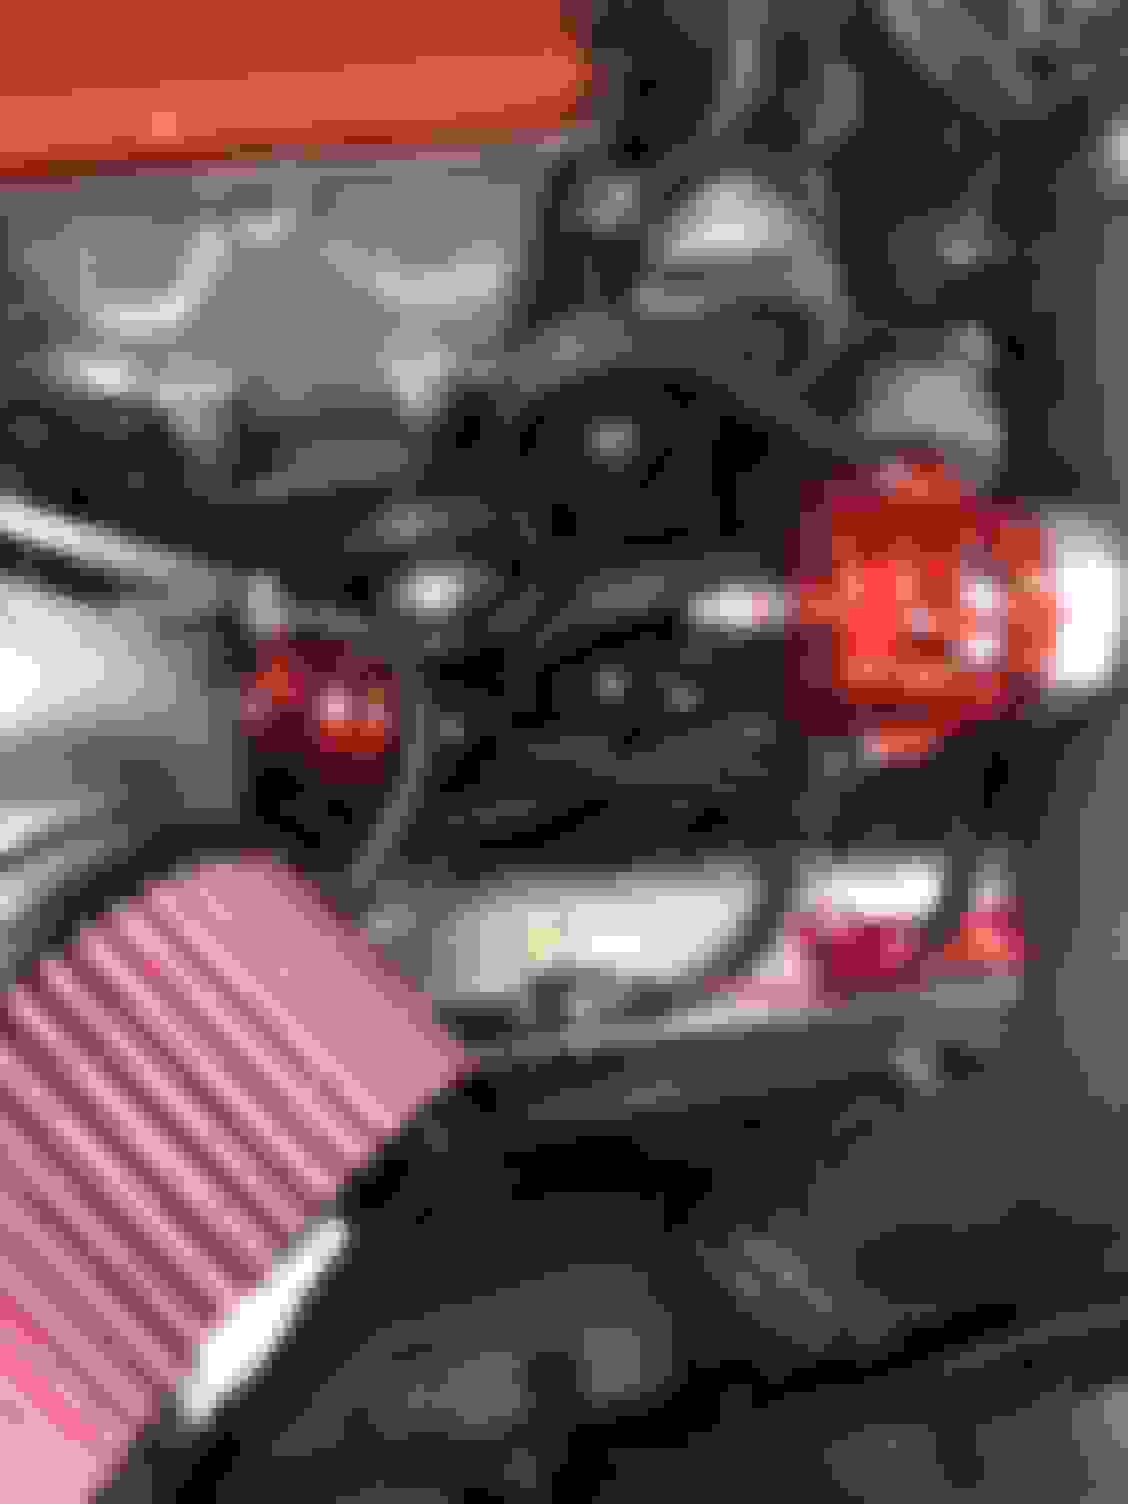
I also replaced the air filter with a larger K&N one because the supplied filter just seemed a little small for the application.
Can’t think of anything else besides that. Still happy with the kit and don’t see myself changing anything else. I might get a stronger rear diff eventually, like a PuddyMod or something, but for now I’m done.
Still running strong. I recently swapped my exhaust to the berk 3 in header-back and got it retuned. I was at 420whp/300wtq at 13psi, and after the exhaust swap made the same power at 10psi with much better low end. I’m tapped with fuel right now at 90% duty cycle, so my next step is going to be changing to a return fuel system, 1700cc injectors, and a 450 pump. Hoping to get around 500 with all that.
Originally Posted by ECaz34
How's it running 2 years down the road?? I'm looking at getting this kit or the kings kit.
Still running strong. I recently swapped my exhaust to the berk 3 in header-back and got it retuned. I was at 420whp/300wtq at 13psi, and after the exhaust swap made the same power at 10psi with much better low end. I’m tapped with fuel right now at 90% duty cycle, so my next step is going to be changing to a return fuel system, 1700cc injectors, and a 450 pump. Hoping to get around 500 with all that.
what exhaust were you running before switching to berk?
Before the Berk I was running the Tanabe Medallion with a 70mm testpipe. I wasn’t sure about the look of going to a single, but I got one of those single exhaust bumper covers from Fastline and am really happy with how it turned out. I just got the black unpainted one, and it goes really well with my front and side splitters. I’ll try and post a pic of it later.
Oh, also that turbo kit makes a TON of heat, even with the heated-treated piping, wrapped dp, and turbo blanket, so I got a vented hood not too long ago to help with that. It made a world of difference, so I would definitely recommend doing that also.
Originally Posted by ECaz34
what exhaust were you running before switching to berk?
Hello, I wanted to reply and provide my feedback and hopefully help the next person save some time and headache who are doing this kit.
Let's get one thing out of the way first, "direct bolt on turbo kit" is BS! Never take "direct bolt on" from any car parts manufacturer seriously.
if you don't have air conditioning then maybe it would be.
With that out of the way, I want to say that I'm very happy with the kit itself and especially the customer service from FB. Justin was awesome, he even replied to my text messages on weekends while he was out with his family. Also, big thanks to the OP, Ikidomari, for also helping me out through some parts of this process..
The below pictures hopefully will help the next person who is attempting the kit themselves.
I made 397 rwhp and 265ish ft lb of torque at 8 PSI. Unlike the OP I opted for a Precision 6062 bb turbo. I'm running a Berk 3" exhaust with the HFC whereas he's running the Berk 3" without the HFC. I don't like TOO much fuel smell
I also have a 2006 AP2 just like OP. I'm sure if you're at this point of looking for turbo kits you'd know by now but just in case, there are key differences that will change the way things are done for turbo kits depending on what generation and even year you have.
Okay. So, the instructions are pretty bad with very obvious holes and things that were not mentioned. If anything, simply having more detailed pictures would've helped. This was the first turbo kit I've ever installed and I had help from a friend was a bit more experienced with cars. I still did most of the work while I used him for some spots where I needed grunt work or holding a pipe etc
I will not lay out a step-by-step guide on how to do things but I will instead point out the headaches/gotchas and provide badly needed pictures to help out the noobs like me along the way.
I hope this helps..
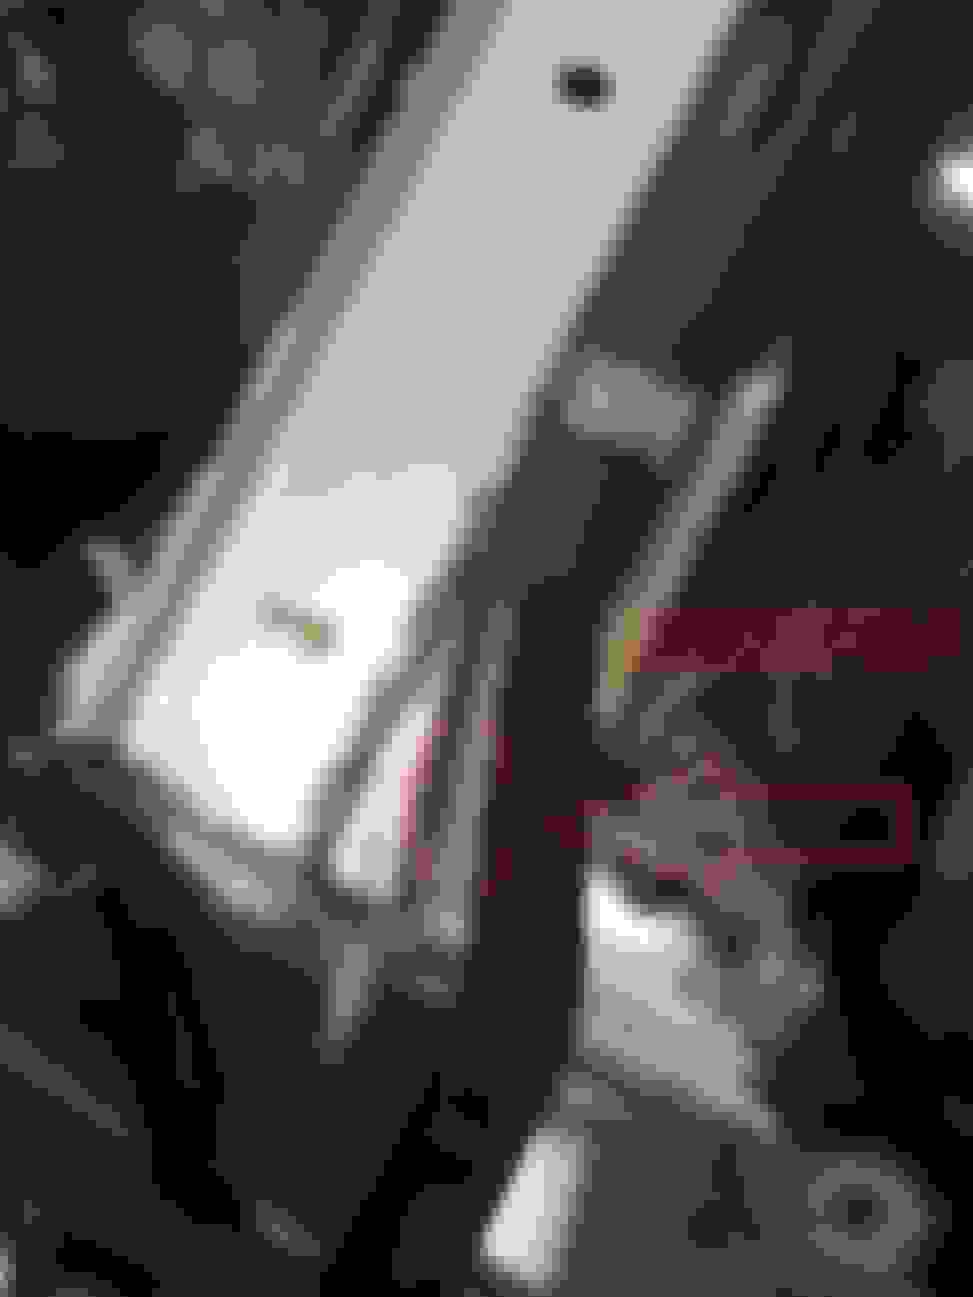
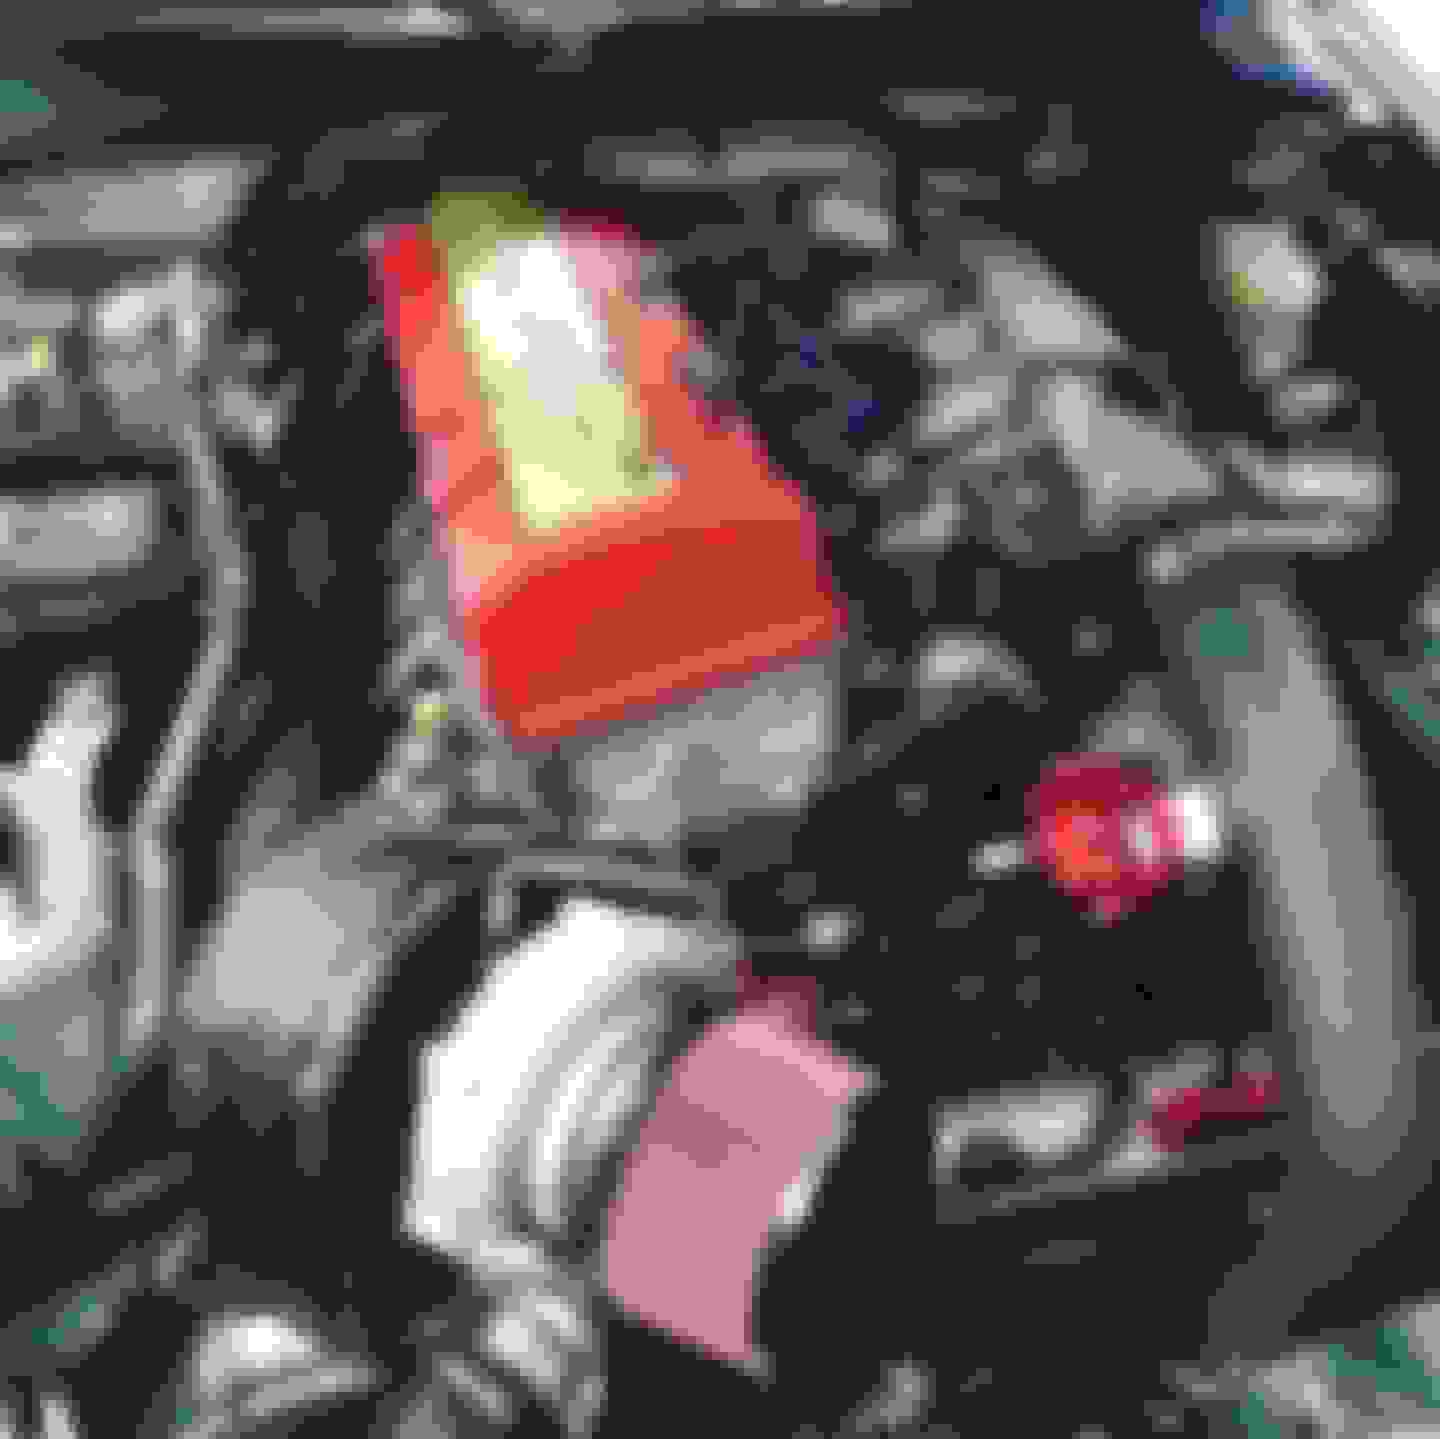
Intake manifold tee for 2006. The size is 5/16" of this hose. The fitting is a brass fitting with 5/16" on the straight part and a 1/4" barb fitting on the "T" part. best wire cutters ever. No worry about cutting into the core. $20. A must-have for electronics wiring of any sort and you'll be doing at least a boost gauge I hope. End result minus the breather filter I added for the intake mani. Put a filter from autozone/advance auto parts on this. $12. Use WD40 to lubricate the hose and it should pop on with minimal force. Unless of course your breather filter somehow has the perfect size. This is the IAT Sensor with grommet. This needs to be placed into the intake charge pipe after drilling a hole. Unless you are making tons of power it doesn't need to be welded. Start small and work you way up. I used a TINY flat head screwdriver and WD40 to get the grommet into the pipe. IAT Grommet from Home depot. $.50 ? I believe it's a 3/32". I think I could've gone one maybe two sizes up. Tapped beneath the intake charge pipe so it's hidden from plain sight. Bend this lip on the cold side (driver side) of charge pipes with vice grips and pound it UP with a hammer. You can cut it too, but I didn't like the idea of rust forming there. VTEC Pressure Switch blockoff plug
I know, you're saying WTF man that is not going to fit with the downpipe connected. Believe me, it does. And, if you're sketched out by it you can get a vtec block off plug and leave the harness unplugged. The plug is displayed in another picture here. View of how wastegate dump tube routes. This was a ROYAL pita to do alone. My recommendation is connect the wastegate dump tube to the wastegate loosely and then try to throw them in as one piece while adjusting the dump tube piping as you wiggle it in. You will never get it right if you do it separately.
Regarding the AP2 vs AP1 Fuel Pumps
Not sure about other AP2's but 2006 fuel pump setup comes with plastic clips that make it so that only a certain size fuel pump will fit.
In order to fit the FB340 fuel pump I had to dremel off the white plastic tabs at the bottom of the fuel pump. It was maybe about 5 mm of material. Don't be afraid, the plastic comes off very easily with a dremel. Just go slow. I recommend putting it in a vice so it doesn't slip.
Edit: A note on vacuum lines. When you get it all hooked up you'll notice that the NPT sizes for each of your accessories is different. I felt like 1/4" NPT was the most common size, so I went on ebay and bought 1/4" NPT as well as a 10 foot roll of 1/4" ID silicone. It worked out perfectly.
Sorry the pictures are so huge. I don't know how to resize them...
Important note about the turbo blanket springs
You should put your turbo blanket on first and secure it with the 2 springs and THEN bolt on the turbo. I didn't know, so I could only attach the springs on the front side because I had already bolted up all of the hard bits already, so I couldn't reach the spring clip mounting points. One day when time comes to take off the turbo I'll end up putting the rear springs on.
When it comes time to cut the cross member
Of course use eye/ear protection. Also cover up everything with old shirts or something and especially any piping that leads to the intake manifold so you don't get tons of metal dust going in there.
I applied POR15 to the areas that were chopped up and exposed, but I suspect maybe touch up paint can work as well?
i guess there is no install instructions with this kit?
There are, but they're not very detailed. They don't mention any of the gotchas in between steps. Like, it'll say to connect the charge pipes but makes no mention of the steps to bend the lip for one of the charge pipes on the chassis. I suppose if you're someone who has already installed a turbo kit before you should be fine though.
 05-24-2018, 12:44 PM