When you click on links to various merchants on this site and make a purchase, this can result in this site earning a commission. Affiliate programs and affiliations include, but are not limited to, the eBay Partner Network.
Gonna add more info to this thread, I think I may have mentioned it before, but I'll make it a definitive step.
#5) Remove the screws holding all of the smaller pulleys together (4x), clean them, and then re-assemble with red . Seeing as the this portion of the pulley is just a flange to hold the belt straight, affixed to both sides, they can essentially be permanently affixed with red threadlocker. They shouldn't get in the way of being able to service the bearing in the future if ever necessary. Also apply threadlocker to the 4 bolts holding the supercharger head unit to the main bracket. It shows them using a red threadlocker here.....I don't know if I'd want to go that far there...red thread locker is some pretty crazy shit, I wouldn't want to break the bolts off in the unit if I ever had to remove it if it broke. I'd prefer to use blue threadlocker here....I know you can break red threadlocker loose if necessary with heat, not sure I'd wanna be torching an aluminum bracket to break them free either. I think blue will be good. Supposedly Kraftwerks Loctites all of these pulley screws etc before shipping them out. LHT seems to have found several from various kits where someone either forgot to Loctite them or just didn't, so they make it a point to redo all of them, and use a stronger threadlocker from the looks of it. If Kraftwerks used red stuff they wouldn't be getting them back out I'd imagine lol.
#6) I don't really have a pic for this, but the tensioner pulley on the bracket (looking from the front, it's the bottom left one) uses a bolt coming through the back of the bracket into the sliding tensioner that's threaded in the front. Replace this with an ARP bolt as well since it's a load-bearing bolt I'd want the most shear resistance I could get. It's an M10x1.25x40mm flange bolt. ARP part number is 663-1005. I've also read that when the belt gets very tight the tensioner adjustment bolt is difficult to adjust (loosen) and people have broken the included bolt trying to loosen the tension. This is an M8x1.25x60mm flange bolt, ARP part number is 661-1009.
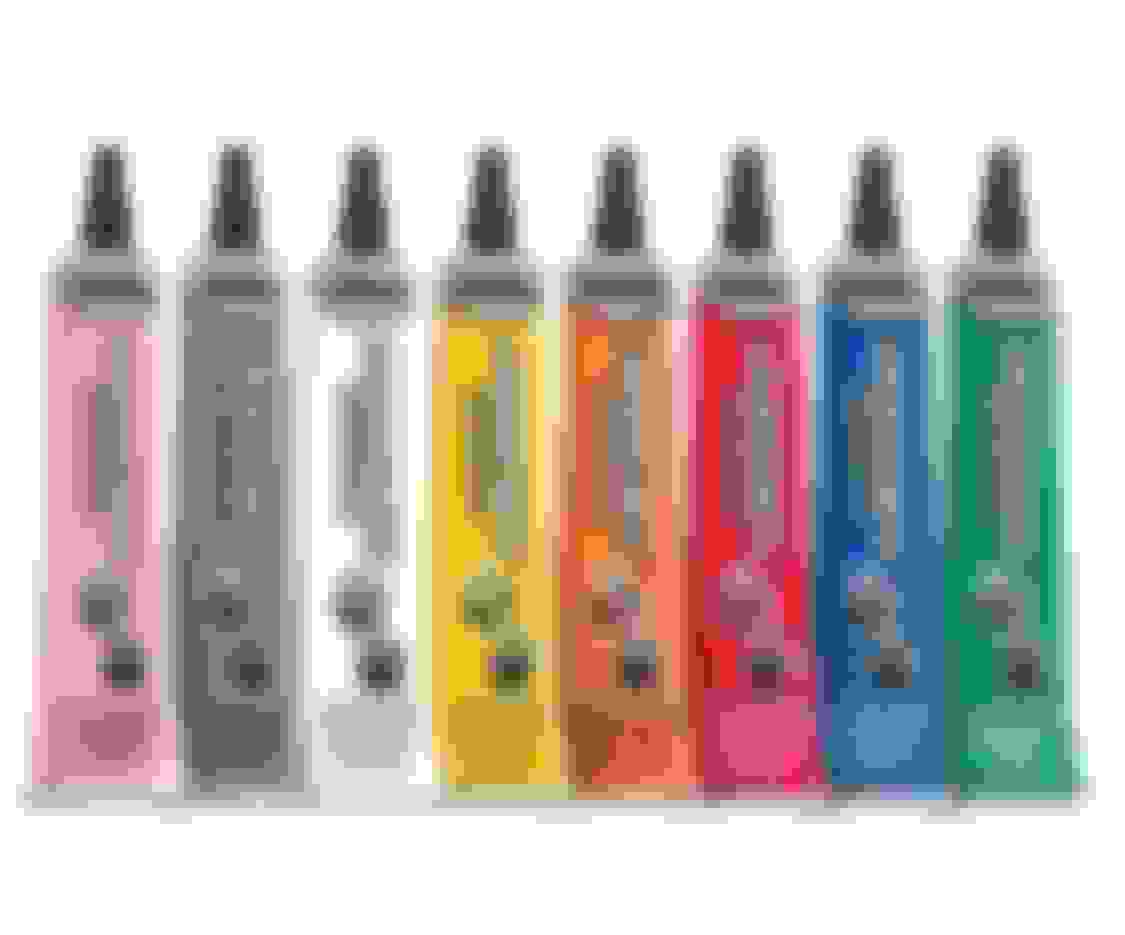
Also I just learned about this stuff today, called Dykem Cross Check. More or less just a torque marker...I suppose nail polish will do just as fine, for cheaper, but for 8 bucks a tube why not, and it comes in several pretty colors. It seems to be some pretty well-received stuff, a lot of people use this on bolts they don't want coming loose or retaining proper torque. This stuff is pretty thick so once it's dry it almost forms a solid seal that will crack if the bolt rotates whatsoever, indicating that it's most likely starting to come loose, a little more precise than just using a paint marker/pen; that's just for marking that the bolt WAS torqued, this stuff does that as well as indicates if the bolt is beginning to come loose. I think it would be a great little thing to do for the mounting bracketry bolts & nut which are all very visible. You'll be able to tell with just a quick glance if everything is still where it should be.
I've had several heads/cam Z06s and have a handful of friends with ECU + header Gen V Vipers. Those are around 135mph trap speed cars.
The S2000 might make xyz peak hp but it's not going to be anywhere close to as fast as you would expect based on hp/weight ratio. A 450whp Kraftwerks S2000 is probably a 120-125mph trap car and will get destroyed from a roll by your aforementioned Viper.
I had a Kraftwerks C38-91 running 16.5psi on my s2000. It made 460whp. (It made 405whp at 12psi) I now have a 6262 turbo on the car + headwork making 535whp at 17psi. The difference is monumental. I'm supposed to race a stock gen V Viper making 550whp soon.
The S/C setup is a lot of fun. You hopefully wont break anything making 450whp. You can get by with the ACT/OEM clutch combo.
I am just tempering your expectations on how fast it will be.
I agree that it won't be a similar trap speed kind of car, the Gen 5s are geared for roll racing (until 145mph shift into 5th gear) and more specifically circuit racing. If I can get 9/10ths of the thrill, and I'm sure it'll be thereabouts, then I will be 100% happy.
BTW, if you race a Gen 5 with a decent driver, it'll be a heck of a race. Those cars can beat just about anything short of 650-700whp car in the 3500-4000lb range from a roll. Good drivers can shift nearly as fast as a dual clutch, so each gear change not matched in speed will be about a car length lost. Post video if you get a chance to film it!
@Dethred Any idea when you're getting your kit? If you do get it ensure you're getting the latest version of the kit with this stiffening bracket I mentioned earlier in the thread.
When you do receive the kit, if you do have the bracket would you mind taking a measurement for me? Trying to gauge the standoff distance it creates from the timing cover to where the head of the bolt meets the surface of it. The factory bolt in that location is a 10x1.25x45mm per the Honda parts diagram. If I could eyeball guesstimate I'd say it's roughly an inch or 25mm. There's an ARP equivalent 10x1.25x60, 70, & 80mm. I think the 70mm would be the most sufficient. If you could do that for me that would be excellent. If it is about 25mm or a little longer/shorter the 70mm would be perfect for the application, but if I'm off the 60 or 80mm can work instead depending on how much longer/shorter. You can do that math
Here's the bolt part numbers:
ARP 10x1.25x60mm: 663-1008
ARP 10x1.25x70mm: 663-1009
ARP 10x1.25x80mm: 663-1010
The kit is supposed to ship any time now. I blew another $400 upgrading to the 92 blower (they increased the difference in price).
I will probably PM you once I start installing the kit to make sure I understand your measurement requests correctly. It's hard to visualize everything without having the parts in front of me, and I'll need to buy a caliper I suppose. I bought the first ARP stud you mentioned, but the everyone that sells it is on back order (2-3 week wait), but I won't be delayed by that anyways.
Why not just go with the 80mm, or will it cause another fitment issue if it's too long? I'll definitely not be using the red thread locker, considering there's a 99% chance I'll forget something and have to take it all apart at least once.
Once I get the kit, I'm going to inventory every single part, measure what you requested, and start planning and making my own adjustments (such as replacing studs, ceramic coating the piping and blower housing, etc) as the build begins. I'll be amazed if I manage to finish everything before the middle of January at the rate I will be going. Flywheel and pressure plate don't even go in until December the 18th.
A standard ruler will do for the bracket, it's just a rough estimate, I'm sure you have plenty of room to work with. I'd spec the bolts according to the size Honda uses + the difference in size the bracket creates. I read in another thread that a person threading that stud into the timing cover actually ended up punching through the timing cover because he turned it in there too far. The ARP stud you ordered is the perfect length to thread in by hand, bottom out, and have enough length to fully thread the nut. What you could do is just get a thin dowel or something of the sort, stick it in the hole until it bottoms out, mark the dowel where it stops, pull it out, and measure it with a simple ruler (you can do inches to metric conversions with google).
I'd definitely use the red thread locker. Those pulleys come pre-assembled, and never need to be taken apart, you can't forget anything that would warrant taking those 4 pulleys apart. As far as mounting the blower to the bracket, I'd atleast use blue. Again, once the blower is mounted to the bracket there's physically no reason to remove it unless the blower gets trashed (we're trying to prevent this by everything else we're doing lol)
Regarding the -92 blower. The inlet is 3.5" as opposed to the standard 3" that the -81 has & the -91 had (they no longer sell this version). What they don't tell you is that they only provide the 3" silicone coupler with their kit (which also has the nipple for the PCV and BPV molded into it....So they're literally selling you a blower that isn't supported by the coupler in their kit. Pretty big oversight on them. What you'll need to do is get yourself a 90* 3.5" coupler, and have a shop fab you up a short piece of pipe like what LHT does to position the air filter in that passenger side pocket of the fender, and have them add the necessary nipples so you can attach the BPV hoses and PCV hose. The BPV nipple needs to be 1" in diameter if I'm not mistaken (for a 25mm BPV)
-OR-
You can just get yourself the 3.5" coupler, and use a BOV instead, like a 50mm Turbosmart or TiaL Q that uses a soft spring meant for superchargers and just have a bung welded to the charge pipe going to your intake and be done with it.
Kinda weird that KW doesn't just sell the -91 blower (unless Rotrex no longer makes it). The -91 used a 3" inlet, and from what someone from KW said the larger inlet diameter of the -92 didn't create much of an increase in power. Had you gone with just the -81 though you would've been leaving 20-30 whp on the table according to various owners of the kit. You can also request the 95mm pulley from them (standard is 100mm) It supposedly nets you a couple more PSI but you lose 250 RPM off of your redline (8900 vs 9150) I'd be fine with that trade-off lol.
Here's a pic of the coupler I'm referring to. This coupler won't fit the -92, and I've tried searching for pre-made 35" 90* silicone elbows online with these added provisions to no avail.
It was made a few mm wider for a reason. It has a little bit of room for the belt to move around; although I don't think it would ever come off. I think a better design would've been to put a thin lip on the front of the pulley, but whatever. I guess you could mill it down if you wanted to, but have it done by a competent machine shop vs laying it on a belt sander or something lol. I personally wouldn't do it, but whatever works?
I'm just going off of what LHT does, and they seem to be the best installers of the kit. I don't think it's necessary to grind the rack bolt at all. There shouldn't be any forward movement of the engine, and since you only need to undo 2 bolts and 1 nut to get the bracket off to slip a new belt in, I don't think it's necessary. Someone suggested you could move the block a tiny bit with a block of wood for the necessary clearance to get the belt between the rack bolt and the pulley. I don't think anything should be ground personally, but I'm willing to put in the extra work for a belt replacement. If I got a couple years out of a belt I wouldn't be against loosening the motor mounts and raising the engine a tiny bit to put a new belt in vs. irreversibly grinding down a rack bolt, but some people might not be willing to do that.
Edit: Honestly, it might not be a horrible idea....I'm going to delete my above comment saying it's a horrible idea. Some guys have done this from the KW s2000 facebook group and have had success. It's important as noted above that it's done by a good shop or if you have good machining skills. You want the surface to be completely level after machining. If @Dethred could put the belt on the pulley and take a side profile shot of how much pulley sticks out it just might be worth grinding that off instead. I take back what I said, it's a better idea than grinding the rack bolt I feel. Only thing I'm not sure of is if to make the belt parallel with the other pulleys it sits more forward on the pulley than aft. I wouldn't want the belt overhanging the pulley. Worth looking into. I think most shops would agree it's easier to grind a bolt down than it is to mill down that pulley. In favor of cost and time it just makes more sense. To a customer though I'd rather mod an easily replaceable pulley than my steering rack. Apologies to @K-Os , I was wrong, it's not a bad idea.
I'm not entirely sure if shaving the rack is accounting for bad motor mounts or not, but this is a pic of a pulley that didn't have the rack bolt clearanced.....I'm not happy with either solution personally, lol.
Also, one more minor thing:
There's a plastic junction they provide to splice these two coolant pipes together....don't use that shit....Just get a single piece of rubber line...it removes 2 clamps and a spotty junction from the equation....Kinda silly, I heard the new nipple is brass; I think for the same or less money they could've just provided you with a rubber hose lol.
Here's what a few people on the FB group had to say about shaving the pulley instead of the bolt. These are long-time owners of the kit. I have no exact input on it. You decide what you wanna do.
Lots of great info on this thread! Getting ready to install my kit and am sure as hell thankfull for the great information on here.
Like others, my main concern with the install is reliability as the car does get tracked few times a year.
If you could please measure the width of that additional bracket from one end of the screwhole to the other that would be awesome. Give me an idea as to what size ARP bolt would be optimal. Also if you could get a true depth as to how far the threads go into the timing cover for that bracket I’d be incredibly appreciative. I’ll be able to figure out the correct length ARP bolt for that spot; thanks.
Also if you can can give me a rough estimate on the width of the bracket on the intake manifold side as well as how deep that hole goes as well I’d also be appreciative. Again that would allow me to determine the length of the ARP bolt needed there after you’ve fully threaded that hole. I’ll add that info to the thread to any other potential installers. Thanks!
Does the PCV still go to manifold or to the elbow? The instructions show both. It says to attach the a T in the pcv line to connect to the BPV and shows it in the picture connected to the manifold. Two pictures down it says to attach PCV hose to air intake
QUOTE=Kyle;24541714]
A standard ruler will do for the bracket, it's just a rough estimate, I'm sure you have plenty of room to work with. I'd spec the bolts according to the size Honda uses + the difference in size the bracket creates. I read in another thread that a person threading that stud into the timing cover actually ended up punching through the timing cover because he turned it in there too far. The ARP stud you ordered is the perfect length to thread in by hand, bottom out, and have enough length to fully thread the nut. What you could do is just get a thin dowel or something of the sort, stick it in the hole until it bottoms out, mark the dowel where it stops, pull it out, and measure it with a simple ruler (you can do inches to metric conversions with google).
I'd definitely use the red thread locker. Those pulleys come pre-assembled, and never need to be taken apart, you can't forget anything that would warrant taking those 4 pulleys apart. As far as mounting the blower to the bracket, I'd atleast use blue. Again, once the blower is mounted to the bracket there's physically no reason to remove it unless the blower gets trashed (we're trying to prevent this by everything else we're doing lol)
Regarding the -92 blower. The inlet is 3.5" as opposed to the standard 3" that the -81 has & the -91 had (they no longer sell this version). What they don't tell you is that they only provide the 3" silicone coupler with their kit (which also has the nipple for the PCV and BPV molded into it....So they're literally selling you a blower that isn't supported by the coupler in their kit. Pretty big oversight on them. What you'll need to do is get yourself a 90* 3.5" coupler, and have a shop fab you up a short piece of pipe like what LHT does to position the air filter in that passenger side pocket of the fender, and have them add the necessary nipples so you can attach the BPV hoses and PCV hose. The BPV nipple needs to be 1" in diameter if I'm not mistaken (for a 25mm BPV)
-OR-
You can just get yourself the 3.5" coupler, and use a BOV instead, like a 50mm Turbosmart or TiaL Q that uses a soft spring meant for superchargers and just have a bung welded to the charge pipe going to your intake and be done with it.
Kinda weird that KW doesn't just sell the -91 blower (unless Rotrex no longer makes it). The -91 used a 3" inlet, and from what someone from KW said the larger inlet diameter of the -92 didn't create much of an increase in power. Had you gone with just the -81 though you would've been leaving 20-30 whp on the table according to various owners of the kit. You can also request the 95mm pulley from them (standard is 100mm) It supposedly nets you a couple more PSI but you lose 250 RPM off of your redline (8900 vs 9150) I'd be fine with that trade-off lol.
Here's a pic of the coupler I'm referring to. This coupler won't fit the -92, and I've tried searching for pre-made 35" 90* silicone elbows online with these added provisions to no avail.
[/QUOTE]
Last edited by jpv027; 12-14-2018 at 12:16 PM.
Reason: add pic
 12-07-2018, 12:10 AM