When you click on links to various merchants on this site and make a purchase, this can result in this site earning a commission. Affiliate programs and affiliations include, but are not limited to, the eBay Partner Network.
Inspired by fellow forum member, Deckoz, I decided to rebuild the thigh bolster on my driver's side seat. The tips on spray foam and neoprene came from him.
I documented the whole thing on my wordpress site so I hope it is allowed to post the link here. Below is a simple copy/paste.
REPAIRING DRIVER'S SIDE THIGH BOLSTER
Today we are going to be repairing the driver’s side seat bolster, particularly the thigh bolster. To do this job, you will need to remove the seat and then partially remove the seat leather so you can access the seat foam.
Tools Needed:
Socket wrench with 12mm, 14mm, 16mm sockets
Philips head screwdriver
Flat blade screwdriver
Hog rings and pliers (or zip ties)
Can of expanding foam
Duct tape (I used Flexseal tape because it was lying around)
Serrated bread knife or a saw blade (for cutting excess foam)
Sanding block (for shaping the spray foam to blend)
Optional: 6mm or 7mm neoprene fabric
Optional: spray adhesive for above
DISASSEMBLY
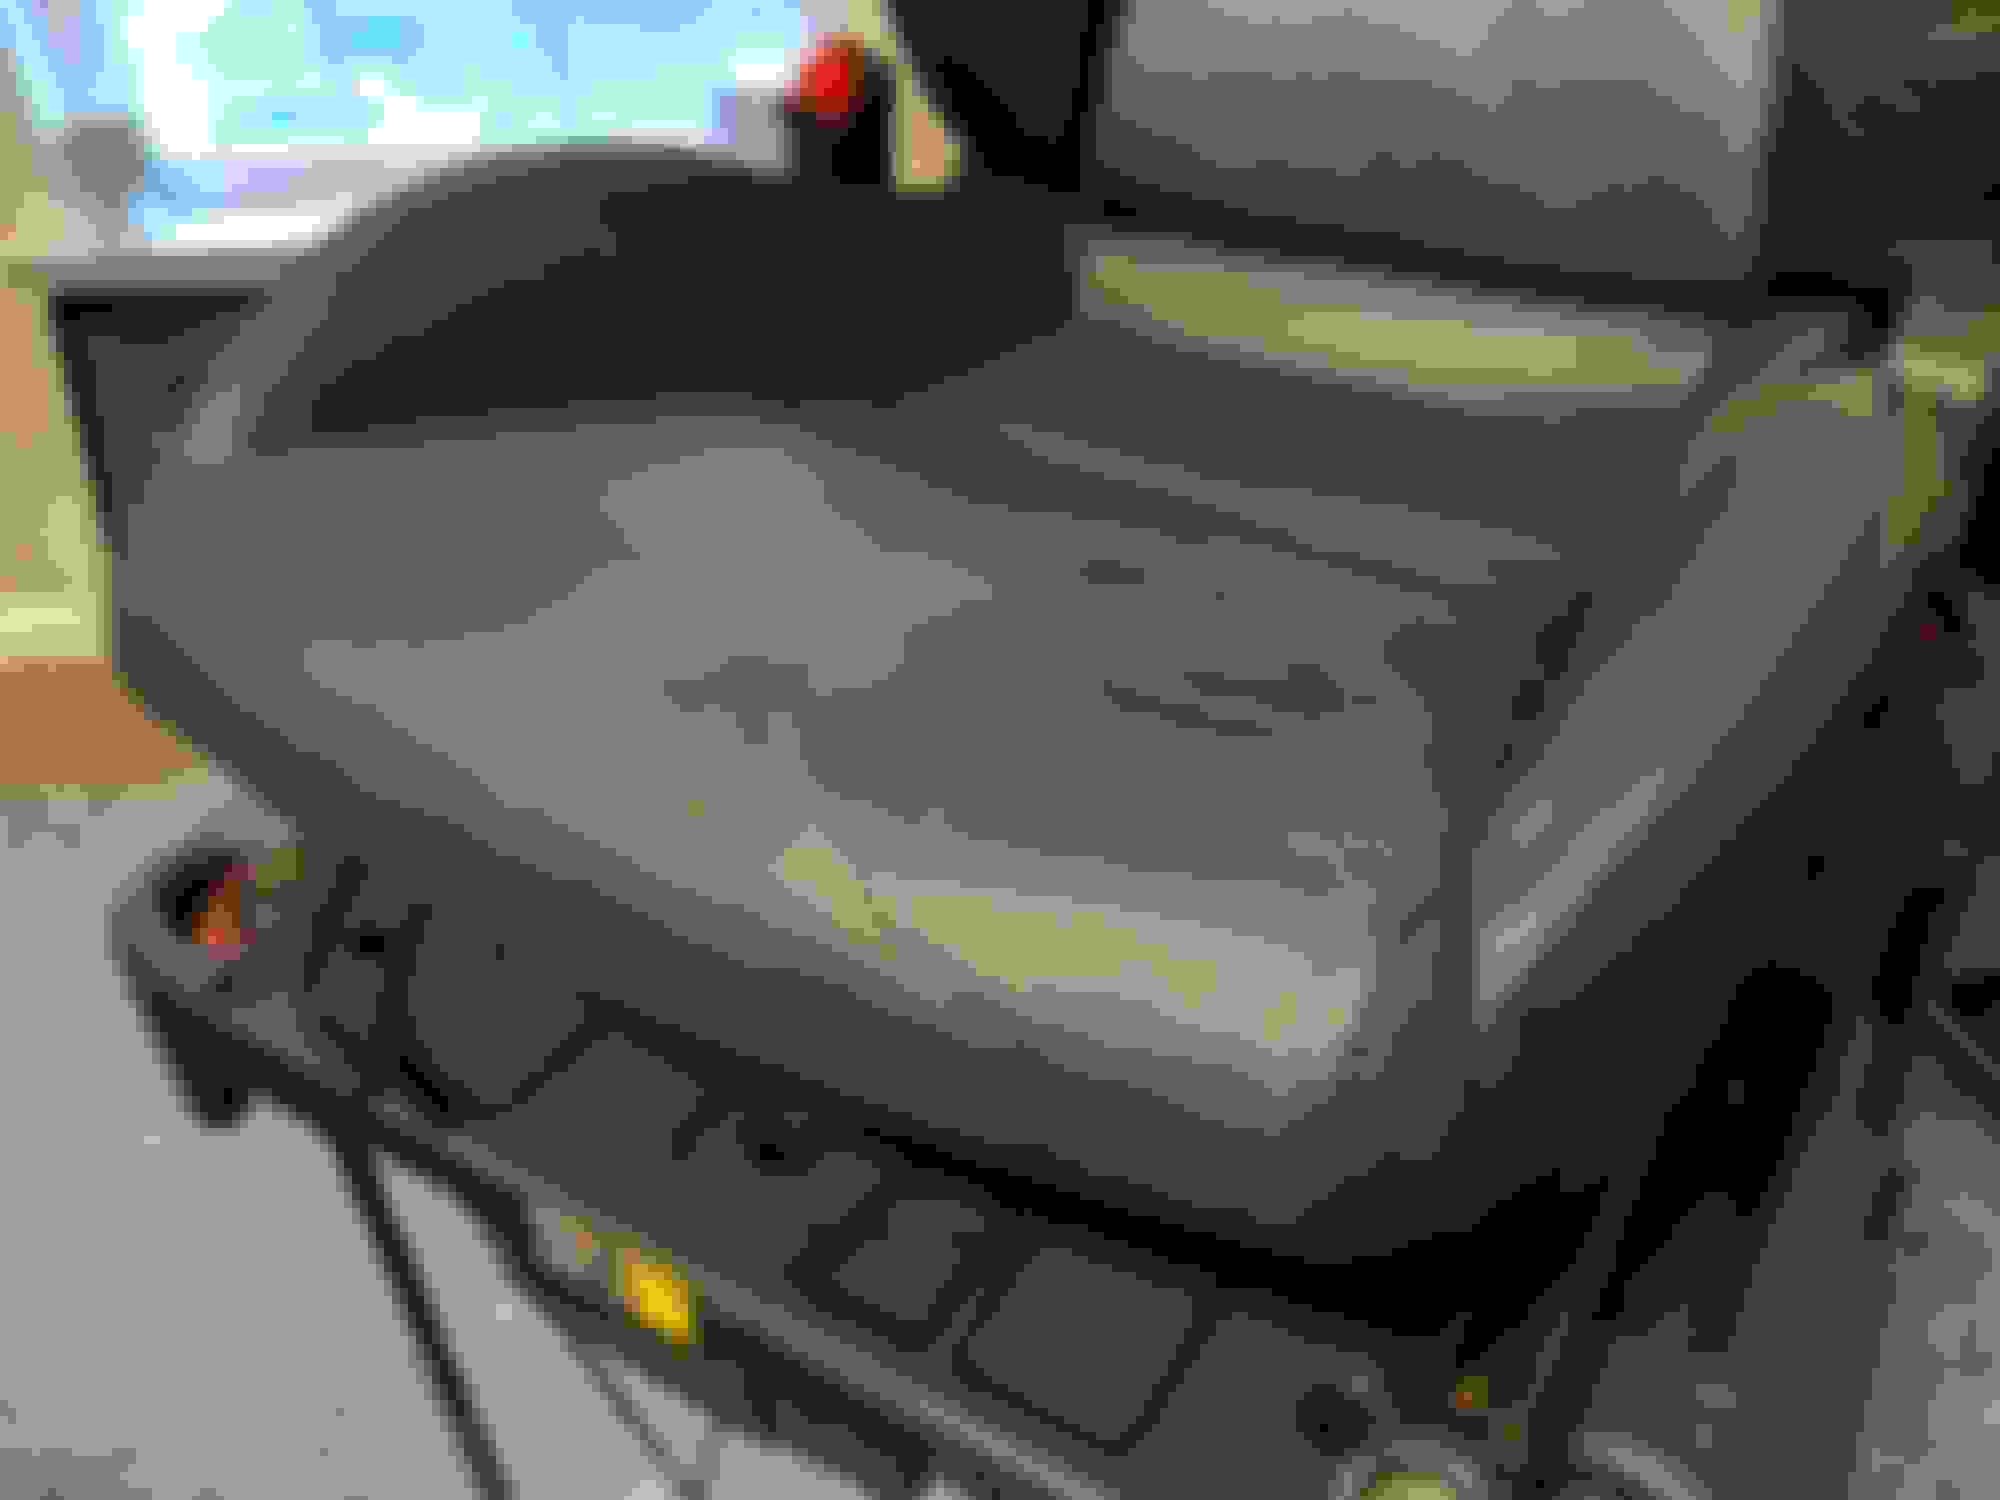
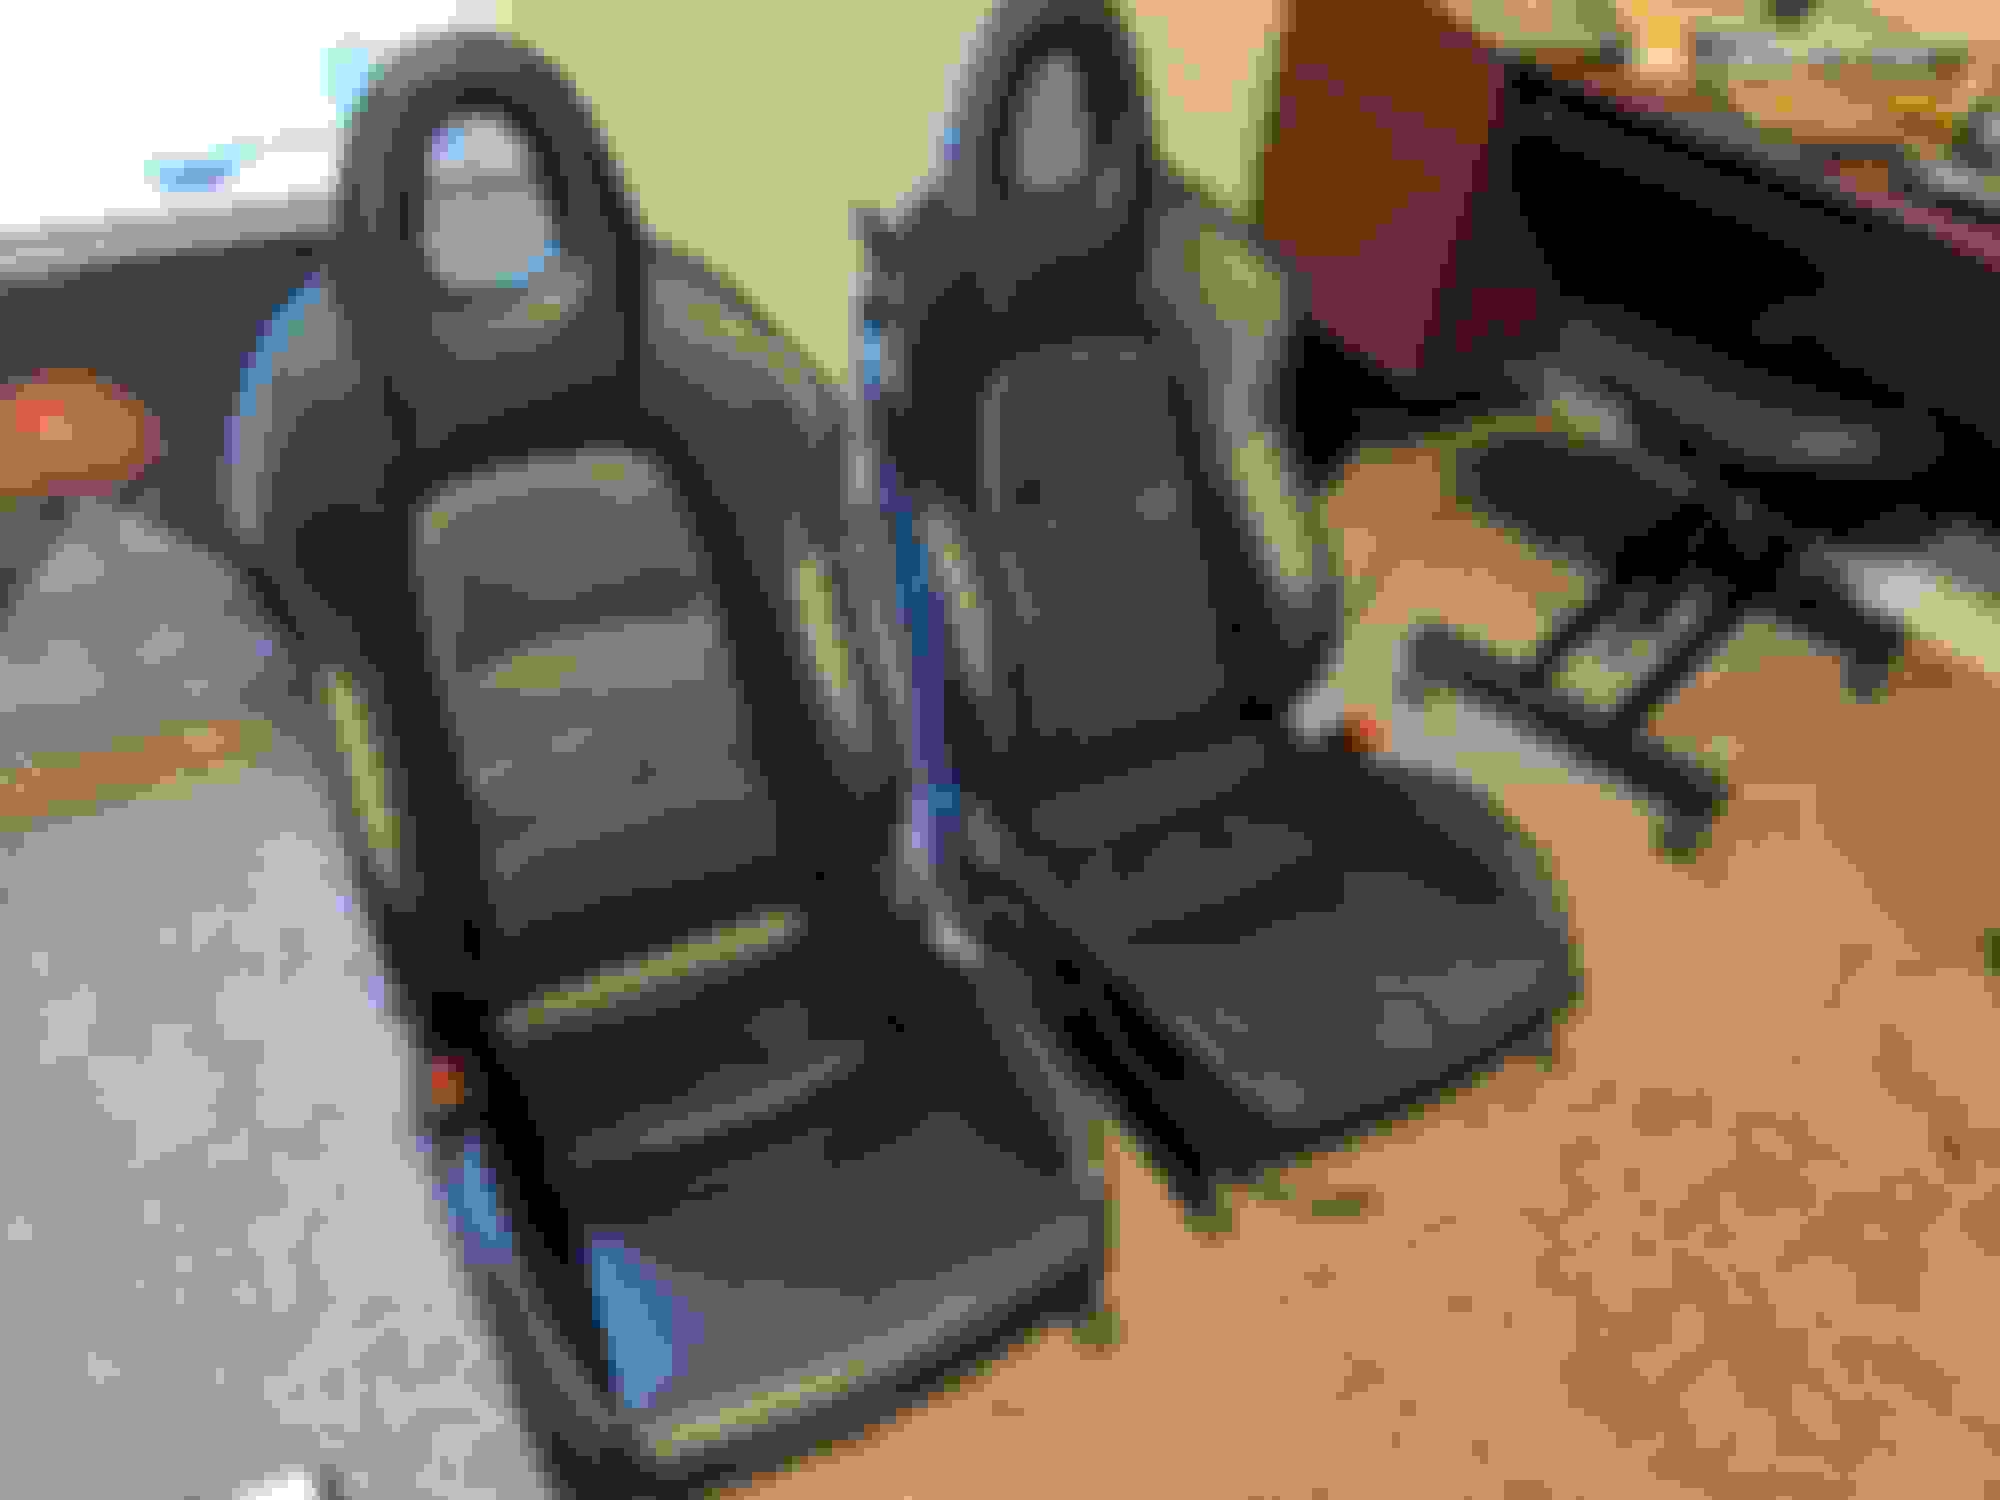
Remove the seats. 2x14mm bolts in the front, 2x16mm bolts in the rear. Also don’t forget to disconnect the seat belt light wiring. Yank the seat out of the car and take it to your work space. Seat removed. It doesn't look terrible from this angle but you can see that it is collapsed and needing help.
Next you have to take the seat back off of the seat pan so you can get to what you need to be doing. There is 1 14mm nut on the left side (facing the seat by the seat belt receiver) and then 2 16mm bolts on the right side. To get to the 2 16mm bolts you have to remove the plastic side cover. This is done by removing 2 Philips screws and then prying off the pull handle with a screwdriver. It’s a bit of a faff but you’ll get it. One screw shown and the other is in the recess just in front of the pull handle.
16mm bolts to remove on the right side
14mm nut to remove on left side.
Seat is now ready to be flipped over for more work.
Remove the seat rails and set them aside. They are held on by two 14mm bolts each side. I just removed the one on the same side as the bolster that I was repairing. You may want to remove the long wire that connects the rails so you don't bend it. The leather seat cover is held on by several hog rings. Use a screwdriver or pliers to pull the hog rings off. Gently peel the leather cover back to reveal the seat foam. You only need to remove enough rings to be able to peel up the cover to see the foam bolster you want to repair. Otherwise you will have more hog rings to remove and will definitely need hog ring pliers to reinstall the entire cushion. You will see what I mean. Only remove what you need to. Use a screwdriver to separate the hog rings. There are a about ten you will need to remove.
As shown further down, use duct tape on the outer edge to provide some form to the foam and give it structure since it has clearly broken down and torn. You don’t want the bolster to expand as you are just filling in the collapsed dead spots with new foam. You can either use expanding spray foam to do this or you can cut up a sponge and stuff it in. In my case, I chose to give the bolster its shape and structure using FlexSeal tape and then sprayed in the expanding foam so that it would give rigidity internally. I chose this method because it seemed to me that this would bond to the foam internally and bind everything together. Let the expanding foam cure and then trim it with a fine tooth hacksaw blade or a nice, sharp serrated bread knife. You will also need to fine tune it with a sanding sponge.
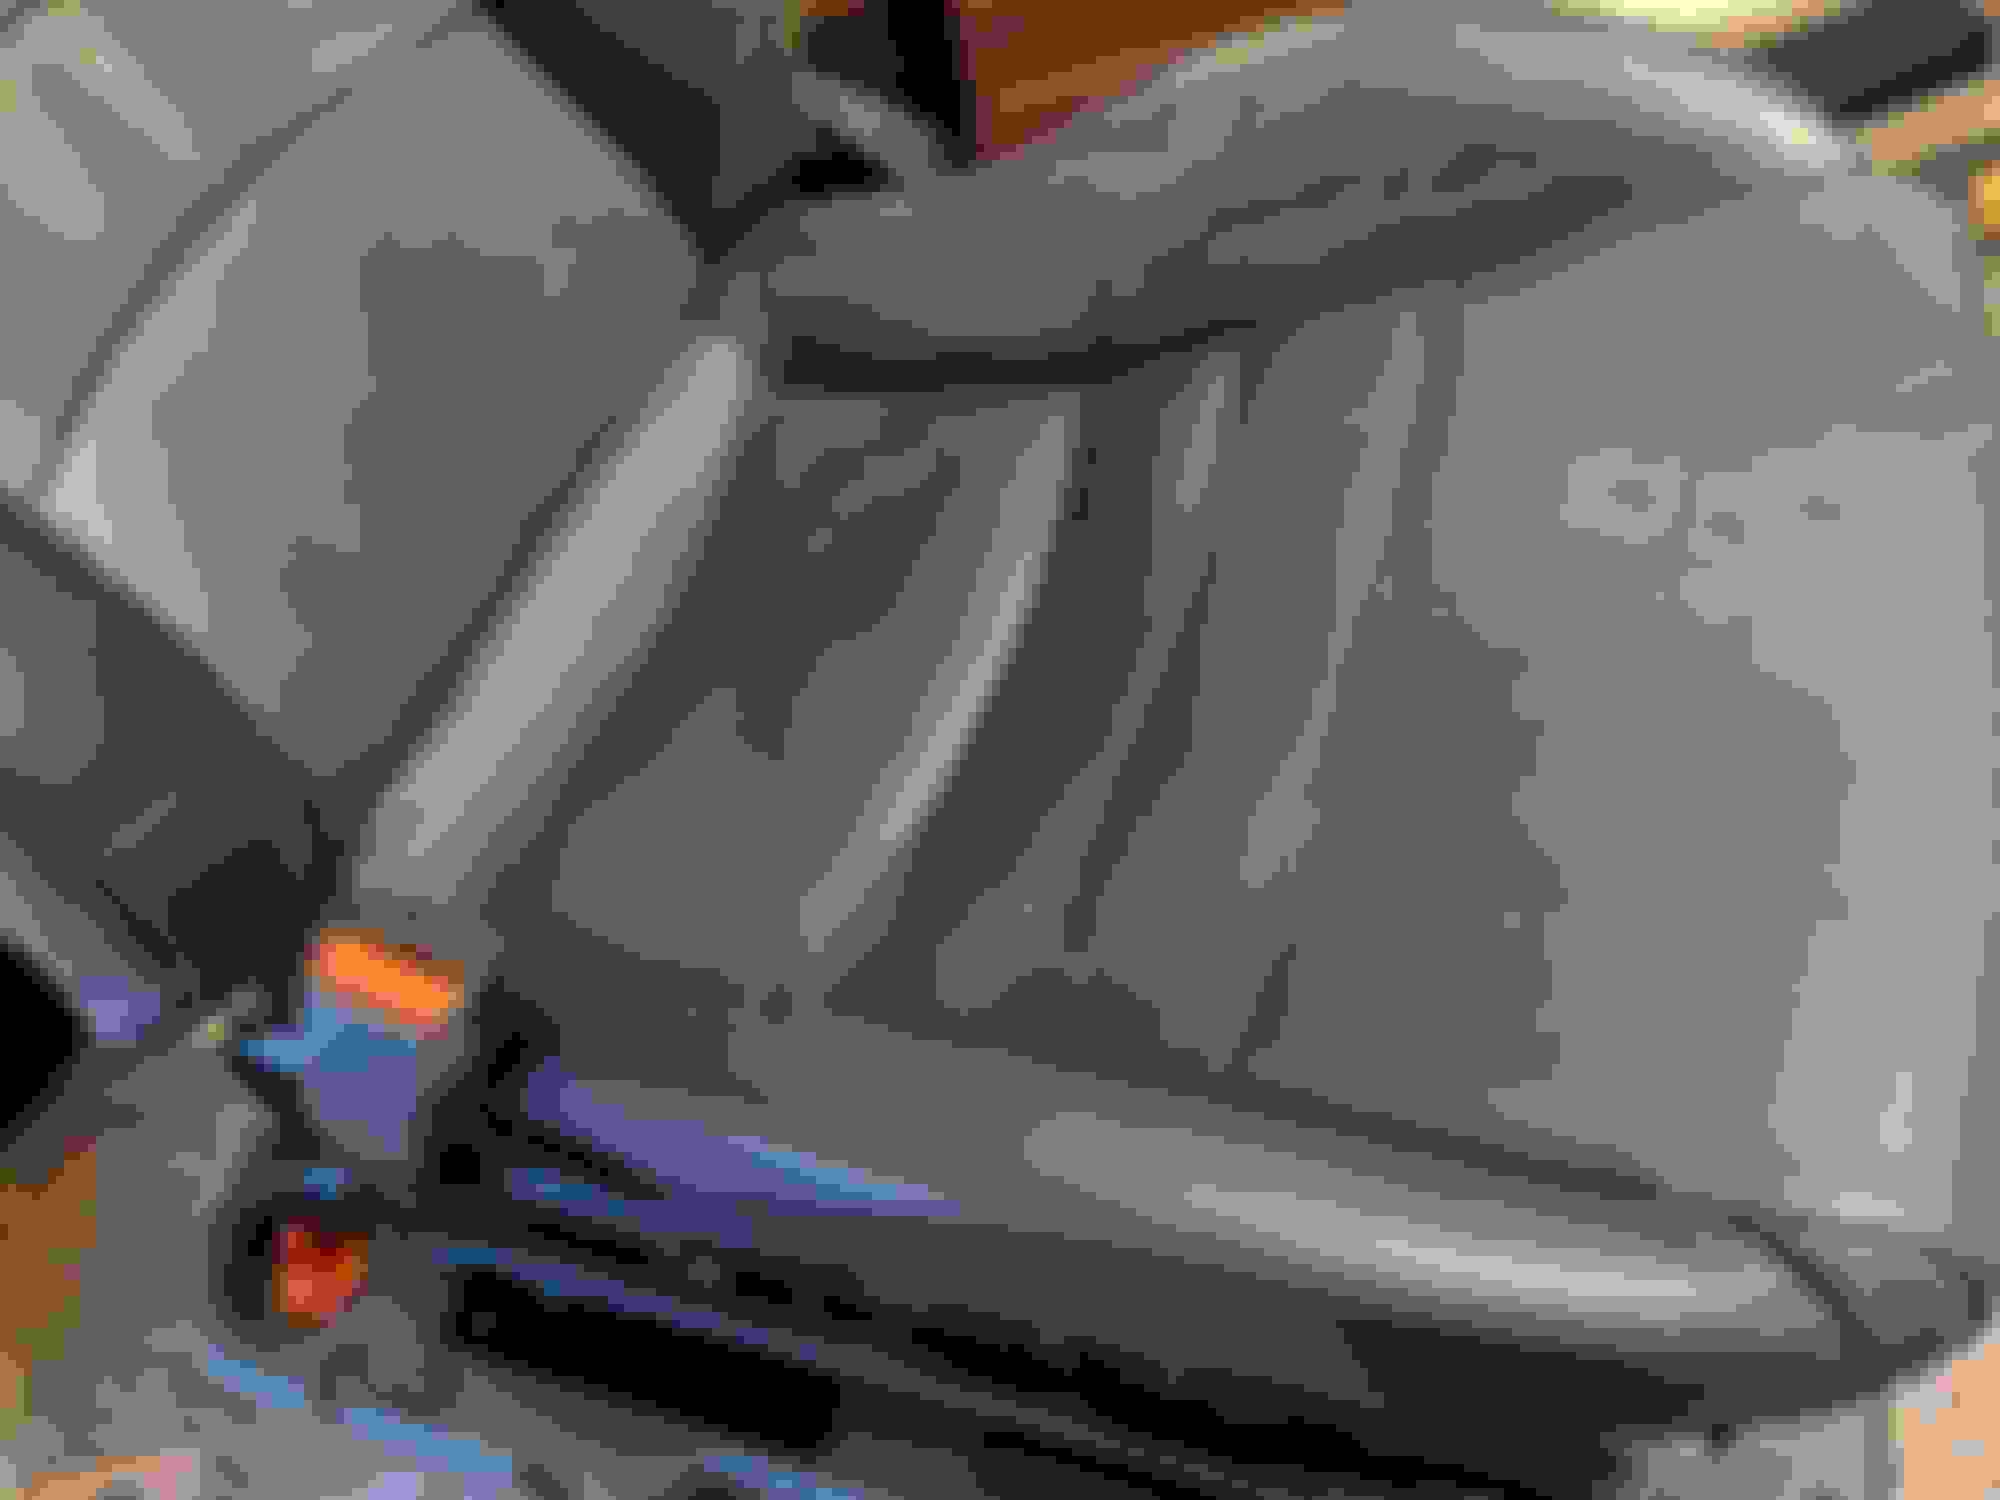
You can see here that mine was torn and quite perished. It needed filler and some help on that outside tear.
FlexSeal tape placed on outside and masking tape to hold the shape and prevent over-expansion of foam by letting it squirt out the top. I finished the job by trimming excess expanding foam and then putting tape over the repair to protect it.
Honestly, I got a little over zealous with the spray foam so it required a lot of cutting and shaping with a Dremel tool and sanding block. I didn’t realize how much of the texture of the foam bolster could be seen when the leather was back in place so I decided to smooth this out with a piece of neoprene fabric. This would actually help provide more structure and support as well. I took some rosin paper to make a quick template of the bolster and then used some 6mm neoprene I had lying around. I cut it to shape, tested the fit, trimmed some more and then glued it in place with Gorilla Glue contact adhesive sprayed on both the bolster and neoprene fabric. After it was dry, I trimmed the top edge of the fabric with a razor so it would have a smooth transition where the seam is on the actual leather seat cover. This helped to smooth everything out and look sharper at that transition. This is just before finish sanding. I used a dremel tool and sanding sponge.
The picture below illustrates the almost complete repair. The neoprene was not yet glued in place and had to be precisely trimmed. I was really happy with this result because you can’t tell anything was done when the repair is complete and it should last for years. Neoprene in place for a test fit. It was moved up a bit and trimmed precisely to line up with the stitching in the seat.
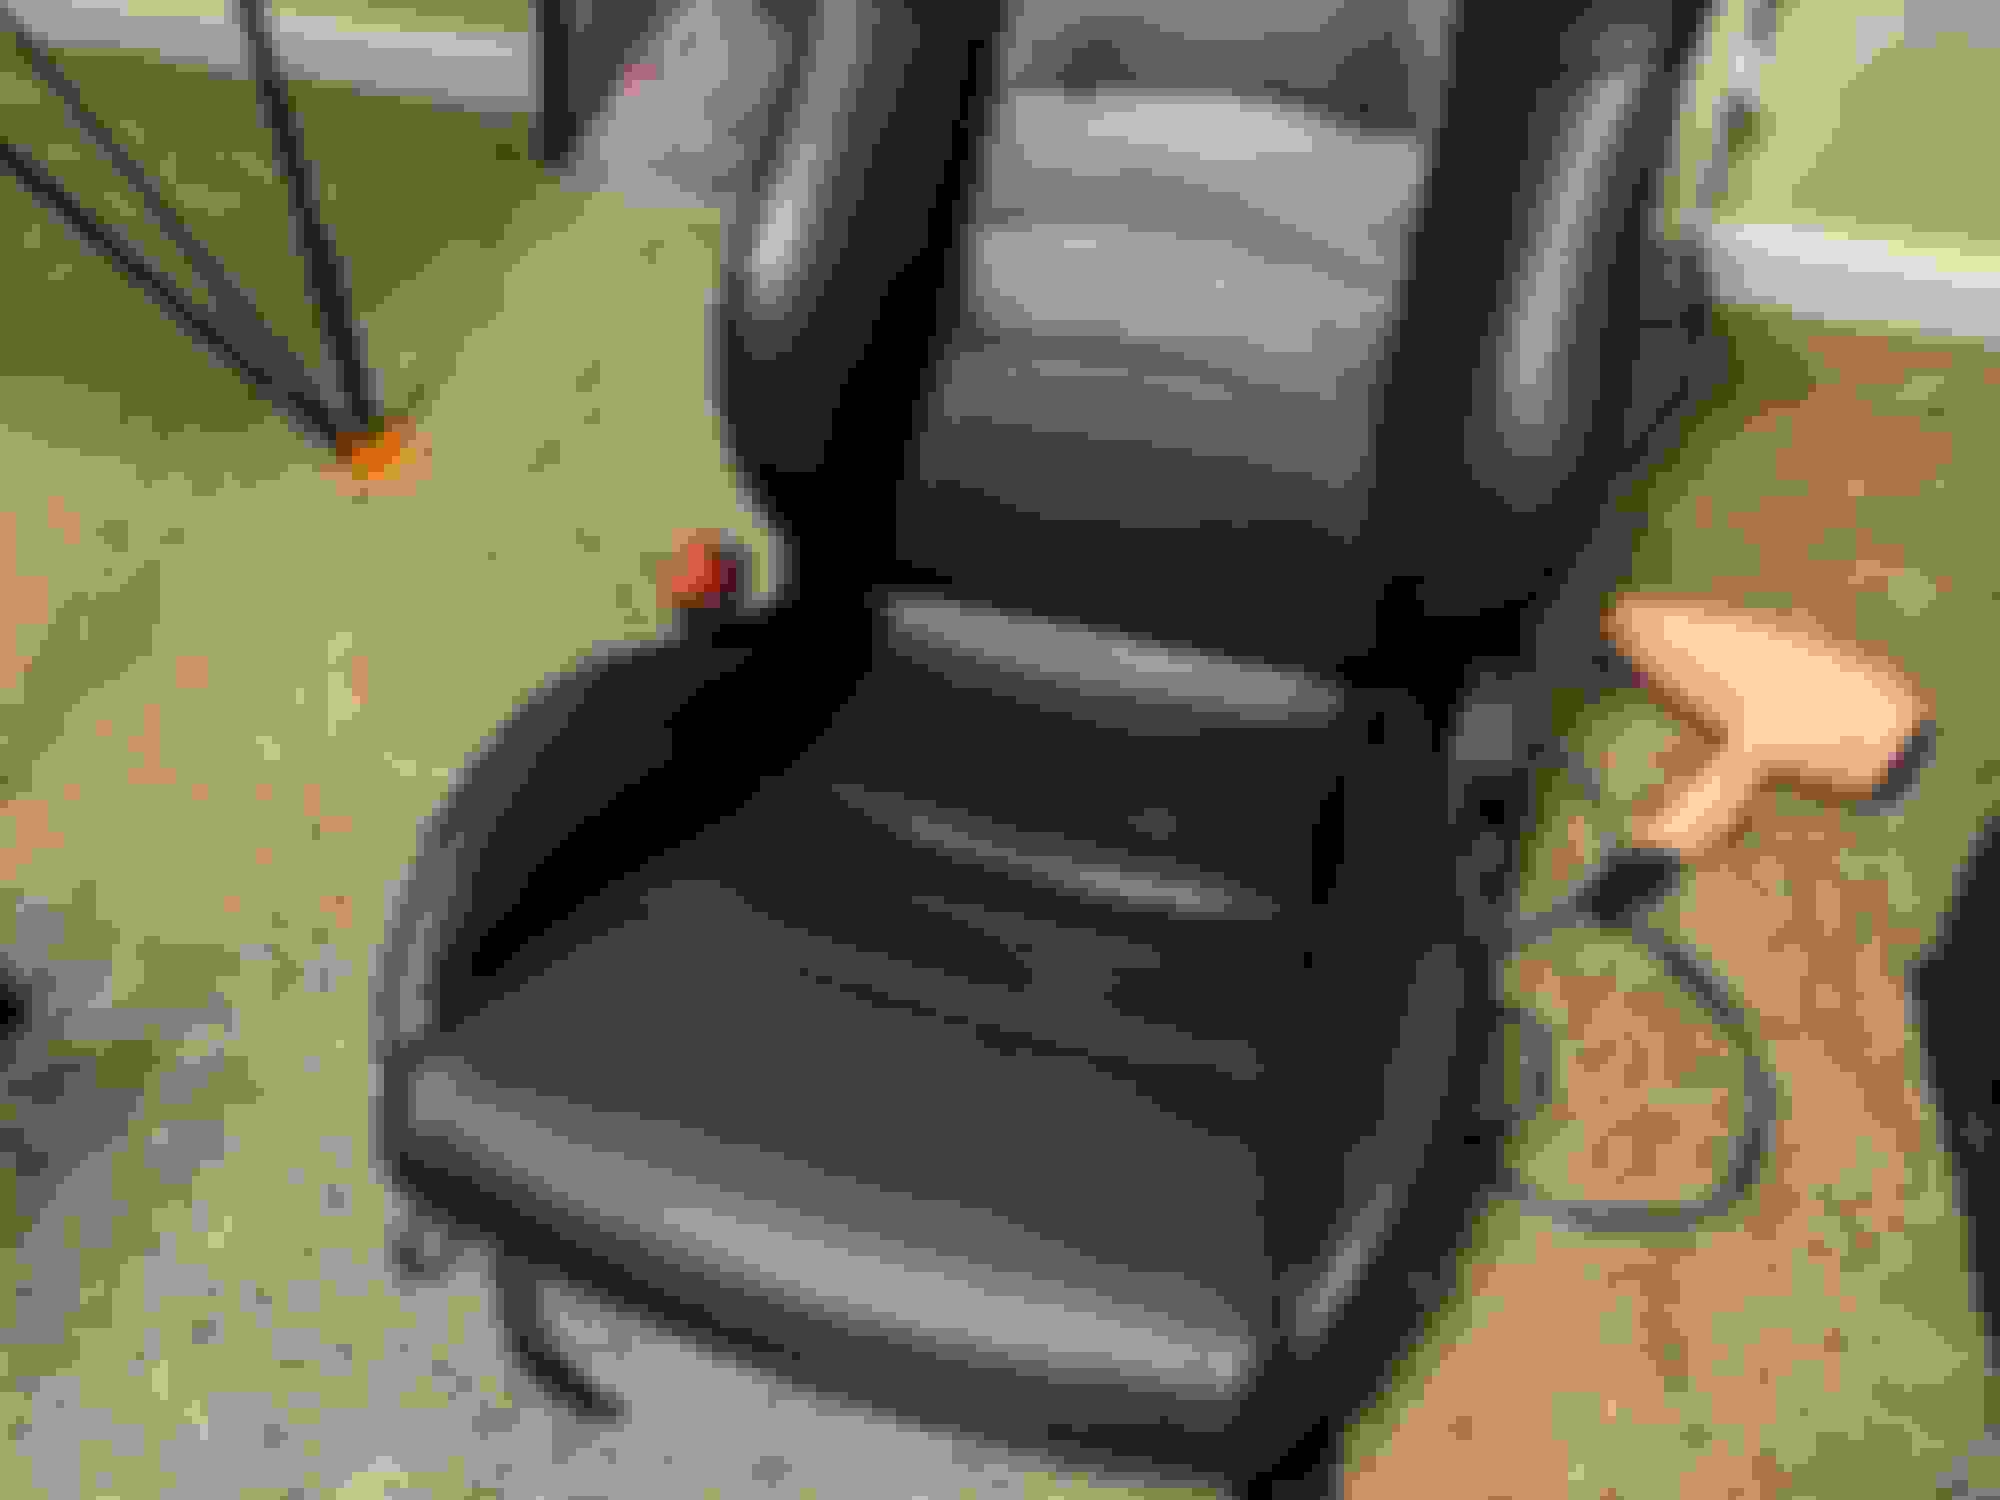
Ready for a steam clean. You can see the bolster is now rebuilt but it doesn’t look all that great because the leather was distressed from being crushed for years. I didn't go overboard with the steaming ... just enough to get it clean. I have never used a steamer on leather and didn't want to damage it.
REASSEMBLY
To begin reassembly, carefully wrap the leather back in place and secure it to the seat pan again. Check to make sure you are happy with the bolster’s look before securing it with hog rings in the same spots you removed the old ones. I used zip ties rather than hog rings because I was lazy and didn’t want to order the rings and pliers. Attach the rails and then attach the seat back with the required bolts. Reattach the plastic cover and pull lever. Line up your seat tracks before trying to reinstall the seat into the car. A quick note: You may want to vacuum and steam clean the carpet in the car with the seat out. This is a perfect time for that!
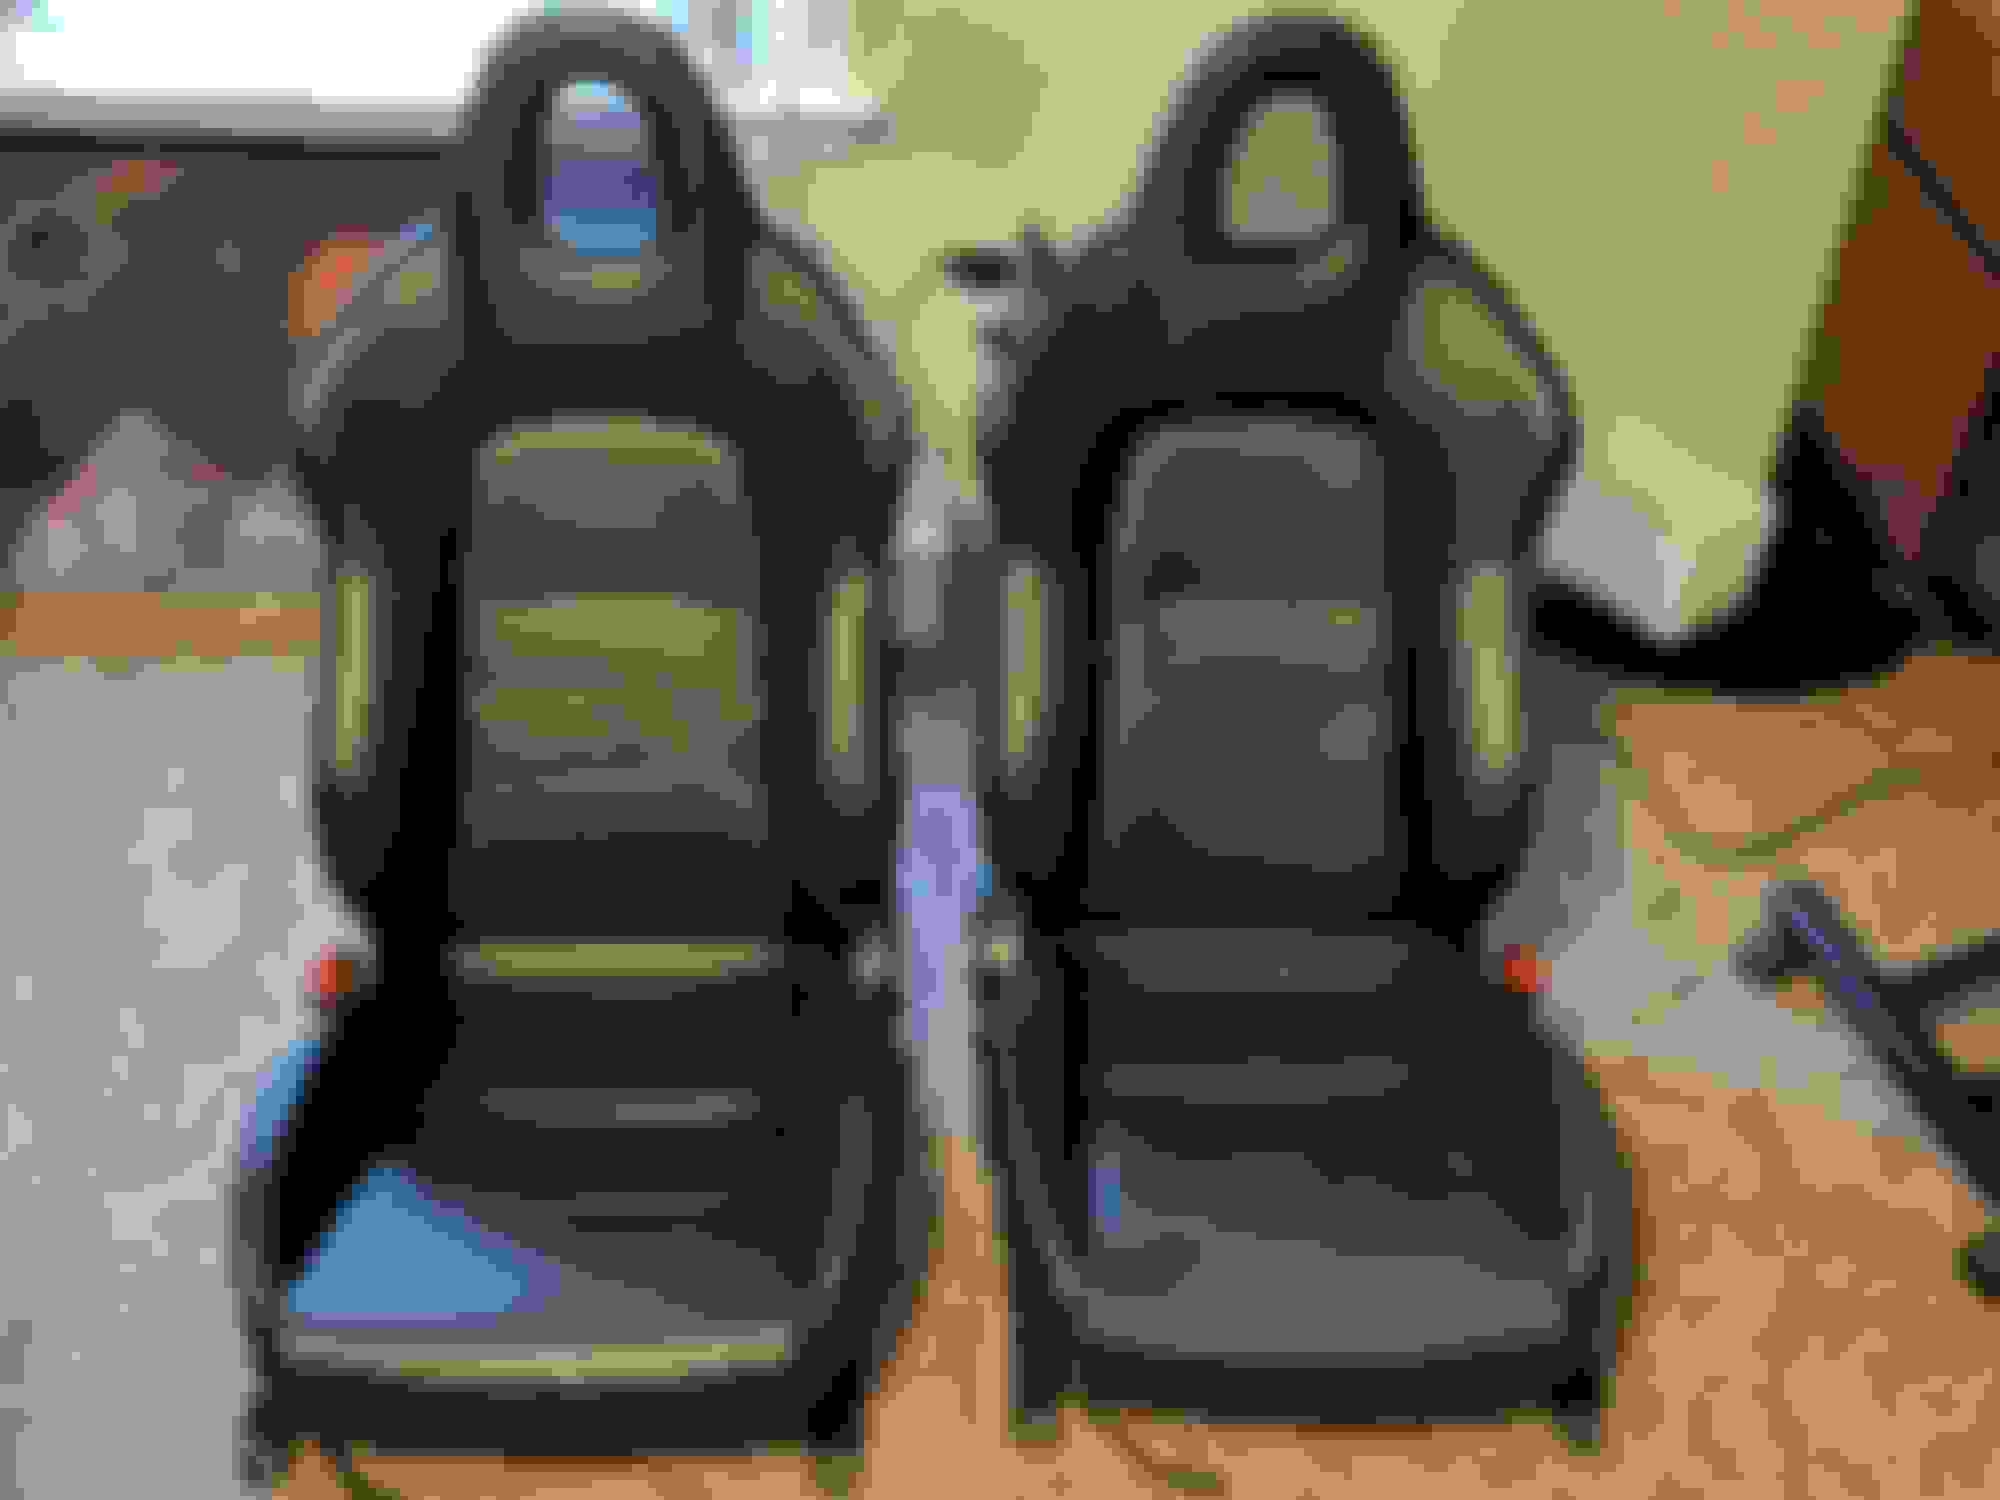
Here is the finished product after a steam clean and reconditioning the leather. Notice the thigh bolster is nice looking again and the restored innards have smoothed out some of the wrinkling. This should hold up for years. It isn’t perfect but when replacement seat pan foam is $250+, it makes sense to try a cheap repair first. The worst that can happen is that you don’t like it and buy new foam so why not at least give it a try?
Total cost of this repair was just a few bucks. I had the spray foam, adhesive and FlexSeal tape already and the neoprene came from an old scuba wetsuit.
This was a pretty easy repair. I think it will last for a long time but I am also going to be careful about getting in the car. It isn’t perfect but I am limited by the condition of the leather after being crushed and creased for so long. The creases held dirt which I removed with steam but the creases are there to stay, much to my chagrin. I guess on the bright side, the steam clean did brighten up the leather so it matches the rest of the seat.
Wow looking great! I did the same thing a while back... I think everyone should give this a shot. Mine looks less perfect than yours, but luckily it’s next to the door sill, and it takes a real eagle to notice any strange ripples or anything under the leather in that particular spot. Nice work!
Thanks. After I was done I did think about swapping seat pans from side to side but then realized that the inboard bolsters don't have the same support structure as the outboard bolsters. I'm just going to be more careful getting in the car.
The only thing letting the seat down now is the side bolster but I will take care of that next with filler and dye.
That dye and reconditioning looks wonderful. I was looking at the site you mentioned in another post. Black is easy to work with but I would be concerned about the red for my car, particularly since my driver's side upper bolster (and thigh bolster to a lesser extent) is a bit discolored compared to the rest of the seat. I know I'd have to dye the whole seat but I'm not sure the reds they offer are close enough. If I redye the whole seat would it bring the slightly discolored panels back to the same shade? I'm way more familiar with paint than dye.
That dye and reconditioning looks wonderful. I was looking at the site you mentioned in another post. Black is easy to work with but I would be concerned about the red for my car, particularly since my driver's side upper bolster (and thigh bolster to a lesser extent) is a bit discolored compared to the rest of the seat. I know I'd have to dye the whole seat but I'm not sure the reds they offer are close enough. If I redye the whole seat would it bring the slightly discolored panels back to the same shade? I'm way more familiar with paint than dye.
remove a door card insert, send it to them, they will match it for you
I talked to them and they stated that they have the exact shade of red for the S2000. I just have to decide whether I want to spend that much money. It is rather expensive for the whole kit for two seats but I think it is the only way to have a consistent look on the entire seat.
I talked to them and they stated that they have the exact shade of red for the S2000. I just have to decide whether I want to spend that much money. It is rather expensive for the whole kit for two seats.
Im not sure they realize theres two different reds. AP1 and AP2 red are different. I would verify they know which one they have, as they only have one red listed in the charts
I think you are right. I have tried code 89 before and it is noticeably different than the AP1 red. I got it from a different manufacturer but I do think you are right about there being different shades. Seems like every place just specifies code 89A for all years when it may be THE ap2 color.
 12-19-2018, 05:15 PM