When you click on links to various merchants on this site and make a purchase, this can result in this site earning a commission. Affiliate programs and affiliations include, but are not limited to, the eBay Partner Network.
Definitely the heat. I did it yesterday or so, which probably wasn't smart either as it was probably around 50 degrees. It was definitely from the heat as I heard the first crack while it was heating after about 3 minutes continuously.
I had that happen on my original windshield cracked and the mount wasn't even ready to come off. I got a replacement and the next one came off with half the heat.
Just saying it may of been the type of glue Honda used and the fact mine baked for 17 years. Fortunately for me, the windshield was beat from normal driving and was time to be replaced regardless.
Definitely make sure you get OEM molding. I didn't and mine does lift a bit on the edges.
Yeah, I'm scheduled to get the windshield replaced tomorrow. I was thinking of replacing it later (before the crack) since it's been so sandblasted; it just moved this up my time table a bit. The installer says he can replace the mount with a new mount too for the Toyota mirror, and I've specified that he gets a new OEM molding.
OK, got the windshield in, wired the dimming power to the spade and I've mounted the camera as well as fished the wiring through to the backseat and tucked it under the carpet. The last thing is wiring up the camera to the mirror...
@k3v0n : The mirror harness has two red power leads...Do I only need to power the camera, or do I need to power the mirror as well even though I've already powered the dimming function? Additionally, there's a violet lead on the mirror harness for the reverse trigger...Does that need to be wired to the reverse light as well, or is the mirror smart enough to show video when it senses power coming from the camera? Thanks!
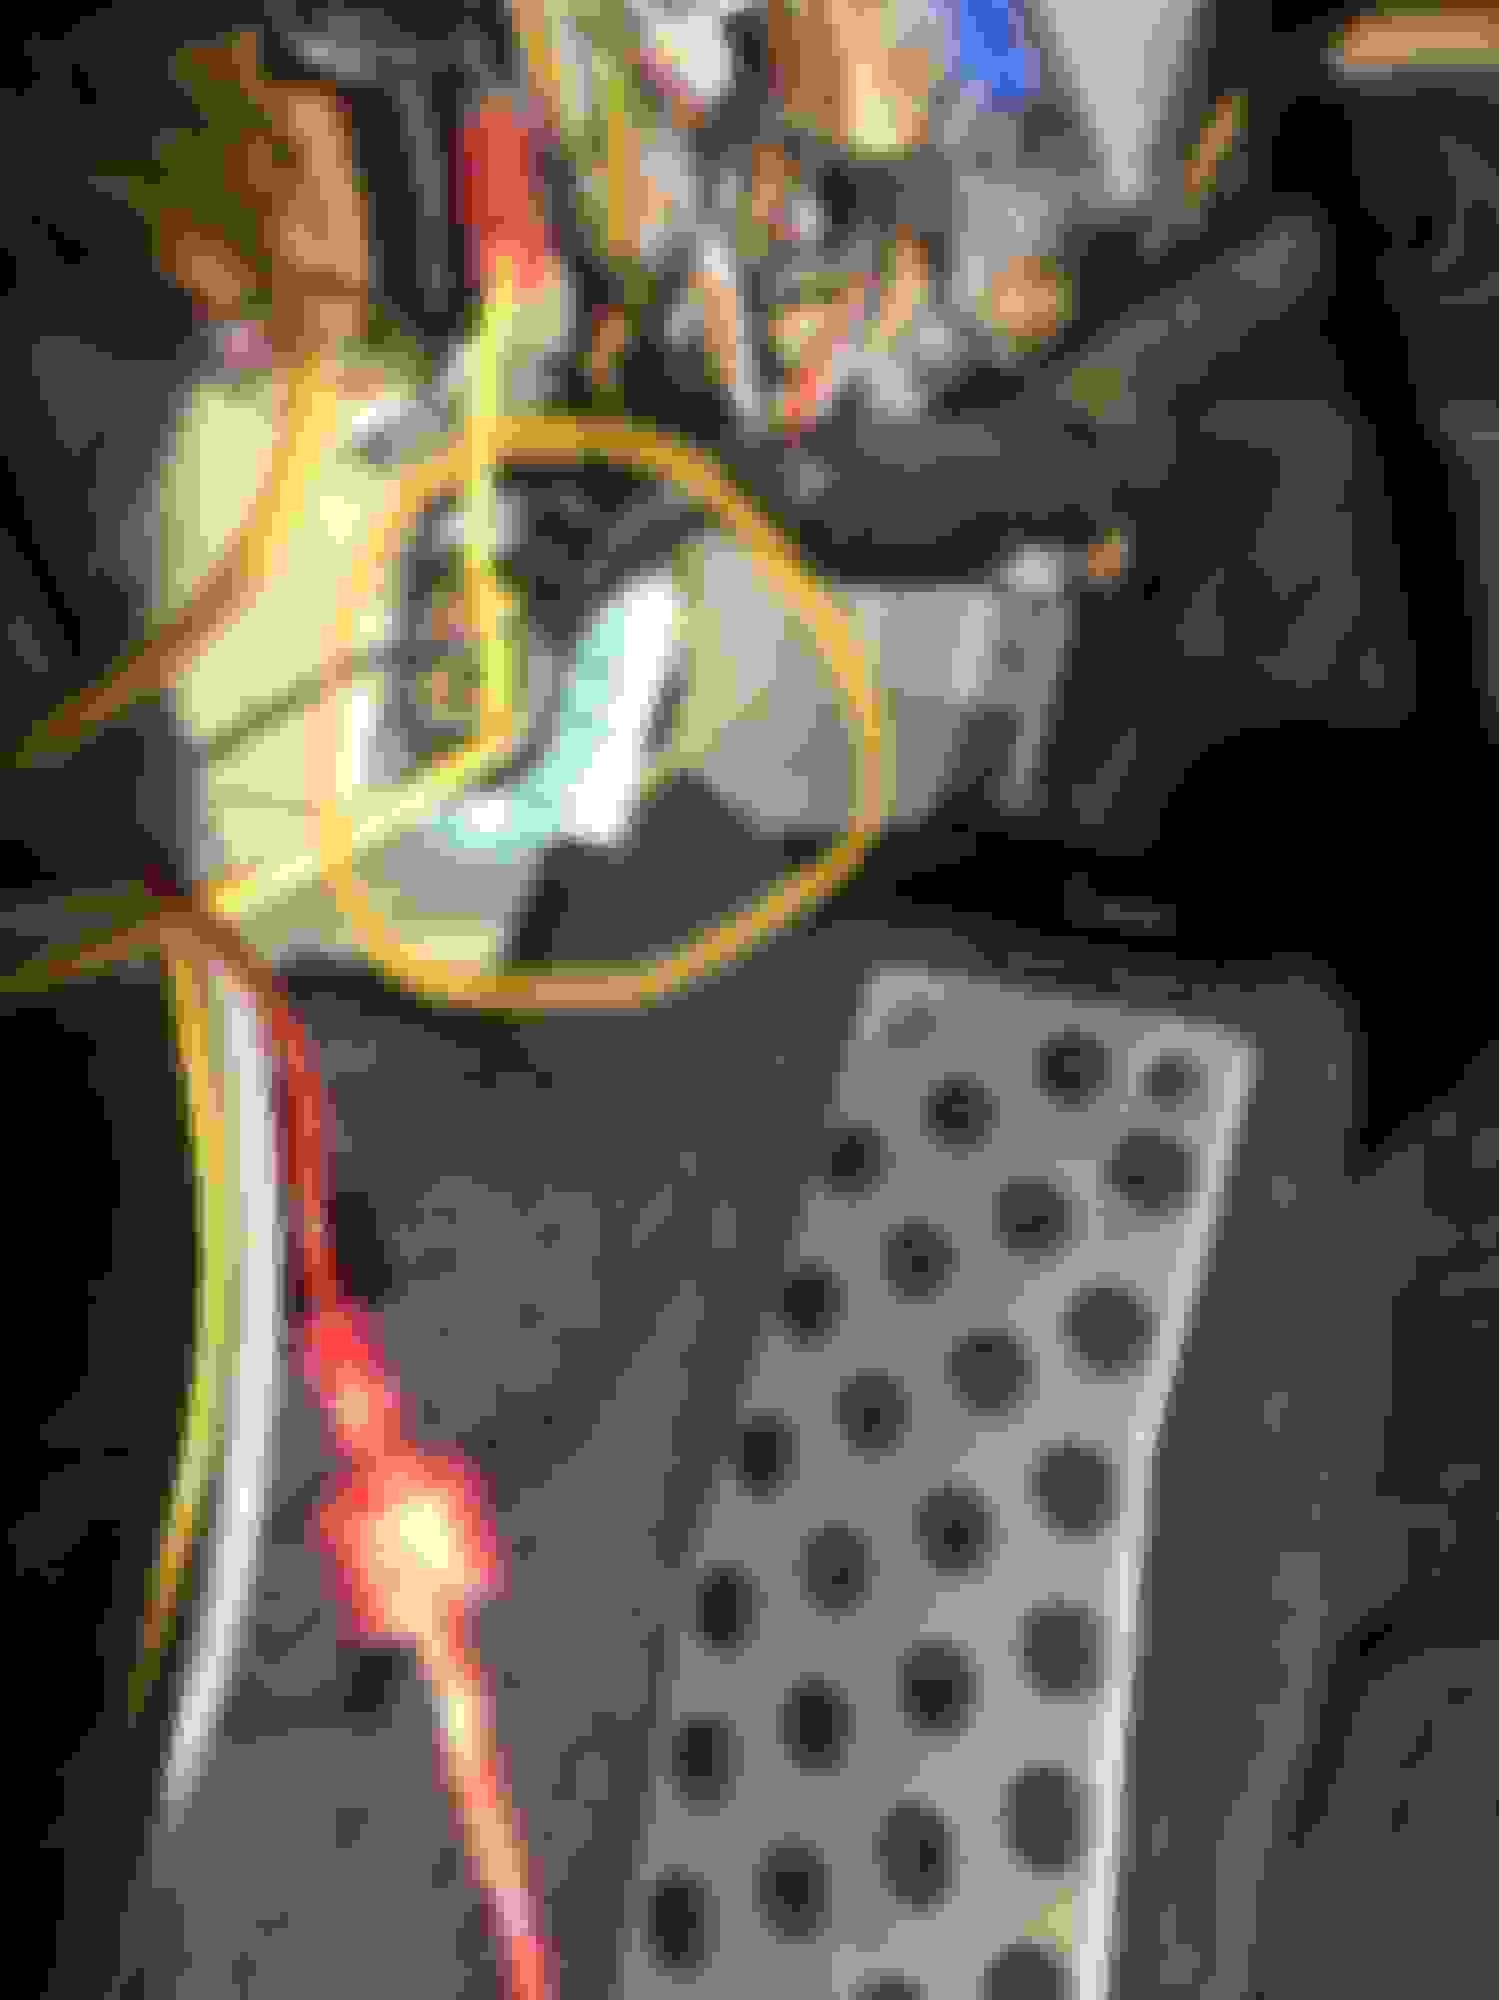
I finally did it! Ryobi batteries come in handy when you want to test cameras out. Figuring out connections was the hard part, especially finding that reverse wire. Instead of T-taps, I used a posi-tap instead that was left over from installing a harness for my BT deck. The green/black wire came from the blue connector here:


 12-31-2018, 02:40 PM