When you click on links to various merchants on this site and make a purchase, this can result in this site earning a commission. Affiliate programs and affiliations include, but are not limited to, the eBay Partner Network.
I just finished replacing my top, I want to share a couple notes of information I didn't see in the guides:
-the topsonline instruction video was super helpful, thought it's not 100% complete. I HIGHLY recommend it in addition to this guide. One differentiation they make is to not rivet the rain rail to the new top, that it comes from the factory riveted because that saves the installers time. That's not the case when you're replacing the top in a non-factory setting, and the topsonline instruction video suggests riveting the rain rail can actually create wrinkles that wouldn't otherwise exist.
-my EZon elastic straps were kind of unimpressive. I doubled up with additional elastic. Right now there's a bit of a visible raise from the extra elastic, but I think this will settle once the top stretches out, or the extra elastic can be trimmed off if it causes visual disturbance.
- I used slightly larger rivets in some areas, one step thicker. They worked much better than the rivets sent by EZon.
-the plastic ears behind the driver's and passenger's heads, right where the typical rip starts in the OEM tops --> this is plastic that's cut at a 90 degree angle and it has a SHARP edge. I played around with it and was able to cut a thread with it. SAND THE EDGE OF THIS EAR WHERE IT MAKES CONTACT WITH THE TOP!!!!!! I can't stress this enough. It's sharp and it shouldn't be, it just requires a little extra finishing.
-that horrible 90 degree angle screw position at the base of the b pillar: put a piece of masking tape over the screw in the in the bracket. You can set it in the hole and screw it in slightly with the masking tape on so it won't fall, then pull the masking tape.
-the center console doesn't really snap down to make it fit in with the roll hoops, it becomes flush with the screws. I screwed around with it for 30 min until I gave up trying to make it snap perfectly in, then I realized the screws are what make it flush.
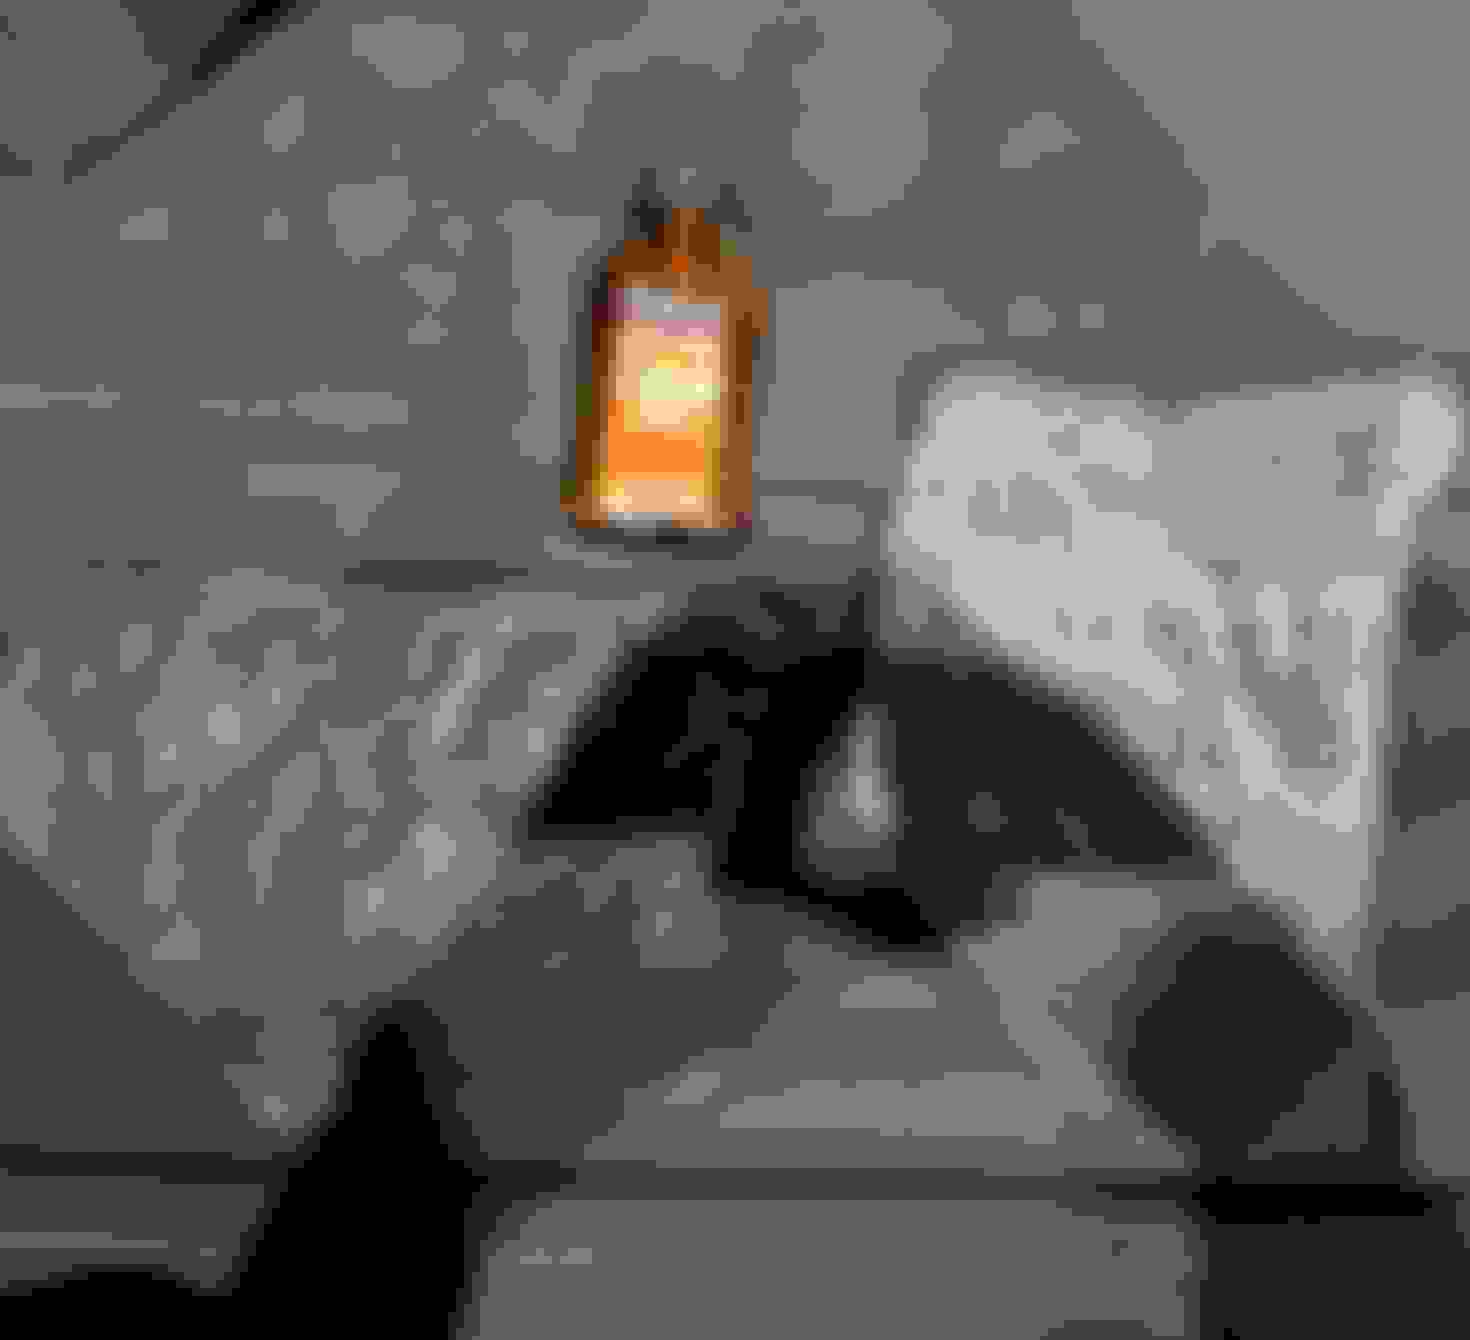
-weldwood contact cement: both topsonline.com and the top installer in my area (classics and exotics) recommended this glue. It WILL NOT stick if you don't put on multiple coats. People are always complaining that the glue doesn't hold their patches. It doesn't hold because the first coat sinks into the material and it's not available to adhere the patch to the top. When you use contact cement or glue on tops, you need multiple coats, waiting 15 min between each. When there's a good coat of glue, after 15 min from your last application, you stick the patch to the top. It sticks instantly and continues curing for 24 hours, but it's never full cured as you can still dissolve it with solvent.
You can see in this picture the difference between one coat and 3 coats. The one on the left was still drying, so after it dried it looked even more dull, meaning that mroe of the visible cement sunk into the fabric reinforcement patch. The one on the left, it applied as is, wouldn't hold up long, whereas the one on the right will adhere and be very difficult if not impossible to remove without solvent.
-my EZon Haartz top has a smaller glass window than the OEM top.
-I broke a clip. My Honda dealer wants $12 for it. Don't break clips.
-I had a hard time getting the rivets out of the top bars. I needed a and I was stressed about getting one of them that fell down near the brushes from the B pillar. I ended up blowing them out of the first bar with a compressed air can (computer duster). I somehow missed part of one, which rolled down and settled above the rubber cap after everything was buttoned up, which I then took out. The easiest method I found for catching rivet backs is to put a piece of adhesive tape on the end of the bar with a hole in it for air to pass through, that when when they fall you don't have to go looking for it. I used this method after I dropped the first one I drilled from the B pillar. Also in the 2nd bar one of the rivets got stuck and wouldn't blow out. To get it out, I got one of these from home depot, it worked like a charm! It's used for fishing wire, and I used it to thread the cable through the top also. It's such a great tool I never knew about until now, and it fits in the top bars perfectly.
...I probably spent 20 hours on this, probably 6 of those figuring out how to get all of the rivet fragments out of the car, but I'm super detailed and triple-checked everything. Looking back, I wish I would have paid someone to do it. I did an excellent job and it looks perfect, but the time I spent wasn't worth it. I just wanted the top out of my apartment and I wanted to take on a project.
[EDIT: Use the soft side of velcrow instead of felt tape on the top frame to keep the top from fraying. Velcrow is much more durable than felt tape and just as soft. I got this tip from someone who builds custom classic convertible tops. After putting it on the ends of the bow above the driver's head, it smoothed out the top in this area.]
Excellent review and tips!
I probably spent 20 hours as well, but am still glad I did it myself.
I found getting the Robbins top buttoned up for the first time to be a wee bit frustrating.
To get the seemingly impossible job done, I attached nylon ratcheting straps on each side from the top frame to the bottom of my garage door rail.
I had it buttoned up in minutes...
Does anyone know which peg this strap goes on for an AP2? This write-up along with most online videos are for AP1 to glass top conversions. This is the one thing I didn't remember to take a picture of before disassembly... Much appreciated!
Does anyone know which peg this strap goes on for an AP2? This write-up along with most online videos are for AP1 to glass top conversions. This is the one thing I didn't remember to take a picture of before disassembly... Much appreciated!
I think it's the same location for AP1 and AP2, if I recall it's on the second stud from the front on the rainrail (please don't quote me, it's been a while since I replaced the top). You're basically just adding the AP2 strap to the AP1, so the design is the same. Can you see markings on the rainrail where the strap was previously installed?
I think it's the same location for AP1 and AP2, if I recall it's on the second stud from the front on the rainrail (please don't quote me, it's been a while since I replaced the top). You're basically just adding the AP2 strap to the AP1, so the design is the same. Can you see markings on the rainrail where the strap was previously installed?
So they are different since an AP1 doesn't have straps and when you do the conversion (like this write-up), straps are added to the back rain rail. On an AP2, those straps aren't necessary since the third bar is spring loaded, however, there are straps (as in the image) that go on the outer rain rail. Just can't remember if its on the 3rd or 2nd peg from the front.
Hey guys, I have a compatibility question. I have a 2005 with a mix of parts on it that I built years ago. The top frame and canvas are from a 2000 (plastic window starting to crack). I recently bought a new EZon top kit with glass window for 02-09 models.
1. Can I make this canvas work on my '00 frame?
2. Are the frames the same beside the strap situation?
3. Would I just need to follow the write-up provided here, ad the straps and it will be ok?
The bolt closest to where you are holding that strap to the frame
Thanks I eventually figured it out browsing enough internet pictures.
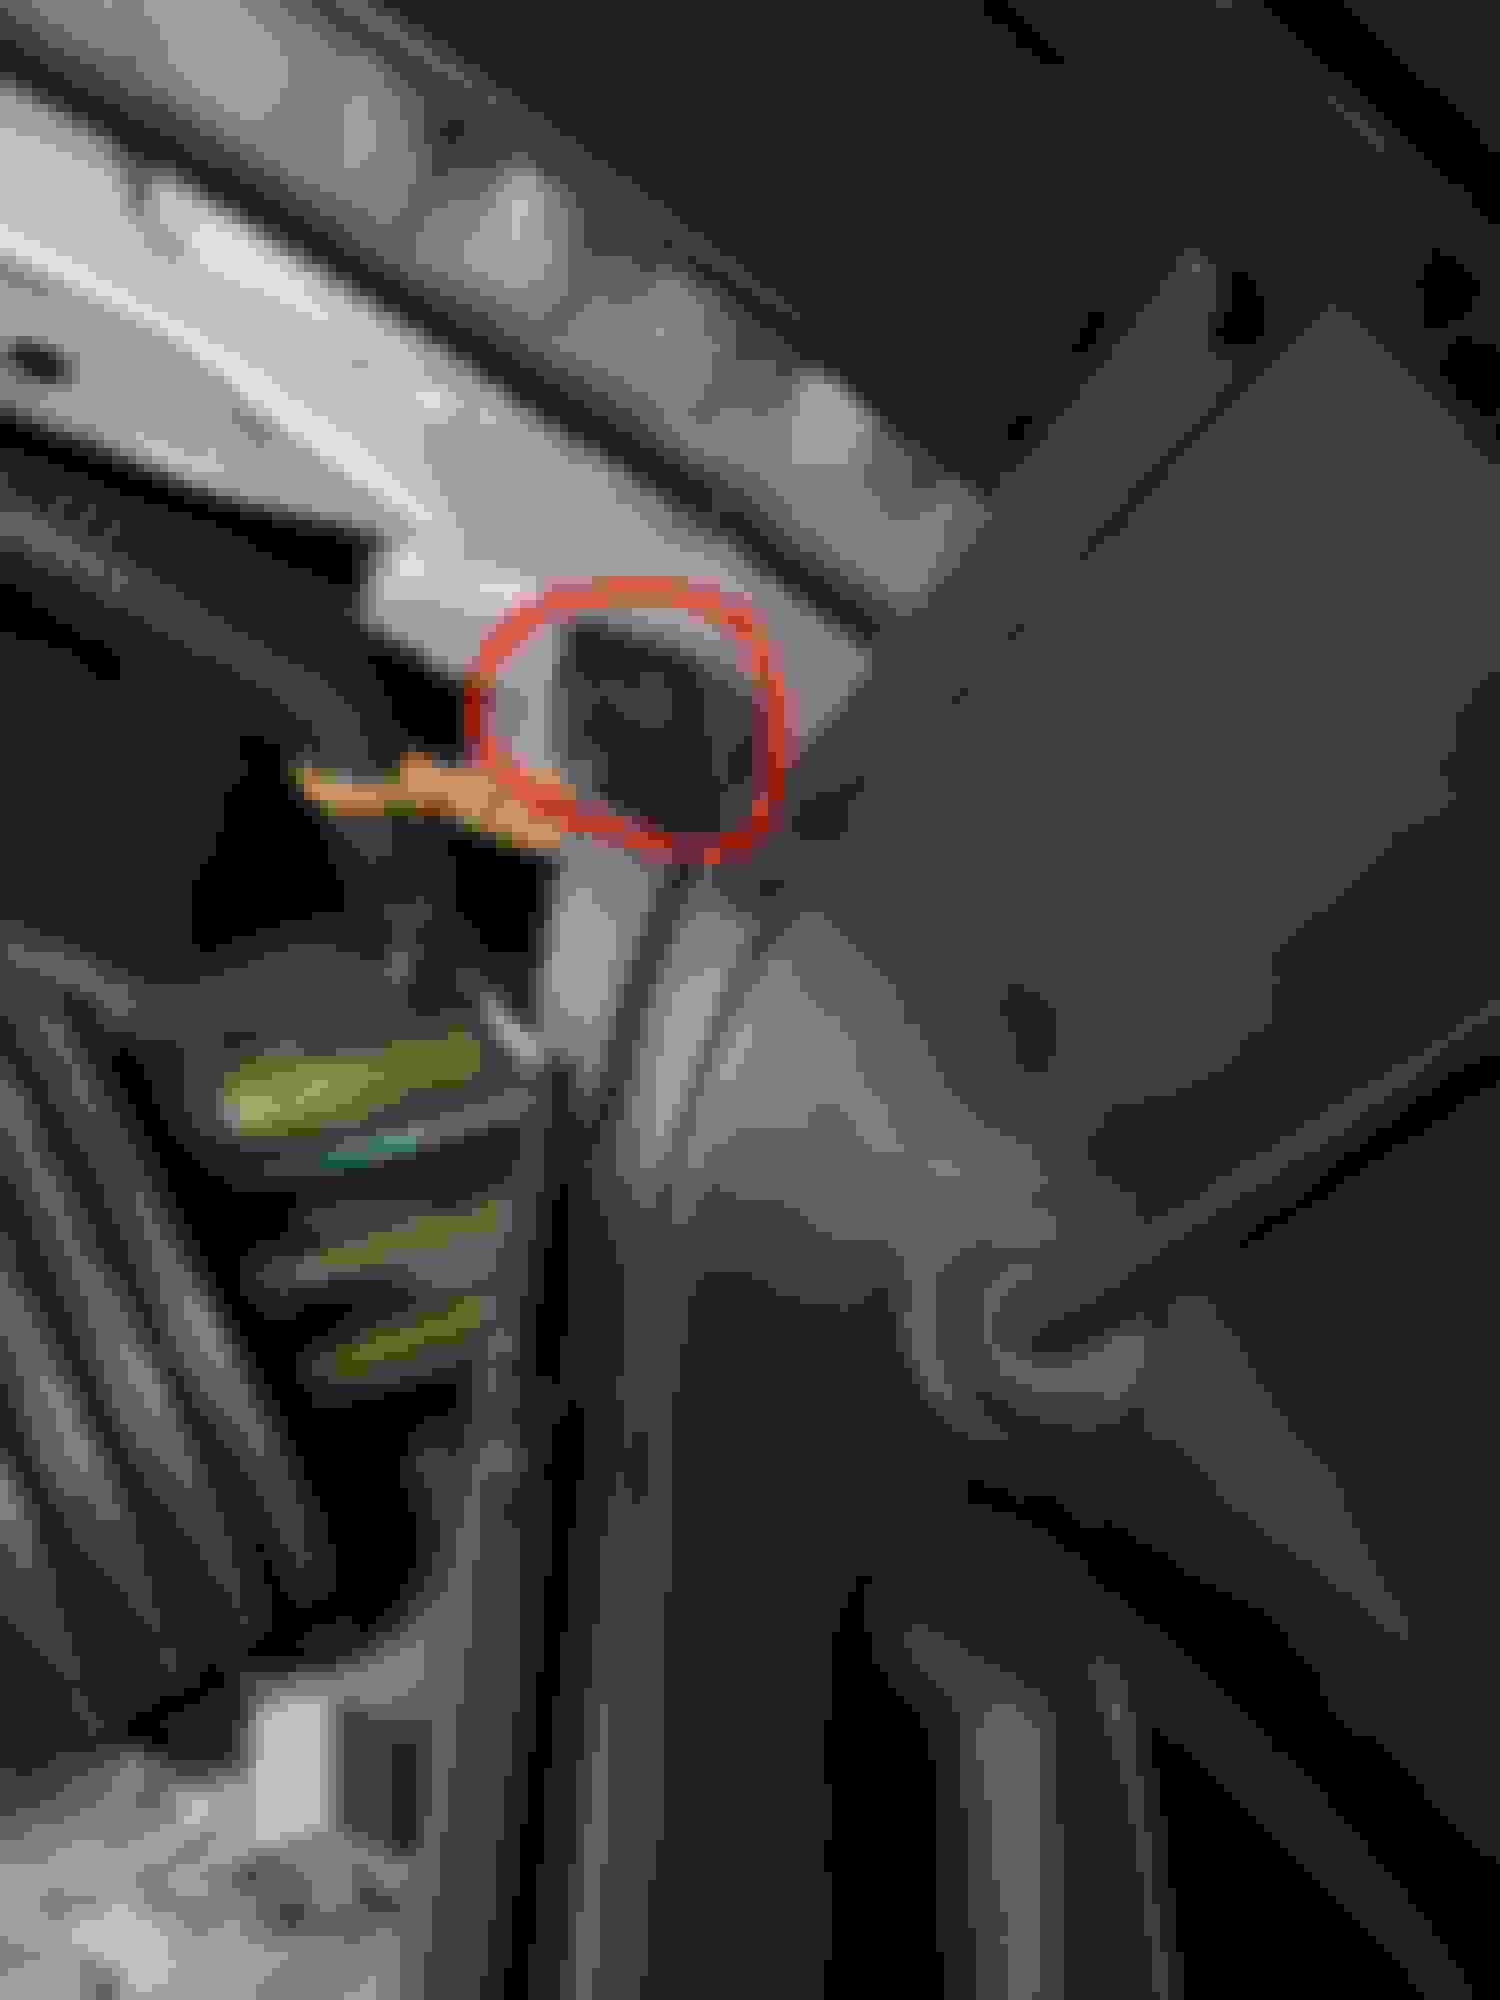
Top has been successfully installed (phew). However, I dropped the clip pictured below and it somehow disappeared... I figured it would have just landed by the fuel pump, but it's gone. Any idea on where this could have disappeared to? I had a bolt nut in the same location do the same thing. I've tried vaccumming every crevice in the area but cannot locate it. Not worried about the item as I have it ordered, I just don't want it rattling (which I believe it is based on my test drive)
I’m trying to finish up the Robbins top install, but unfortunately I hit an issue. When I put the top up, the creases/wrinkles in the back corners near the rear windshield d don’t flatten out properly. They stay somewhat loose.
now, I haven’t actually closed the top fully out of fear I’m going to rip something that might be binding in these back corners...
anyone run into this issue, or have any thoughts on how to remedy this?
I used binding pillars instead of rivets on the rain rail, which I suspect may be the problem. The corners have extra material and took some additional pressure to get the two half’s together, maybe they pulled through the rubber and are no longer holding all the material together?
also I noticed the first bow is not situating itself in the proper location. This may or may not be related to the wrinkly issues.
any thoughts are appreciated...
Sagging pass. Side Sagging drivers side The bow is not sitting in the proper position above the windshield. Although I suspect this just needs to stretch out more and it will settle in. This is how far the top closes, I do t want to fully close until I know what’s causing the binding/ wrinkles in the rear corners beneath the rear windshield.
 05-09-2019, 06:29 PM